
C5 Coupe Sound Control/Audio Upgrade
 08-23-2014, 01:16 PM
#61
Melting Slicks

Thread Starter
I use a roto-zip with the circle cutter. It works fine but no way to get things perfect. The sub enclosures will be one the most visible portions of this install. My ideas of how I am going to finish them requires they be as close to perfect as possible. Having the rings made with a cnc is a much better start to the final product than it would be if I whipped them out by hand.
 08-24-2014, 02:32 AM
#62
Melting Slicks
Thread Starter
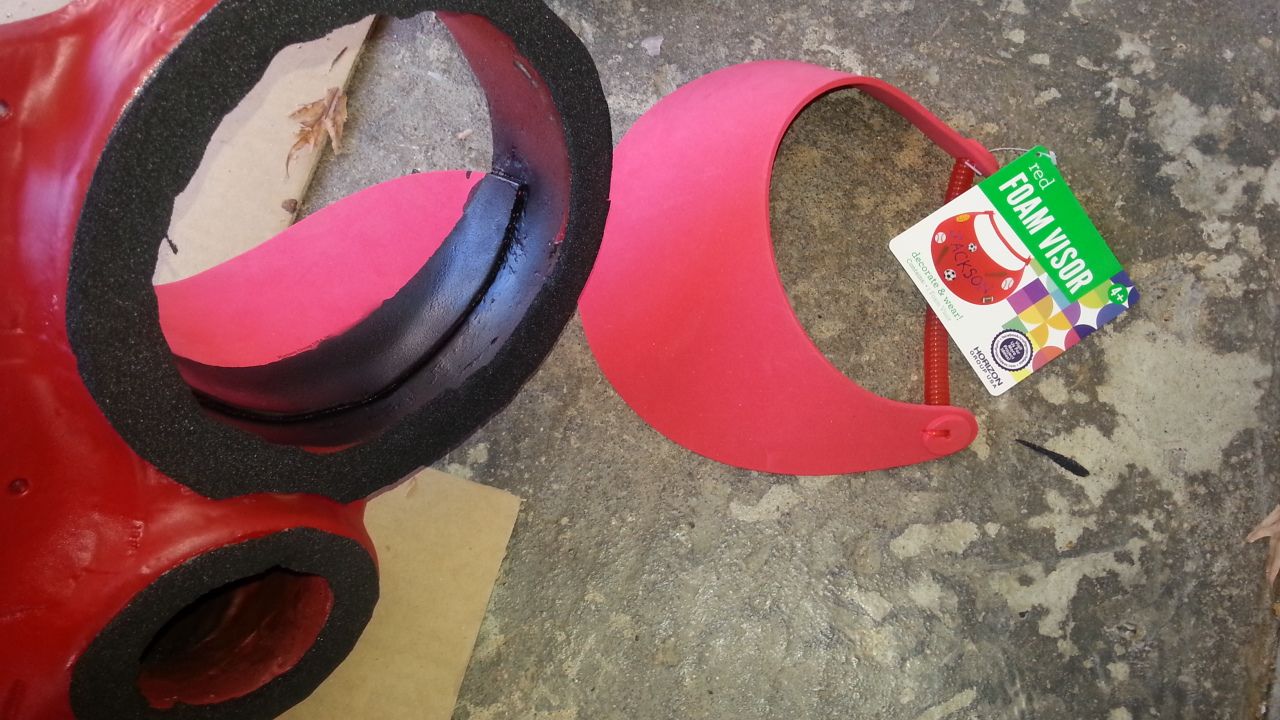
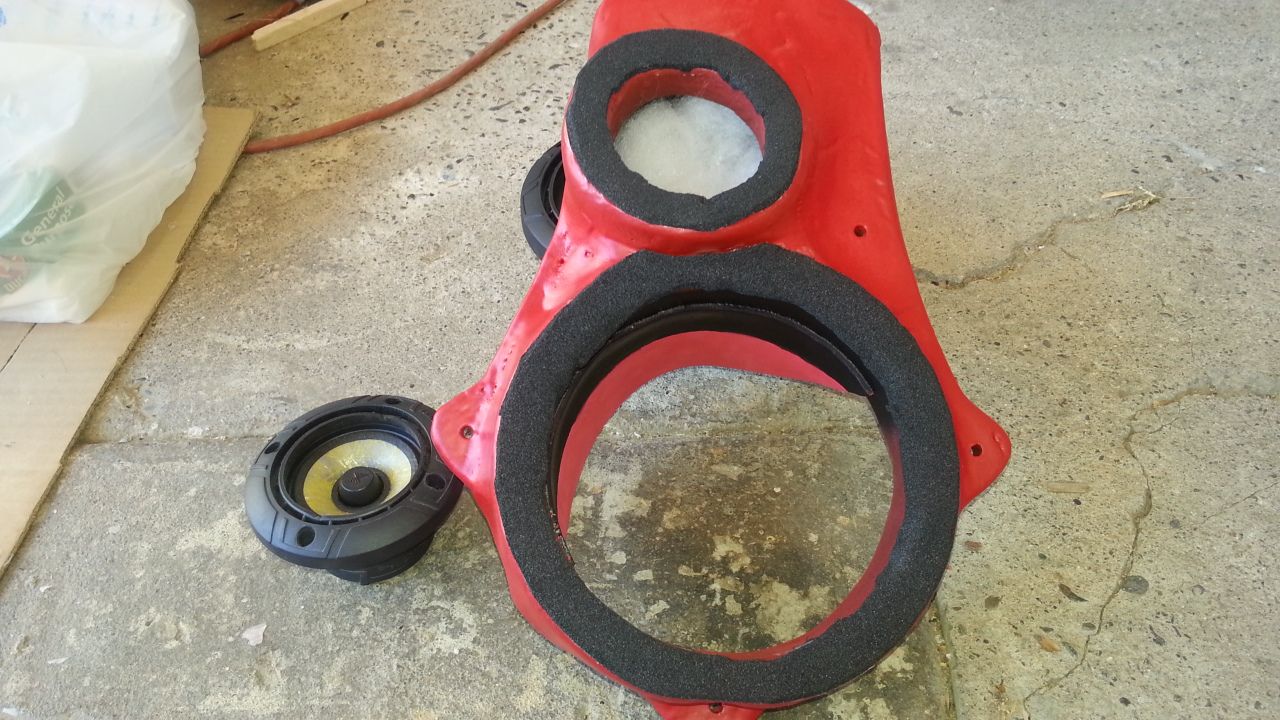
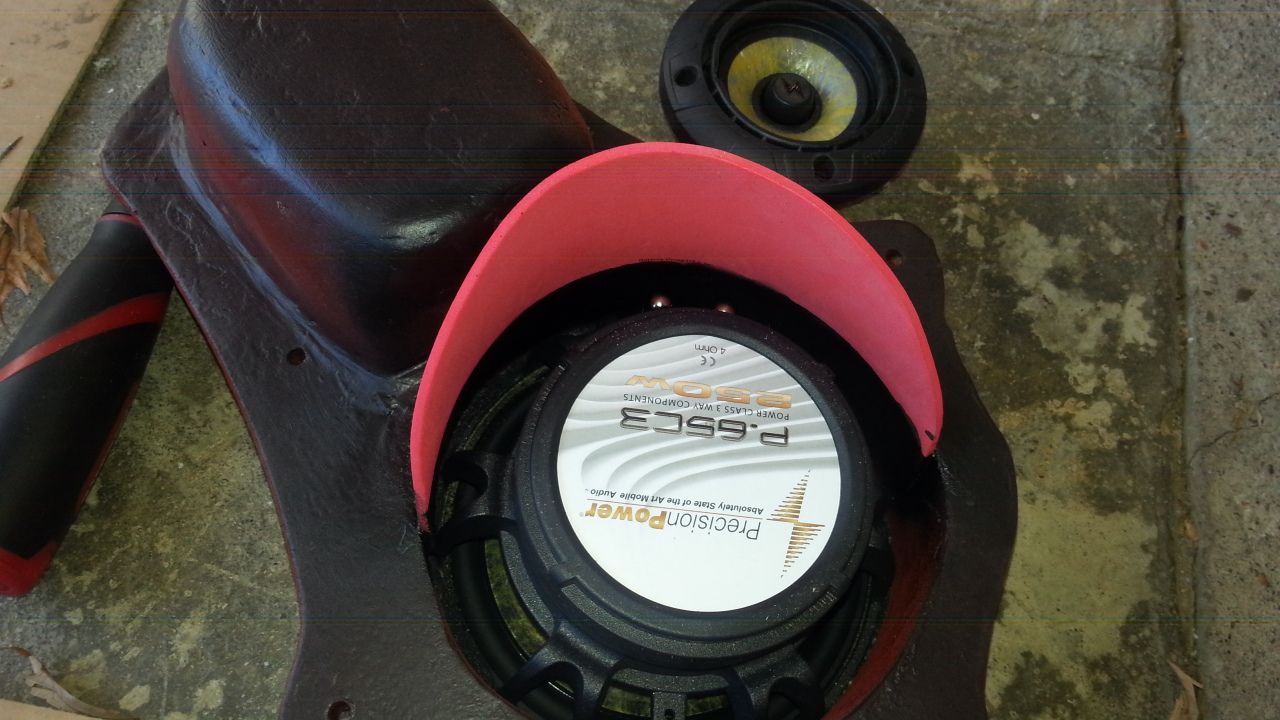
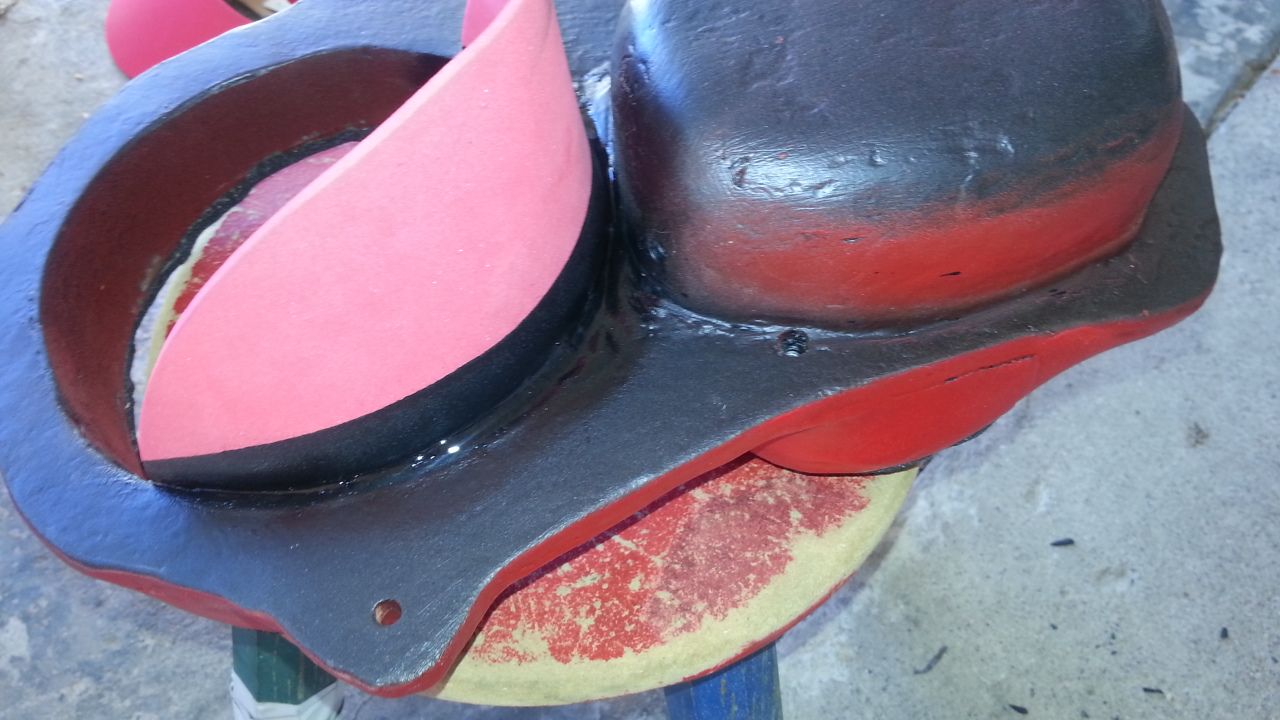
Made some easy water guards for the midbass drivers. Used some foam visors from the crafts section at Walmart. Less than a buck each and made for an easy solution. Glued them in place and sealed them up with plastidip.
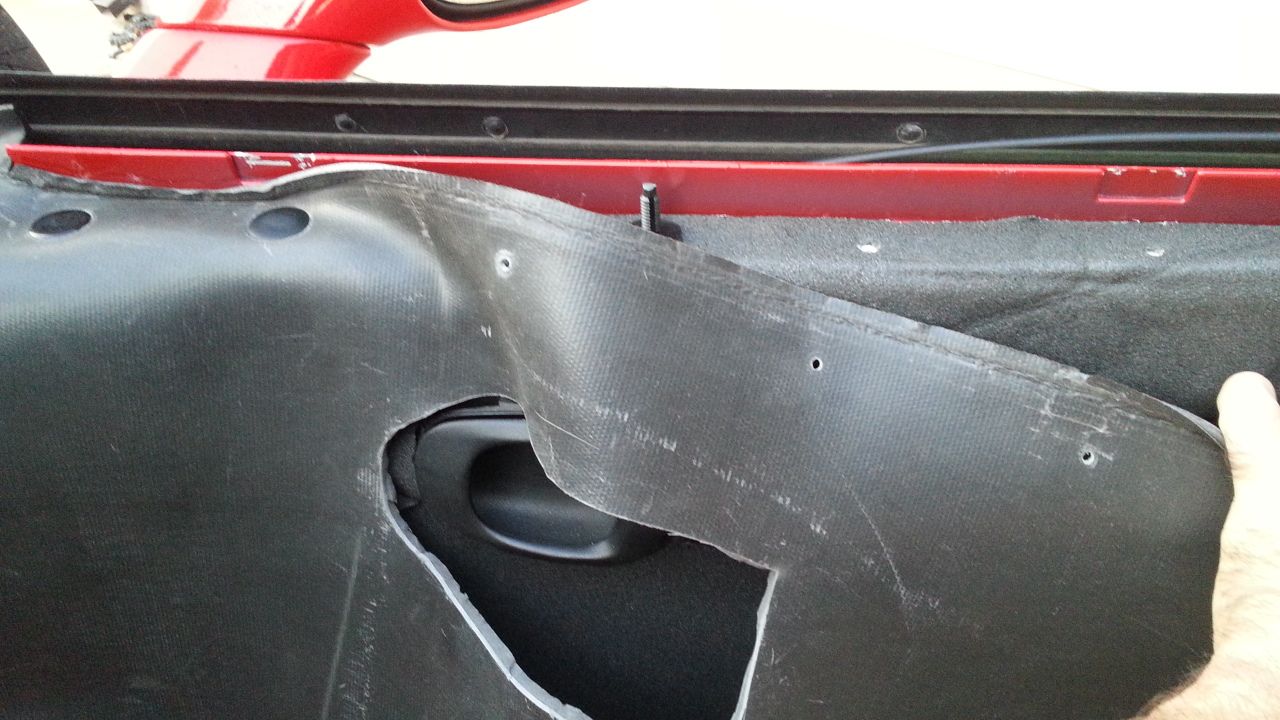
Then started back on the door. Was able to cover the entire inner skin with the 1/2" Overkill pro Then proceeded to cover a bunch of the backside of the outer skin, as well as a bunch of the bottom and sides. The inside of the door panel is basically a CCF chamber.
I decided to pull the stryrofoam from the backside of my door panels. I'm going to reinforce the panel with a layer of fiberglass. Then I will hang a solid sheet of the (MLV) luxury Liner on the outer skin. Cut out for the speakers to peak through. Thinsulate Acoustic would be sweet but too much $$$. I will fill in any other voids with more of the CCF. These doors should be dead silent other than the glass which rattles under certain conditions. I'm sure I will be addressing them. Now if only the drivers door was this far along!


 08-25-2014, 12:41 PM
#64
Melting Slicks
Thread Starter

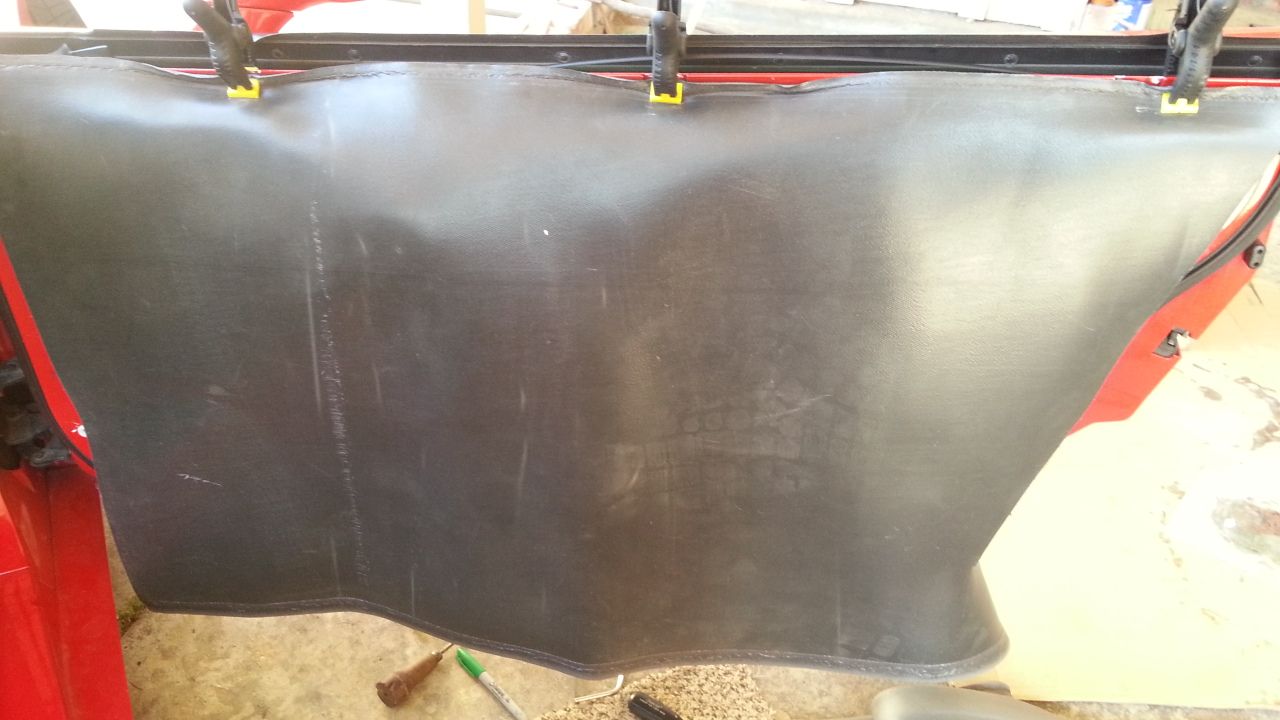
Avoided the connection area of the upper and lower half of the panel. I'm going to separate them so that I can recover the panel with better material. The vinyl is about 80% pulled from the panel as it is.

Here you can see how bad the vinyl is.
 08-25-2014, 12:42 PM
#65
Melting Slicks
Thread Starter
For the OCD crowd. These are the anchors for the speaker pods. I wanted them to clamp down onto the door but still be isolated from it by CCF. So I cut up some mdf and used T-nuts. Each one fits in a certain spot. Not needed and something nobody will every know about, but I will ; )

Now for a layer of Luxury Liner Pro (MLV)
I used the Xmas Tree style push pins to hold it in place. Just drilled a few holes. This was all after I started taping layers of material on the panel and test fitting the panel to see how things would fit.
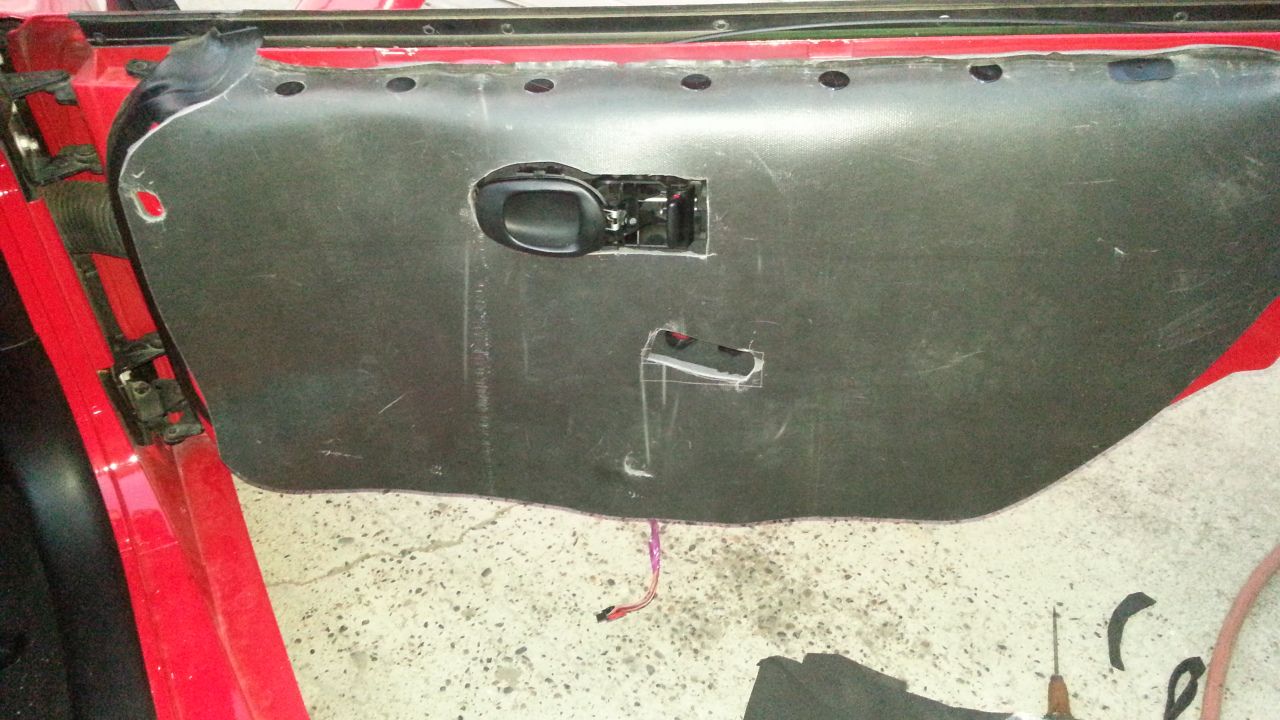

Now for a layer of Luxury Liner Pro (MLV)
I used the Xmas Tree style push pins to hold it in place. Just drilled a few holes. This was all after I started taping layers of material on the panel and test fitting the panel to see how things would fit.


 08-25-2014, 12:48 PM
#66
Melting Slicks
Thread Starter
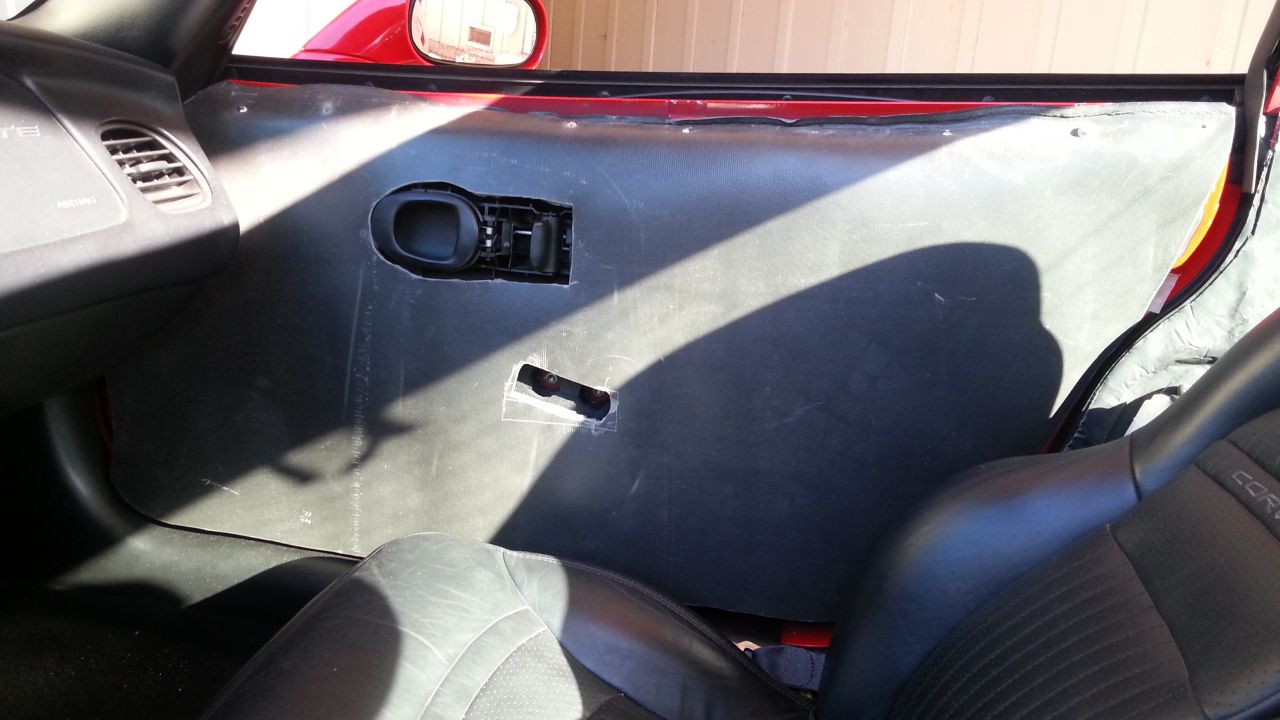
I honestly can't believe what a difference this made. Drove around to run some errands after I hung the sheet of Luxury Liner on the door. No door panel on. Unbelievable difference! Always knew how much noise these doors radiated, but am shocked at the difference of doing just one door made. It actually made the car feel more solid. Almost as if the suspension is smoother??? It is not hearing all the bumps in the road jarring my car to death gives the impression that it's riding smoother!
Can't wait to do the other door!
Now I need to mount the pod and trim the Luxury Liner around it. Just waiting for my order of speaker wire so I can button up this door.
Can't wait to do the other door!
Now I need to mount the pod and trim the Luxury Liner around it. Just waiting for my order of speaker wire so I can button up this door.
08-26-2014, 12:46 PM
#67
Melting Slicks
Thread Starter
Just ordered a pair of the SD-2 8"s. Couldn't wait for the new models to get finished. Hopefully the SD-3's will mount in the same cutouts or at least be close enough to work if I upgrade down the road.
I also ordered some custom mounting rings for the enclosures I'm going to be fiberglassing soon. There is a seller on fleabay who worked with me, allowing me to design and provide the specs of what I wanted. I usually just cut my own but I wanted precision cut rings as I plan to paint them to match my car and no way could I get them perfect with my setup. The seller sells rings cut out with a cnc and had a pair close to what I needed but not quite right. After several messages with the specs I wanted that are built for the SD-2 8 subs, he created a listing for them. Not cheap but I got exactly what I wanted. The seller is "avpriority" if anyone happens to need cnc'd parts. He did say he has no problem doing custom work and was fine with me sharing his info.
Here are the rings and a link to the item page.
http://www.ebay.com/itm/Custom-cut-dual-layer-MDF-ring-set-/351155922218?pt=LH_DefaultDomain_0&hash=item51c286252a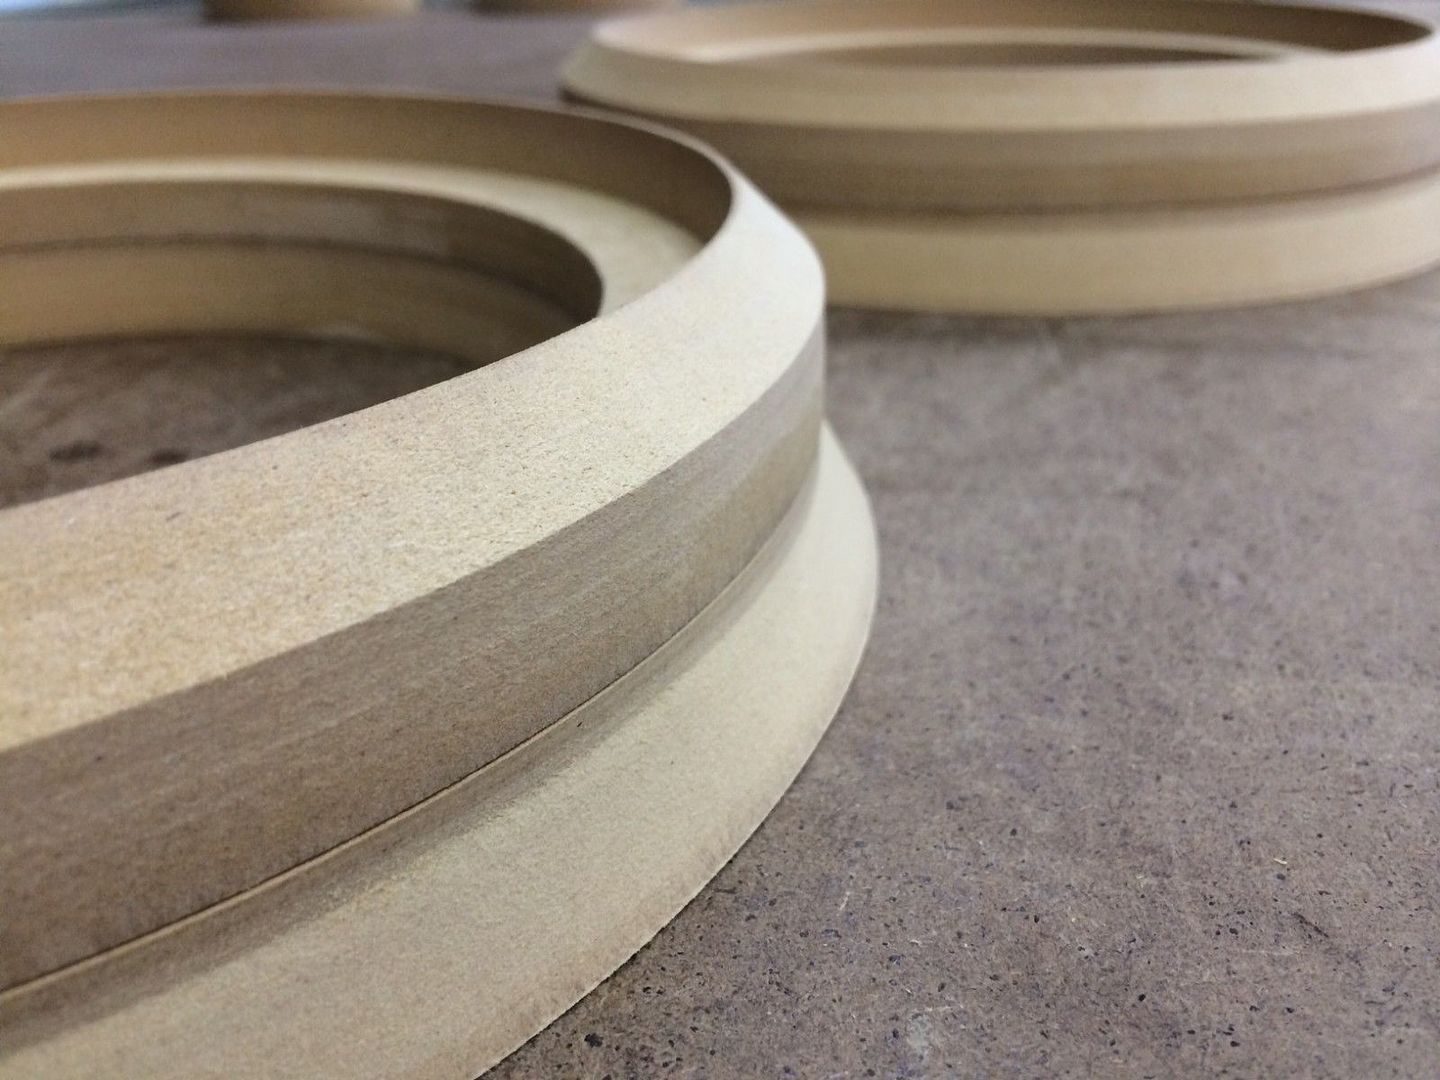
 08-26-2014, 02:45 PM
#68
Race Director

Nice work!!
Curious why you fiberglassed the back of the door panels?
Also where is a good place to get the luxury liner stuff.. I might try that on the floor and doors of my vette this winter
Curious why you fiberglassed the back of the door panels?
Also where is a good place to get the luxury liner stuff.. I might try that on the floor and doors of my vette this winter
08-27-2014, 03:36 AM
#69
Melting Slicks
Thread Starter
I glassed he back of the panels for a few reasons. I removed the huge chunk of Styrofoam that was glued to the back of the panel. I figured the panel needed the support now that the foam is gone. I was also worried the thin plastic would vibrate and flex making noise. So my plan is to glass them, then treat them with CLD & CCF.
As far as the Second Skin stuff, I used to have an account with them. You can buy right from their site though. Bet it's on ebay, Amazon....
As far as the Second Skin stuff, I used to have an account with them. You can buy right from their site though. Bet it's on ebay, Amazon....
08-28-2014, 09:32 PM
#70
Melting Slicks
Thread Starter
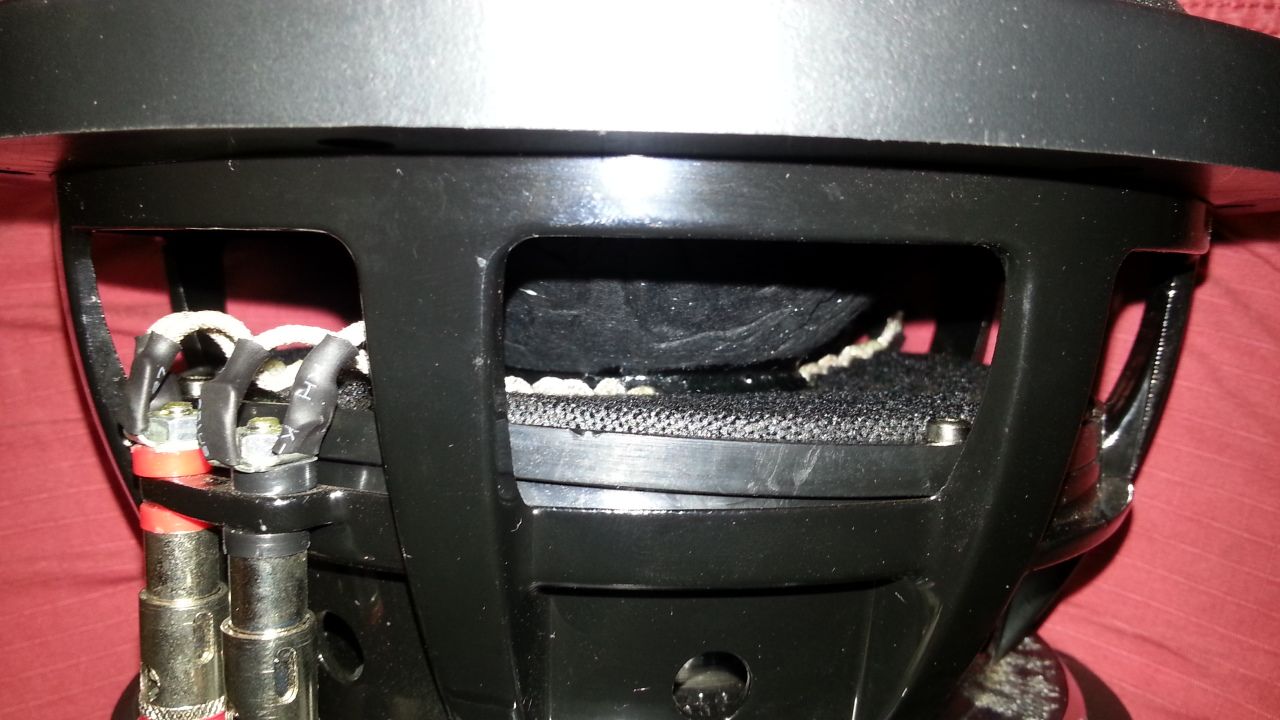
Stayed home from work waiting all day for my subs to get delivered. Finally showed up. Only to discover one of the drivers is defective. Looks like they didn't seat the spider into the basket properly. Joy!


 08-29-2014, 08:03 PM
#72
Melting Slicks
Thread Starter
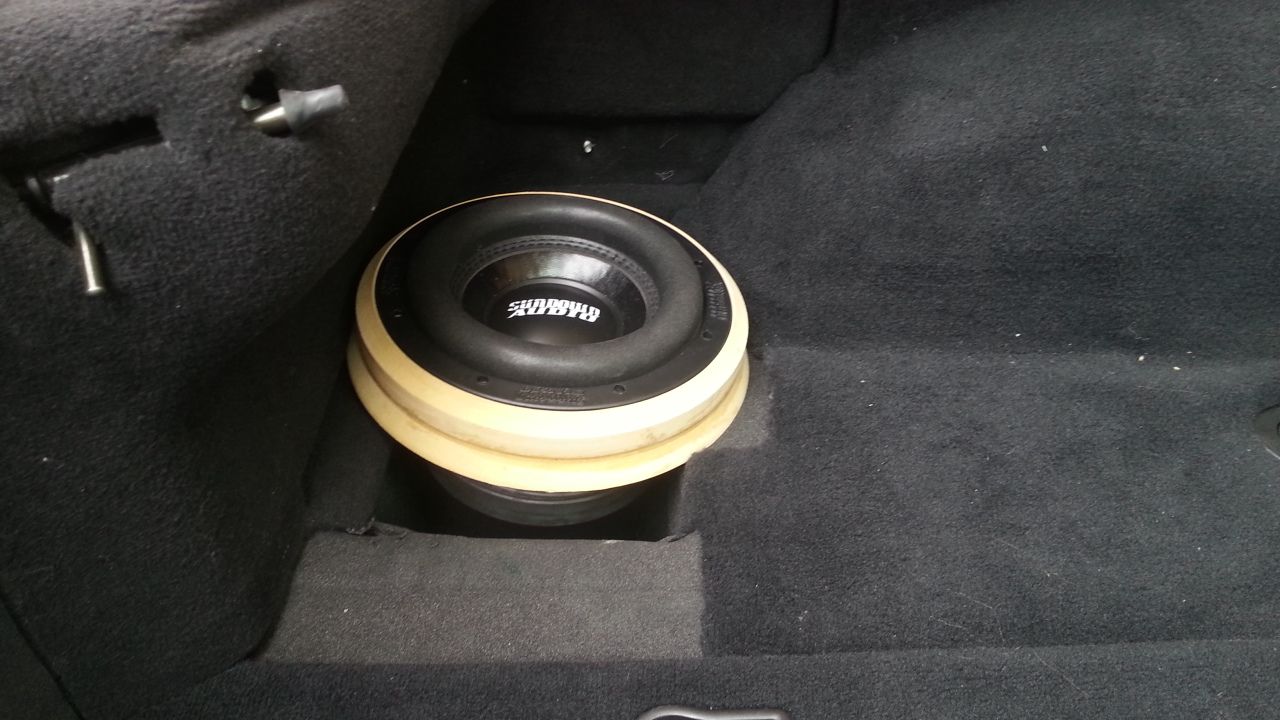
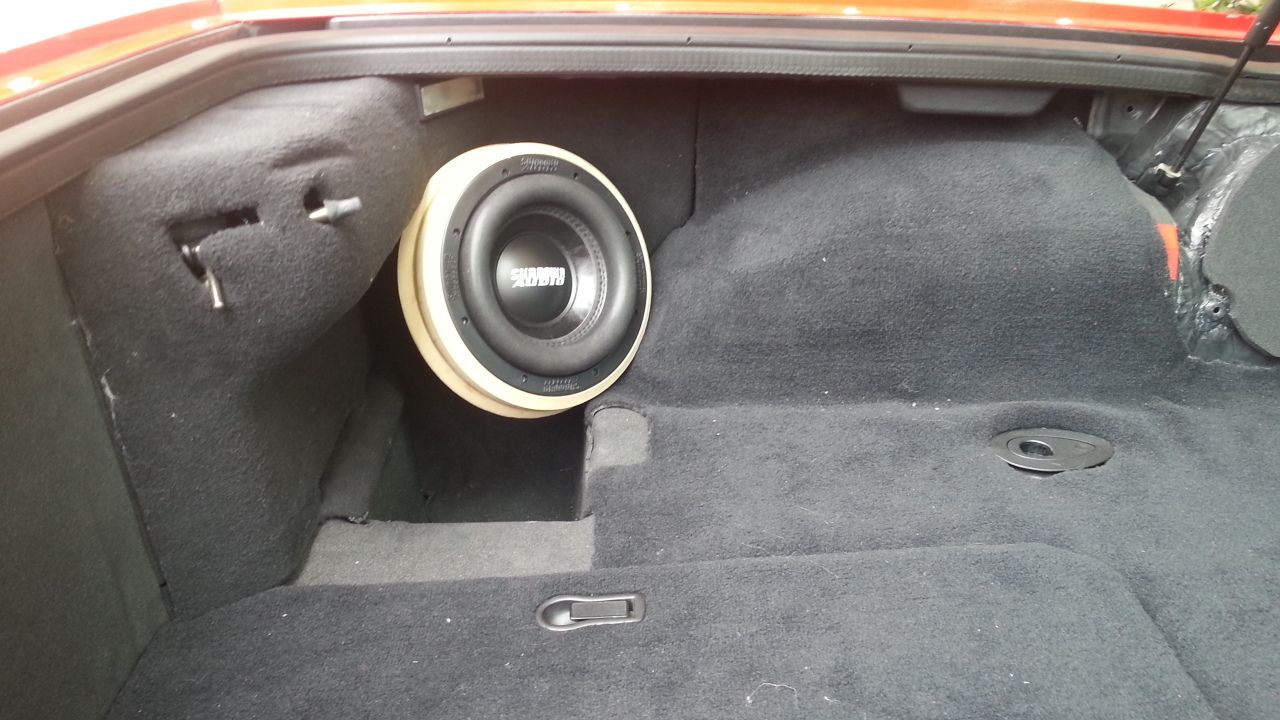
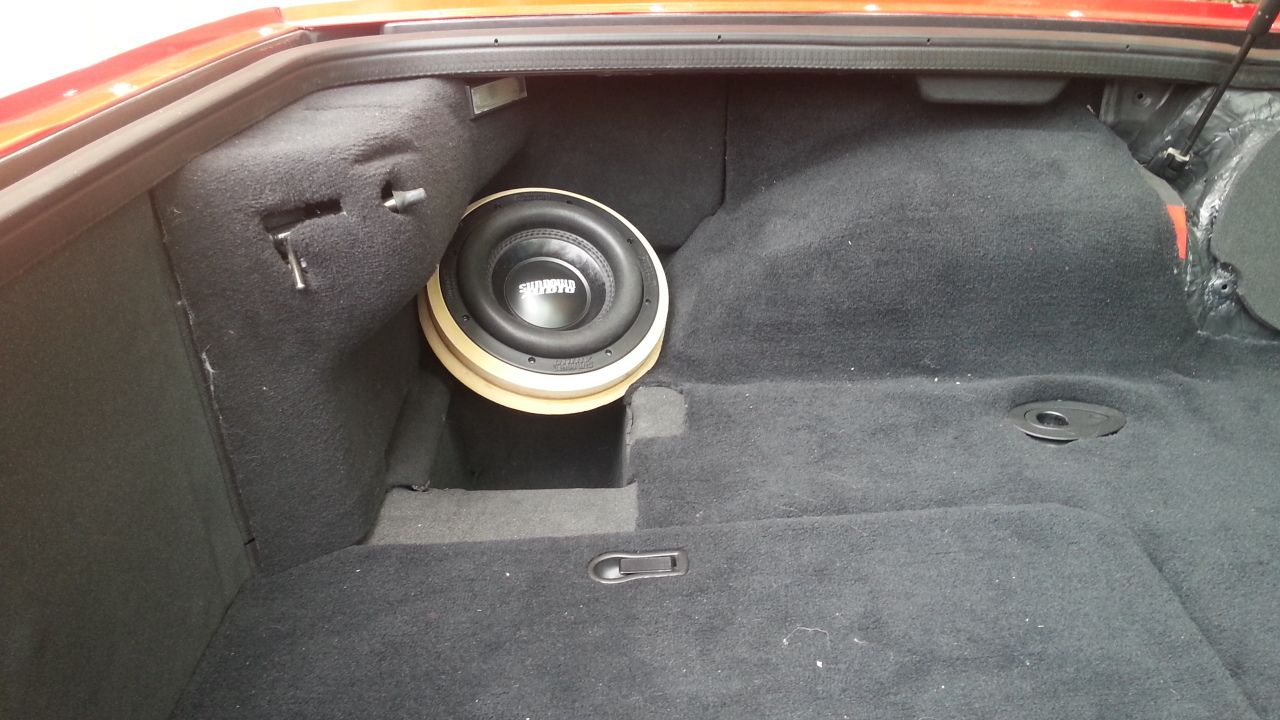
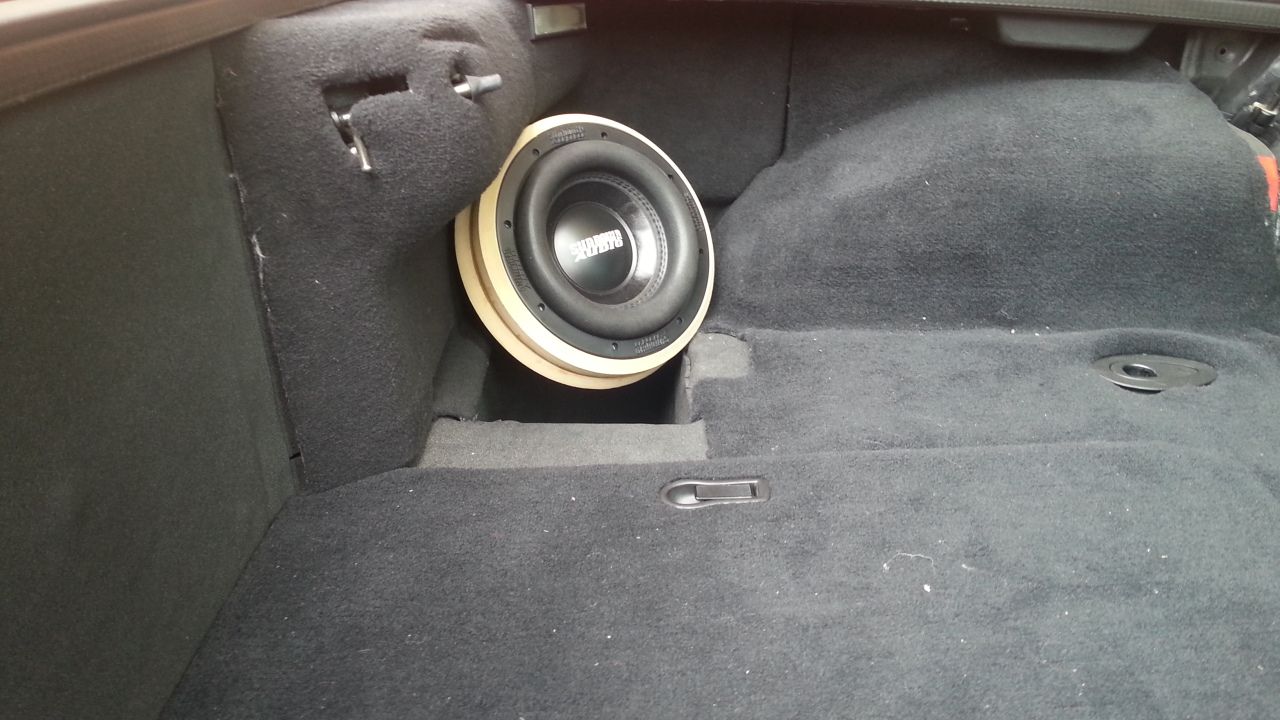
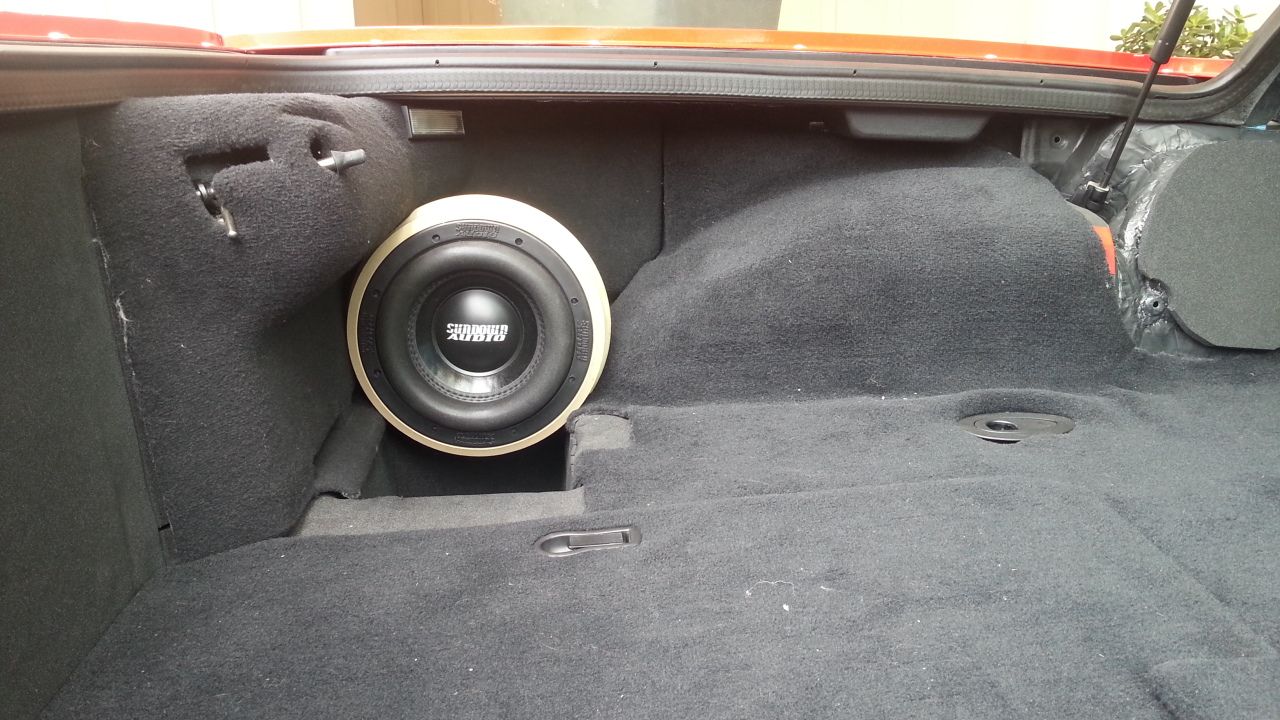
I'm hoping to start glassing in my two Sundown SD-2 8"s into the back corners soon. The SD-2's only need .25*ft to .5*ft. That leaves me being able to orient the drivers pretty much however.
I'm curious if there is a preferred aiming method when in a hatch area. Aim'd at each other, towards the listening positions, up towards the hatch/glass...
Or is this really just a matter of what looks best?
Here is what I'm working with and one of the subs and rings in a few different orientations. The rings are 9.5" wide to give some scale. I think if I use the airspace in the cubby, I can really keep these little dudes tucked back in the corner and not lose much floor space.


 09-22-2014, 12:43 AM
#74
Melting Slicks
Thread Starter
Been slacking on the install. Just simply took a break and have been busy with other crap. Got my replacement sub so I'm good there.
Finished my passenger door today. Just need to put some CCF on the back of the door panel and mount it back up. I'm going to wait to recover the panels until after I finish the install.
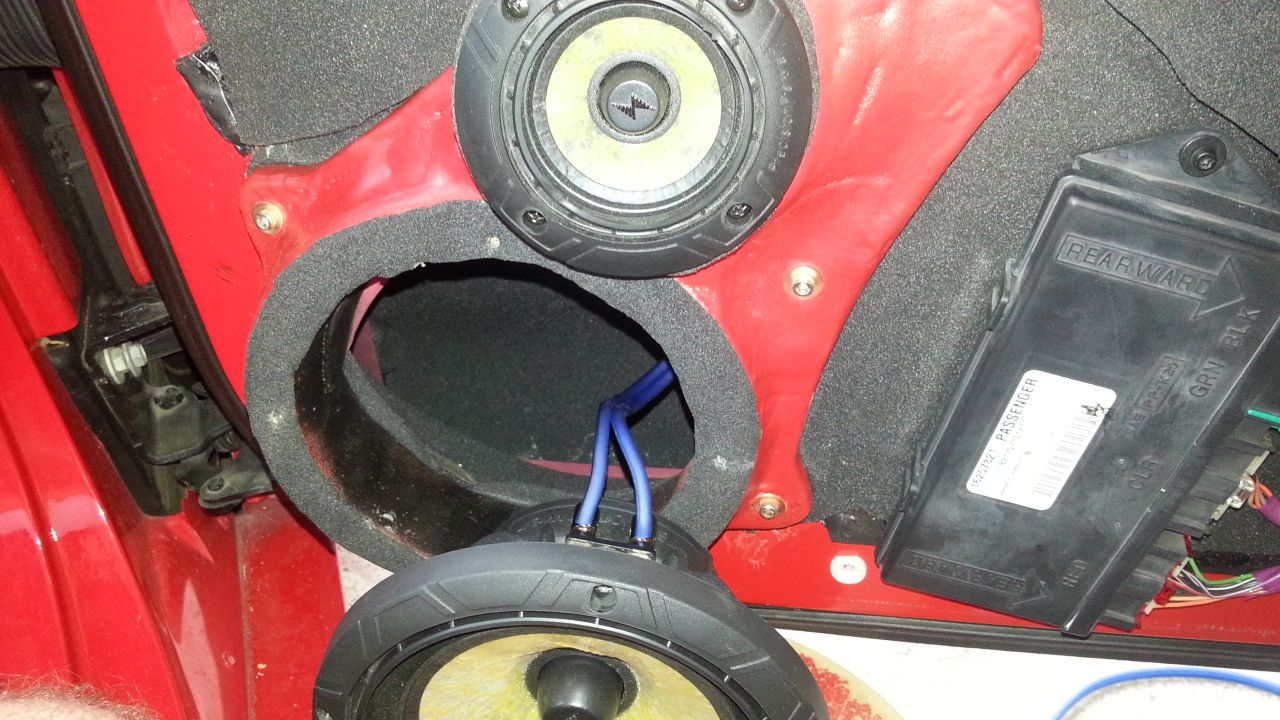
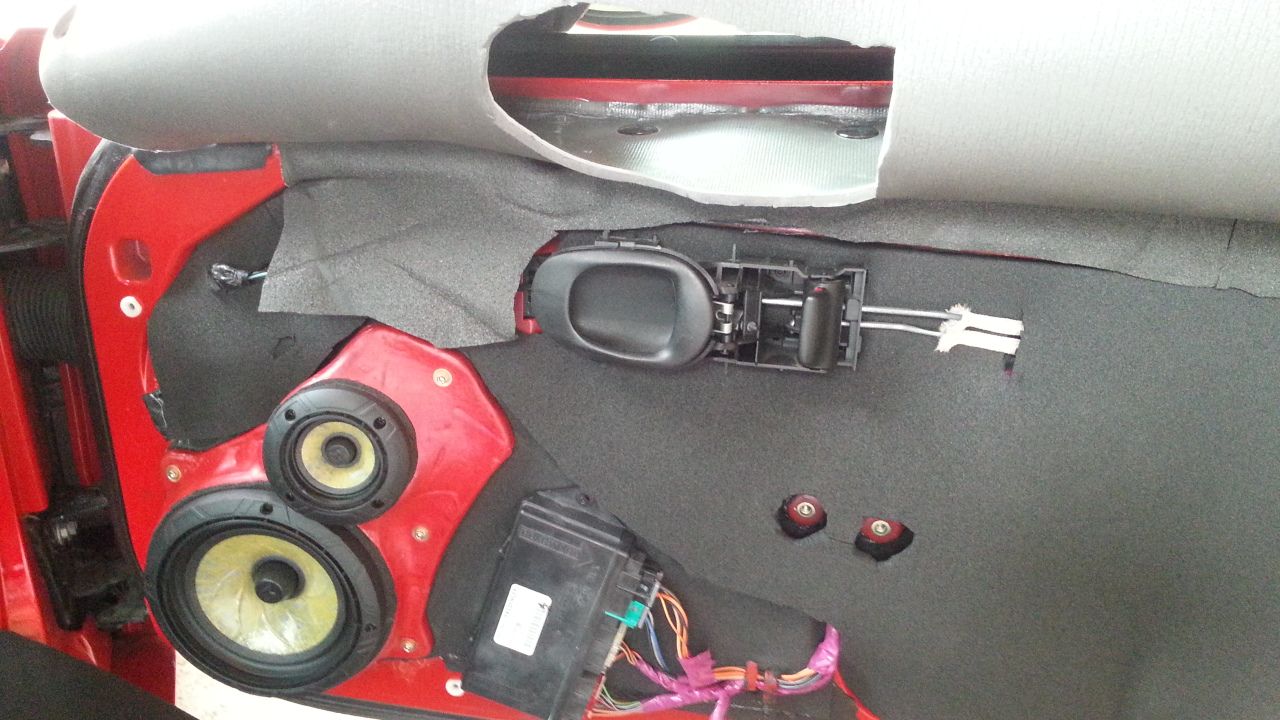
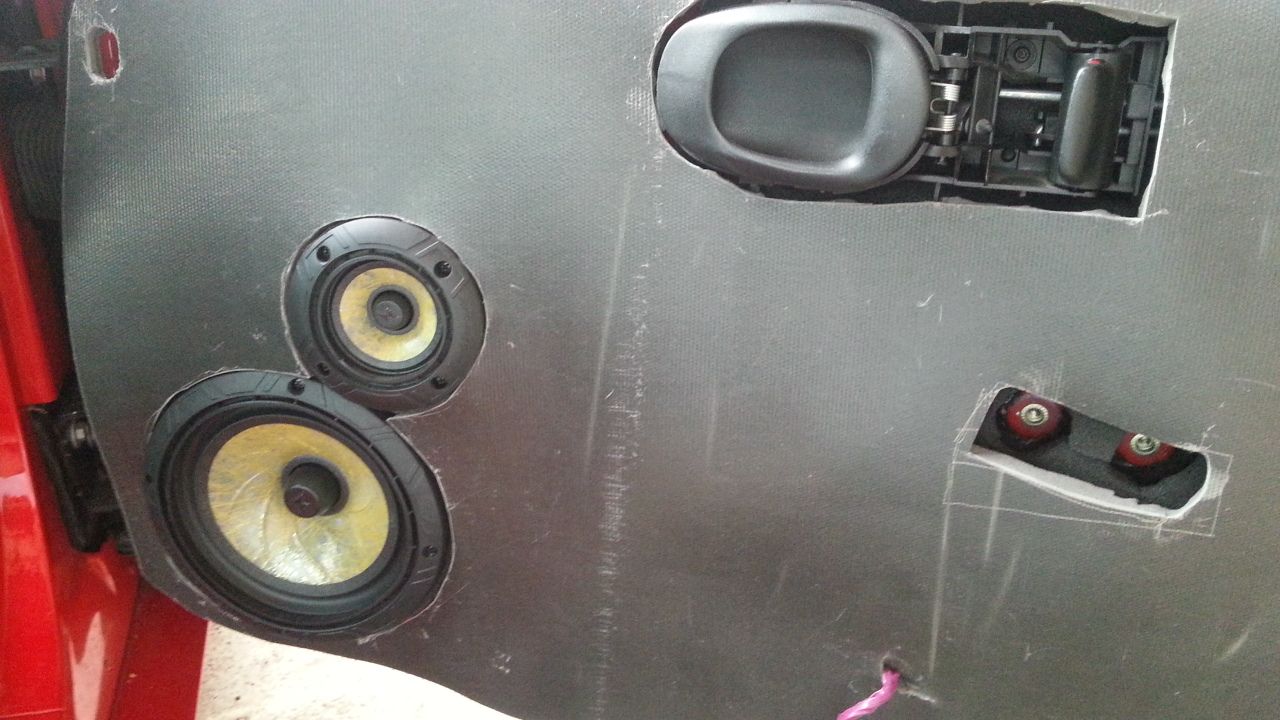
Finished my passenger door today. Just need to put some CCF on the back of the door panel and mount it back up. I'm going to wait to recover the panels until after I finish the install.


 11-22-2017, 08:28 AM
#76
Night Owl for life

Member Since: Nov 2003
Location: Bugs Bunny should'a made a left turn here
Posts: 23,200
Received 3,247 Likes
on
1,668 Posts

How'd this car ever turn out? I know this thread is several years old but it never quite finished.