
TTA to PTA build
 01-29-2012, 08:43 PM
#1
Instructor

Thread Starter
Member Since: Aug 2008
Location: Columbus Ohio
Posts: 138
Likes: 0
Received 0 Likes
on
0 Posts
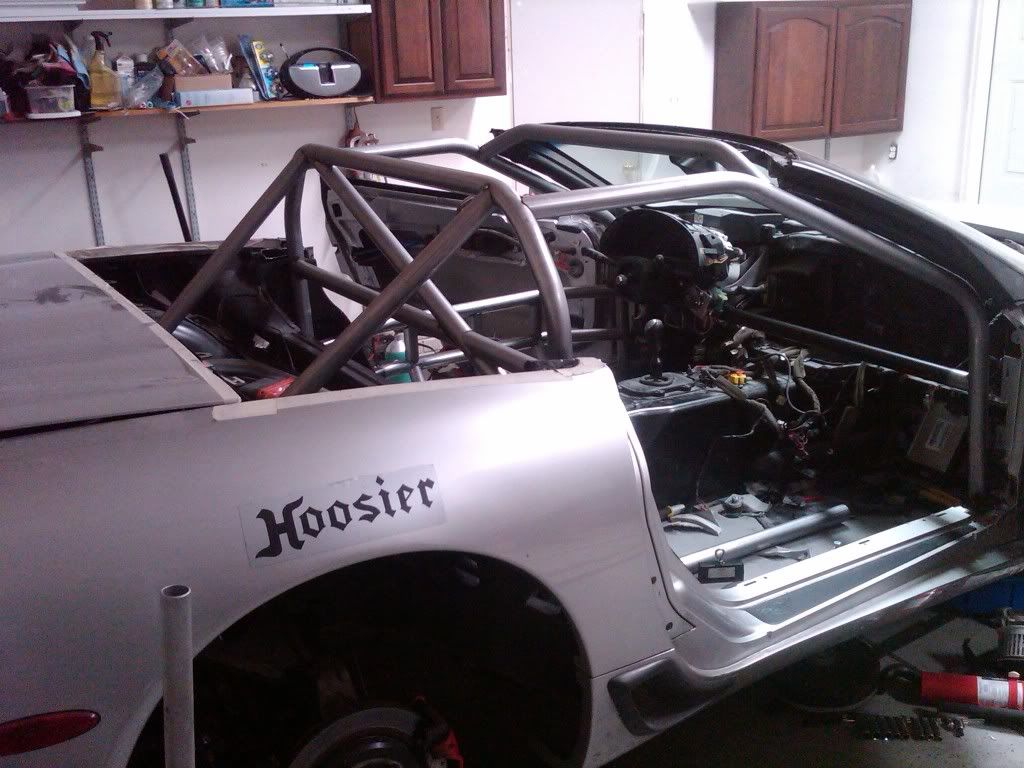
I'm starting this thread because everybody loves racecar builds with pics.
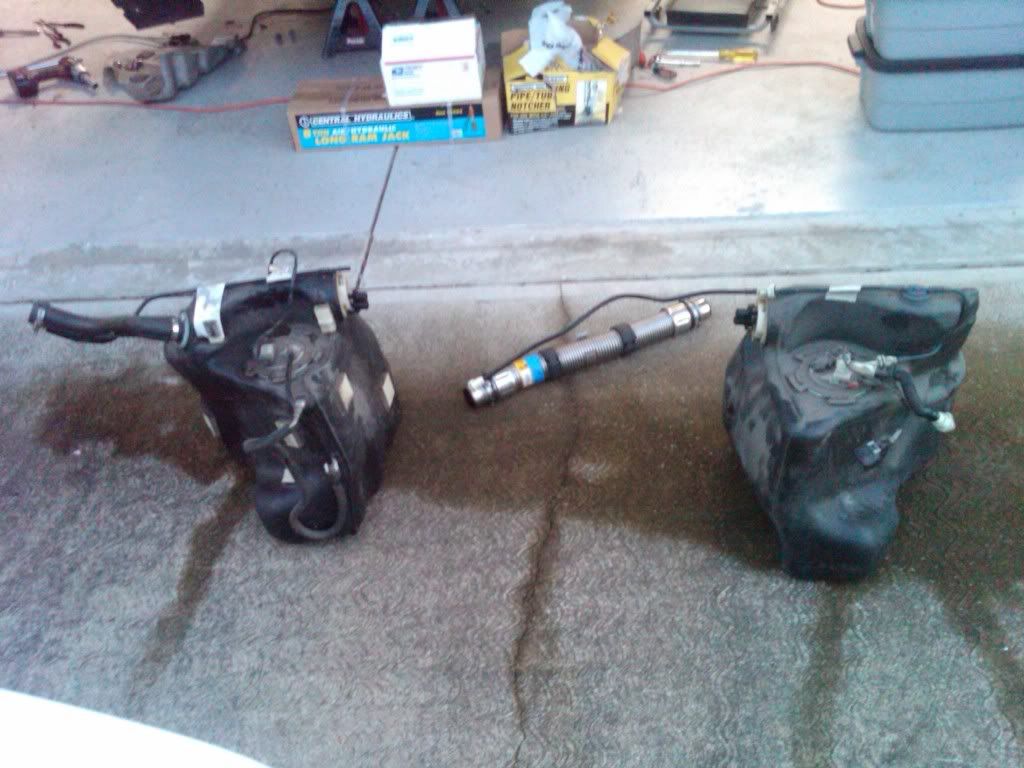
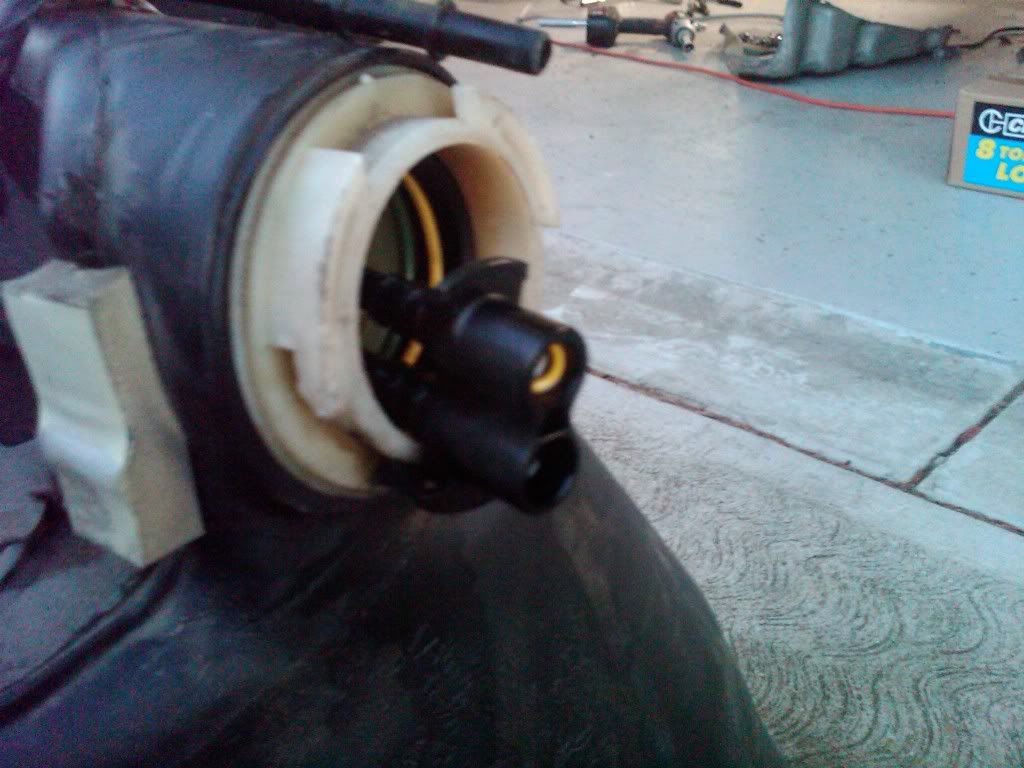
The fuel tanks are not supposed to do this.
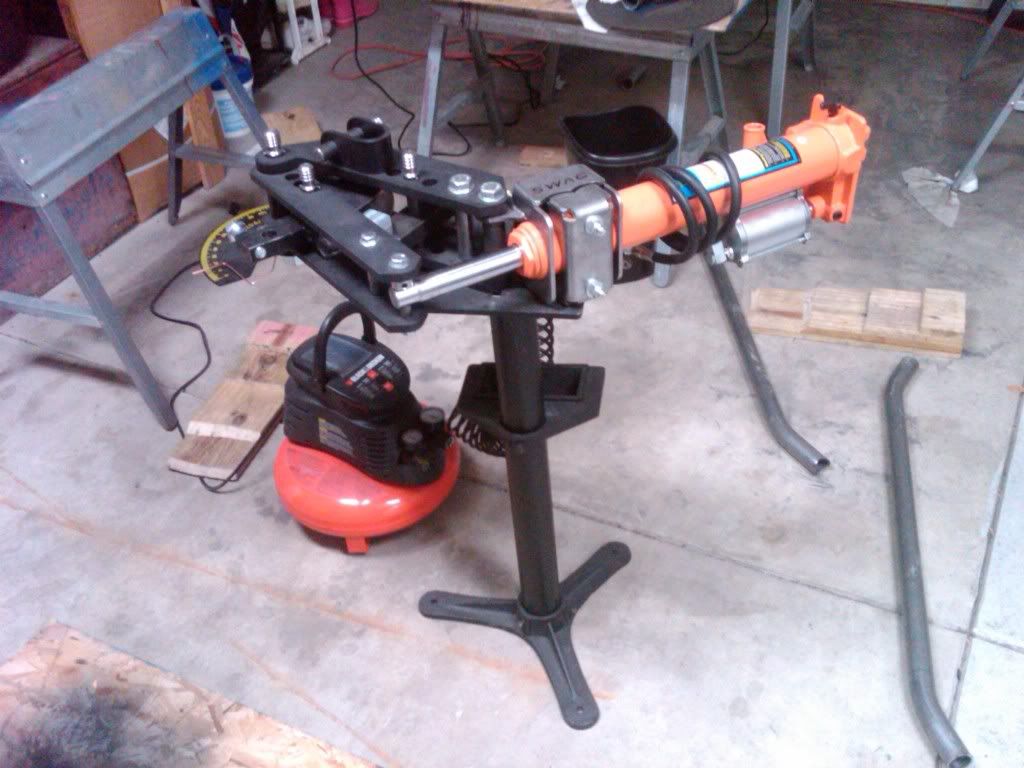
JD Squared Model 3 tubing bender with some Harbor Freight muscle.
The fuel tanks are not supposed to do this.
JD Squared Model 3 tubing bender with some Harbor Freight muscle.


 01-30-2012, 07:05 AM
#6
Instructor
Thread Starter
Member Since: Aug 2008
Location: Columbus Ohio
Posts: 138
Likes: 0
Received 0 Likes
on
0 Posts
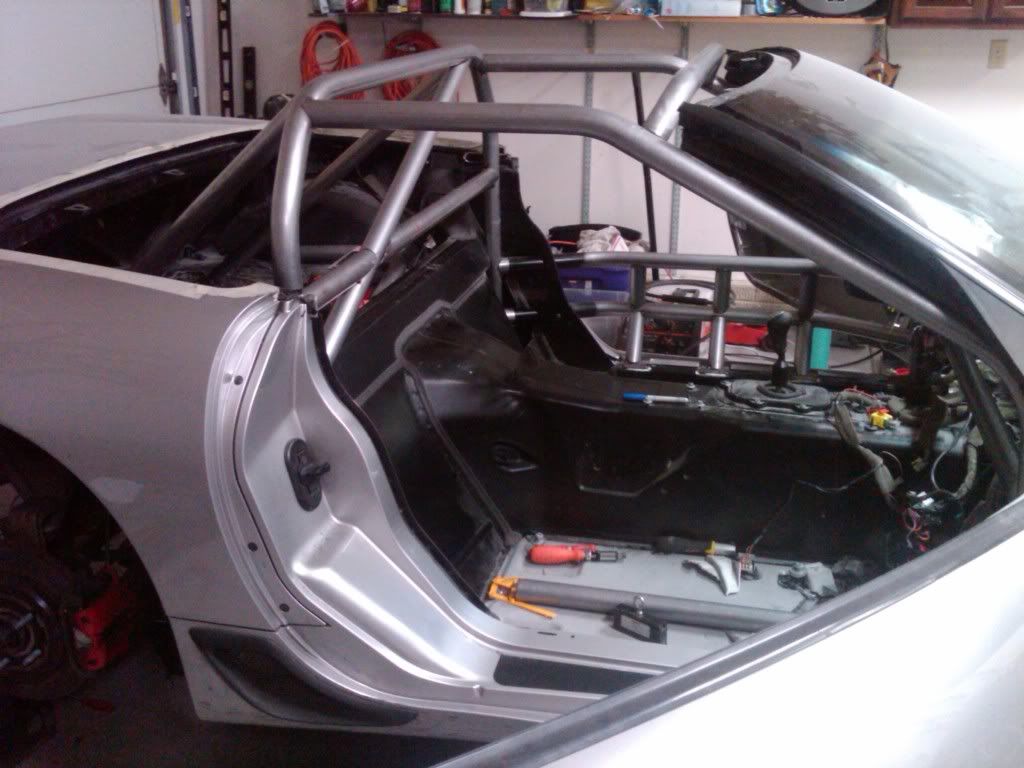
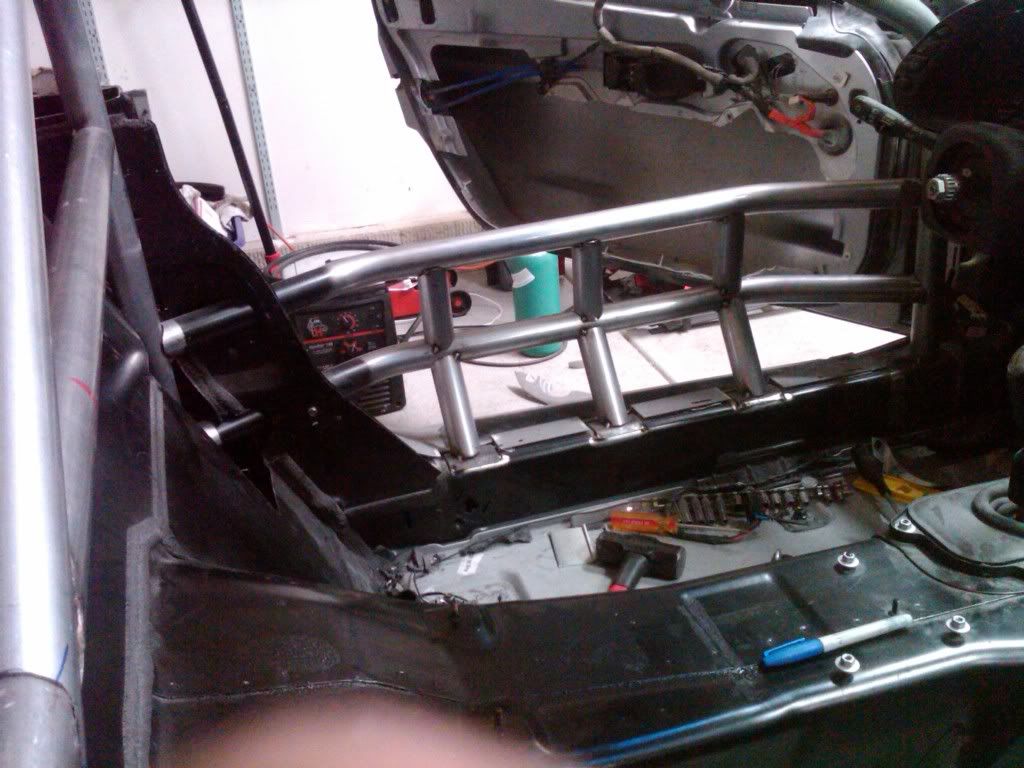
I just spot welded everything in place and my cousin who is an experienced welder is going to weld it. I know how to weld but for something this important I wanted to leave it to someone who is skilled at the craft.
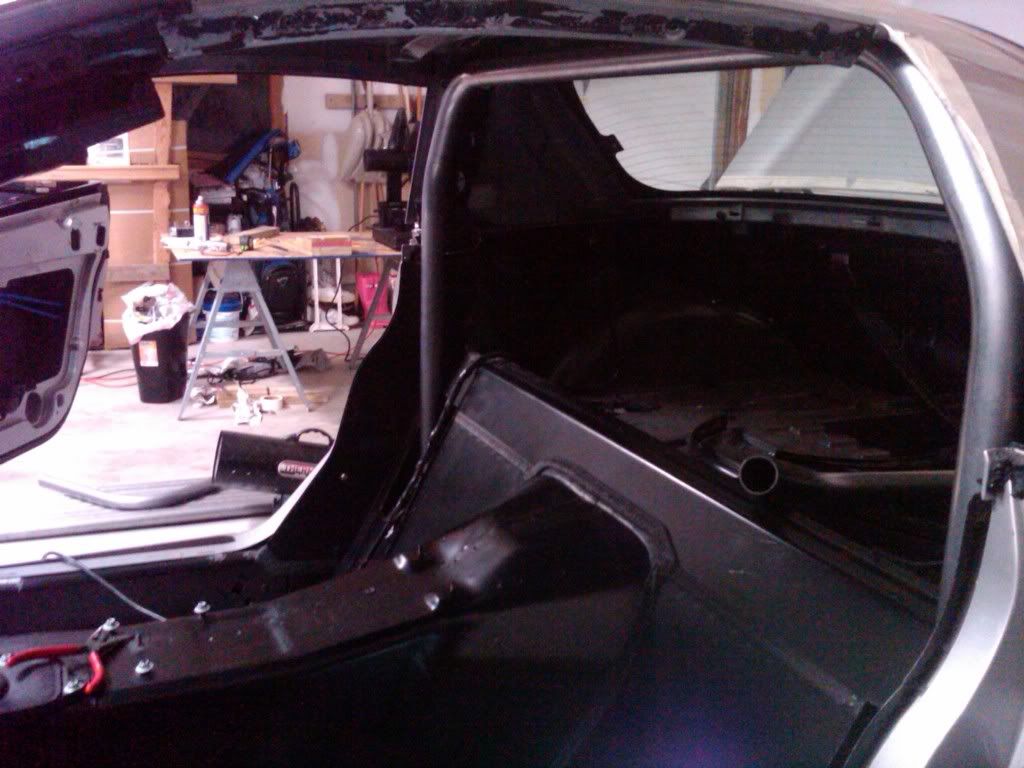
I removed the factory roll hoop because once the car has a cage the factory hoop is no longer needed. It alows the roll cage hoop to be pushed out to the roof line. The factory hoop weighed close to 15 lbs.
I will add pics when more progress is made.
I removed the factory roll hoop because once the car has a cage the factory hoop is no longer needed. It alows the roll cage hoop to be pushed out to the roof line. The factory hoop weighed close to 15 lbs.
I will add pics when more progress is made.


 01-30-2012, 09:46 AM
#8
Burning Brakes

Looks like quality work. I was going to ask who made you cage then I saw the pic of the JD2 model 3.
What harbor freight ram did you use? I ask because I've been looking for a roll bar(4 point) for my FRC for hillclimbing and don't like how/were most of them mount not to mention the price some of them want. So I've decided to do it my self. Any help/info you can offer will be greatly appreciated.
Thanks,
Dave
01-30-2012, 10:05 AM
#9
Race Director


very nice bends, you either have a lot of practice or are very patient for a DIYer. I agree about removing the b-pillar hoop. It's redundant and heavy. I'd slice it in half with a plasma cutter at least, but removal is even better!
01-30-2012, 10:15 AM
#10
Safety Car


Looking good. I'd bring my nascar bars through the b-pillar if I could do mine over again 
vs.

Curious what method/tools you used to get the roof off? Did you do it all with the trunk lid and quarter panels in place? It looks like you were able to get it off w/o messing up the fiberglass tub lip at the rear... how? I had to remove the body panels first. Then I cut the b-pillar first with the roof still glued in place. Then had my glass guy use his fancy off-set sawzall to cut the adhesive at the front and rear. Doing the rear the lip that fits up into the groove on the roof was cut. Took the roof off then used a cable saw and a buddy's help to separate the b-pillar halo from the roof panel. Getting that b-pillar separated from the roof was a huge PITA.


vs.
Curious what method/tools you used to get the roof off? Did you do it all with the trunk lid and quarter panels in place? It looks like you were able to get it off w/o messing up the fiberglass tub lip at the rear... how? I had to remove the body panels first. Then I cut the b-pillar first with the roof still glued in place. Then had my glass guy use his fancy off-set sawzall to cut the adhesive at the front and rear. Doing the rear the lip that fits up into the groove on the roof was cut. Took the roof off then used a cable saw and a buddy's help to separate the b-pillar halo from the roof panel. Getting that b-pillar separated from the roof was a huge PITA.
Last edited by travisnd; 01-30-2012 at 10:19 AM.
01-30-2012, 12:39 PM
#11
Instructor
Thread Starter
Member Since: Aug 2008
Location: Columbus Ohio
Posts: 138
Likes: 0
Received 0 Likes
on
0 Posts
Looks like quality work. I was going to ask who made you cage then I saw the pic of the JD2 model 3.
What harbor freight ram did you use? I ask because I've been looking for a roll bar(4 point) for my FRC for hillclimbing and don't like how/were most of them mount not to mention the price some of them want. So I've decided to do it my self. Any help/info you can offer will be greatly appreciated.
Thanks,
Dave
What harbor freight ram did you use? I ask because I've been looking for a roll bar(4 point) for my FRC for hillclimbing and don't like how/were most of them mount not to mention the price some of them want. So I've decided to do it my self. Any help/info you can offer will be greatly appreciated.
Thanks,
Dave
Here is what I used:
JD Squared model 3 bender
http://www.jd2.com/p-32-model-3-bender.aspx
Harbor Freight air over hydraulic ram
http://www.harborfreight.com/8-ton-l...ack-94562.html
Swag Offroad adapter for hydraulic ram
http://www.swagoffroad.com/Tubing_Be...lic_Mount.html
Harbor Freight tube notcher
http://www.harborfreight.com/pipe-tu...her-42324.html
Various cut off saws, grinders, dremels, files, etc.
When I'm done with my cage I plan on selling my tube bending setup if anyone is interested. I bought everything new January this year.
01-30-2012, 01:09 PM
#12
Burning Brakes
For aspiring DIYers this is not an easy undertaking. If you can get the fuel tanks out and the roof off then you are about half way there. Bending, notching, fitting tubes takes lots of patience and some trial and error. It helps to know some basic trigonometry. If this is the first time building a cage like it is mine, then double or triple your estimated time of completion. Be prepared to be frustrated because you notched a tube 1/4 inch too short!
Here is what I used:
JD Squared model 3 bender
http://www.jd2.com/p-32-model-3-bender.aspx
Harbor Freight air over hydraulic ram
http://www.harborfreight.com/8-ton-l...ack-94562.html
Swag Offroad adapter for hydraulic ram
http://www.swagoffroad.com/Tubing_Be...lic_Mount.html
Harbor Freight tube notcher
http://www.harborfreight.com/pipe-tu...her-42324.html
Various cut off saws, grinders, dremels, files, etc.
When I'm done with my cage I plan on selling my tube bending setup if anyone is interested. I bought everything new January this year.
This is not my first cage/bar I did one in my C4. I've worked in the tool & die field for years so fabrication is not new to me. I'll be borrowing a model 3 from a friend for this job so modifying it is not an option. When it's time to sale yours I'm interested let me know. I will be mounting the main hoop at the same location as yours so the fuel tanks will be coming out but the roofs not remember I'm just doing a 4 point.
Dave
01-30-2012, 01:11 PM
#13
Instructor
Thread Starter
Member Since: Aug 2008
Location: Columbus Ohio
Posts: 138
Likes: 0
Received 0 Likes
on
0 Posts
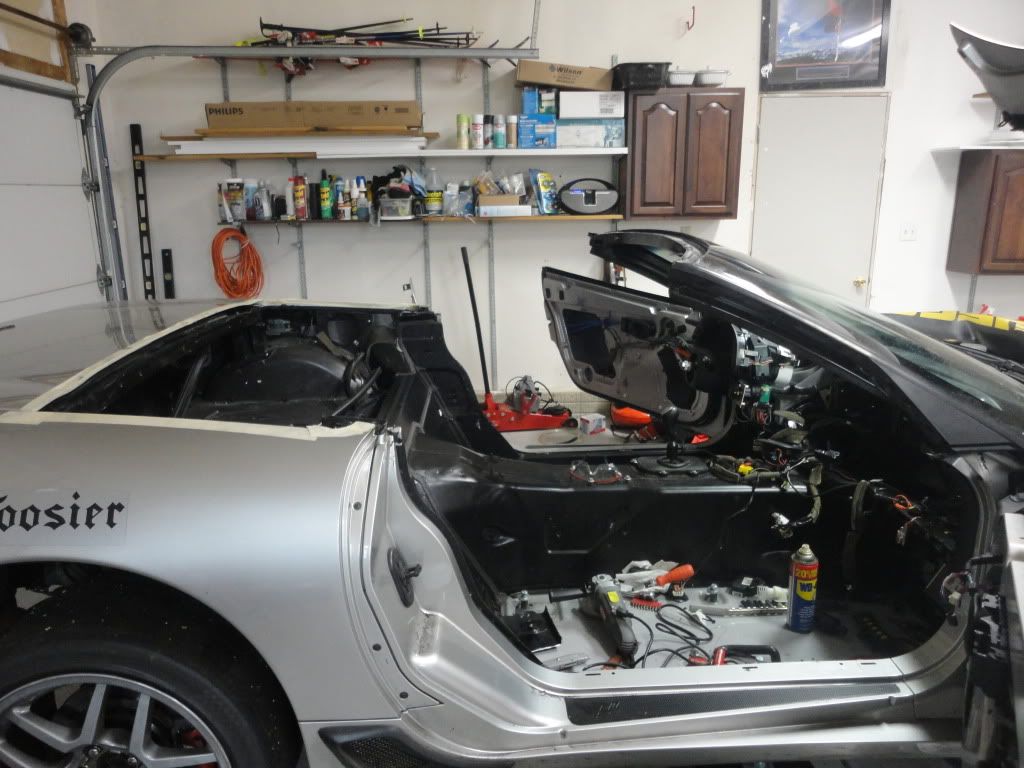
I removed the roof with all the body panels in place. There is more than one way to skin a cat but here is how I did it. The first thing I did was remove the factory roll hoop with the roof still on the car. I used a sawzall to cut the adhesive between the virtical part of the hoop and the roof. I used various saws to cut these pieces completely off so all I had left of the factory hoop was the horizontal part going across the top of the roof. I cut the center section out of it long ways so it looks more like a channel now. There is a bead of adhesive all the way across this thing so I used a heat gun to get it hot. Once it was hot enough it pulled right off. Be aware that the factory fiberglass body will become soft and bendable when hot.
At this point I thought the hard part was behind me but getting the rest of the roof off was more challenging for me. I used a combination of utility knifes, putty knifes, and the heat gun. The rear part of the roof is glued to the rear tub that has a lip that goes up into the roof. Behind this lip between the lip and the trunk opening there is another bead of adhesive. I used about a 2 inch wide really thin flexible putty knife to cut through it. I then used the heat gun and various knifes to cut through the adhesive up along the lip. You can only cut along one side of the lip. Ultimately the heat gun made the remaining adhesive soft enough to lift the roof off.
To cut through the adhesive along the top of the windshield frame I used a piano wire/cable saw. It cut through easy but getting it started was difficult.
I just read this and it probably makes no sense without pictures.
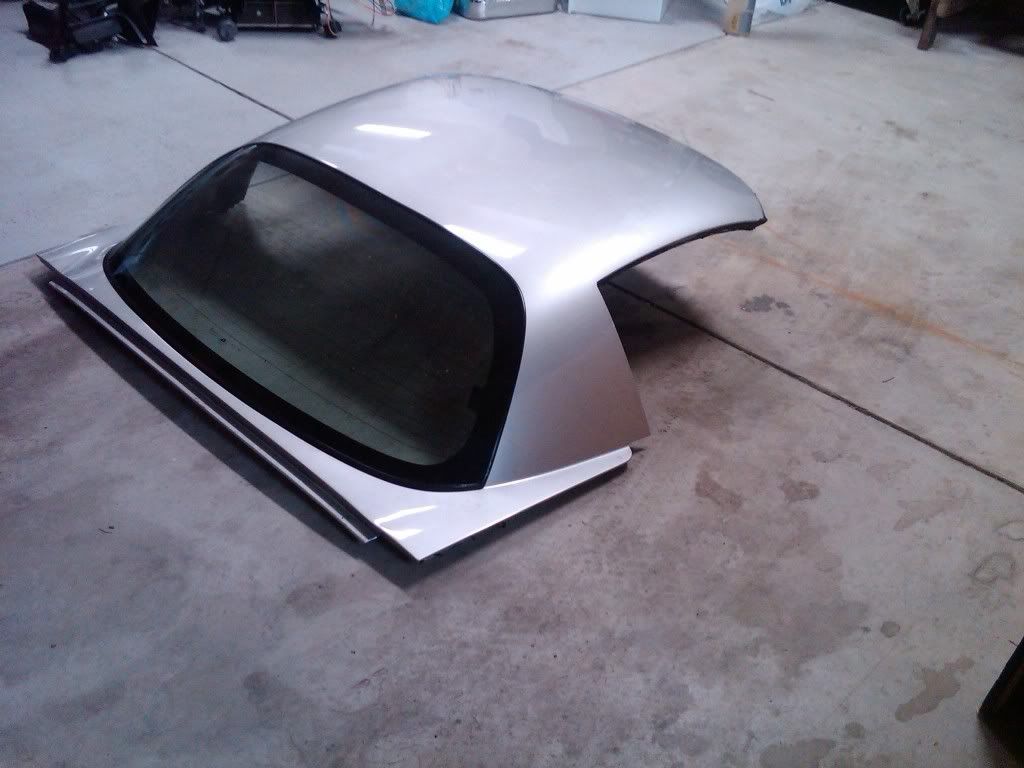
I can say that when the roof was finally removed it was a victorious feeling.
At this point I thought the hard part was behind me but getting the rest of the roof off was more challenging for me. I used a combination of utility knifes, putty knifes, and the heat gun. The rear part of the roof is glued to the rear tub that has a lip that goes up into the roof. Behind this lip between the lip and the trunk opening there is another bead of adhesive. I used about a 2 inch wide really thin flexible putty knife to cut through it. I then used the heat gun and various knifes to cut through the adhesive up along the lip. You can only cut along one side of the lip. Ultimately the heat gun made the remaining adhesive soft enough to lift the roof off.
To cut through the adhesive along the top of the windshield frame I used a piano wire/cable saw. It cut through easy but getting it started was difficult.
I just read this and it probably makes no sense without pictures.
I can say that when the roof was finally removed it was a victorious feeling.
01-30-2012, 01:16 PM
#14
Racer
the roofs are a pain to get out, but once out, you can bolt/unbolt like brian's it's slick.
With all the "ST holes in the frame" stink, Greg is ok with PT cars taking out the OEM chassis hoop?
With all the "ST holes in the frame" stink, Greg is ok with PT cars taking out the OEM chassis hoop?
 01-30-2012, 01:51 PM
#16
Safety Car
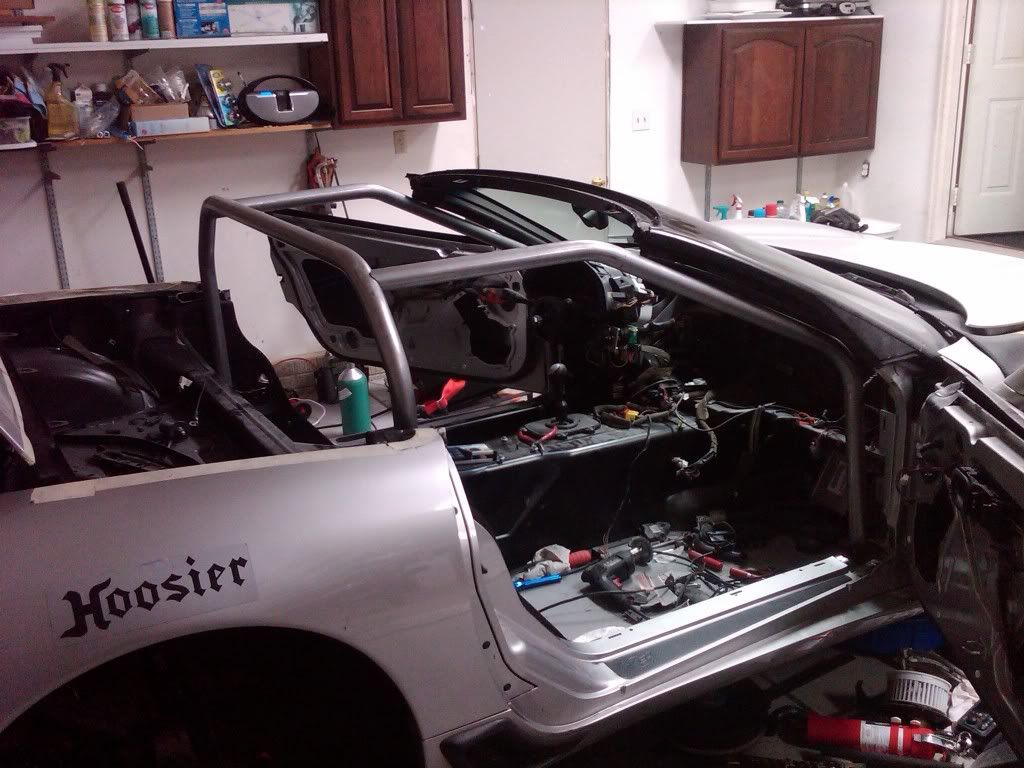
I had my cage builder add 3 extra tabs to make up for the loss of the roof adhesive holding it to the OEM b-pillar. I didn't want any chance that 150 mph wind would create stress-fractures in the roof over time. I had a tab located on each side where the b-pillar was cut and one in the center of the main hoop... you can see them here:

This allowed me to anchor the roof on each side and the top center. For the top center I was able to put a nut-sert in the existing hole normally used for the OEM headliner push-pin. On the sides I drilled a hole in the inner part of the roof and used a speed-clip.

I can take better pics if you end up needing some... just something to think about since you're in the middle of this right now

 01-30-2012, 10:06 PM
#19
Safety Car
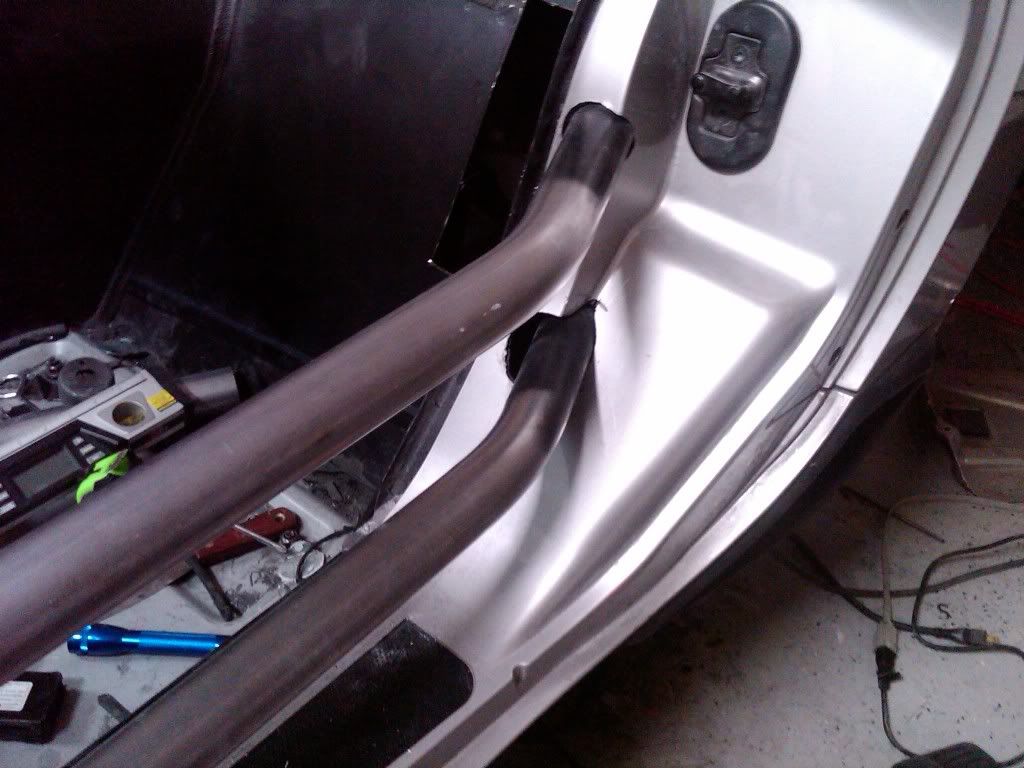
Since I had a PM asking about the tabs I figured I'd post them up here...
Here's a picture of the side tap. I used large speed clip (the things nearly all your bumper screws thread into if you don't know) and a bolt threaded into it. The nut is there to take up the space as the bolt would have touched the outer layer of the roof before becoming tight.

Here's the rear center tab... hard to see through my rear glass, but I just put a nutsert in the hole already there.

Here's a picture of the side tap. I used large speed clip (the things nearly all your bumper screws thread into if you don't know) and a bolt threaded into it. The nut is there to take up the space as the bolt would have touched the outer layer of the roof before becoming tight.
Here's the rear center tab... hard to see through my rear glass, but I just put a nutsert in the hole already there.