When you click on links to various merchants on this site and make a purchase, this can result in this site earning a commission. Affiliate programs and affiliations include, but are not limited to, the eBay Partner Network.
has anyone had this issue and is there an easy quick way to deal with this? I recently installed the vansteel/hardbar bolts and only had about 50 miles on them before the adjusters moved. Not sure if its the round design or what...
has anyone had this issue and is there an easy quick way to deal with this? I recently installed the vansteel/hardbar bolts and only had about 50 miles on them before the adjusters moved. Not sure if its the round design or what...
thanks!
I don't have that kind, pretty sure mine have never moved. I supposed you could put some blue loctite on.
They were marked with a paint pen for direction and the tops of the bolts were measured down to the tops of the springs. The only reason I even checked them was because the ride height had dropped so dramatically. The worst one had moved about 1/4" upward in thread height.
Thinking of adding in jam nuts and loctite or nord locks to the underside of the springs.
I had the same thing happen at Gingerman last year. We haven't run since then but I'm planning to run a jam nut as well in advance of a February race. Do you have enough room for a jam nut underneath? I was thinking of putting it on the top side but I can see your reasoning now with that threaded insert being on the bottom.
M14 is the thread size, I ordered some nuts the other day to install this week.
They were marked with a paint pen for direction and the tops of the bolts were measured down to the tops of the springs. The only reason I even checked them was because the ride height had dropped so dramatically. The worst one had moved about 1/4" upward in thread height.
Thinking of adding in jam nuts and loctite or nord locks to the underside of the springs.
It just weird that this has happened twice!
My fronts are adjusted almost full down so no room under the spring for a nut. I think the loctite alone would do the trick. I have the ones that GM supplied with T1 springs. They always turned pretty hard even with the weight jacked off the adjuster. How "easy" are yours to turn? Maybe it's a loose thread fit?
FWIW I was never that much of a "fan" for that bullet nosed pad, I like the pad the size of a silver dollar myself.
The adjusters on mine were awful to turn, lots of rust in the threads and nearly stripped the hex. I used a tap to chase them out, knowing that it would remove any kind of 'locking' thread feature but forgot to do a jam nut or any other kind of locking setup.
As for the bullet vs pad, the problem with a flat plate is that you'll rarely have full contact, it'll most often just be an edge of the plate touching the arm since there's so much angular movement between components. The rounded/bullet pad is so that there's always a single point of contact in order to ensure a linear, predictable spring rate throughout suspension travel.
With about 1 inch of suspension travel on mine, I don't think I'm on the edges of the "silver dollar". But I do think that's a pretty good theory, not sure it plays out in reality, but hey, ya gotta try stuff.
I like the round design because the large flat surface seems like an issue - prior to replacing I had noticed that the oem ones had worn at an angle... If the vansteel/hardbar design could be the same shape but a bit wider, it would be perfect.
The bolts that vansteel provides (60mm long) only allowed 26.25" of front ride height and 27.5" in the rear (im going for oem FE4 ride height). This was likely because they anticipate most folks trying to lower their cars rather than keep the stock ride height, so I changed those out to some 70mm socket cap screws which worked well to get the height where it needed to be.
I just ordered the washers, jamnuts and new bolts in stainless. About 70 bucks - hopefully the weather will hold up and I can get them installed this weekend
Oh if you ever need to remove the plastic pad from the bolt after gluing it in, Ive found trying to grip the pad with a wrench and then trying to loosen was almost impossible; the easiest way was to unscrew the bolt from the spring until the pad contacts the underside of the spring and then keep unscrewing until it breaks the glue bond. Then use a needle or hook to clean out the glue before reuse. (note: this was after using gorilla glue epoxy)
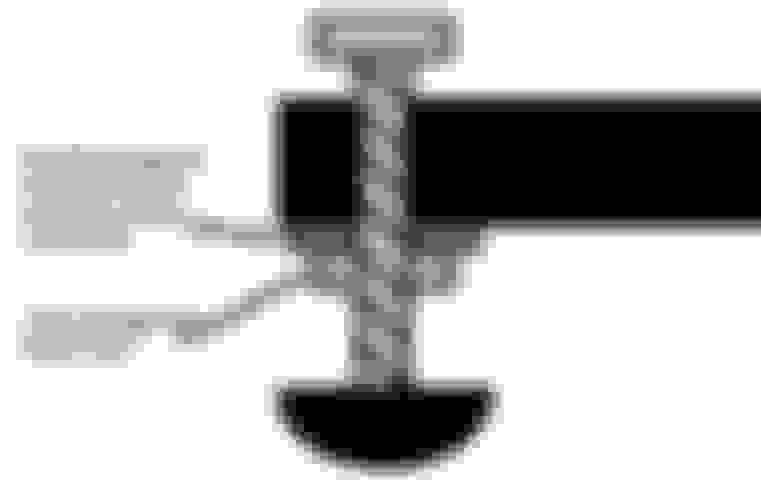
I've always used a fender washer and a jam nut on top of the spring under the bolt head (washer in wrong position in this pic - it should be under the jam nut).
I made these for a friend a few weeks ago.
I've always used a fender washer and a jam nut on top of the spring under the bolt head (washer in wrong position in this pic - it should be under the jam nut).
I made these for a friend a few weeks ago.
nice! I may try a washer or two on the top just to take up slack so there will be tension on the top and while the nordlock is on the bottom (not enough top space for the jam nut since the bolts are going almost all the way inward)
Originally Posted by fatbillybob
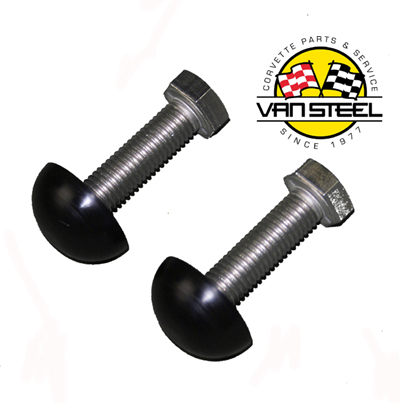
Did you buy the bullets or make them from delrin
50 bucks for 2 from vansteel
or if you want to get them made, theyre M14x2 thread

 01-03-2016, 03:07 PM