When you click on links to various merchants on this site and make a purchase, this can result in this site earning a commission. Affiliate programs and affiliations include, but are not limited to, the eBay Partner Network.
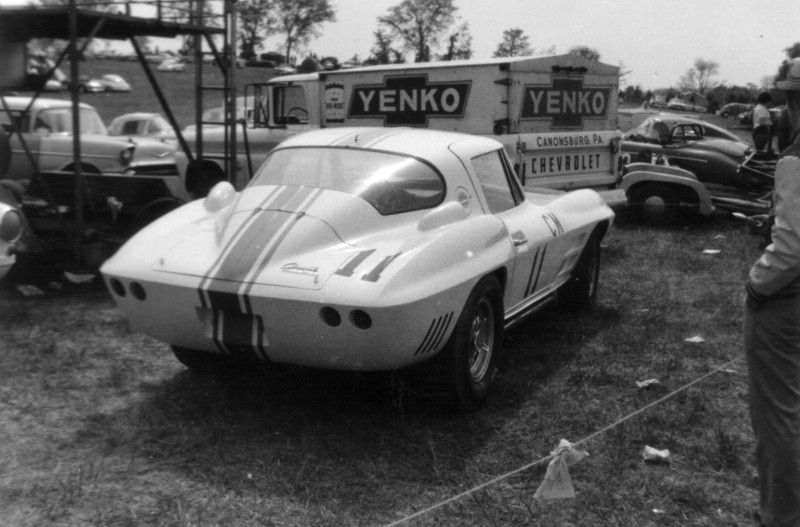
Pictures of the rears of the Grand Sports are uncommon. However, this photo of #004 at VIR shows the placement of the Grand Sport bar to be consistent with what I posted previously about #005. I'm comfortable concluding the bar starts under the "C".
(Hint: zoom in to the point the image starts to get fuzzy and the position of the bar becomes more apparent.)
Jim
Jim,
Your observations are, as usual, quite correct and much valued.
Accuracy over aesthetic. It's an interesting call.
Marty
For my money, GS #005 is the one to study. It's sustained the least amount of re-interpretation due to restoration of any of the cars (except possibly #002 when cloaked in its original body).
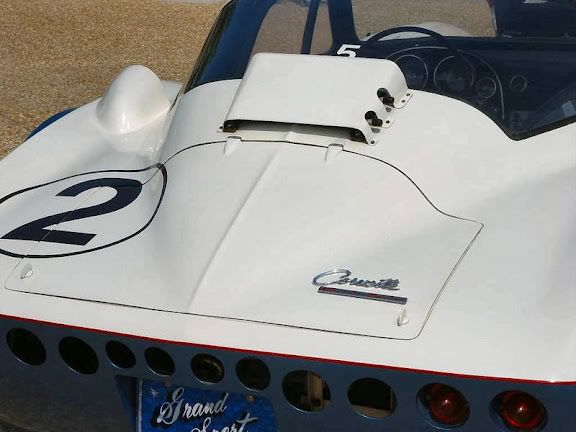
The emblem on #005 is positioned thusly:
Jim
The one Grand Sport with a unique emblem location was Penske's GS#001 at 1966 Sebring. When the car was race prepared & painted for 1966 Sebring they moved the emblem to the left side of the decklid (due to right side roundel location). Some new pics of GS#001 restored to 1966 Sebring spec can be seen here:
p.s. all the grand sports were driven hard back in the day. With the exception of #002, all of them had major repair done to their fiberglass front & rear (including #005). Both #004 & #005 have their original decklids (w/ cloth underside) and emblems in their original locations.
The Plexi is too thin to be routed. That's an extra piece of Plexi glued to the inner surface of the window.
Jim
Thanks Jim
Crap....I don't know if there is any room inside the door, (with all the bracing and lock mechanism). I'll start off with 1/16" and learn how to bond lexan/pexi.
Larry t.
My weight reduction program has begun. Spun aluminum bell housing with Ti liner ring, aluminum flywheel with twin disk clutch. TKO600 Road Race transmission that's being slick-shifted on the way. The transmission is a few pounds lighter than the TKO600 that's currently in the car, and it has a more useful fifth gear ratio as well.
My big inch engine is also itching for completion.
Just a little from the Grandfather GRAND SPORT.....
A nice recognition of the GS's past. Shame that GM back then wanted to kill the car !!! Sure would be neat to have 125 of the originals out there today !! ----- Ken
A nice recognition of the GS's past. Shame that GM back then wanted to kill the car !!! Sure would be neat to have 125 of the originals out there today !! ----- Ken
I decided last year to replace the Auto Meter gauge cluster in my D&D GS. I picked up a old used 63 instrument cluster and sent it to Corvette Instrument service for a GS conversion and rebuild. Came back in fine shape. Installed in car and am having some problems. The water temp gauge reads hot by 30 degrees with two different 63 era sending units. These are new units not originals. Heat gun shows 180 at top hose and gauge shows 210. Knowing that changes in resistance cause the gauge movements has me wondering if adding a resistor to the gauge feed will allow me to adjust the gauge reading ? Second issue is the battery gauge. the 63 had a battery amp gauge not a voltage gauge . The cars original Auto Meter dash was built with a voltage gauge. Also the gauge is a 45 amp version correct for the dash but I have a 65 amp alternator in the car. Currently the gauge is not hooked up. Been awhile since I have fooled with gauge wiring !! Don't want to burn up the gauge but would like to know that the charging circuit is functioning. Any ideas ? --- Ken
Last edited by keystonefarm; 08-11-2016 at 10:10 PM.
I decided last year to replace the Auto Meter gauge cluster in my D&D GS. I picked up a old used 63 instrument cluster and sent it to Corvette Instrument service for a GS conversion and rebuild. Came back in fine shape. Installed in car and am having some problems. The water temp gauge reads hot by 30 degrees with two different 63 era sending units. These are new units not originals. Heat gun shows 180 at top hose and gauge shows 210. Knowing that changes in resistance cause the gauge movements has me wondering if adding a resistor to the gauge feed will allow me to adjust the gauge reading ? Second issue is the battery gauge. the 63 had a battery amp gauge not a voltage gauge . The cars original Auto Meter dash was built with a voltage gauge. Also the gauge is a 45 amp version correct for the dash but I have a 65 amp alternator in the car. Currently the gauge is not hooked up. Been awhile since I have fooled with gauge wiring !! Don't want to burn up the gauge but would like to know that the charging circuit is functioning. Any ideas ? --- Ken
Ken,
I can help you with both of those issues..... in a few days. I'm on the road right now and don't have much time for Internet stuff. Pester me around middle of next week if it appears I've forgotten about this.
 06-26-2016, 06:13 PM