Project "Peer Pressure"
 12-19-2014, 10:54 PM
#301
Le Mans Master

Thread Starter


 12-19-2014, 11:04 PM
#303
Team Owner


Member Since: Oct 1999
Location: Land of Thunder
Posts: 33,580
Received 217 Likes
on
160 Posts
2018 C2 of Year Finalist
St. Jude Donor '12-'13-'14-'15, '19

Trouble is finding a way to slow the train down enough to hop off. The ole "while we're here we might as well..." deal comes into play. Now your gauges look great, what else is going to pale by comparison, you know?
Really is shaping up nice man.
 12-19-2014, 11:15 PM
#304
Le Mans Master
Thread Starter
'Preciate it. I've recently got back into riding my dirt bike. I think Santa's got some goodies for it rather than the Corvette. You have a Merry Christmas as well!
12-19-2014, 11:22 PM
#305
Le Mans Master
Thread Starter
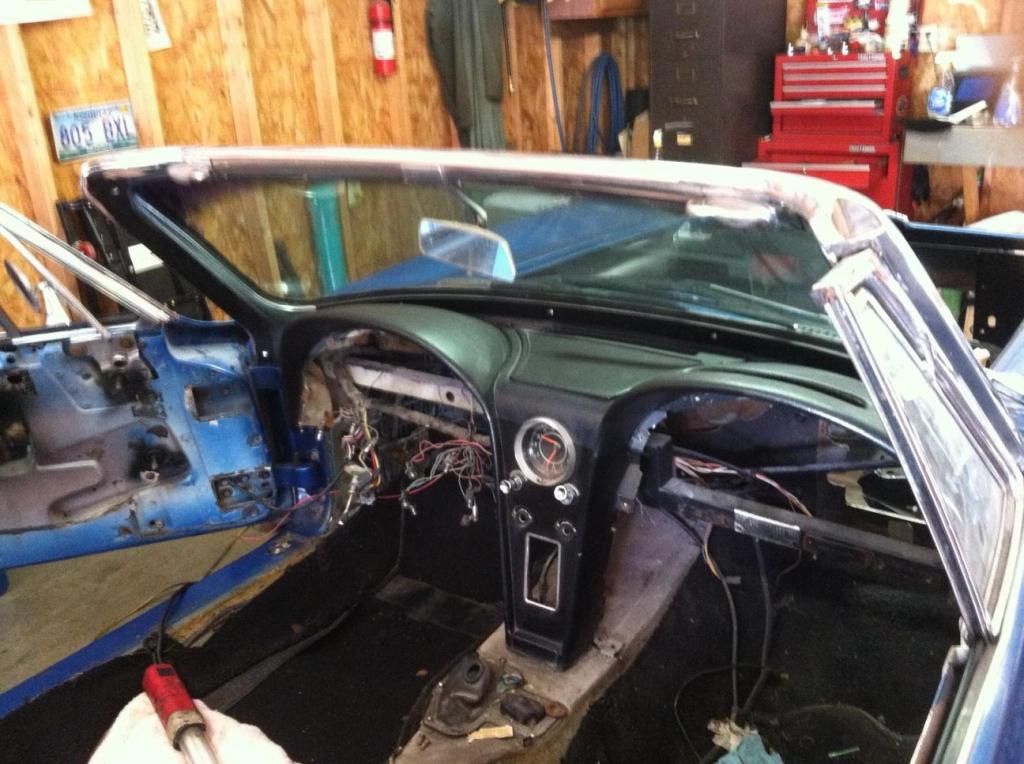
This thing is blown so far apart I'm not sure what else I could restore or renew! I've got new seats, carpet, restored glove box door, restored pedal assembly, restored column and steering wheel and restored console trim. The gauge bezel has been restored and the parts to re-assemble should be here Monday. I also have dye coming for the dash. The only thing I've yet to address in the interior is the clock. For some reason I've neglected to see what it's going to take to make it look new. I honestly don't care if it works or not. I just want it to look good. Wish me luck and good financial fortune. I'm going to need both. That windshield frame trip was a pricey one.
12-20-2014, 02:58 PM
#306
Le Mans Master
Mudbone the car is looking great, glad you have your rust issues behind you. The gauges look brand new. Now the key question as you get closer to being on the road again, will this car keep up with the GTO you helped Gino build???? If not, pull that engine you will need some more power! All in jest of course the car is looking great.
 12-20-2014, 04:28 PM
#307
Le Mans Master
Thread Starter
Mudbone the car is looking great, glad you have your rust issues behind you. The gauges look brand new. Now the key question as you get closer to being on the road again, will this car keep up with the GTO you helped Gino build???? If not, pull that engine you will need some more power! All in jest of course the car is looking great.
12-20-2014, 07:39 PM
#308
Safety Car

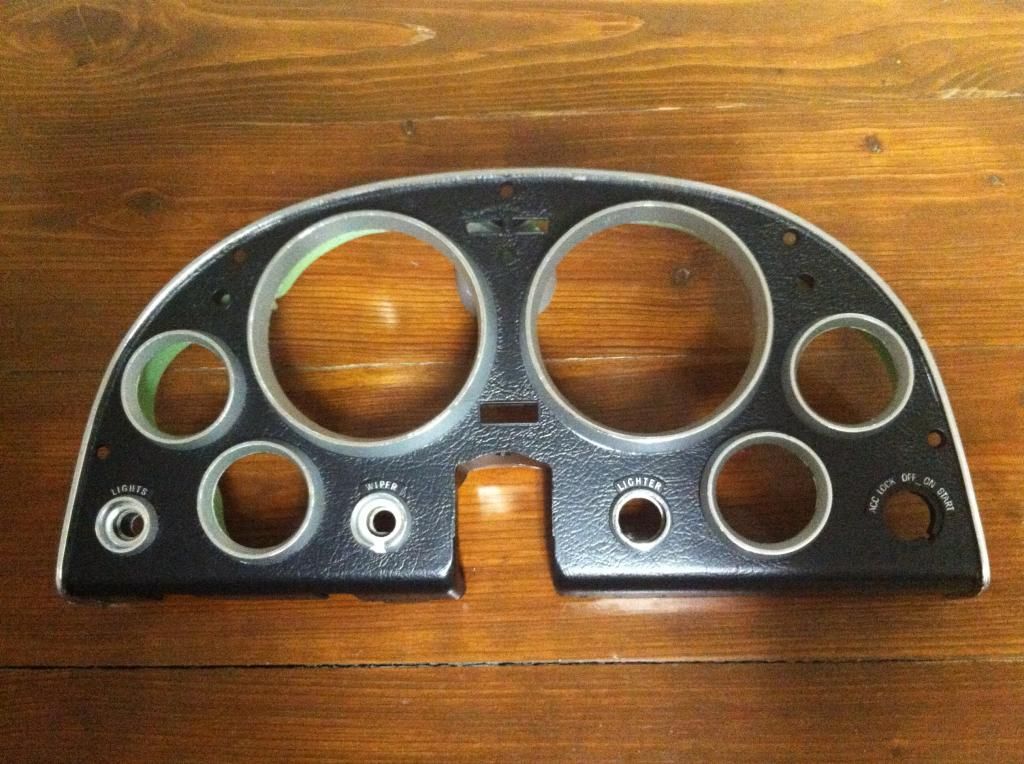
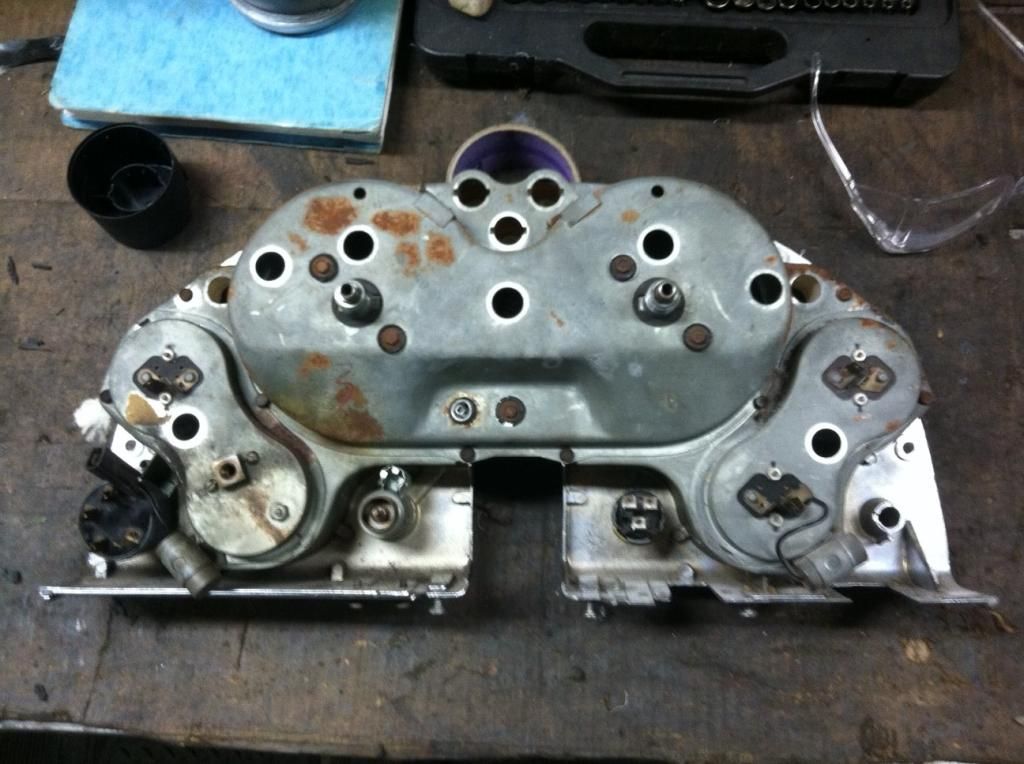
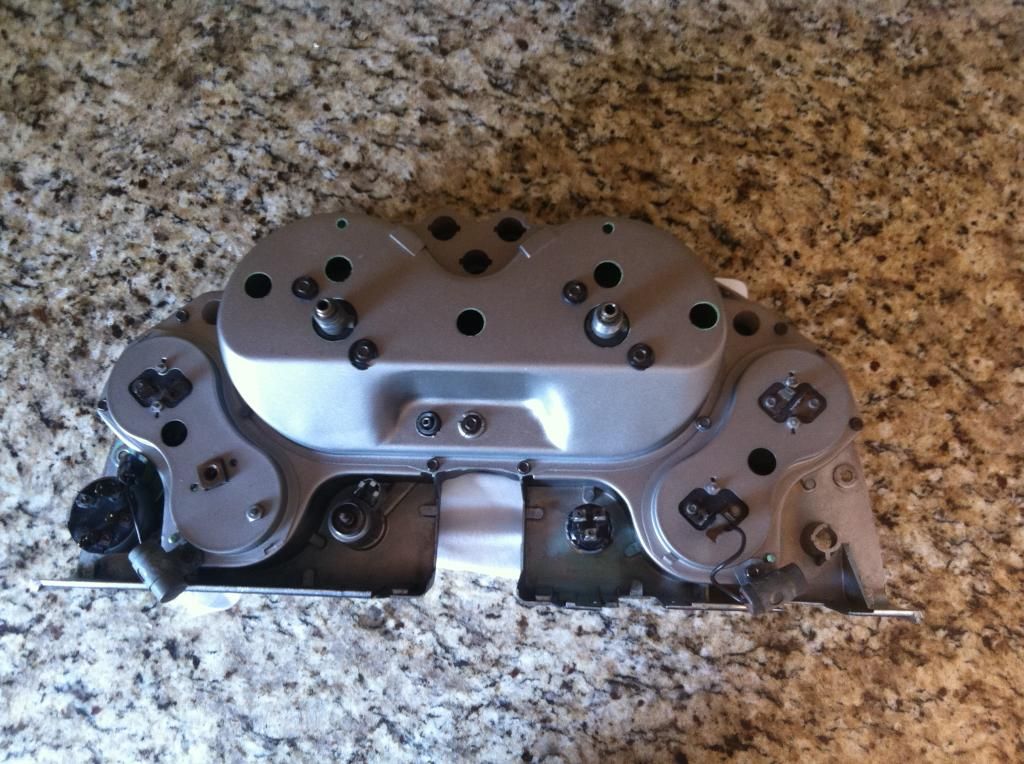
After all gauges were removed the cluster housing paint was stripped. I'm not sure this is absolutely necessary to do. A good cleaning may suffice.
The gauge bezel's silver finish was done by using blue masking tape to mask off the thin top edge of the chrome face reveal. A short strip of tape is applied, then a single edge razor blade used to trim off the overhanging inside/outside tape excess, then continued all the way around the periphery of the bezel.
Single strips of masking tape were used to mask off the cluster body. At the lower edge of the bezel where it meets the cluster body, an X-acto knife was used to carefully cut and follow around the radius the excess tape from around the bezel base. After the paint dried there were a couple of tiny bleed through's of silver paint onto the cluster body at the edge of masking tape and bezel base. A small artist's brush was used to touch these up with black paint.
The raised letters were painted over as the cluster body was sprayed black. After about an hour or two of drying time, a Starbucks coffee stir stick, cut with a square end, was used to rub the paint off the top of the letters to reveal the chrome underneath.
The black paint used was SEM Trim Black. The silver paint came from Corvette America. I tried several different silver paints. The CA paint came closest to the original color, IMO.
12-20-2014, 11:19 PM
#309
Le Mans Master
Thread Starter
Thanks for the tips mrg but I got my bezel painted a few weeks ago. Amazingly my process was much like yours. Right down to the trimming of the tape around the gauge openings.
I think I used Krylon "dull aluminum" paint for the frosting and masked and painted and masked and painted and then I masked and painted some more. I guess it looks okay. The SEM paint is a little flatter or more satin than I prefer but I had no choice at this point as all of the other black painted surfaces in the interior had the SEM paint applied to them.
One thing is for sure. There will never be a key chain used in this car again. I wish there was a way I could tastefully rig a push button where the key switch is.
02-07-2015, 02:58 PM
#310
Le Mans Master
Thread Starter
Apart from the masking required to get the bezel painted I didn't think "restoring" the cluster was that bad.
Before:
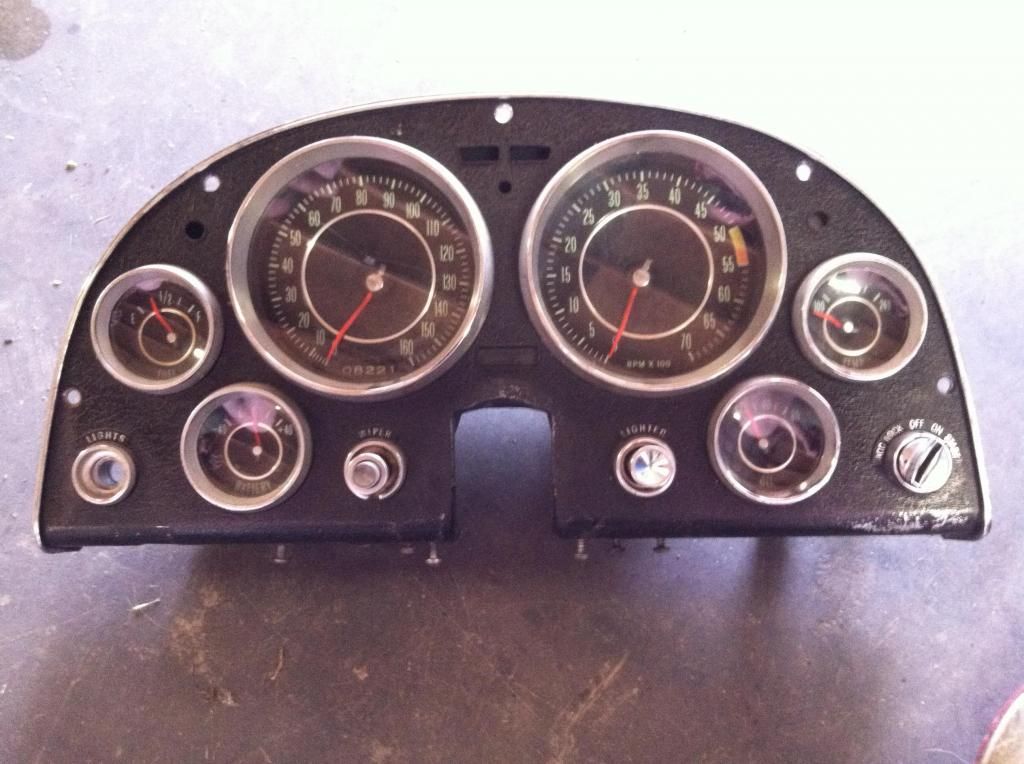
After:

Before:
After:
Before:
After:
Before:
After:
 02-07-2015, 11:40 PM
#313
Le Mans Master
Thread Starter
It is. I've painted the glove box door, console and finally the gauge cluster with the same paint. If I had it to do over again I might have go with something a little shinier. However, I do think the interior will look quite nice with the 39143.

 02-08-2015, 10:09 AM
#315
Le Mans Master
Thread Starter
I just love a good catch. The reason the tach redline changed is because not only did GM put the wrong engine in my car they also put the wrong tachometer! Can you believe that? For some crazy reason the car originally (and obviously mistakingly) had either a 250 or 300 horsepower engine when it should have had a 365 horsepower engine. I figure even though it's taken 50 years it's time that a huge wrong be righted.
 Nice catch mudbone, good thing you righted things, don't forget the 67 hood with 327 on it. The factory forgot to install some of those.
02-09-2015, 12:57 AM
Nice catch mudbone, good thing you righted things, don't forget the 67 hood with 327 on it. The factory forgot to install some of those.
02-09-2015, 12:57 AM
#317
Melting Slicks

I just love a good catch. The reason the tach redline changed is because not only did GM put the wrong engine in my car they also put the wrong tachometer! Can you believe that? For some crazy reason the car originally (and obviously mistakingly) had either a 250 or 300 horsepower engine when it should have had a 365 horsepower engine. I figure even though it's taken 50 years it's time that a huge wrong be righted.
02-09-2015, 08:08 AM
#318
Le Mans Master
Thread Starter
What can say but I'm a man who's committed to his search for the truth? Maybe I should just say I'm a man that needs to be committed. Holy smokes! I can't believe I almost overlooked the hood! Oh well, not enough money in the kitty for a '67 big block hood. Guess I'll have to stick with the lowly '64 hood.
02-09-2015, 01:19 PM
#319
Le Mans Master
I found a 66 BB Hood and it will find it's way to my 327 powered 66. I just like the look and it is mine, good enough for me. The factory hood can hold in reserve for a future lover of original parts.
04-28-2015, 10:44 PM
#320
Le Mans Master
Thread Starter
Though I haven't updated the thread in a while the project is still proceeding. I've reconditioned my clock to much the same level as the gauges, I'm in the process of completely building the parking brake assembly (cables, levers etc.) and I'm also installing new windshield trim clips.
As you guys can see from the previous pages I had the lower windshield frame replaced and in doing so I didn't properly document where the windshield trim clips go. I have the old metal so I'm not totally lost but there's a couple of things I don't understand. I ordered the trim clips from Paragon and they come in a set of eleven. Some of the other vendors appear to sell a set of 12 so which number of clips is correct? Does anyone have a front view or any other good view of the clips I could use to count the total number and their position? I also bought these from Paragon:
https://www.paragoncorvette.com/p-35...ainer-kit.aspx
Do these just slide into the outer windshield trim with one of the tabs fitting into a hole in the a-pillar? I've searched and searched for some pictures of both clips but so far haven't got what I'm needing so any help is appreciated.