1958 RestoMod – 52 week build

 09-24-2013, 09:22 PM
#23
Racer

Thread Starter


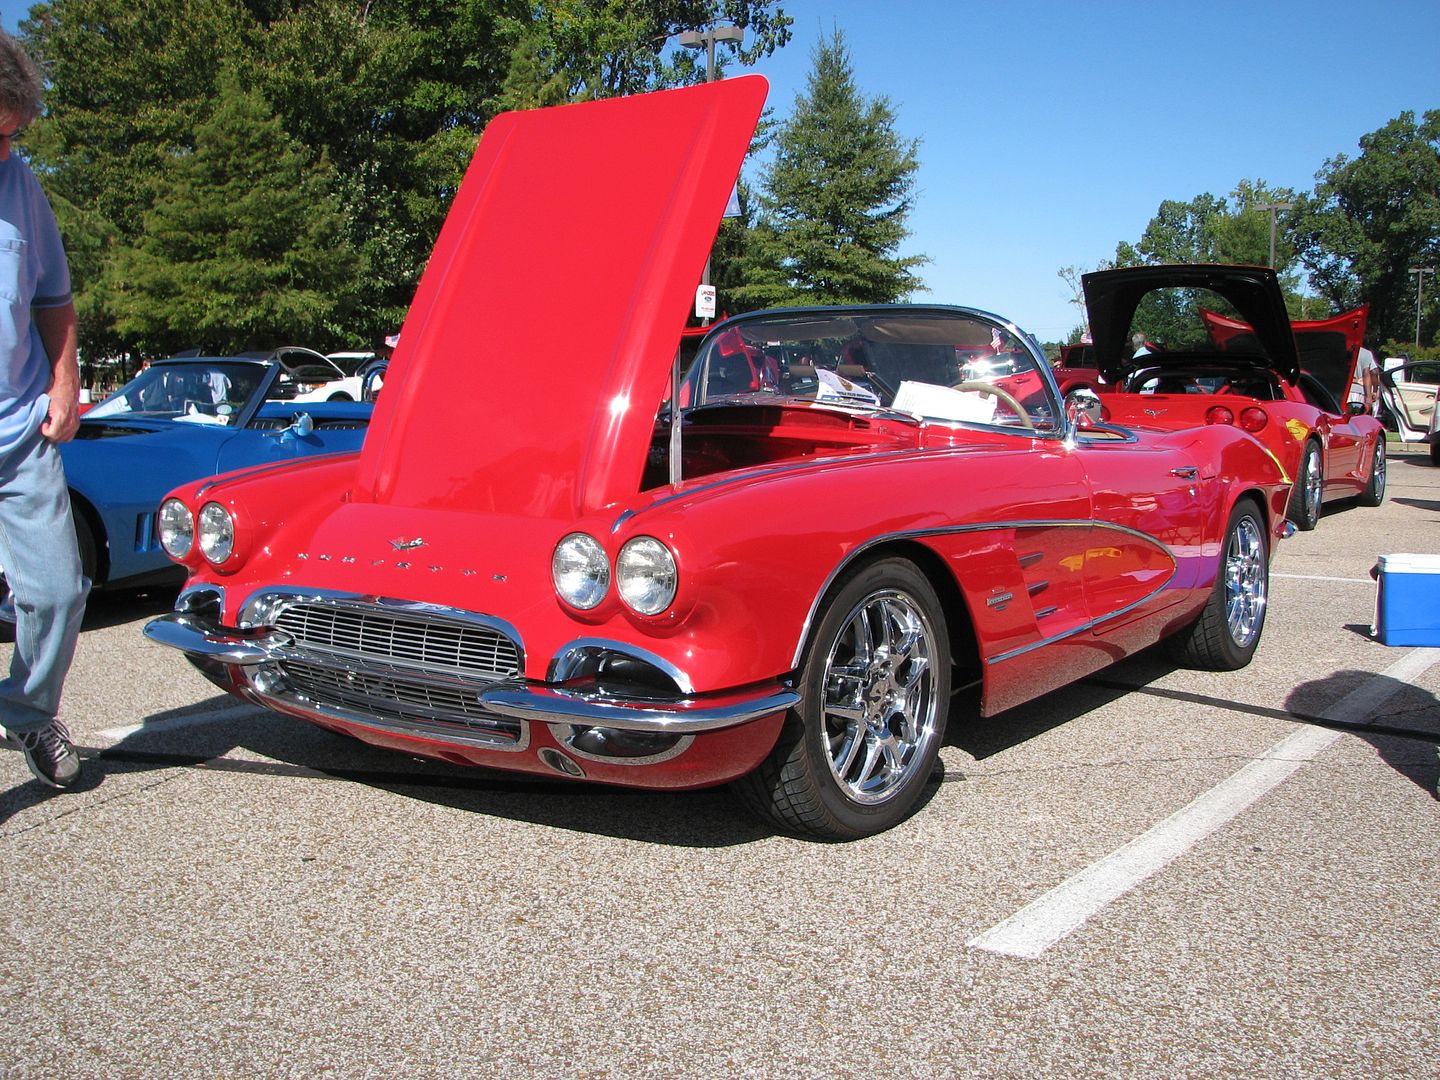
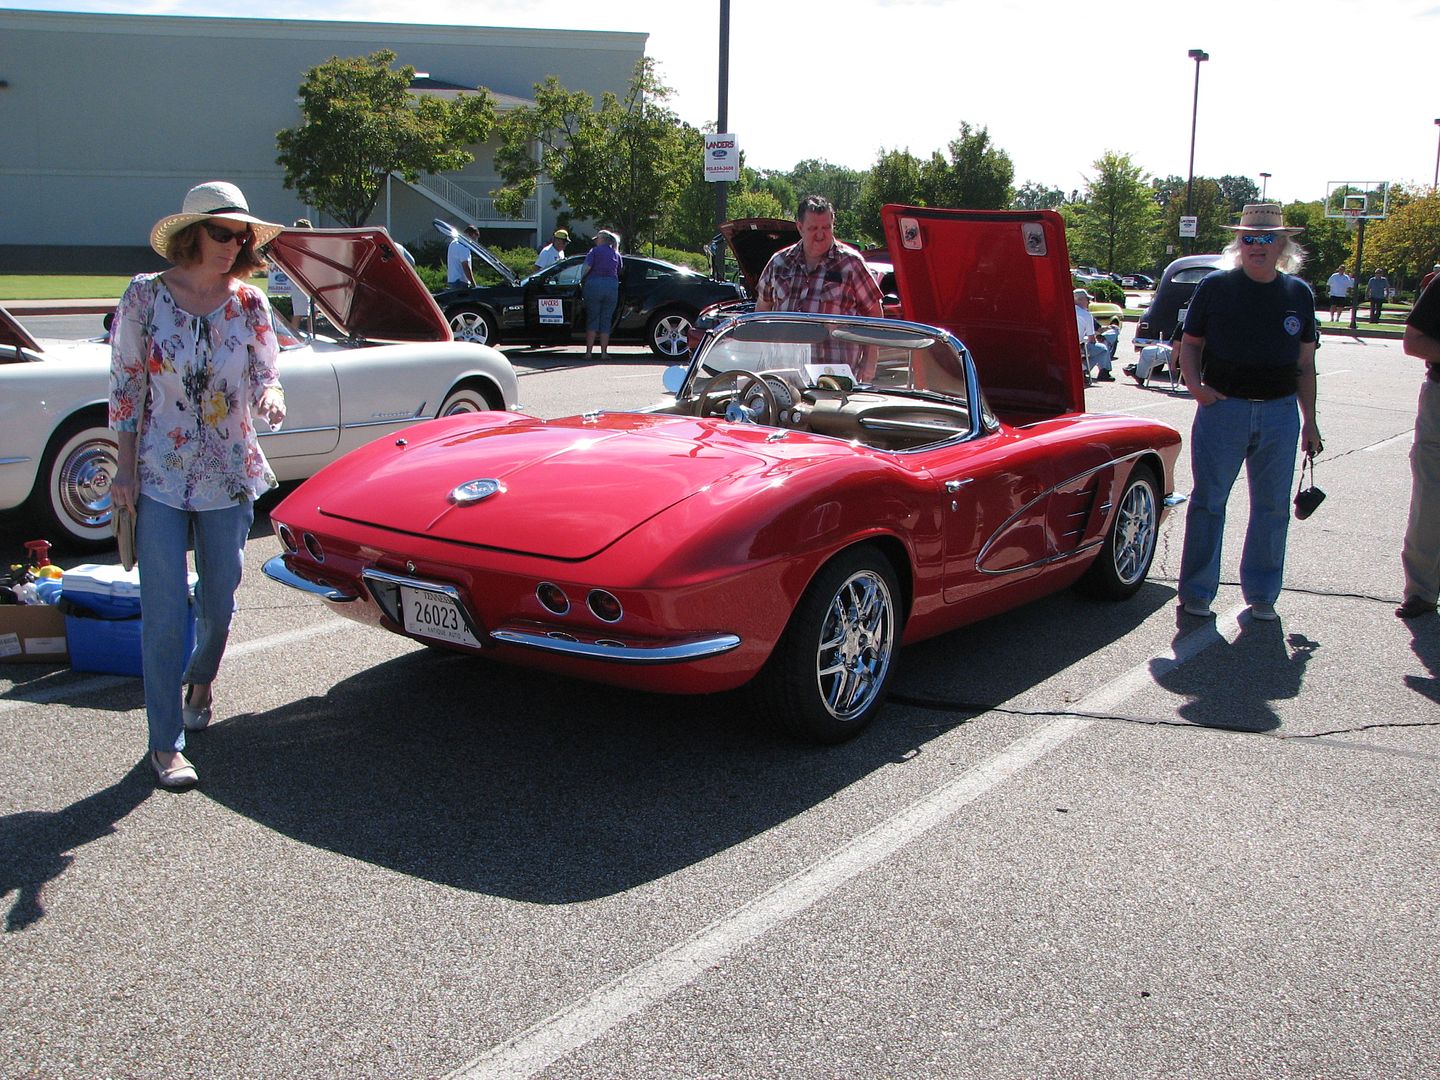
Thanks guys for the comments. I went to a local car show (about 300 cars) last Saturday. Turnout was down because it rained all day Friday and into Saturday morning. By 11 it was sunshine and blue skies. There was a 61 vette with a Corvette Correction frame, ls3/auto. A really sharp car. The builder bought a numbers 69 Big Block 427/390 HP 4 speed Roadster from me several years ago. While I loved that car, after building the 66 GTO Restomod, I am out of the "numbers" game forever! Here are a couple of pictures before I go back to the build:
an a real fine 72 ( I can dream my 71 Roadster will look this good!):
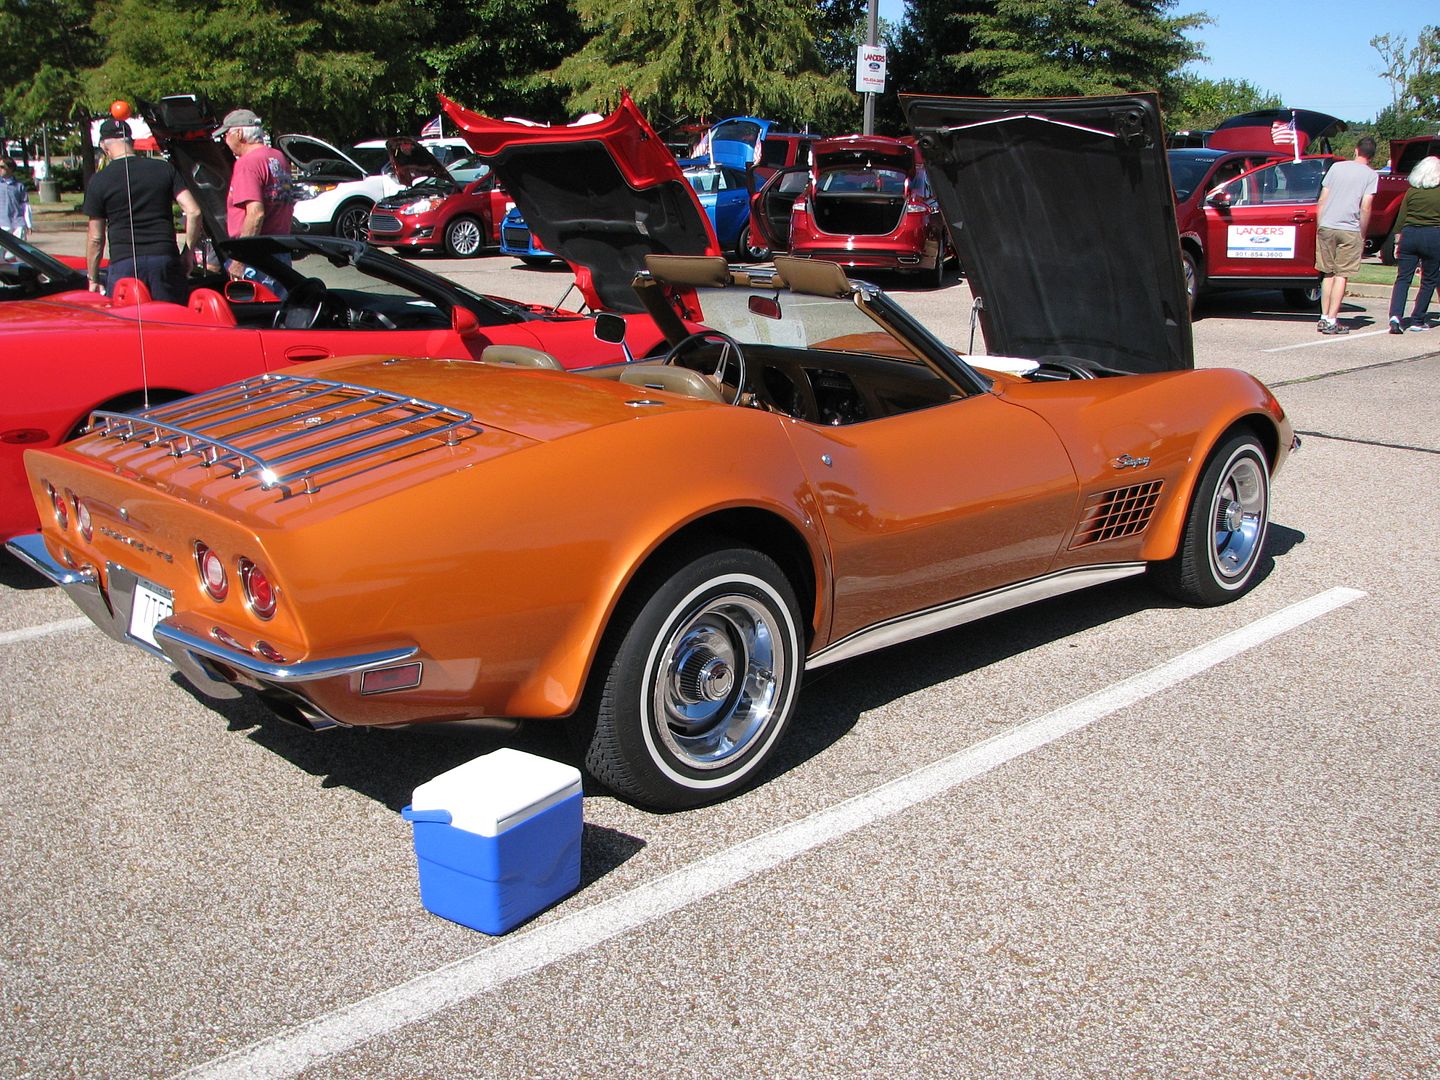
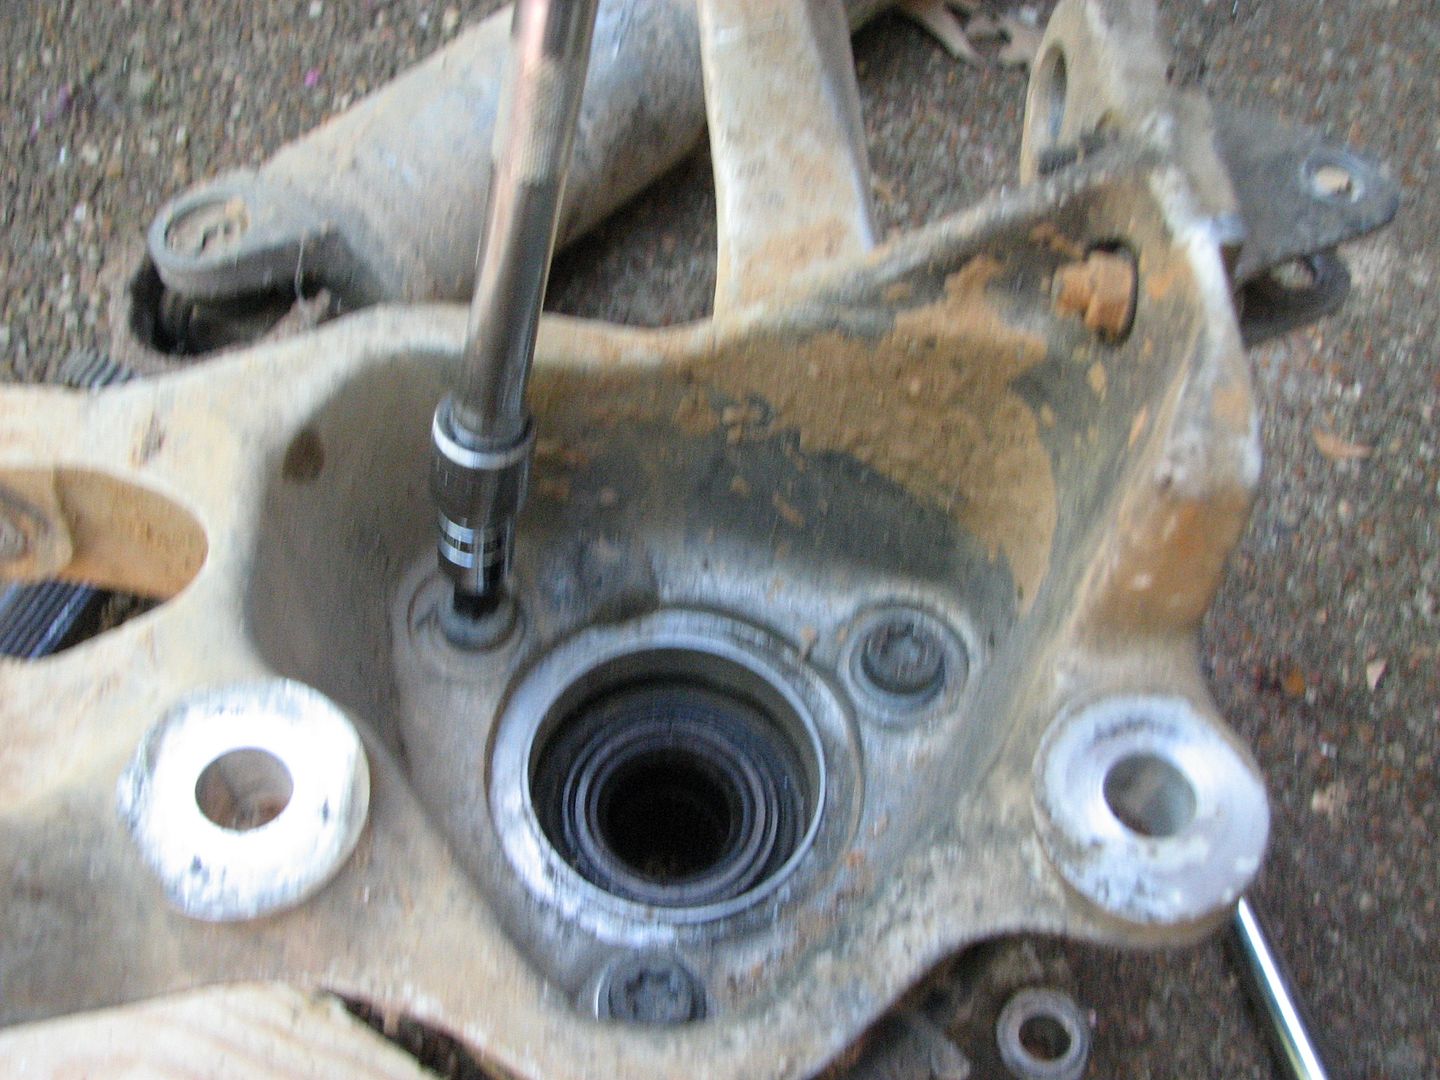
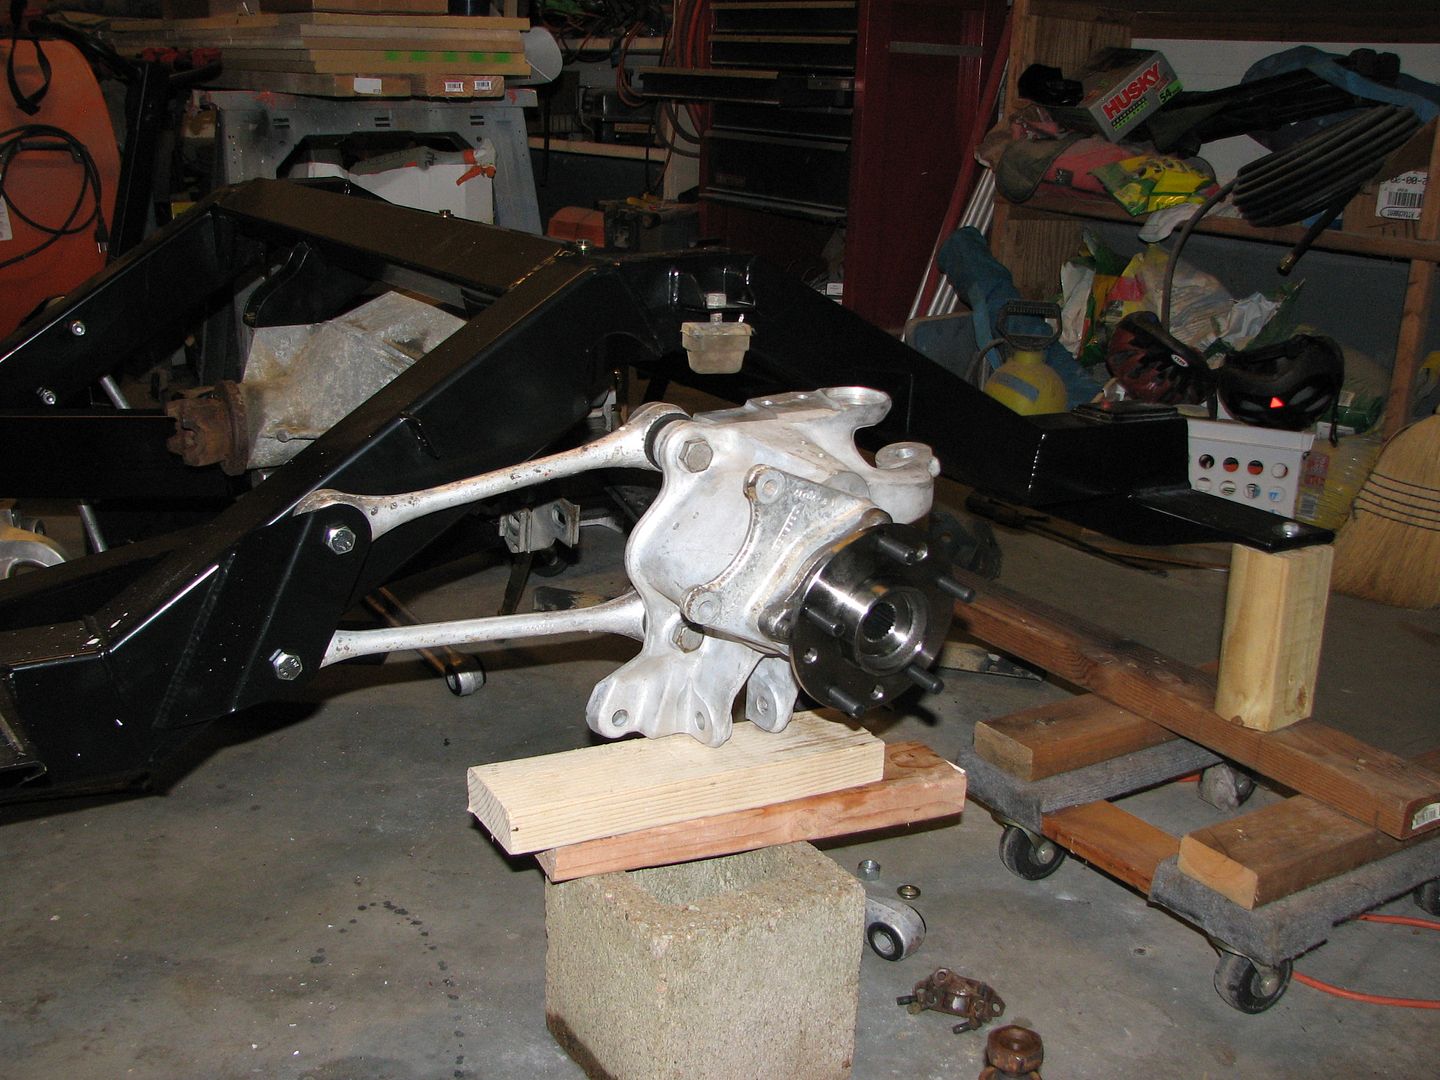
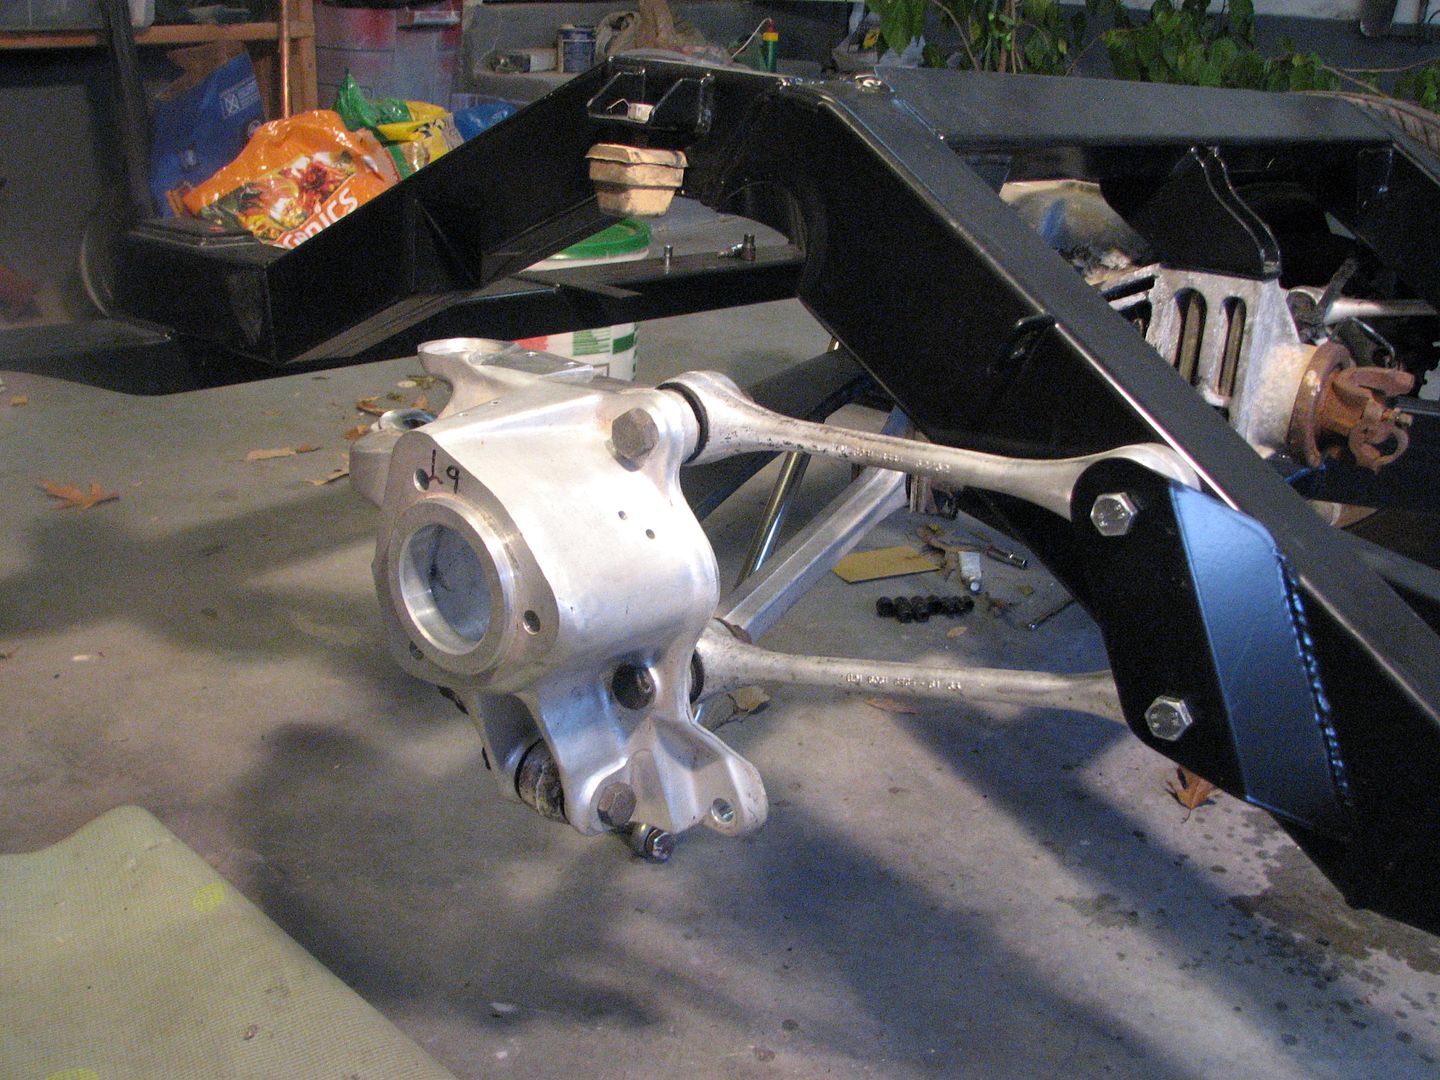
I was able to make some progress on my car Saturday afternoon. Finished disassembling the rear axles.
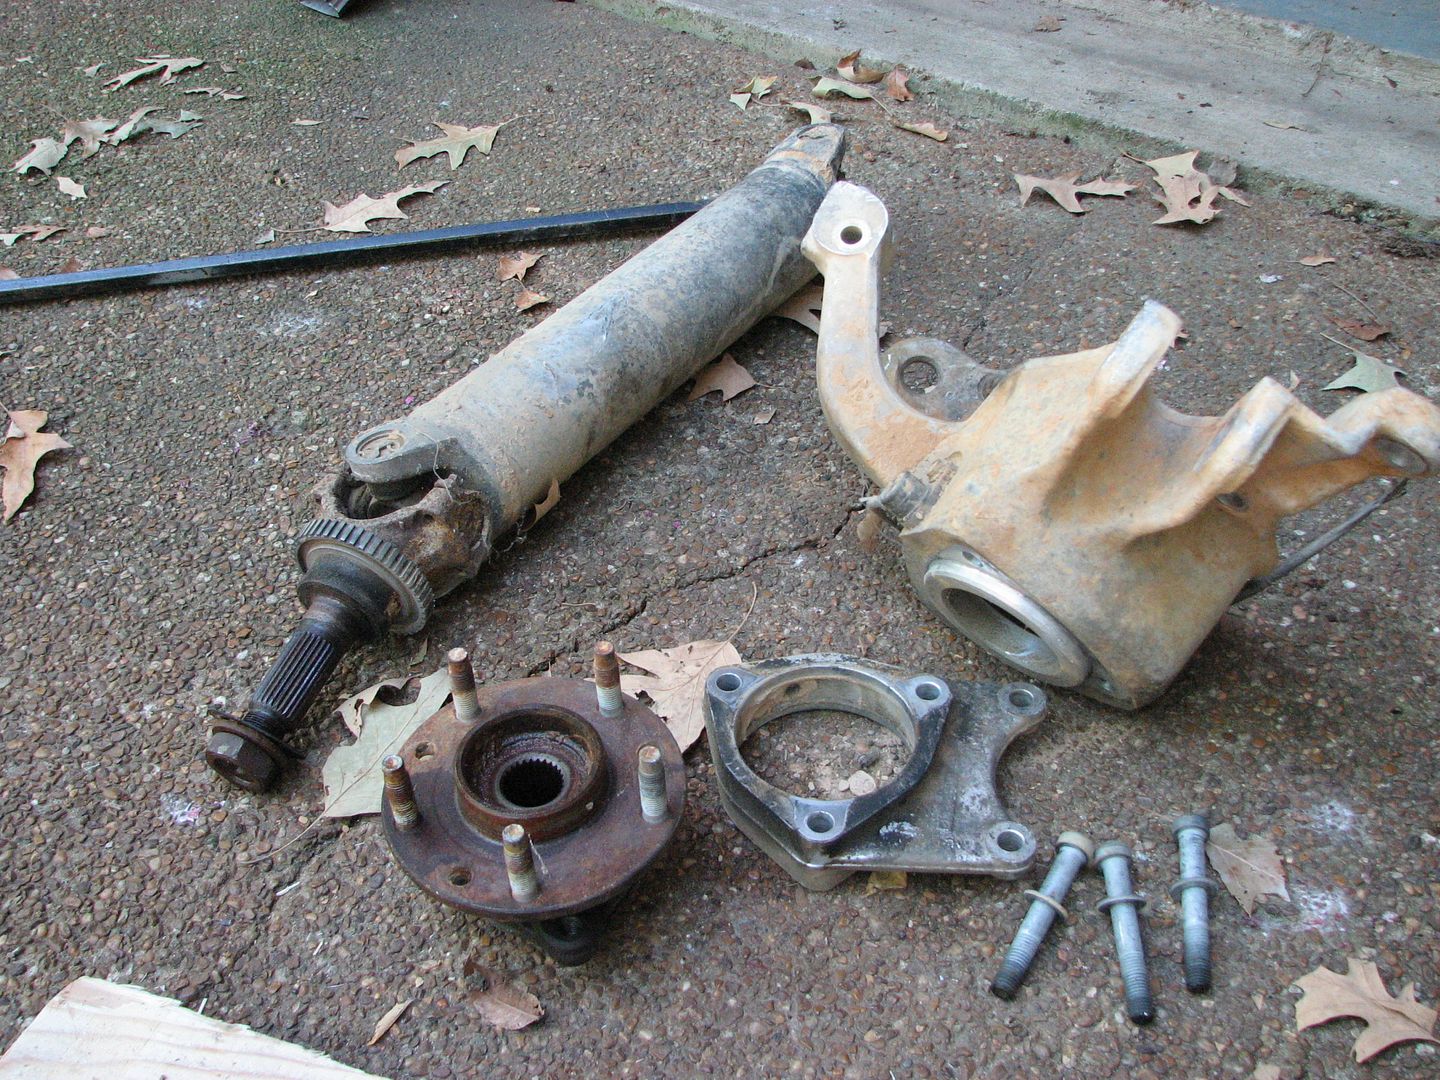
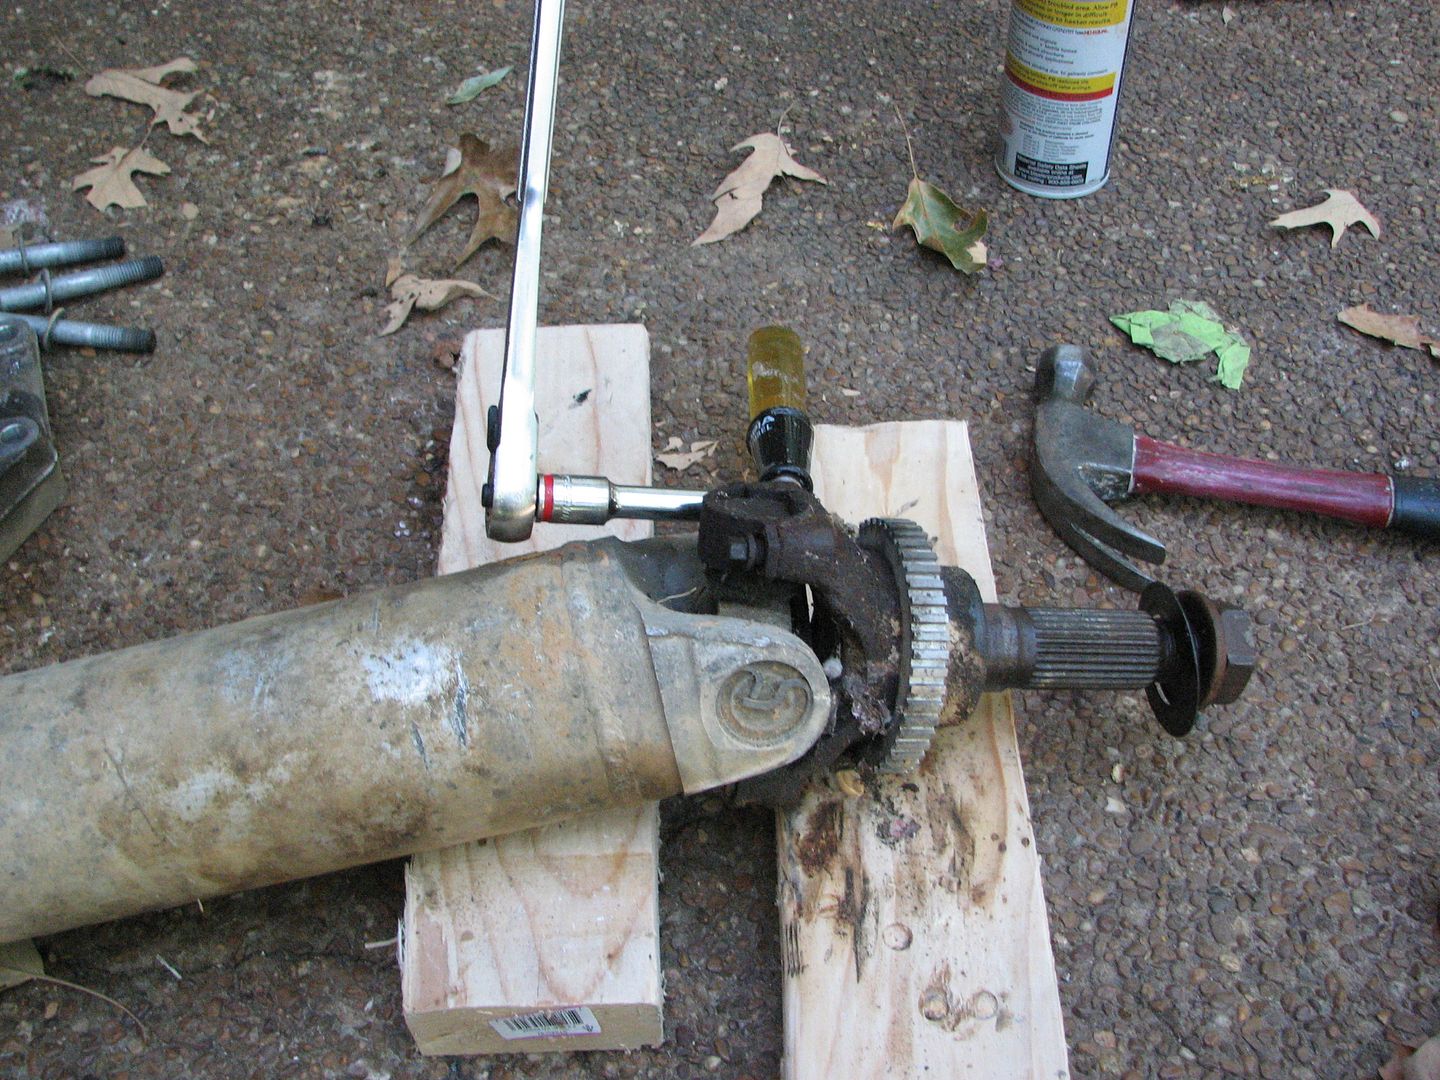

Then pressure washed the parts:
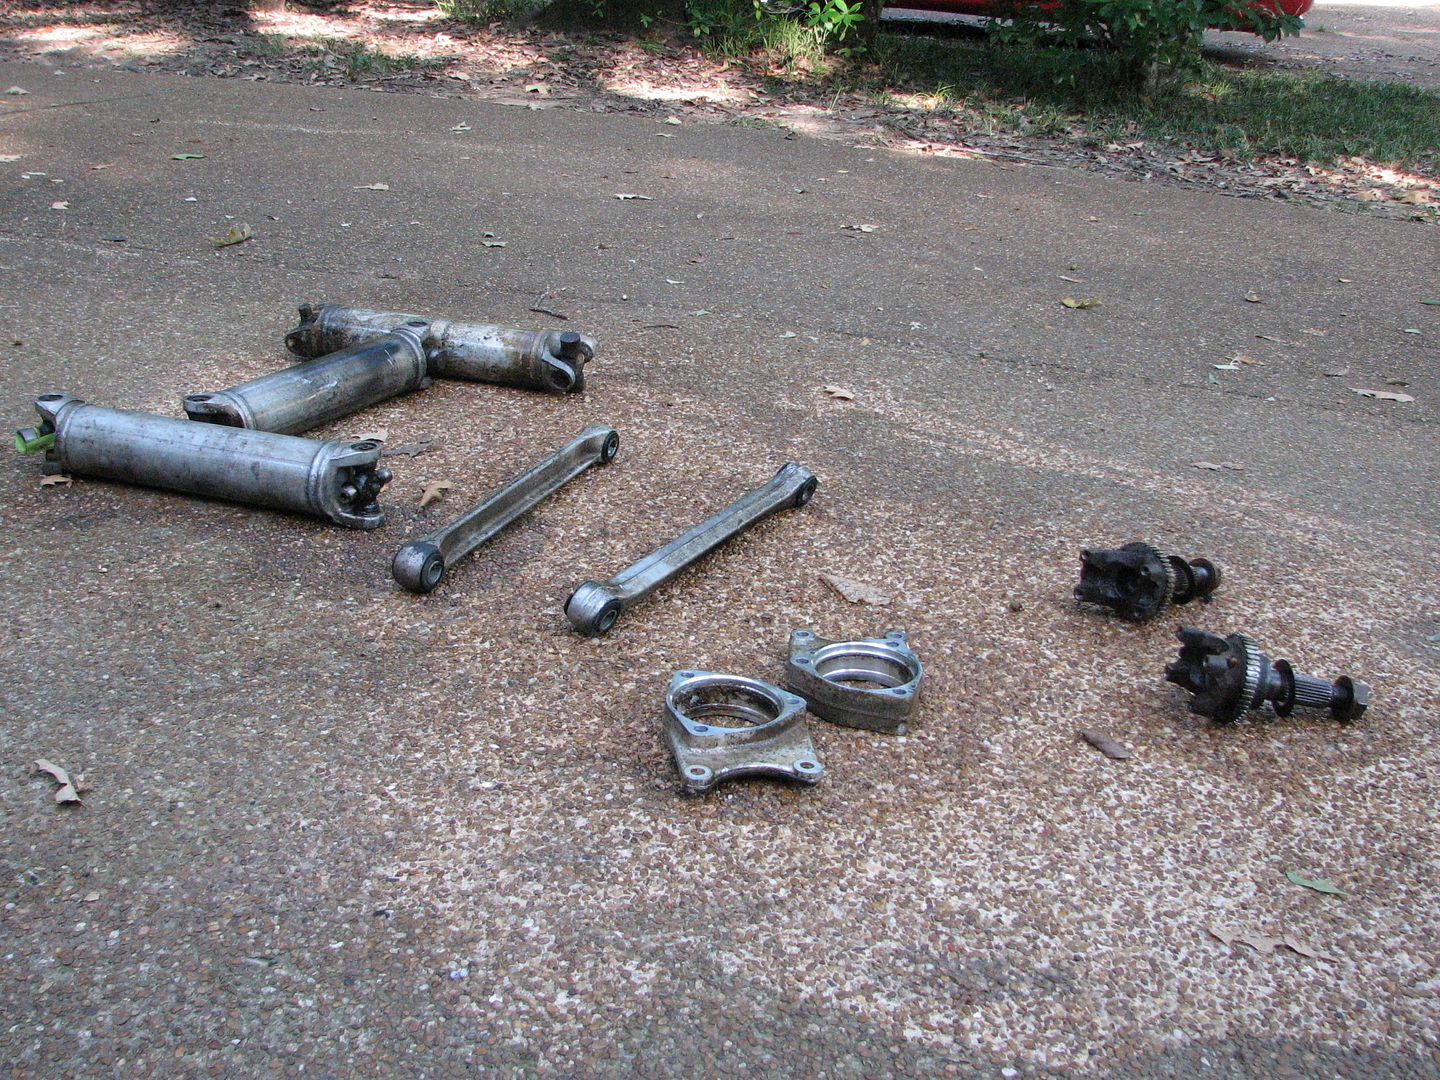
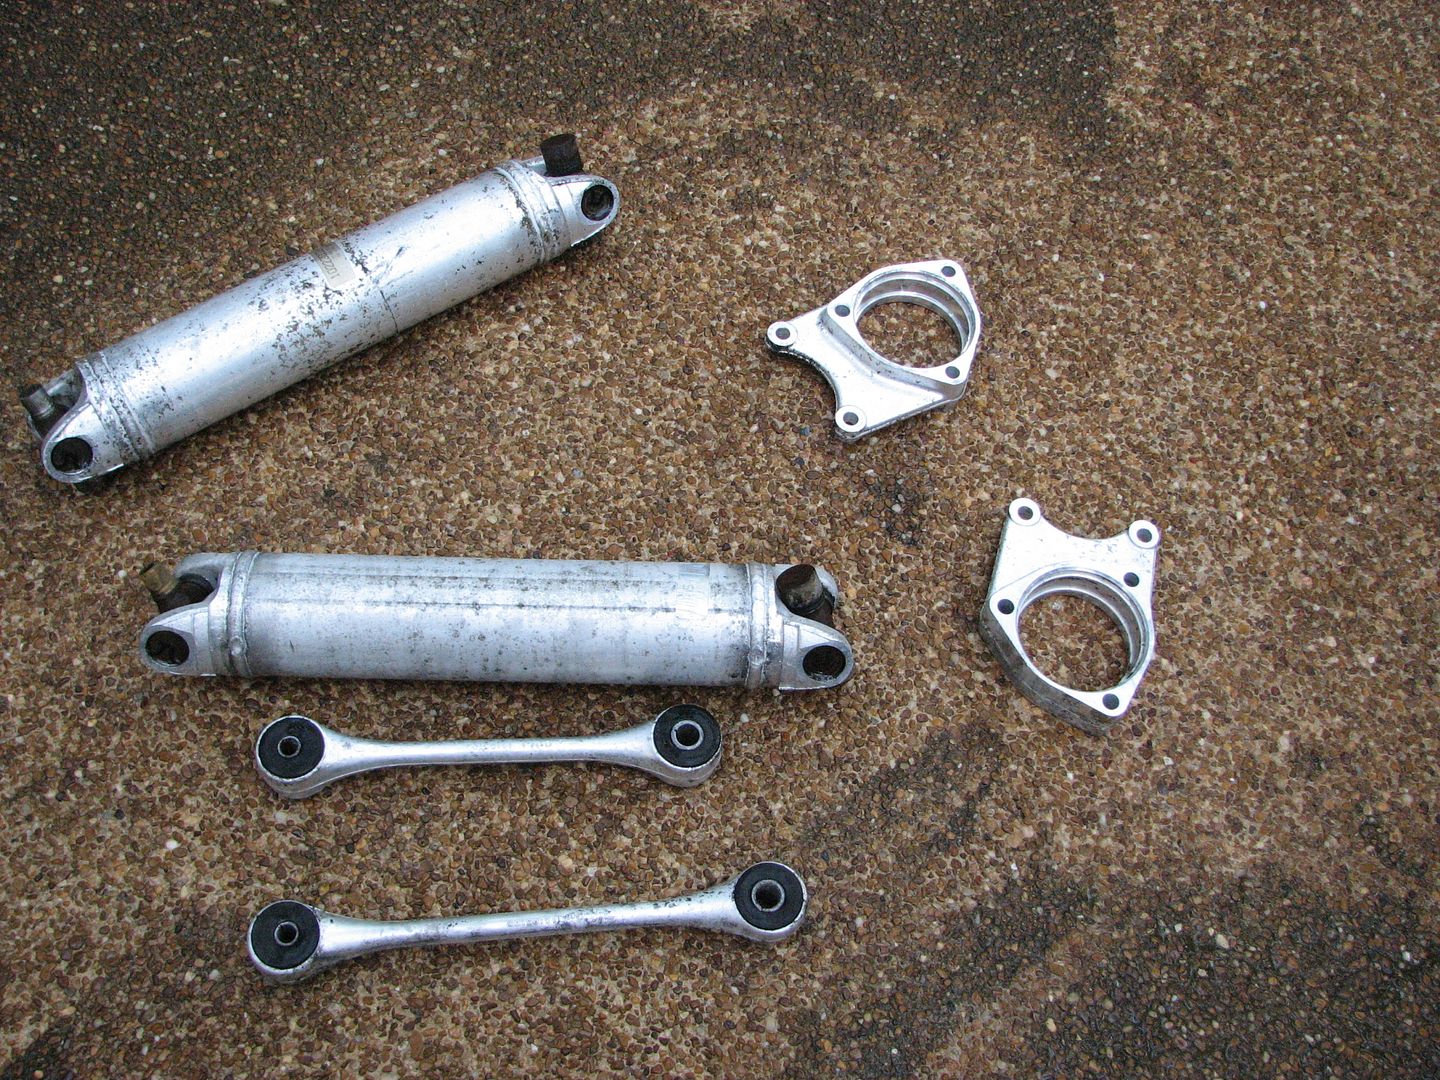
Then began assembling the rear arms:

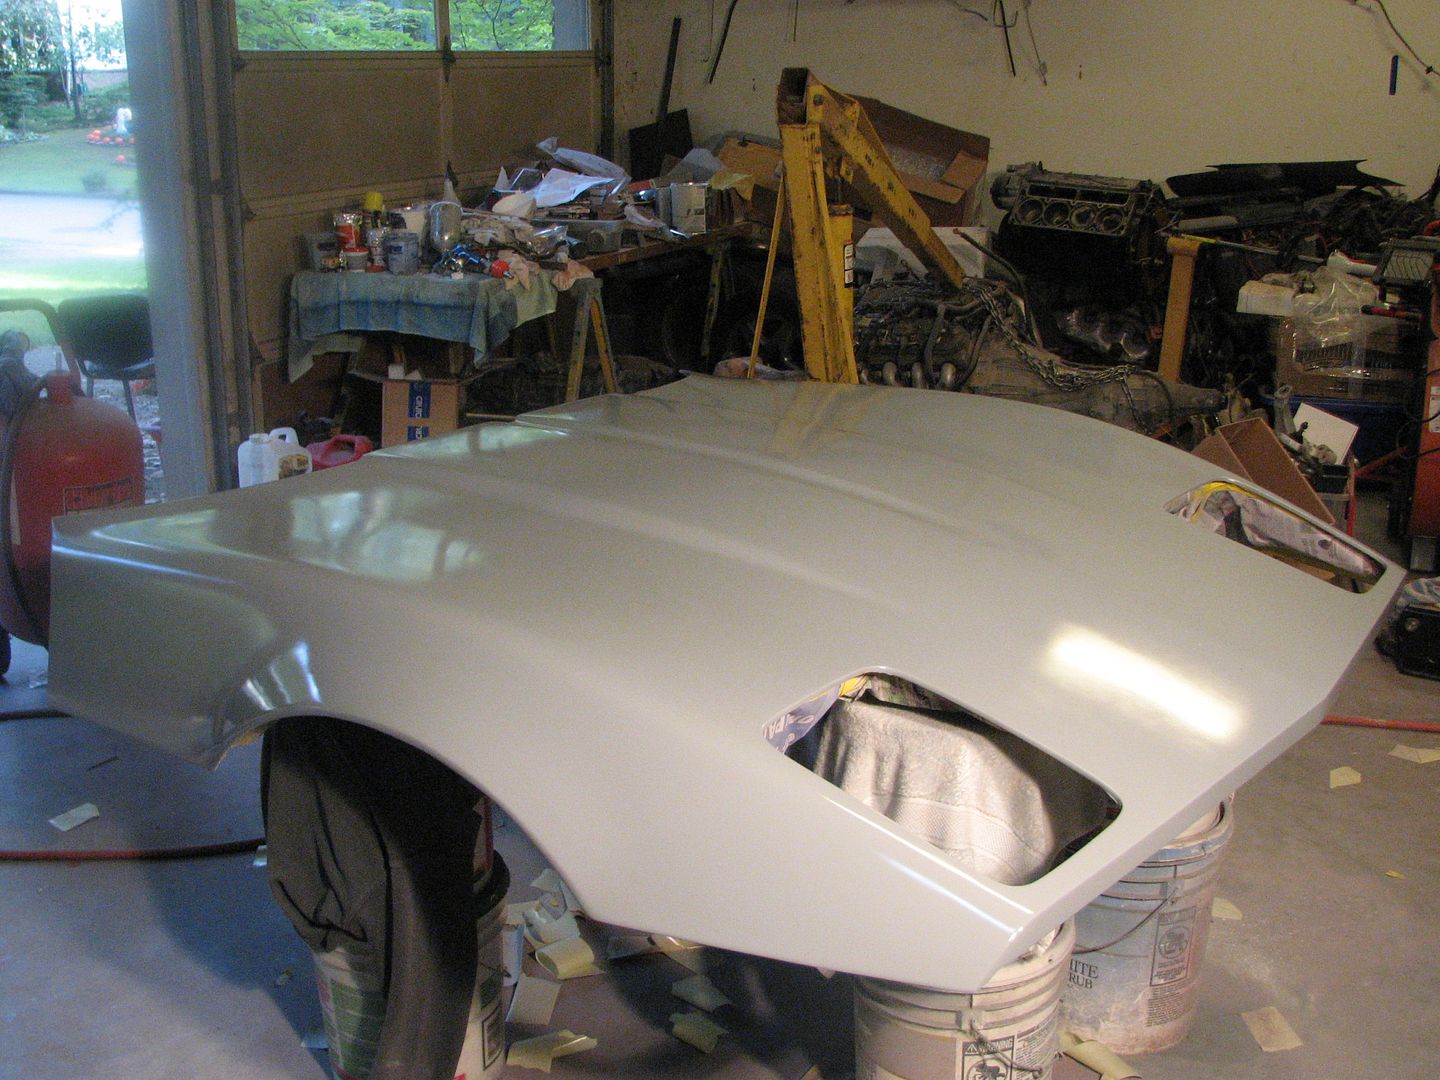
Finally, Sunday afternoon was spent with my son Andrew sanding the hood of the 92 Corvette he drives.
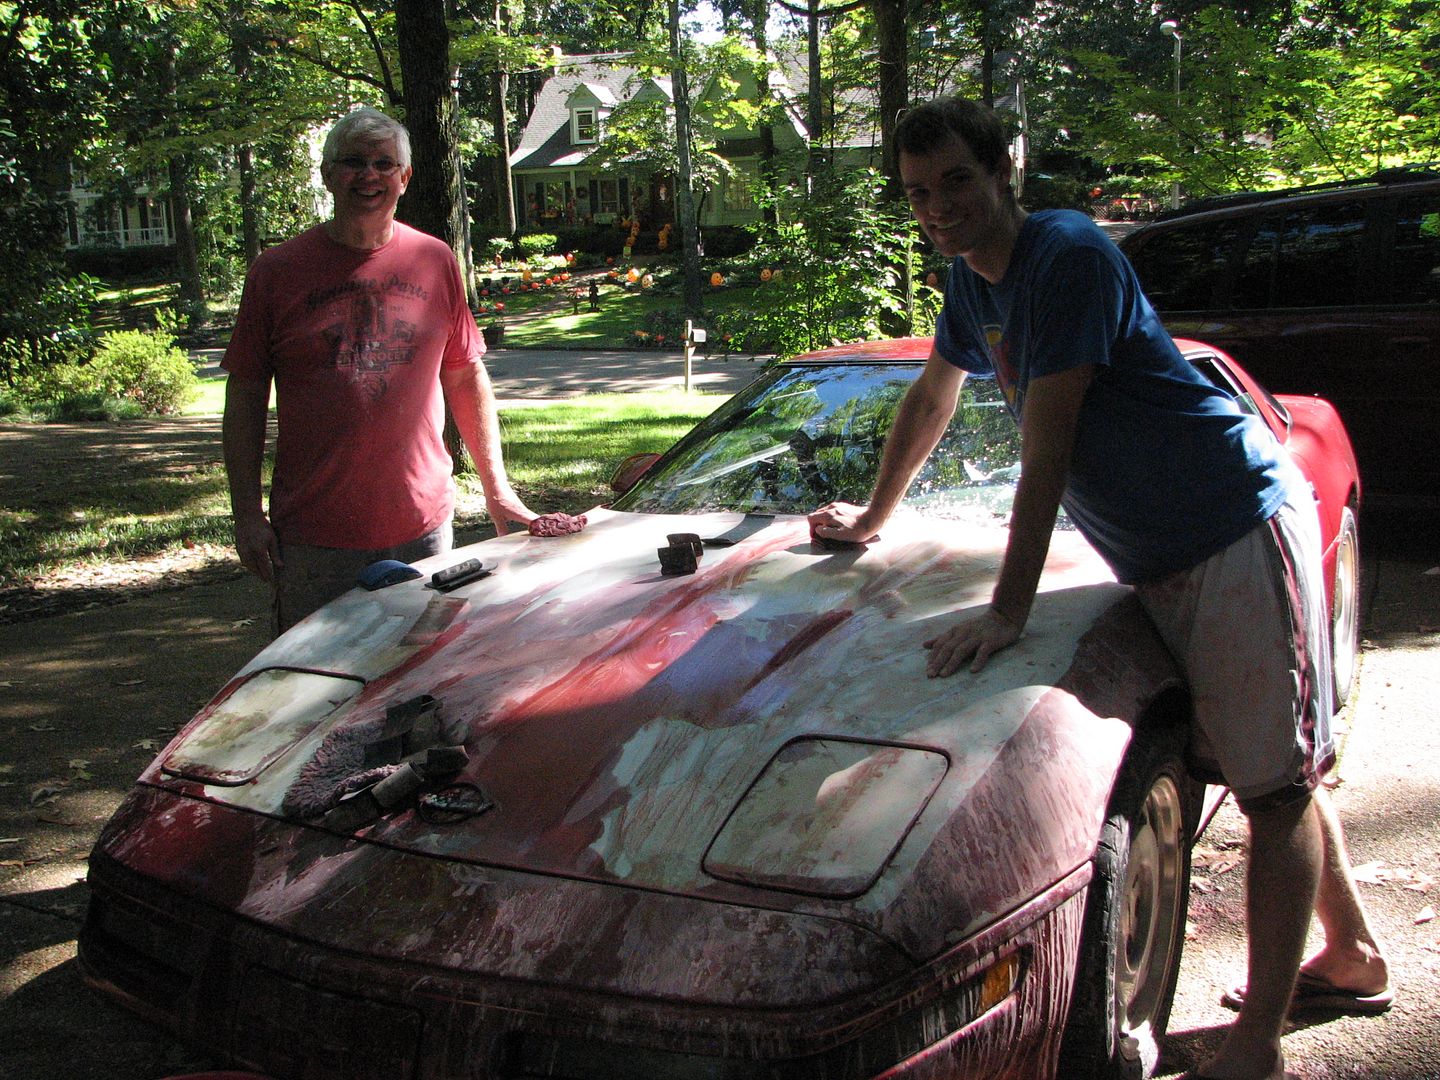
While it looks like a mess right now, we hope to finish sanding it Wednesday night, and then we will begin blocking/priming on Saturday. As always, more to come.
Ricky


an a real fine 72 ( I can dream my 71 Roadster will look this good!):

I was able to make some progress on my car Saturday afternoon. Finished disassembling the rear axles.


Then pressure washed the parts:


Then began assembling the rear arms:


Finally, Sunday afternoon was spent with my son Andrew sanding the hood of the 92 Corvette he drives.

While it looks like a mess right now, we hope to finish sanding it Wednesday night, and then we will begin blocking/priming on Saturday. As always, more to come.
Ricky
09-24-2013, 09:52 PM
#24
Melting Slicks

New cars today have a very wide track and when mated to an older car like a C1, C2 and C3 the track is very narrow and the wheel offsets in the rear look completely crap. There is no dish in the rear of the wheels Amrit just looks wrong. It drives great but looks just wrong ? I noticed it years ago on the cobra replicas. A cobra looks even more stupid with no deep dish wheel offsets.
The following users liked this post:
ptjsk (10-30-2016)
09-24-2013, 11:02 PM
#25
Instructor

Member Since: May 2012
Location: Houston TX
Posts: 149
Likes: 0
Received 0 Likes
on
0 Posts
Interesting point about the track width. Never noticed it but makes sense and you can see that on the C2 in picture.
OP: What sort of pressure washer setup did you use to get that so clean? Also, if you have not tried it, for some parts consider using a soda blaster. You can make one for like $5, some 3/8" plastic hose (size can vary depends on your use), use your air compressor blow gun, cut a slot in the hose for the blow gun tip about 2" from the end or so. Put other end in a box of soda. Blast away, use full pressure on most projects. Do it outside the soda goes everywhere.
Guessing you could also use a funnel to feed it more reliably. I have used on carbs and stuff, it washes off not like Sand that tends to gunk up stuff with silica.
09-25-2013, 08:47 AM
#26
Racer
Thread Starter
The track width is wider using the Corvette Correction frame, and that is a tradeoff. I considered the pros and cons and determined I liked the ability to go to a Chevy dealer (or AutoZone) for all the suspension parts. You lose the deep dish wheels, but I have seen some rims that mimic that look (just not as deep). The ride, steering, and brakes are so much better than the original suspension (I had a mostly stock NOM C1 years ago) that I was Ok with the change.
As far as cleaning the aluminum parts, I first spray engine degreaser on the parts, then use a 3000 PSI pressure washer. The final step is to use Alumibright (used by aluminum boat owners to bring back the shine on their hulls). I could buff the parts, but this car will be a driver, and polishing the suspension parts seemed like a waste of time. We will be working to get my son's hood painted this weekend (or early next week) After that, I want to make this frame a roller by October 15. As always, more to come.
Ricky
 12-21-2013, 10:31 PM
#28
Racer
Thread Starter
Well, almost 90 days without an update. I have managed to get the rear end completely assembled:
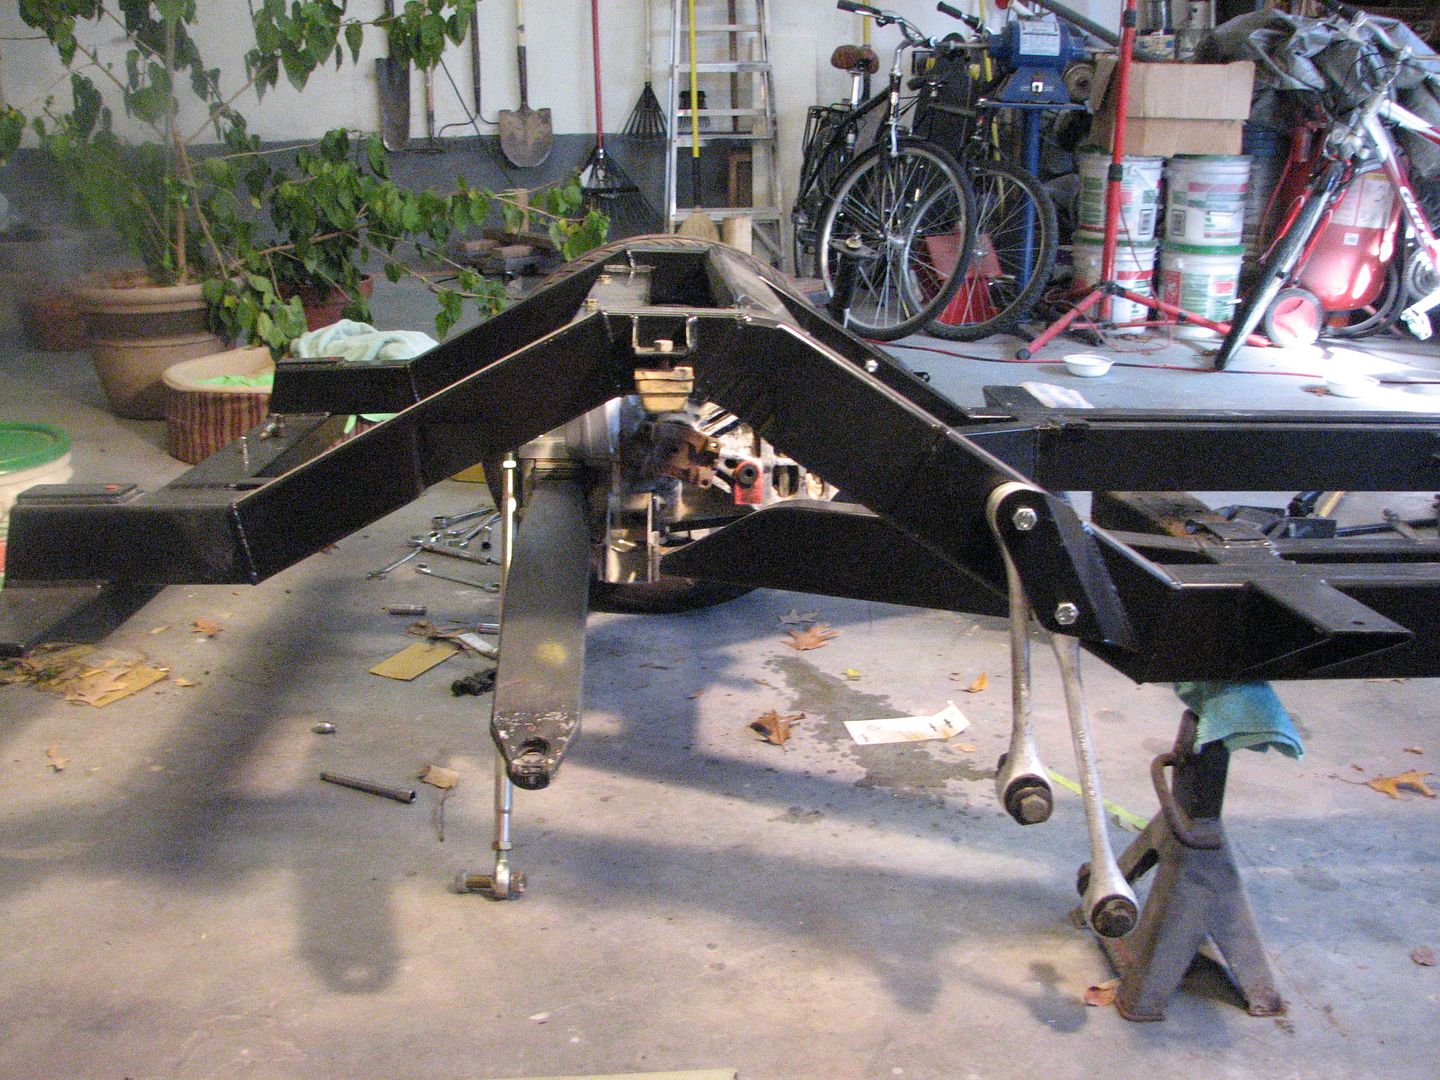
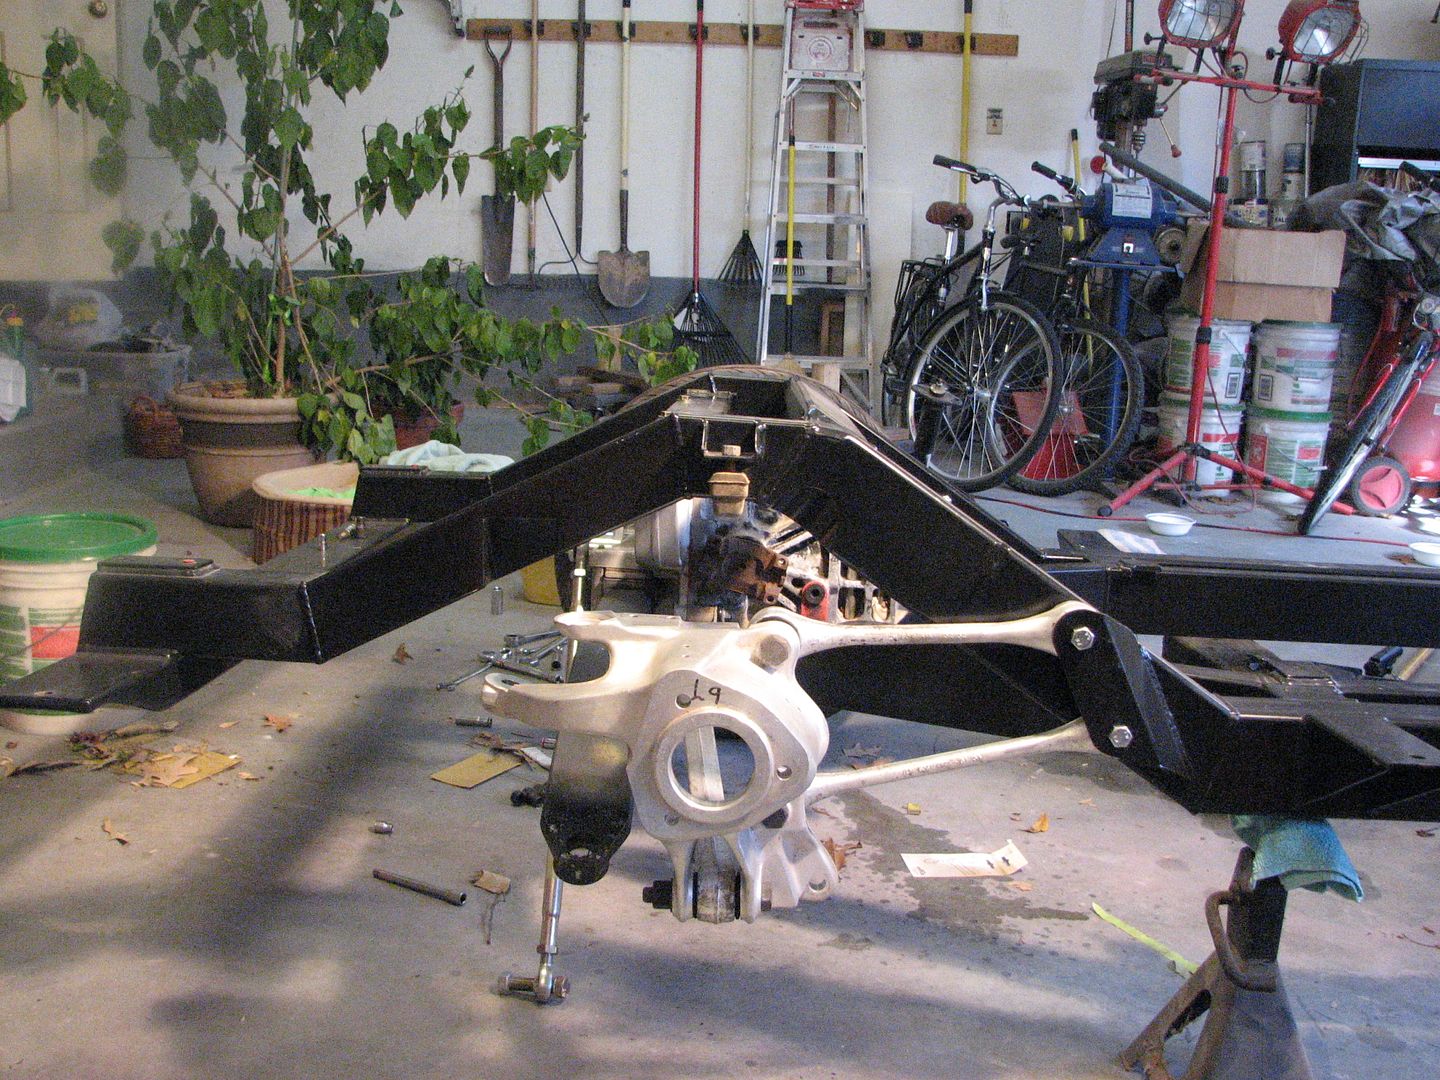
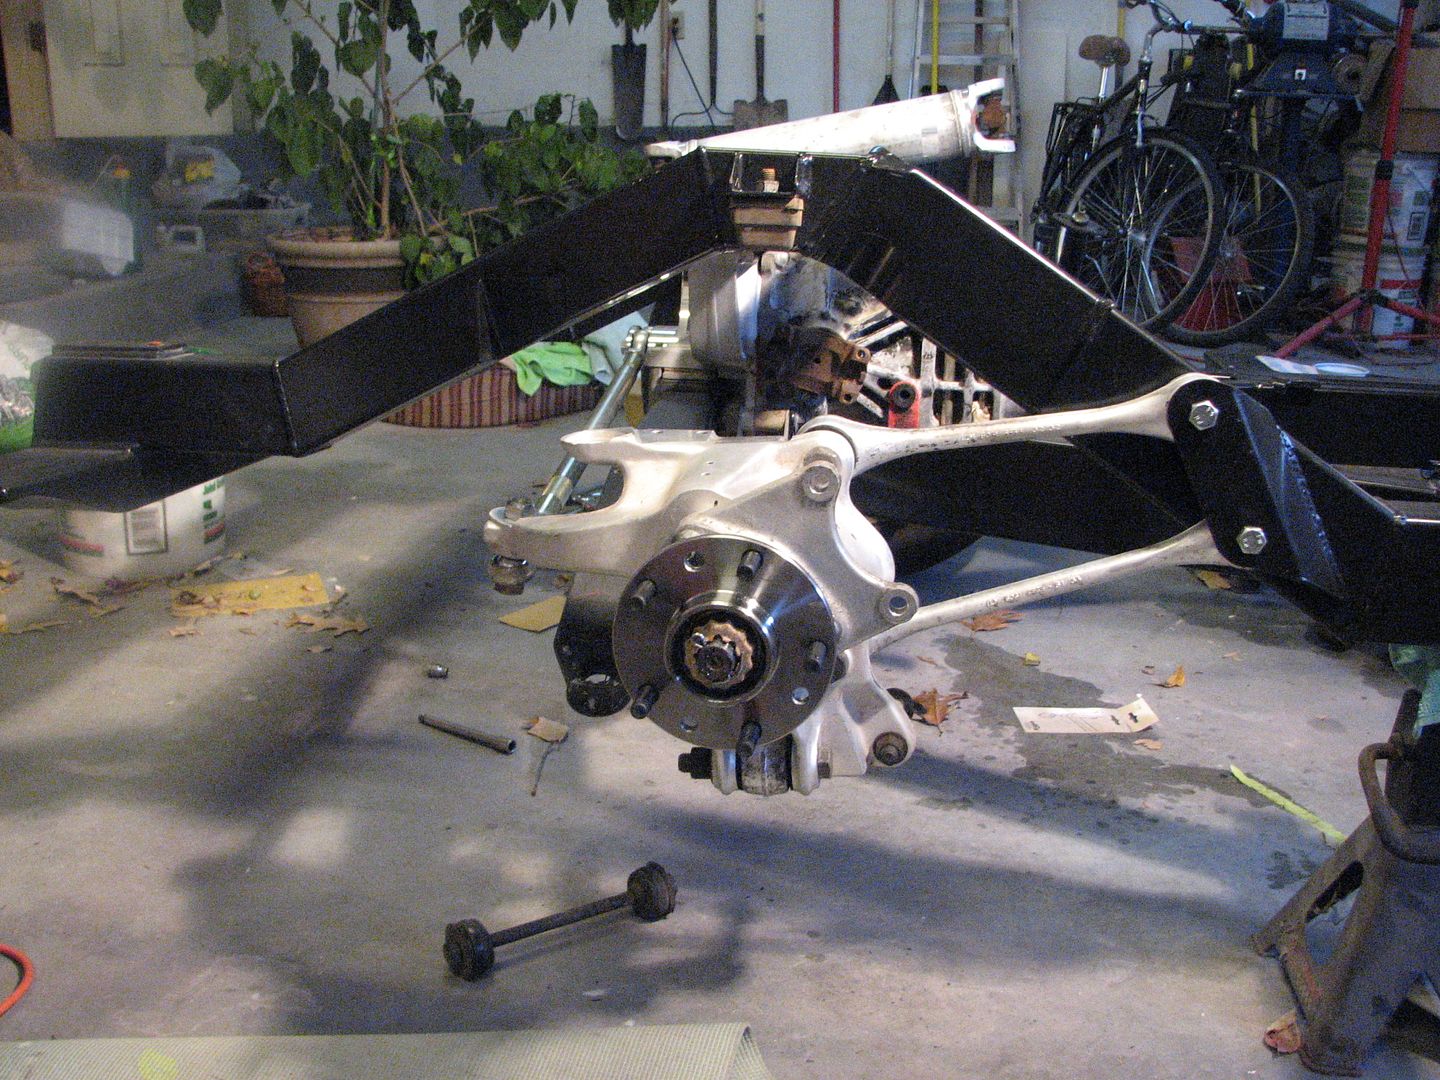
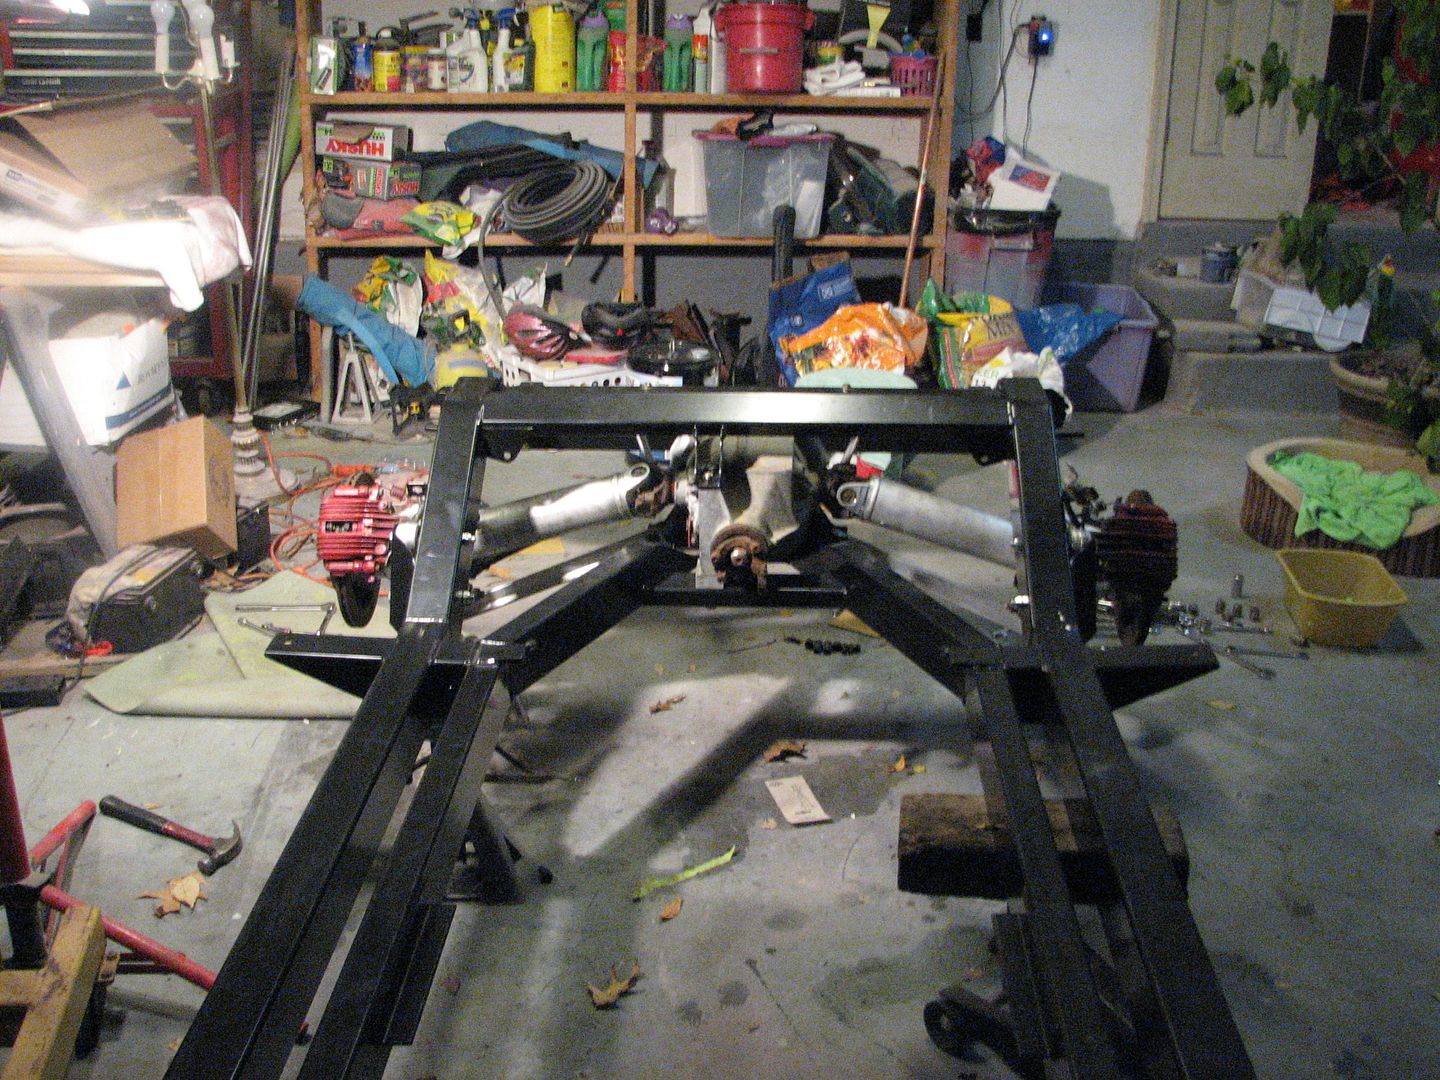
The money shot!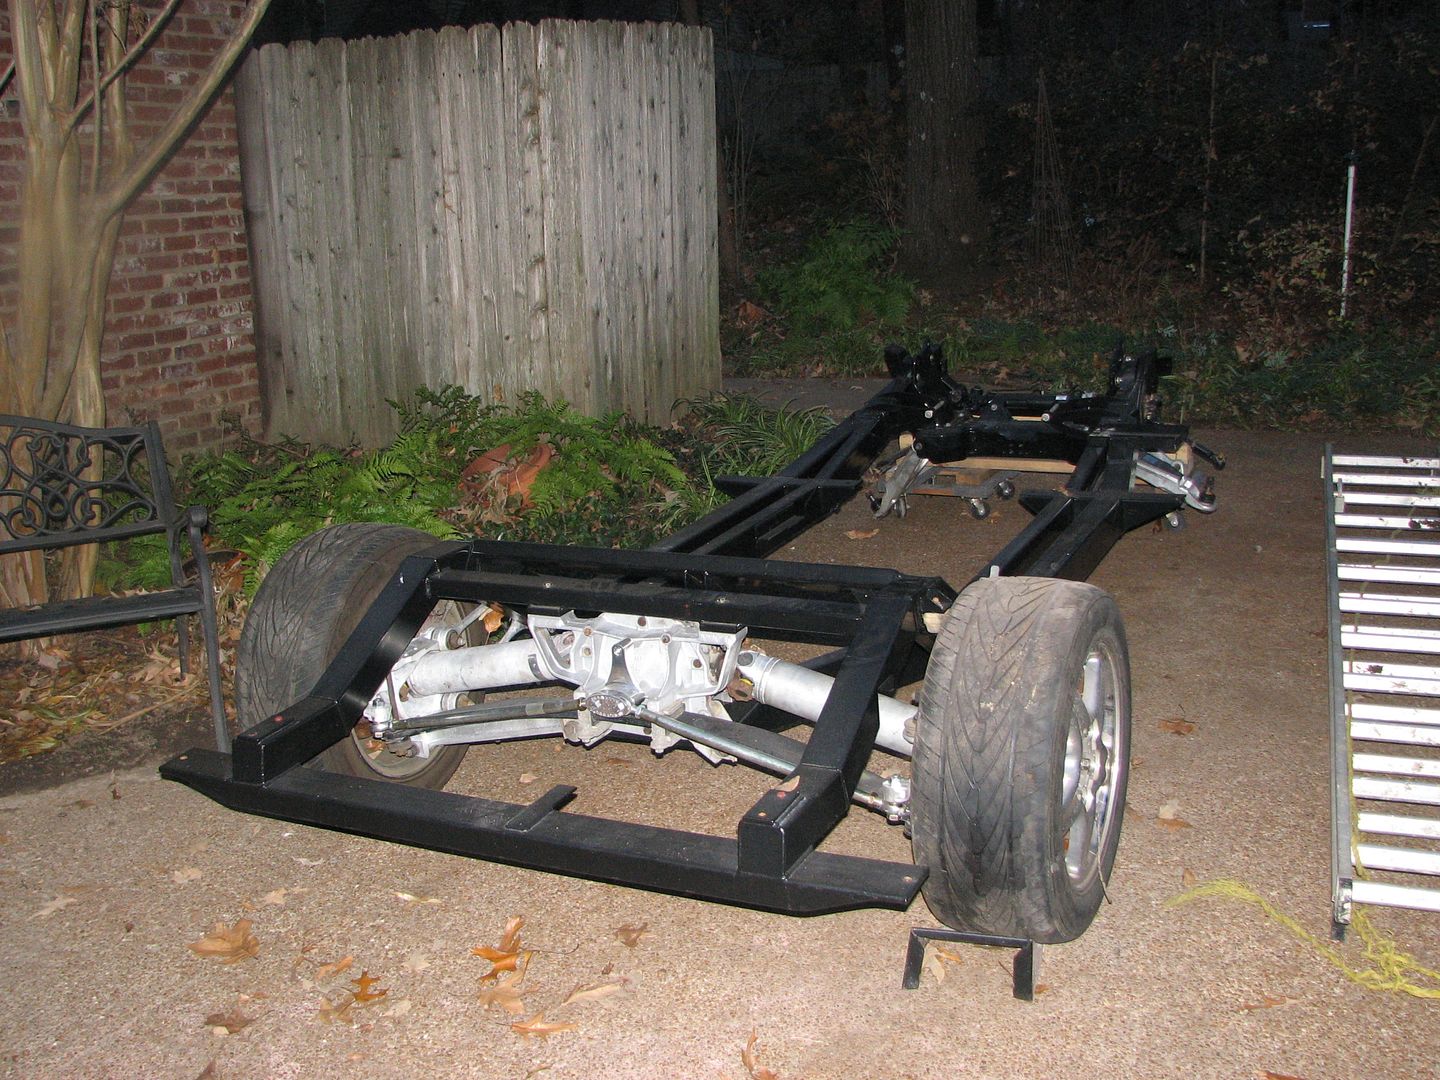
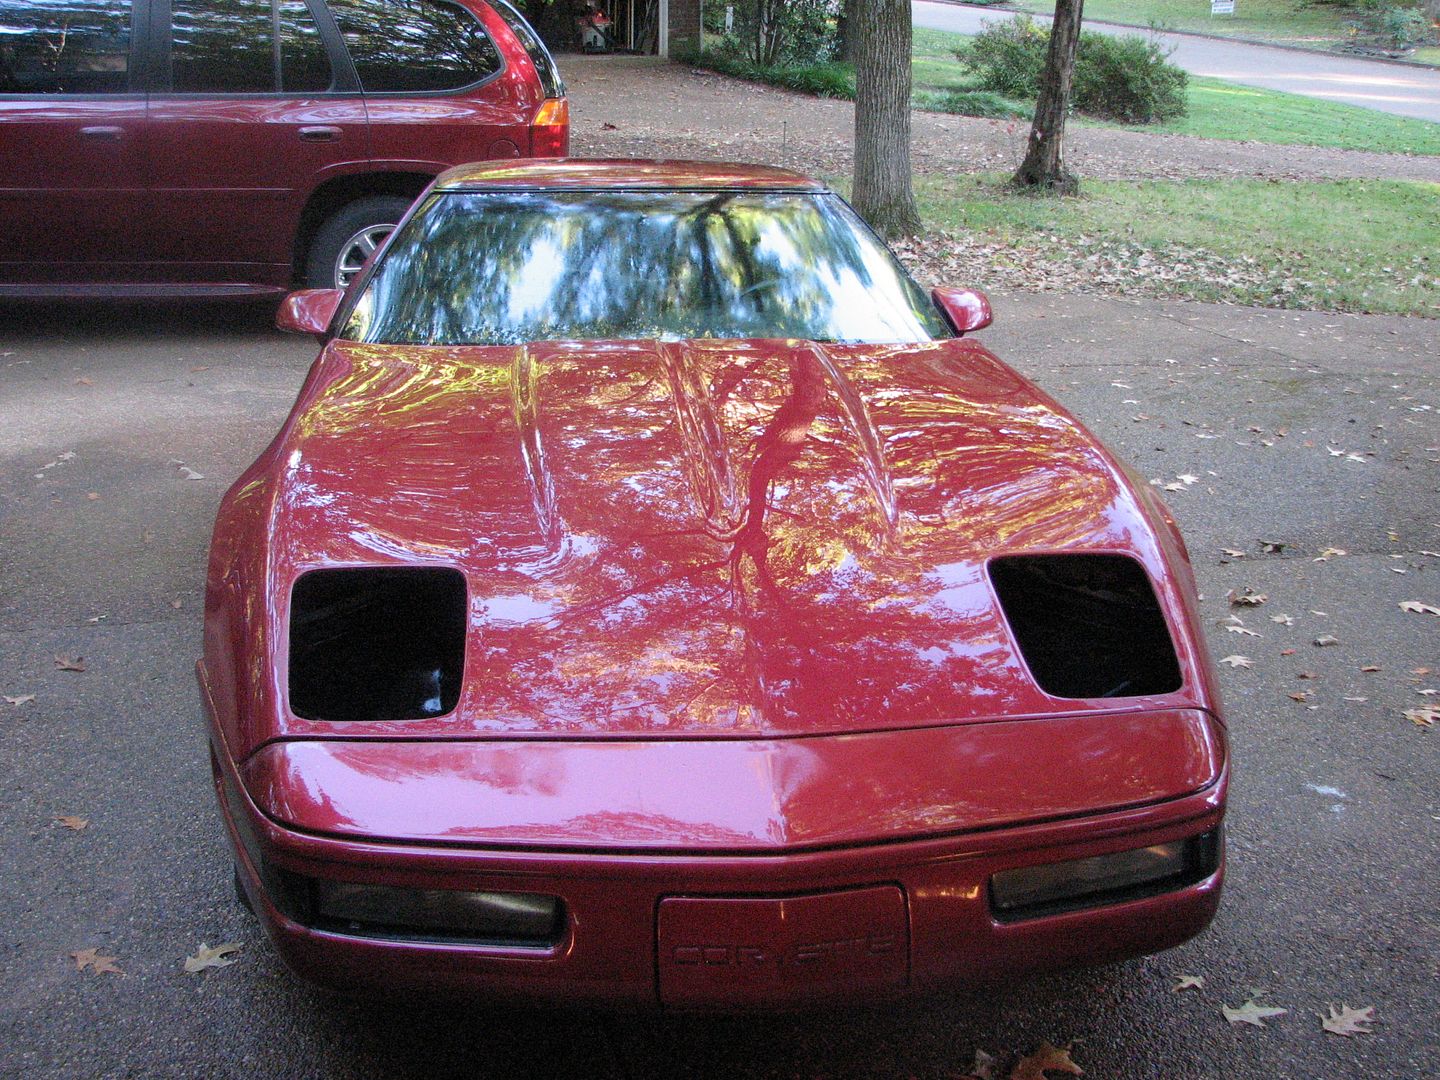
I also got my sons 92 Corvette hood painted and reassembled:
But the biggest automotive time eater this fall has been the 1966 GTO. While it was incredibly fast and quick, we never could get it to tune right for idle and off idle. It would pop well before the redline, so we first pulled the heads and had a valve job done. Five valve springs were basically bad, and I attribute that to the fact that this was a "burned" motor. After we reassembled, the popping before the redline stopped, but it still wouldn't tune. We did a compression check and found the number four cylinder was about 60% of the others. We pulled the engine and rebuilt that one cylinder. The engine is back in the car, and Eric will be home tomorrow afternoon and we will get it running then.
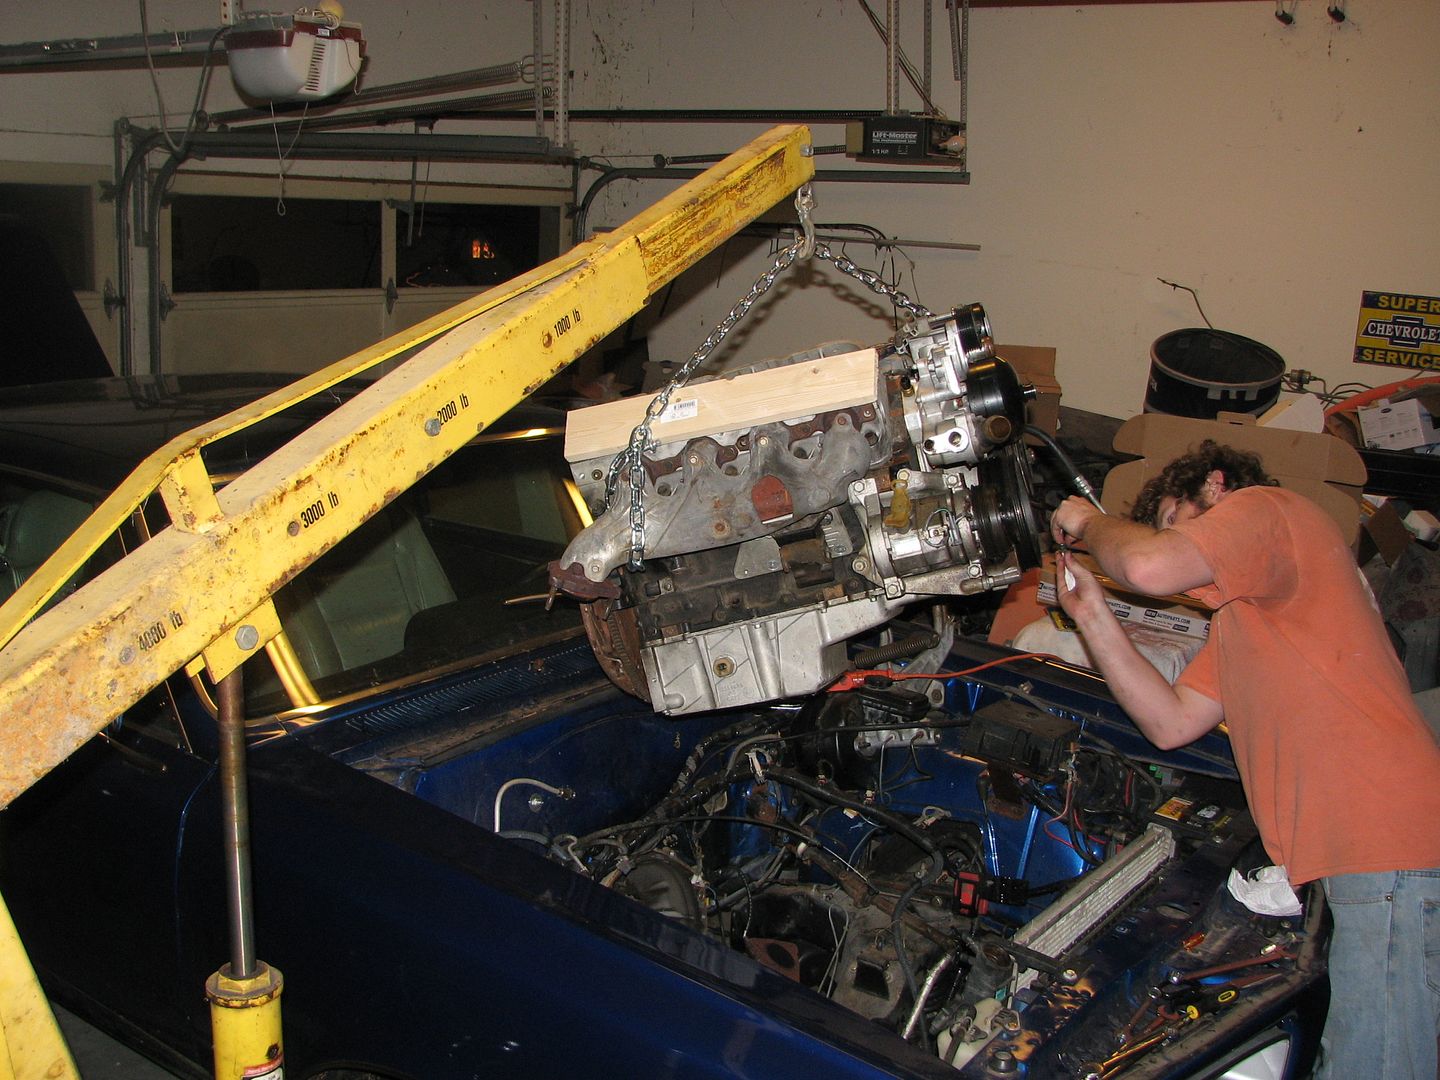
The last picture sums it up - Eric and I are really aggravated about having to pull the engine, but it should be running again for Christmas.
As always, more to come.
Ricky


The money shot!

I also got my sons 92 Corvette hood painted and reassembled:


But the biggest automotive time eater this fall has been the 1966 GTO. While it was incredibly fast and quick, we never could get it to tune right for idle and off idle. It would pop well before the redline, so we first pulled the heads and had a valve job done. Five valve springs were basically bad, and I attribute that to the fact that this was a "burned" motor. After we reassembled, the popping before the redline stopped, but it still wouldn't tune. We did a compression check and found the number four cylinder was about 60% of the others. We pulled the engine and rebuilt that one cylinder. The engine is back in the car, and Eric will be home tomorrow afternoon and we will get it running then.


The last picture sums it up - Eric and I are really aggravated about having to pull the engine, but it should be running again for Christmas.
As always, more to come.
Ricky
Last edited by ricott; 12-21-2013 at 10:35 PM.
02-09-2015, 09:00 PM
#29
Racer
Thread Starter
After my last post (on December 21, 2013), I pushed the Corvette aside for what I thought would be a few months to begin working on my 1955 Chevrolet Pickup Restomod. Here is a picture of my truck. It is running, but with a lot of work to be done.
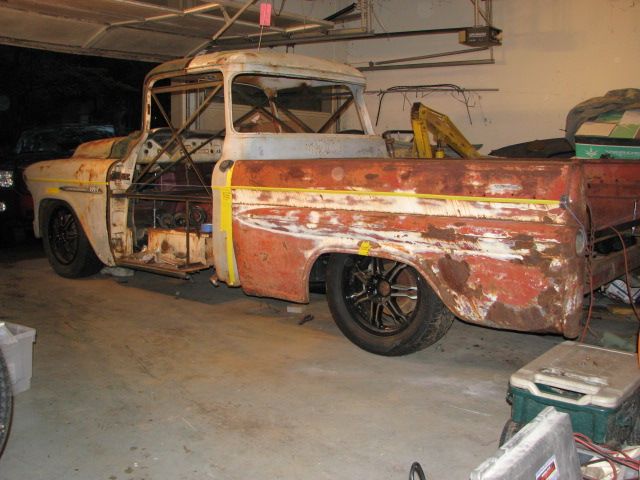
And the 6.0/T56 Power combo

While in Dallas last week an acquaintance of ours that has been working (on and off) on his car project for a number of years was diagnosed with cancer and will not live to finish it. That really hit home, and I have vowed to get our 1958 Corvette (that we have owned since January 1985) in a running and driving condition in time for my wife to drive it around the block by her birthday in late August.
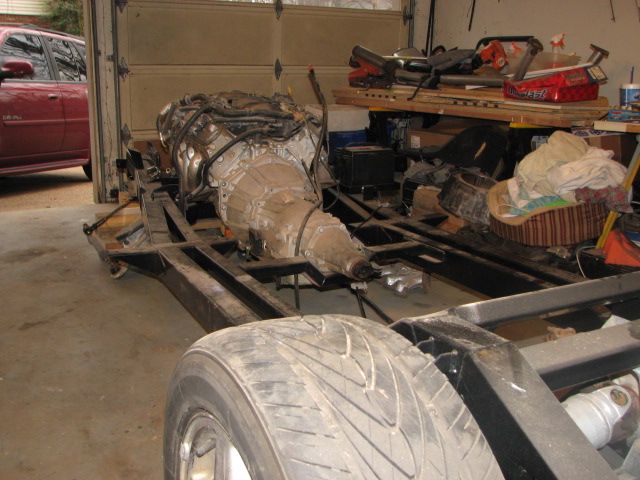
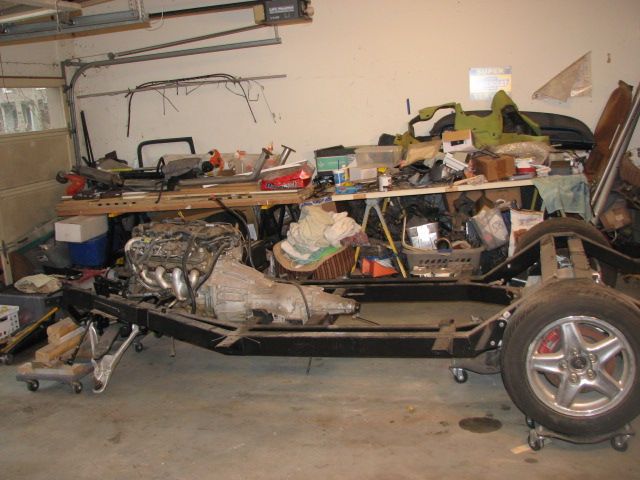
I am putting a cover on the Truck and will let it sleep through this year. Now on to the corvette. Here are a couple of pictures of the corvette frame. I will be working on getting the engine painted and reassembled and making this car a roller. More updates soon!
Ricky

And the 6.0/T56 Power combo

While in Dallas last week an acquaintance of ours that has been working (on and off) on his car project for a number of years was diagnosed with cancer and will not live to finish it. That really hit home, and I have vowed to get our 1958 Corvette (that we have owned since January 1985) in a running and driving condition in time for my wife to drive it around the block by her birthday in late August.
I am putting a cover on the Truck and will let it sleep through this year. Now on to the corvette. Here are a couple of pictures of the corvette frame. I will be working on getting the engine painted and reassembled and making this car a roller. More updates soon!


Ricky
 04-16-2015, 10:19 PM
#31
Racer
Thread Starter
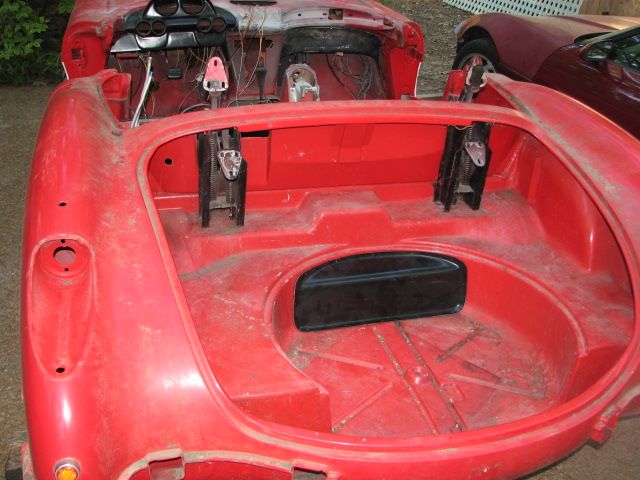
Last Saturday one of my sons helped me get the corvette back in the garage. The car needs a bath!
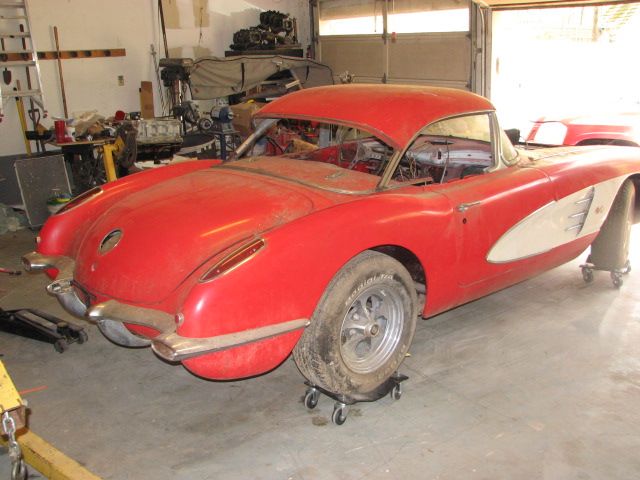
We made pretty good progress pulling it apart. Here is where we left it at the end of the day:

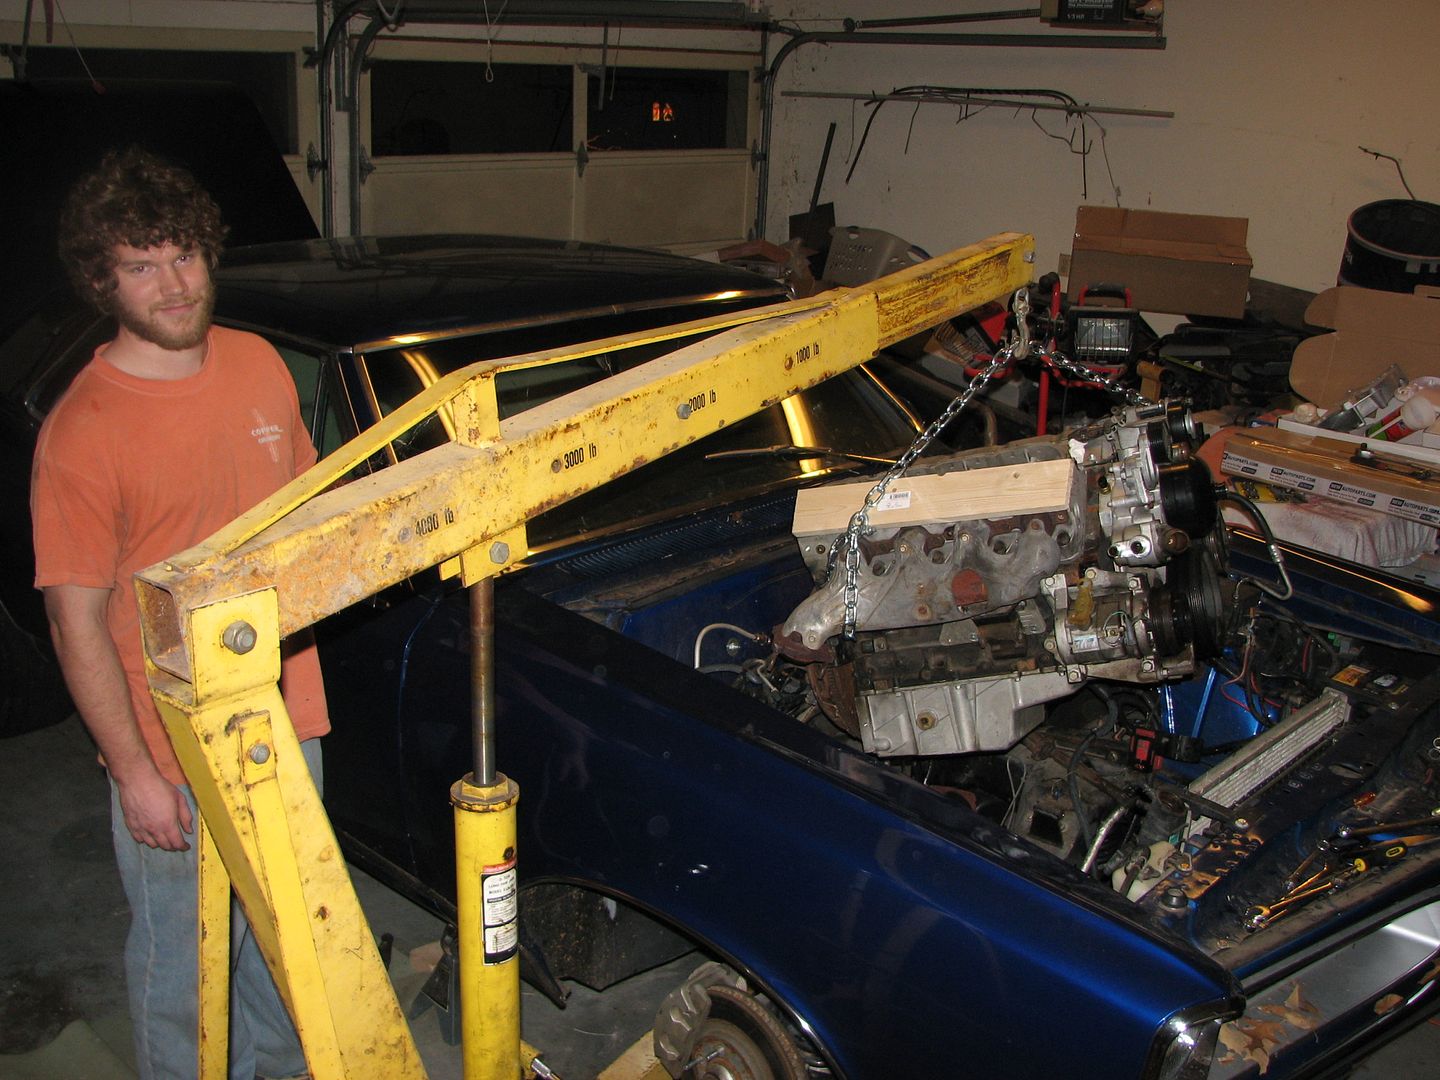
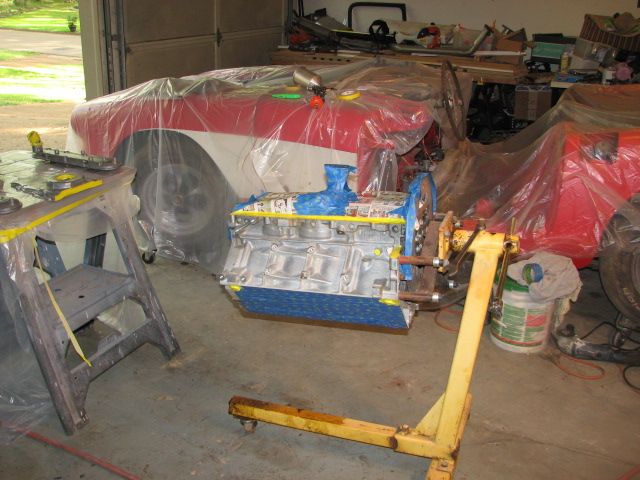
Next up is painting the engine. I pulled the LS1 engine from the replacement frame and disassemble it on Sunday afternoon/evening, and then cleaned, prepped and taped it off over the last few days.
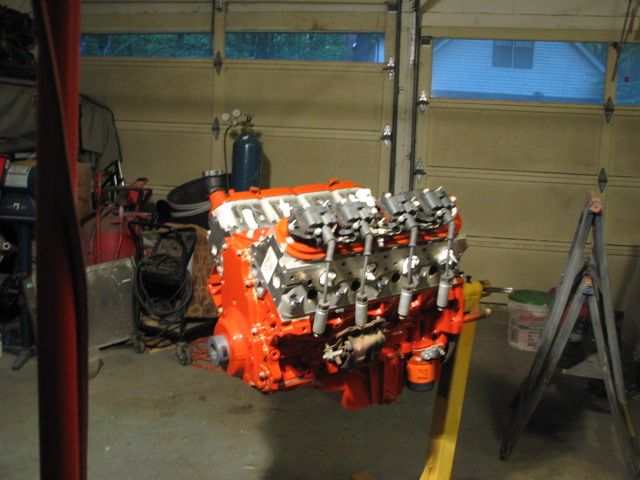
It was a beautiful afternoon today so I left work early to get my "Krylon" rebuild done. I cleaned and taped the parts off earlier this week, and with rain projected for the next few days I wanted to be able to reassemble the engine. I use Eastwood paint and it really does a good job. Here are the parts cleaned and prepped.
Here are the parts painted:
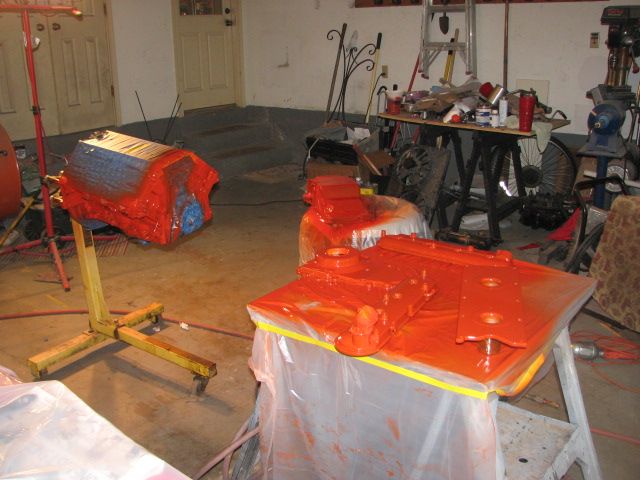
I'm glad I pulled the heads to paint the engine as the "Dexcool" had gelled and hardened in the small head gasket passages. While I heard the engine run in the car before I pulled it, I've had the engine for 4 years, and had heard about this type of antifreeze gelling when exposed to air.
Next step is to reassemble and install the engine/tranny. As always, there is more to come.
Ricky

We made pretty good progress pulling it apart. Here is where we left it at the end of the day:

Next up is painting the engine. I pulled the LS1 engine from the replacement frame and disassemble it on Sunday afternoon/evening, and then cleaned, prepped and taped it off over the last few days.
It was a beautiful afternoon today so I left work early to get my "Krylon" rebuild done. I cleaned and taped the parts off earlier this week, and with rain projected for the next few days I wanted to be able to reassemble the engine. I use Eastwood paint and it really does a good job. Here are the parts cleaned and prepped.

Here are the parts painted:

I'm glad I pulled the heads to paint the engine as the "Dexcool" had gelled and hardened in the small head gasket passages. While I heard the engine run in the car before I pulled it, I've had the engine for 4 years, and had heard about this type of antifreeze gelling when exposed to air.
Next step is to reassemble and install the engine/tranny. As always, there is more to come.
Ricky
04-21-2015, 09:08 PM
#32
Racer
Thread Starter
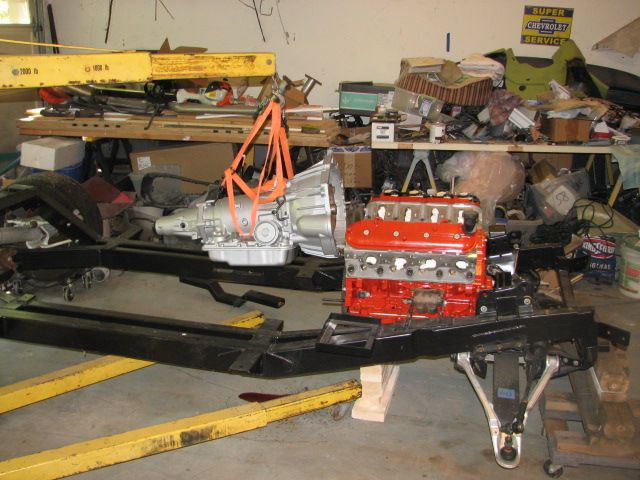
I got most of the engine assembled Saturday afternoon, but I had two right side head gaskets, and no left, so that stopped me. I ordered the Left yesterday and picked it up at the dealer this afternoon. The engine is now (mostly) assembled. I have to get a couple of broken exhaust flange studs out before I can bolt on the manifolds, and I need to find the front seal before I can install the Harmonic Balancer. Here is the finished product.
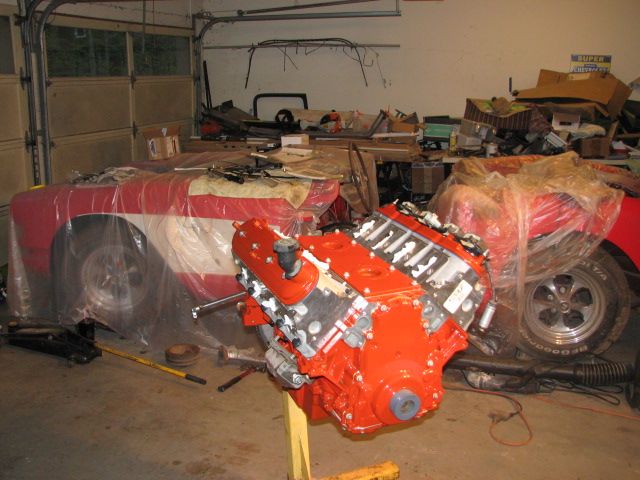
The pretty engine makes the tranny look bad, so I will clean and paint the tranny a gray. The wifey says just bolt it up and install it, but not on this project!
As always there is more to come.
Ricky


The pretty engine makes the tranny look bad, so I will clean and paint the tranny a gray. The wifey says just bolt it up and install it, but not on this project!
As always there is more to come.
Ricky
05-02-2015, 09:48 PM
#33
Racer
Thread Starter
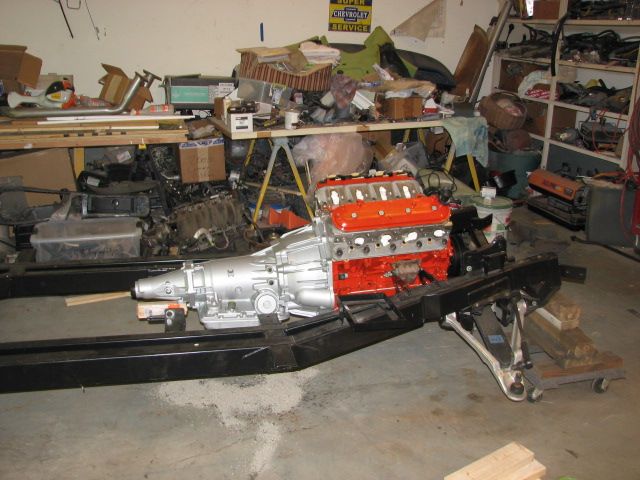
Yesterday afternoon I got home in time to paint the tranny. The wifey was out of town today, so I moved the frame over and installed the engine, and then installed the tranny.
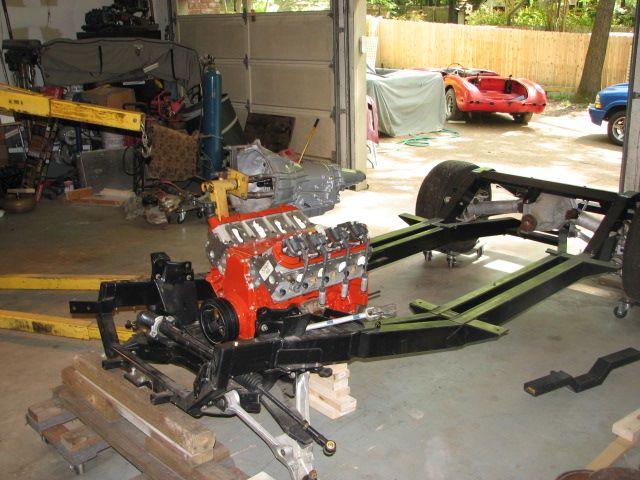
Later in the day I finished cutting the badly rusted heads off of several body to frame bolts and removed a number of other things to prepare for the frame switch. I also marked where the fiberglass cuts to the spare tire carrier need to be made.
My boys have promised to round up some friends move the body over to the new frame when I am ready. The body is completely unbolted right now, but it will be a couple of weeks before I am ready - I still need to run brake lines and complete several other tasks.
On another note, a friend loaned me his aftermarket dash made by Paul Atkin. I think I'm going to go this route so I can install a tilt wheel. My thought is to rework the lower part of this dash to incorporate the AC vent and place the other switches where I want them.
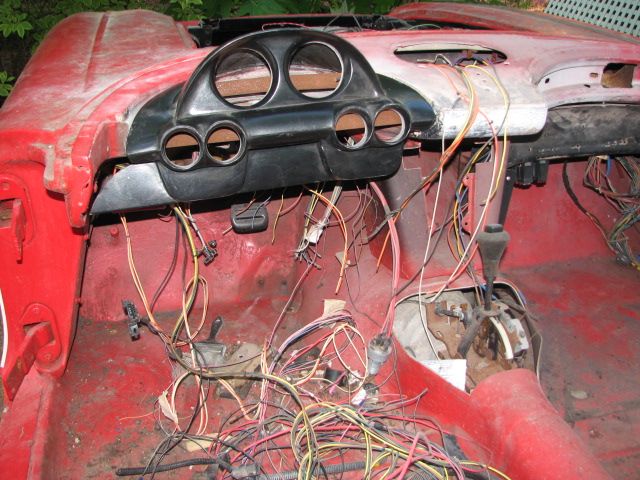
The jury is still out on this idea. I'm headed to Good-Guys Nashville on the 14th (plan to be in the 66 GTO if I can wrestle it away from my son). If anyone plans to attend I would love to try and meet up. As always, more to come.
Ricky


Later in the day I finished cutting the badly rusted heads off of several body to frame bolts and removed a number of other things to prepare for the frame switch. I also marked where the fiberglass cuts to the spare tire carrier need to be made.

My boys have promised to round up some friends move the body over to the new frame when I am ready. The body is completely unbolted right now, but it will be a couple of weeks before I am ready - I still need to run brake lines and complete several other tasks.
On another note, a friend loaned me his aftermarket dash made by Paul Atkin. I think I'm going to go this route so I can install a tilt wheel. My thought is to rework the lower part of this dash to incorporate the AC vent and place the other switches where I want them.

The jury is still out on this idea. I'm headed to Good-Guys Nashville on the 14th (plan to be in the 66 GTO if I can wrestle it away from my son). If anyone plans to attend I would love to try and meet up. As always, more to come.
Ricky
07-06-2015, 06:35 PM
#34
Racer
Thread Starter
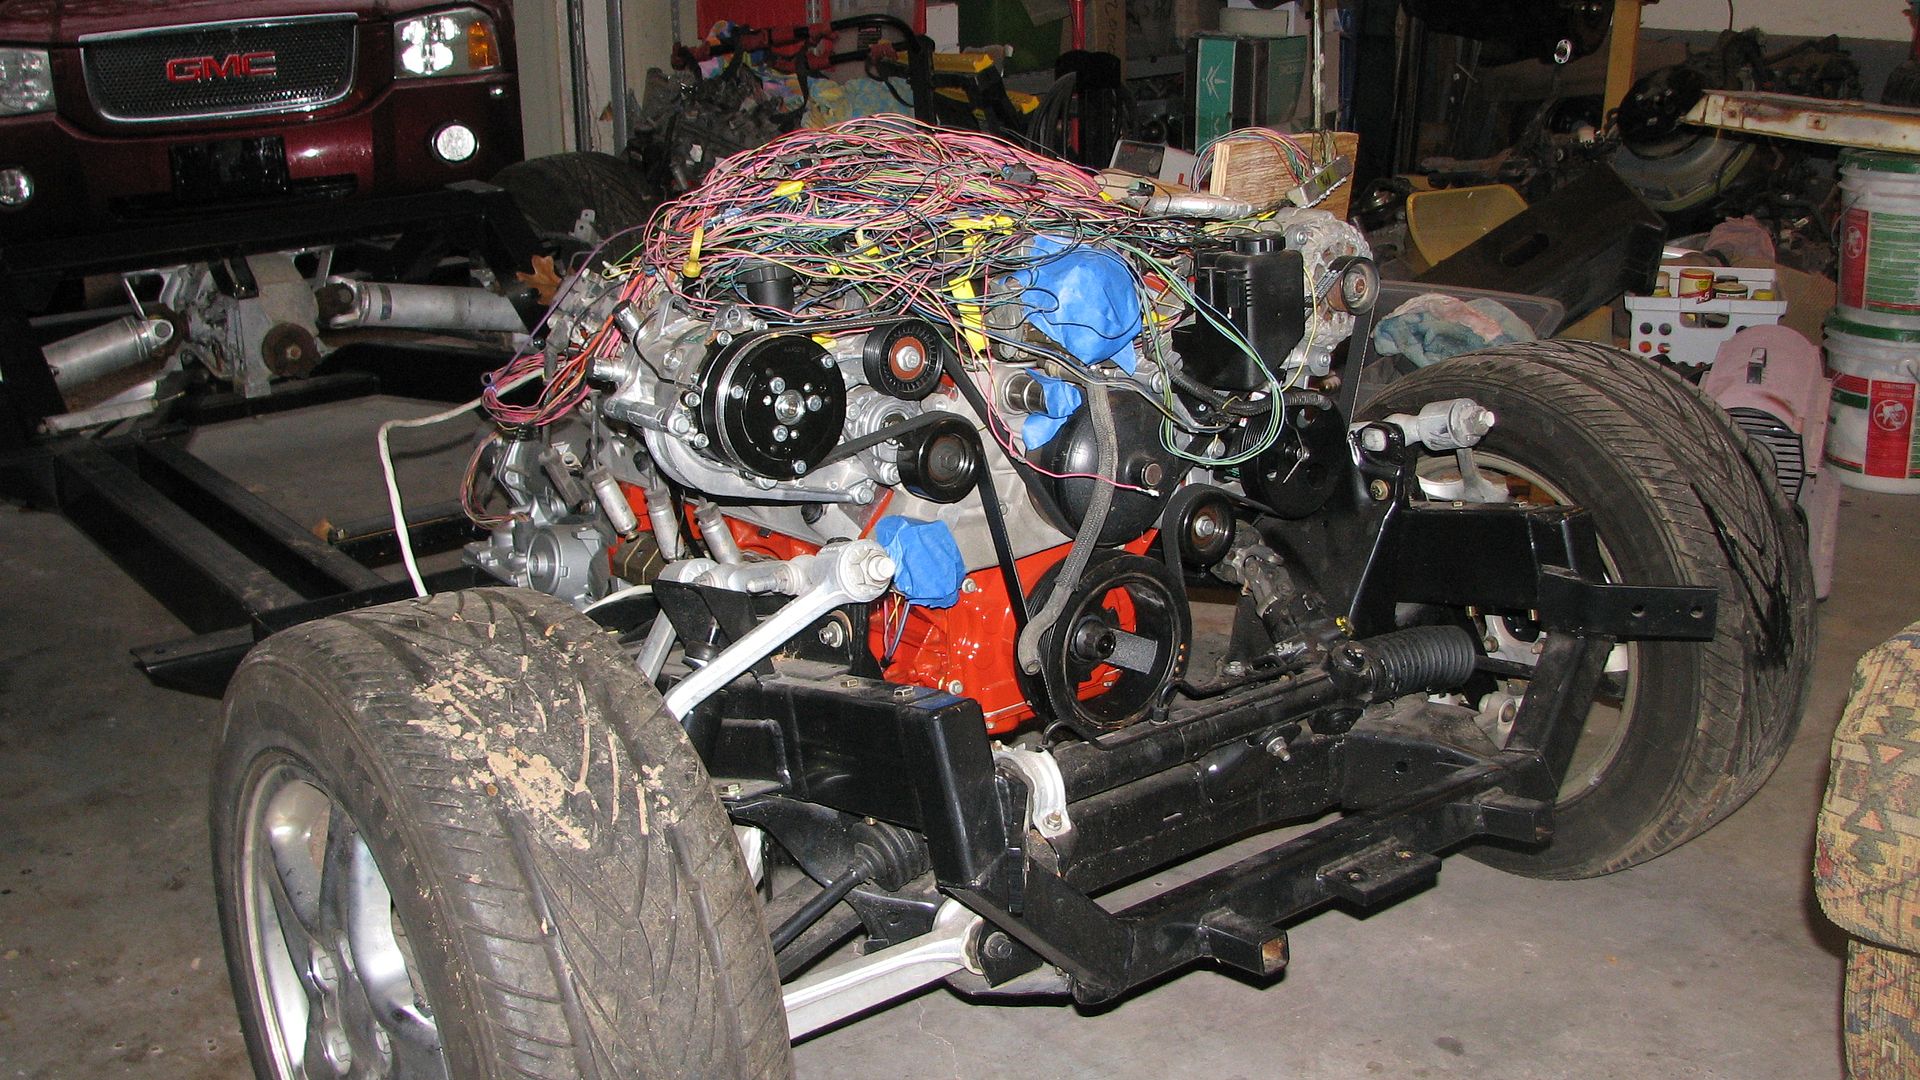
While it has been about two months since my last update, I have been working on the car. I got the front end reassembled and the tires on the frame – it is now a roller!
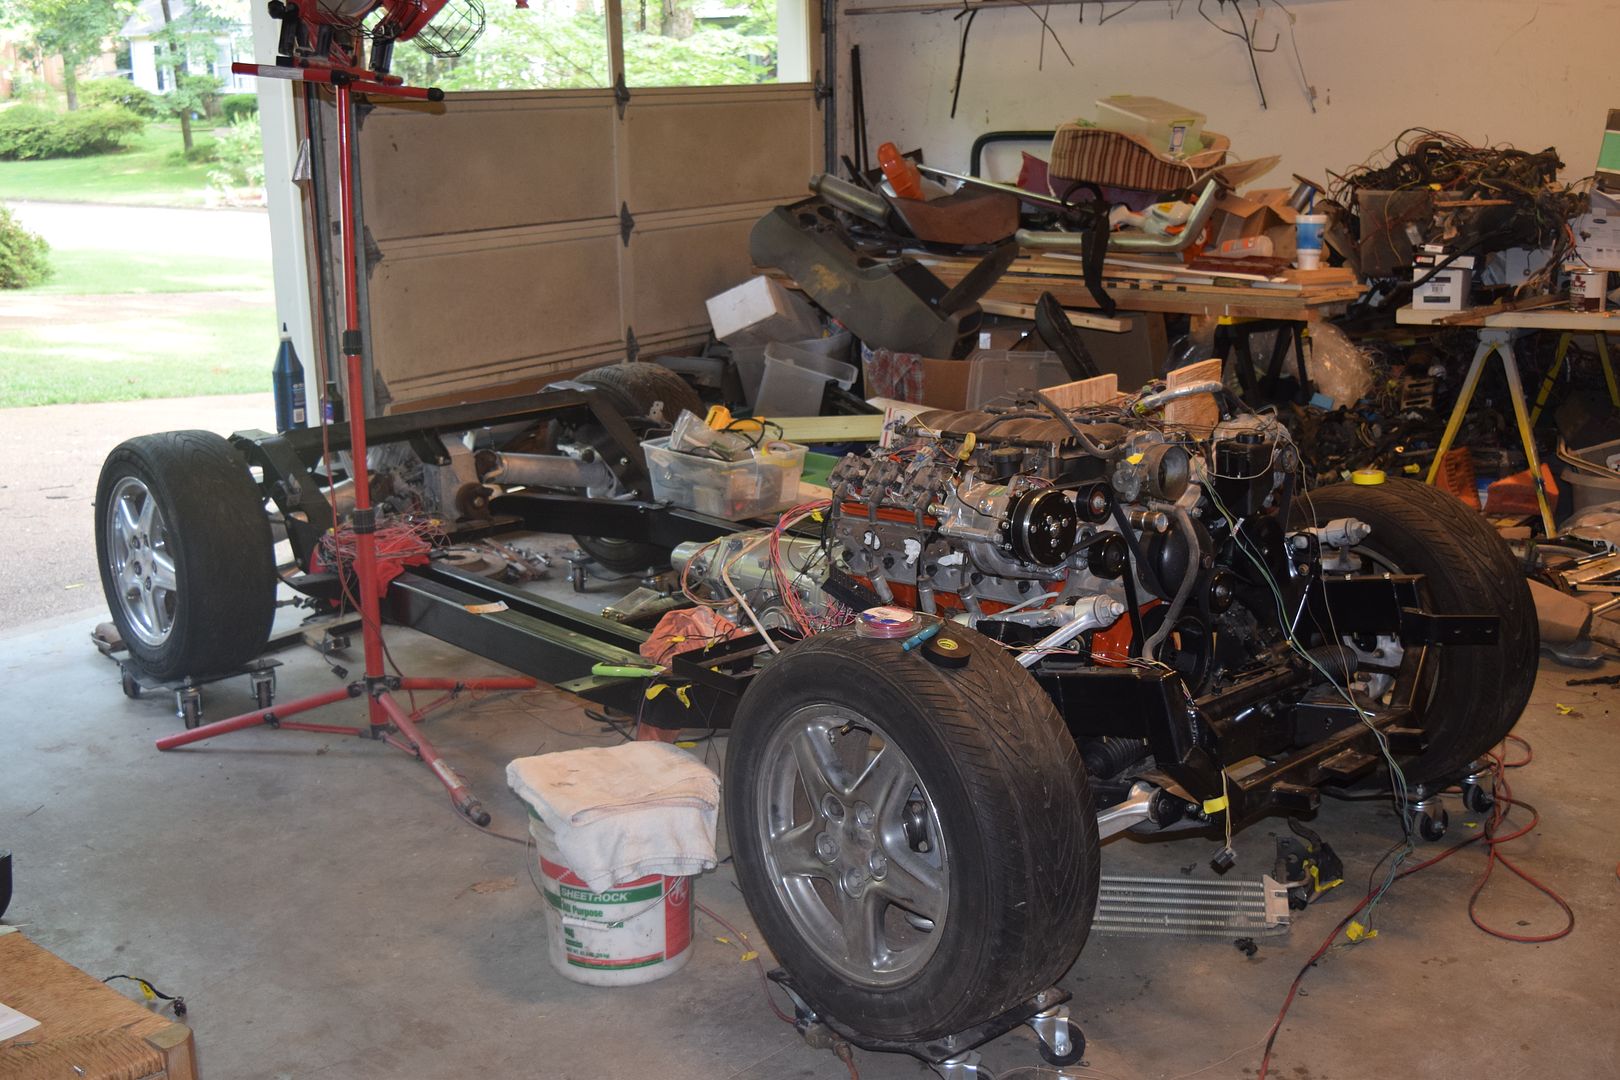
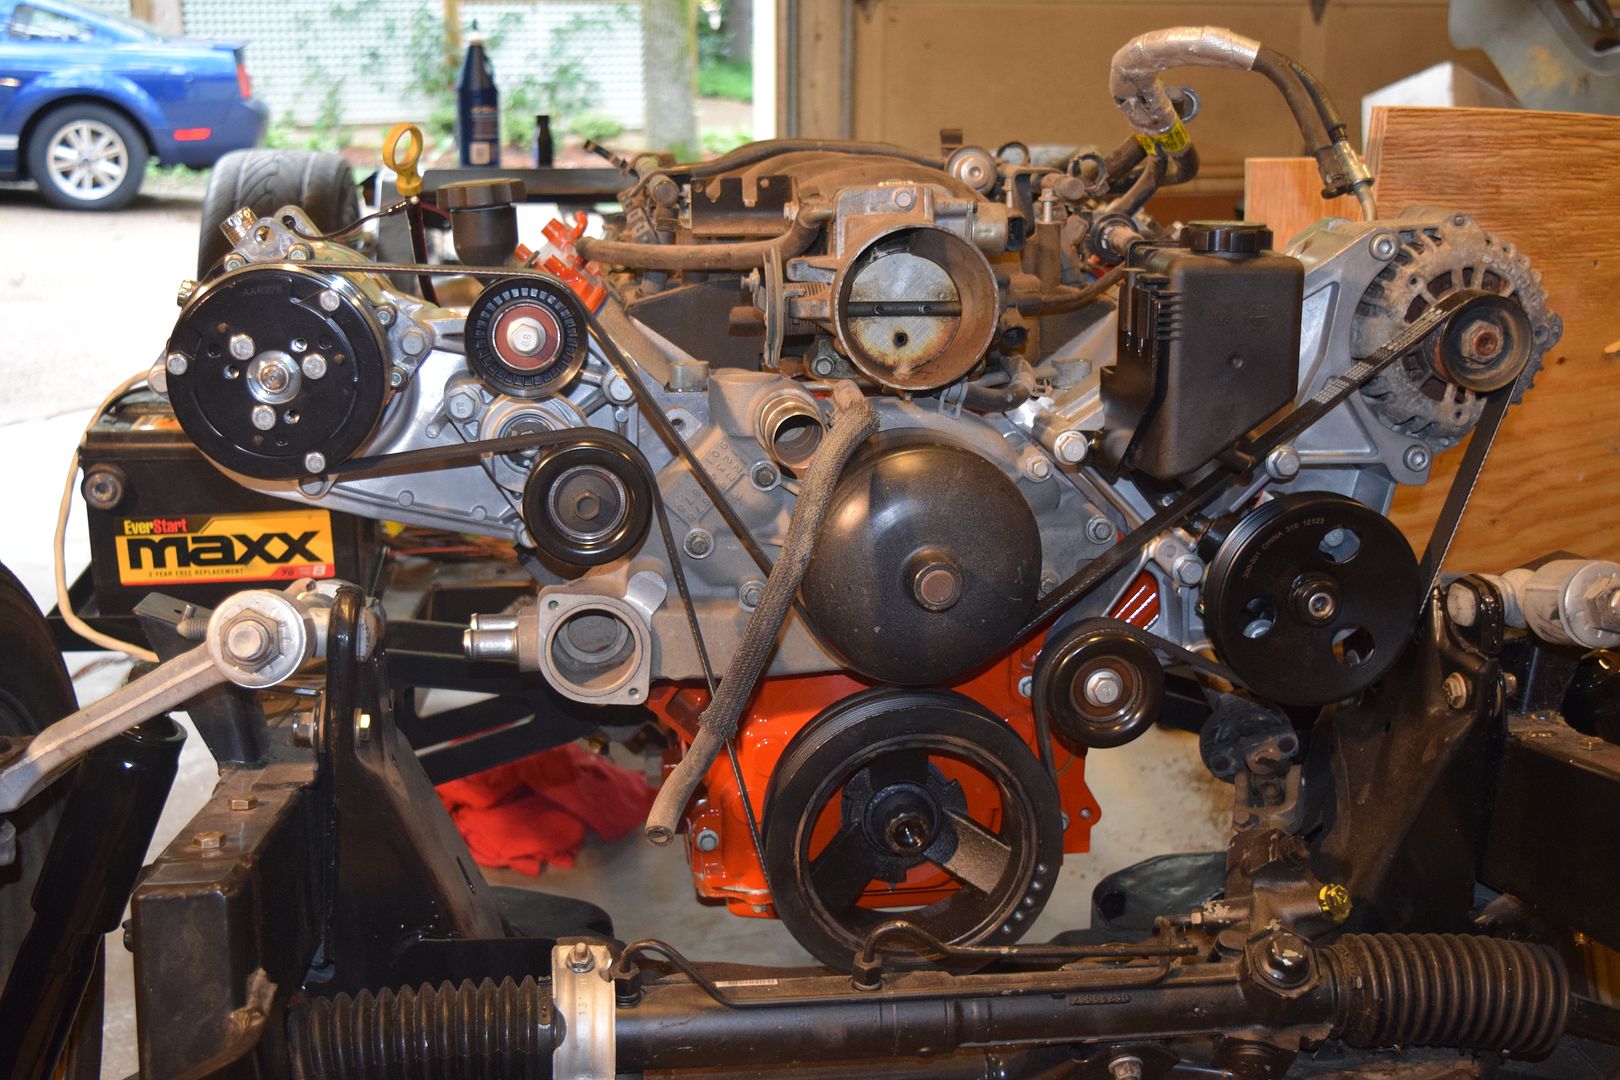
I also installed the belt driven engine accessories using the Holley brackets. I'm happy with how the system works and looks. I do have an issue with the power steering pulley just clearing the upper control arm – I think it is too tight and will clearance it. This system uses the Corvette power steering parts and a Camaro/Truck type alternator.
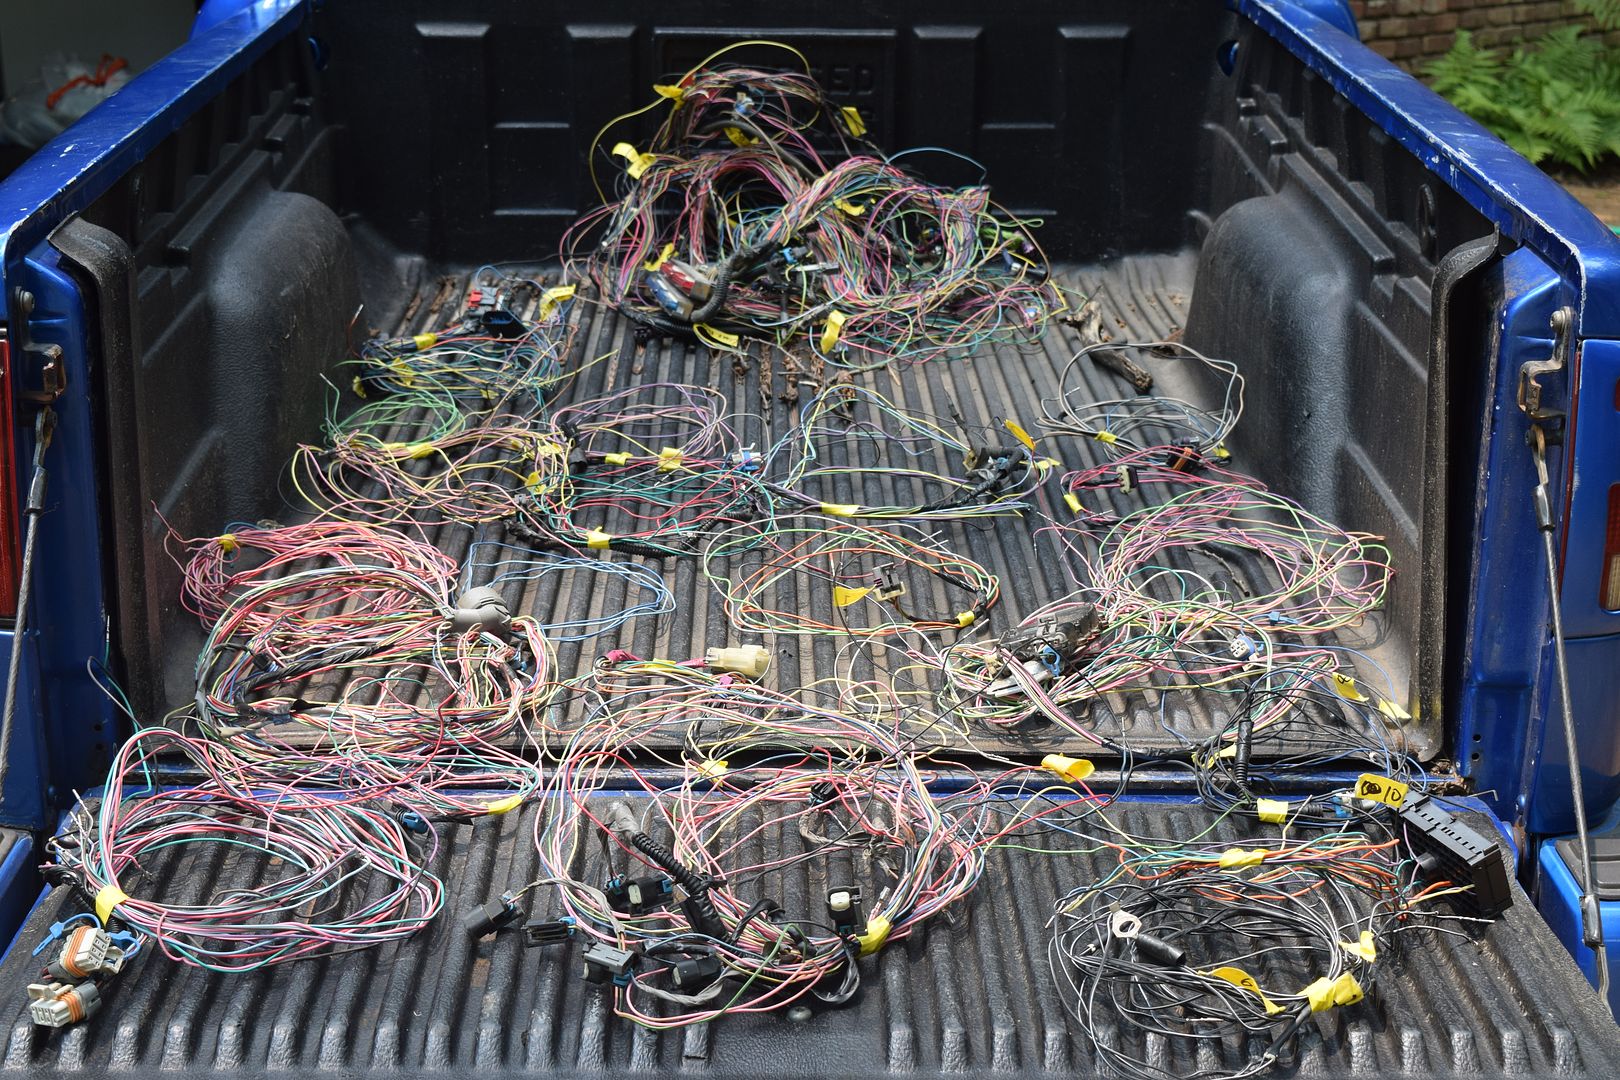
I had a long 4th weekend and began wiring the engine management system. Because I want the engine compartment to be as "clean" as possible, I could not just use a truck harness as is. The first step was to completely disassemble one of the two "partial" engine harnesses I have. I threw all harness subparts in the back of my truck, along with the other harness.
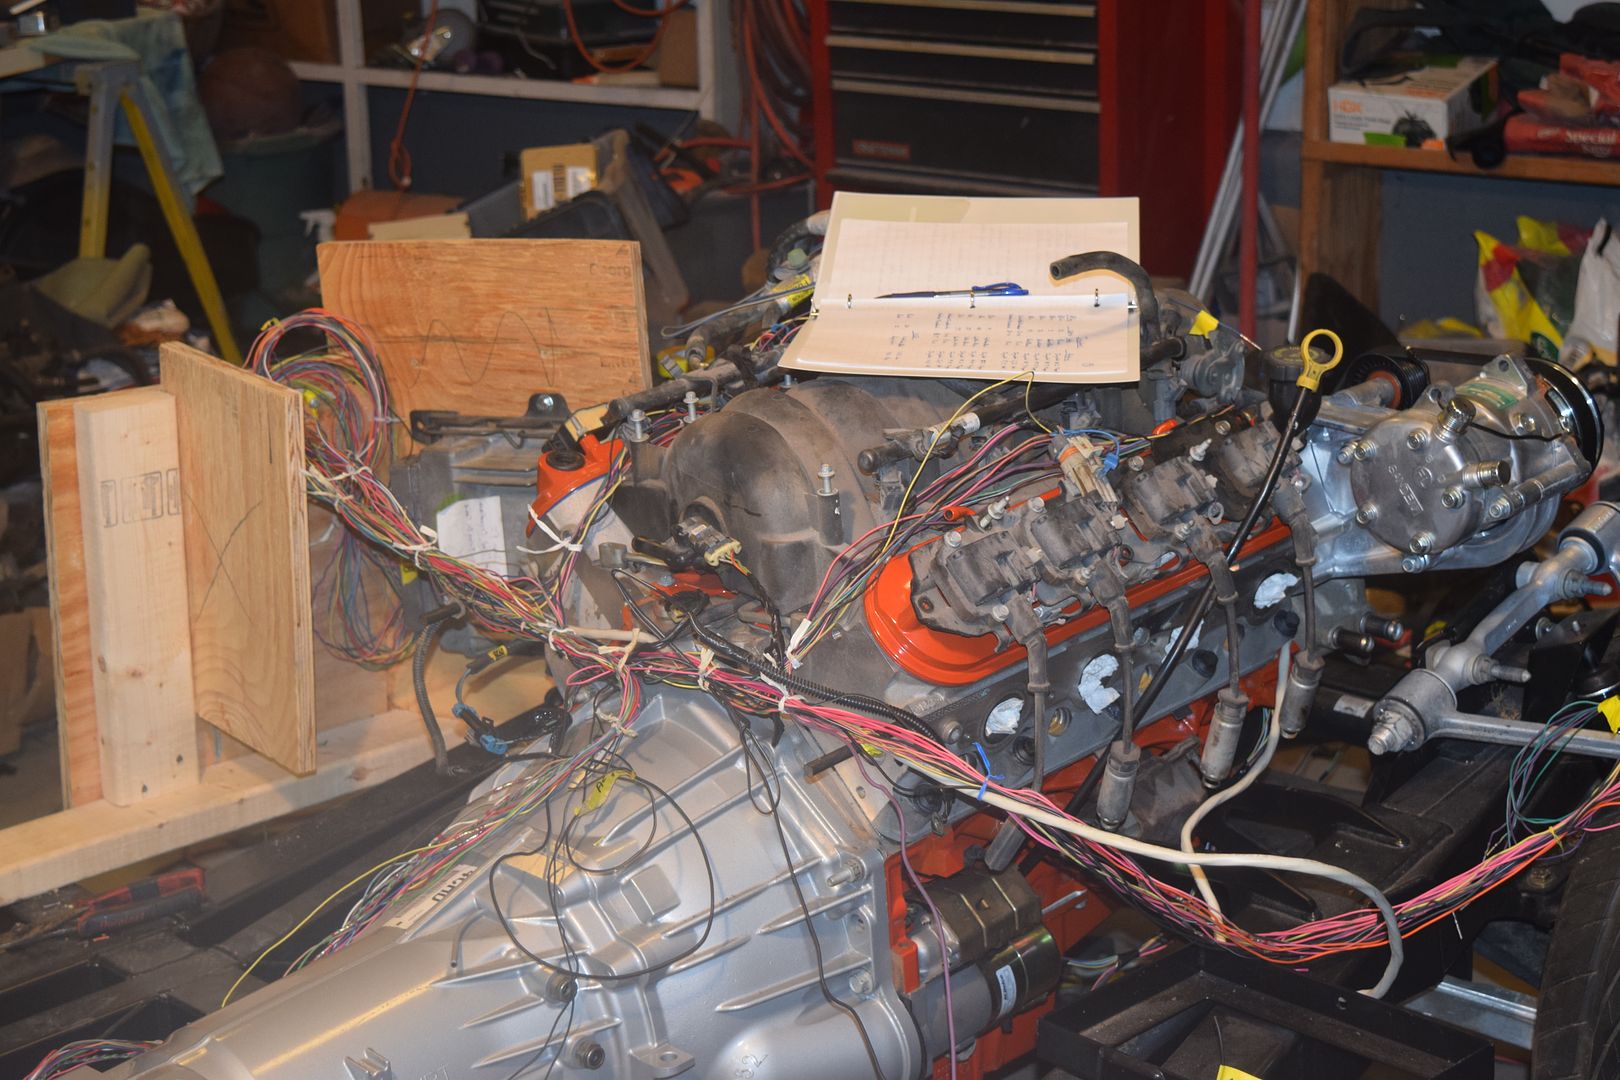
I also determined where the computer and fuse block would be located in the corvette, then made a crude wood jig to hold the computer/wiring in place while I wired the engine with the body off the frame.

Years ago I printed off the engine management schematic for a 2001 Chevy truck and a 2000 Camaro – these have been invaluable for every engine wiring project I've done.
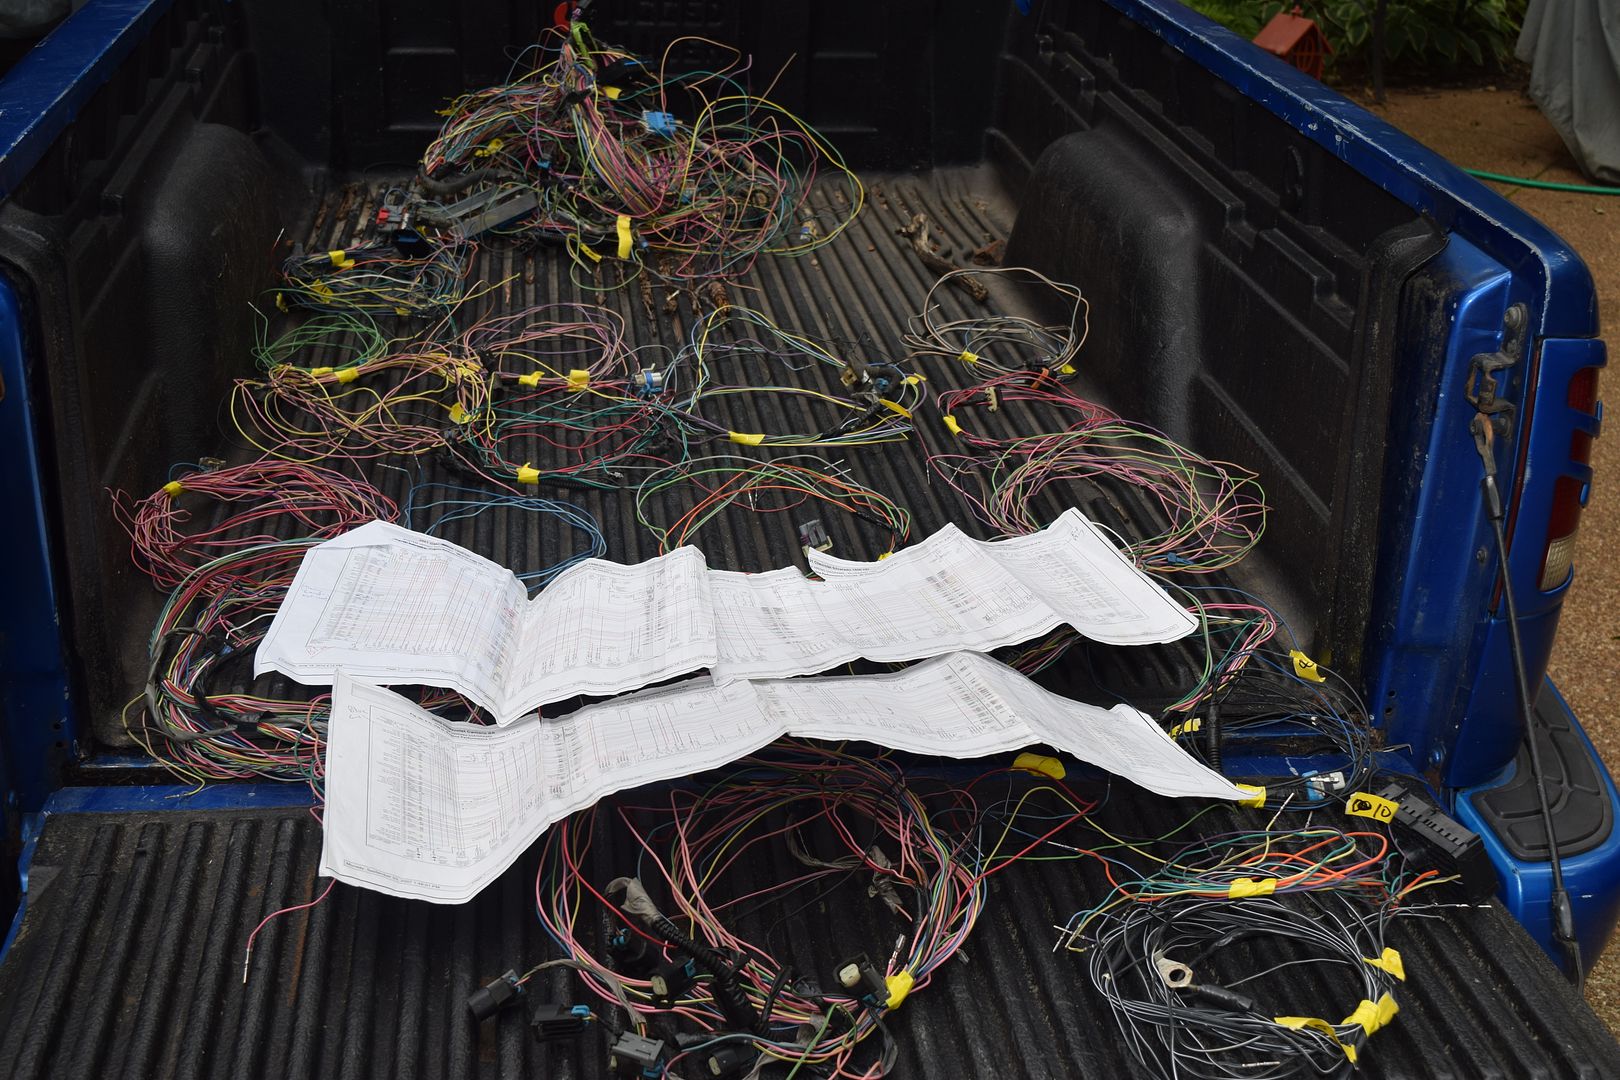
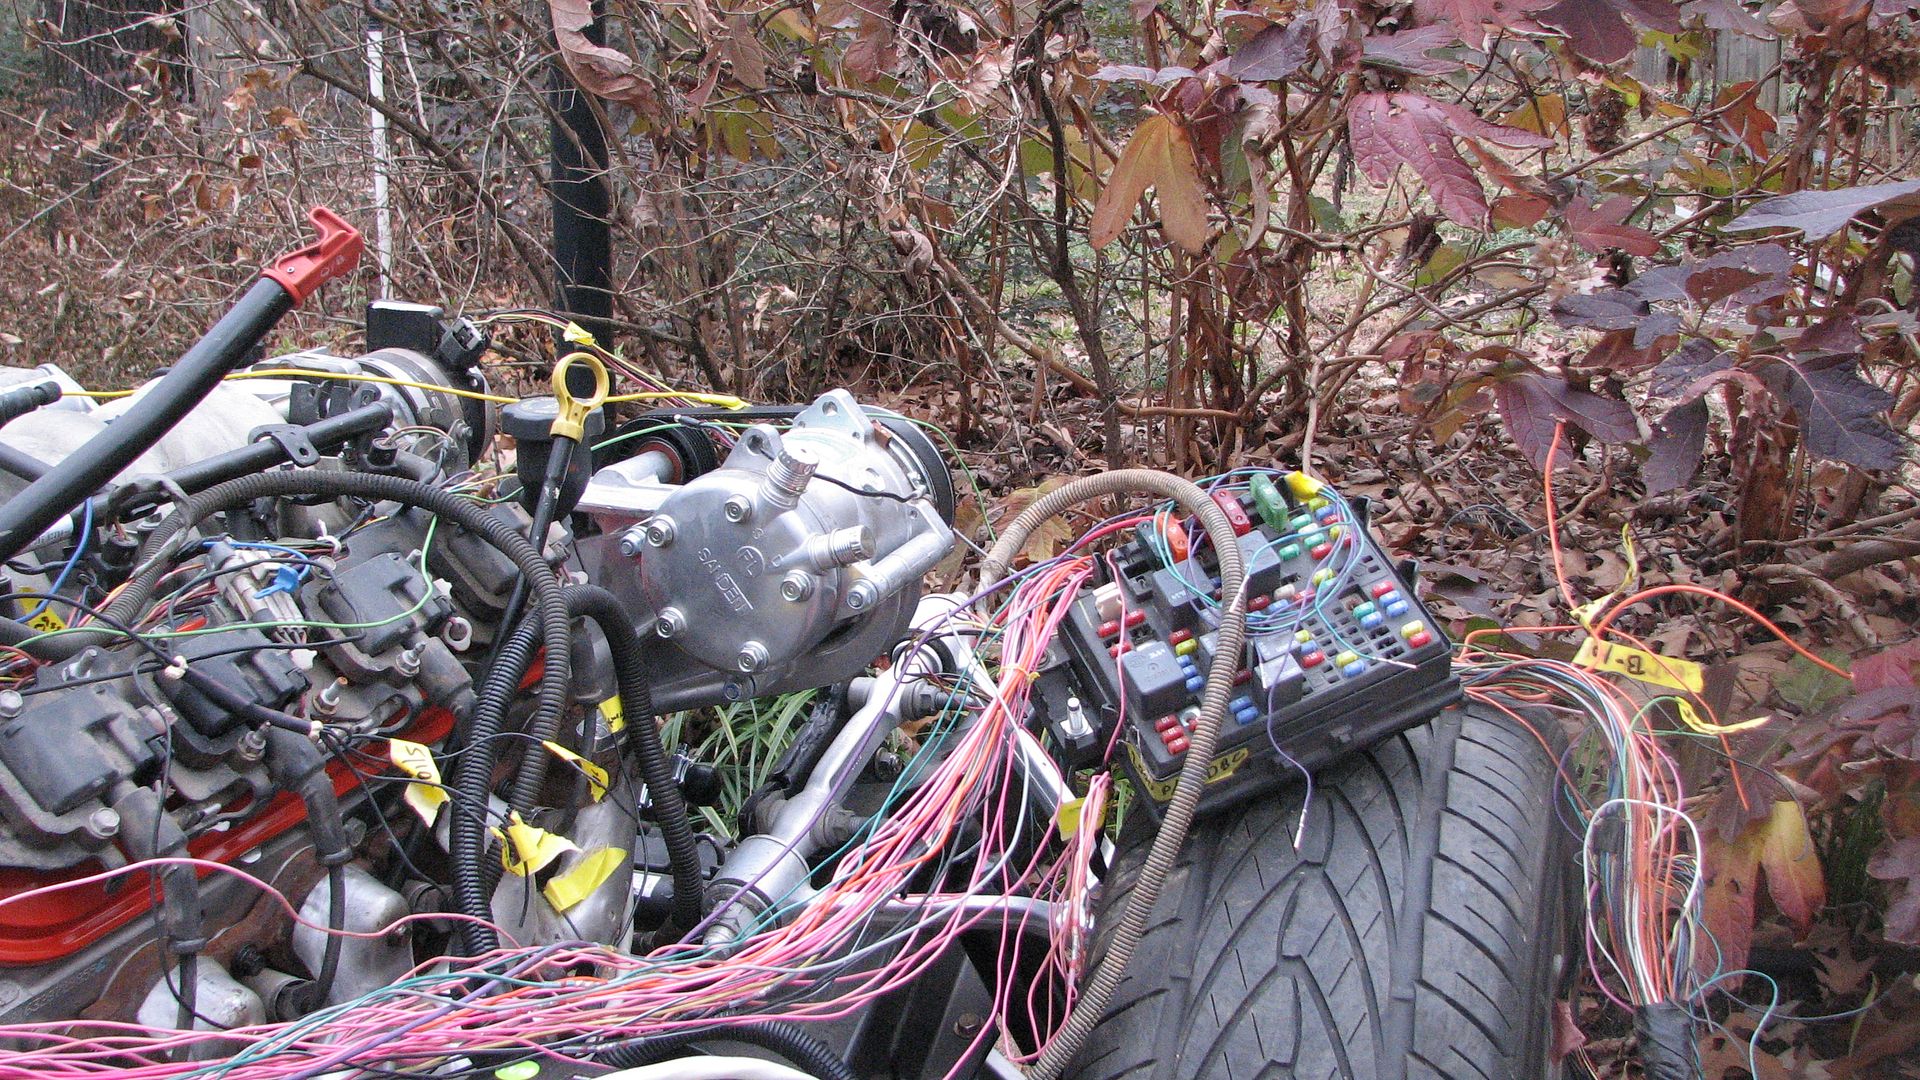
On this project I have also made a notebook containing each engine/tranny wiring subsystem and where it terminates. This has made the job so much easier (wish I had thought of this years ago!). Here is my current progress on the wiring front. I have approximately 35 wires to go to have the engine management system completed. Once that is done, all I need to do is plug in the pickup truck fuse block, connect the power, and hook up 5 wires to hear the engine run.
I'm headed to the Good-Guys PPG Nationals in Columbus Friday and Saturday for car inspiration – it is always a great time, then out to Denver for work next week – so it will be close to the end of July before I finish the engine wiring and hear the engine run.
As always, more to come.
Ricky

I also installed the belt driven engine accessories using the Holley brackets. I'm happy with how the system works and looks. I do have an issue with the power steering pulley just clearing the upper control arm – I think it is too tight and will clearance it. This system uses the Corvette power steering parts and a Camaro/Truck type alternator.

I had a long 4th weekend and began wiring the engine management system. Because I want the engine compartment to be as "clean" as possible, I could not just use a truck harness as is. The first step was to completely disassemble one of the two "partial" engine harnesses I have. I threw all harness subparts in the back of my truck, along with the other harness.

I also determined where the computer and fuse block would be located in the corvette, then made a crude wood jig to hold the computer/wiring in place while I wired the engine with the body off the frame.

Years ago I printed off the engine management schematic for a 2001 Chevy truck and a 2000 Camaro – these have been invaluable for every engine wiring project I've done.

On this project I have also made a notebook containing each engine/tranny wiring subsystem and where it terminates. This has made the job so much easier (wish I had thought of this years ago!). Here is my current progress on the wiring front. I have approximately 35 wires to go to have the engine management system completed. Once that is done, all I need to do is plug in the pickup truck fuse block, connect the power, and hook up 5 wires to hear the engine run.

I'm headed to the Good-Guys PPG Nationals in Columbus Friday and Saturday for car inspiration – it is always a great time, then out to Denver for work next week – so it will be close to the end of July before I finish the engine wiring and hear the engine run.
As always, more to come.
Ricky
07-07-2015, 09:17 AM
#35
Racer
Love the work you are putting into the car. Even better that you have willing helpers when you need them. That wiring scares the crap out of me. It is the main reason I do not do more with my car. Ill change mechanical stuff in the driveway but when it comes time to run wires I spend weeks researching and checking and looking again before I touch anything and then I call my friend the mechanic who comes by and shows me where I screwed up.
01-16-2016, 11:13 PM
#38
Racer
Thread Starter
It is hard to believe it has been 6 months since I last worked on this project. As all know, if it is not your day job, life happens and project time often suffers. On a positive note (at least for me!), my son we built the GTO for graduated from college and went to work for an accounting firm in DC. The GTO came home to Memphis to live at my house for the next couple of years. I have really enjoyed driving that car, and it did take some of the pressure off to get this car running.
This is where the project was last July – about 35 wires needed to be run to get the Basic system done to make the engine run.
In any event, after new year’s I was able to finally run the wires. I use a 1999-2001 Chevy truck fuse block and wire the car around it.
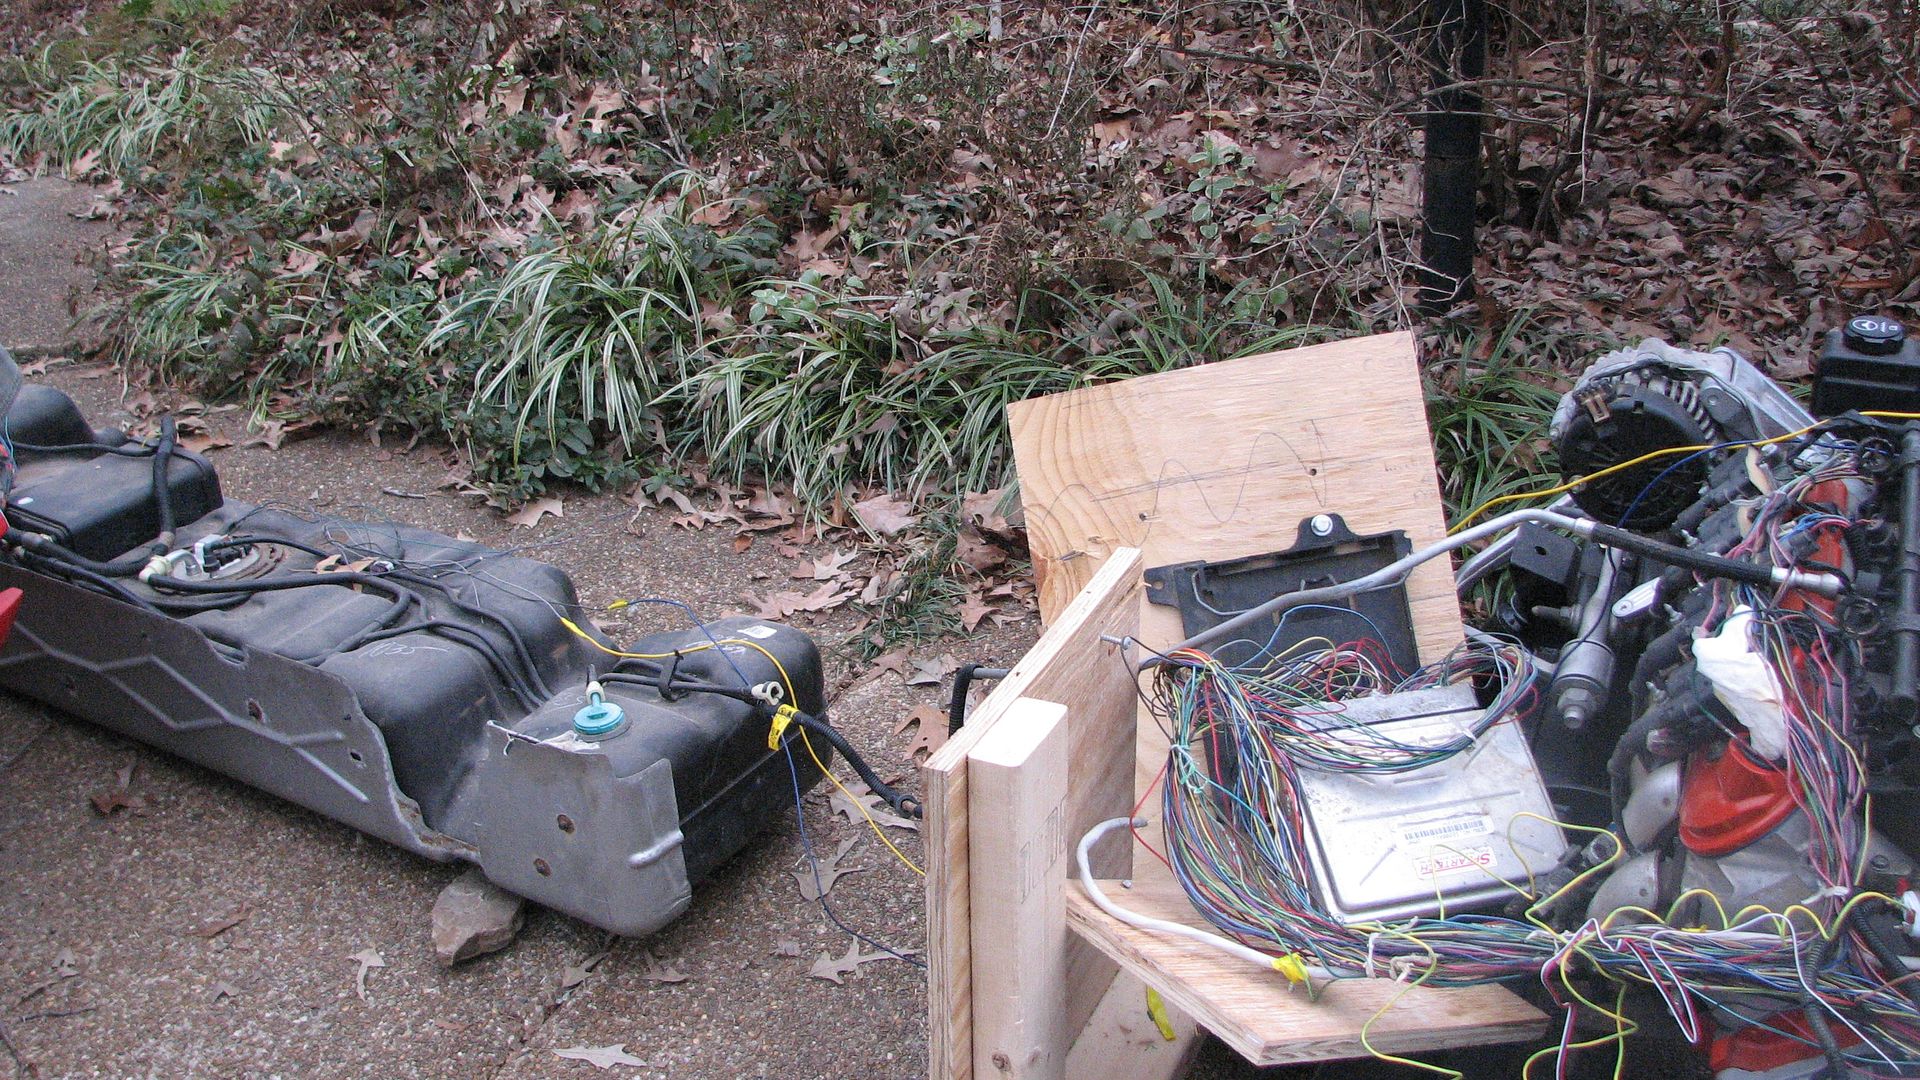
I used the fuel tank I have for my 1955 Chevy pickup project and plumbed it up to supply fuel to the fuel rail. I checked the injectors and 6 were gummed up. I pulled them and “boiled” them in water for about 5 minutes and that freed them up.

When using the truck fuse block, you only have three wires to deal with to make an engine run (assuming you have the Theft off). After a long slumber (several years) the engine roared to life earlier this afternoon.
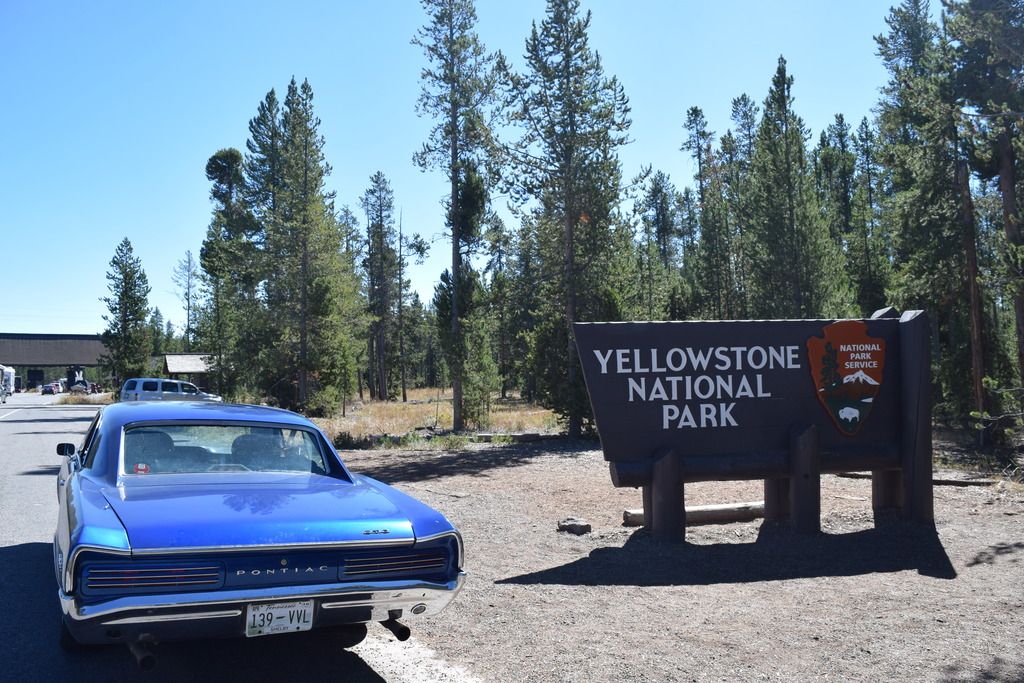
I hope to work on this project more often this spring/summer, but driving the GTO takes the pressure off. I hope to drive this old vette like the GTO – it will not be as comfortable, but it should be a great ride. I will close with some pictures of a road trip my wife and I took to Yellowstone and the Tetons this fall in the GTO We drove the car over 5000 miles in 12 days and it ran flawlessly.

As always, more to come.
Ricky

This is where the project was last July – about 35 wires needed to be run to get the Basic system done to make the engine run.

In any event, after new year’s I was able to finally run the wires. I use a 1999-2001 Chevy truck fuse block and wire the car around it.

I used the fuel tank I have for my 1955 Chevy pickup project and plumbed it up to supply fuel to the fuel rail. I checked the injectors and 6 were gummed up. I pulled them and “boiled” them in water for about 5 minutes and that freed them up.
When using the truck fuse block, you only have three wires to deal with to make an engine run (assuming you have the Theft off). After a long slumber (several years) the engine roared to life earlier this afternoon.
I hope to work on this project more often this spring/summer, but driving the GTO takes the pressure off. I hope to drive this old vette like the GTO – it will not be as comfortable, but it should be a great ride. I will close with some pictures of a road trip my wife and I took to Yellowstone and the Tetons this fall in the GTO We drove the car over 5000 miles in 12 days and it ran flawlessly.


As always, more to come.
Ricky
Last edited by ricott; 01-16-2016 at 11:25 PM.
The following users liked this post:
ptjsk (10-30-2016)
01-17-2016, 12:55 AM
#39
Melting Slicks
Member Since: Jul 2010
Location: Between Tally and Gatorville ,Florida
Posts: 3,454
Received 83 Likes
on
69 Posts

Glad to see your back on the 58. I think we all understand how quickly a project like this can go on the back burner.
I was originally goin to use the same bracket set up for the accessories but, after test fitting the body, I would have needed to modified the inner fender skirts to clear.
Where are you planning on mounting the fuse box?
I was originally goin to use the same bracket set up for the accessories but, after test fitting the body, I would have needed to modified the inner fender skirts to clear.
Where are you planning on mounting the fuse box?
01-18-2016, 09:08 AM
#40
Racer
Thread Starter
Glad to see your back on the 58. I think we all understand how quickly a project like this can go on the back burner.
I was originally goin to use the same bracket set up for the accessories but, after test fitting the body, I would have needed to modified the inner fender skirts to clear.
Where are you planning on mounting the fuse box?
I was originally goin to use the same bracket set up for the accessories but, after test fitting the body, I would have needed to modified the inner fender skirts to clear.
Where are you planning on mounting the fuse box?
I also don't know why the link to the engine start up doesn't work - I will check on that.
Last edited by ricott; 01-18-2016 at 09:14 AM.