When you click on links to various merchants on this site and make a purchase, this can result in this site earning a commission. Affiliate programs and affiliations include, but are not limited to, the eBay Partner Network.
The bonding adhesive I'm using is from CI, I got it with the front clip. Eckler's also sells the correct stuff. I haven't had any problems with work/set time but it's all dependent on the amount of catalyst you mix in. I was advised to get everything set as far as gaps/alignments from the A pillar back, then start the front clip alignment process. I have a Word file with a post that Scott Marzahl did back in Oct '13 that describes his front clip process. If you send me your email, I'll send you a copy. My doors are now set and I'll bond my rear quarter this weekend. Then I'll dry set my front clip and pre-fit the bumpers, headlight housings, grill, hood, etc.
Email sent. Scott has given me a lot of advise since I started this back in mid-2005 so I'm sure to read that before cementing anything.
Today I stripped the drivers door to rebuild the guts so that I can make sure the windows fit and align along with everything else. Even though I bought this project in pieces eveidence tells me the drivers side took a hard hit. Chalk marks numbers match most parts except the drivers door. There is also a lot more wear and tear on the mechanisms of that door vs the passengers.
I'm still amazed how long I struggled with alignment just because of one set of shims.
Slalomfiend, I got the file and thank you. Opened a whole new mess of events before I even think of glue.
DUB, I have not found the cartridge I used before but can most likely guess it is epoxy because it is a 50/50 mix. Polyester resins are not like that. Reading through other threads explains pros and cons of everyone's experiences.
What I'm trying to find is the least complicated adhesive that will give me a decent amount of time to mix, apply, place the panel/nose and then clamp without the worry of it never completely setting. I'm not using SMC. I have a PM factory style assembly. Thanks.
IF you Corvette were in my shop and I was bonding your parts back on. I would use Evercoat's SMC PANEL ADHESIVE Part number 994 and THAT'S IS ALL I WOULD USE.
I have so many front and rear clips that have been bonded with it and NEVER a problem. REGARDLESS what is written by Evercoat. Evercoat has to write this stuff because there are idiots out there that use it and do not know what they are doing and then complain.
AS I wrote before...if you need working time....that is EASY to control in the 994...but if you still plan on using the cartridge material....than that is up to you and I truly wish you the best. I have seen successful repairs that required some work to get correct...and also catastrophic problems also when the cartridge material was used.
If you are looking for an easily applied product that gives you work time...I guess you have really no options. I have been bonding clips and panels on WAY before this 'new age' cartridge product was readily available.
Not knowing how many panels you have bonded on...but one thing I can say...I will have a front clip (for example) on and off and getting set at least 10 times....BEFORE I even think of mixing the 994....and I also TIME myself on how long it takes so I know how much time I need to get it on and set.
I will take advantage of your advise and experience and will use the 994 over the cartridge. The cartridge is not really that easy to use because I don't attach the "mixer" nozzle to it. I squeeze it out onto a mixing palate, stir it up with a putty knife then apply it. I have not used it anywhere that shows once the car is assembled plus all the subsurface repairs were over coated with polyester resin and matt. I know that polyester and epoxy do not attract a good bond so anything that oozed out was removed before curing.
I am very familiar with trial fitting many times before cementing and patience is my virtue. My wife can't believe how many times I've had her help putting things on and taking the same things off. I spent 3 months test fitting the chassis metal before welding and even then I spot welded and premeasured before final.
I am cleaning the acorns and pine needles from the door insides for the next step then prepping the latch mechanism so I can get the doors fitted to open and close.
I'm still tossing around on putting the front end or rear clip on first and reading other threads to help me decide. From the most recent help I'm convinced to put the bumpers and hood on before anything else.
Getting back to the 994, the larger container purchased is more economical but shelf life is "6 months". Is one quart enough to cement the front end to the cowl or not?
It's shrinking!!
Spent a few hours today with the drivers door. This is the side I believe took a hit so it's needs the most attention.
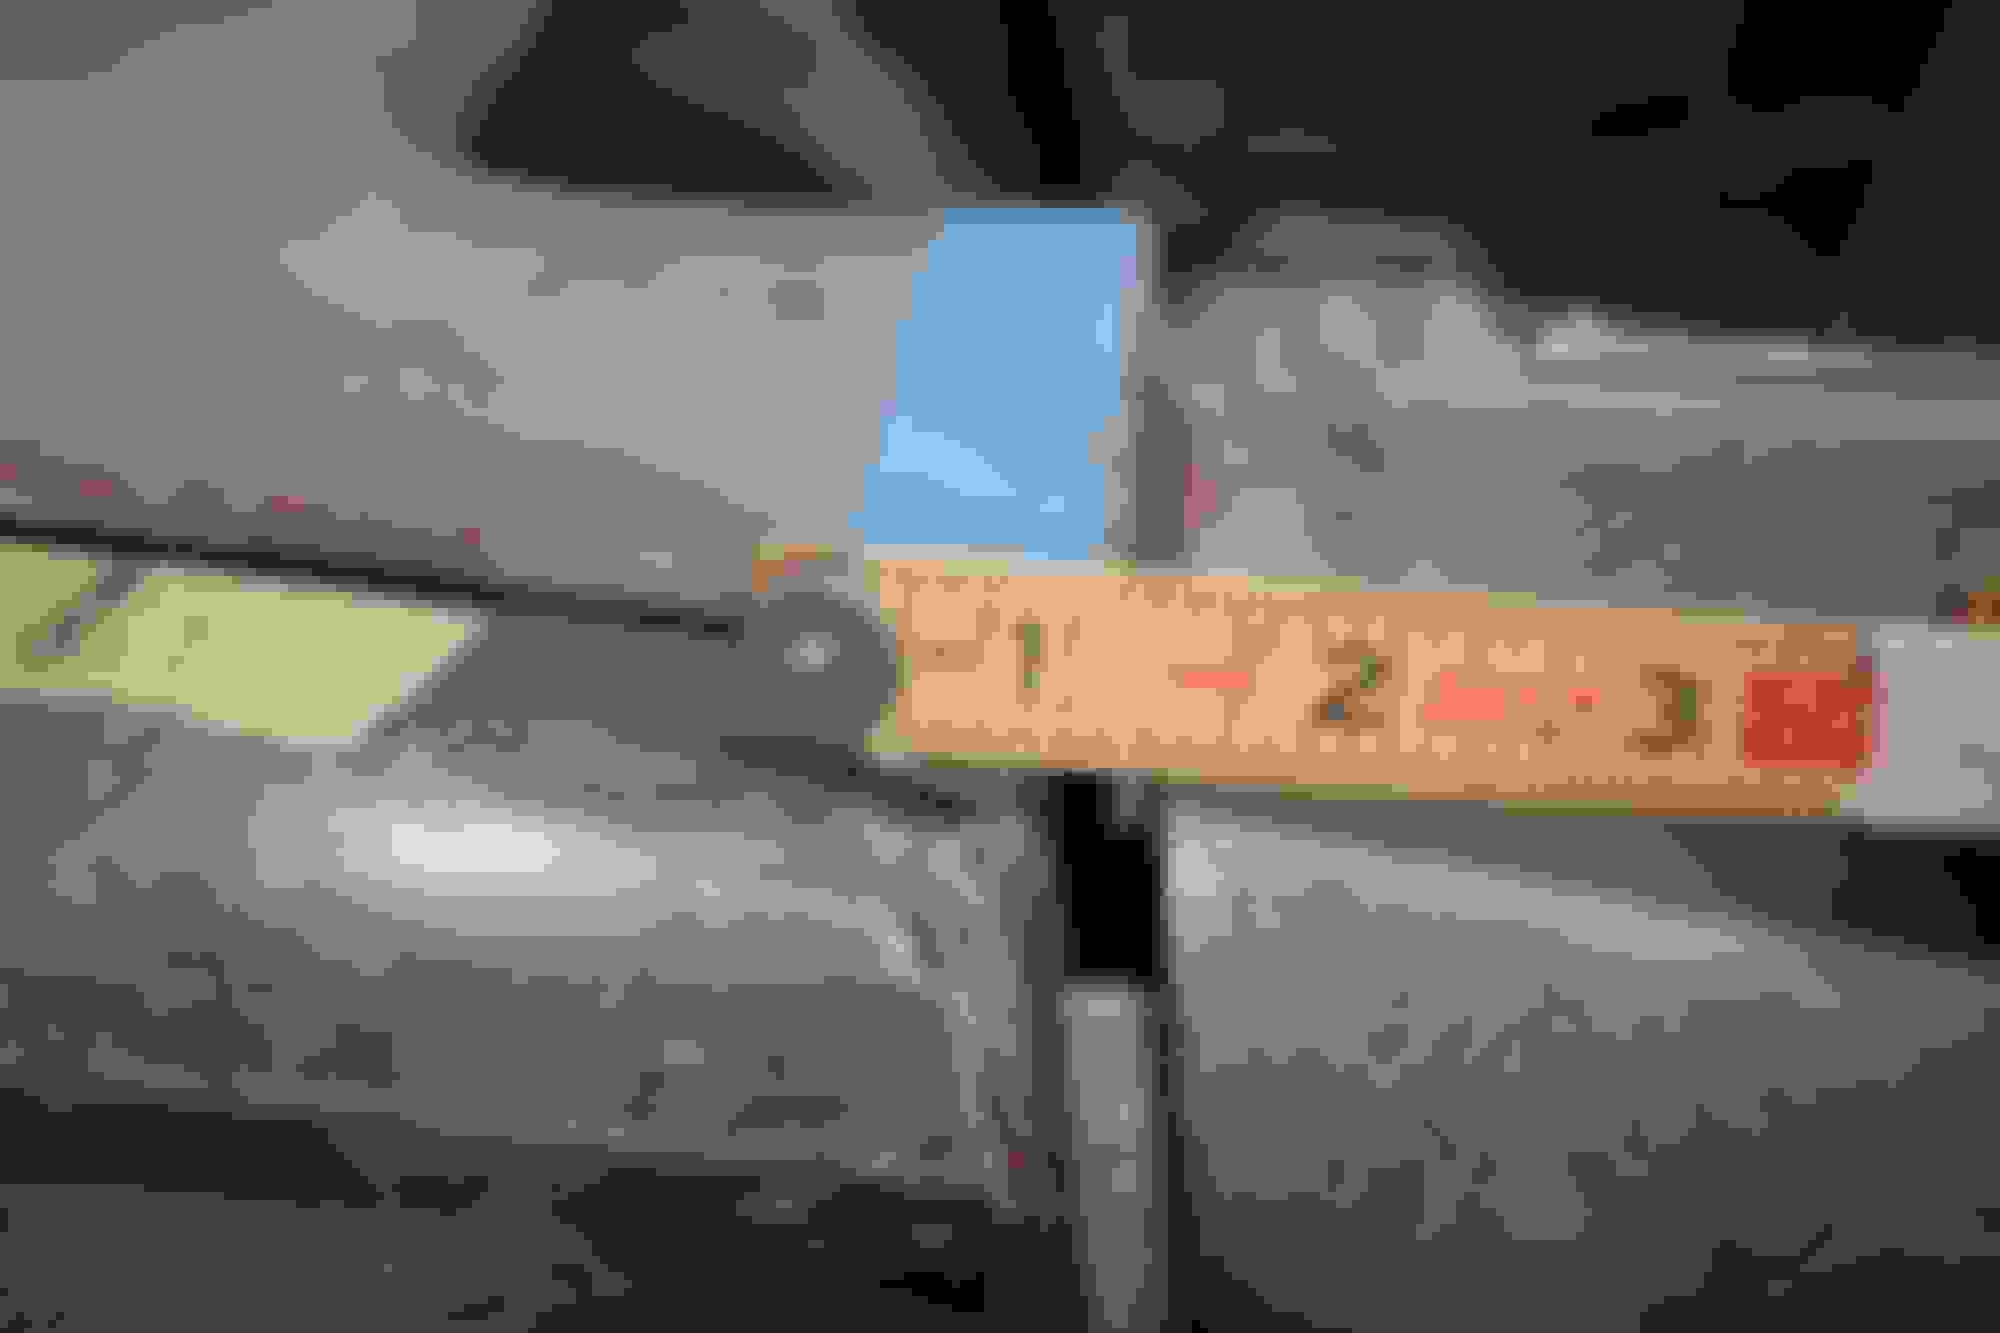
Being told that reproduction f'glass may need trimming I'm using as much metal as I can for alignment. I have the leading edge of the drivers door fairly well lined up using the lower edge along the sill with just under 1/4" space and the trim/vent gap about .160" I can tighten the vent gap later but for now I don't want to dent the trim so I'll leave it wide.
Does this look correct?<br/>
Match anyones? Top of Vent /trim
Is the over hang familiar?
The replacement B pillar cover needs help.
Door matched sill but not the B cover
B cover too high
Base of B seems workable
Seems that rear clip moved forward. Lid and quarter skins too far forward
OK, more head scratching. Research says 994 for SMC and FRP but supplier says 870 for original type Vette panels. DUH?
They also come with red hardener but my panels have grey oozing out. Is the grey added with a dye ?
Maybe I asked the wrong distributor?
EVERCOAT is the manufacturer.
YES...you can use Vette Panel Adhesive (part number 870 quart) (part number 880 gallon). Using it for bonding on a clip is something that I can do but prefer not to do. I ahem used the VPA for so long that unless it is cold...when I mix it to the color that I have achieved for so many years...it can set -up faster than I like.....which is why....I use the 994. Bonding on a quarter or smaller panel the can go on quicker...I use VPA with no problems....I know it is MENTAL thing with me...but I go with what I am comfortable with and BOTH will bond the panel on. I guess I can 'practice what I preach' in regards to mixing a small batch and see how long it takes to set-up....but...I have gotten comfortable using the 994.
As for the 994...I buy them in quarts and I would get 2 quarts and see how that goes. It all depends on how wide your gap where the adhesive has to go is. And then make a mental calculation. It is always good to not BE CHEAP ad try to save material.....it is best to over mix..because not having enough and have to stop and mix up more is a pain.
I looked on line for info about the 994 and see that the working time seems too short for the entire front end job. By the time two guys mix the quart or more it may be already starting to set. I will get some and practice.
I found the tube of what I used to cement the floor panels and it is Evercoat 816. That had a lot of working time but it's not polyester.
If you see in the photos I have a big problem with the rear clip. It has moved forward almost 3/8". This may have happened when the previous owner cradled the body over a few pallets for several hot summers. I need to start measuring to find out where this thing shrunk and how to stretch it out.
OK, you can all stop laughing now. I found out how the rear clip shrunk...DUH! Now I know why there was a large spacer at mount #3. There are now large spacers at #'s 1, 2 and 3!
The only other way I can fix this is to put no rubber cushion at #4. Has anyone ever done this?
I need to hear from experience. I have more than one way to proceed. Up to this point I have kept the sill parallel to the frame and wonder if it matters. To get the rear up on a cushion I either shim 1,2 and 3 up 3/8" or leave #1 alone and raise 2 and 3. Doing that will tilt the body lower in the nose Is this typical? I did read that 1963 Vettes did not have rubber cushions. Hmmm
I'm searching the internet now for vent window regulator rebuild kits and found so many dealers and such a wide range of prices. I see cast gears as well as hardened aluminum ones. So confusing.
Back on track. Inexperience is my biggest problem. Other issue is that others were at this before me and I'm working around whatever they did.
I see no reason that the body needs to be perfectly parallel with the chassis so I put 5 shims at #3 on both sides and everything now looks workable within 1/8" of fiberglass trimming from the lid. Even the top of the new replacement B pillar cover is within 1/16" and can be trimmed NP. This is still a trial fit before cementing the front and rear on and each mount has extra shims that can be removed evenly so far.
I happy that the frame is fine. I spent over 8 months verifying that it was not hit then replaced the rear half with brand new parts from Michigan. Every dim. in every direction is with 1/16" with most on 0.
Again, it's my lack of experience and concern for perfection that are fighting each other. Today was progressive and tomorrow I will be visiting a buddy to compare and original to mine.
OOfxd, thanks for the tip. If you have used them and they work it's good with me.
Next will be dealing with LACK of organization. This project was on hold for months and during that time a lot of stuff was move around. You may notice that the drivers side rear lid surround is not in the photos. I did purchase a replacement but was using the original for line up. The whereabouts of the original is MIA and having it would help verify if I repaired the wells properly.
Sounds like a plan Scott, I'm presently ordering the bolt kits now and will search for the missing part until the shipment arrives. The passenger side quarter is still attached by the factory and I see that it overhangs the pillar cover by 1/8" along the door edge. I dug a lot of body filler out of there at the start of the project. Have you ever seen factory edges that deep? If I cut the skin back to avoid the filler I'll have to extend the edge of the door 1/4"to maintain a decent gap. I can't shim the pillar cover forward because it will hit the door. I'll do as you say and mount the bumpers to see if the clip is too far forward.
While placing the order I looked at the body mount kits and see that convertibles only had 2 cushions and the rest were solid shims/washers. Back in 2007 when I first ordered parts I did not see that choice. Do you see any difference between using rubber or solid to mount the body?
I HOPE that this car is on the GROUND and not on jack stands. IS IT on the ground????
Tire pressure correct on all four wheels????
The 994 will work if you choose to use it BECAUSE you are in control of how much hardener to add to it.....thus YOU control the time. I had a front clip on a 1964 take 3 days to total cure...and there is NO WAY this clip is delaminating. The choice is yours.
I ASSUME your inner skirts are already glued in the front clip?
2 people working simultaneously can do this.
I will say this ( and you may already know)...the brackets that attach to the rear frame for your rear bumpers have some adjustment in them. Shims can be used to space them away from the frame to get the lower exhaust filler panel to fit nicely by moving the taillight panel slightly. This area for me is the most critical. I want to have adjust-ability in this area so I can get the license plate bezel to fit along with how the lower exhaust filler needs to look.
Have the doors been removed before????
I have a 'tad bit' of concern on the amount of shims (5) that you used in the number 3 body mount area. How many are in the number 4 body mount area????
This may come back and haunt you when you go to put the rear clip on and see how it sits and if the bumper brackets will work correctly.
The front clip....I would wait until you get the rear clip set and correct...then do the front clip. OR...the front clip can be set-up and ready for bonding then we can get to the rear clip and door opening panel.
ADVISE: Pick one 'end' and get it to work then do the other. Also..I would make notes and TRY NOT TO do any cutting away of material...until the other clip is set-up.
Pat - I would try to keep the body frame "reasonably" parallel to the chassis rails and not shimmed to tilt to the front. You might run into problems with the front clip, radiator support and front frame horns.
Here is the latest. Using the passenger side as reference because that side was not hit, I have 1 think aluminum spacer and 2 steel shims at No 1, 4 steel shims at #2 and a rubber cushion (1/2") plus a total of 3/4" of shims at #3. The door sits parallel and centered with 1/4" gaps for clearance L + R. The birdcage sill is raised higher at #3 than #1 and 2. The quarter panel is odd with very slight pillar cover overhang at the top, even at the center and reversed overhang at the base. If I add more shims at #3 I can get the quarter to even out but that will put 7/8" of shims there. I am doing all this without torqueing pressure at the rubber cushions on #3 and #4. There are no shims at #4. I do have the option to remove the 2 shims at #1 and when the nose is cemented add several shims under the radiator cradle for adjusting the cowl forward if needed. Right now the cowl is unsupported by the nose but I do not see an issue with that. The doors are fitting fine and pulling the cowl forward may not help the quarter issue.
I'm taking a road trip now to visit a body shop that has a Vette and also has some 994 that I can practice with.
Passenger side lid OK and top of quarter is short to cover, Door could come back 1/8" if needed
Top of passenger door to A cover
Drivers side might need one more shim or remove material from lid.
Quarter skin barely overhands cover at upper edge. More shims will help but affect the top.
lower skin is short of the cover. More shim may help but again mess up top.
Scott, You just might have the right suggestion about checking the chassis/frame. I'm still very sure it is aligned but what I need to recheck is the #4 mounts and where they are welded on. From the center cross member back is brand new and jig welded by the distributor. It is very possible that the rear section is jigged wrong. It would not take much to throw off the alignment of the rear clip if that mount is too high.
I went to the body shop but the original they have has the door off and the mounts disassembled so that was no help. I did get a measurement of the B pillar vertical alignment and they are parallel so those I can weld in.
 12-19-2014, 11:11 AM