When you click on links to various merchants on this site and make a purchase, this can result in this site earning a commission. Affiliate programs and affiliations include, but are not limited to, the eBay Partner Network.
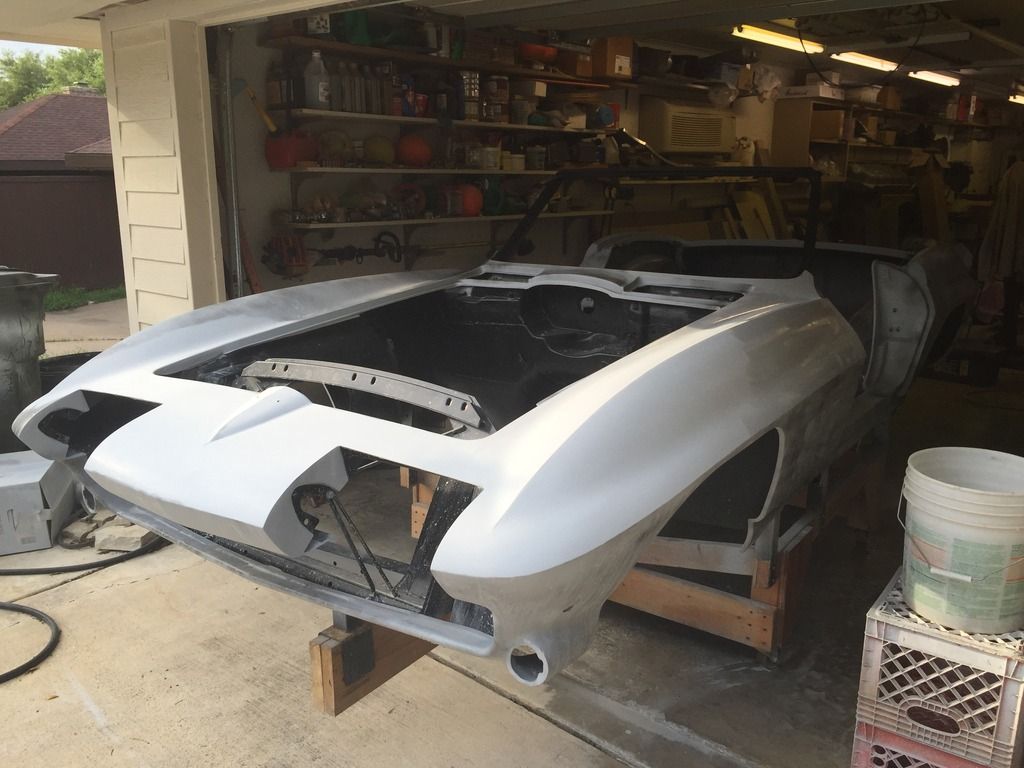
Haven't wanted to bore you with all the sanding pics but got the first pass of sanding primer blocked down and needed to do an additional coat to get it all really level and smooth. It's all now sanding down super nice with 400. Should get it all ready to paint in a couple weeks.
Rhett
Looking great. I have a question. I see you are sanding the primer with 400 grit sand paper. Are you going to put the finish top coat color directly over the primer that has been sanded with 400 grit ? I have always read where the primer needs to be a little rougher so the top coat has some way to adhere to it ?
Looking great. I have a question. I see you are sanding the primer with 400 grit sand paper. Are you going to put the finish top coat color directly over the primer that has been sanded with 400 grit ? I have always read where the primer needs to be a little rougher so the top coat has some way to adhere to it ?
Al
I imagine he will block with 400 then spray a sealer coat the night before base coat with the option of blocking the sealer coat with 400-800. You definitely do not want to go rougher than 400 or sanding marks will show through the paint.
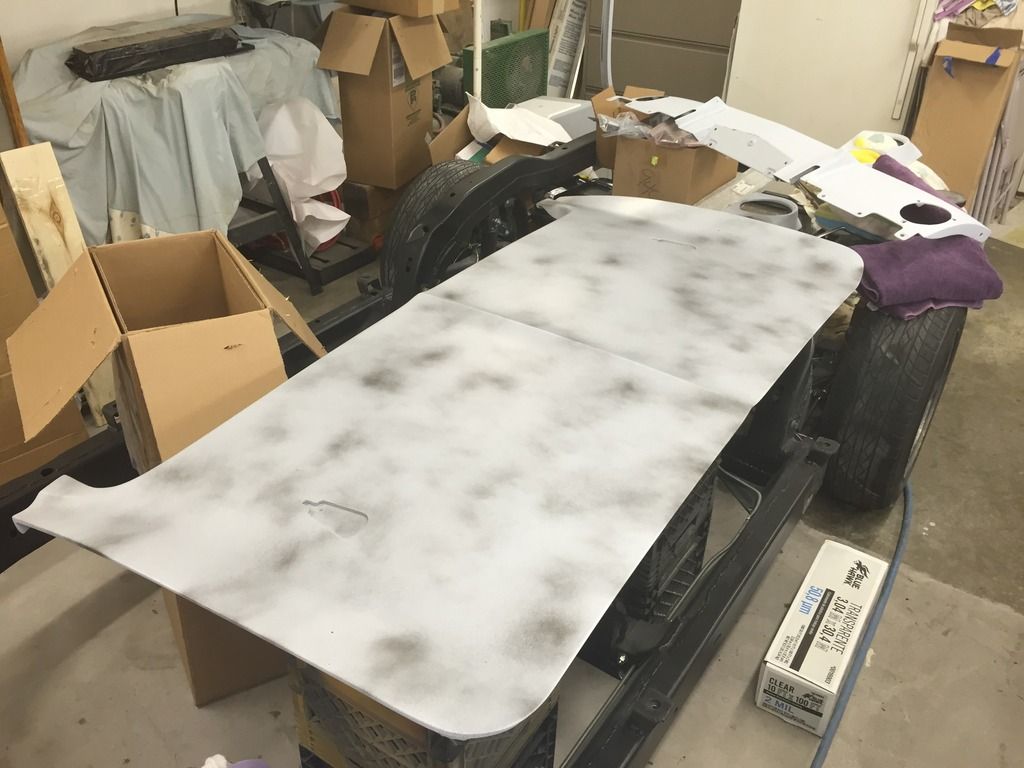
You are correct Silververt. I block my first primer coat with 280 then shoot a second pass of primer, first coat is "wet" (a little extra reducer) then regular second coat. That gets blocked down with "new" 400 then I'll go over the whole car with "used" 400 by hand so I can get that soft feel - will go over it with my bare hands many times/directions. Very time consuming but prep work is what makes for a great paint job! After cleaning it will get a "thinned" coat of sealer that I tint close to the base coat color, this flows into the sanding scratches better and then provides the mechanical/chemical bond for the base color coat.
More final sanding going on but took a break when Jim came by to help get the pilot bushing in, install the flywheel/clutch plate. Tonight we'll get the bellhousing and tranny on. Then I'll start to fabricate the trans mount plate and measure for the driveshaft.
Last edited by slalomfiend; 12-22-2017 at 10:55 AM.
I'm almost done sanding the body, after that only the two doors remain then prep for paint. In the meanwhile, I got the trans mounted. I picked up the rechromed bumpers, vent frames and console seatbelt latch. The bumpers are like mirrors. Also got the vent window frames back from Dick at Virginia Vettes. He welded new pivots on and buffed them to mirror shine.
Last edited by slalomfiend; 12-22-2017 at 10:57 AM.
More final sanding going on but took a break when Jim came by to help get the pilot bushing in, install the flywheel/clutch plate. Tonight we'll get the bellhousing and tranny on. Then I'll start to fabricate the trans mount plate and measure for the driveshaft.
Looks like an '83 Camaro bellhousing (nice find!!!) and another GM WC T5 5 speed! Nice! Let me know if you need some help with the trans mount bracket . . . I modified a stock one to fit this application. I have the measurements if you need them. Great build!
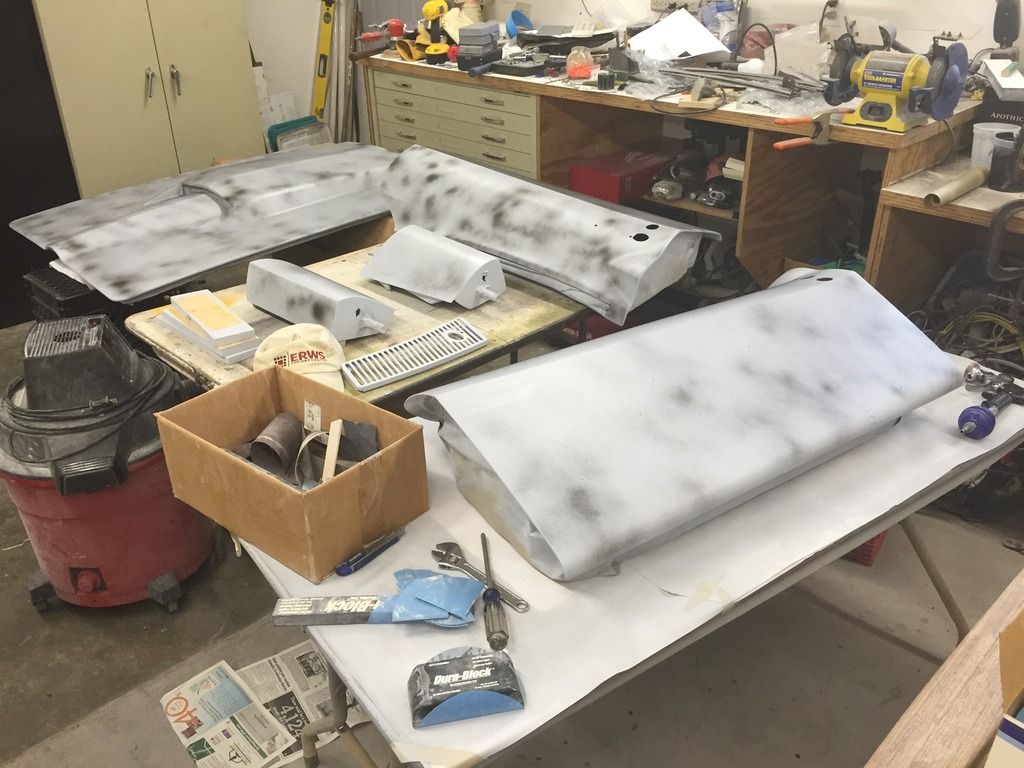
I'm finally done with sanding the primer!! I got the body all washed and dried off, now just a bit of masking/prep and the paint will start flying when it dries up here (may take a while after all the record rainfall!!). The driveshaft should be ready this week and I'll get the trans mount bracket fabricated.
Last edited by slalomfiend; 12-22-2017 at 10:58 AM.
[QUOTE=slalomfiend;1589704791]I'm finally done with sanding the primer!! I got the body all washed and dried off, now just a bit of masking/prep and the paint will start flying when it dries up here (may take a while after all the record rainfall!!). The driveshaft should be ready this week and I'll get the trans mount bracket fabricated.
Sweet. Lookin' good ... by the way if yer lookin' for yer socks I know where they are ...
Silververt, I will spray in my garage. So much easier not to have to load/haul everything offsite and I don't have to rush that way. I have a 4' fan that I use to pressurize the space with filters on the infeed side. Then I raise the garage door a couple inches to allow exit air. I staple 3mm plastic all the way around to the ceiling and lay hose or poles along the floor to hold the plastic. I haven't gotten any overspray in the other part of the garage this way. After I wash/broom the floor I put up the plastic and the static attracts all the air born dust as well as quite a bit of overspray... The positive air flow/pressure keeps the air fresh and the bugs out. Here are two pics from when I painted the '49 Ford, one from inside and one from outside. If I make sure and keep the floor damp, the paint dust washes right off afterwards.
Last edited by slalomfiend; 12-22-2017 at 11:01 AM.
Does anyone else giggle when they get to see the finish paint?? I got the small parts and underside of deck lid and hood painted first, then moved on to the doors and then the deck lid top. I have the body and hood in primer, will go over it with a light sand and start the color on them tomorrow eve. They get the Lynndale stripe down the hood. It is all laying down great, already smooth with reflections - can't wait to see it all color sanded/buffed!
Last edited by slalomfiend; 12-22-2017 at 11:04 AM.
The paint code is 980 - Elkhart Blue with a Lynndale Blue stripe on the BB hood. Teal interior and top to come, my favorite color combo and why I got this one. Needed tons of love and work but it'll be worth it.
The paint code is 980 - Elkhart Blue with a Lynndale Blue stripe on the BB hood. Teal interior and top to come, my favorite color combo and why I got this one. Needed tons of love and work but it'll be worth it.
Does anyone else giggle when they get to see the finish paint??
Yea, looking at new paint and knowing that you did it yourself makes all the work worth while. U laugh out loud.
Originally Posted by slalomfiend
The paint code is 980 - Elkhart Blue with a Lynndale Blue stripe on the BB hood. Teal interior and top to come, my favorite color combo and why I got this one. Needed tons of love and work but it'll be worth it.
I can hardly wait to see the color combo with the stripe/top/ interior.
It's going to be killer.
I wonder if I should get a BB hood and put an Elkhart stripe on mine.
Rhett,
The paint looks great as does the rest of the car, I'm jealous, the work is beyond fantastic.
Hope the LED tail lights compliment the car.
Bruce B
 05-06-2015, 10:23 AM