My '67 Convertible Project...Build Thread
 08-24-2014, 12:35 PM
#121
Burning Brakes


 [/URL]
 08-24-2014, 01:45 PM
#122
Drifting

Thread Starter
08-25-2014, 09:32 PM
#123
Drifting
Thread Starter
I haven't covered the door sill yet, but I can't find the carpet support channel you're talking about...what does it look like?
08-25-2014, 09:35 PM
#124
Team Owner

Member Since: Feb 2003
Location: Sitting in his Nowhere land Hanover Pa
Posts: 48,985
Received 6,929 Likes
on
4,774 Posts
2015 C2 of Year Finalist

Where's the Luggage stop
08-25-2014, 09:39 PM
#125
Burning Brakes

One on each side. They are held in place with clips and provide a 'channel' for the wiring going to the rear.
08-25-2014, 09:42 PM
#126
Drifting
Thread Starter
Couple more things done this weekend...dipstick tube painted and installed, oil filler tube painted and installed, thermostat and housing installed, and the carb cleaned up and installed. It's starting to look like an engine.
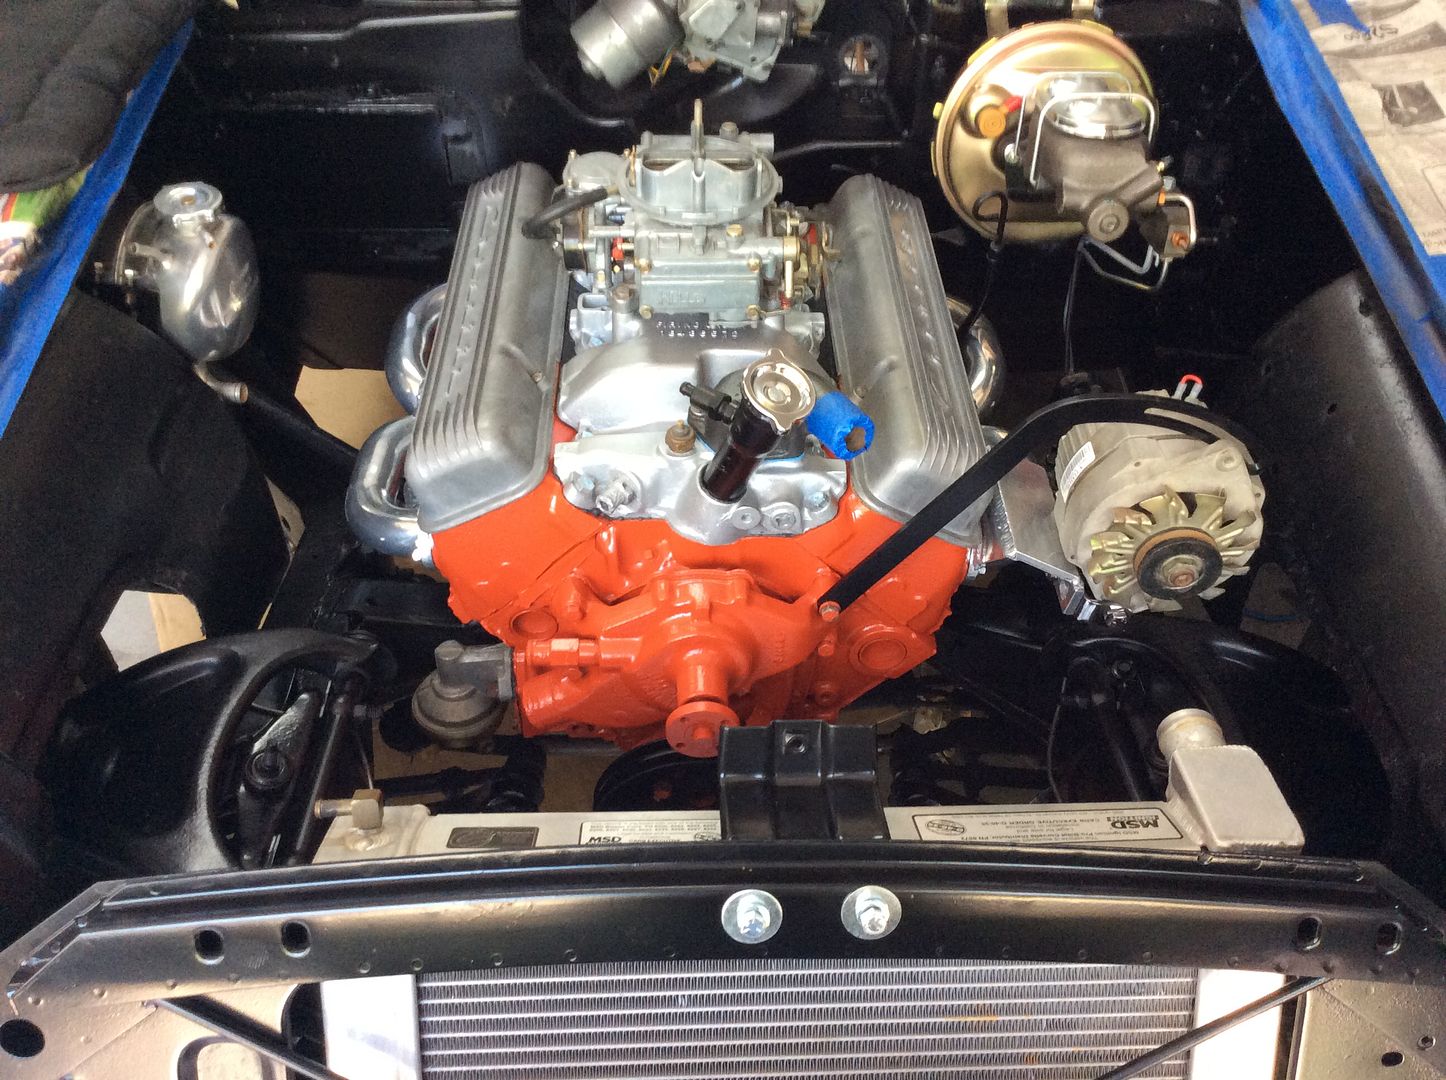
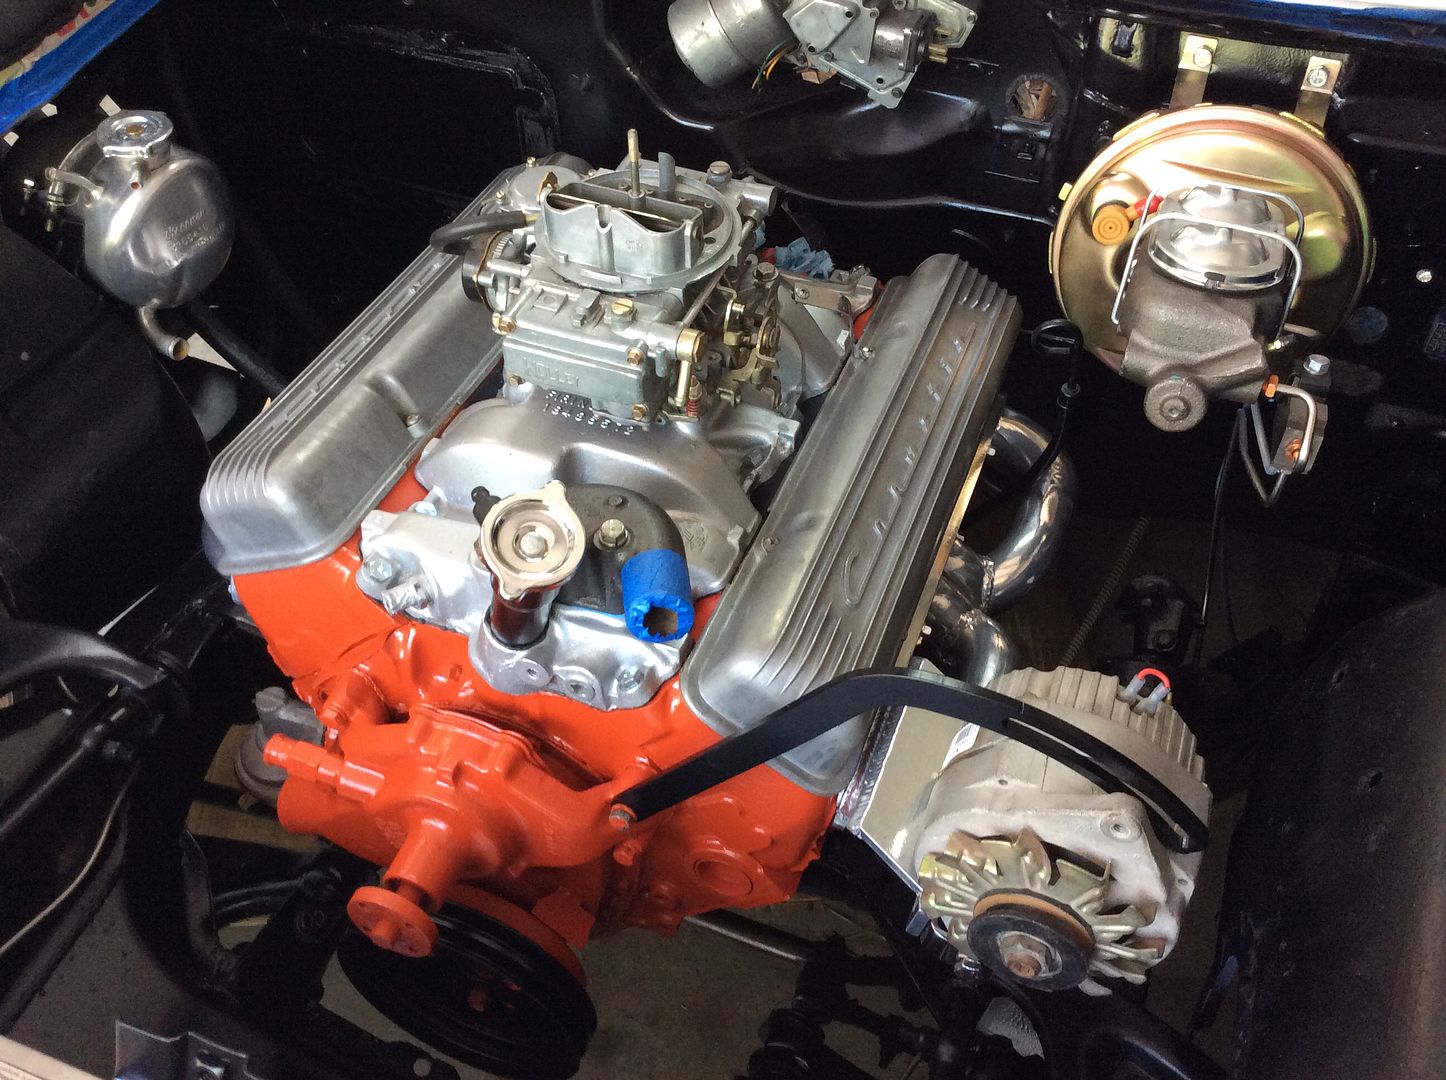
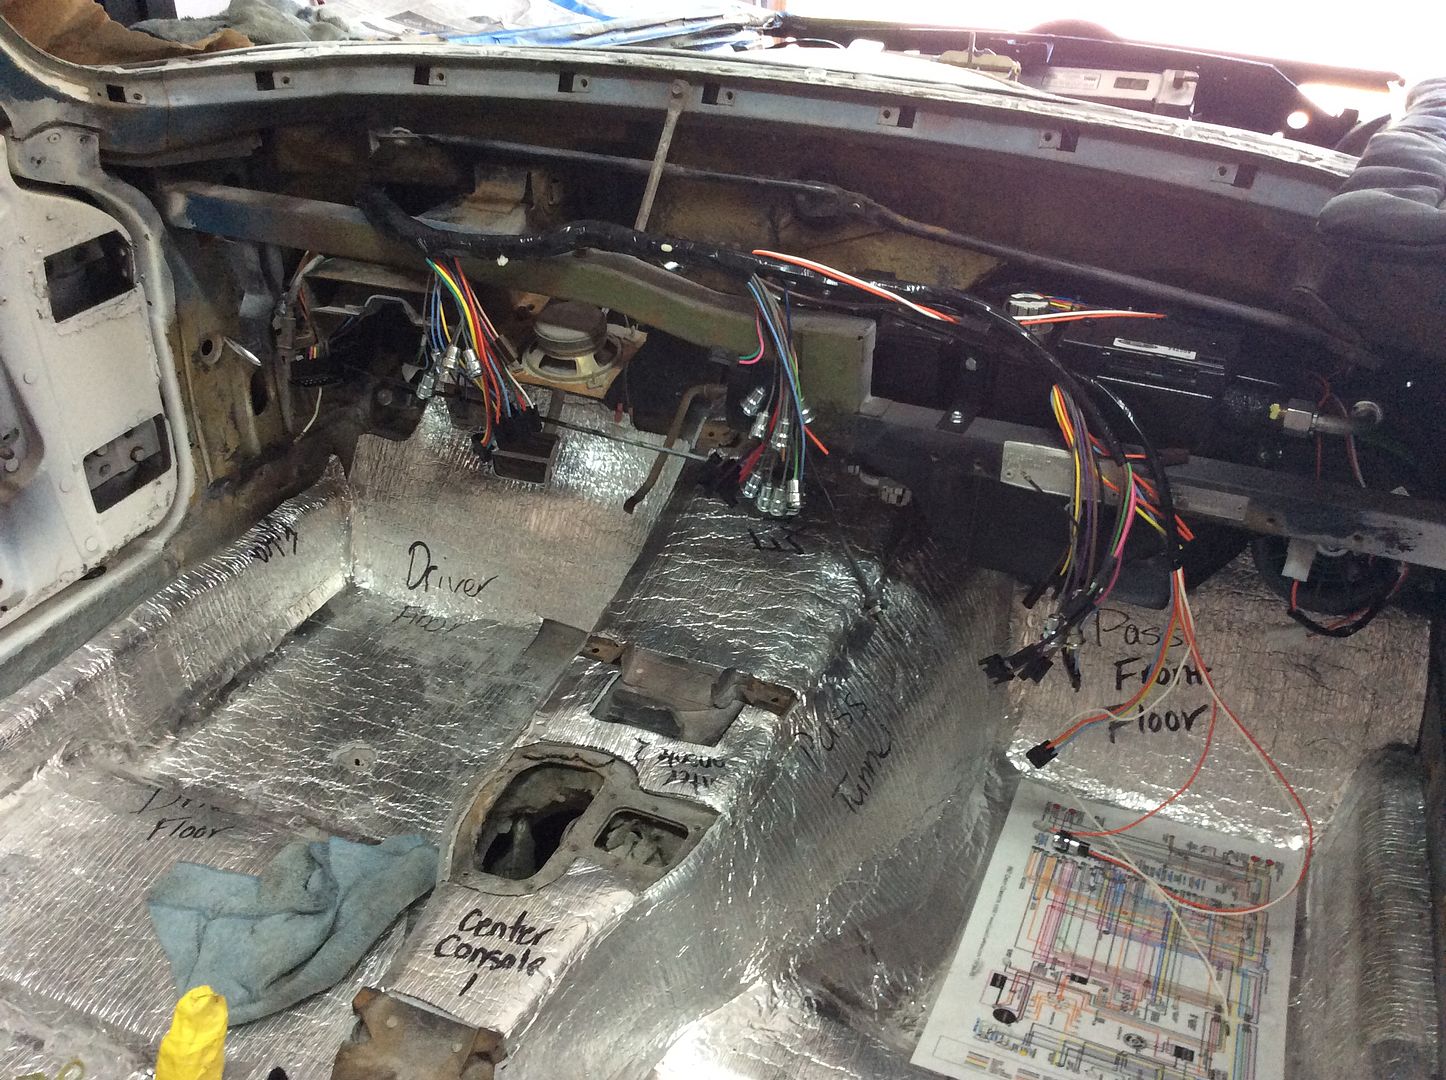
Also got the drivers side fresh air functioning correctly and mounted the dash wiring harness to the firewall...
Have to order a new alternator and voltage reg...the one I have in the photos is incorrect and won't fit. Next up is the clutch and throttle linkage, and then the battery and engine wiring harness.


Also got the drivers side fresh air functioning correctly and mounted the dash wiring harness to the firewall...

Have to order a new alternator and voltage reg...the one I have in the photos is incorrect and won't fit. Next up is the clutch and throttle linkage, and then the battery and engine wiring harness.
08-25-2014, 09:46 PM
#127
Drifting
Thread Starter
Need one
Thanks. I'll look them up for my next order.
Thanks. I'll look them up for my next order.
08-25-2014, 10:01 PM
#128
Burning Brakes
Idea for you  Build the complete dash with pads and gauges on your workbench. Install the dash harness on the back of the dash along with the radio & clock and then install as a complete unit. It will be much, much easier than trying to work on your back installing bulbs etc.
Build the complete dash with pads and gauges on your workbench. Install the dash harness on the back of the dash along with the radio & clock and then install as a complete unit. It will be much, much easier than trying to work on your back installing bulbs etc.
08-25-2014, 10:42 PM
#129
Drifting
Thread Starter
Idea for you Build the complete dash with pads and gauges on your workbench. Install the dash harness on the back of the dash along with the radio & clock and then install as a complete unit. It will be much, much easier than trying to work on your back installing bulbs etc.
Build the complete dash with pads and gauges on your workbench. Install the dash harness on the back of the dash along with the radio & clock and then install as a complete unit. It will be much, much easier than trying to work on your back installing bulbs etc.
08-25-2014, 10:55 PM
#130
Burning Brakes
Is that feasible? I haven't looked closely enough at the interior components to see how they fit together and attach to the car yet. If so, I'm willing to give it a shot. My last experience with the dash in a C3 was particularly unpleasant, so I'm willing to do anything to make it easier. Although with the windshield out, that should help things.

It is not only feasible on a C2, it's the way the factory did it.

 08-26-2014, 07:00 PM
#133
Drifting
Thread Starter
There is a great thread by Lars on how to put your dash in...
http://forums.corvetteforum.com/c1-a...d-process.html
Its a treasure!
http://forums.corvetteforum.com/c1-a...d-process.html
Its a treasure!
08-26-2014, 07:50 PM
#134
Burning Brakes
08-26-2014, 11:01 PM
#135
Drifting
Thread Starter
08-28-2014, 09:53 PM
#136
Instructor

Member Since: Jul 2008
Location: St. Cloud FL
Posts: 140
Likes: 0
Received 0 Likes
on
0 Posts

Be sure to order the correct speaker if you are using an original radio. Most of the after market speakers will damage your radio. No need to ask me how I know this... just say lesson of hard knocks
08-28-2014, 10:18 PM
#137
Drifting
Thread Starter
I don't have an original radio for the car, so I'm going to pick up a decent aftermarket one from one of the vendors. Thanks for the heads-up, though.
08-28-2014, 10:27 PM
#138
Drifting
Thread Starter
This week I made a road trip to visit my brother, who owns his own business doing tuning consultation, forced induction setups, and mechanical/electronic fuel injection systems. He was able to give me a hand with a work-around for my Vintage Air compressor brackets to work with the McJacks headers...
The master at work
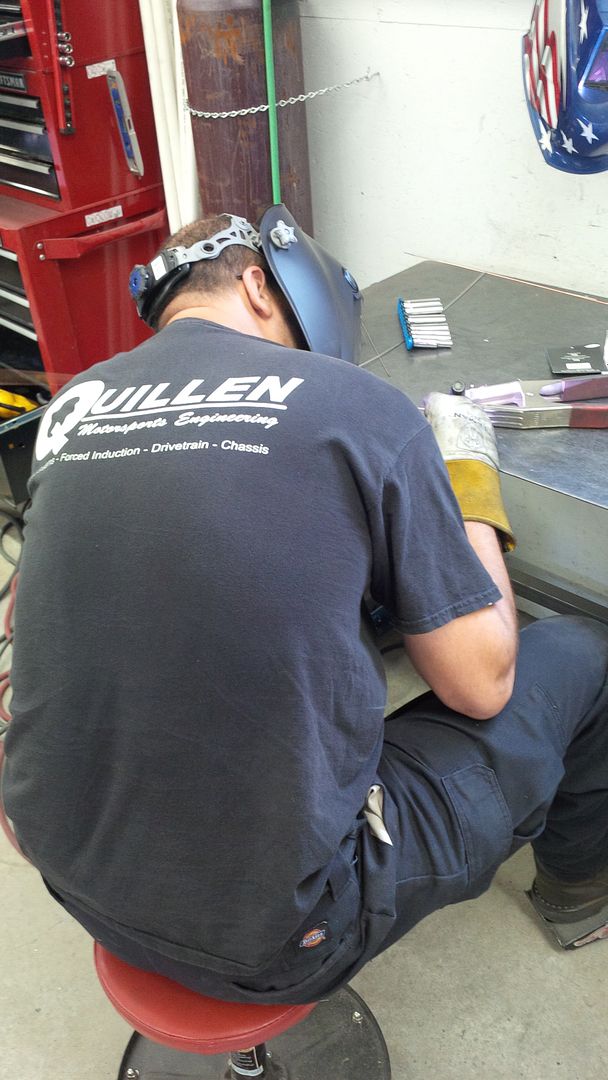
Mounting area moved from the inner most bolt-hole to a tab that is welded on to the top of the flange. This will allow the bracket to be spaced out the correct 2" from the flange.

Finished product (minus paint). The new mount is not touching the header primary as it appears in the photo.
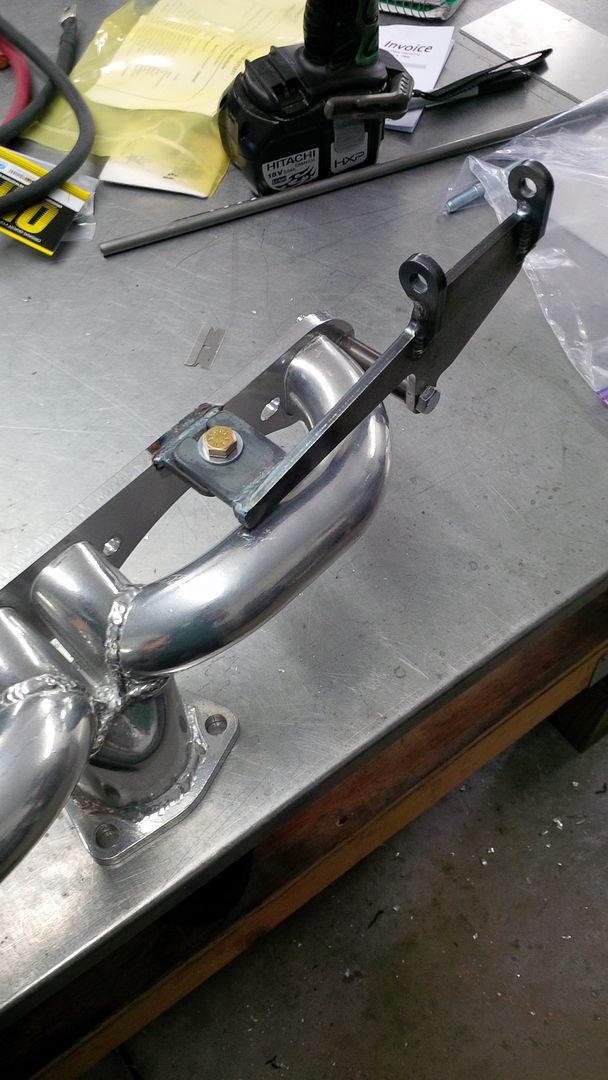
Now I'll break it back down, paint it black to match my other brackets and give it a cleaner look, and press on with the install.
11-02-2014, 05:43 PM
#139
Drifting
Thread Starter
OK so long time, no update. Things have been pretty crazy at work for me for the last couple months, so time to work on the car has been scarce. Still, I've been plugging away on it for an hour or two here and there when I can.
Engine bay as of today...still need to replace the alternator with the correct one, and I'm ready to install the clutch linkage now...
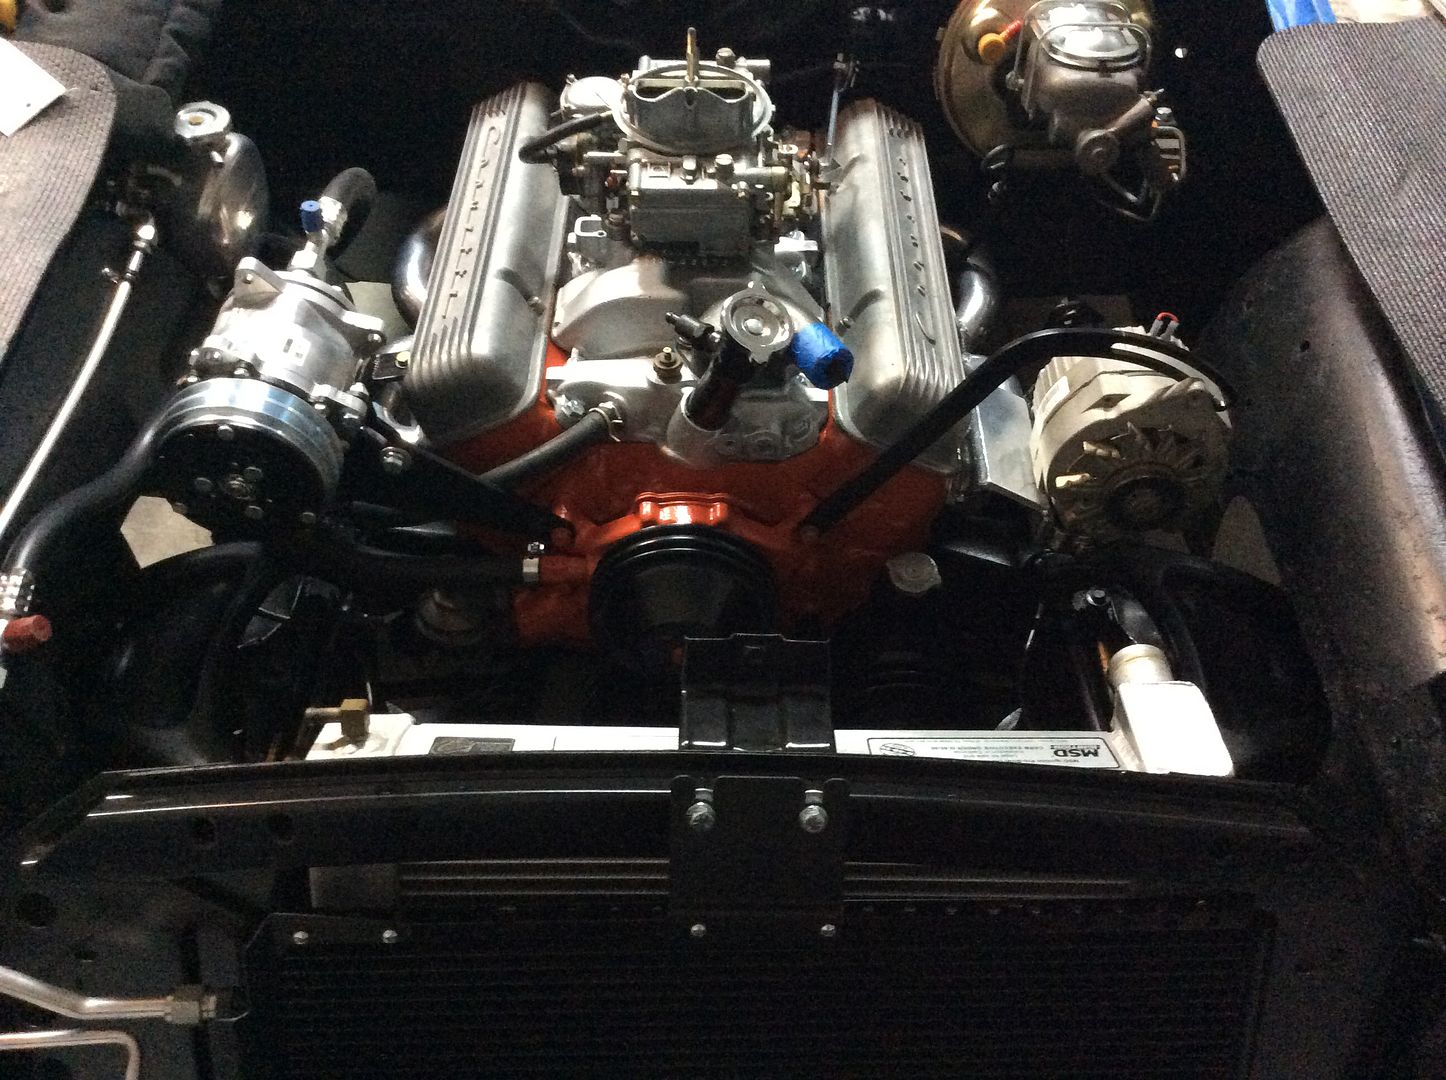
Vintage Air components are all in place...hoses routed...heater hoses hooked up...
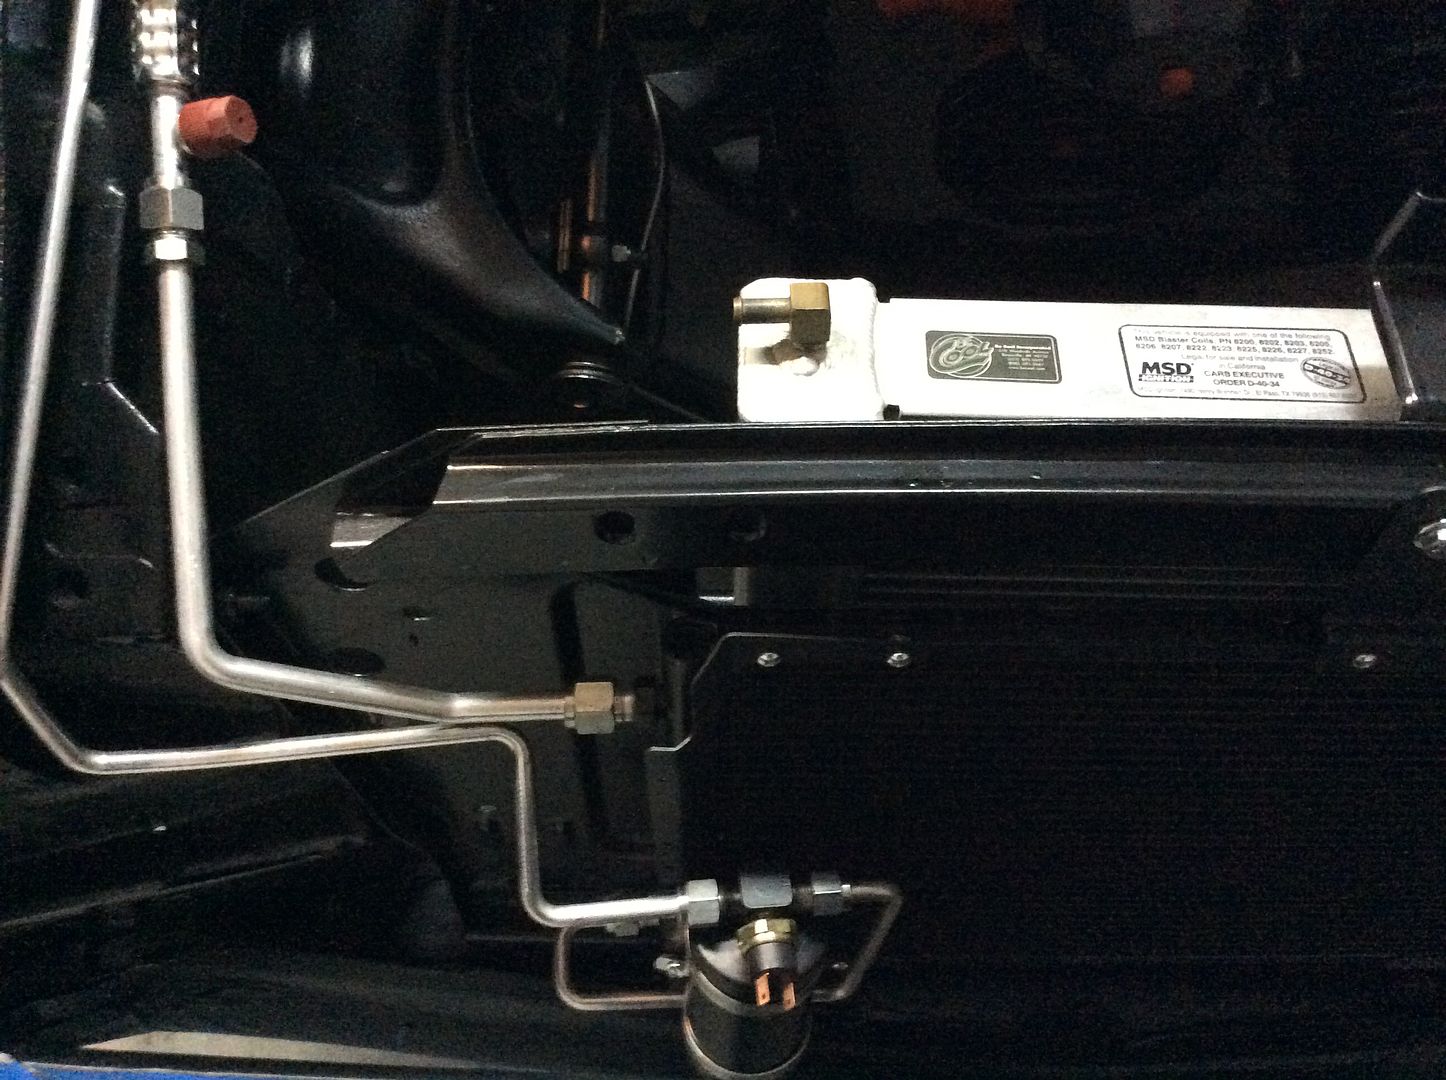
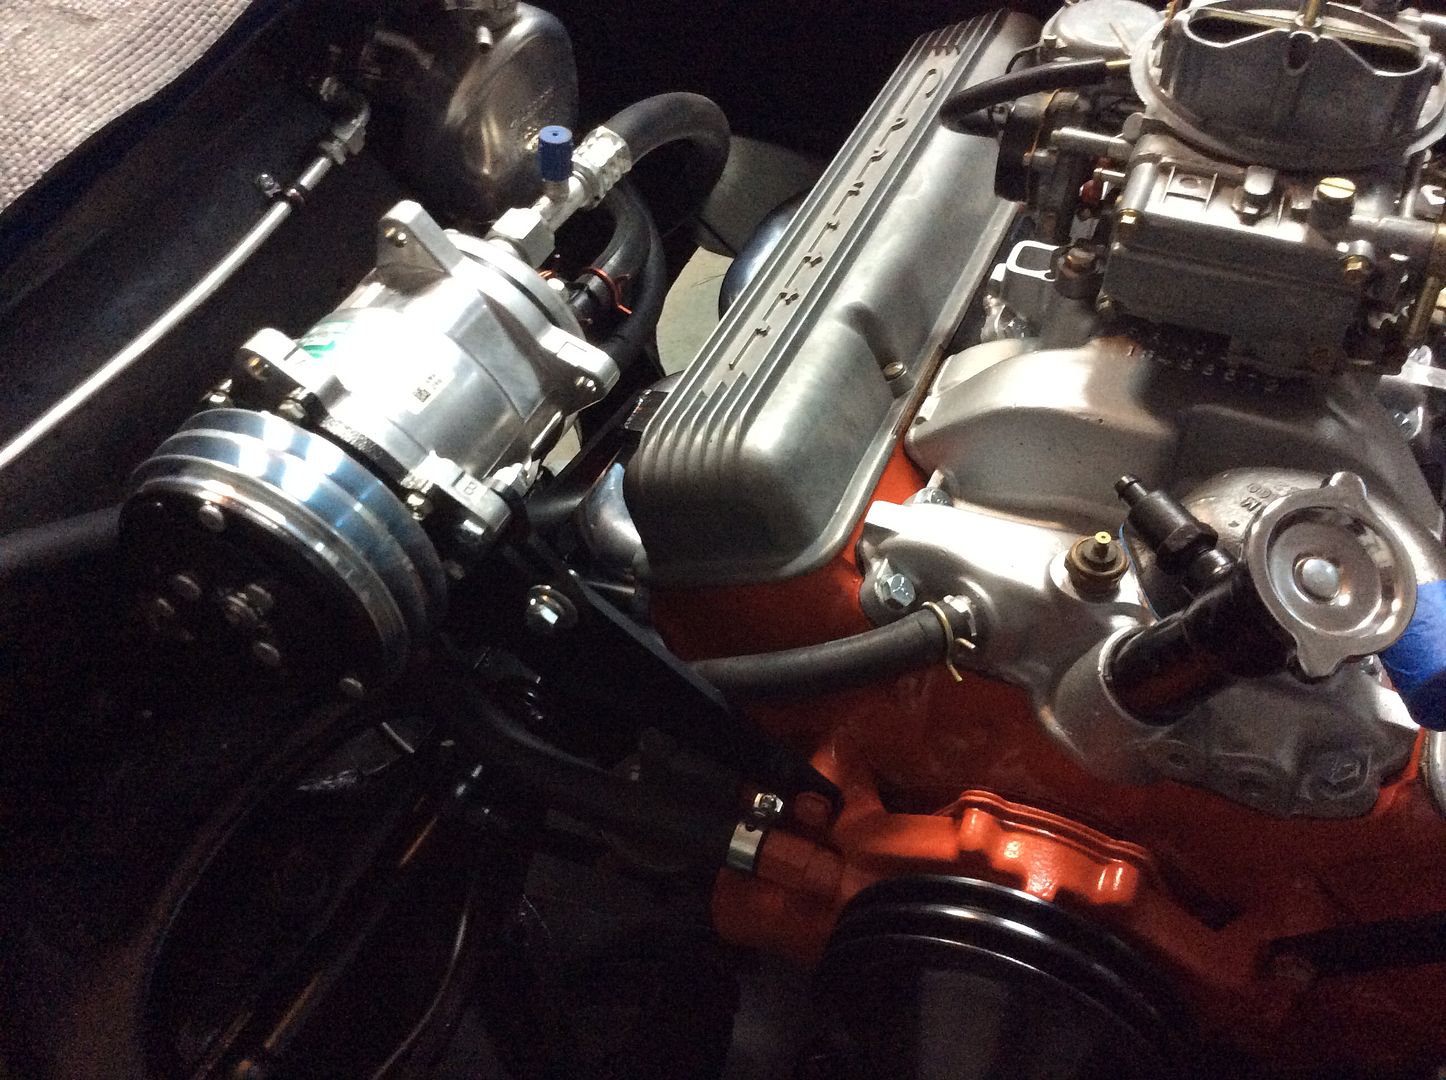
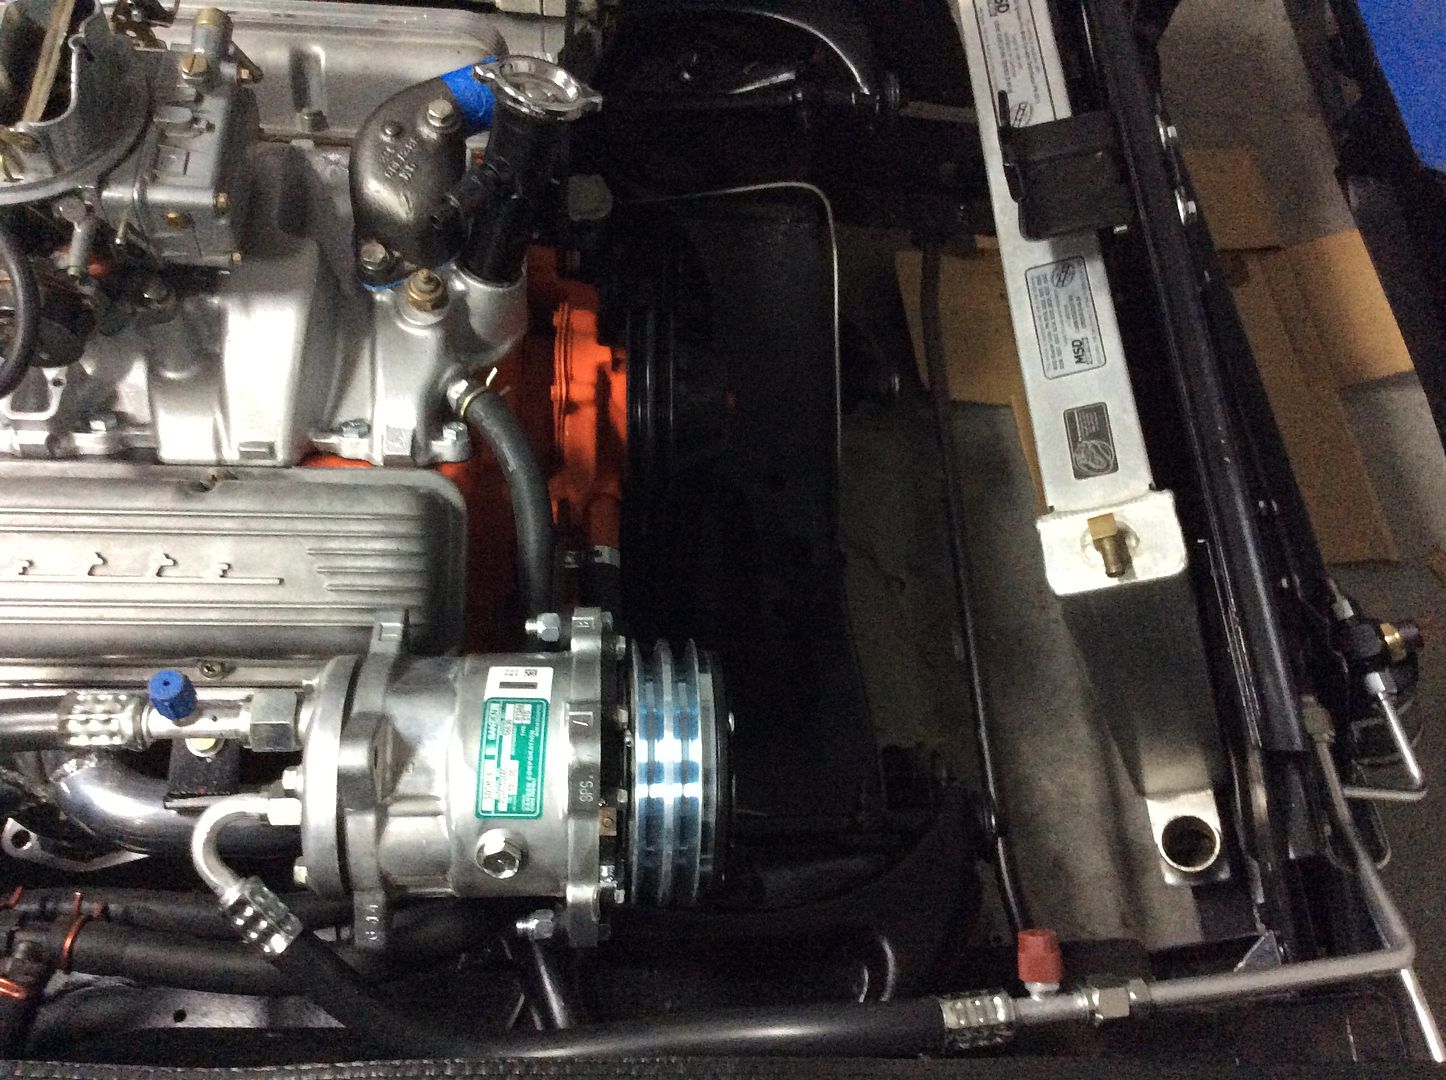
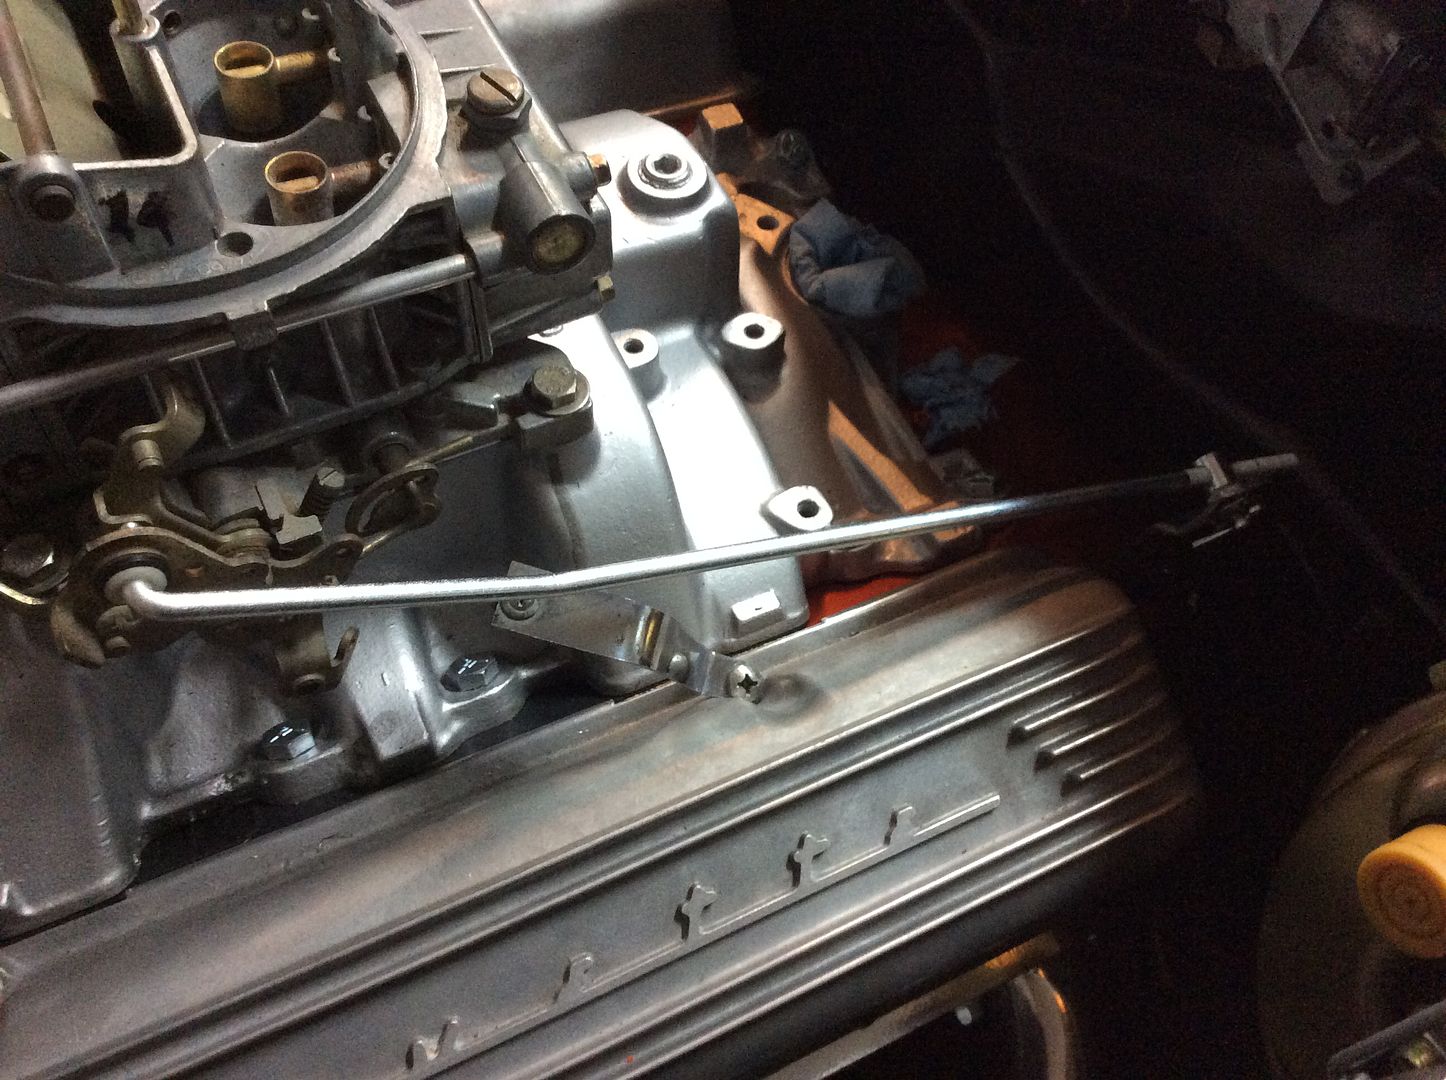
And I replaced all the accelerator arm / rod components...
I'm waiting on a bracket for my PS pump to arrive, and then once that's mounted, I'll be ready to install the fan shroud, fan, and radiator hoses. Once that and the clutch linkage is finished, I'll probably start back on the wiring harness for the engine bay as well as the wiring for the Vintage Air...
Engine bay as of today...still need to replace the alternator with the correct one, and I'm ready to install the clutch linkage now...

Vintage Air components are all in place...hoses routed...heater hoses hooked up...


And I replaced all the accelerator arm / rod components...

I'm waiting on a bracket for my PS pump to arrive, and then once that's mounted, I'll be ready to install the fan shroud, fan, and radiator hoses. Once that and the clutch linkage is finished, I'll probably start back on the wiring harness for the engine bay as well as the wiring for the Vintage Air...
