C1 & C2 Corvettes General C1 Corvette & C2 Corvette Discussion, Technical Info, Performance Upgrades, Project Builds, Restorations

C1 fuel tank

Thread Tools
 
Search this Thread
 
Old 11-26-2014, 04:31 PM
  #21  
59BlueSilver
Safety Car

Thread Starter
 
59BlueSilver's Avatar
 
Member Since: Apr 2013
Location: Arlington TX
Posts: 4,833
Received 931 Likes on 533 Posts
2023 Restomod of the Year Finalist
2023 C1 of the Year Finalist - Unmodified

Default

Originally Posted by GCD1962
You might not need a new tank. The balck crusty stuff could be an asphalt-based undercoating that someone spray on it at one time. Scrap it off and see what's underneath - might just be clear metal !
On the inside?
Old 11-26-2014, 04:43 PM
  #22  
ragtop00
Burning Brakes
Support Corvetteforum!
 
ragtop00's Avatar
 
Member Since: Nov 2004
Location: Grand Rapids Michigan
Posts: 1,084
Received 52 Likes on 32 Posts

Default

I agree. Let us know how "easy" it is and if you think I should tackle the job.
Mike
Old 11-26-2014, 06:43 PM
  #23  
GCD1962
Race Director
 
GCD1962's Avatar
 
Member Since: Feb 2004
Location: CT
Posts: 14,762
Received 162 Likes on 123 Posts

Default

Originally Posted by 59BlueSilver
On the inside?
Your original post did not state it was on the inside.
Old 11-26-2014, 07:00 PM
  #24  
59BlueSilver
Safety Car

Thread Starter
 
59BlueSilver's Avatar
 
Member Since: Apr 2013
Location: Arlington TX
Posts: 4,833
Received 931 Likes on 533 Posts
2023 Restomod of the Year Finalist
2023 C1 of the Year Finalist - Unmodified

Default

Originally Posted by GCD1962
Your original post did not state it was on the inside.
Outside looks okay. The black crusty stuff is on the inside.
Old 11-26-2014, 07:11 PM
  #25  
claf
Burning Brakes
 
claf's Avatar
 
Member Since: Mar 2001
Location: dalton ma
Posts: 1,151
Received 127 Likes on 75 Posts

Default

As far as the discrepancies in the dimentions, is it possible that one set of measurements includes the flanges and the other doesn't ? Bob
Old 11-26-2014, 08:46 PM
  #26  
59BlueSilver
Safety Car

Thread Starter
 
59BlueSilver's Avatar
 
Member Since: Apr 2013
Location: Arlington TX
Posts: 4,833
Received 931 Likes on 533 Posts
2023 Restomod of the Year Finalist
2023 C1 of the Year Finalist - Unmodified

Default

Originally Posted by claf
As far as the discrepancies in the dimentions, is it possible that one set of measurements includes the flanges and the other doesn't ? Bob
Don't know, could be. I will measure the tank before I install it.
Old 11-27-2014, 08:19 AM
  #27  
ragtop00
Burning Brakes
Support Corvetteforum!
 
ragtop00's Avatar
 
Member Since: Nov 2004
Location: Grand Rapids Michigan
Posts: 1,084
Received 52 Likes on 32 Posts

Default

Are you going to install a new pickup tube/sender? Rock Auto has a GM Restoration Parts unit and a Spectra unit available. Both about the same price. Your thoughts?
Old 11-27-2014, 10:50 AM
  #28  
59BlueSilver
Safety Car

Thread Starter
 
59BlueSilver's Avatar
 
Member Since: Apr 2013
Location: Arlington TX
Posts: 4,833
Received 931 Likes on 533 Posts
2023 Restomod of the Year Finalist
2023 C1 of the Year Finalist - Unmodified

Default

Originally Posted by ragtop00
Are you going to install a new pickup tube/sender? Rock Auto has a GM Restoration Parts unit and a Spectra unit available. Both about the same price. Your thoughts?
No, I installed a new fuel sender unit last year. Think it's a good idea to get a new sock, though, if you get a new tank.
Old 11-27-2014, 12:46 PM
  #29  
ragtop00
Burning Brakes
Support Corvetteforum!
 
ragtop00's Avatar
 
Member Since: Nov 2004
Location: Grand Rapids Michigan
Posts: 1,084
Received 52 Likes on 32 Posts

Default

Hey 59.. Please take a bunch of pics of the process including any tips you develop. I haven't even put the roof down on my car yet to see what's involved with a new tank installation. I just got mine running yesterday from a two gallon gas can.
Mike
Old 11-27-2014, 08:58 PM
  #30  
59BlueSilver
Safety Car

Thread Starter
 
59BlueSilver's Avatar
 
Member Since: Apr 2013
Location: Arlington TX
Posts: 4,833
Received 931 Likes on 533 Posts
2023 Restomod of the Year Finalist
2023 C1 of the Year Finalist - Unmodified

Default

Originally Posted by ragtop00
Hey 59.. Please take a bunch of pics of the process including any tips you develop. I haven't even put the roof down on my car yet to see what's involved with a new tank installation. I just got mine running yesterday from a two gallon gas can.
Mike
Will start tomorrow, supposed to be 68 deg. I intend to document & take pics, but be aware my situation will be a little different as you will see.

Norm
Old 11-28-2014, 08:32 PM
  #31  
59BlueSilver
Safety Car

Thread Starter
 
59BlueSilver's Avatar
 
Member Since: Apr 2013
Location: Arlington TX
Posts: 4,833
Received 931 Likes on 533 Posts
2023 Restomod of the Year Finalist
2023 C1 of the Year Finalist - Unmodified

Default

From edge of flange to edge of flange, it measures 43 3/4" x 16 1/2" x 9 3/4". The specified size on the Rockauto website states 43 5/8" x 16 1/4" x 10 1/8". All in all, pretty close, depends on where you're measuring to.
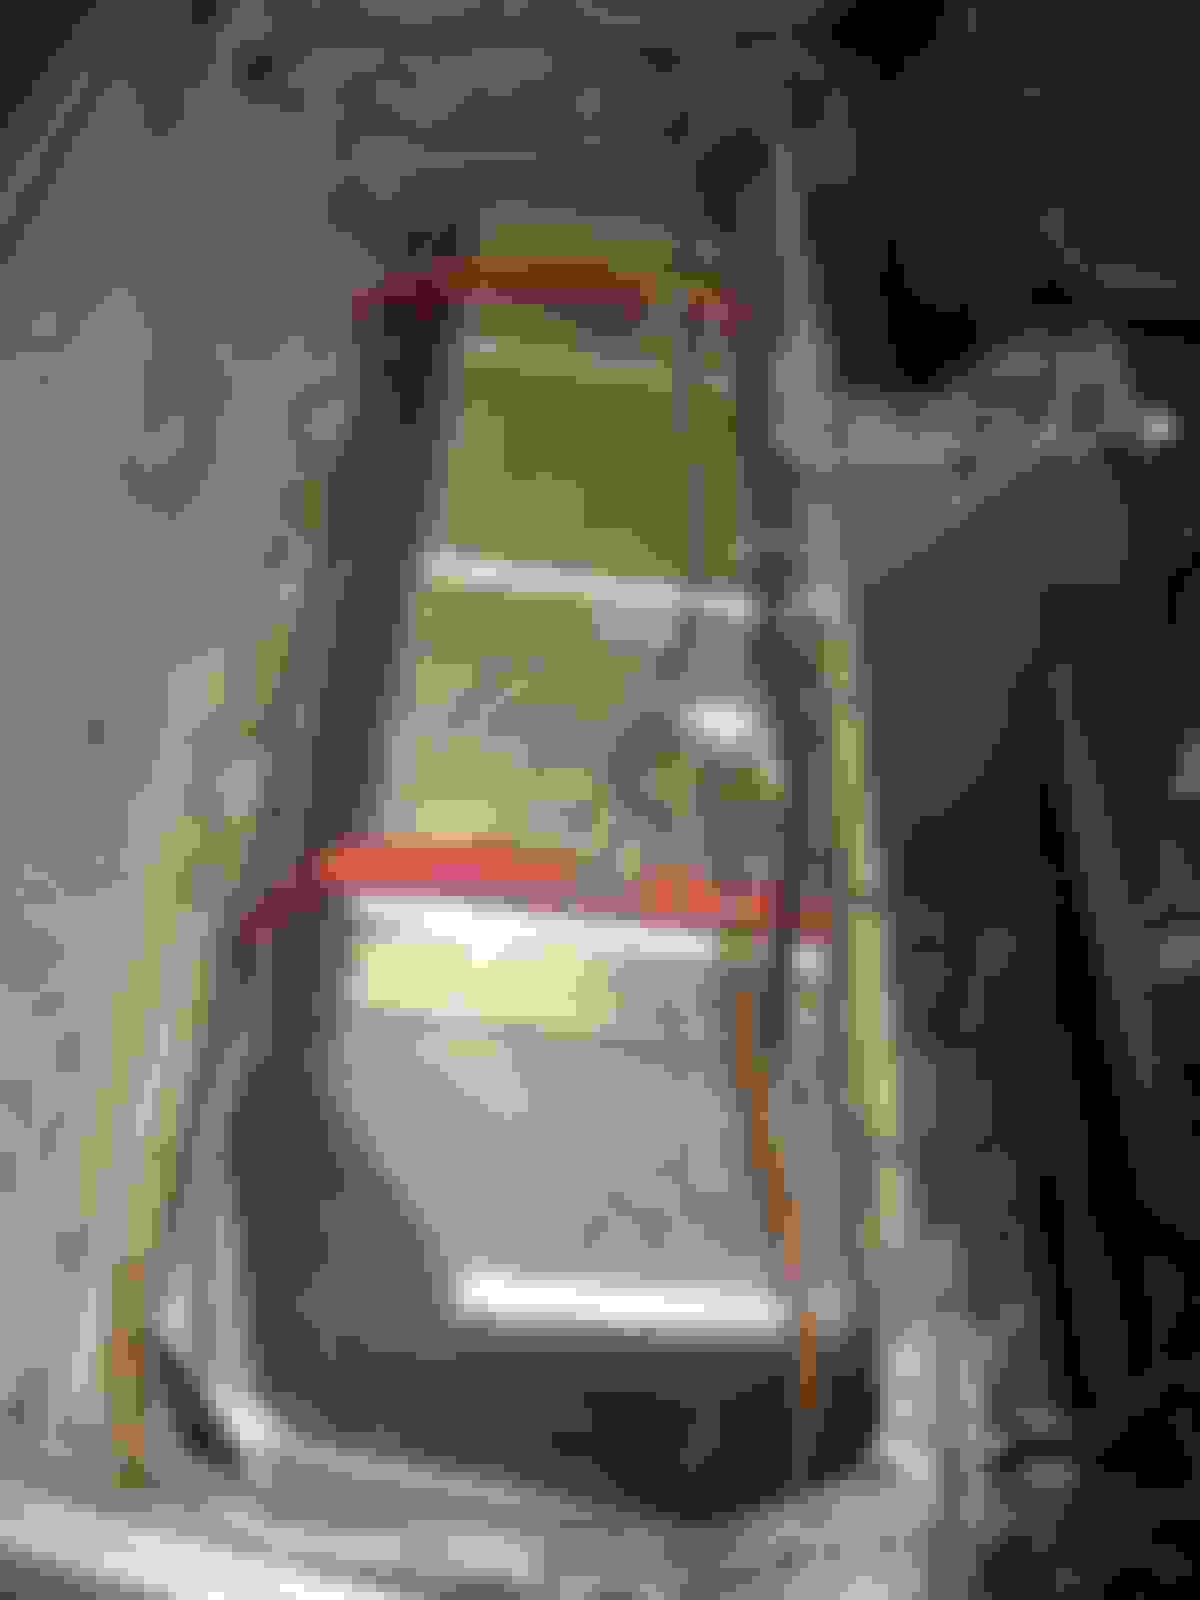
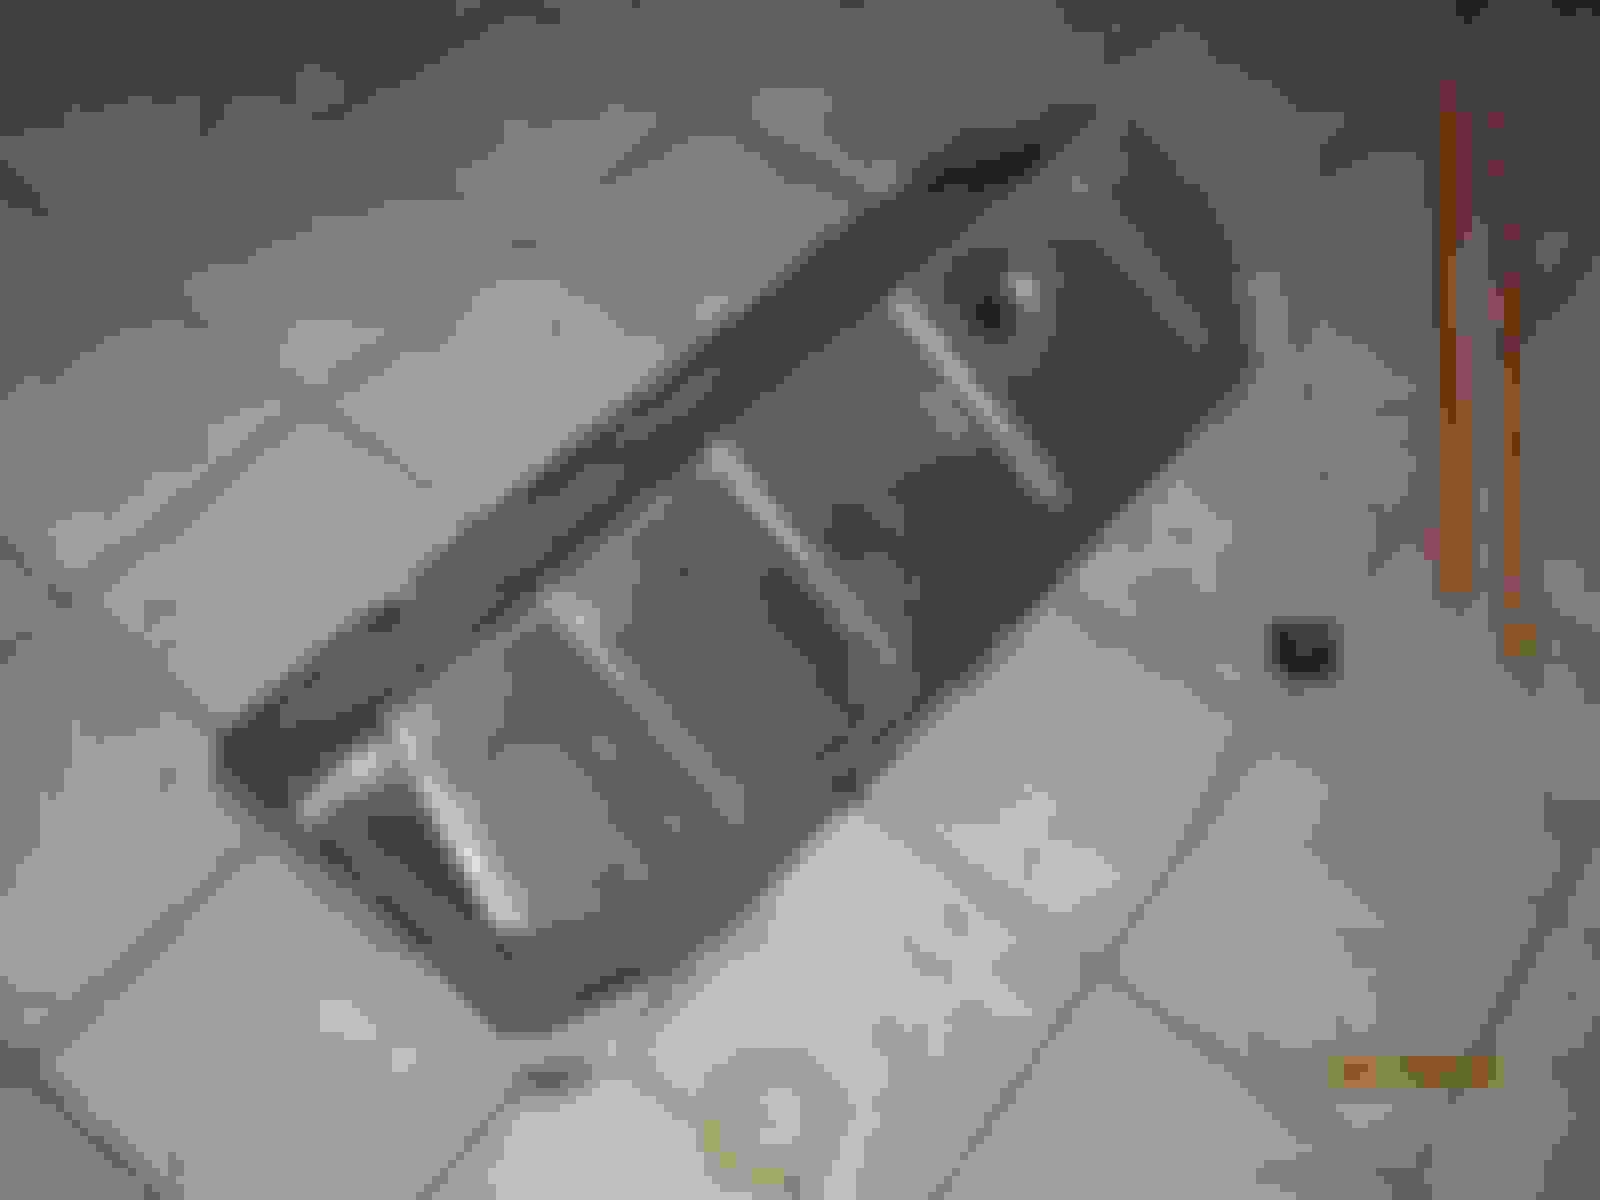
I removed the old tank. I had to grab the side flange with vise grips and pull up and back to get it out. You will note that the tank is not being held in with the typical steel straps. Bubba used web belt tie downs with eyebolts on the rear. I was going to go back stock but didn't think this a bad idea. The webbing is strong, doesn't chafe, doesn't rust and is quiet. So I will reuse them.
After rinsing the tank out with gasoline, I tried the install. The existing tarpaper wasn't in bad shape so I reused it. The rear corner flanges were pre-bent but not bent enough to clear so I bent one of them a little more and it slid in. I can't tell if it's in all the way but it seems so. Tomorrow I'll see if the cover will go on. All I lack is installing the sender, hooking up the wires and vent tubing, and installing the filler neck.


photo 1


photo 2


photo3


photo 4


photo 5
Old 11-29-2014, 08:09 AM
  #32  
ragtop00
Burning Brakes
Support Corvetteforum!
 
ragtop00's Avatar
 
Member Since: Nov 2004
Location: Grand Rapids Michigan
Posts: 1,084
Received 52 Likes on 32 Posts

Default

Thanks 59. I'm going to save this thread for when I dig into mine. I'm interested to see if the cover fits over the tank.
Mike
Old 11-29-2014, 09:06 AM
  #33  
6D2148
Drifting
 
6D2148's Avatar
 
Member Since: Jan 2012
Location: Limerick Pa, Saint James City Fl
Posts: 1,625
Received 228 Likes on 169 Posts

Default

Is that a single flare copper line?
Old 11-29-2014, 10:12 AM
  #34  
jim lockwood
Race Director
 
jim lockwood's Avatar
 
Member Since: Feb 2007
Location: northern california
Posts: 13,613
Received 6,530 Likes on 3,004 Posts
C2 of Year Finalist (track prepared) 2019

Default

Originally Posted by 6D2148
Is that a single flare copper line?
Looks like it to me.

Copper can work harden and fail. I don't trust it.

If it were mine, I'd make a steel line with double flare and an in-line cut off valve.

Jim
Old 11-29-2014, 10:21 AM
  #35  
6D2148
Drifting
 
6D2148's Avatar
 
Member Since: Jan 2012
Location: Limerick Pa, Saint James City Fl
Posts: 1,625
Received 228 Likes on 169 Posts

Default

Originally Posted by jim lockwood
Looks like it to me.

Copper can work harden and fail. I don't trust it.

If it were mine, I'd make a steel line with double flare and an in-line cut off valve.

Jim
I believe it also conducts heat better than steel to promote vapor lock
Old 11-29-2014, 02:39 PM
  #36  
59BlueSilver
Safety Car

Thread Starter
 
59BlueSilver's Avatar
 
Member Since: Apr 2013
Location: Arlington TX
Posts: 4,833
Received 931 Likes on 533 Posts
2023 Restomod of the Year Finalist
2023 C1 of the Year Finalist - Unmodified

Default

Originally Posted by 6D2148
Is that a single flare copper line?
Yes
Old 11-29-2014, 05:36 PM
  #37  
Pilot Dan
Le Mans Master
 
Pilot Dan's Avatar
 
Member Since: Feb 2008
Location: NJ Hockey beer league
Posts: 5,150
Received 428 Likes on 318 Posts

Default

Looks like some of the corners on the tank are down and some up. I would suggest you bend all the corners down. In addition, you can trim them with a tin snips anywhere outside the weld line to get rid of any sharp edges that may still be in your way. If you do that, stay at least 1/2 inch away from the seam, that's a must. Also, as others have said. replace that copper line with a proper double flared steel line. When I installed mine, I used a quanta tank (w/AOL logo which I know is there and no one else ever will) and it dropped in first time. Cover was snug but did not touch the tank. Pilot Dan

Get notified of new replies

To C1 fuel tank

Old 11-29-2014, 09:16 PM
  #38  
59BlueSilver
Safety Car

Thread Starter
 
59BlueSilver's Avatar
 
Member Since: Apr 2013
Location: Arlington TX
Posts: 4,833
Received 931 Likes on 533 Posts
2023 Restomod of the Year Finalist
2023 C1 of the Year Finalist - Unmodified

Default

I didn't have as much trouble as I expected. All of the corners are bent down from the factory and all except one cleared. Wasn't necessary to trim them but it is a good idea. I would recommend wearing gloves when handling the tank. Those flanges can cut you to ribbons and the coating on the tank makes it slippery.
Biggest problem I had was the fuel inlet. Evidently it sets at a slight rearward angle. Didn't notice that before.
The new sending unit gasket and screws supplied worked better than what I used before. I started and ran it long enough to check for leaks and didn't find any. Poured in 5 gallons, gauge reads 1/4 tank which seems about right.

BTW, I was blowing out the sending unit tube and sock and I set it down on some white paper. It was then that I noticed fine specks of rust that was in the sending unit "container", some of them kinda large. So there was rust floating around in the gas and I just couldn't see it. Glad I replaced the tank.

I also blew out the lines, replaced the in-line filter b/t the tank and fuel pump and the filter at the carb. I'm going for a test run maybe tomorrow. During or after the holidays I'm rebuilding the carb. That should take care of any fuel problems.
Old 11-29-2014, 09:22 PM
  #39  
59BlueSilver
Safety Car

Thread Starter
 
59BlueSilver's Avatar
 
Member Since: Apr 2013
Location: Arlington TX
Posts: 4,833
Received 931 Likes on 533 Posts
2023 Restomod of the Year Finalist
2023 C1 of the Year Finalist - Unmodified

Default

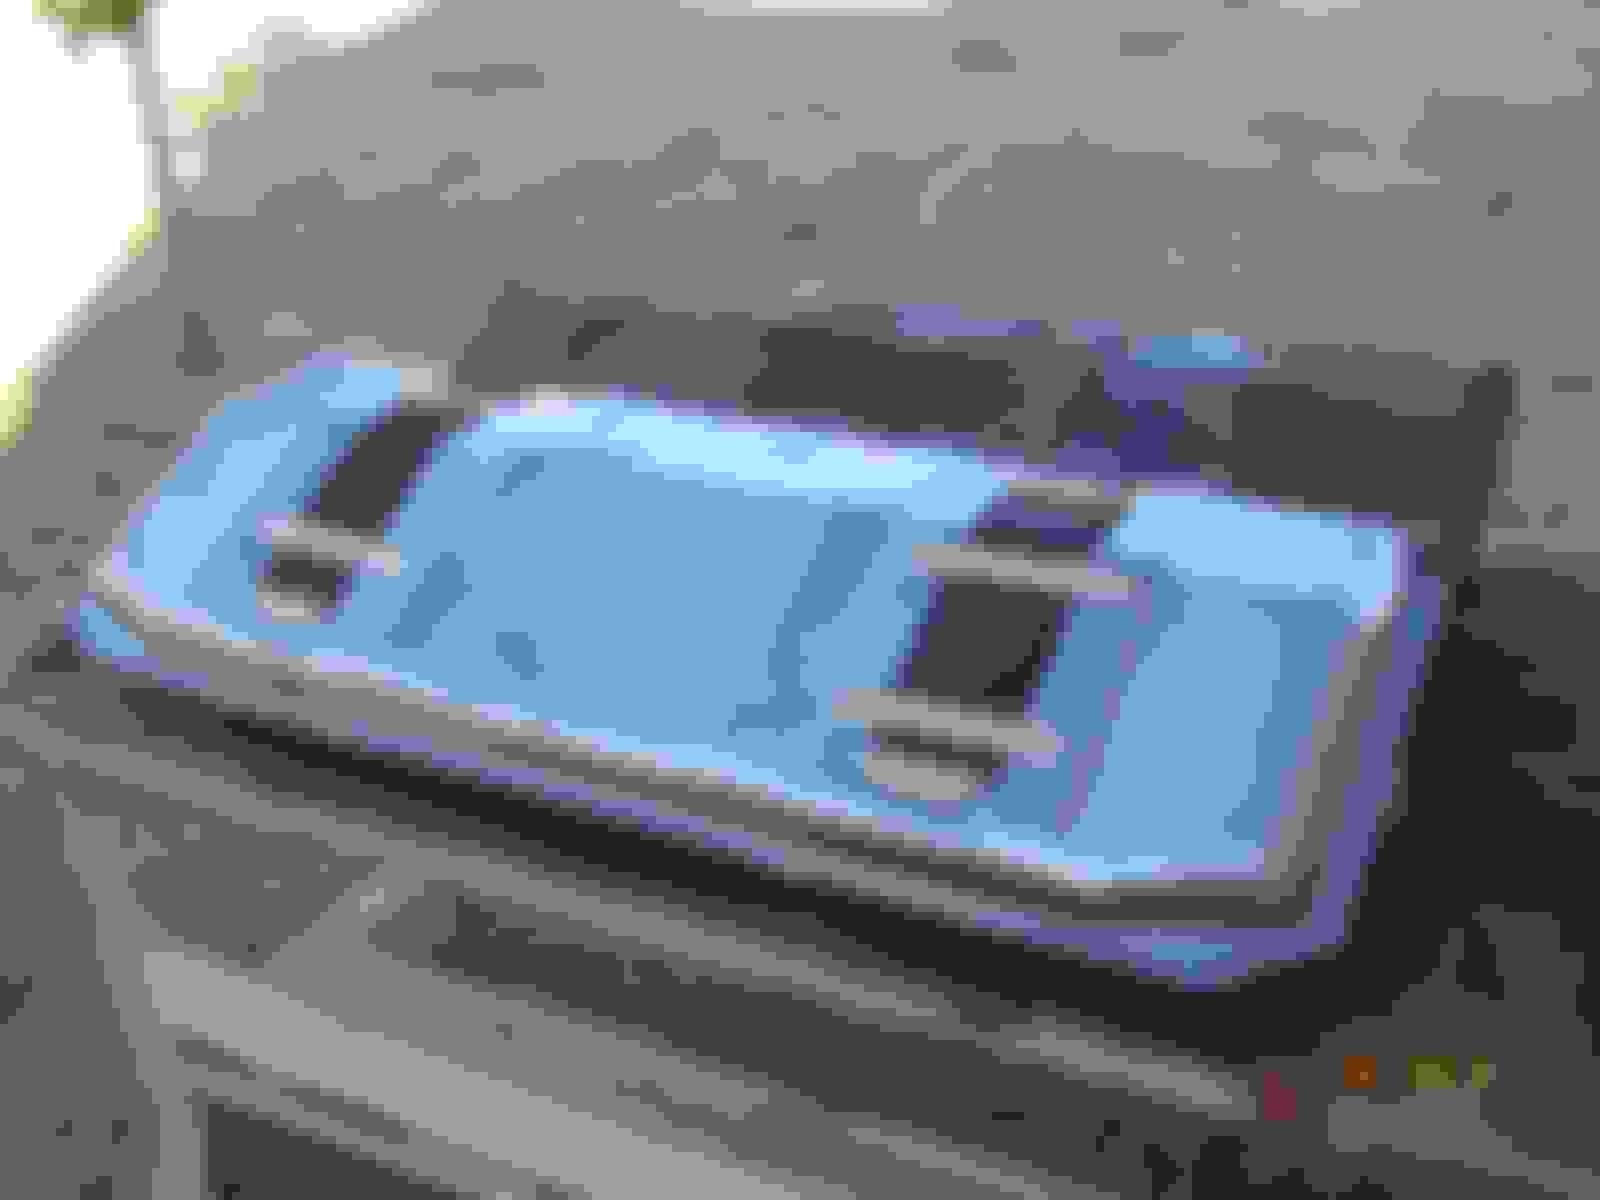
Here are the finished pics for now. I prefitted the cover. It's tight, not much clearance if any, but didn't see any interference. I'm keeping the cover off for a while waiting on a stainless steel line to replace the copper.
So far, I'm happy with the fit!


Left side


Right side
Old 12-01-2014, 09:34 AM
  #40  
59BlueSilver
Safety Car

Thread Starter
 
59BlueSilver's Avatar
 
Member Since: Apr 2013
Location: Arlington TX
Posts: 4,833
Received 931 Likes on 533 Posts
2023 Restomod of the Year Finalist
2023 C1 of the Year Finalist - Unmodified

Default

I don't know that what I've done will resolve my engine dying problem. Only way I know is to test it. This week a Vette buddy will follow me around in my truck with a tow strap. I looked under my '59 and didn't see a good place to attach one.
Does anyone have a good recommendation of where to attach a tow strap on the front?


Quick Reply: C1 fuel tank


All times are GMT -4. The time now is 09:25 PM.