My 1960 Interior build and some chrome
 04-17-2015, 03:17 PM
#21
Race Director


ditch the hurst (you're not gonna' race it anyway) and get the factory shifter and boot. They look right and work right. 
interior looks great. kudos.
interior looks great. kudos.
 04-18-2015, 10:39 PM
#22
Safety Car

Thread Starter
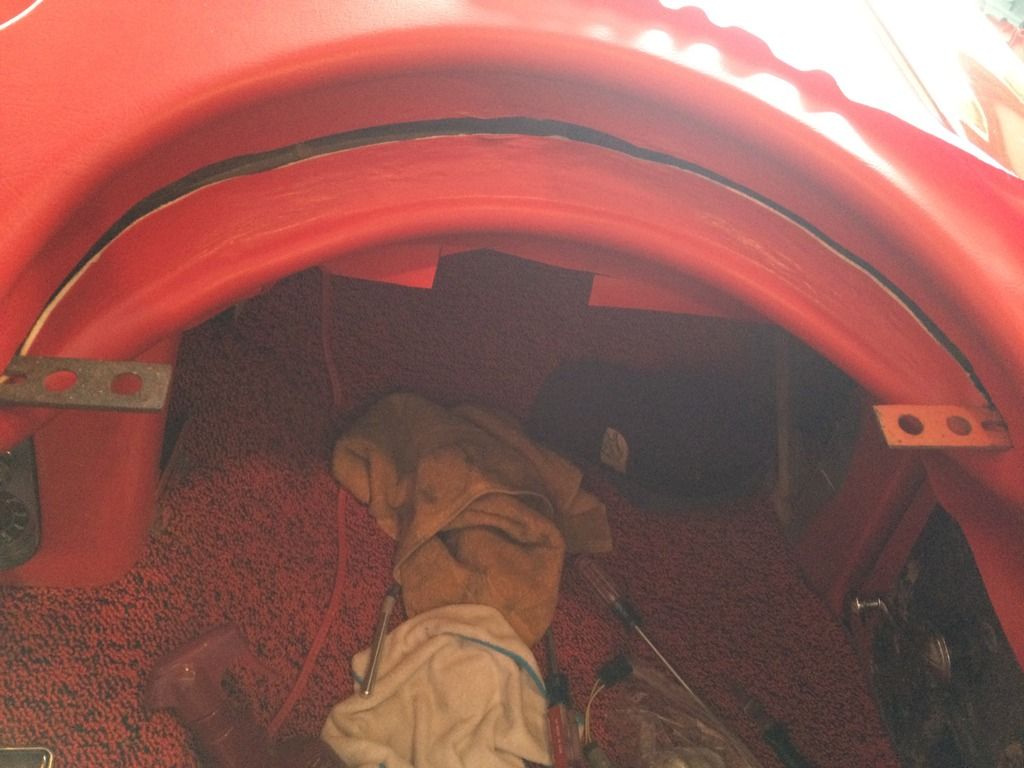
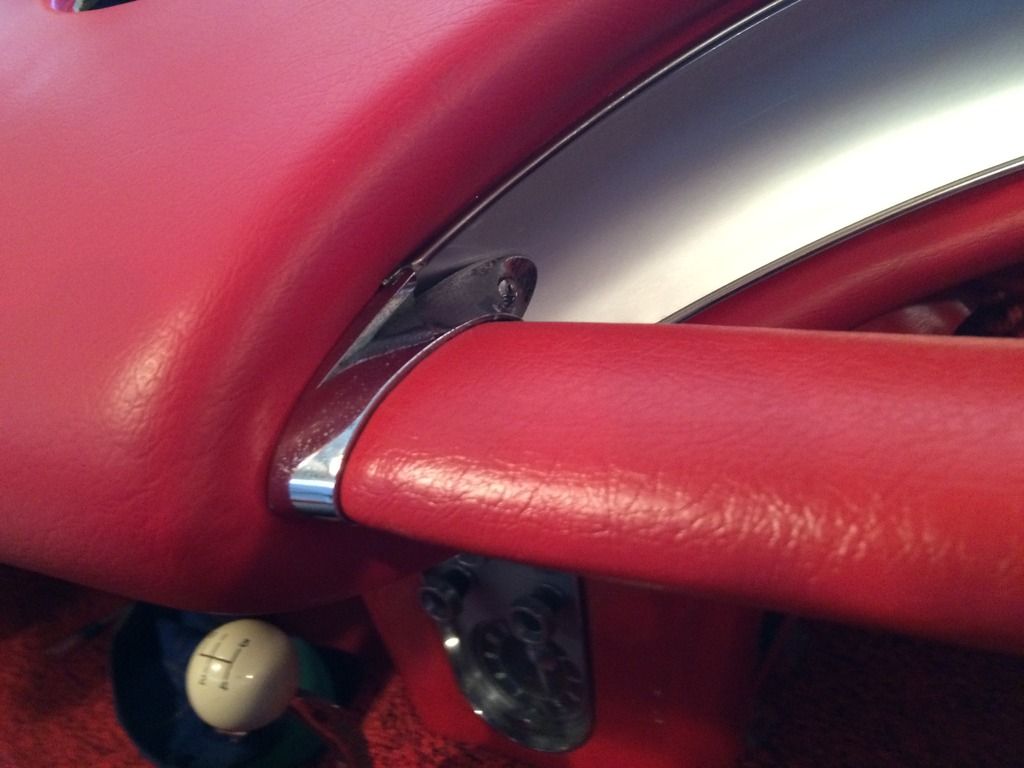
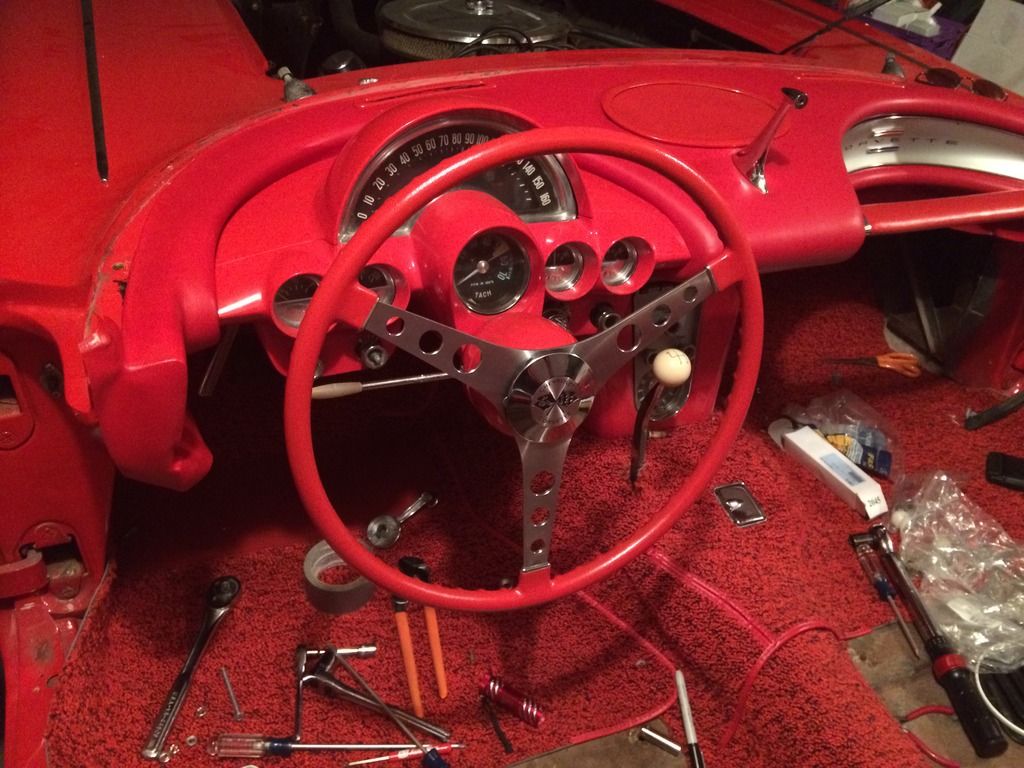
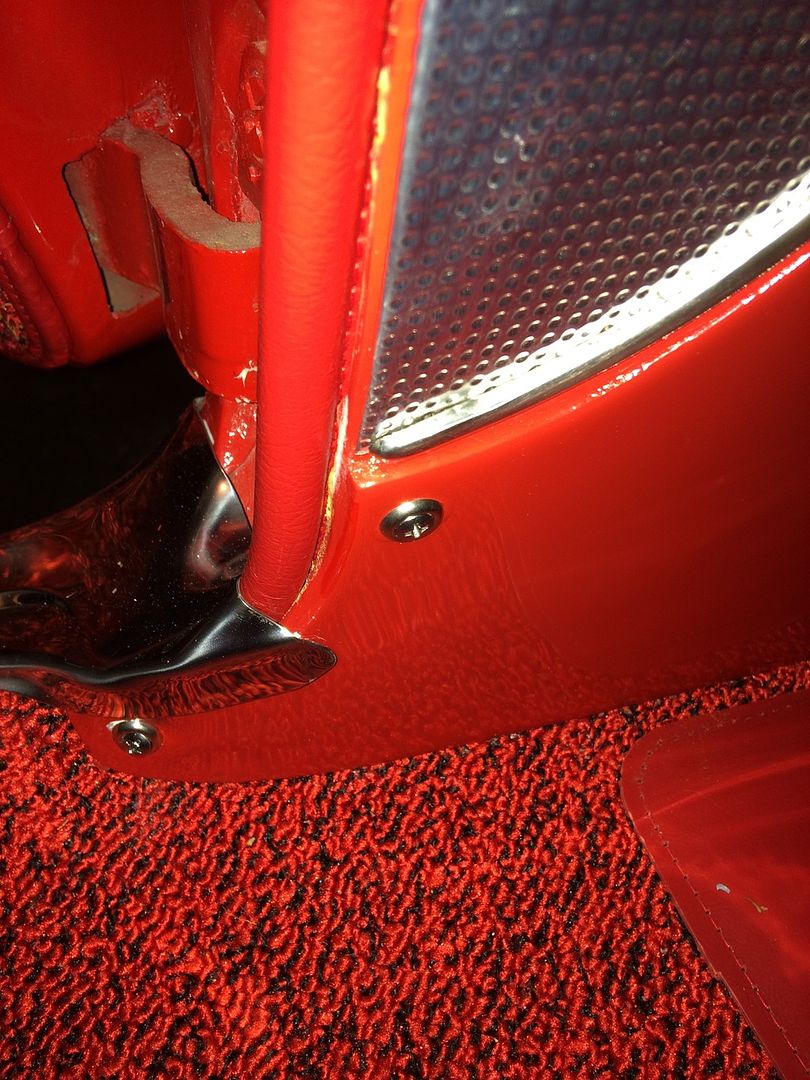
Well I remember reading it took a guy 8 hours to put in the window felt and I thought NO WAY! Funny how things you don't really think about can tie you up most of the weekend. The old ones were glued in and I decided to try to do it the "right way". Well, it took me forever to figure out how am I gonna get those staples through the felt and into the holes? After much "thinking" I ran thumb tacks through the felt and got those into the holes first. Then I used a small drill bit to lightly widen the holes to get the staples in. Very time consuming but it worked. Then the drivers window caught one of them and I didn't notice until I turned it 180 degress the wrong way  I was able to get that repaired and continue on. I was freaking done and the window was below the felt on the passengers side. So I had to take it apart because the window would not come up through. Once I started putting the inner ss piece into the door felt ss piece I made a boo boo. I CHIPPED my brand new chrome door post! It's not bad and on the inside. I can touch it up and I bet nobody will notice, but I know I will. Oh well it could have been worse. I pretty much thought I was doing real good until that part. I don't understand how in the world those windows are supposed to wind up easy? I have to help them from the top because it's so tight. I even beat the felt flat with a hammer but man they are tight!
Here are some pics.
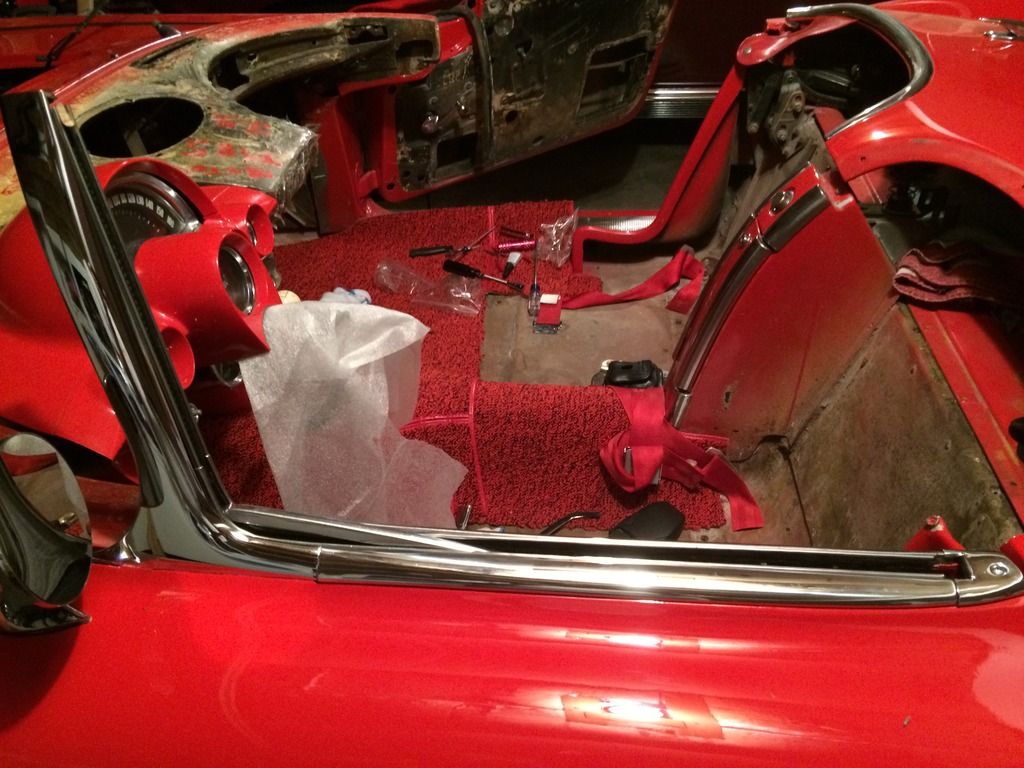
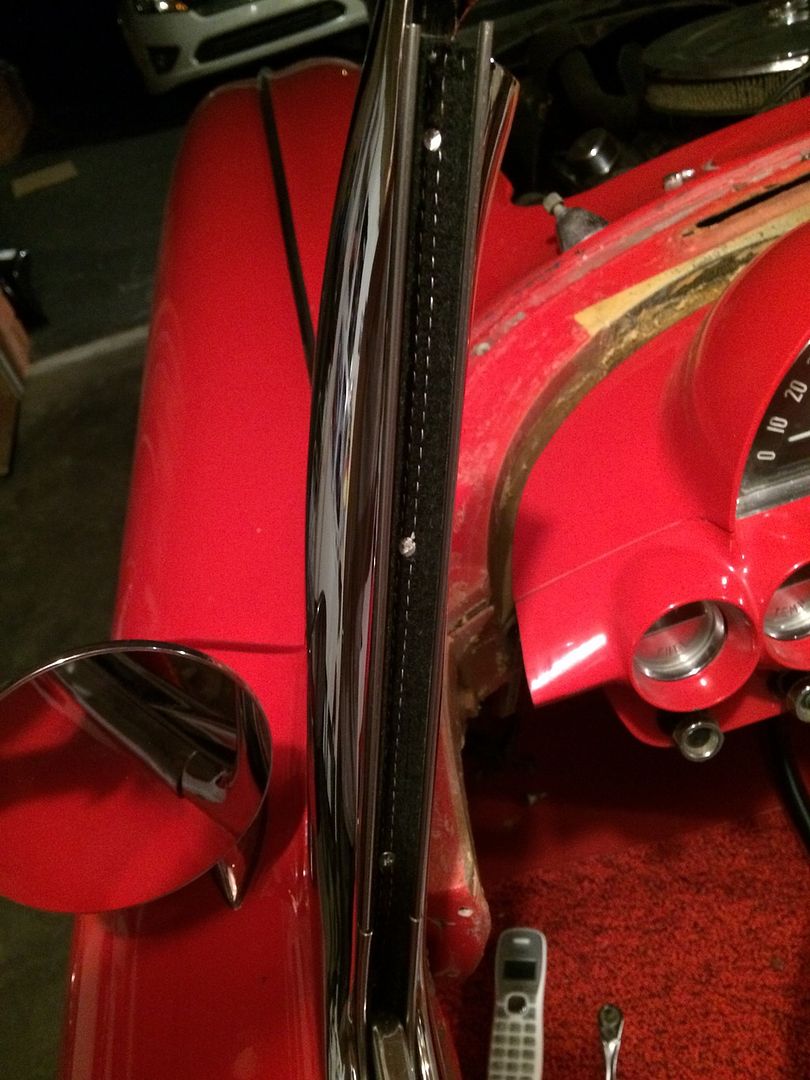
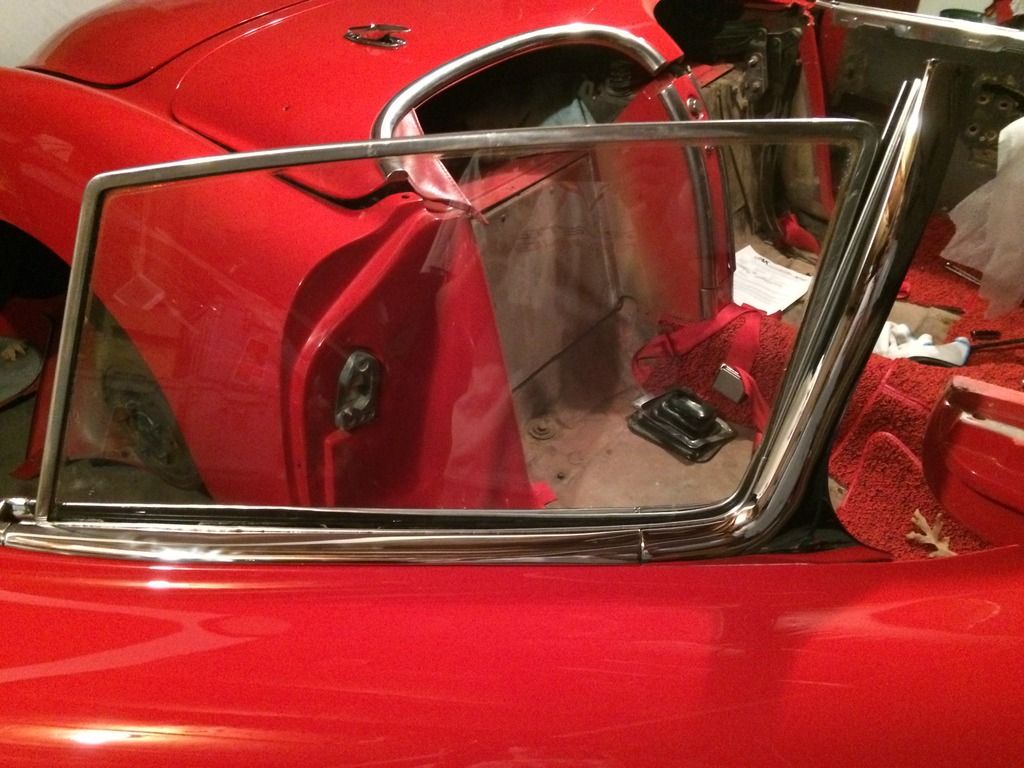
I can't get rid of this gap no matter what I try! Other than this it all fits pretty nice.

I was able to get that repaired and continue on. I was freaking done and the window was below the felt on the passengers side. So I had to take it apart because the window would not come up through. Once I started putting the inner ss piece into the door felt ss piece I made a boo boo. I CHIPPED my brand new chrome door post! It's not bad and on the inside. I can touch it up and I bet nobody will notice, but I know I will. Oh well it could have been worse. I pretty much thought I was doing real good until that part. I don't understand how in the world those windows are supposed to wind up easy? I have to help them from the top because it's so tight. I even beat the felt flat with a hammer but man they are tight! Here are some pics.


I can't get rid of this gap no matter what I try! Other than this it all fits pretty nice.
 04-25-2015, 11:32 PM
#23
Safety Car
 04-26-2015, 11:37 AM
#24
Safety Car
Thread Starter
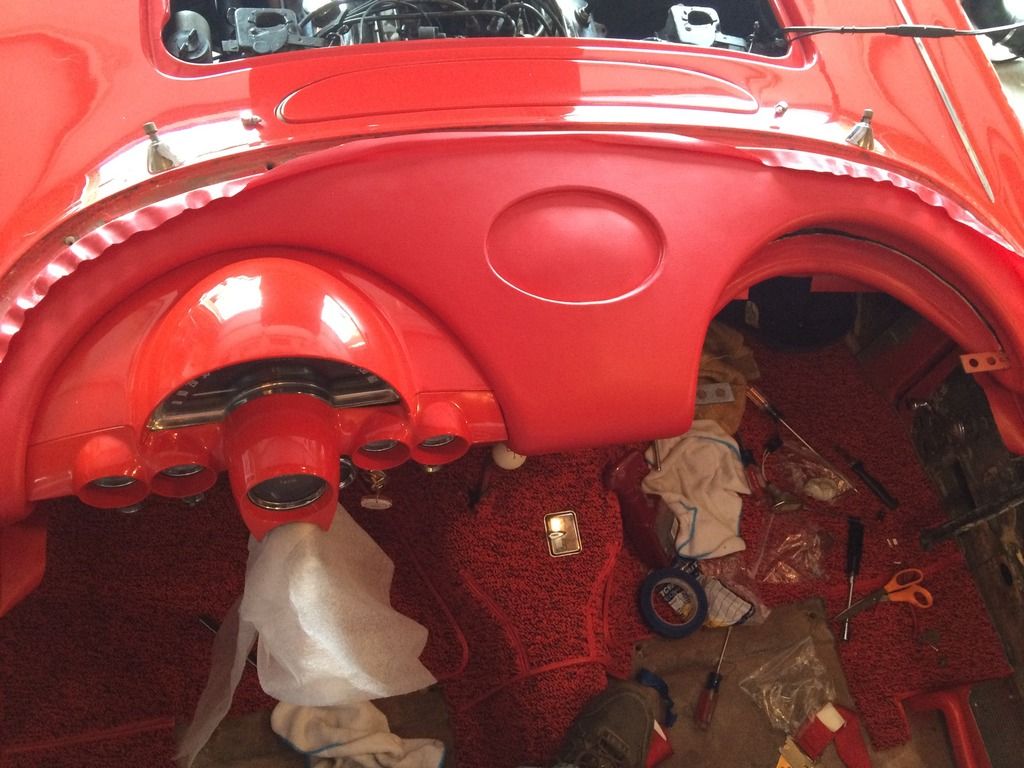
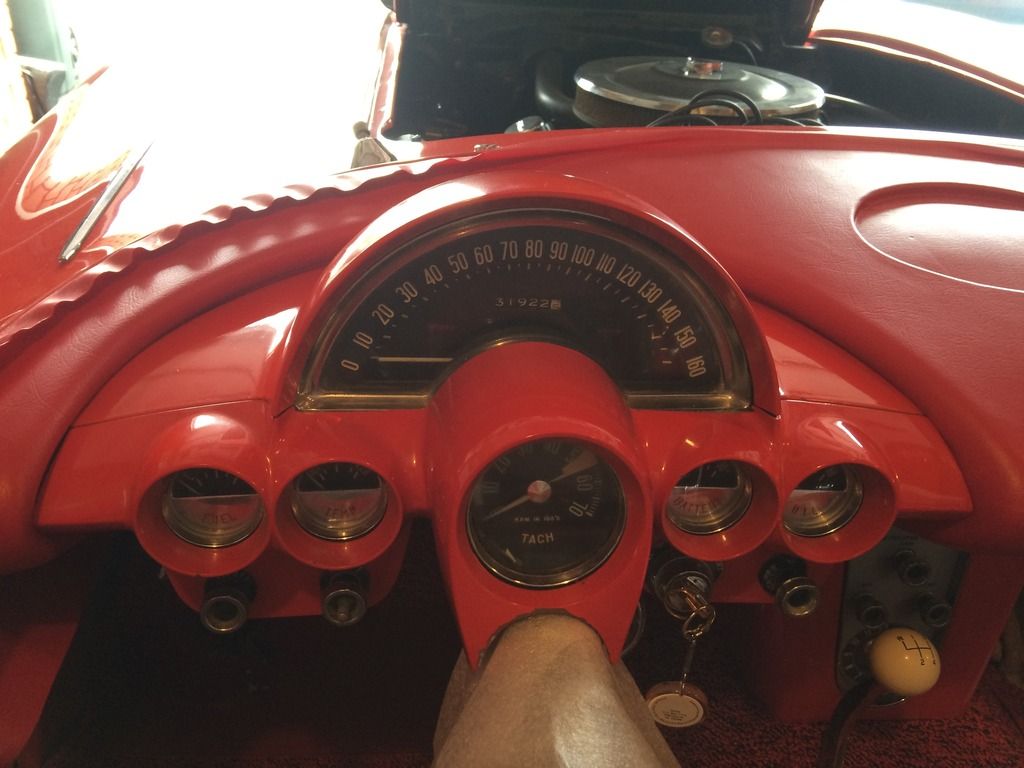
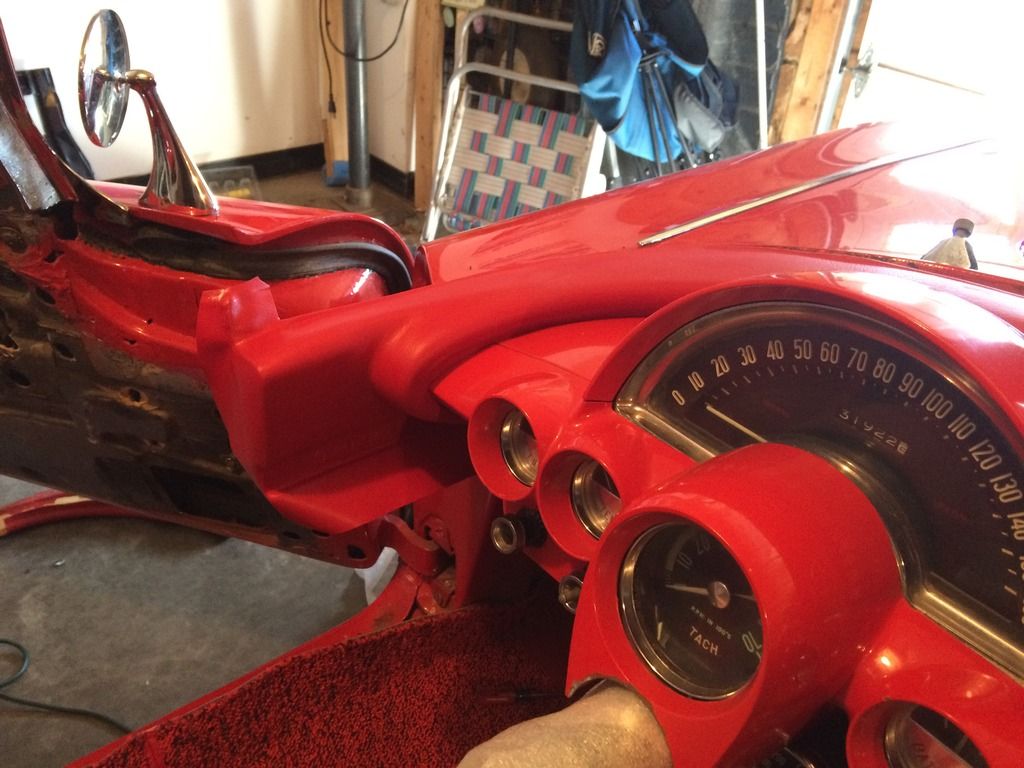
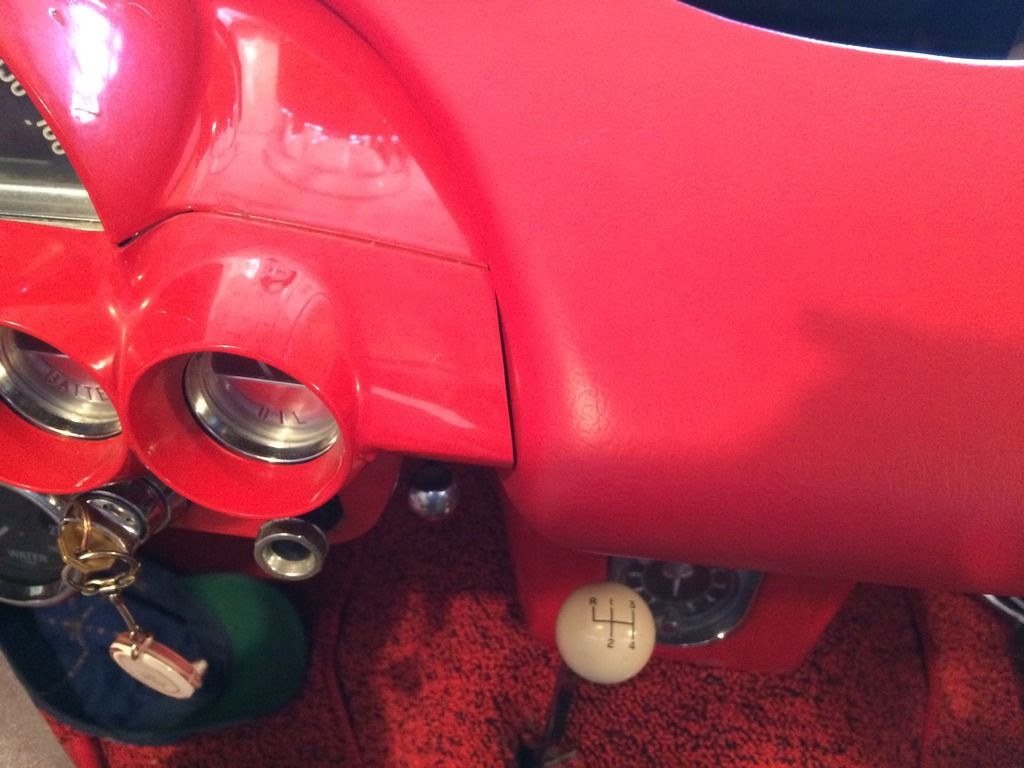
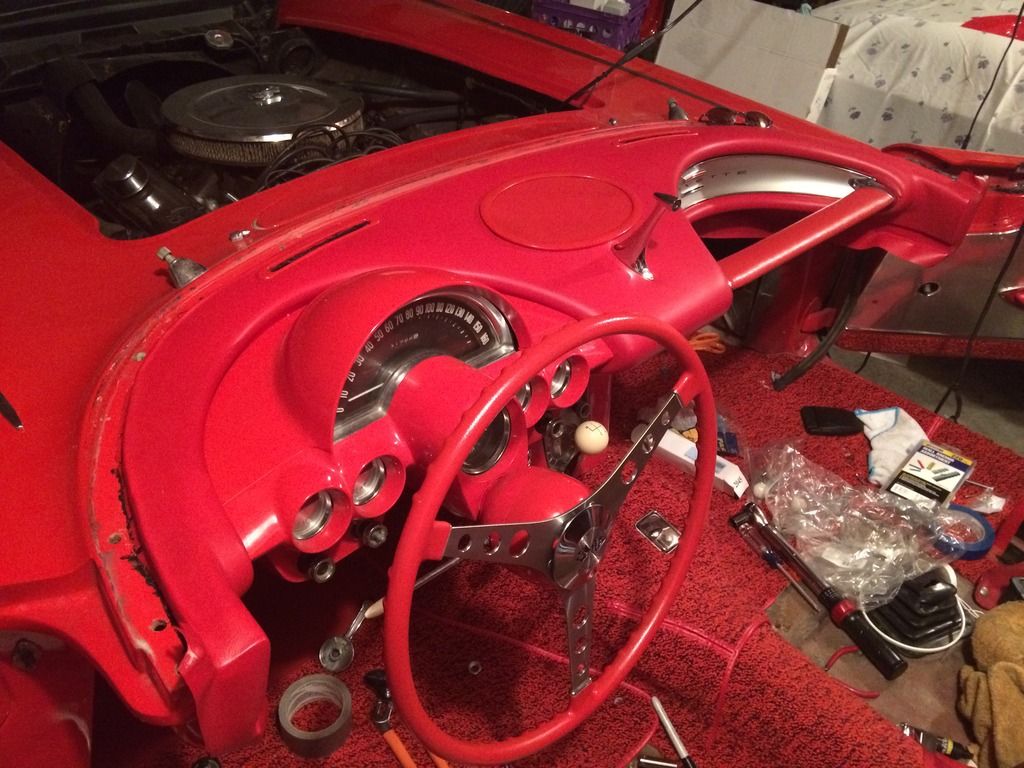
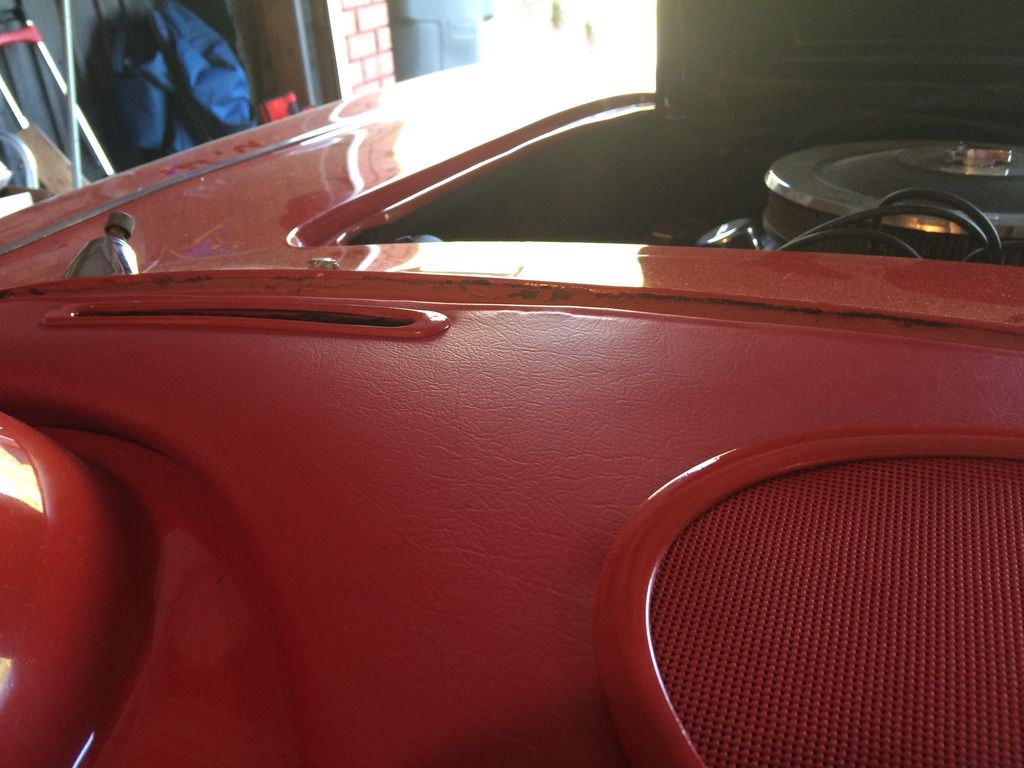
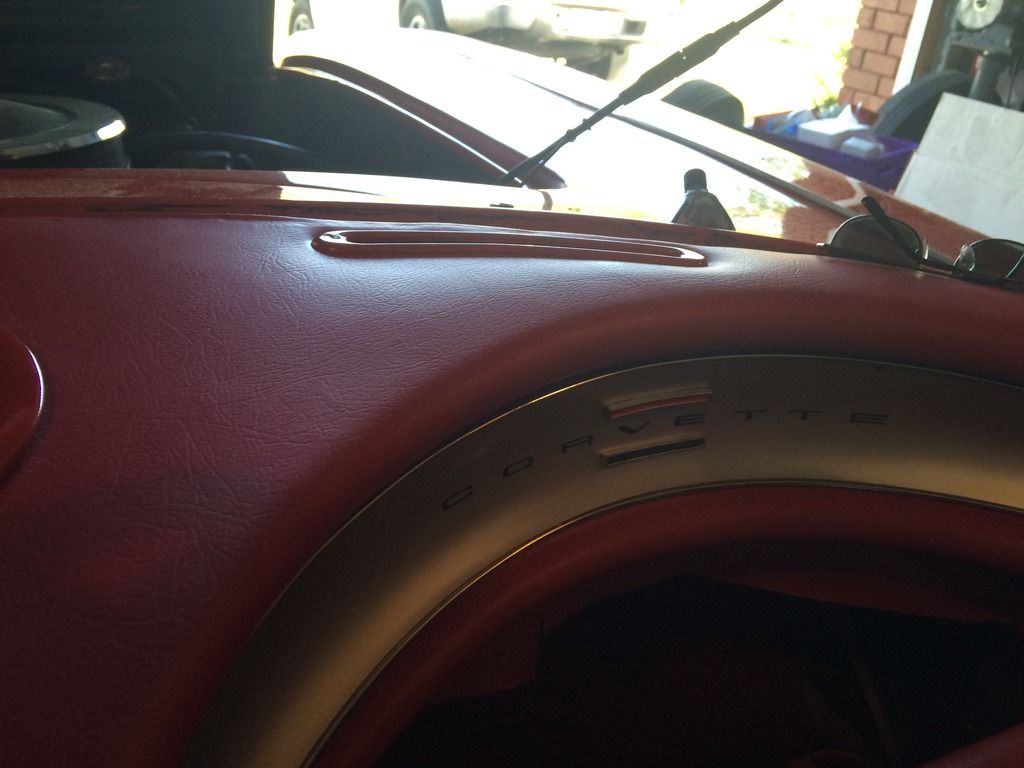
Well the most dreaded part of this restoration is dealt with finally. The dash pad! I watched Al Knochs video carefully made the cuts that he made and fit it on. It took all of 5 minutes and fit nice. I got the cluster back in nice and the insert in, but me and that ds bracket fought most of the night last night and this morning. I think I have it about as good as I can get it and I'm happy with it atleast for today. The one thing that bothers me is the gap between the right side of cluster and dash. I'm not an expert, but I'm thinking if I can do this pretty nicely I'm sure alot of you who are worried about trying can do it no sweat.


 05-09-2015, 10:43 PM
#26
Safety Car
Thread Starter
Now I feel like I have turned the corner and down the stretch I come  The wife and kid are gone for a few days and I put 5 hours in last night and 12 today. After you step back and look it is amazing how much time I spend on things that seem like they will only take an hour.
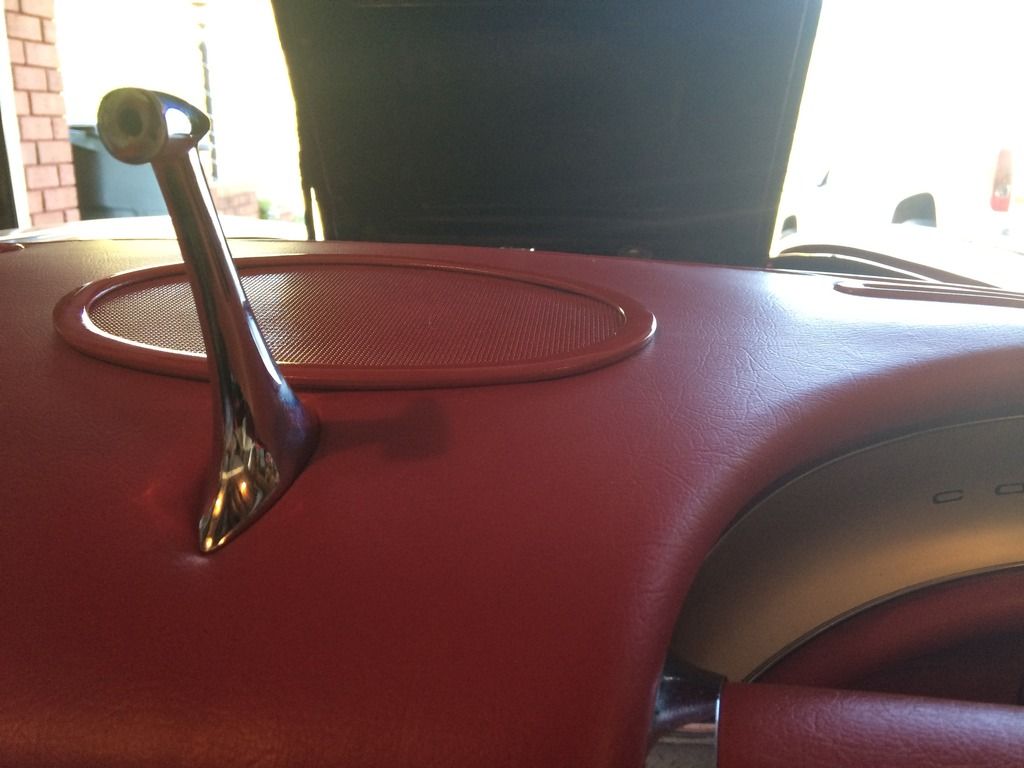
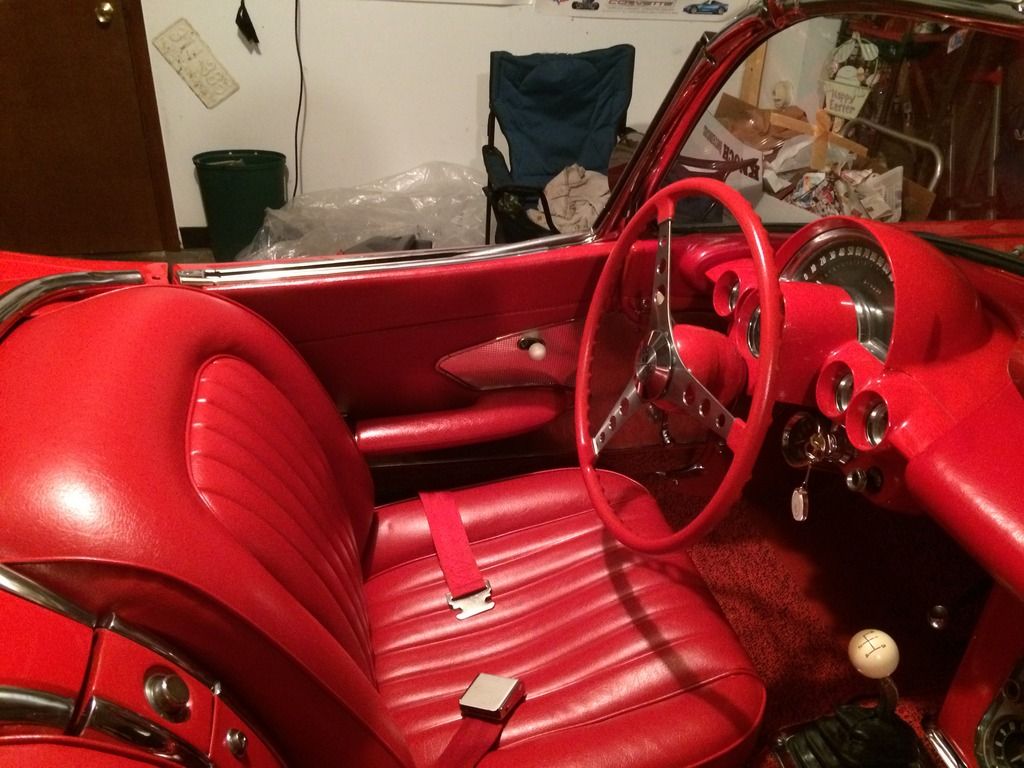
By far I'm most proud of my dash pad! I have done it all myself and made it through. I believe the speaker bezel is supposed to sit a little high, but I don't like that look so I pressed my luck and got it flush.
I got my turn signal hub back yesterday and put it all back together tonight and was able to get the wheel back on. Everything works and the horn only works when you push on the button (I was afraid it would be stuck or not work at all).
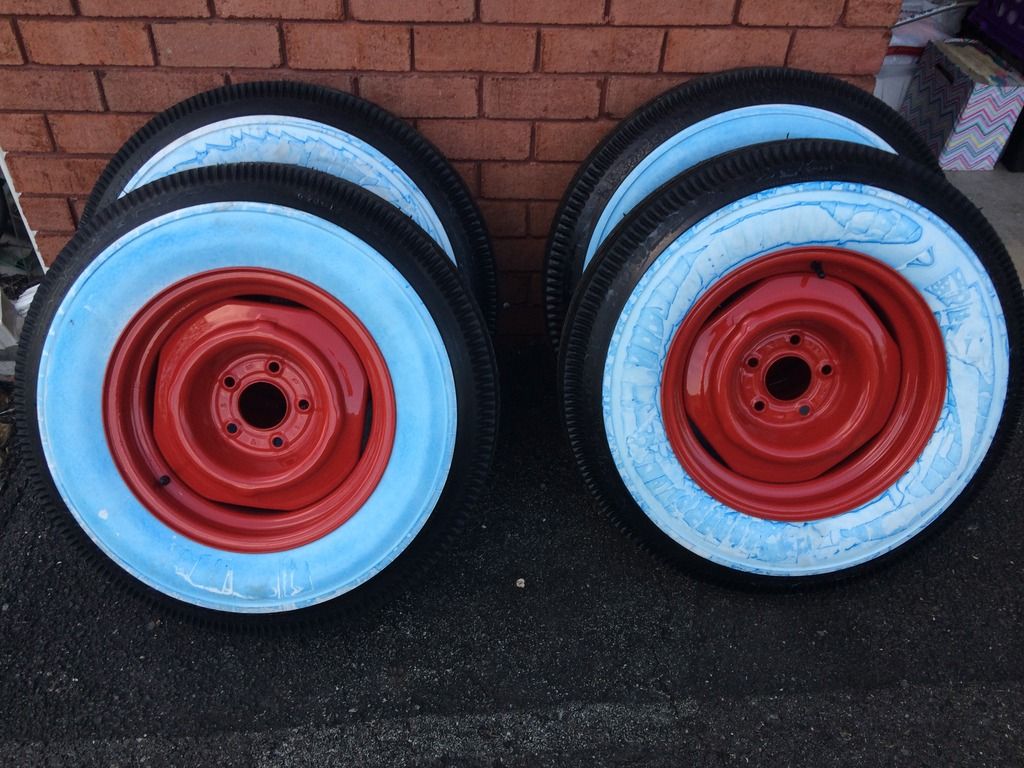
My wheels and tires are ready to be put back on. The wheels turned out so nice I hate to cover them up with the caps.
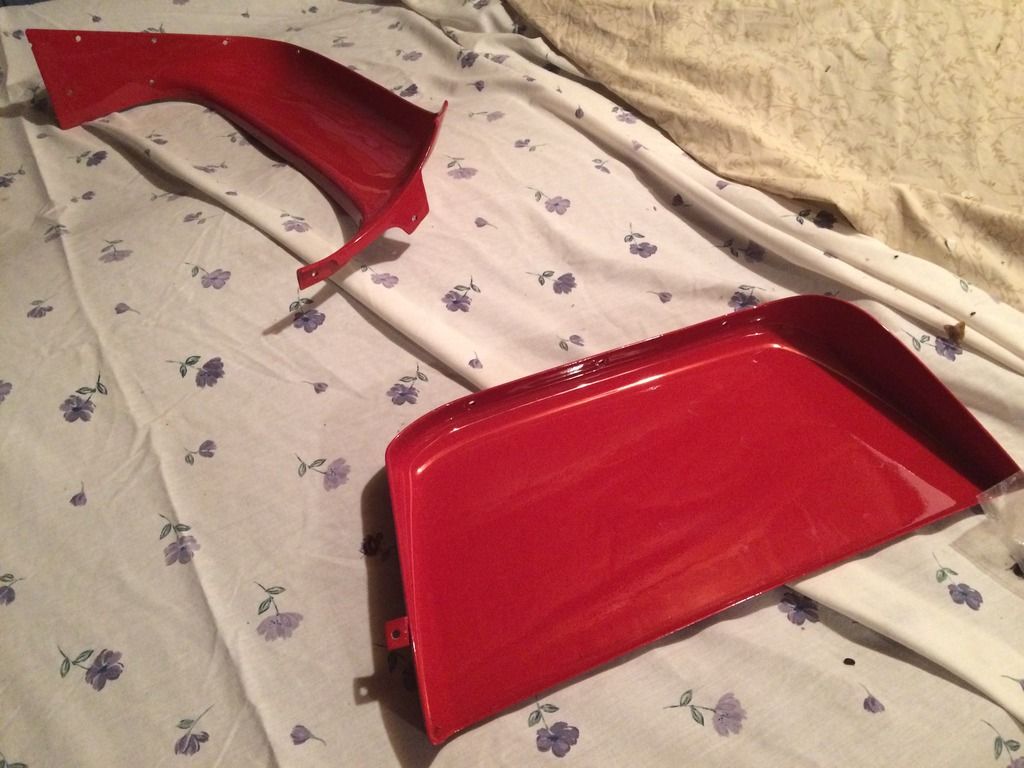
My package tray and heater cover also came out great. I was worried about color match and whoever sprayed them in 1985 had a big puddle of paint in the bottom of the tray
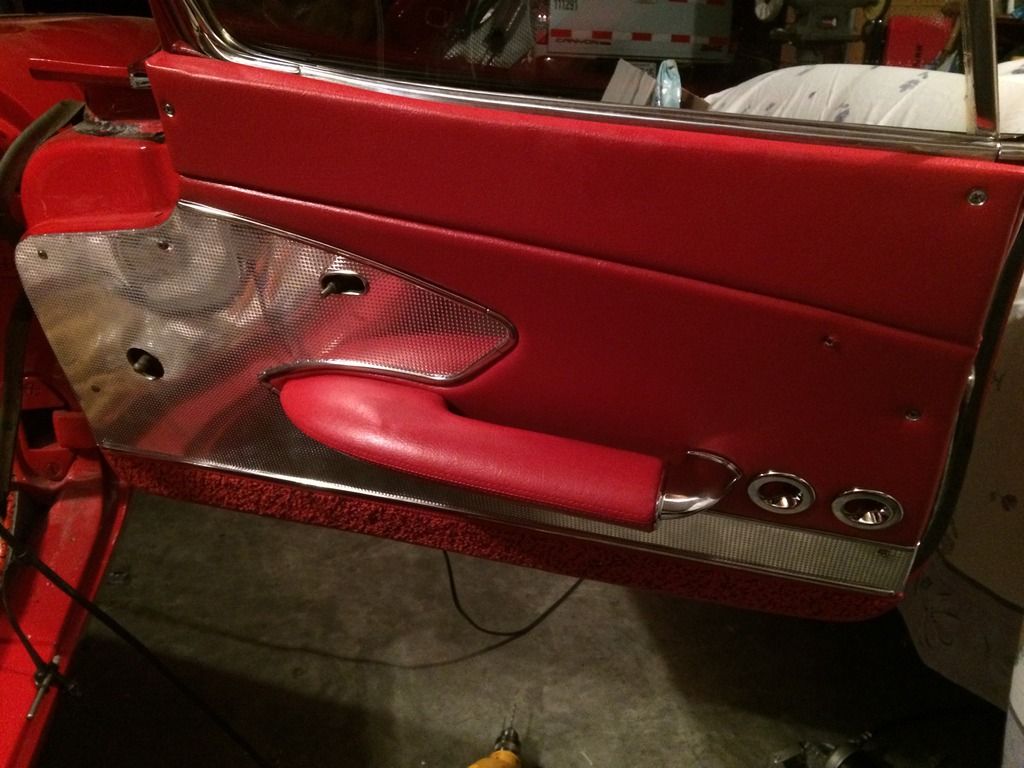
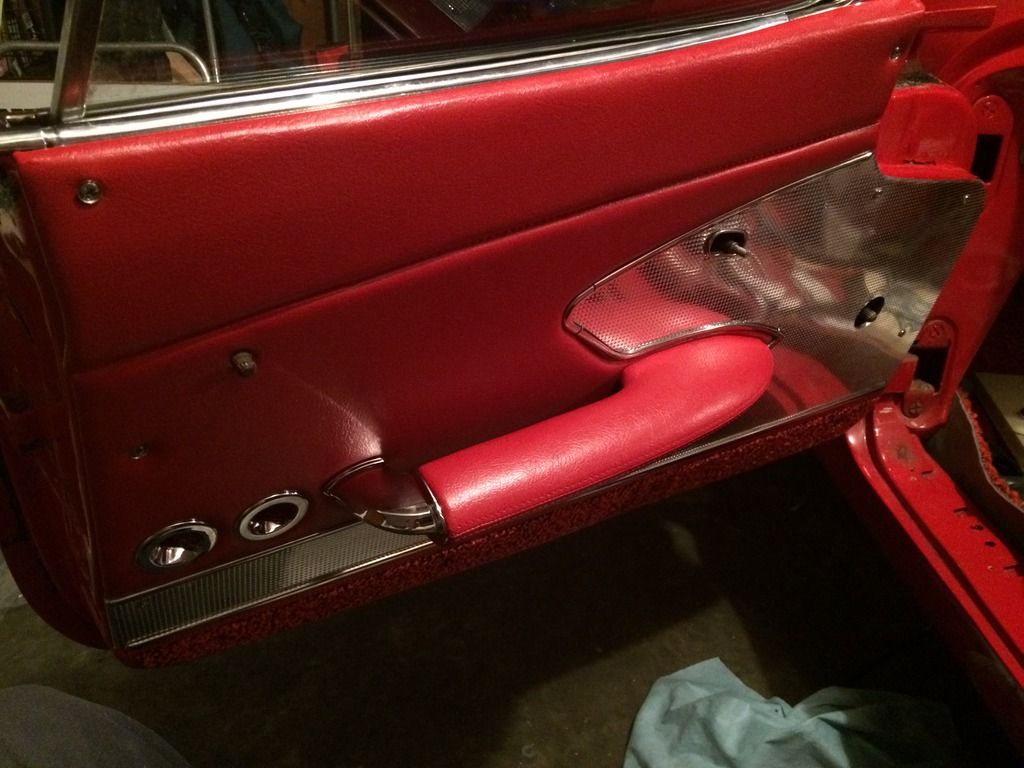
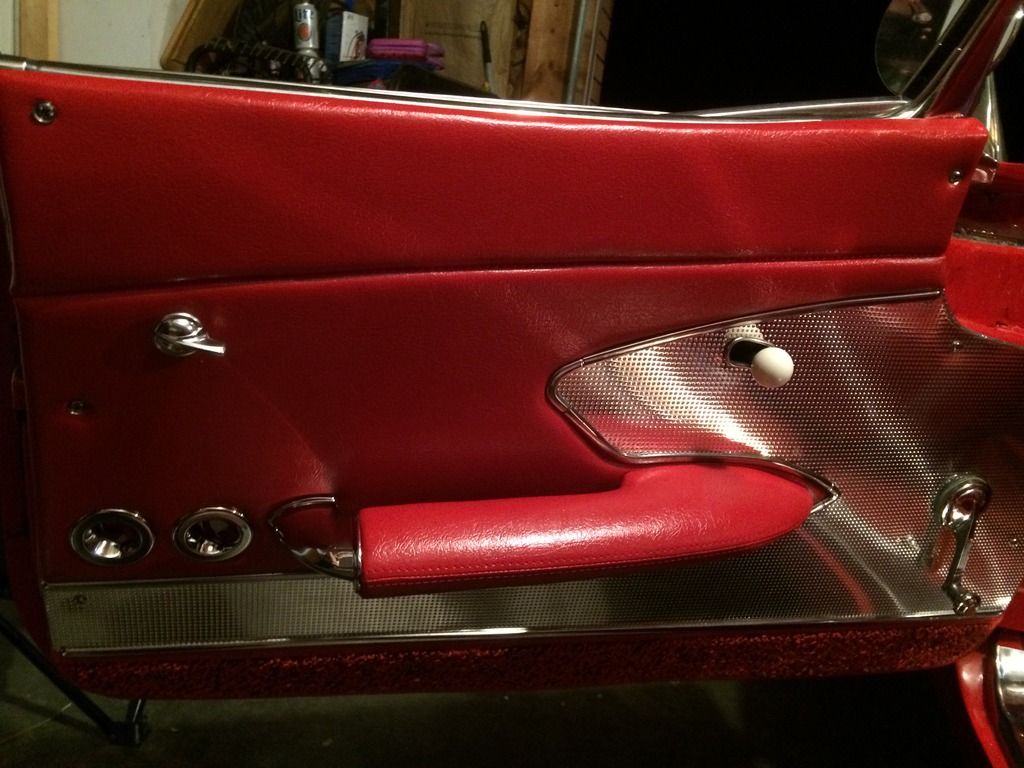
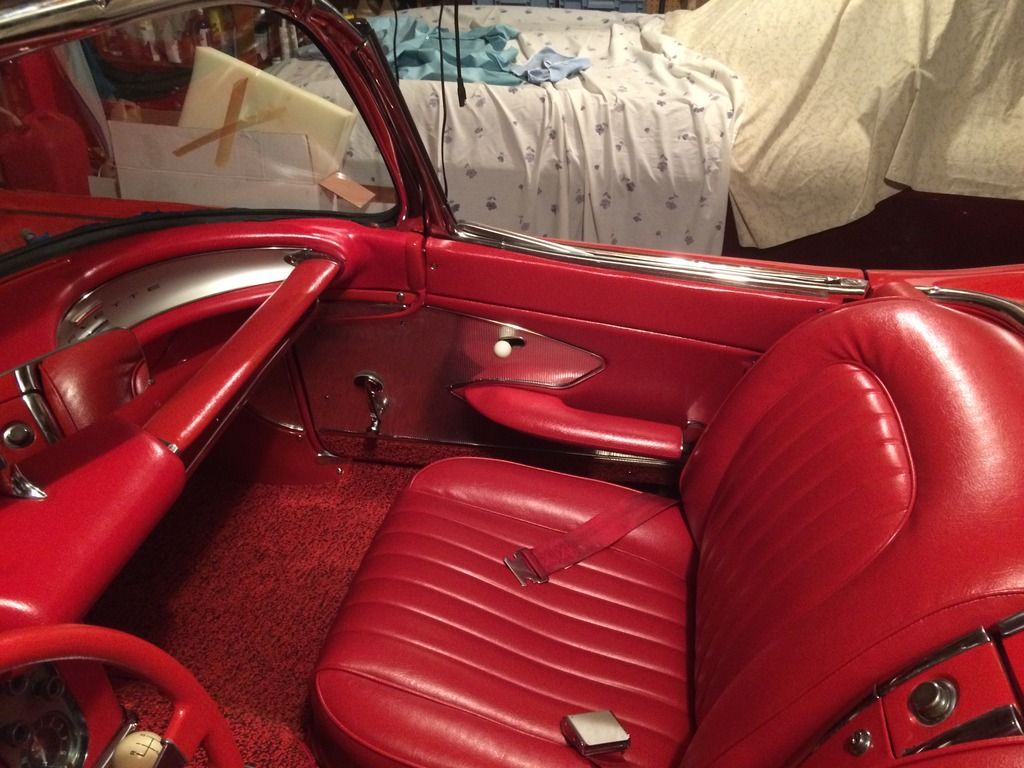
The door panels gave me fits. Not the panel but the arm rests. I found it odd that my new door panels had no holes from previous screws where Al Knoch had his holes lined up. It worked out great for me because I didn't have to worry about stripped out holes
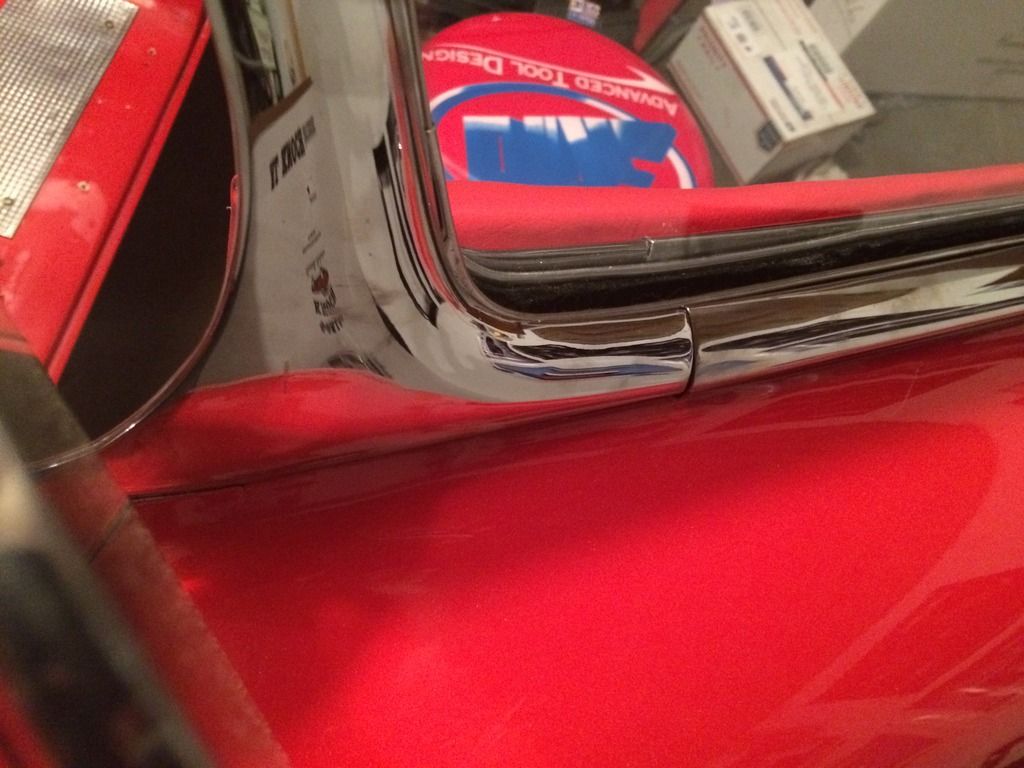
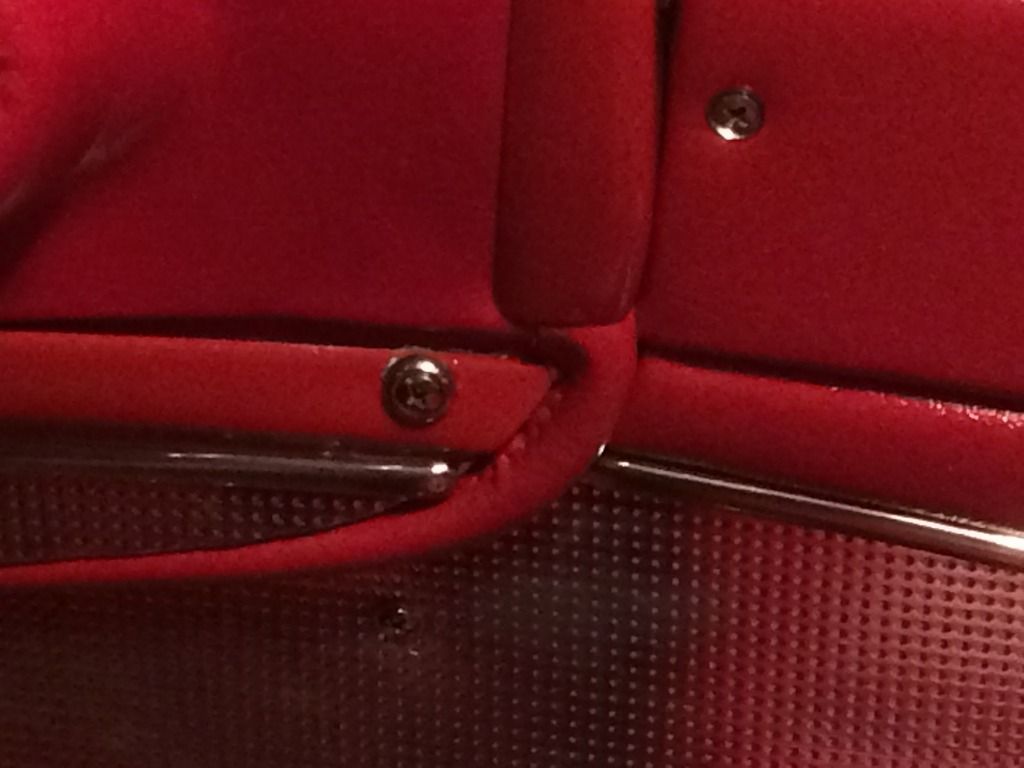
I was able to get rid of some gaps that I had from when I started. It's amazing how something you don't think will matter kicks you in the rear 5 steps down the road.
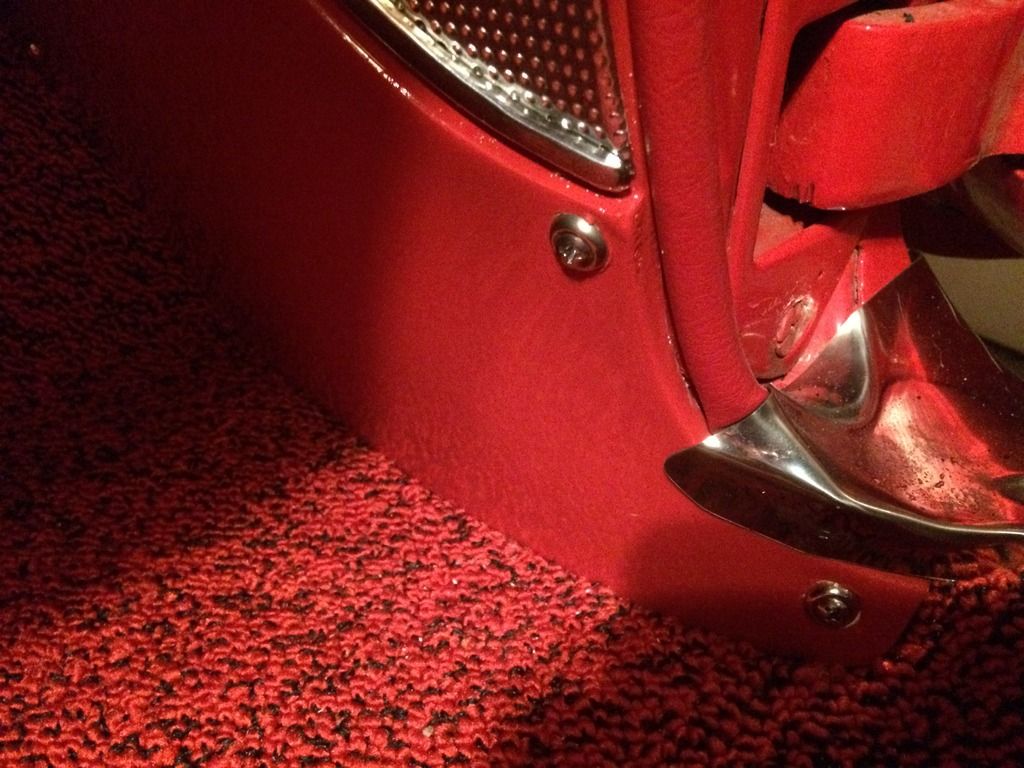
Anyway here are some pics!
The wife and kid are gone for a few days and I put 5 hours in last night and 12 today. After you step back and look it is amazing how much time I spend on things that seem like they will only take an hour.By far I'm most proud of my dash pad! I have done it all myself and made it through. I believe the speaker bezel is supposed to sit a little high, but I don't like that look so I pressed my luck and got it flush.
I got my turn signal hub back yesterday and put it all back together tonight and was able to get the wheel back on. Everything works and the horn only works when you push on the button (I was afraid it would be stuck or not work at all).
My wheels and tires are ready to be put back on. The wheels turned out so nice I hate to cover them up with the caps.
My package tray and heater cover also came out great. I was worried about color match and whoever sprayed them in 1985 had a big puddle of paint in the bottom of the tray
The door panels gave me fits. Not the panel but the arm rests. I found it odd that my new door panels had no holes from previous screws where Al Knoch had his holes lined up. It worked out great for me because I didn't have to worry about stripped out holes
I was able to get rid of some gaps that I had from when I started. It's amazing how something you don't think will matter kicks you in the rear 5 steps down the road.
Anyway here are some pics!


 05-10-2015, 01:21 AM
#27
Safety Car
Congrats man!
Its looking really nice. Can't wait for the pics of it all back together!
I like your strategy though... sending the fam off... to visit the inlaws?
Great way to buy time!
Its looking really nice. Can't wait for the pics of it all back together!
I like your strategy though... sending the fam off... to visit the inlaws?
Great way to buy time!
05-10-2015, 10:03 AM
#28
Safety Car
Thread Starter
You got it buddy! Did you see the thread with the pic of me and the original owner of the 66 I posted last weekend?
05-10-2015, 10:36 AM
#29
Safety Car

Member Since: Feb 2007
Location: Northern California CA
Posts: 4,501
Received 1,901 Likes
on
883 Posts

Nice job!!
That looks great! You're giving me inspiration and confidence to tackle the dash pad.
I should have our '62 back in my shop within a few more weeks. I just completed the windshield assembly and have it sitting on one of my portable benches.
I purchased all new window felts and am most concerned with the dash pad!
I'll have to contact Frankie and see if I can locate his dash pad thread.
Again, beautiful job!
Pat
05-10-2015, 10:03 PM
#30
Safety Car
Thread Starter
If I can help you just let me know. I went to the only shop in town that does interior and the guy just kind of acted like he was not interested. Then I had another guy tell me he would do it for $800. He is the kind of guy that your car will come back missing some key parts also, so I passed. It really is just taking your time and not cutting to much. I was guilty of not cutting far enough in some cases, but you can always cut more, but can't undo what you have done. The Al Knoch video was $30 on ebay and after you watch him you realize it just isn't that hard. Also Al Knoch's pads now should require no removal of foam, and I never took any out.
05-19-2015, 10:04 PM
#31
Safety Car
Thread Starter
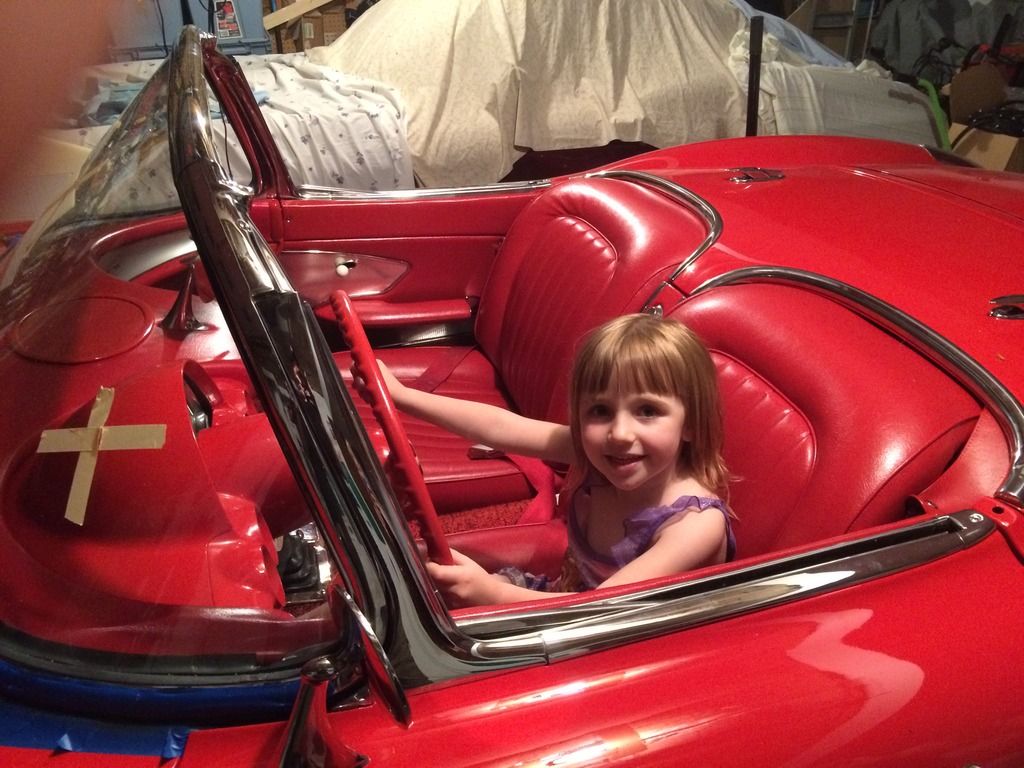
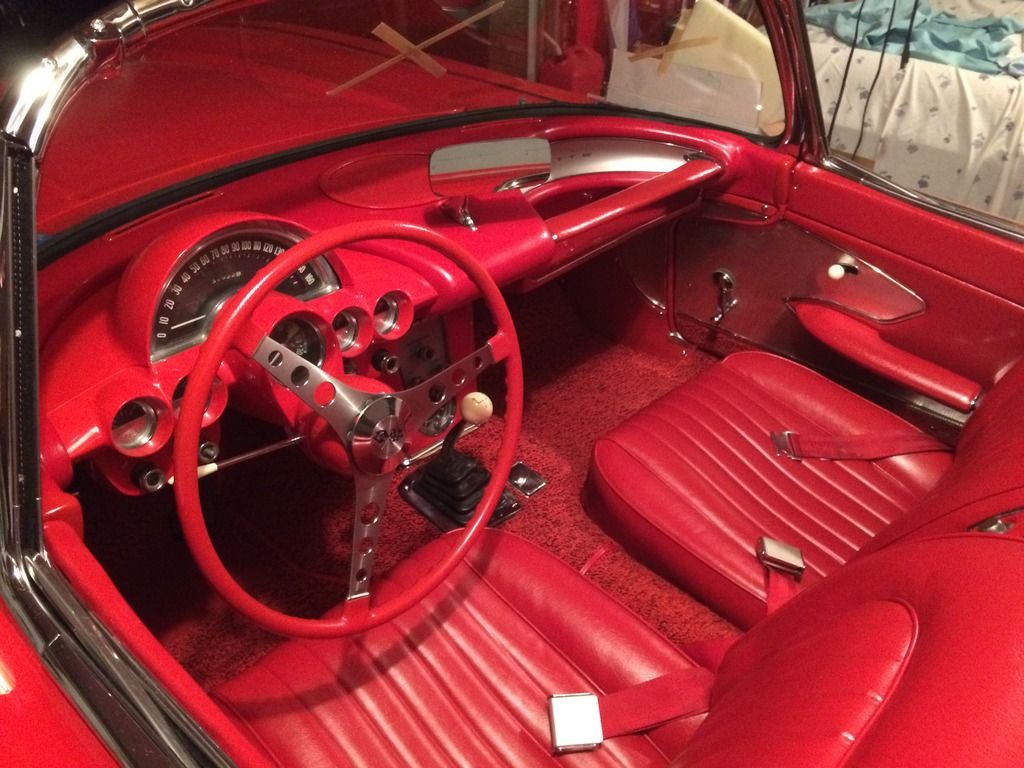
Now I'm getting very close. The interior is finished finally! It really is amazing how small little items can take up lots of your day. My goal was to be done by this Saturday for our big car show. I will make it I just hope I can get the extra bling items on the outside on in time. I know it isn't perfect, but I'm very proud of the interior. I should have painted the cluster, but I had to draw the line at some point and I can get it done over the winter and do the gauges. I did keep the Hurst. The next time I replace the carpet I'm gonna go back to the stock look, but I don't mind the Hurst


 05-19-2015, 11:28 PM
#32
Safety Car
Jason you are my Interior "HERO". Absolutely beautiful job and you should be proud. Just because of you I am going to tackle my 61 dash pad job in the fall.
Thanks for finding my dash pad for me.
Jay
Thanks for finding my dash pad for me.
Jay