When you click on links to various merchants on this site and make a purchase, this can result in this site earning a commission. Affiliate programs and affiliations include, but are not limited to, the eBay Partner Network.
I have been making progress on the 56 Corvette but have not posted many pictures because when you are doing the wiring pictures do not look like much progress is being made I have almost all of the under dash wiring complete and all of the engine and front wiring is complete. I managed to route the front end wires through a PVC pipe I mounted in the inner fender-well to keep the engine bay clean form most wires.
Today I managed to complete the steering shafts with the 3 u joints and a custom bracket my friend helped make up for me. Also got the radiator installed and the fan wired.
I also got the fiberglass transmission tunnel cover repaired and grafted back into the car.
About a week ago my friend Richard came over and saved me by helping me put the new glass in the windshield frame, will mount it on the car soon.
Now I need to start working on the custom Vintage Air installation.
Still planning on having the care ready by end of July thought it seems everything is taking longer then I anticipated
This is the new steering rods with the 3rd u-joint
New Dewitts Radiator installed
Transmission tunnel repaired and grafted back in
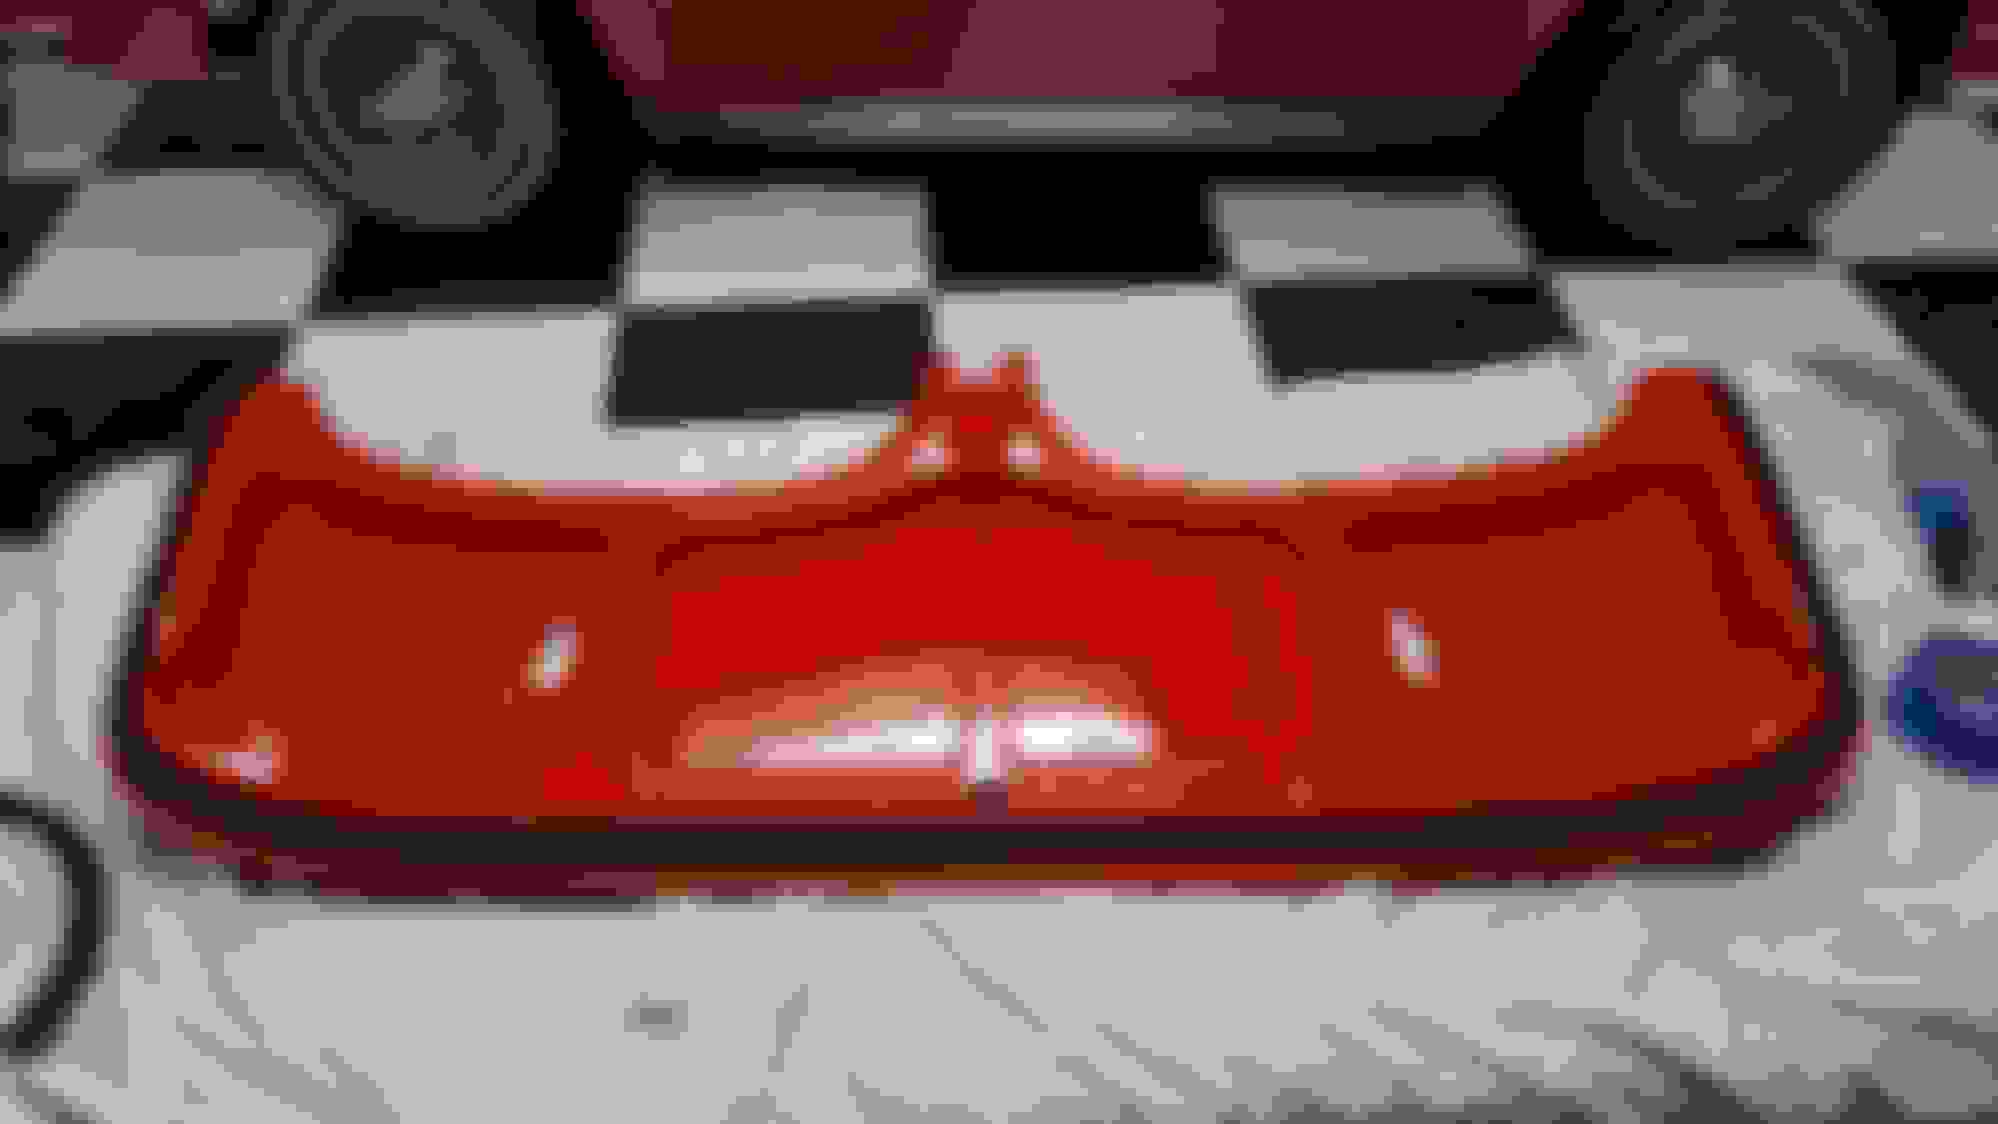
I installed a radio in the trunk, this has a remote face and a wireless remote control.
I made a little more progress this weekend and it is now looking more like a car now the windshield is on. I got all of the wiring complete except for the A/C and electric parking brake. Also got the headlights and buckets installed and installed and aligned the gas filler door.
The big task was to get the windshield on so I could finish up under the dash installing the A/C.
It seems like I do things 3 times While installing the condenser and the trianary switch I realized I did not run a wire up to activate the compressor so apart came all of my nicely routed wires so I can send up one more wire. Now I think the front is finished and it is time to install the grill.
I fabricated some mounting brackets for the condenser and I managed to make some tubes from a 1960 Vintage Air kit work on the 56 to get the hoses through the core support.
I am also installing an electric parking brake and I found out I needed to run one more wire to the trunk for that also
I completed connecting the fuel line to the rails and I finished up making the brake lines to go from the mater to the metering block.
I spent an hour at the NAPA store in the back going through all of their hoses with my coat hanger design to come up with 2 hoses I could cut down to made the Dewitt LS radiator to the Vintage Air Front Runner. They turned out great!
I finished up wiring the remote stereo in and I am starting the electric parking brakes.
Made a little progress this weekend, most all of it was custom fabrication.
First thing, all of my air cleaner part came in so I now have an air cleaner.
I was able to install the new gas peddle and cable it all up.
The next thing I tackled was the hydraulic clutch. I bled it then when I hit the peddle you had to be superman to push the peddle down. I soon did a little math and calculated the law of leverage and found I could not use the factory peddle location. I had to drill a hole higher up on the rod and now peddle pressure is great.
The next thing I soon figured out since there is a tremendous amount of pressure on the clutch master the fiberglass firewall needed reinforcing. So the next few hours was pulling the steering column and clutch master to gut out a thick piece of aluminum and drilling all of the holes then a reinstall of everything. After reassemble it is now rock solid.
The next item was making custom brackets to install the A/C evaporator under the dash (where it was never intended to live) then to finishing the A/C wiring and I had almost all of the parts to complete the custom A/C hoses to the compressor. A few more ground wires and the vent hoses and the A/C will be complete.
I also made some progress finishing the fuel lines on the new fuel injected tank I picked up from CC. I also installed a classic instruments fuel sender. Then it was on to modifying the gas tank cover to accommodate the fuel pump for the fuel injection lines. I still have a lot of finish work to do now
The engine bay and A/C installation is now complete. I finished up the last 2 custom A/C hoses and I am now vacuuming the system down. I used the EZ-Clip system to make the A/C hoses, that was very easy once I got all the right parts
I also got the door posts and all of the door latches and locks installed in the doors. Now I need to install the rear tracks, glass and window chrome.
Under the dash is pretty well buttoned up also so now we are almost ready to install heat treatment on the floor then the interior.
It is getting close now, have to test the electric, bleed the brakes, fill the fluids then prime the engine with oil before we start it. Hoping it will only be another 2 weeks.
We finally made some noticeable progress on the car this weekend. We were able to get the weather seal installed on the deck and trunk lid and we were able to get them both installed and aligned. Once we had the deck lid on then we bonded in the glove box to align with the deck lid. Also got all of the chrome and latches installed in the deck lid and the lock assembly on installed on the trunk.
The doors inners/windows are complete but after the car settled a little I need to take off the door panels and re-align the doors to fit the opening a little better.
Got the brakes bled and filled the radiator with water to check for leaks.
We got the interior complete except for bolting the seats down and kick panels so we only have the soft top install and the hood left to install on the body.
These are some clips of our attempts to start the car with the new Holley HP EFI harness and computer system over the weekend. I still have the pipe dumping under the car so it does not sound great but the CAM sure has a wicked idle.
It turns out the brand new MAP sensor I had installed was bad so by my 3rd attempt all was good.
3rd Attempt and it is running:
2nd attempt adjusting fuel mixes on the computer, still not right:
1st attempt having a starting party. Notice the fire extinguisher
I have 2 hard tops, started taking the worst one apart and realized I think I may be over my head and it was distracting me from finishing the build so I bought a whole new black canvas top and frame from Coffman.
 07-06-2015, 09:58 AM


 I have almost all of the under dash wiring complete and all of the engine and front wiring is complete. I managed to route the front end wires through a PVC pipe I mounted in the inner fender-well to keep the engine bay clean form most wires.