When you click on links to various merchants on this site and make a purchase, this can result in this site earning a commission. Affiliate programs and affiliations include, but are not limited to, the eBay Partner Network.
Wow. It's come a long way since the first post. Just saw this and had to look at the last post to see progress. The only thing I noticed (and I didn't read all posts in between so it might have been mentioned already) is that the front grill is not correct for a 1965
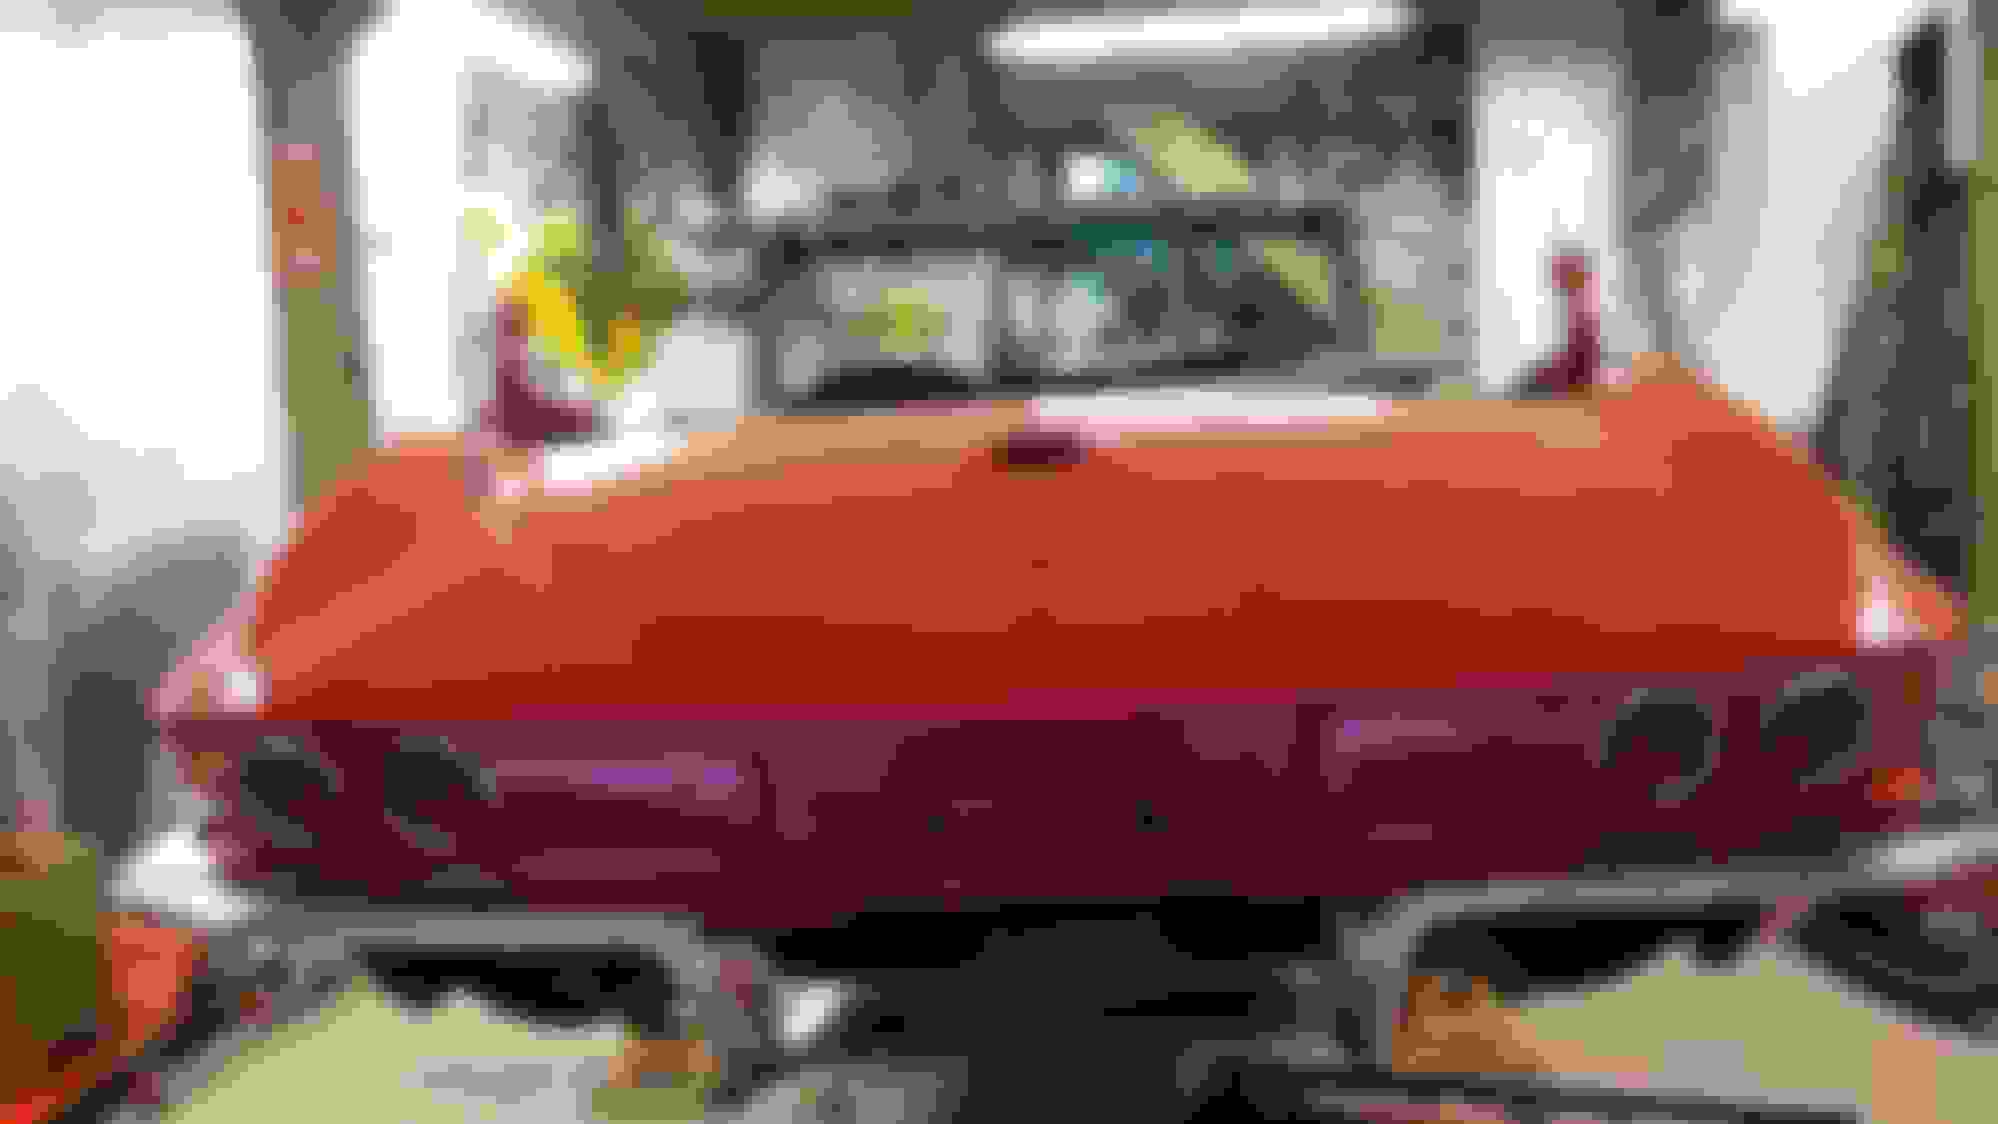
Thanks to all. A friend told me the grill is 66/67, but it is what I have, is in great shape, and fits. This car is all C2, but has several parts from different cars and years. It will be a great driver quality car when I'm done.
Wow. It's come a long way since the first post. Just saw this and had to look at the last post to see progress. The only thing I noticed (and I didn't read all posts in between so it might have been mentioned already) is that the front grill is not correct for a 1965
So, you also probably missed the stinger hood as well.
What kind of paint did you use? Water based, or solvent based?
Also, did you go single stage, or two stage paint?
Love the idea of doing it yourself in your self made paint booth!
I'm doing the same thing on a '55 Nomad, just a few steps behind you.
Pat
Pat, I know you've been doing all your own prep on the Nomad (probably been block sanding in your sleep ), are you planning on doing the paint as well and, if so, are you doing it at your place?
I got the tail lights in today, a more difficult job than I anticipated. Very tight up there to attach the nuts on the back. My hands are going room be sore for a while!
I'm not exactly sure what I have here. See the trim tag. Car was red, with black interior, and white top. Since all new replacements came with this car, I will use them! Will keep the stock wheels & spinners.
The engine number plate on the block is blank.?? I don't know why, maybe a replacement, maybe been decked. The casting number on the back of the block is correct for the car. Valve covers say 327/300, but the heads are single pyramid shape on the front, not camel humps. The carb is WCFB. Has a 4 speed. Power brakes std, and power steering he added. This car looks to be mostly original to me.
After getting the tail lights in, I couldn't get brake lights on the right side. All other rear lights worked fine. So I replaced the turn signal switch, all lights working now. Need a new cancelling cam.
Taking the windshield SS trim to a friends house for polishing, then getting a new tinted windshield installed. Bought all new clips from Paragon.
Time to install the new carpet and seat foam and covers!
This one might just get back on the road this year, after 15 years disassembled & Parked!
Thanks to all those offering helpful advice as I find my parts in all these boxes and put this puzzle back together...
Pat, I know you've been doing all your own prep on the Nomad (probably been block sanding in your sleep ), are you planning on doing the paint as well and, if so, are you doing it at your place?
If you are, I'd love come by and watch.
Gary
Hey Gary,
Merry Christmas and Happy New Year to you!
Yea....frigging prime, guide coat, sand and start all over again. I definitely have a new-found respect for paint and body craftsman!
I'm sure a professional could do a lot better with much less time, but I've been keeping track of hours and I already have over 230 hours into the process. I'm sure I'll have a bunch more by the time I actually paint color and finish out the process.
Unfortunately, as you know, the cold weather is here. I'm 99% ready to paint color so I'm going to rent a heated spray booth. Trying to get it done next week-end, or the following.
After getting the tail lights in, I couldn't get brake lights on the right side. All other rear lights worked fine. So I replaced the turn signal switch, all lights working now. Need a new cancelling cam.
Taking the windshield SS trim to a friends house for polishing, then getting a new tinted windshield installed. Bought all new clips from Paragon.
Time to install the new carpet and seat foam and covers!
This one might just get back on the road this year, after 15 years disassembled & Parked!
Thanks to all those offering helpful advice as I find my parts in all these boxes and put this puzzle back together...
I got a new windshield installed yesterday, and today mounted all the SS trim and mirror. Putting on trim and accessories is a lot more fun than some of the grunt work of the past year!
2020 Corvette of the Year Finalist (appearance mods)
C1 of Year Finalist (appearance mods) 2019
Looks awesome! How much do you think you saved over a commercial paint shop?
I painted my 66 in a one car garage like that and it came out very good (a buddy shot it), but that was about 40 years ago!
This is the paint job we did......he did the gun work, and I did all the grunt work (sanding), straight acrylic enamel. No buffing out, just the way it dried.
Thanks! I visited several local body shops looking for a paint job. Got the same answer, we only do late model insurance work, old cars are too much trouble. None could recommend where to get it painted, and said it would cost $8 to $10,000 if i found someone, and beware of these guys that would keep your car a long time before completing.
So I had a friend help me, straight acrylic enamel with hardener, about $700 in materials.
I now have the carpet in. Tougher than I anticipated. It was molded carpet, sitting flat in the box since 97, now really flat. I've stretched it and worked it and figured it out. Glad it's done, on to seats now. I have an extra piece, used only in coupes. Anyone need it, it's yours.
I've been working (puttering) with the seats the last couple of weeks. I had new foam, seat covers, and installation kit, all dated from 1998. In my continuation of this DIY project, I gave it a try for my first seat cover attempt, with help from you tube!
I was surprised how well these seats were made, with the wires inside the cover pleats, and more wires passing thru the foam into the seat springs. These things will give your hands a workout, but I'm happy with the outcome.
Time to try my hand next with the convertible top...
Your seats look like they turned out great. I was just talking to another guy the other day about seats and he said that an old trick for installing those covers over the foam is to put a plastic bag (Like a garbage bag) over the foam first. The cover will slide right on then. Just trim the plastic at the bottom before buttoning everything up. Might be worth a try the next time.
I've got the seats in, next up is the deck lid, then on to the doors. I was feeling like putting the convertible top on next, but was advised to do doors and deck lid next. Not looking forward to the doors, have to put in the glass and the new chromed vents.
I have the deck lid on, good gaps, latches adjusted, all done! Now on to the doors, glass is out, vent window assemblies to replace, vent regulators to rebuild. The light at the end of the tunnel is getting brighter!
Wow, just dove into your 6 page project follow along.. Outstanding work. You are talented...mechanical, electrical, body, paint, assembly. Hat's off to you. You've got a sharp, well sorted out and soon to be put together '65.
 12-03-2016, 12:57 PM


 ), are you planning on doing the paint as well and, if so, are you doing it at your place?
 Wish I had one of those "rare" '66's that came from the factory.