When you click on links to various merchants on this site and make a purchase, this can result in this site earning a commission. Affiliate programs and affiliations include, but are not limited to, the eBay Partner Network.
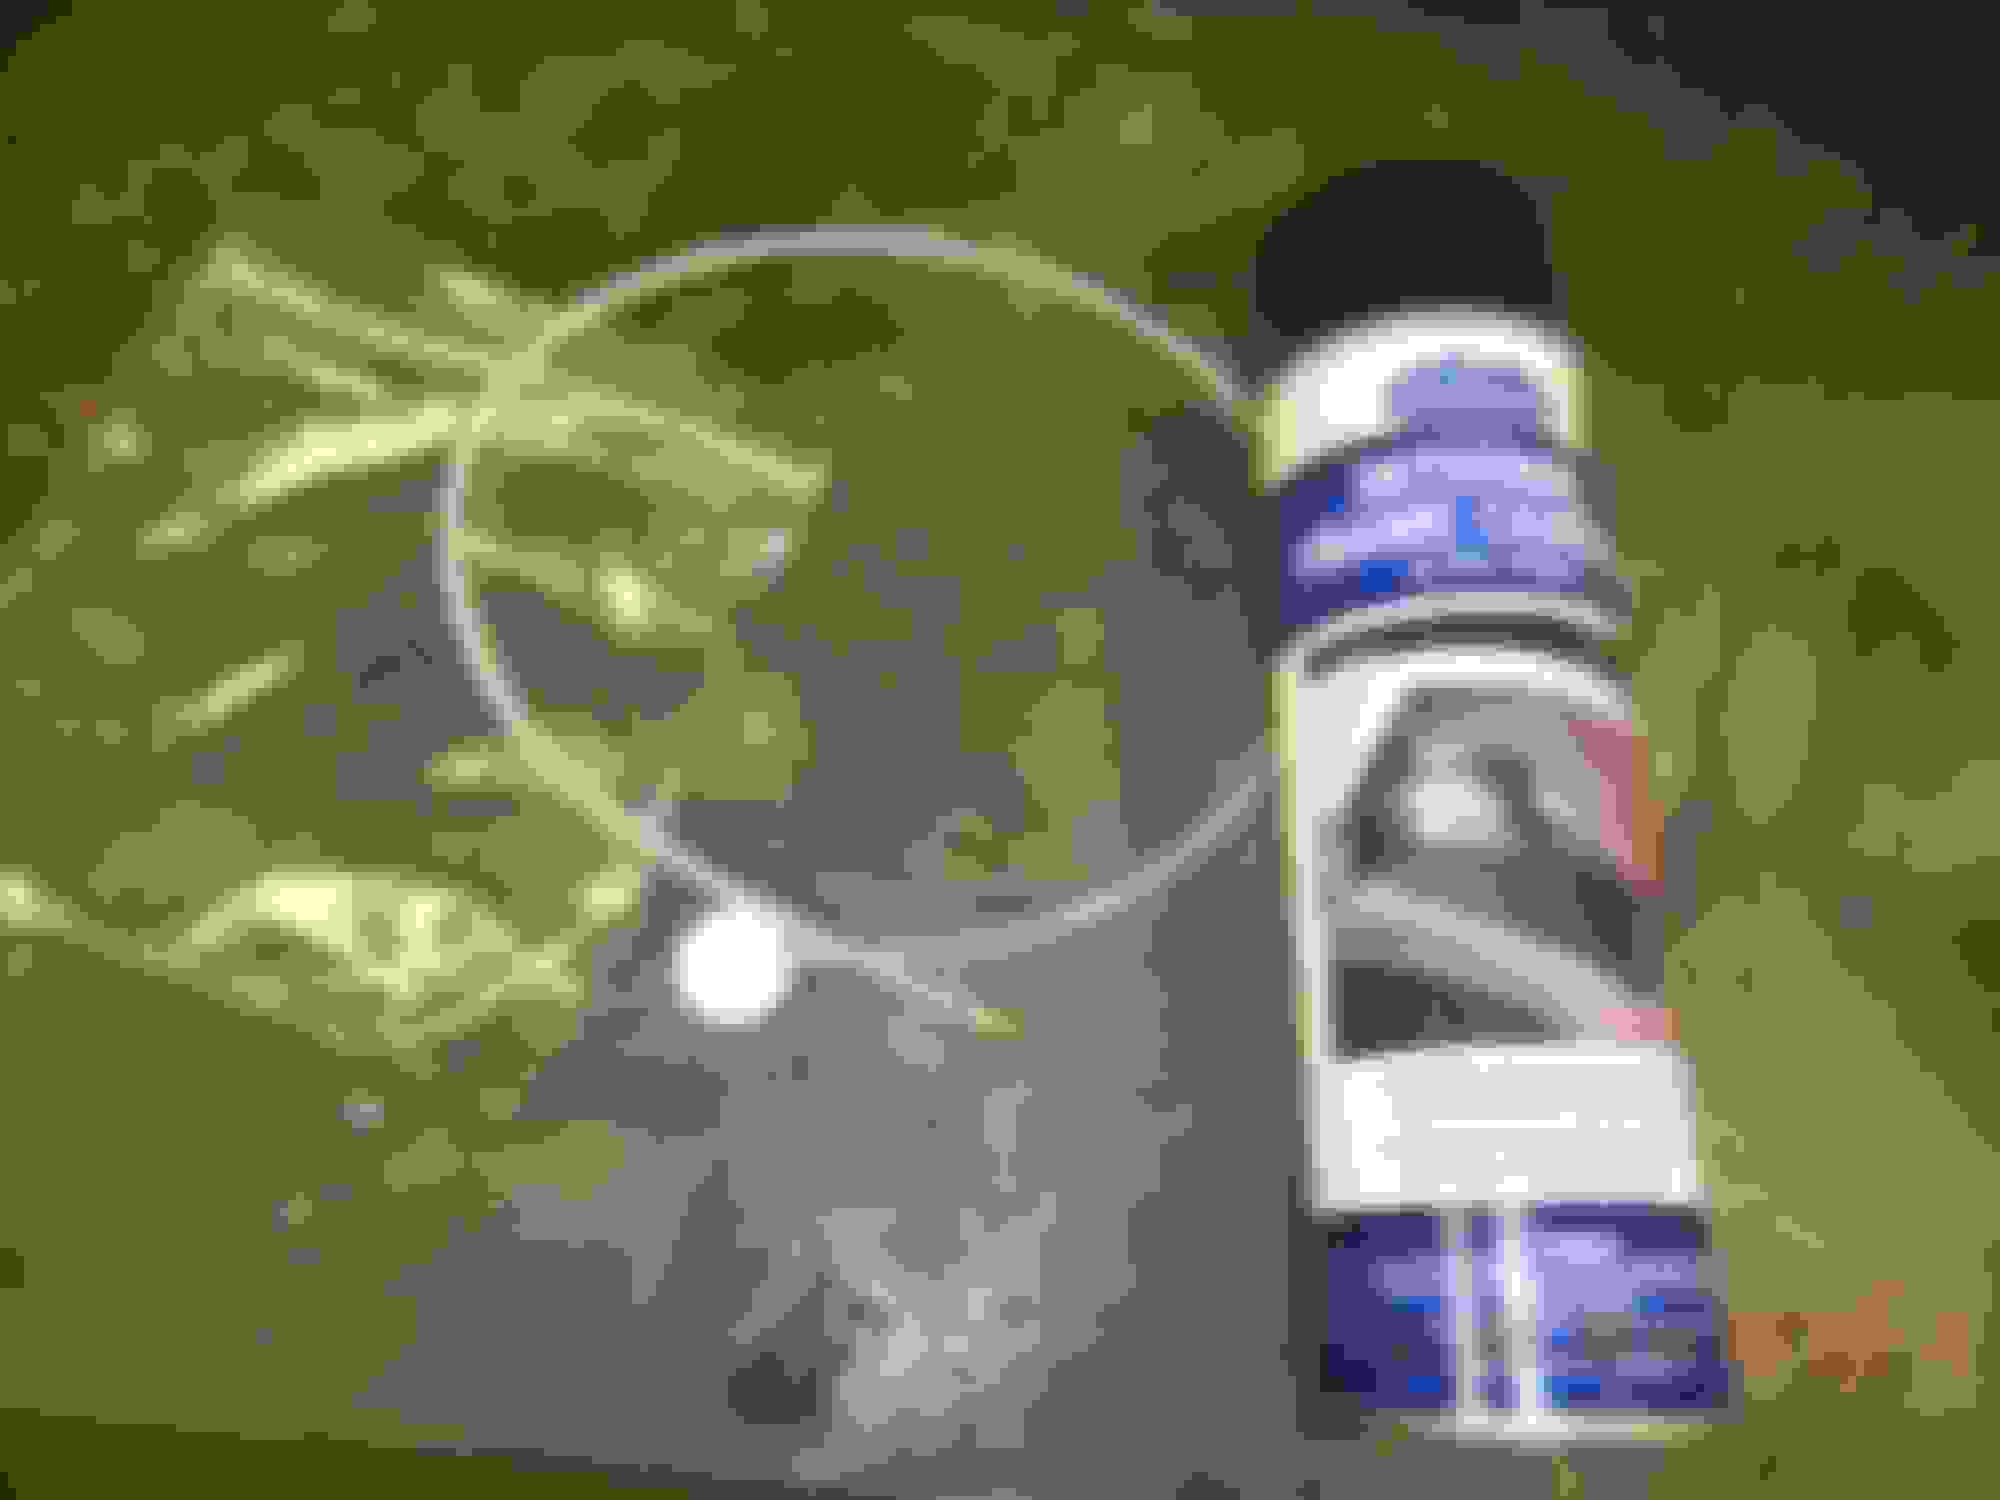
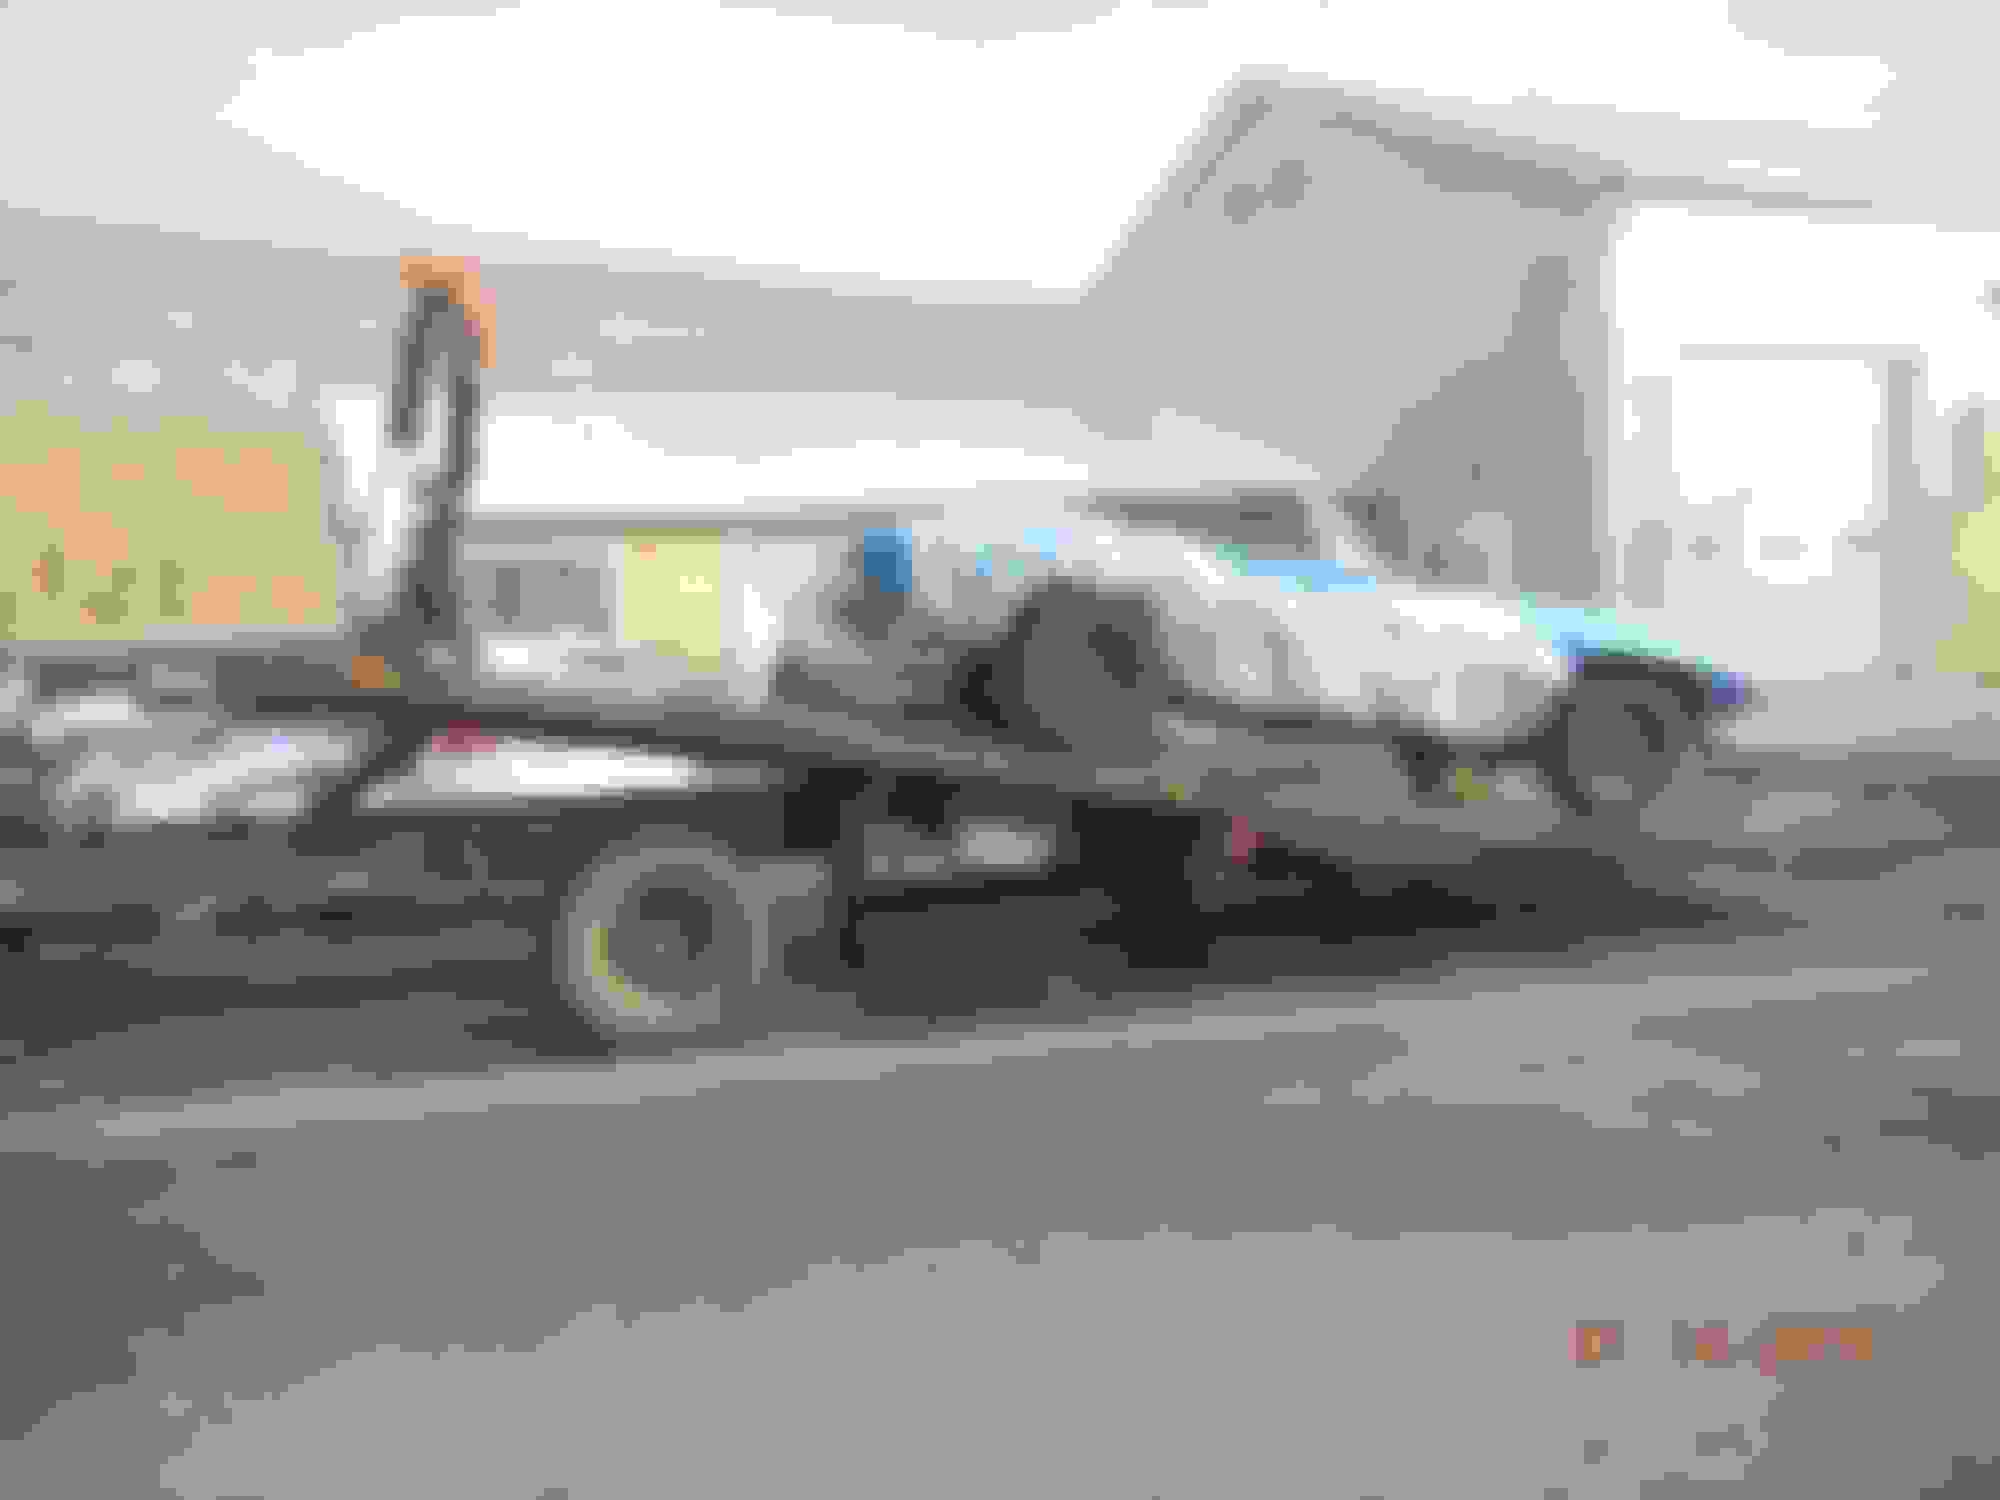
Hey Jack, The previous owner removed all the performance parts back in the early 70's for gas savings.I was lucky enough to find in the barn the exhaust manifolds,and the 5qt pan was still on it. The engine is date correct and I think its original.The engine was decked and the pad numbers are gone. He was honest about the sell and says that the way he bought it in 1968 with it decked.So the answer to your question is I think it was a 350hp with the 5qt oil pan
L79. Very cool. If it had a 6qt pan it was most likely an L76. Either way, very cool.
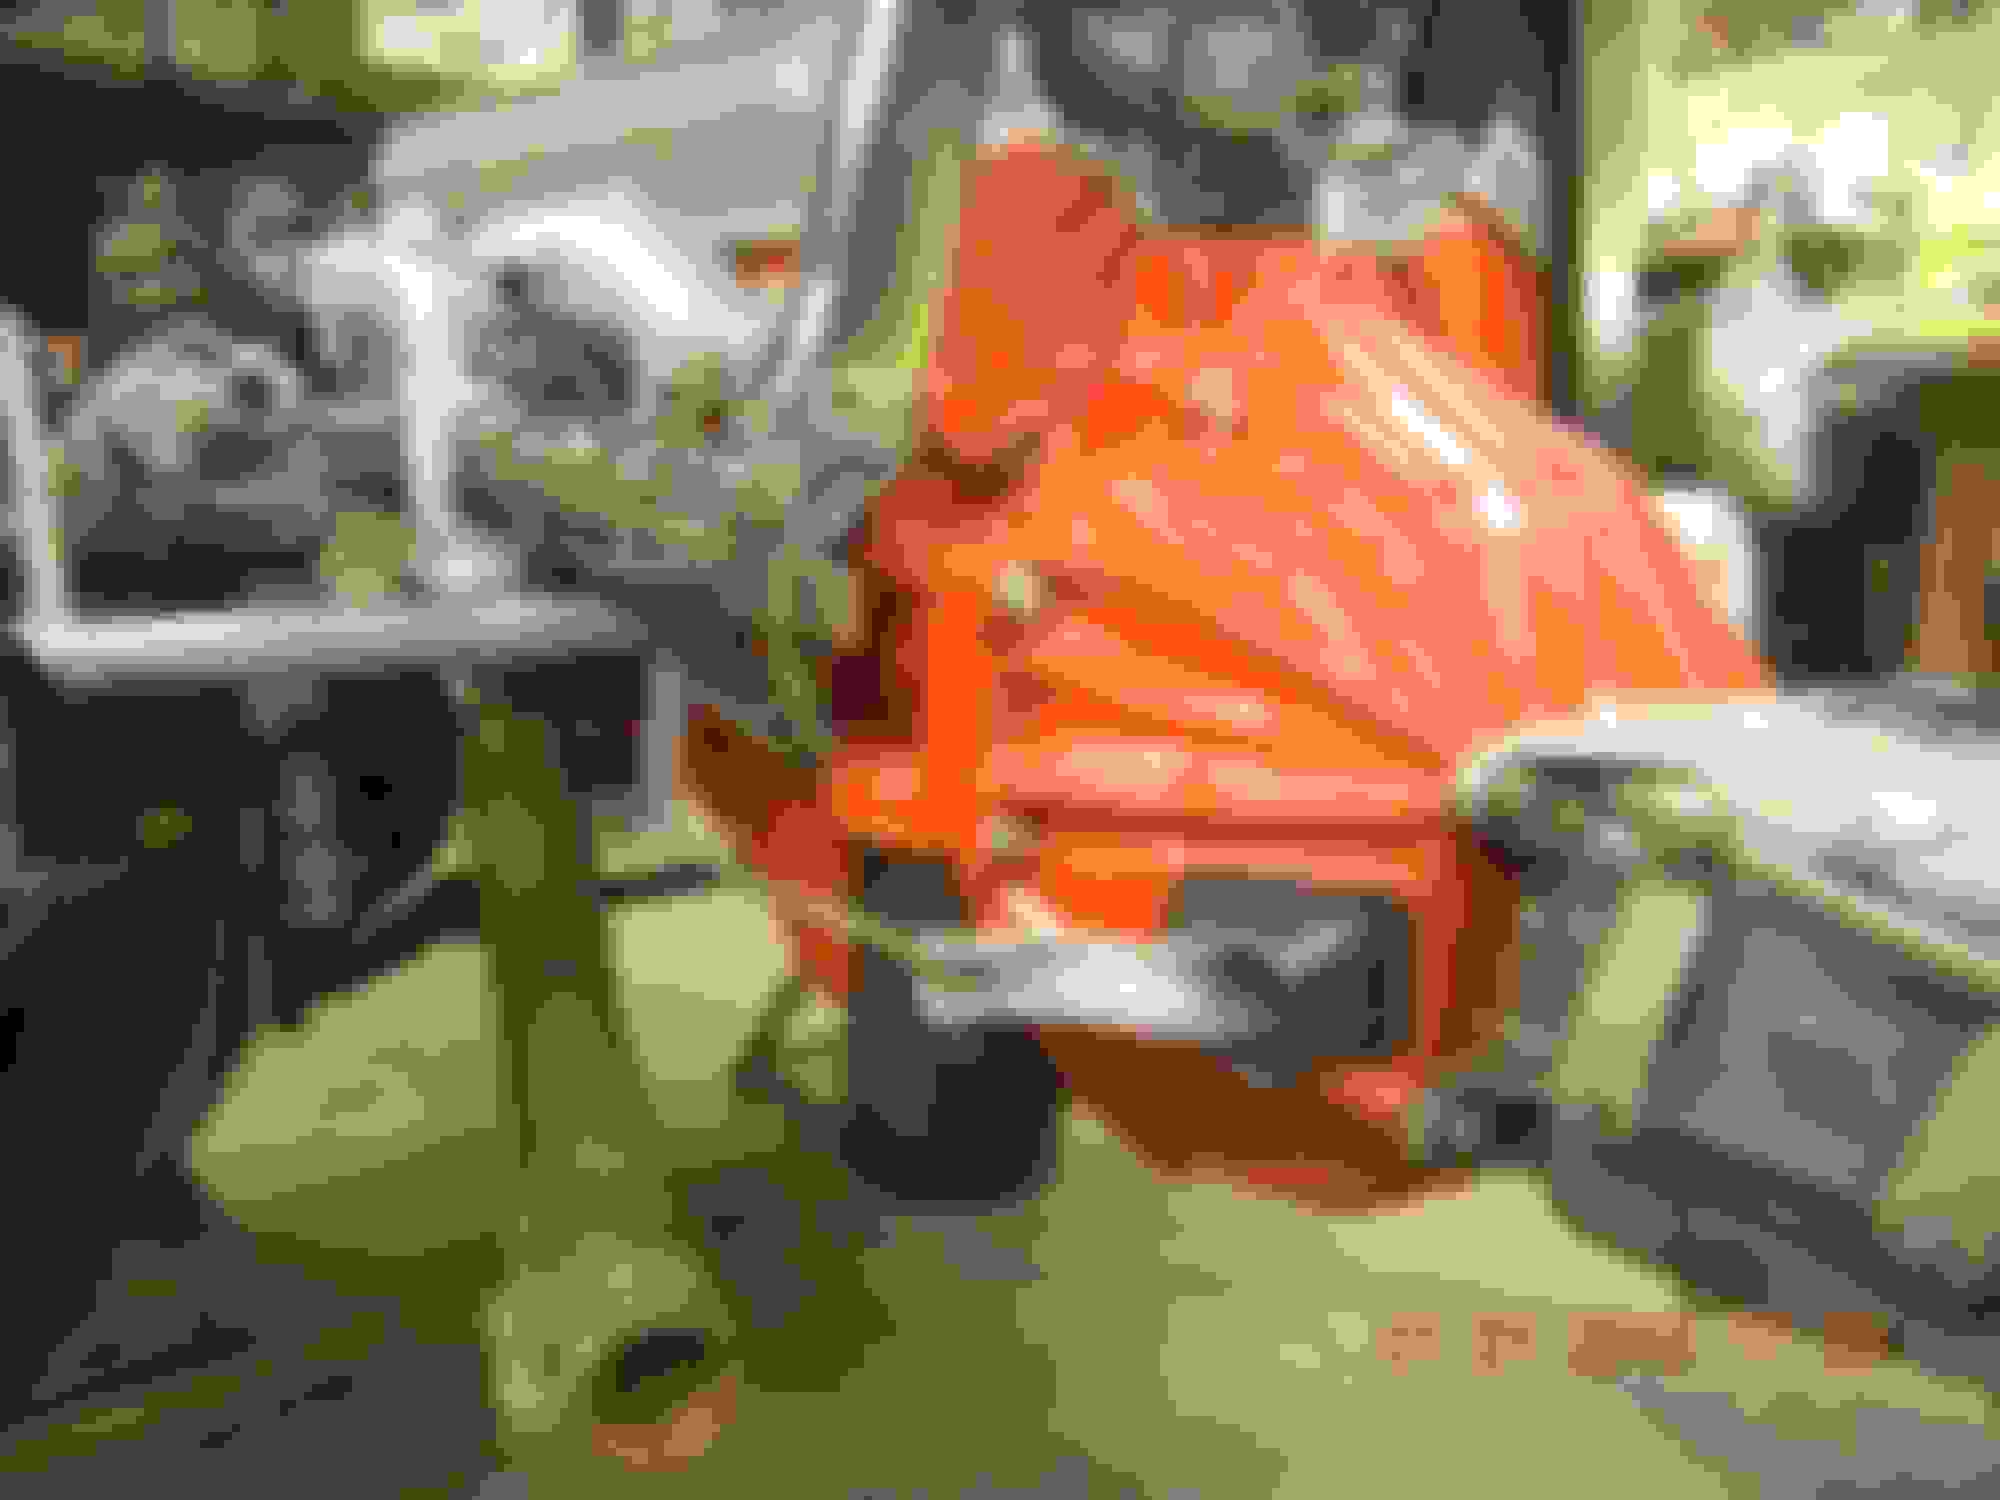
Even with the fan blasting into the temporary copper radiator, the temp started to rise and worry me.
Spritzing a little water into the radiator fins dropped it right down instantly.
Next time I'll have a garden sprayer prepped and ready to go.
Your wife is special -- must have grown up in a gearhead family!
Thanks for the tip on spraying water.I'll try to post a video on start up.I do have a oil pressure gauge hooked up.How did you do your water temp gauge for break in?
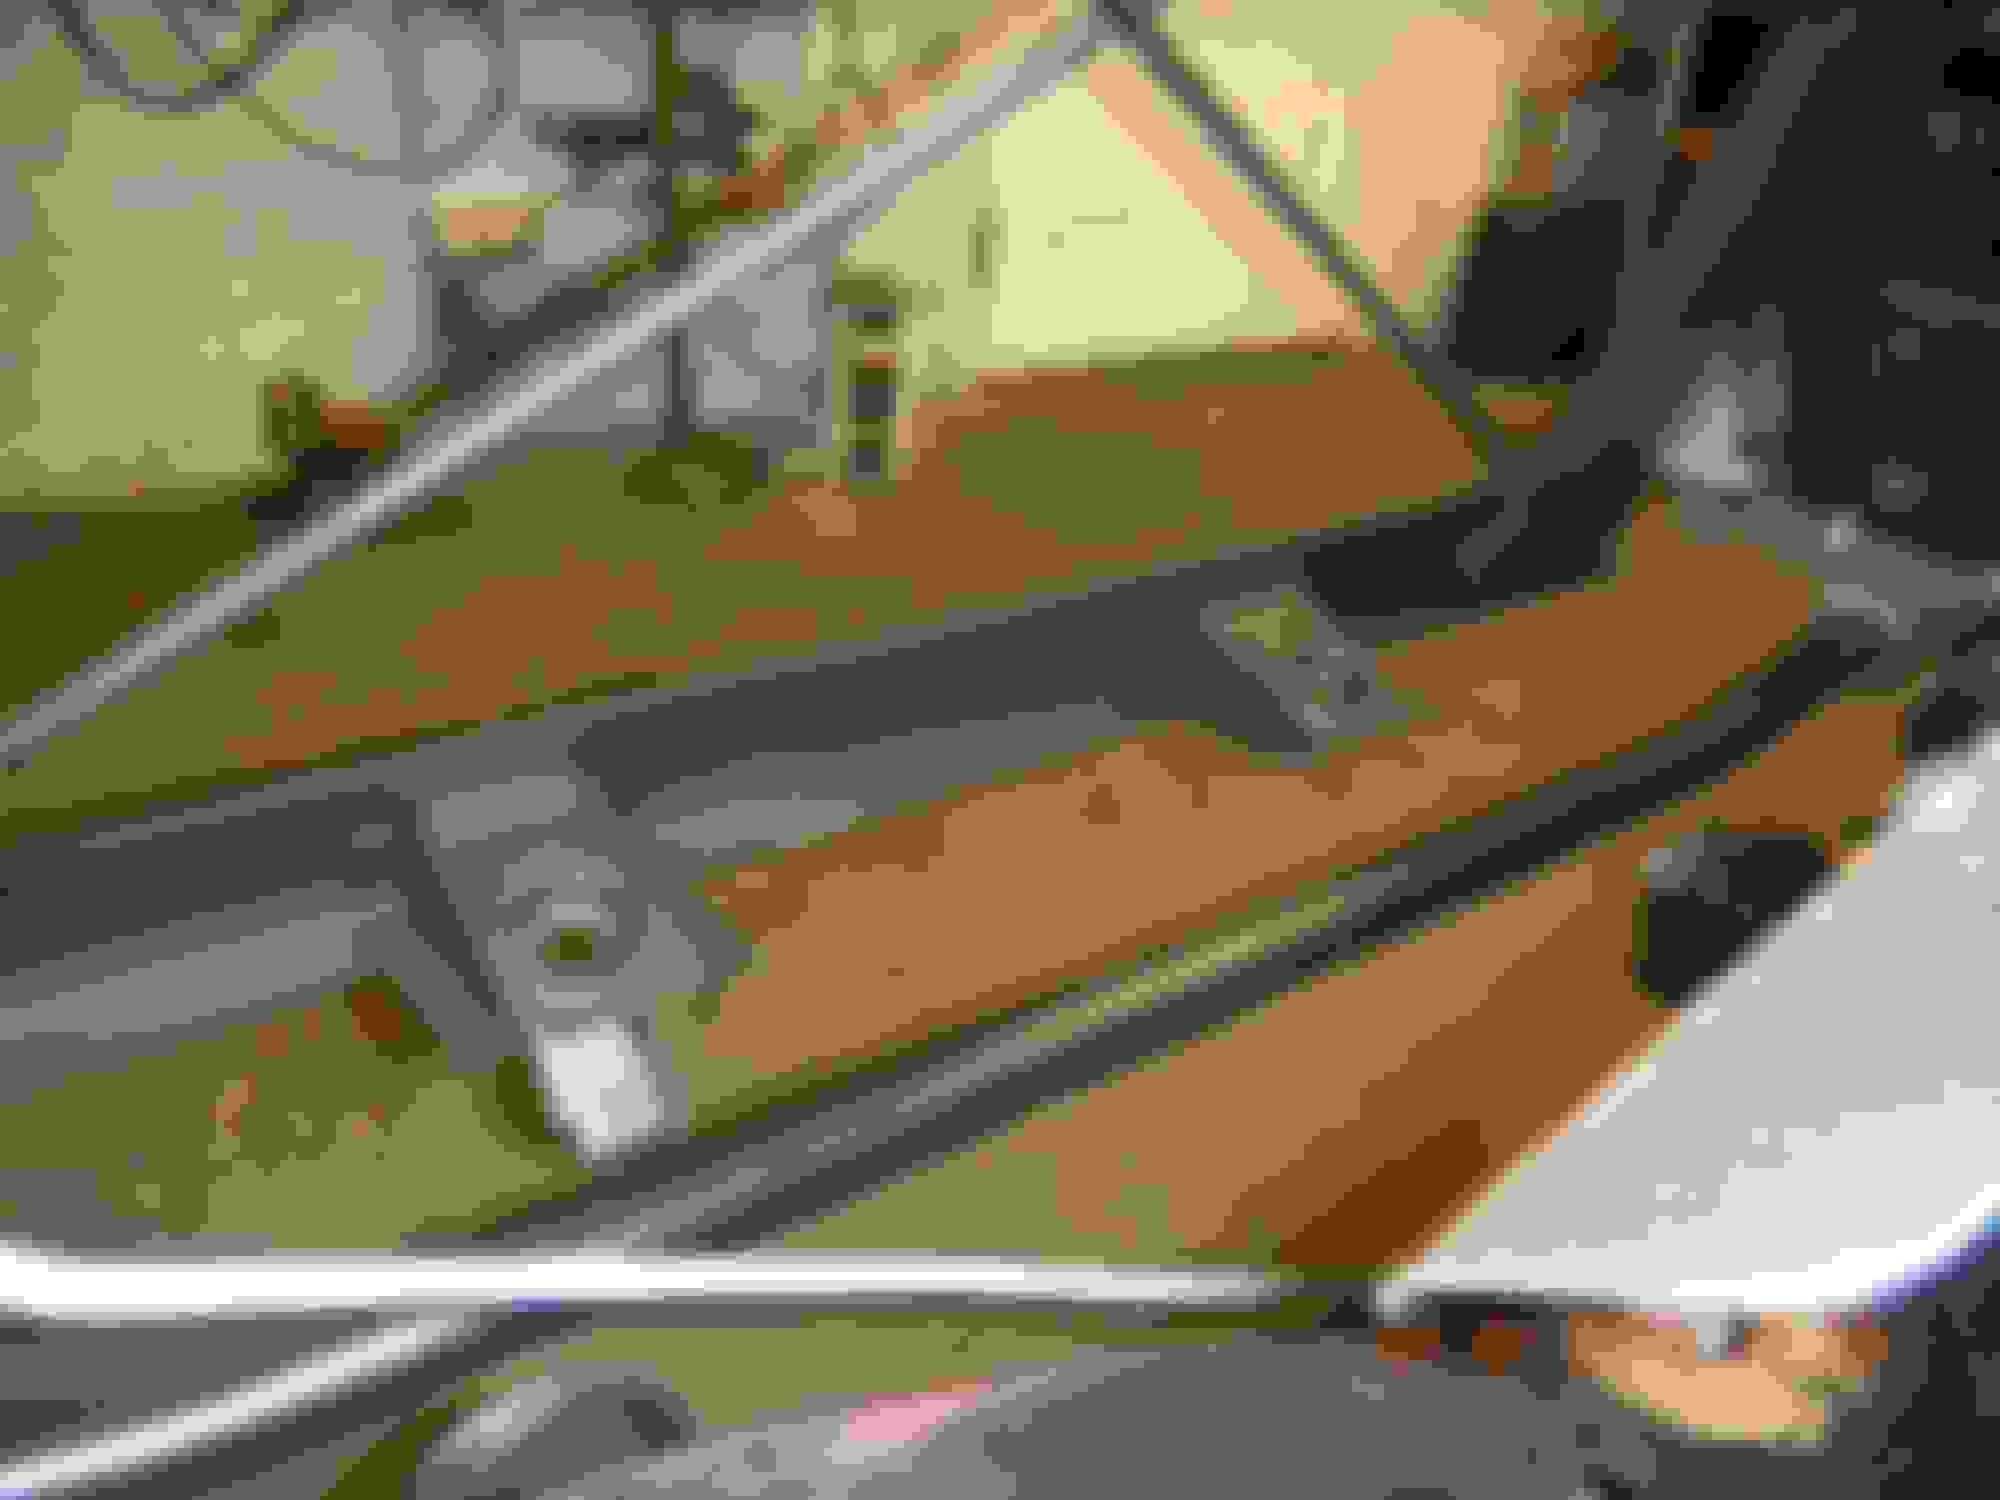
You could go to any auto parts place and get an aftermarket set of gages for about $30. comes with the electric sending unit. You may have to use I bushing to fit the manifold tap. Beware not to leave water pockets in the block or heads. With the expansion tank set up on these it can be difficult to get all the air out. I loosened the bolts on the thermostat housing until the water came up. Obviously with the engine cold, the thermostat is closed and doesn't allow the air to purge out. Looks great.
Ray
I also spent about $20 or so on a cheap tach to keep an eye on things. I'm sure your aware that you have to keep the rpm's around 1200-1500 steady for a good 20 min to break in the cam and lifters.
I got an old tach and dwell from a friend Don Carnell. I'll just hook that up to keep an eye on the Rpms.I'll check out auto zone for a water temp gauge. Thanks for the heads up. Getting closer to take off.I'm running Brad Penn break in oil seems to work good in the past for me.Filled the trans and the rear today.
Thanks for taking us along on your rebuild!
And, you have a GREAT wife to help out like she is.
Hey Mike I'm glad your enjoying this thread. It may look like its going easy I struggle along the way can't find the bolts,I lost the wrench,where did I put that,I got to order something,You would think I would have it together by now after restoring 14 cars but I don't.I'm having fun so I guess that's all that maters
Hello All, Well the bottom of the corvette is finish.My wife,Larry and myself are done with kerosene and spray nine what a relief. I'm going down tomorrow to do a little painting. The corvette is going to our house for some more cleaning in the inside,and removing the glass and hard ware in the doors
Wife and Larry
fire wall looks great can't wait until its painted.ugly day tomorrow good day to work in the garage
Hello All, Still moving along. WE was looking thru a eastwood paint site and found a spray under coat that under coats the inside of your frame. We had the frame dipped and its clean as a whissle and needed some thing to prevent rusting inside of the frame. I look on this forum and saw some one did use it. WOW nice stuff easy to use and covers well.I used almost three cans.We also bought a Dewitt radiator from a member,its coming on the 4th.For those who radiator support is rusty they make just the bottom of the support to save some $$.Hopefully start up time is next week.I'll post a video if I can
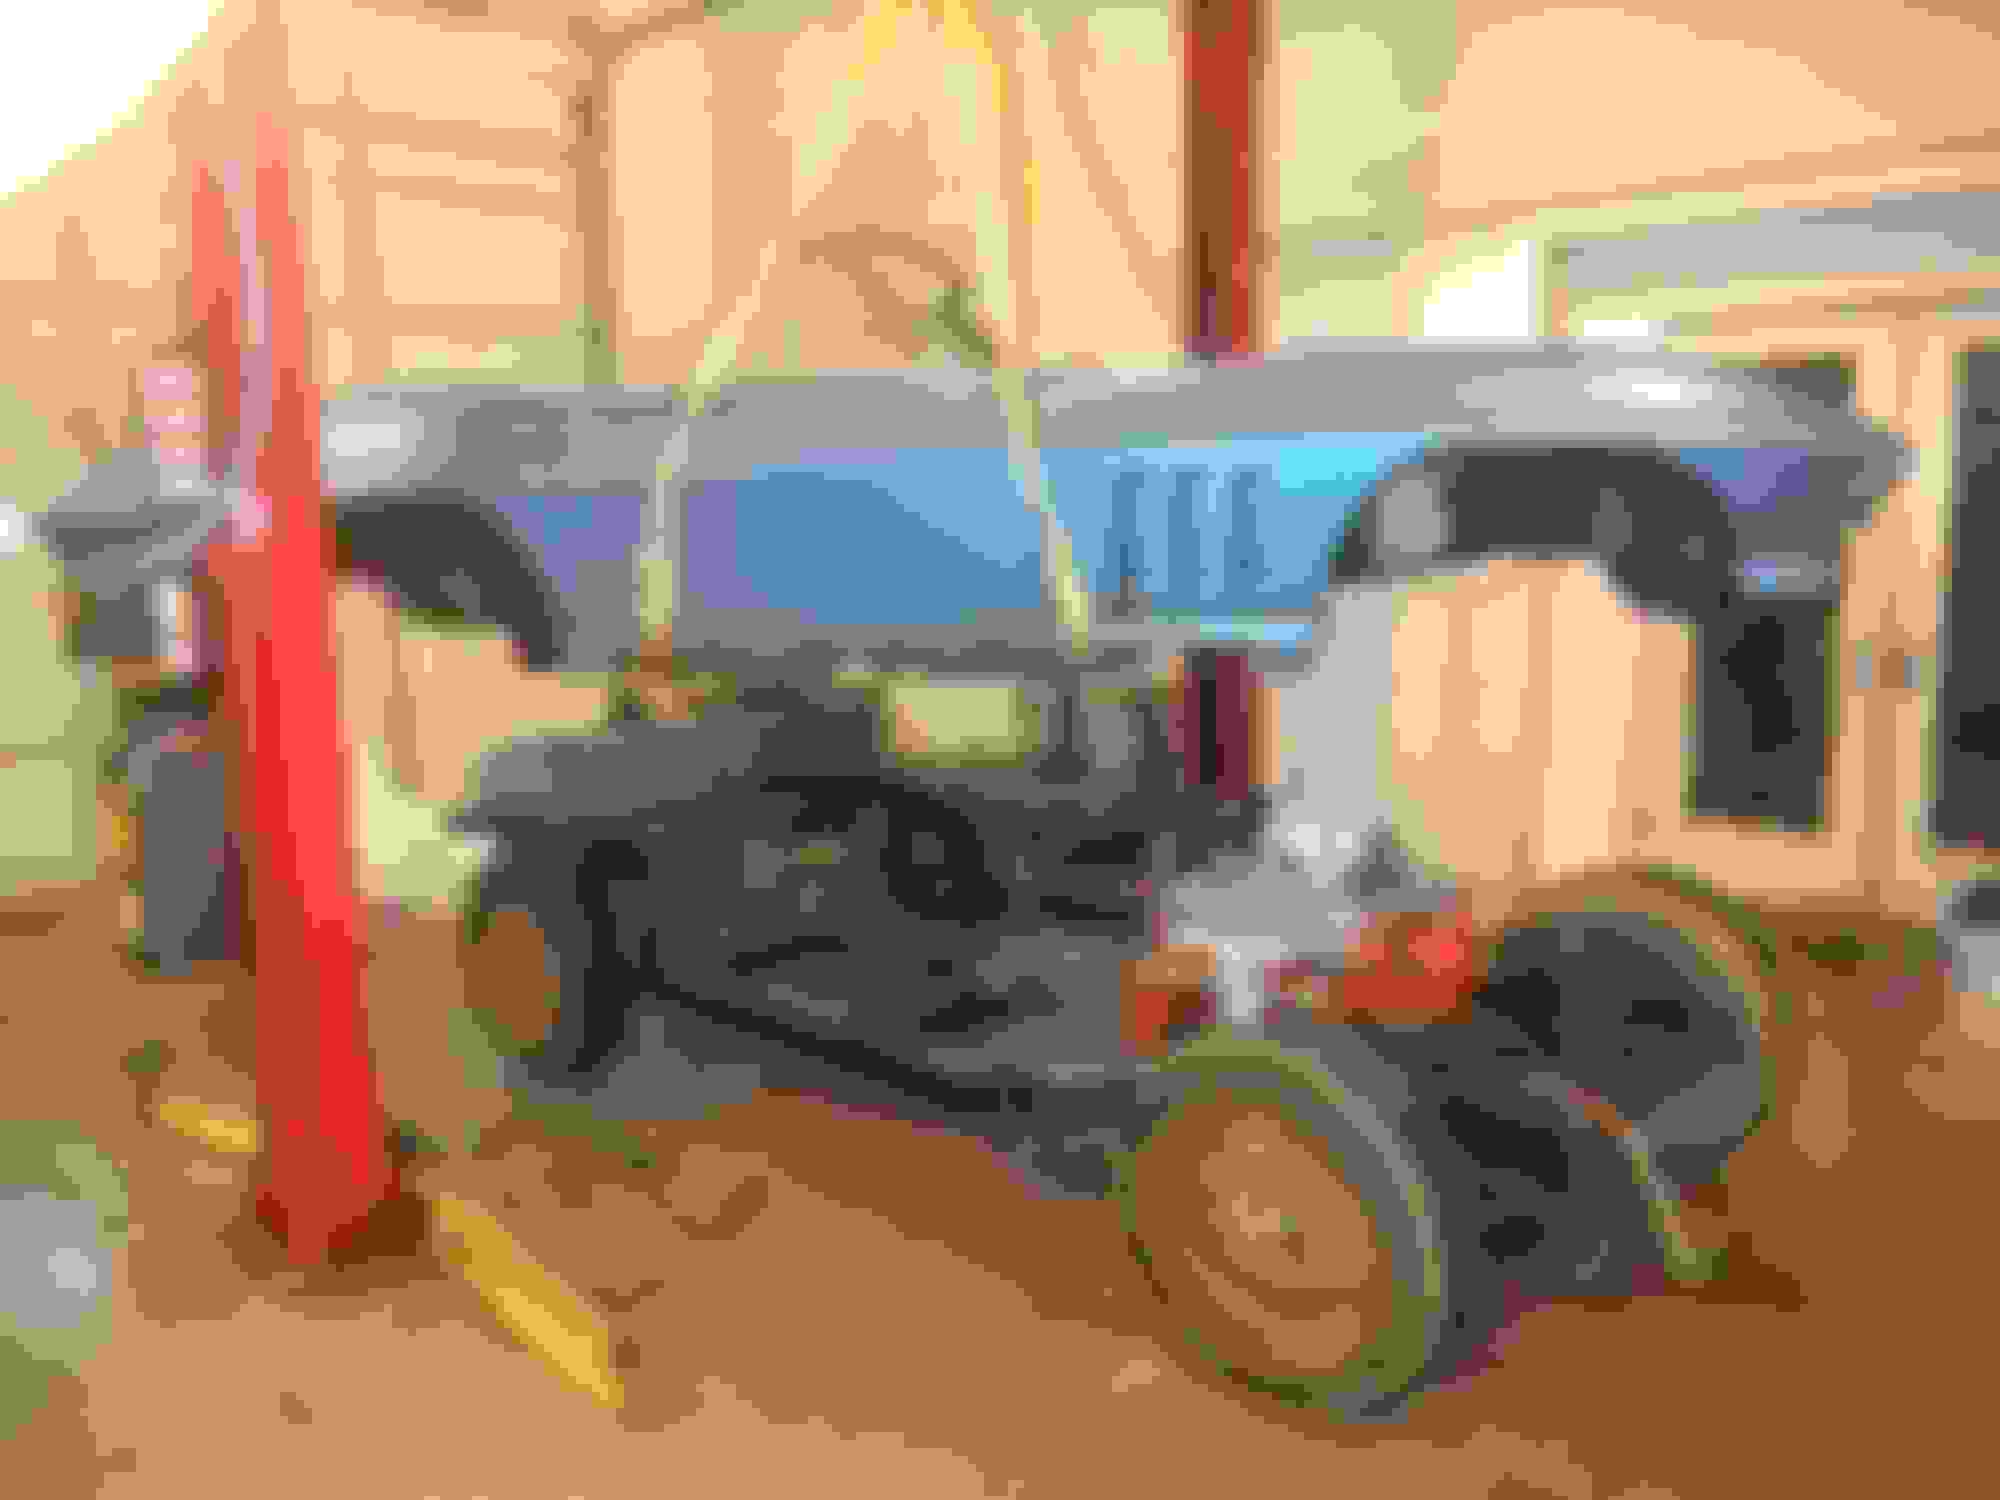
Hello All, We got the engine broke in with Brad Penn break-in oil and all seems good,we change oil and removed the radiator to assemble the body back on the frame. My friend Mike hostler that owns a repair garage here in town offered his one bay with a hoist and his assistance. Bill Coady did the towing, the body was on a trailor and I move it down.
We put plastic over the frame to prevent over spray when it goes for paint The corvette is back to our home for some door adjustment,hood and deck lid. Larry Seidle and myself are tackling that job. My wife and I made a video of the engine start up as soon as we figure how to post I will. I probably will have to get my neighbor for a little help on that end.
Hello, Everyone tells me to sand it to the jell coat. Lots of people tell me not to use chemical stripper. This is my first glass car so your opinion would help. Dave
You won't find gel coat if it's original paint. As GM never used it. There is plenty of ways to remove the paint. Chemically will be the quickest besides getting it soda blasted
The car does have mostly original paint, but it also has paint touch up blended here and there for some reason. We can't find any prior damage so I don't know why they sprayed paint
Hello All, We been working right along on the C2. Wife and I took the convertible top apart and found some rust on the top front header.We removed all the old tack strips from the small rib and took it to MEC chemical cleaning near home so no big deal it was well worth 60 bones. Mccellans body shop did the semi gloss black and clear.We made a road trip to corvette america for a new header and more parts and sent everything to Al Knock for a new look.They were very impressed on the condition of the frame.Wife and I will pick it up at spring Carlisle for some savings on shipping.
 12-22-2015, 09:31 AM