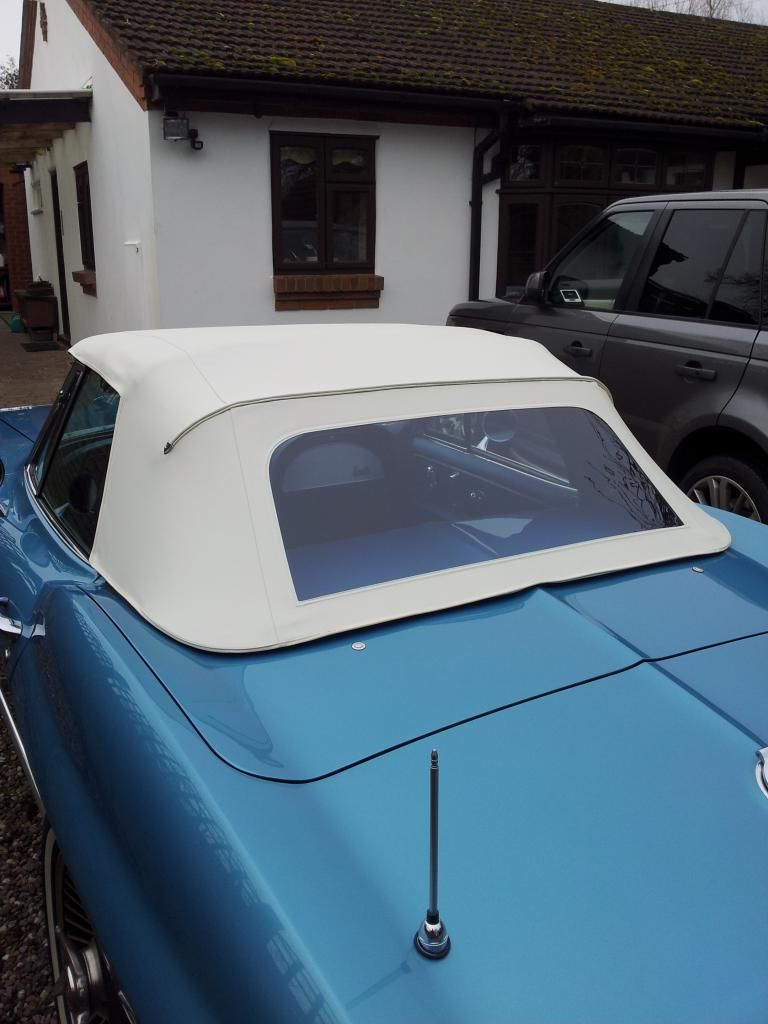
C2 Soft Top Replacement... AFTER frame restore


 02-07-2016, 02:49 PM
#22
Instructor

I had a soft top delete car from CA and decided to install a soft top and frame from scratch. Just like you, I watched the AL video about 20 times before attempting the job.
If possible get somebody to help you install the soft top on the frame as there are times when two brains and four hands are very useful.
It took us 4 to 5 days in total to finish the job and we were pleased with the result. It's not a difficult job but not the easiest either.
Just take your time and don't do anything without thinking twice before you do it.
A really good tip is to use stainless steel staples as these will not rust and cause marks on the top over time.
Good luck.

Last edited by veeeight; 02-07-2016 at 02:54 PM.
The following users liked this post:
marshal135 (10-18-2023)
02-07-2016, 02:57 PM
#23
Safety Car

Thread Starter
Thanks for the encouragement Veeeight. I needed my wife and daughter's help to stretch the top over the rear bow once I started seating it in the groove. That was a bear as well... not as all as simple as the video make it look (I am talking just the top, not the black weather strip that "locks it in".
I'll do a full report on my struggles once I am done!
I'll do a full report on my struggles once I am done!

The following users liked this post:
marshal135 (02-09-2024)
02-08-2016, 07:11 AM
#25
Safety Car

If you followed my instructions then you should already have it started. Use a flat blade screwdriver and make the fabric is tucked all the way back under the groove. Also, add a little WD-40 to the plastic filler.
02-08-2016, 09:20 AM
#26
Safety Car
Thread Starter
I should have been a bit more clear.
I got the top on AND the weatherstrip on the rear bow.
I have moved the bow back to the car.
Nowhere in the video does it mention what to do with any top material (and ITS hold in chord) that runs past the end of the rear bow. That is what i was trying to show in the first pic in post 24. You can see the bit of top material and its white hold in chord sticking out. This bit of material is interfering with the attachment of the WS end piece.
Do i clip it back?
In this pic,
02-08-2016, 07:34 PM
#27
Safety Car
I should have been a bit more clear.
I got the top on AND the weatherstrip on the rear bow.
I have moved the bow back to the car.
Nowhere in the video does it mention what to do with any top material (and ITS hold in chord) that runs past the end of the rear bow. That is what i was trying to show in the first pic in post 24. You can see the bit of top material and its white hold in chord sticking out. This bit of material is interfering with the attachment of the WS end piece.
Do i clip it back?
In this pic,
I got the top on AND the weatherstrip on the rear bow.
I have moved the bow back to the car.
Nowhere in the video does it mention what to do with any top material (and ITS hold in chord) that runs past the end of the rear bow. That is what i was trying to show in the first pic in post 24. You can see the bit of top material and its white hold in chord sticking out. This bit of material is interfering with the attachment of the WS end piece.
Do i clip it back?
In this pic,
02-09-2016, 04:07 AM
#28
Instructor
If you trial fit the small w/s to the end of the bow you will see where you need to cut the cord and bow weatherstrip.
Otherwise your looking good. Useful to have two of you when streaching the top over the front bow as it need quite a good pull and as straight as possible.
Otherwise your looking good. Useful to have two of you when streaching the top over the front bow as it need quite a good pull and as straight as possible.
Last edited by veeeight; 02-09-2016 at 04:16 AM.
The following users liked this post:
marshal135 (02-09-2024)
02-09-2016, 07:07 AM
#30
Safety Car
No, Don't trim that flap. Leave it as it is. The w/s screws into the hole that you can see in your pic. It should not interfere if you are installing it the correct way. Did you notice that there is a L and R on the small w/s?
Maybe you have them on the wrong side. From what I can see you have it installed correctly so far.
Maybe you have them on the wrong side. From what I can see you have it installed correctly so far.
02-09-2016, 08:49 AM
#31
Instructor
No, Don't trim that flap. Leave it as it is. The w/s screws into the hole that you can see in your pic. It should not interfere if you are installing it the correct way. Did you notice that there is a L and R on the small w/s?
Maybe you have them on the wrong side. From what I can see you have it installed correctly so far.
Maybe you have them on the wrong side. From what I can see you have it installed correctly so far.
 GOOD ADVICE
11-18-2018, 05:08 PM
GOOD ADVICE
11-18-2018, 05:08 PM
#32
Advanced

Thanks Darryl
11-18-2018, 06:49 PM
#33
Melting Slicks


The other tab gets same size screw and bolts to the same rear aluminum bow.