1960 hood adjustment (rubs)
 04-27-2016, 09:07 PM
#21
Safety Car

Thread Starter

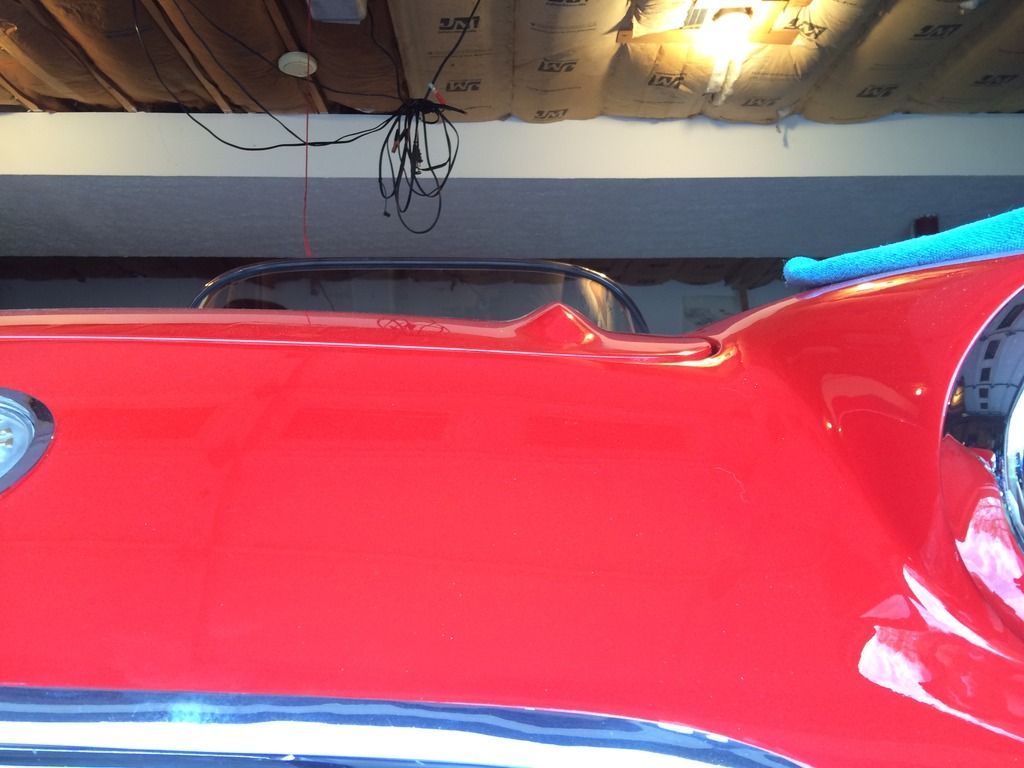
Well Pilot Dan I think I have it figured out. I jacked the support up and put 2 1/8" shims on and loosened all the radiator support bolts and tried to push it back. Got everything back together and I have the passengers side flush with a nice gap and the drivers side is up just a bit still, but I no longer rub. I will need to take the hinge off one more time on the drivers side to widen the hole so I can drop it the rest of the way. Thank you so much for your help!
 04-28-2016, 02:58 AM
#22
Le Mans Master


Jason, glad to hear you got it squared away, I knew it would work eventually based on my own experience with the repro support (which is why I stuck it out). Thanks for letting us know that the info did the trick for you. Too many threads seemingly end in limbo without a clear conclusion whether the issue was ever resolved. 
04-28-2016, 03:46 AM
#23
Drifting


Having put a new front clip on, I can say that yes the shims underneath hold the weight of the body but the holes on the side of the support where the inner front guards (the front body weight) is screwed to the support can move the radiator forward and backward and even move the body up and down relative to the radiator - which also means relative to the bonnet. My original front clip had very big holes on the inner guards which allowed for substantial adjustment. Perhaps you need to enlarge these holes to allow for more front end adjustment independent of the radiator support. I'd loosen these four bolts between the inner guards and the radiator support (maybe even take them out) support the front with a block of wood on each side and a jack under each so that you can raise and lower each side independently and move the support back and forth until the fit is correct and if the inner guard bolt holes are now out of alignment then enlarge these holes and then refit the bolts.
Does that make sense to you?
Does that make sense to you?
04-28-2016, 11:19 AM
#24
Le Mans Master
Member Since: Feb 2004
Location: Norcal CA
Posts: 6,717
Received 551 Likes
on
444 Posts
2018 C1 of Year Finalist

Having put a new front clip on, I can say that yes the shims underneath hold the weight of the body but the holes on the side of the support where the inner front guards (the front body weight) is screwed to the support can move the radiator forward and backward and even move the body up and down relative to the radiator - which also means relative to the bonnet. My original front clip had very big holes on the inner guards which allowed for substantial adjustment. Perhaps you need to enlarge these holes to allow for more front end adjustment independent of the radiator support. I'd loosen these four bolts between the inner guards and the radiator support (maybe even take them out) support the front with a block of wood on each side and a jack under each so that you can raise and lower each side independently and move the support back and forth until the fit is correct and if the inner guard bolt holes are now out of alignment then enlarge these holes and then refit the bolts.
Does that make sense to you?
Does that make sense to you?
Isn't this a bonnet?


 04-28-2016, 08:11 PM
#26
Drifting
Yes, well I guess you could be right but even in this photo the 'bonnet' covers the head .... and what do we have on the top of the engine BUT TWO HEADS .... double lol. And hood, I always thought that was something your wore to rob a bank .... or if you're a young'n to cover your coolness.
Luckily I didn't say boot rather than trunk because I had no where to go with that one..... other than maybe if you had a fuel pump in the trunk with a 'foot' valve ... you can guess the rest.
And don't get me started on Aluminium or as you say Aluminum and then Maths and Math and from and off of .... what the hell is off of???? AND THEN THERE IS METRIC AND IMPERIAL ... I guess fractions is way easier than numbers and decimal points. lol .. lol
Luckily I didn't say boot rather than trunk because I had no where to go with that one..... other than maybe if you had a fuel pump in the trunk with a 'foot' valve ... you can guess the rest.
And don't get me started on Aluminium or as you say Aluminum and then Maths and Math and from and off of .... what the hell is off of????
AND THEN THERE IS METRIC AND IMPERIAL ... I guess fractions is way easier than numbers and decimal points. lol .. lolLast edited by mickatbp; 04-28-2016 at 08:18 PM.
The following users liked this post:
jimh_1962 (05-05-2016)
05-04-2016, 09:39 PM
#27
Safety Car
Thread Starter
Well the battle is over! I used the dremmel to widen the 3 holes that control the up and down yesterday, but had to stop because of my daughters game last night. So I scheduled a helper tonight and busted my tail to get home, but my helper bailed. When all else fails call the wife to the garage right? My gap got worse not better and then I came up with an idea! I removed the hinge from the radiator support but left it attached to the hood and we lowered it down shut. I removed the grille and went up through the hole and was able to get 1 bolt through the hole and locked down. I got a second started and we carefully raised the hood and I locked them down like a mad man! Then I loosened the 4 bolts on the back of the hood and was able to move the hood around until my gaps were as good as I could get them and I locked them down. Now the hood is as good as it's gonna get. When I pull the hood release now it opens on both sides again and it hasn't done that since I started this mess.
When I bought the car I knew the radiator support was about rusted clean through and I just didn't want to deal with it because I knew it would be a mess. Turns out I had a hacked up shroud and the wrong radiator for the car. Now it's the right parts and I added the off road exhaust so I'm ready for the season now
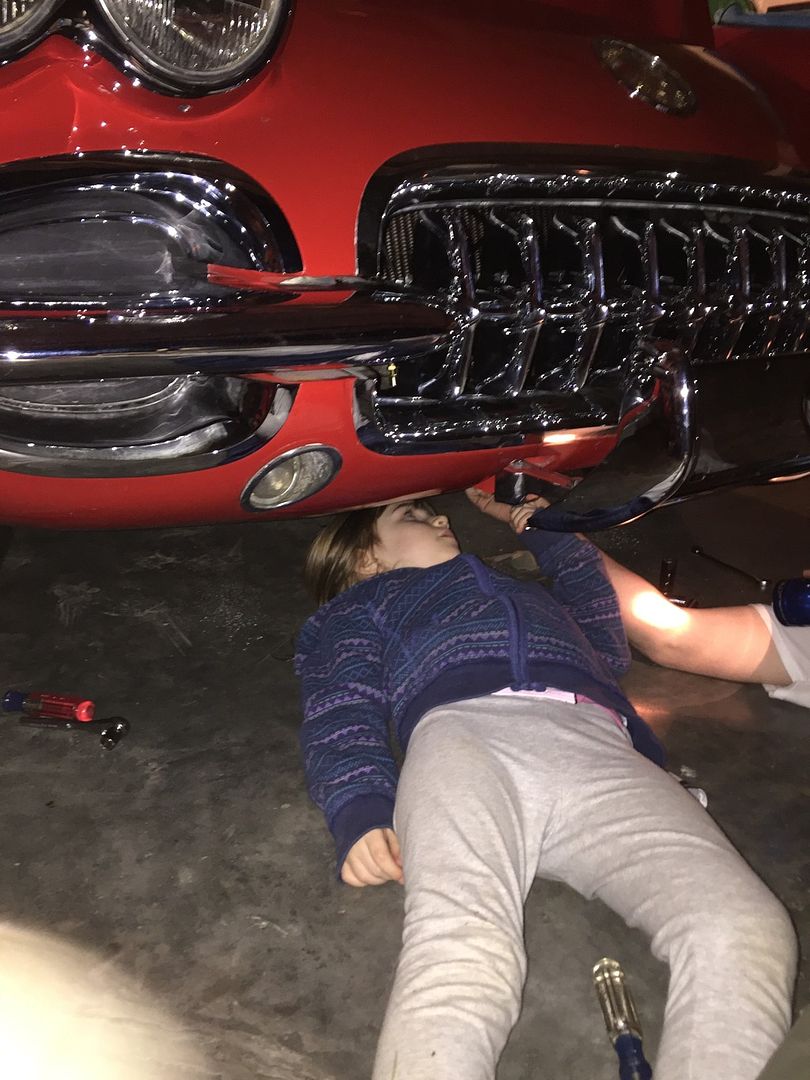
The best part of the project was my little gal tightening down the nuts at the bottom of the support. She always wants to help.

When I bought the car I knew the radiator support was about rusted clean through and I just didn't want to deal with it because I knew it would be a mess. Turns out I had a hacked up shroud and the wrong radiator for the car. Now it's the right parts and I added the off road exhaust so I'm ready for the season now
The best part of the project was my little gal tightening down the nuts at the bottom of the support. She always wants to help.
 05-05-2016, 07:46 AM
#28
Team Owner


Nice solution but NO, never do the above (not at my house).
Wife: "Why are you doing it that way?"
Me: "Because the Assembly Instruction Manual shows it that way."
Wife: "If that manual said to jump off a bridge; would you do it?"
Me: "No, but I can think of another reason to jump off a bridge."
I then hear doors slamming and I am happily alone in my beloved garage again