Valve adjustment cover mod
 09-19-2016, 08:59 PM
#21
Burning Brakes

Thread Starter

Thanks for the replies, I vividly remember performing this adjustment with the engine running 40 years ago and the mess until I created my cutout valve covers, and now with my original factory service manual in hand, they mention doing the adjustment with the engine temperature normalized and the engine running.
 09-19-2016, 09:37 PM
#22
Race Director


Thanks for the replies, I vividly remember performing this adjustment with the engine running 40 years ago and the mess until I created my cutout valve covers, and now with my original factory service manual in hand, they mention doing the adjustment with the engine temperature normalized and the engine running.
Larry


 09-20-2016, 11:14 PM
#24
Well, isn't it ironic.
Most posters on this forum get flamed for not owning/reading the Service Manual or the AIM.
In this case the opposite is true.
I tried the method in the Service Manual. Once, and never again.
.
09-22-2016, 10:38 AM
#25
Burning Brakes
Thread Starter
I knew my memories seemed to be vivid! I will test the waters when the valve covers come in and I cut the slot. A friend at work found a stamped chrome set of covers for $23.
Last edited by mjdart; 09-22-2016 at 10:39 AM.
09-22-2016, 11:08 AM
#26
Le Mans Master


The 61 Chevy shop manual outlines the procedure with the engine NOT running. Maybe even GM could not decide.

I've done it both ways and achieved excellent results using a feeler gage for solid lifters by rotating the motor as required. I'm done with the messy way for good. In fact years ago we owned some Hondas and I recall the valve adjustment procedure was also by rotating the engine and using a feeler gage.
 09-23-2016, 09:33 AM
#27
Drifting

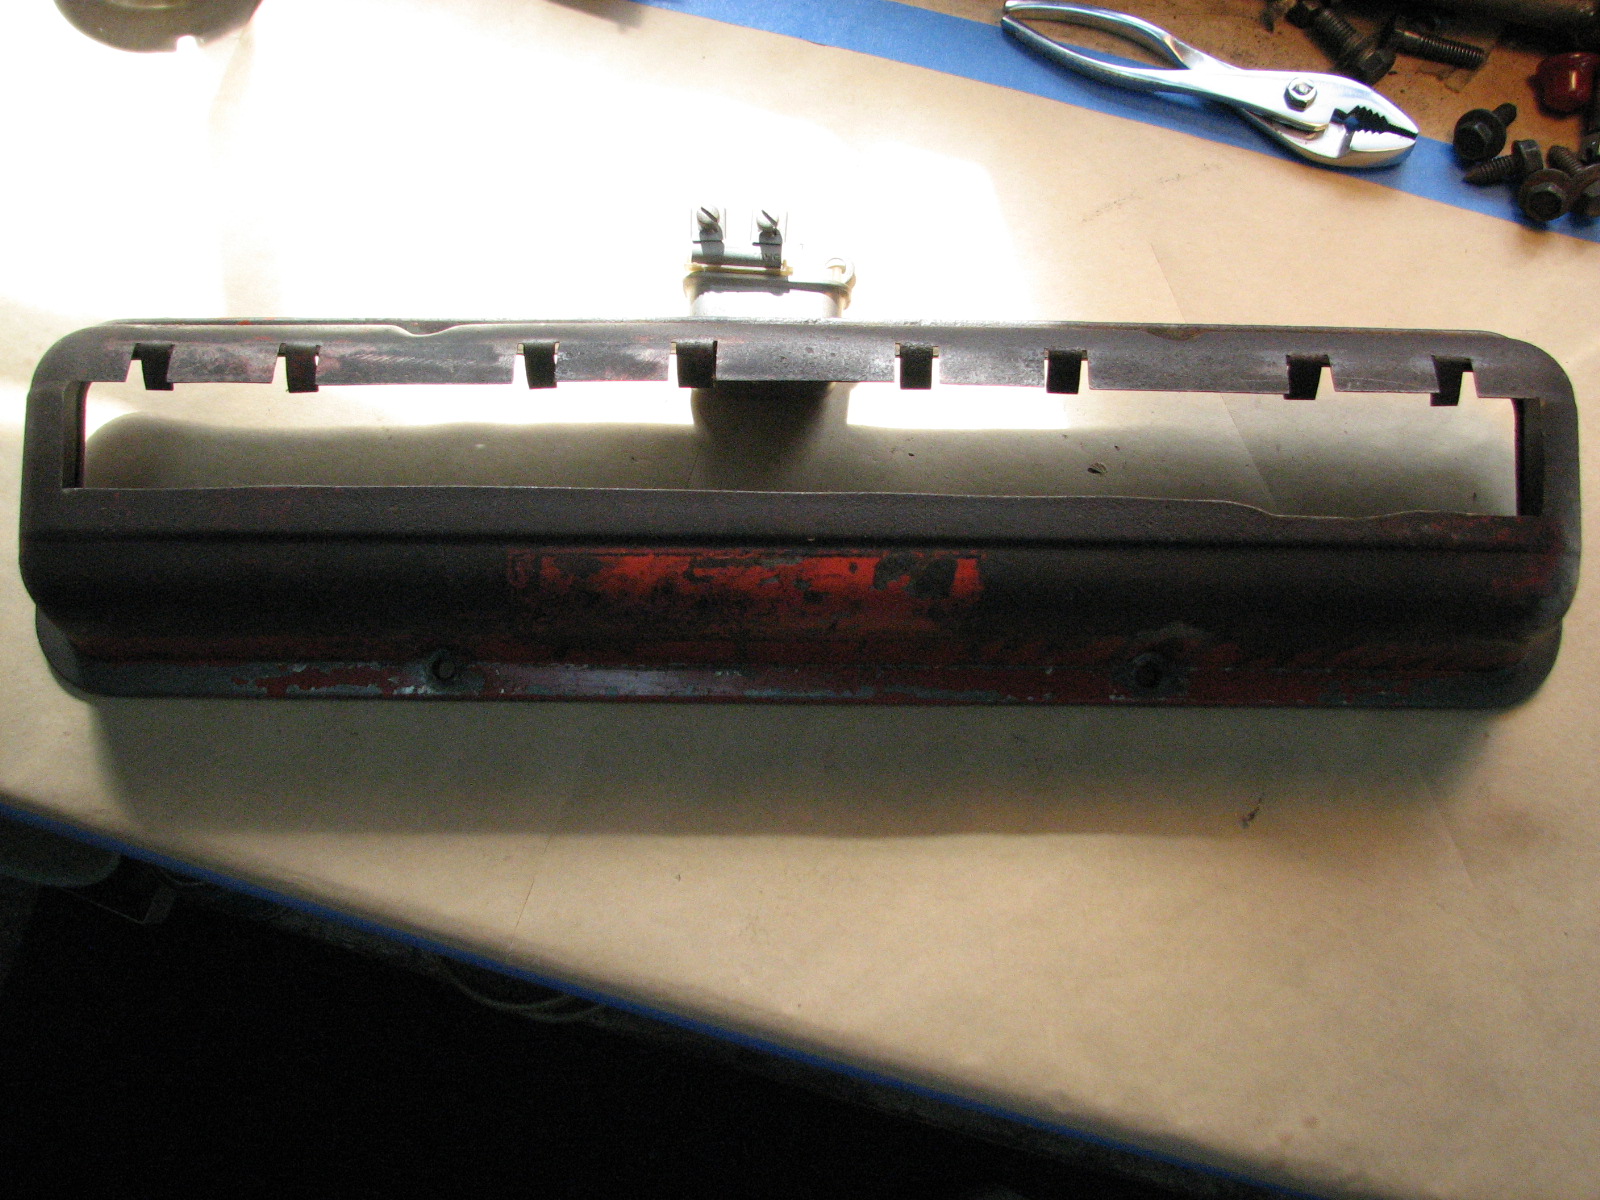
I'm about to do this job this weekend. I had played with adjusting #1 and # 3 cylinder valves because of what I thought was a bad lifter noise. It turned out to be a bad water pump bearing that went on a newly rebuilt pump. So now I have to readjust #1 and #3. I bought a set of old covers off Ebay (this is a 283 with hydraulics) and plan on drilling a 1 1/8" hole over the adjusting nuts and see if I can adjust them that way. If not, then I'll cut that slot shown in the first pic. I did try try adjust them running without any cover...big mistake...
09-23-2016, 10:35 AM
#28
Team Owner


You'll be less frustrated with the slot vs individual holes IMO.
1) You need to clearly hear the lifter 'clatter' and then snug it to zero lash before adjusting and I think that would be easier with the slot and
2) I think it'll be easier to get the socket on the rocker nut, and, if your socket should slip off the ratchet and drop down on the head - well that would be fun retrieving it...
(Don't laugh - it happens!)
FTF
Last edited by Frankie the Fink; 09-23-2016 at 10:51 AM.
09-23-2016, 12:08 PM
#30
Le Mans Master
I'm about to do this job this weekend. I had played with adjusting #1 and # 3 cylinder valves because of what I thought was a bad lifter noise. It turned out to be a bad water pump bearing that went on a newly rebuilt pump. So now I have to readjust #1 and #3. I bought a set of old covers off Ebay (this is a 283 with hydraulics) and plan on drilling a 1 1/8" hole over the adjusting nuts and see if I can adjust them that way. If not, then I'll cut that slot shown in the first pic. I did try try adjust them running without any cover...big mistake...
 09-23-2016, 12:16 PM
#31
Team Owner
You'll be less frustrated with the slot vs individual holes IMO.
1) You need to clearly hear the lifter 'clatter' and then snug it to zero lash before adjusting and I think that would be easier with the slot and
2) I think it'll be easier to get the socket on the rocker nut, and, if your socket should slip off the ratchet and drop down on the head - well that would be fun retrieving it...
(Don't laugh - it happens!)
FTF
1) You need to clearly hear the lifter 'clatter' and then snug it to zero lash before adjusting and I think that would be easier with the slot and
2) I think it'll be easier to get the socket on the rocker nut, and, if your socket should slip off the ratchet and drop down on the head - well that would be fun retrieving it...
(Don't laugh - it happens!)
FTF

Last edited by 66jack; 09-23-2016 at 12:17 PM.

The following users liked this post:
ohiovet (09-23-2016)
09-24-2016, 11:09 AM
#33
Drifting
Just read the procedure and that too is a possibility. The reason I was going with the "engine running" scenario is because last week when I made the mess, it was quite easy to hear the clatter, adjust to no clatter then set the additional turns. However, right now, I want to redo the adjustments because I'm not sure how many additional turns I've put on those 4 valves. Also, I'm positive I didn't do the additional turns 1/4 at a time waiting 10 seconds between each quarter turn.
Last edited by Steve59; 09-24-2016 at 11:12 AM.
09-24-2016, 11:33 AM
#34
Le Mans Master
I have used the deflectors and holed sawed some stock valve covers. One of the neater things I have seen, but wasn't able to do since I never bought a welder. A fellow racer (oval track) had tabs welded on rocker arm to deflect oil towards ball. It also kept oil under control when doing adjustments.
09-24-2016, 04:34 PM
#35
Drifting
After considering the above advice given to me by men that I have received good advice from over the years, I decided to go the drilled hole route, figuring if I screwed up, I could always cut the slot.
Drilled four, inch and a quarter holes, taped up 3 of them, got the engine to temp, swapped out covers and adjusted the valves with a running engine.
Two things I wasn't prepared for, I forgot about the meal shaving accumulating in the cover, so needed to take additional time to clean the cover out. Also, I was swapping the plain metal cover with the 7 fin aluminum job, they take different bolt lengths.
As to the actual adjusting, it's easy to hear the clatter, it's very distinctive. You know when it starts and when it stops, so the 1/4 turns following that are very easy. As to losing the socket, I was using the standard length socket and the socket came right up to the cover's edge. Using a deep socket would negate any fears of losing the socket into the valve cover, but I really don't think you would even need them anyway. I had the opposite problem, the socket got stuck on the nut, I may have been using a slightly "thicker" walled socket so when I went to another socket everything worked fine.
09-24-2016, 05:16 PM
#36
Team Owner
After considering the above advice given to me by men that I have received good advice from over the years, I decided to go the drilled hole route, figuring if I screwed up, I could always cut the slot.
Drilled four, inch and a quarter holes, taped up 3 of them, got the engine to temp, swapped out covers and adjusted the valves with a running engine.
Two things I wasn't prepared for, I forgot about the meal shaving accumulating in the cover, so needed to take additional time to clean the cover out. Also, I was swapping the plain metal cover with the 7 fin aluminum job, they take different bolt lengths.
As to the actual adjusting, it's easy to hear the clatter, it's very distinctive. You know when it starts and when it stops, so the 1/4 turns following that are very easy. As to losing the socket, I was using the standard length socket and the socket came right up to the cover's edge. Using a deep socket would negate any fears of losing the socket into the valve cover, but I really don't think you would even need them anyway. I had the opposite problem, the socket got stuck on the nut, I may have been using a slightly "thicker" walled socket so when I went to another socket everything worked fine.
Drilled four, inch and a quarter holes, taped up 3 of them, got the engine to temp, swapped out covers and adjusted the valves with a running engine.
Two things I wasn't prepared for, I forgot about the meal shaving accumulating in the cover, so needed to take additional time to clean the cover out. Also, I was swapping the plain metal cover with the 7 fin aluminum job, they take different bolt lengths.
As to the actual adjusting, it's easy to hear the clatter, it's very distinctive. You know when it starts and when it stops, so the 1/4 turns following that are very easy. As to losing the socket, I was using the standard length socket and the socket came right up to the cover's edge. Using a deep socket would negate any fears of losing the socket into the valve cover, but I really don't think you would even need them anyway. I had the opposite problem, the socket got stuck on the nut, I may have been using a slightly "thicker" walled socket so when I went to another socket everything worked fine.
09-24-2016, 05:59 PM
#37
Race Director
But I have done plenty over my lifetime.......but never made a special valve cover.
Larry
09-25-2016, 10:35 PM
#39
Intermediate


Member Since: Jun 2014
Location: Michigan
Posts: 30
Likes: 0
Received 0 Likes
on
0 Posts
https://www.summitracing.com/parts/c...make/chevrolet
Less than $20. I wouldn't feel bad about wrecking them.
Less than $20. I wouldn't feel bad about wrecking them.

