[C1] Dash Speaker Install With Custom Speaker Enclosure Follow-up.
 01-25-2017, 09:31 AM
#1

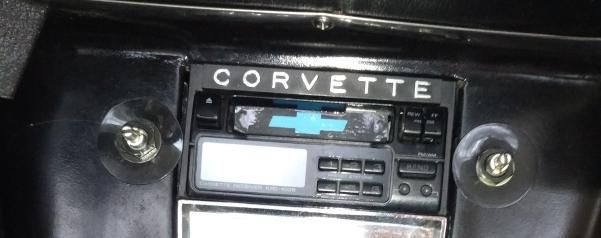
Here is the follow-up on the sound system upgrade for my wife’s 1960 Corvette that I said I’d post back in thread https://www.corvetteforum.com/forums...ew-length.html post #12. When we purchased her car, the original Wonder Bar radio was gone and filling its space was an AM/FM/Cassette stereo manufactured by Kenwood. We both agreed that the Kenwood unit wasn’t a look either of us cared for and the sound quality wasn’t very good either.
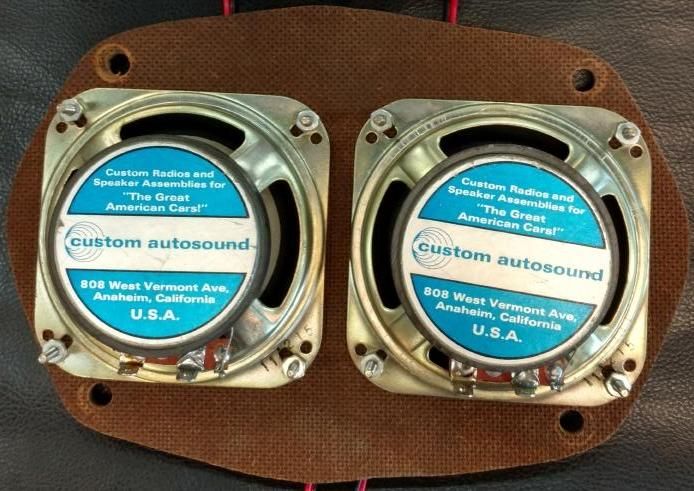
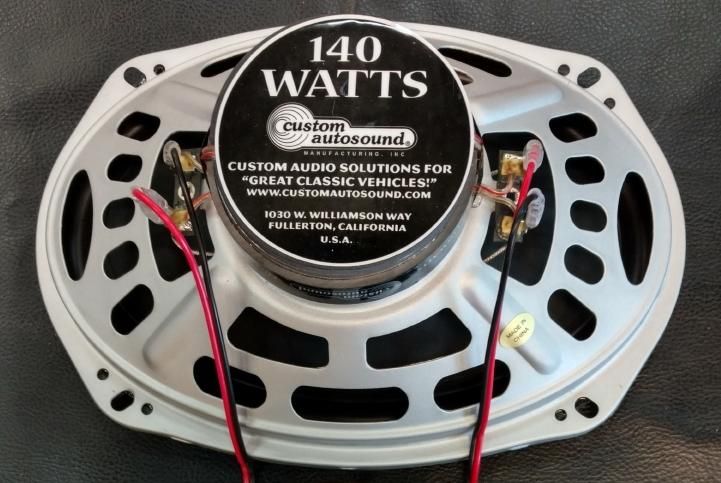
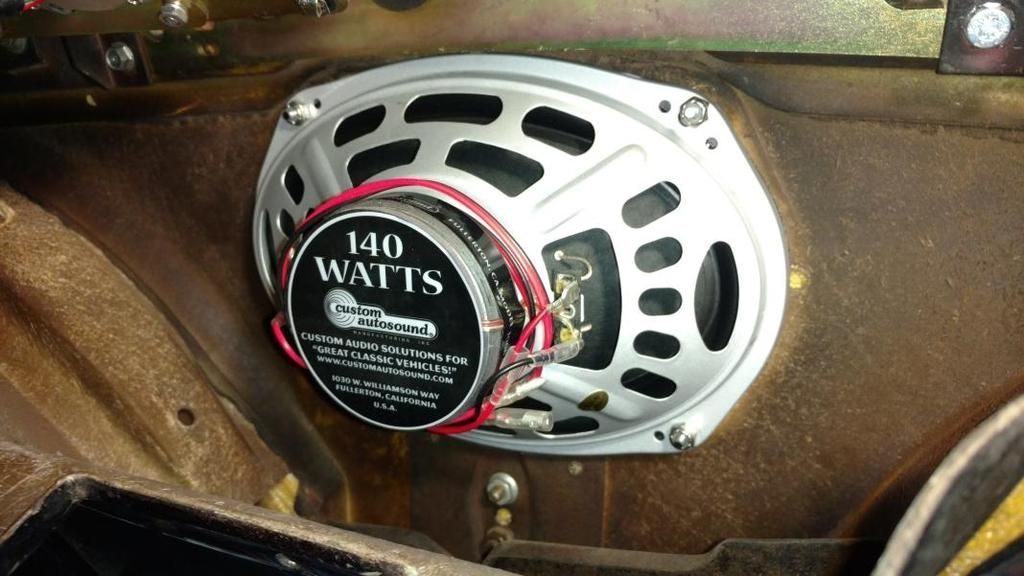
The original front dash speaker had been replaced with a pair of 4” round Custom Auto Sound speakers mounted to a 6” x 9” fiberboard material that went in place of the original dash speaker. I’m fairly confident that was a big part of the poor sound quality issue as well.
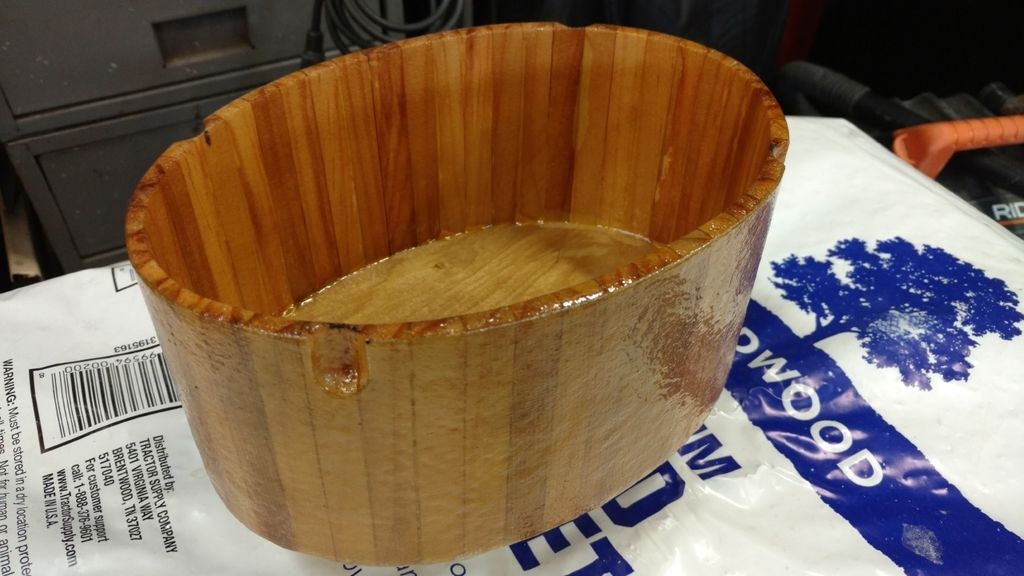
Based on first hand experience I believe any speaker element performs better and produces much better sound when it’s mounted in a speaker enclosure, so a replacement front dash speaker with a custom fabricated enclosure was on my list of upgrades for her sound system upgrade. I built the front dash speaker enclosure out of some white pine scrap that I ripped on my table saw and a piece of 1/4" Luan mahogany plywood.
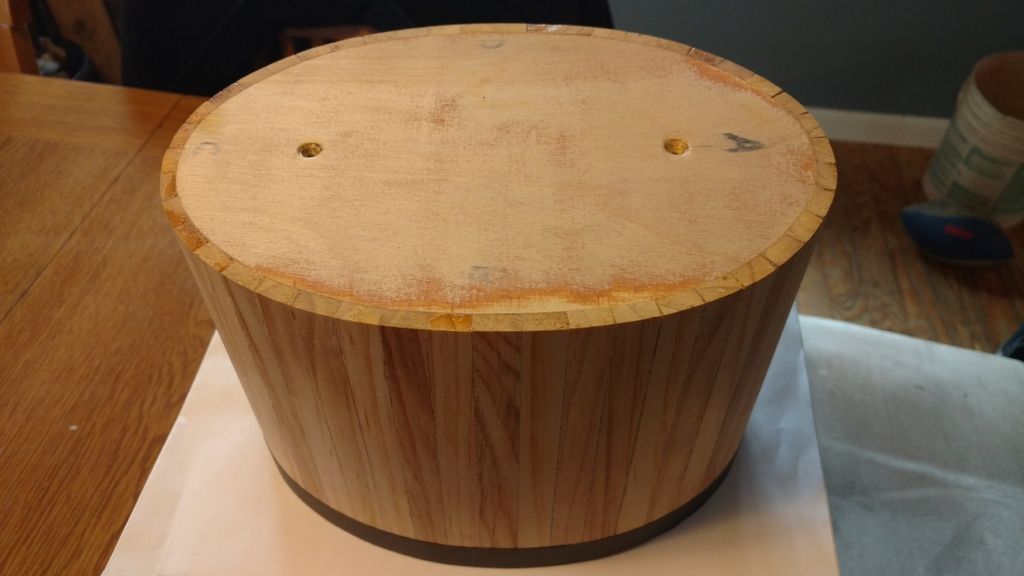
On the exterior of this enclosure I added one layer of 8 oz fiberglass cloth with polyester resin, once sanded a second coat of polyester resin was applied. The inside of the enclosure received a coat of resin but no fiberglass material.
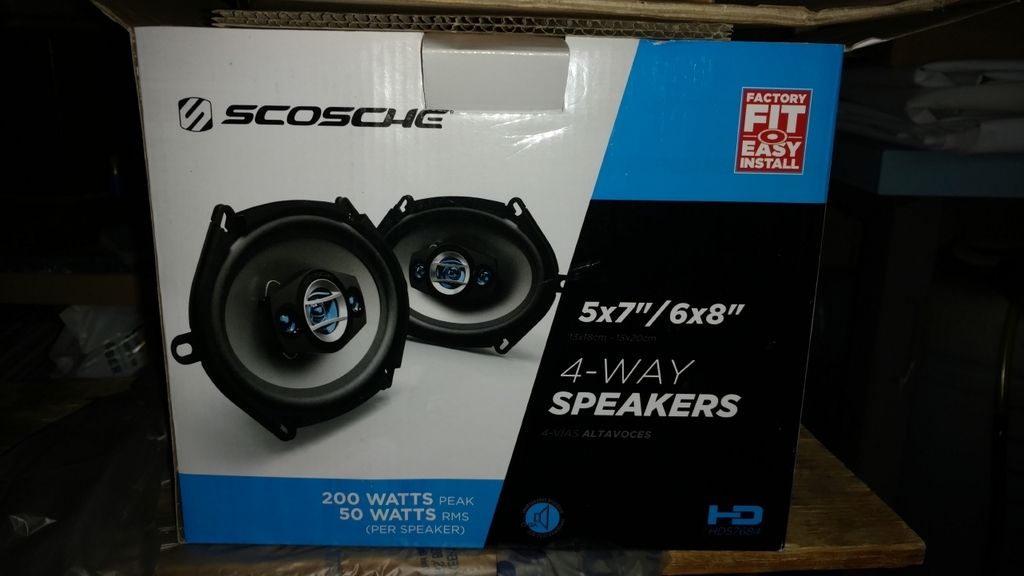
I also wanted a second set of speakers, but not in the doors or kick panels. I decided a set of custom fabricated speaker enclosures located on top of the fuel tank cover next to the soft top might work okay. I measured the available space and found a set of relatively inexpensive Scosche 4-Way 5x7 / 6x8 speakers at my local Wal-Mart.
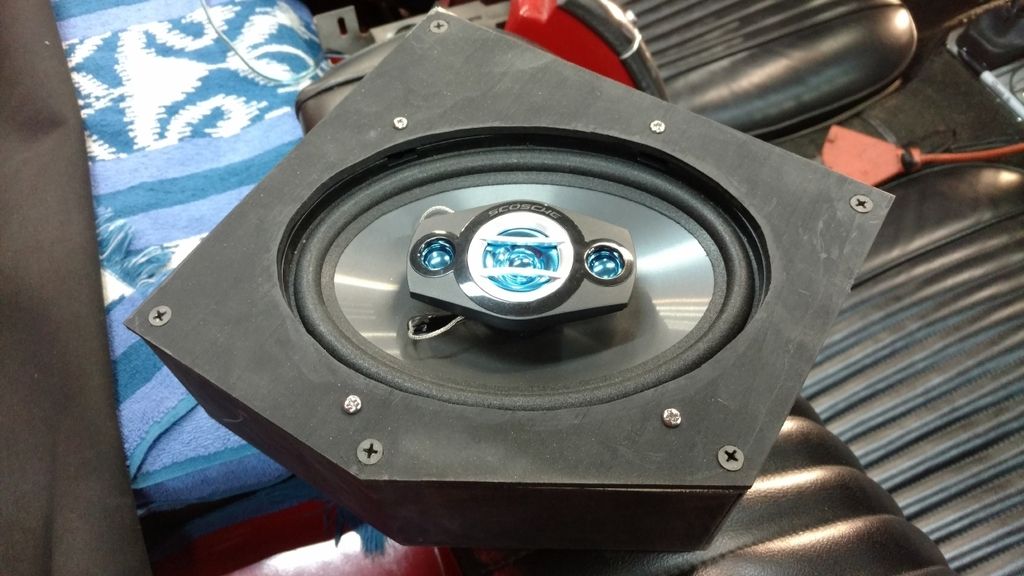
The enclosures are built from 1/4” Luan mahogany plywood and are shaped to fit in the available space between the folded down soft top and a tool kit I keep wrapped in a towel. The individual pieces of Luan are glued together with Titebond-II wood glue and each joint is reinforced with triangle stock ripped from soft pine.
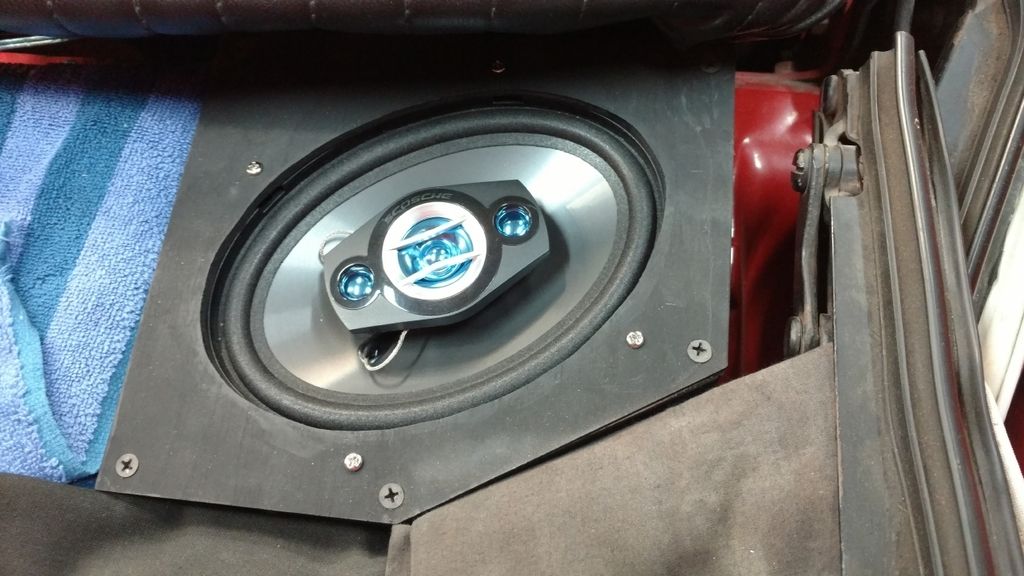
The enclosures fit snug on either side of the towel wrapped toolbox and just inside the soft top. A fair amount of sound is able to find its way up front even when the lid that covers the soft top is closed and latched. They put out pretty good sound for their size.
We really like the look of the original C1 Wonder Bar radio and liked the idea of more advanced electronic features such as an auxiliary input jack, blue tooth both for playing music and for using a cell phone and a decent FM stereo tuner. So back in August of 2016 based on much of what I read out here on this Corvette Forum I ordered her an Antique Automobile Wonder Bar reproduction stereo along with a new dash speaker in hopes they would arrive in time for her birthday in September. The new dash speaker arrived within two weeks but the stereo took much longer than originally quoted. It finally arrived one week before Christmas so that made two gifts that would be waiting under the Christmas tree.
Before I wrapped the stereo and speaker I was able to test the two together. I tried it using just the new dash speaker by itself and also mounted in the custom speaker enclosure and the sound output difference and quality was dramatic. The only concern I had after my test was how hot the rear top case of the stereo got after only five minutes of run time and while powering only two speakers. I measured 130 degrees Fahrenheit and still climbing, heat is after all one of the top reasons electronic components fail.
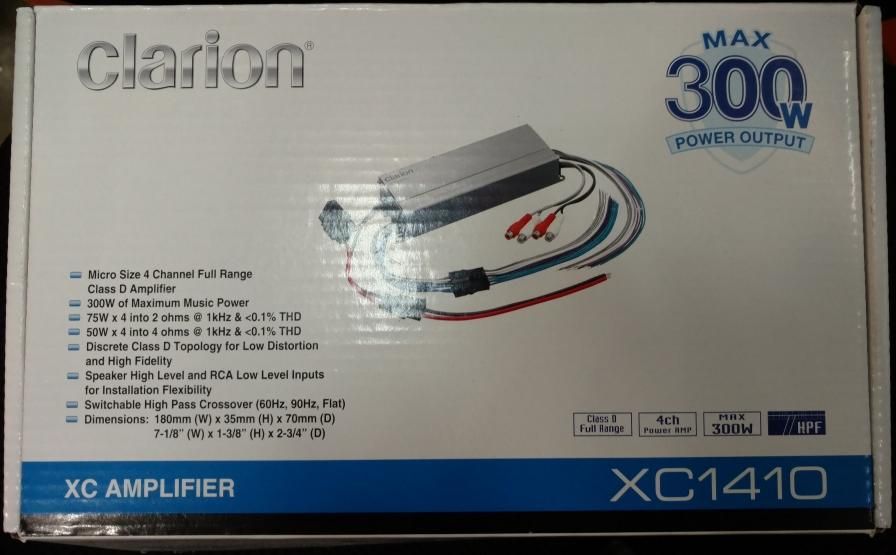
With this heat factor in mind and the $600.00 price of this stereo that has only a one-year warranty, I decided I’d add a Clarion XC1410 amplifier I’ve used before that can be replaced for about one sixth the price of the Antique Automobile stereo if it ever failed. I know from experience this amplifier runs nice and cool no matter how hard it is driven as I have one in my other classic car.
The case is basically a thick aluminum heat sink so there is plenty of thermal transfer dynamics at work. While its not a high-end amplifier by any means, it’s compact and is rated at 300 watts with four 2 ohm speakers or 200 watts with four 4 ohm speakers which is what I’m using.
One other change I wanted to make was to add a separate hidden power switch so the stereo, amplifier and power antenna could be operated without the key in the run position. This same DPDT switch will double as an ignition kill switch. I’m not sure why these early cars had only four key positions (Lock, Unlock, Run & Start) and none of them an accessory position.
Once I had some free time I jumped into this project by removing the old Kenwood stereo and old aftermarket dash dual speaker setup. I threaded the studs on the bezel with a 10-24 die and used some nylon lock nuts instead of the original speed nuts as they hold much better in my opinion. Once the new speaker was in place, there was not enough room to get the speaker enclosure into position with it remaining in one piece.
So my plan B for this was to slice the enclosure down the center so it could be placed into position around the dash speaker one half at a time.
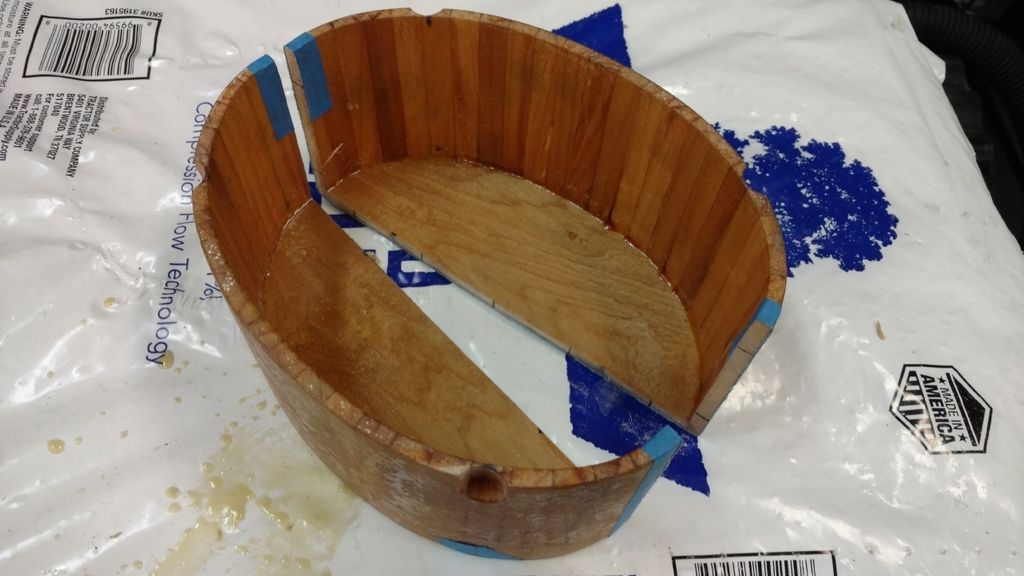
Then I added some alignment pins where the slice was made so the two enclosure halves are keyed together.

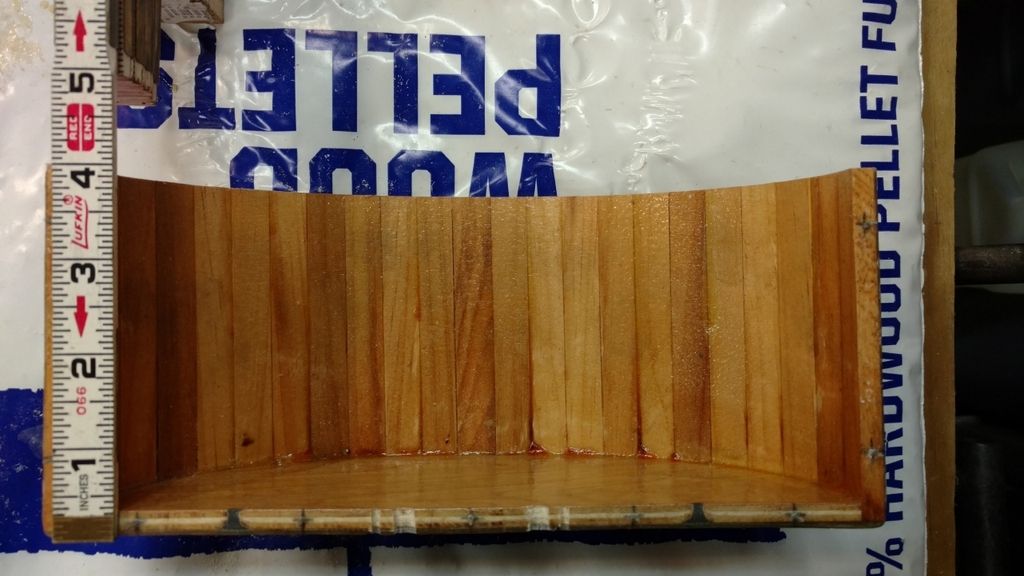
This car already had the original windshield wiper setup replaced with an aftermarket Rain Gear system (http://www.raingearwipers.com/produc...let-corvettes/) which may have allowed more space under the dash than usual, but I don’t know that for sure. Final height for the enclosure was four inches.
Two large worm style hose clamps hold the halves together while a wooden wedge holds the enclosure up tight against the speaker with one of the original trim screws above the stereo holding the wooden wedge in place.
I made a support brace for the rear of the stereo held by the 1/4-20 stud and nut. There was just enough room to mount the amplifier on top of the stereo but before doing so, I ran the stereo for a good 20 minutes with the amplifier driving all four speakers so hard and loud it was almost uncomfortable. As expected, no heat at all from the stereo as the external amplifier does all the work driving the speakers and the amplifier remained cool as well.
While performing this sound system upgrade, I also added a dual cigarette lighter socket so two devices can have chargers connected without using the original cigarette lighter socket. On the bottom of the dual cigarette lighter socket I added a 1/8” female stereo receptacle for the auxiliary input to the new stereo. This dual cigarette lighter socket with 1/8” female stereo aux input is mounted on the passenger side and uses an existing trim screw to mount it just above the fire extinguisher.
My wife is quite pleased with the final result, as am I. This combination has plenty of distortion free volume even with the soft-top lid closed (I set the stereo fader with the lid closed) and if you’re parked and open up the lid, it really cranks the sound out. We are really looking forward to the upcoming classic car cruising season so we can see and hear how it all works with the top down while cruising around. And as far as the looks of the Antique Automobile Wonder Bar reproduction stereo goes, it couldn’t look much closer to an original Wonder Bar AM radio.

The original front dash speaker had been replaced with a pair of 4” round Custom Auto Sound speakers mounted to a 6” x 9” fiberboard material that went in place of the original dash speaker. I’m fairly confident that was a big part of the poor sound quality issue as well.

Based on first hand experience I believe any speaker element performs better and produces much better sound when it’s mounted in a speaker enclosure, so a replacement front dash speaker with a custom fabricated enclosure was on my list of upgrades for her sound system upgrade. I built the front dash speaker enclosure out of some white pine scrap that I ripped on my table saw and a piece of 1/4" Luan mahogany plywood.

On the exterior of this enclosure I added one layer of 8 oz fiberglass cloth with polyester resin, once sanded a second coat of polyester resin was applied. The inside of the enclosure received a coat of resin but no fiberglass material.

I also wanted a second set of speakers, but not in the doors or kick panels. I decided a set of custom fabricated speaker enclosures located on top of the fuel tank cover next to the soft top might work okay. I measured the available space and found a set of relatively inexpensive Scosche 4-Way 5x7 / 6x8 speakers at my local Wal-Mart.

The enclosures are built from 1/4” Luan mahogany plywood and are shaped to fit in the available space between the folded down soft top and a tool kit I keep wrapped in a towel. The individual pieces of Luan are glued together with Titebond-II wood glue and each joint is reinforced with triangle stock ripped from soft pine.

The enclosures fit snug on either side of the towel wrapped toolbox and just inside the soft top. A fair amount of sound is able to find its way up front even when the lid that covers the soft top is closed and latched. They put out pretty good sound for their size.

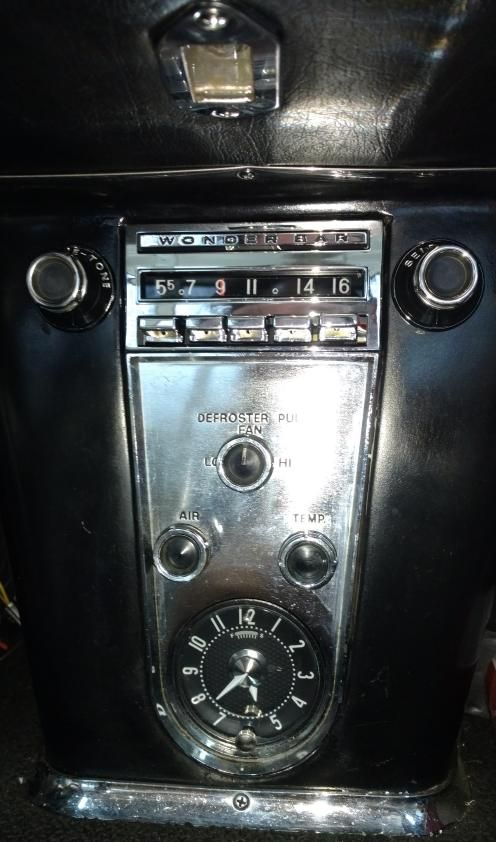
We really like the look of the original C1 Wonder Bar radio and liked the idea of more advanced electronic features such as an auxiliary input jack, blue tooth both for playing music and for using a cell phone and a decent FM stereo tuner. So back in August of 2016 based on much of what I read out here on this Corvette Forum I ordered her an Antique Automobile Wonder Bar reproduction stereo along with a new dash speaker in hopes they would arrive in time for her birthday in September. The new dash speaker arrived within two weeks but the stereo took much longer than originally quoted. It finally arrived one week before Christmas so that made two gifts that would be waiting under the Christmas tree.

Before I wrapped the stereo and speaker I was able to test the two together. I tried it using just the new dash speaker by itself and also mounted in the custom speaker enclosure and the sound output difference and quality was dramatic. The only concern I had after my test was how hot the rear top case of the stereo got after only five minutes of run time and while powering only two speakers. I measured 130 degrees Fahrenheit and still climbing, heat is after all one of the top reasons electronic components fail.
With this heat factor in mind and the $600.00 price of this stereo that has only a one-year warranty, I decided I’d add a Clarion XC1410 amplifier I’ve used before that can be replaced for about one sixth the price of the Antique Automobile stereo if it ever failed. I know from experience this amplifier runs nice and cool no matter how hard it is driven as I have one in my other classic car.
The case is basically a thick aluminum heat sink so there is plenty of thermal transfer dynamics at work. While its not a high-end amplifier by any means, it’s compact and is rated at 300 watts with four 2 ohm speakers or 200 watts with four 4 ohm speakers which is what I’m using.

One other change I wanted to make was to add a separate hidden power switch so the stereo, amplifier and power antenna could be operated without the key in the run position. This same DPDT switch will double as an ignition kill switch. I’m not sure why these early cars had only four key positions (Lock, Unlock, Run & Start) and none of them an accessory position.
Once I had some free time I jumped into this project by removing the old Kenwood stereo and old aftermarket dash dual speaker setup. I threaded the studs on the bezel with a 10-24 die and used some nylon lock nuts instead of the original speed nuts as they hold much better in my opinion. Once the new speaker was in place, there was not enough room to get the speaker enclosure into position with it remaining in one piece.

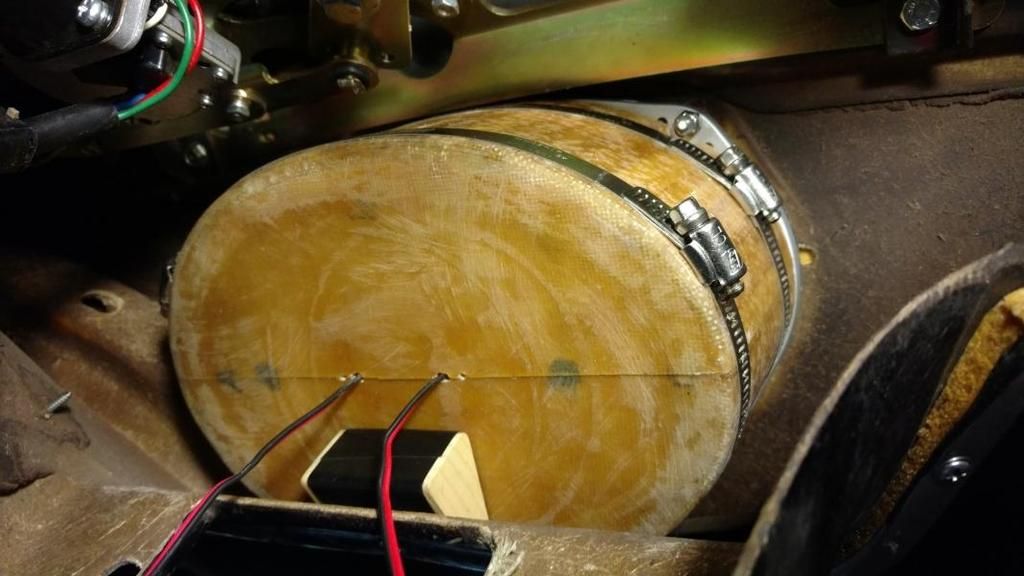
So my plan B for this was to slice the enclosure down the center so it could be placed into position around the dash speaker one half at a time.

Then I added some alignment pins where the slice was made so the two enclosure halves are keyed together.

This car already had the original windshield wiper setup replaced with an aftermarket Rain Gear system (http://www.raingearwipers.com/produc...let-corvettes/) which may have allowed more space under the dash than usual, but I don’t know that for sure. Final height for the enclosure was four inches.

Two large worm style hose clamps hold the halves together while a wooden wedge holds the enclosure up tight against the speaker with one of the original trim screws above the stereo holding the wooden wedge in place.

I made a support brace for the rear of the stereo held by the 1/4-20 stud and nut. There was just enough room to mount the amplifier on top of the stereo but before doing so, I ran the stereo for a good 20 minutes with the amplifier driving all four speakers so hard and loud it was almost uncomfortable. As expected, no heat at all from the stereo as the external amplifier does all the work driving the speakers and the amplifier remained cool as well.
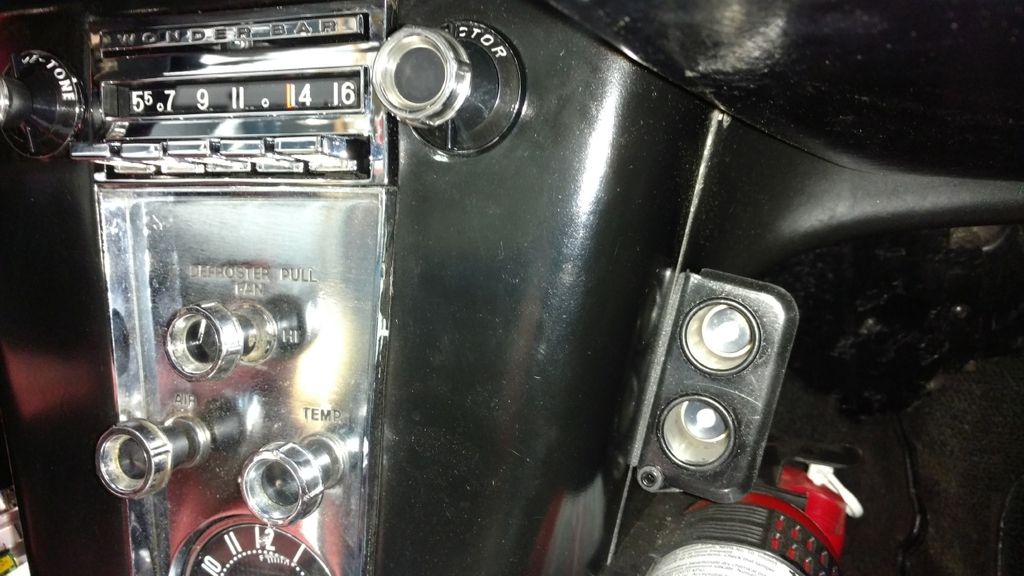
While performing this sound system upgrade, I also added a dual cigarette lighter socket so two devices can have chargers connected without using the original cigarette lighter socket. On the bottom of the dual cigarette lighter socket I added a 1/8” female stereo receptacle for the auxiliary input to the new stereo. This dual cigarette lighter socket with 1/8” female stereo aux input is mounted on the passenger side and uses an existing trim screw to mount it just above the fire extinguisher.

My wife is quite pleased with the final result, as am I. This combination has plenty of distortion free volume even with the soft-top lid closed (I set the stereo fader with the lid closed) and if you’re parked and open up the lid, it really cranks the sound out. We are really looking forward to the upcoming classic car cruising season so we can see and hear how it all works with the top down while cruising around. And as far as the looks of the Antique Automobile Wonder Bar reproduction stereo goes, it couldn’t look much closer to an original Wonder Bar AM radio.

 01-25-2017, 09:39 AM
#2
Team Owner


Sort of what I ran in my '61....(without the enclosure and supplemented with a passive Bazooka instead) about as good as it gets in a semi-original car IMO.
Most cigarette lighter adapter are fused (e.g. GPS, phone charger), but I'd strongly consider an extra fuse in your add'l lighter add-on if you haven't done it already...
Most cigarette lighter adapter are fused (e.g. GPS, phone charger), but I'd strongly consider an extra fuse in your add'l lighter add-on if you haven't done it already...
Last edited by Frankie the Fink; 01-25-2017 at 09:45 AM.
01-25-2017, 09:45 AM
#3
Thanks for double checking me Frankie on the fuse as others may benefit from your reminder and yes, there is an in-line bus fuse already in place. I've taken care of all the other electrical concerns on her car as well.