
Rookie's first attempt at a restoration...

 11-18-2007, 07:42 PM
#62
Safety Car

Thread Starter
Not yet, I haven't had a chance to enlarge to hole on one of the calipers. I'll do that sometime this week.
I am having a hard time deciding what to do with the sidepipes which I want to buy. The car was in a previous accident it looks like and I think it was hit from the side. The reason I say this is because I cut out the dent where it was hit and replaced it with new metal. The old metal must have been stretched the entire length of the rail. It isn't noticeable by the naked eye, but if you put a flat level against it you can see it. I didn't want to cut out the entire side rail just to fix the dent, so I just cut out the area where it was actually hit. I didn't think it was worth the risk of ruining the entire frame just to make it look that much better. So, basically the mounting holes where the sidepipes are supposed to fit into are little off. Here is a picture of what I am talking about. It's really hard to see but the middle mounting hole for the sidepipes is about 3/16'' inward.
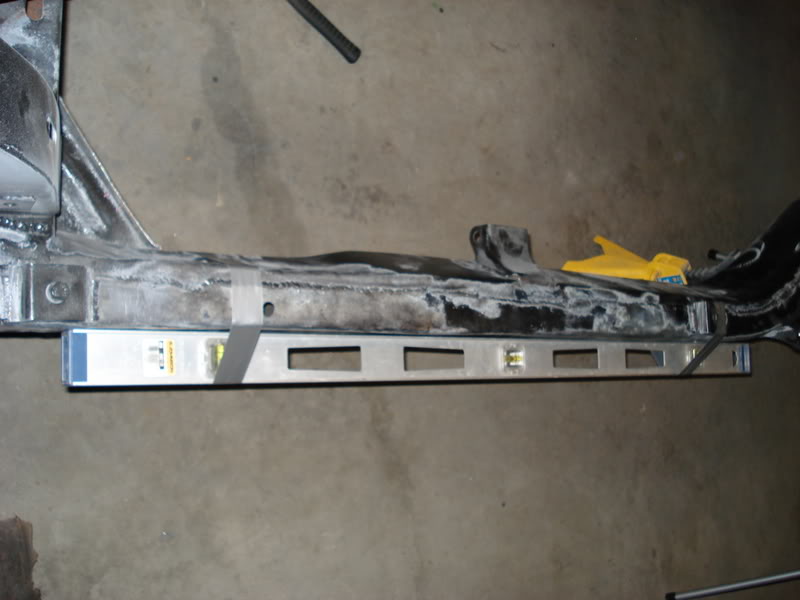
It looks pretty darn straight. The only problem is the car must have been hit in the lower part of the frame rail, which stretched the entire side inward. I cut out only the area where it was hit. Thus, the rest of the frame rail was still stretched a tiny bit inward. I blended in the new piece of metal to flow with the rest of the siderail. There are 3 mounting points for the sidepipes. The first and last mounting points are okay, bu8t the middle mounting point is inward about 3/16''. You can only notice it if you put a level up to it. The frame dimensions are all dead on. What should I do about these sidepipe mounts?
I don't have the money to buy the side pipes right now, so I'll have to check the fit of them after this goes to powdercoat. Do you think I need the middle mounting point for the sidepipes? Please reply, I need to get this figured out asap. Thanks.
I am having a hard time deciding what to do with the sidepipes which I want to buy. The car was in a previous accident it looks like and I think it was hit from the side. The reason I say this is because I cut out the dent where it was hit and replaced it with new metal. The old metal must have been stretched the entire length of the rail. It isn't noticeable by the naked eye, but if you put a flat level against it you can see it. I didn't want to cut out the entire side rail just to fix the dent, so I just cut out the area where it was actually hit. I didn't think it was worth the risk of ruining the entire frame just to make it look that much better. So, basically the mounting holes where the sidepipes are supposed to fit into are little off. Here is a picture of what I am talking about. It's really hard to see but the middle mounting hole for the sidepipes is about 3/16'' inward.
It looks pretty darn straight. The only problem is the car must have been hit in the lower part of the frame rail, which stretched the entire side inward. I cut out only the area where it was hit. Thus, the rest of the frame rail was still stretched a tiny bit inward. I blended in the new piece of metal to flow with the rest of the siderail. There are 3 mounting points for the sidepipes. The first and last mounting points are okay, bu8t the middle mounting point is inward about 3/16''. You can only notice it if you put a level up to it. The frame dimensions are all dead on. What should I do about these sidepipe mounts?
I don't have the money to buy the side pipes right now, so I'll have to check the fit of them after this goes to powdercoat. Do you think I need the middle mounting point for the sidepipes? Please reply, I need to get this figured out asap. Thanks.
11-18-2007, 10:39 PM
#64
Melting Slicks

Can you tell me which website did you find your project car?
I am looking for a project car.
 11-18-2007, 11:58 PM
#65
Safety Car
Thread Starter
11-19-2007, 12:57 AM
#66
Safety Car
Thread Starter
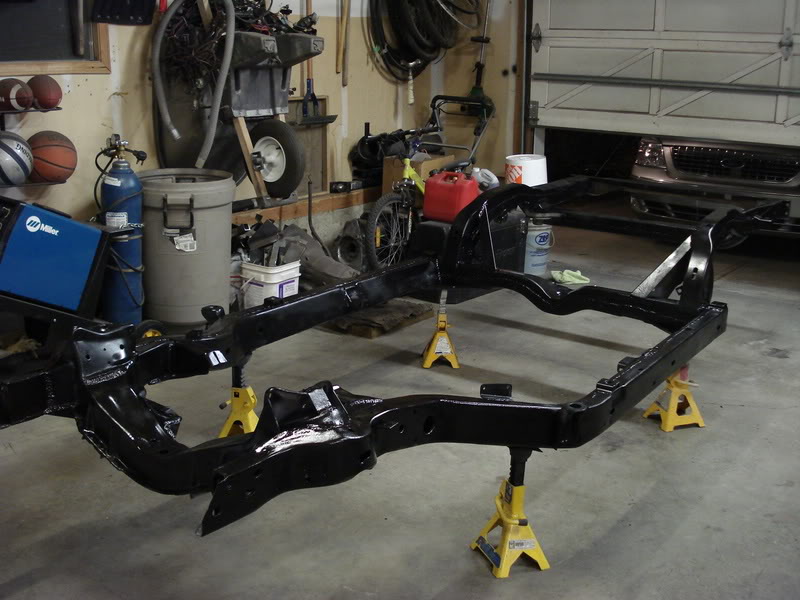
I was having a real hard time figuring out whether I wanted to powdercoat the chassis flat black or mirror black. I had some gloss black spray paint in my cabinet and thought to myself "this will decide once and for all which color I want it." I sprayed the entire frame (its getting sandblasted off anyways) and have decided to go mirror black. All that is left is measuring the frame for the last time sometime tomorrow and then its off to the powdercoaters. I have decided I am going to scrap the side pipe idea and just go with a custom dual exhaust (I'll be welding it up).
11-19-2007, 02:26 AM
#67
Safety Car
Thread Starter
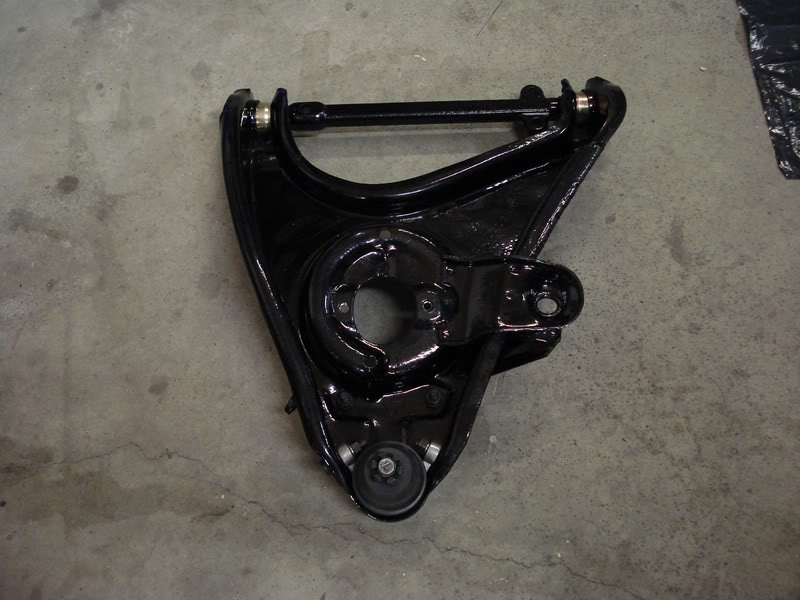
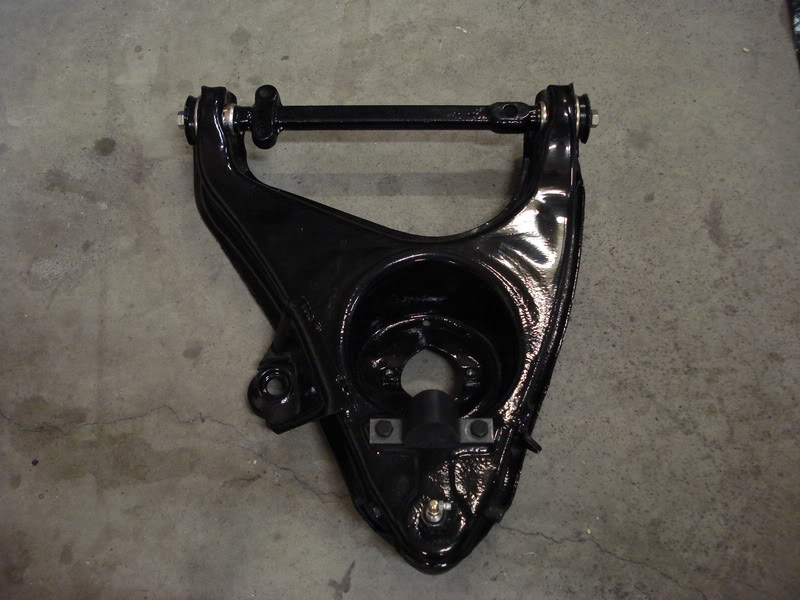
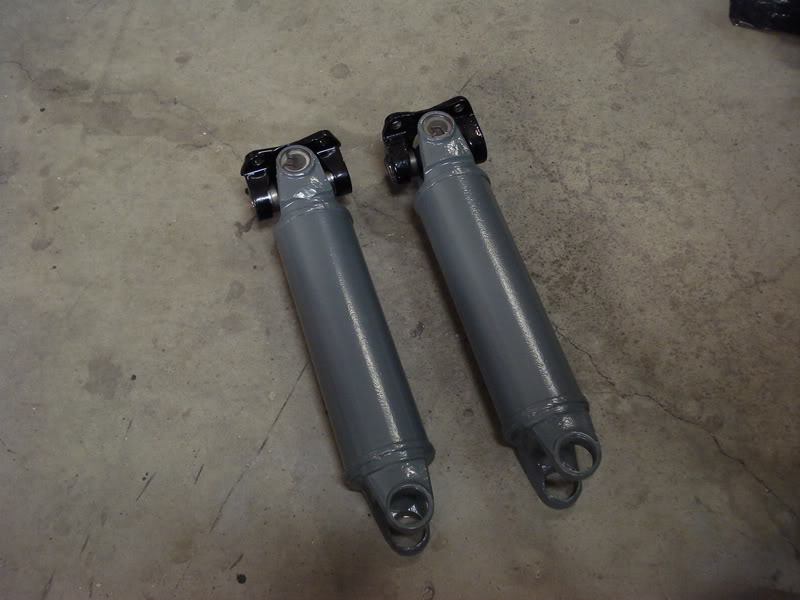
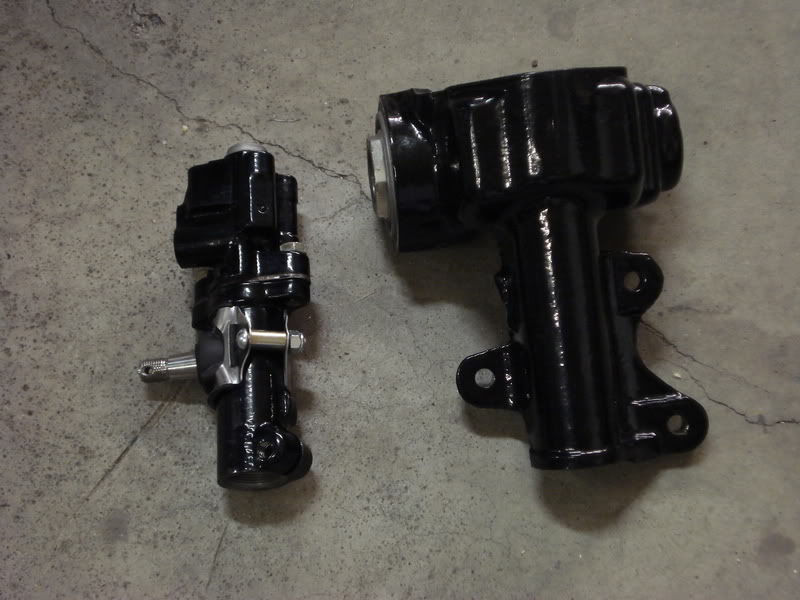
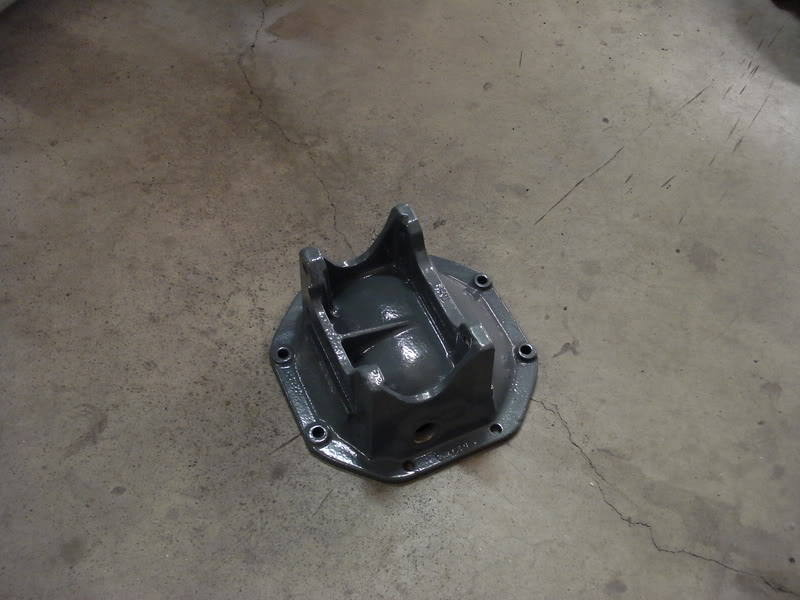
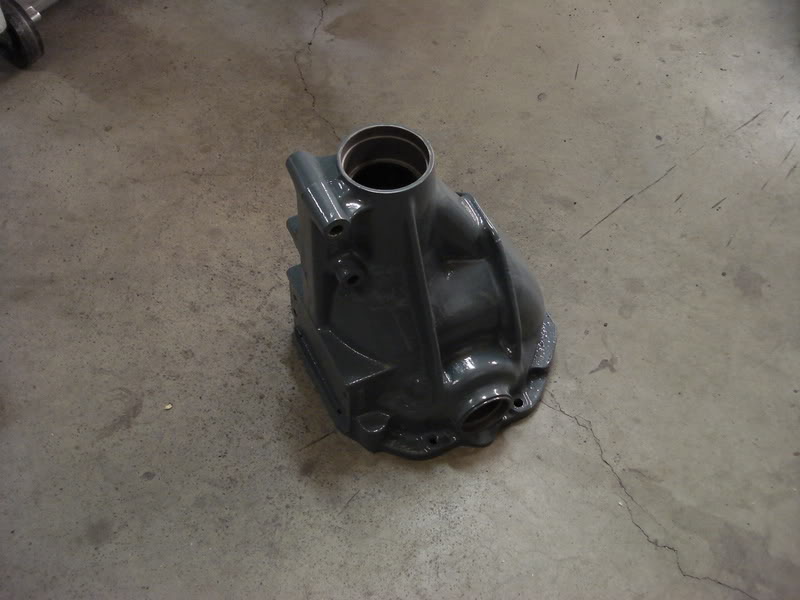
Alright here is the update. I got some parts back from the powdercoater last week. I rebuilt my power steering control valve with new parts from paragon. I installed my new crossmember bushings from van steel. I also rebuilt my right lower control arm which I bought from a member on this forum...I deleted all my private messages and forgot the forum member's name (sorry). Either way, I highly recommend him (I'll find out his user name for you guys)...the transaction went smoothly without a glitch. The differential case also came back from the powdercoaters, looks awesome. Installed two u-joints for the half shafts...greaseless of course. I can't wait to take the frame to the powdercoaters this week...very exciting. 

11-19-2007, 08:40 AM
#68
Safety Car
Thread Starter
Okay guys, I found out the forum member's username who sold me the control arm...it is 77-L48. I forgot his name yesterday when I posted. He is a great guy to deal with and I highly recommend him...his price was great to. I also learned that although ebay has lots of used parts, most forum members offer them for much cheaper than on ebay...way cheaper. Check here first before you spend your cash on ebay, just a tip.
11-19-2007, 08:54 AM
#69
Melting Slicks
yer doing a freaking awesome job and when u get done yer vette is gonna be freaking awesosme. if u lived nearby it would be my pleasure to help u put all them beautiful powdercoated parts back on yer vette. 
11-19-2007, 11:14 AM
#70
Safety Car
Thread Starter
Lol, I am smiling right now...I am just too darn happy. I love it when people compliment me on my work, especially from those who are restoring vettes just like I am. Now I can't decide whether I should powdercoat or paint my frame with epoxy paint. I've been prepping everything myself before I take it to him, so its been a lot of work. I'm just really worried about some parts not fitting because of some of my welding on the frame and then I'll have to ruin the powdercoat finish to fix something. I don't know...what do you guys think I should do? If I paint it with epoxy, that means I have to do a hell of a lot more work myself. If I go with powdercoating, all I have to do is take it to the powdercoaters (I won't have to pay anything because of the deal my father is making with him). But If I ever have to repair the frame, I don't think I'll ever retrouch it up to look the same as it did before. Any opinions?
Last edited by stinger12; 04-28-2009 at 12:01 AM.
11-19-2007, 02:51 PM
#71
Melting Slicks
i'd go for the powdercoat. if in the future u have to redo something just touch it up w/paint, most likely it won't show n nobody will know but u unless u go blabbing to everybody
11-19-2007, 05:09 PM
#73
Melting Slicks
u should do more of yer suspension parts in the same yellow u did yer calipers in, the contrast looks fantastic n really stands out.

 11-19-2007, 05:55 PM
#75
Race Director

Member Since: Jan 2004
Location: If the world didnt suck, we would all fall off. Troy,Ohio.
Posts: 18,398
Likes: 0
Received 0 Likes
on
0 Posts
Cruise-In VI Veteran
St. Jude Donor '04-'05-'06-'07-'08


 11-20-2007, 01:34 AM
#77
Safety Car
Thread Starter

 11-20-2007, 06:36 AM
#80

I took pics of my numbers like that also and I would think it would be good evidence, plus you have all the pics of you working on the car before and after
I to am doing my first vette rebuild I am 28 but have played with high power boats since and funny you should mention a 69 camaro
I had a numbers match 69 396 SS camaro I brought home 5 years ago and sold it about a year ago all apart for $15k I found my 69 vette ragtop in NJ this spring and my Dad had one like it back in the day so I thought it would be a more sentimental project to work on.
I am going to be putting my suspension together hopfully this weekend if the parts show up, I had to cut off and replace the right A-arm tower on the frame and replace the diff. mount that was tore off too.
These vette's are so much fun to drive I cant wait to get mine back together
Good luck on the rest of you project, it looks awesome so far
I to am doing my first vette rebuild I am 28 but have played with high power boats since and funny you should mention a 69 camaro
I had a numbers match 69 396 SS camaro I brought home 5 years ago and sold it about a year ago all apart for $15k
I found my 69 vette ragtop in NJ this spring and my Dad had one like it back in the day so I thought it would be a more sentimental project to work on.I am going to be putting my suspension together hopfully this weekend if the parts show up, I had to cut off and replace the right A-arm tower on the frame and replace the diff. mount that was tore off too.
These vette's are so much fun to drive I cant wait to get mine back together
Good luck on the rest of you project, it looks awesome so far