
Rookie's first attempt at a restoration...
 03-18-2009, 02:34 PM
#801
Racer

Member Since: Nov 2008
Posts: 326
Likes: 0
Received 0 Likes
on
0 Posts
I'd just like to say again young man you are doing an amazing job and I look forward to seeing your posts and your progress.
God bless you and most of all take care of yourself.
I would have never had what it takes to do a project like this because I was in a car club, chasing skirts and partying.
Bless you young man. I used to do most of the work on all of our cars before i hurt my back. Many time for example i would change a water pump having never done it before. I would try anything to save money in my early years. I would bring out my son so he could see that if you try just about anything you can succeed. He wasn't interested so at your age i am proud of you for taking on an awesome task of rebuilding a 30 something year old car. If i was your dad i would be so proud my hat wouldn't fit. I'm proud of ya and i don't even know ya. Just a word for the fathers out there, if you have a son with this kind of energy and tenacity praise him every day.
Good luck young man.
Mike
Last edited by boeing46; 03-23-2009 at 10:06 PM.
 03-27-2009, 03:53 AM
#803
Safety Car

Thread Starter
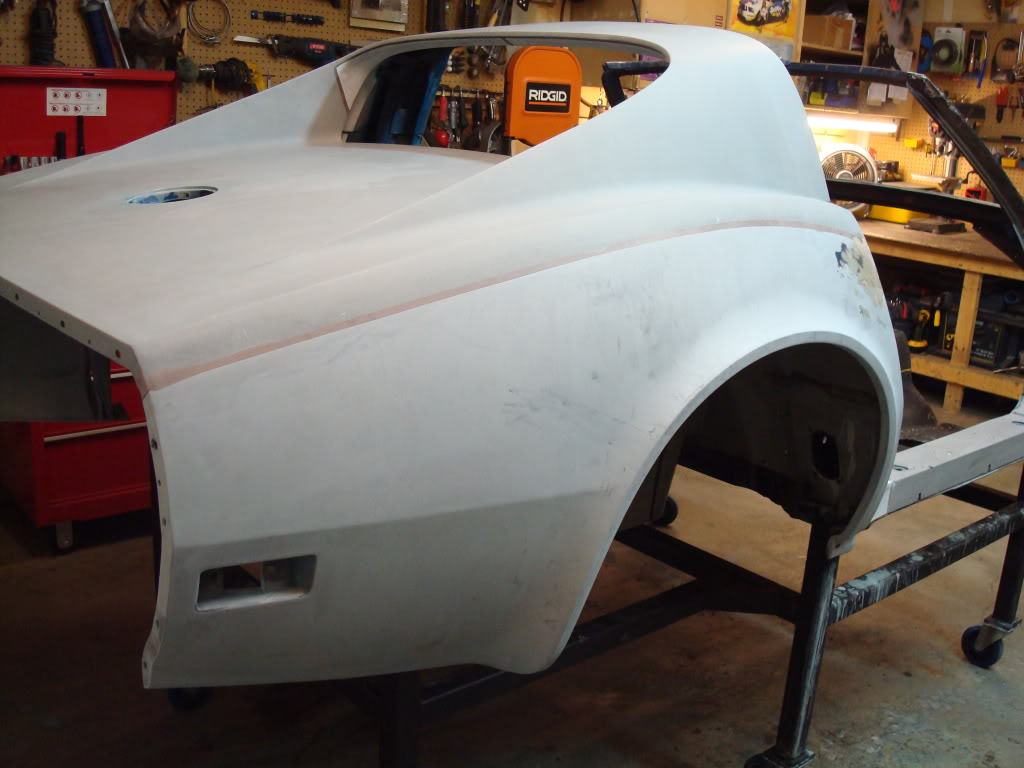
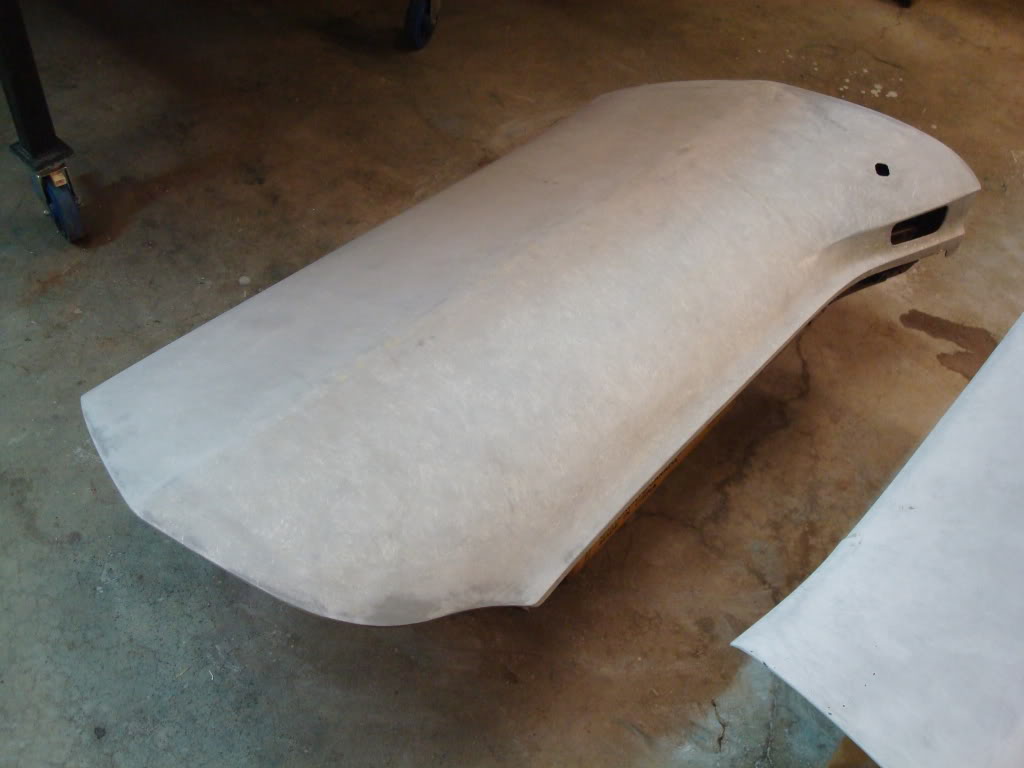
Words cannot describe how much work it has taken to strip the car thus far. I am beat. I've gone through 3.5 five gallon pails of lacquer thinner, and I am still not done (a little bit of a perfectionist I guess you can say ). Anyways, here are the latest pics. I am very tired. All the undercoating was removed from the interior. All the window sealant was scrubbed clean. All the paint is off the main body now - I just need to finish the doors. All without using one piece of sandpaper - only stripper, lacquer thinner and scotchbrite. I have a lot of respect for body guys, I really do. The engine should be heading to the machine shop shortly.
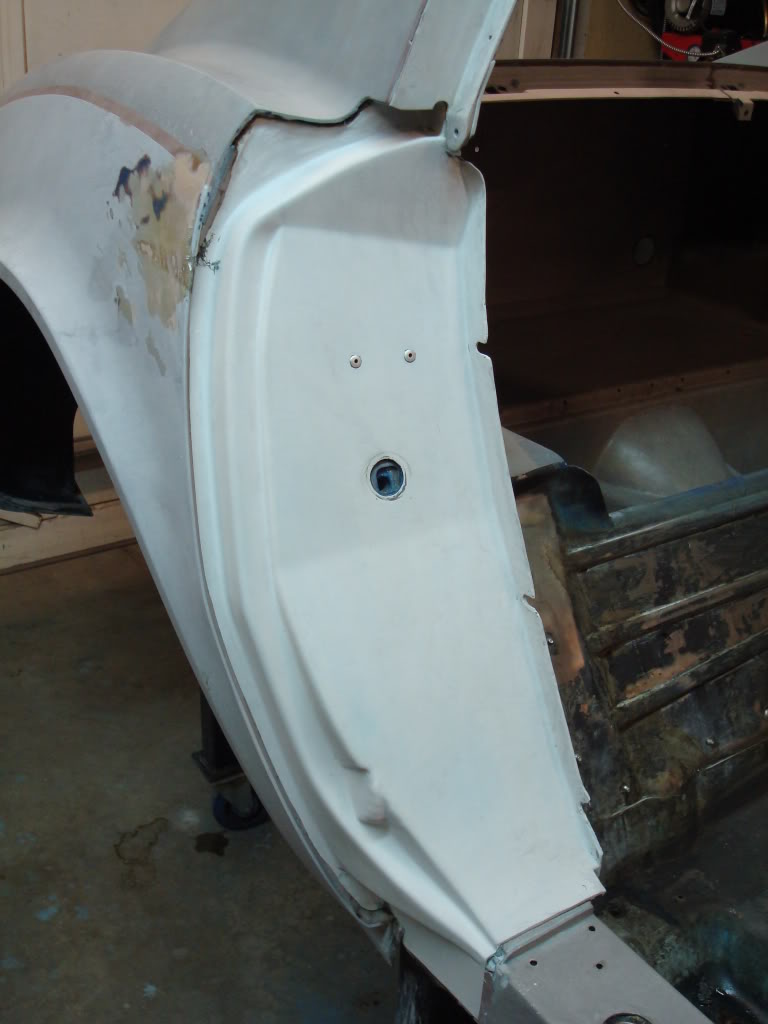
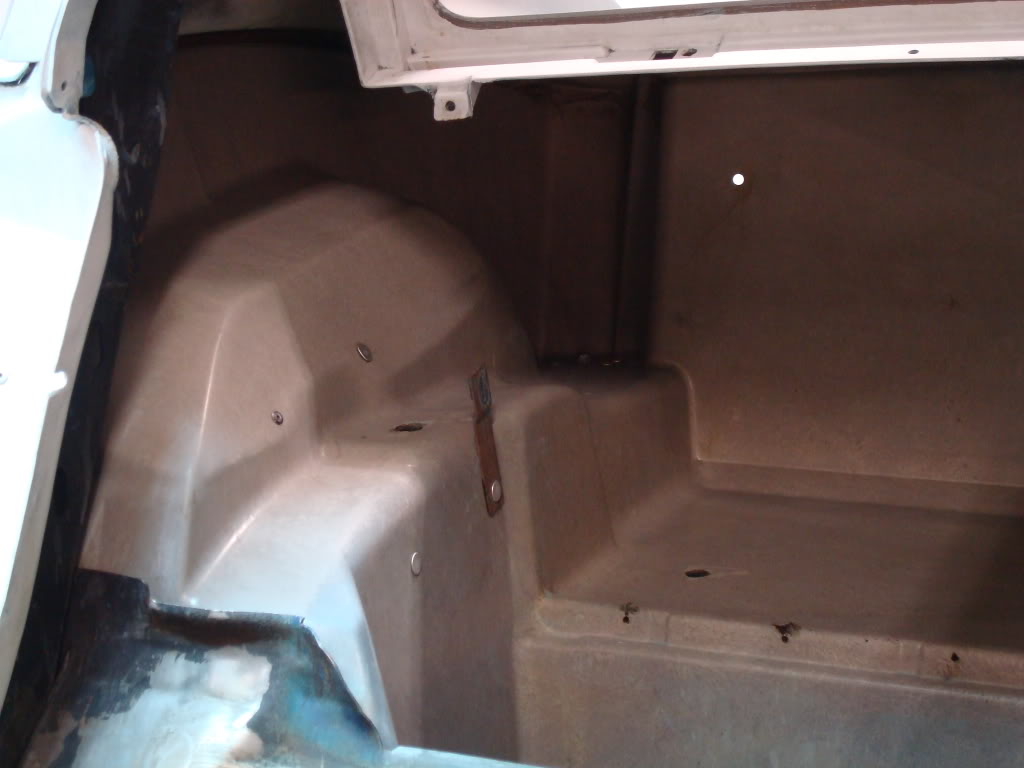
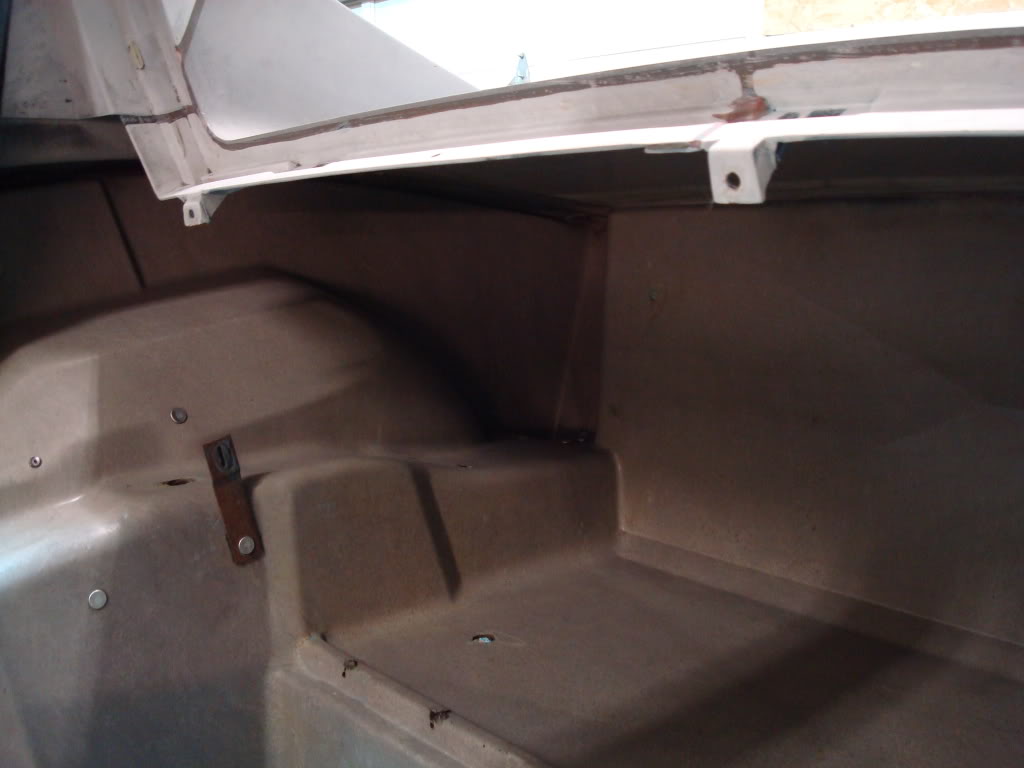
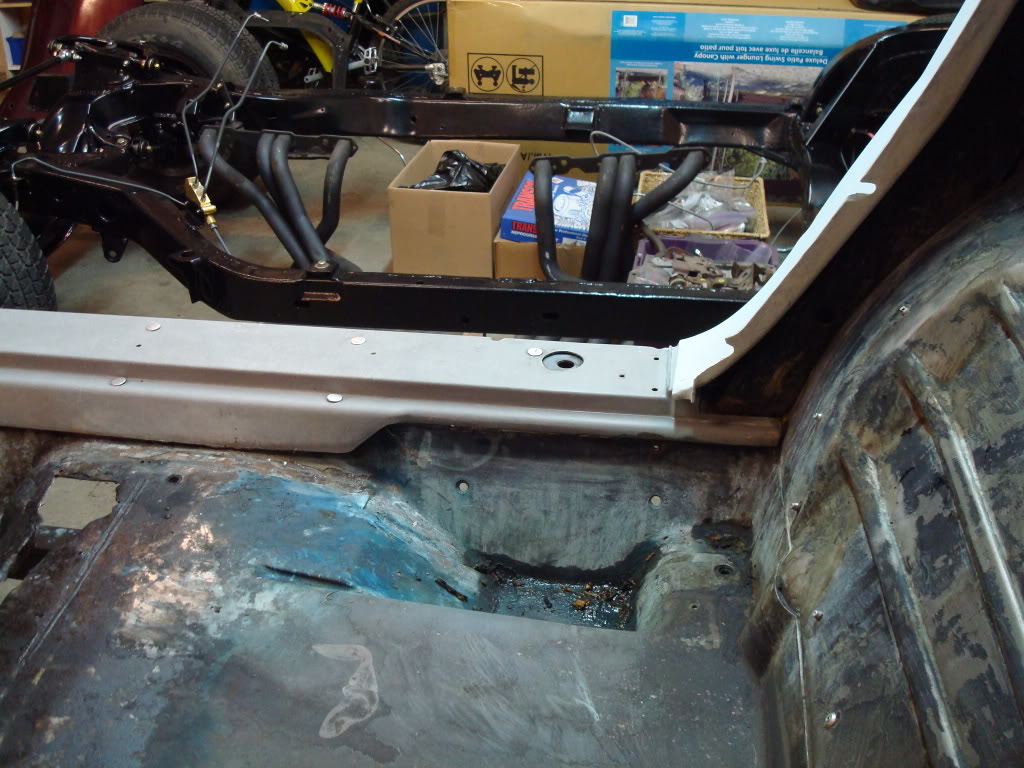
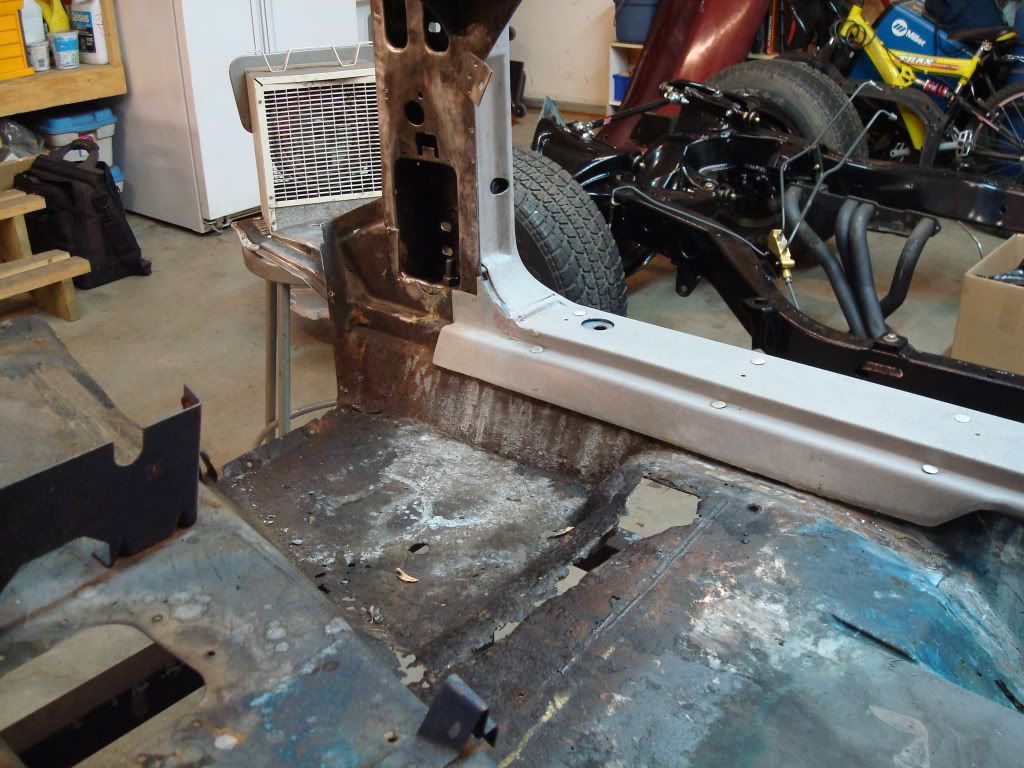

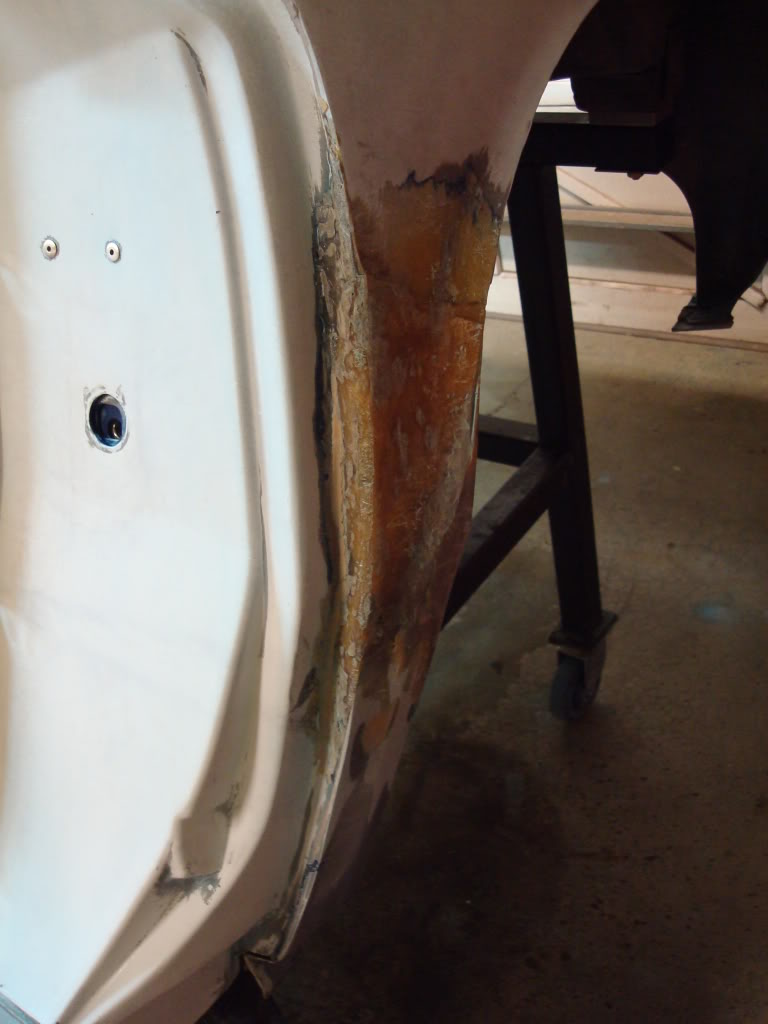
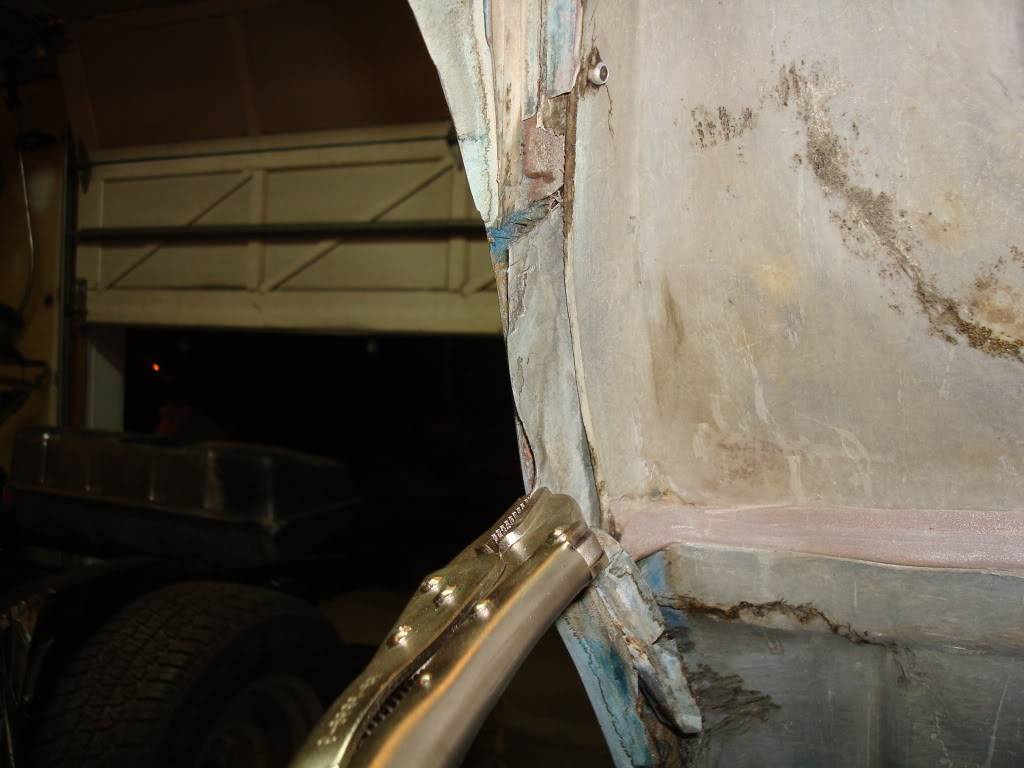
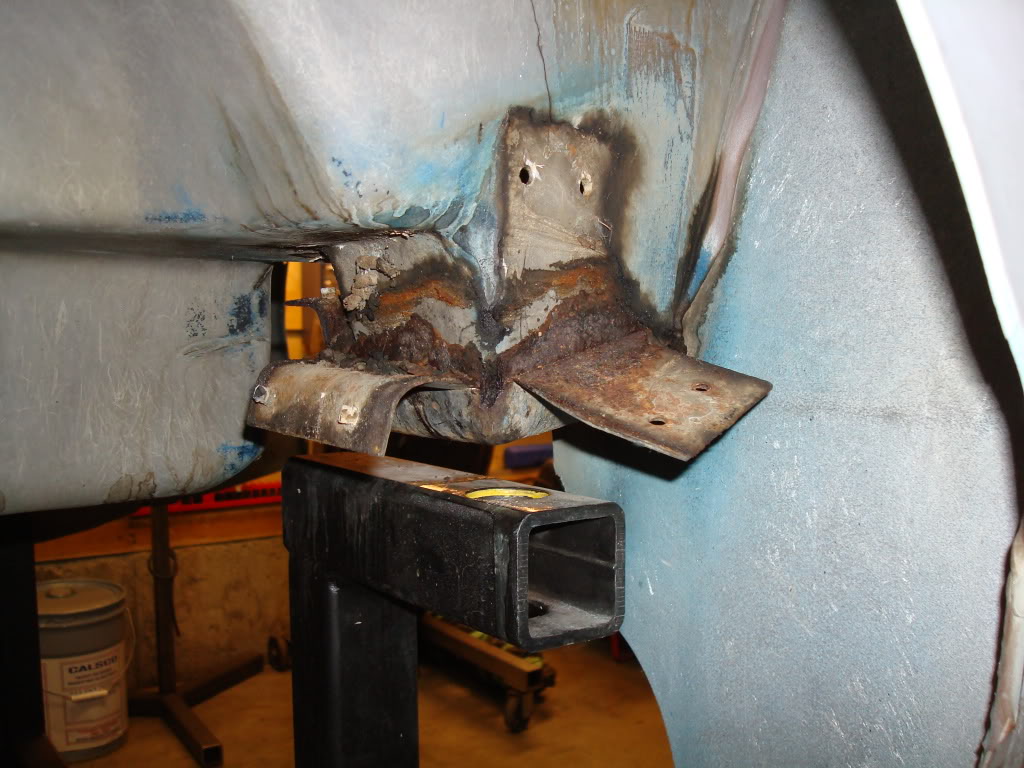
Before the repair...
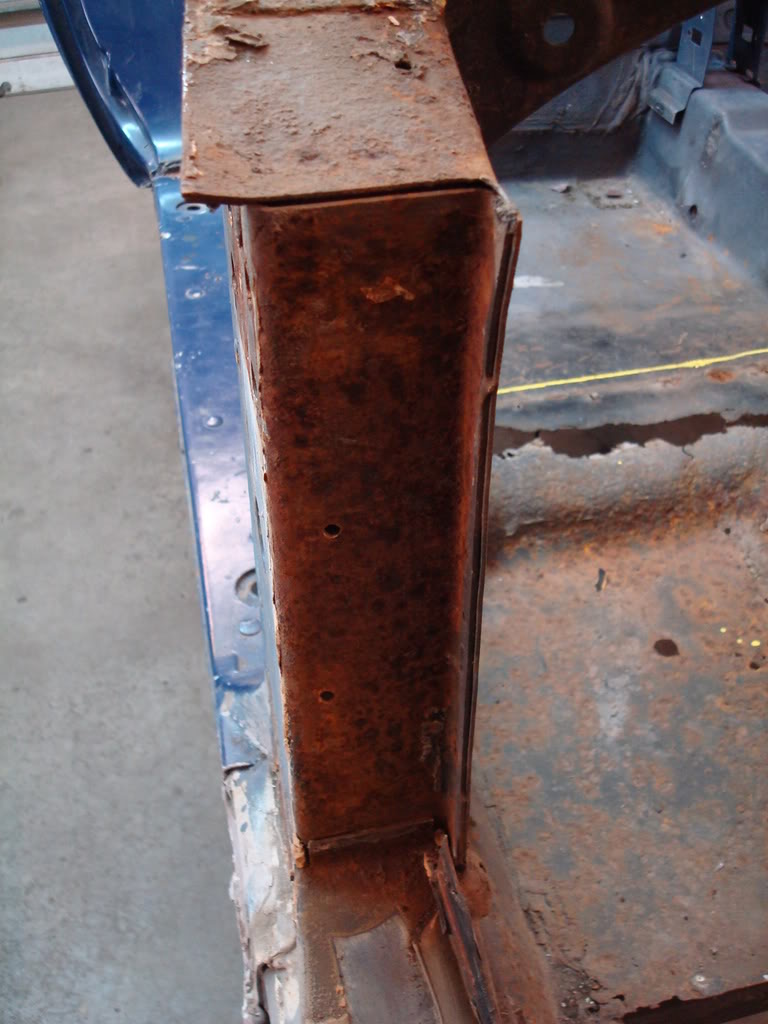
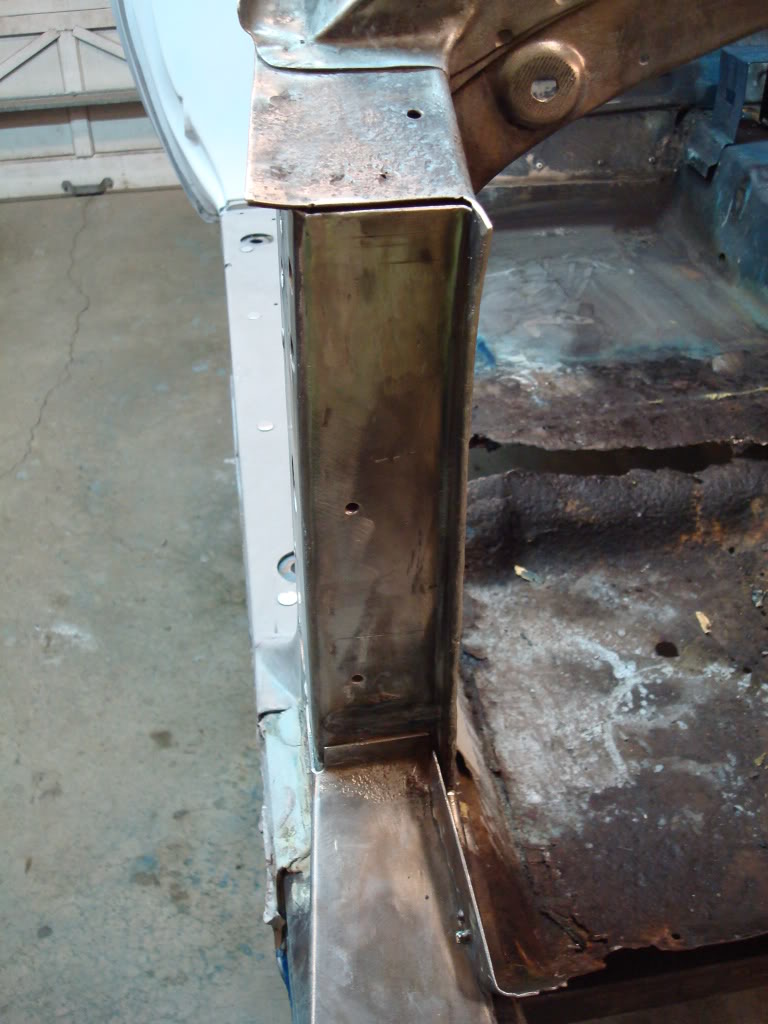
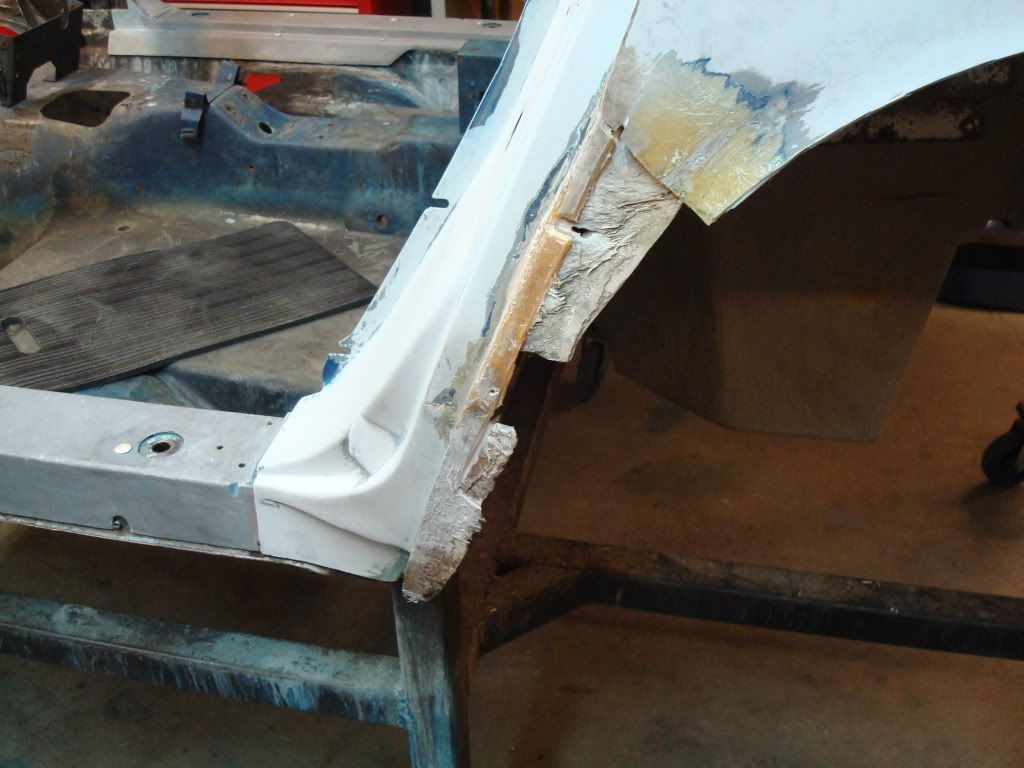
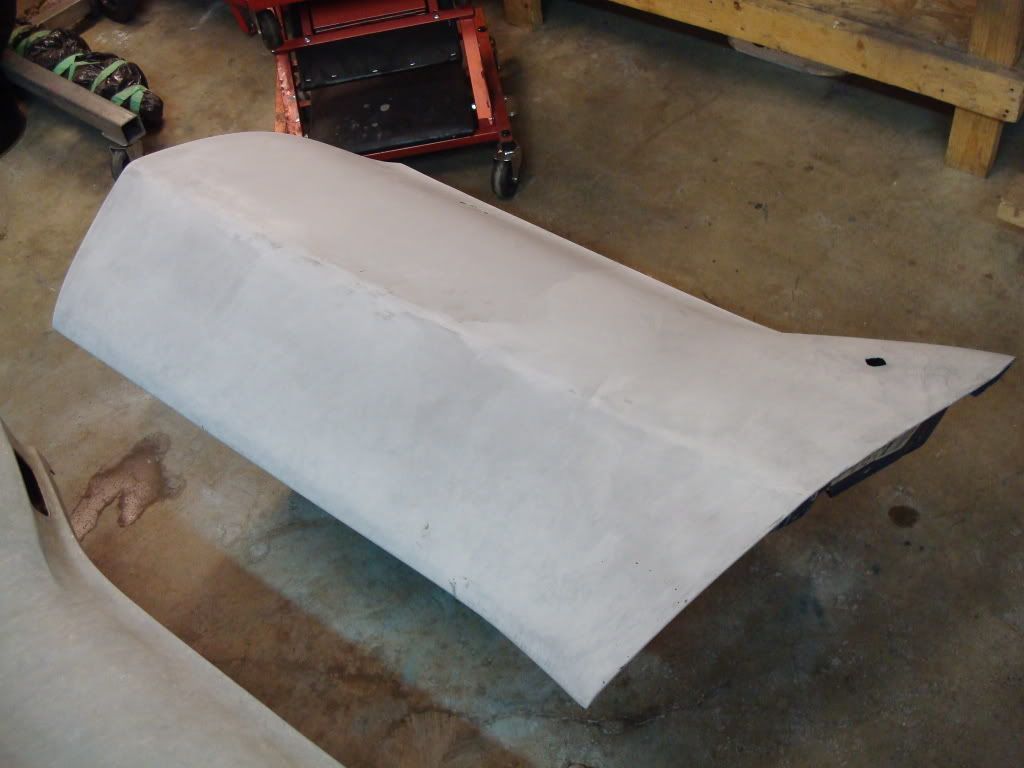
After the repair (still needs a little work, not entirely satisfied with the way it came out...need to clean it up a bit more)
). Anyways, here are the latest pics. I am very tired. All the undercoating was removed from the interior. All the window sealant was scrubbed clean. All the paint is off the main body now - I just need to finish the doors. All without using one piece of sandpaper - only stripper, lacquer thinner and scotchbrite. I have a lot of respect for body guys, I really do. The engine should be heading to the machine shop shortly.Before the repair...
After the repair (still needs a little work, not entirely satisfied with the way it came out...need to clean it up a bit more)
Last edited by stinger12; 01-17-2012 at 03:19 AM.
03-27-2009, 10:03 AM
#804
Safety Car
Nice work, the car is going to look fantastic when done. Most people would of sealed it and started painting. Your doing it the way I would, do it right the first time and be done with it.

03-28-2009, 01:10 AM
#805
Racer
Member Since: Dec 2007
Location: El Dorado Hills California
Posts: 297
Likes: 0
Received 1 Like
on
1 Post

Hey Jeremy. Checking up on your progress. Are you going to bond the bumpers? I just did mine and I'm having 2nd thoughts about what I did.
And are we going to witness a GF appearing on the scene and ending the project?
Blain
And are we going to witness a GF appearing on the scene and ending the project?
Blain
03-28-2009, 02:12 AM
#806
Safety Car
Thread Starter

I actually decided earlier today that I was not going to bond the bumpers to the body. Last week I got rear ended by some dumb blonde (I was driving to work in my cavalier). What I figured out very quickly was that if that was the vette that got rear ended, it would have been totalled - period. Less damage to the body should occur if I don't bond the bumpers, that is if I get bumped slightly by someone else.
03-29-2009, 02:15 PM
#807
Safety Car
Thread Starter
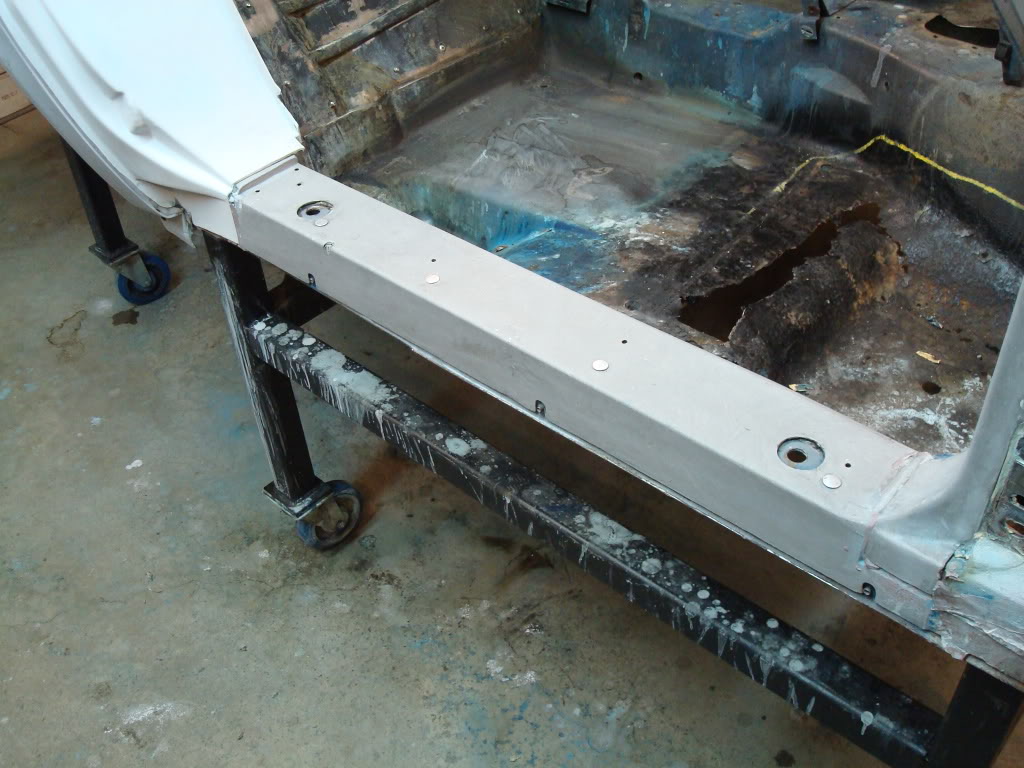
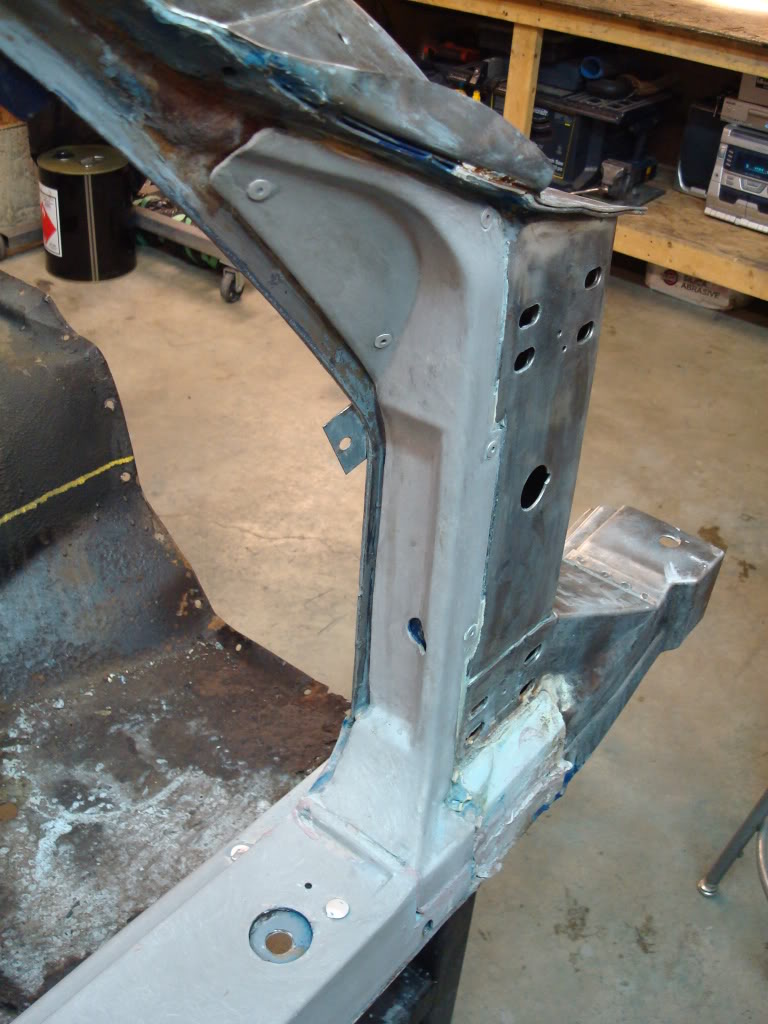
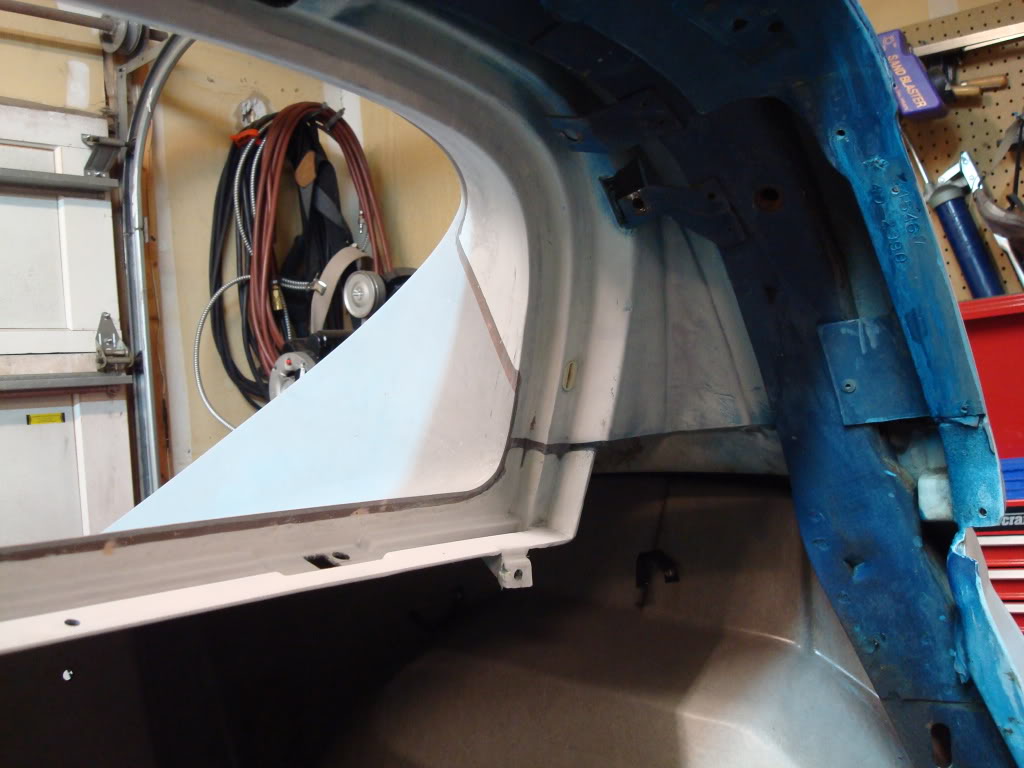
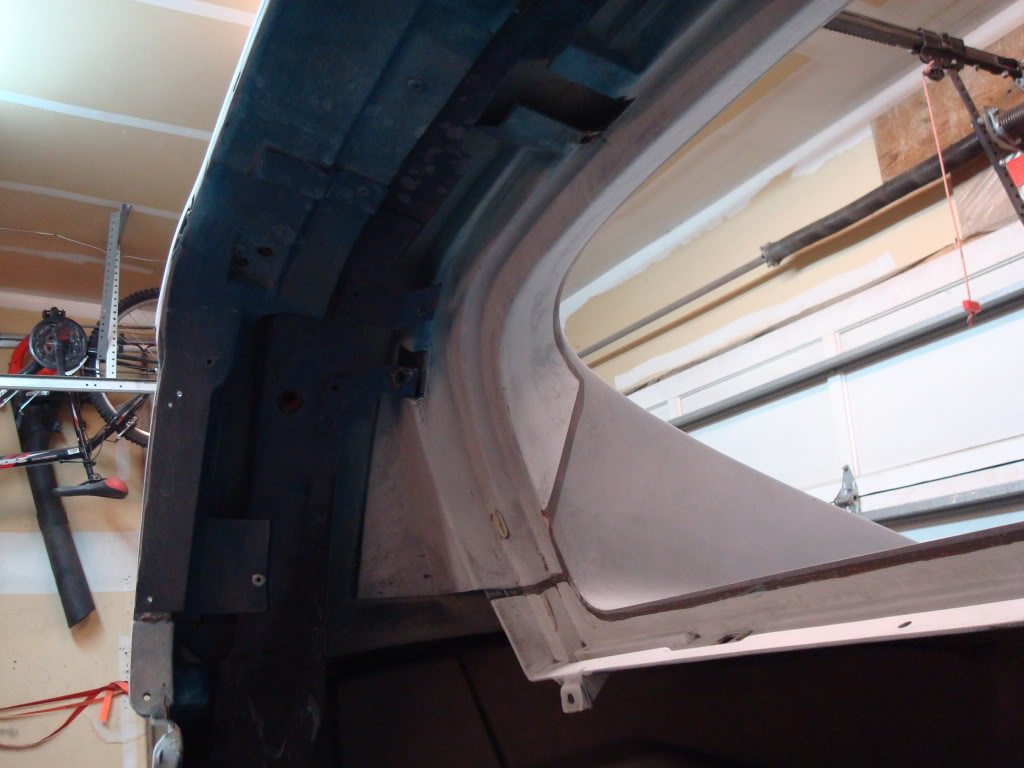
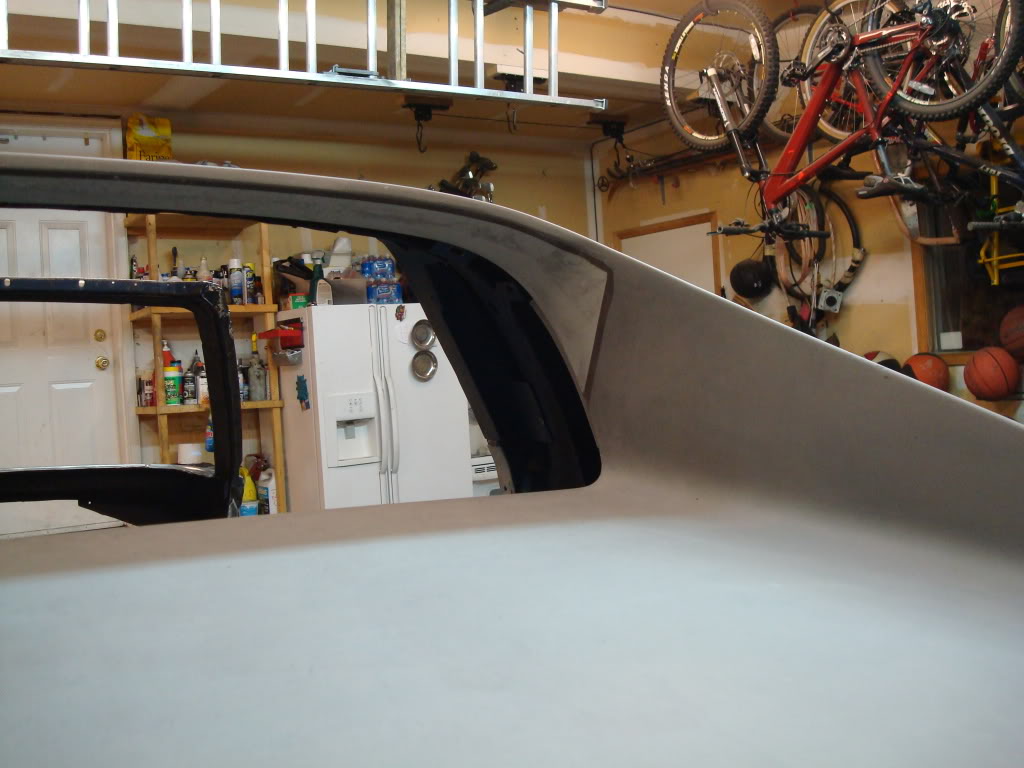
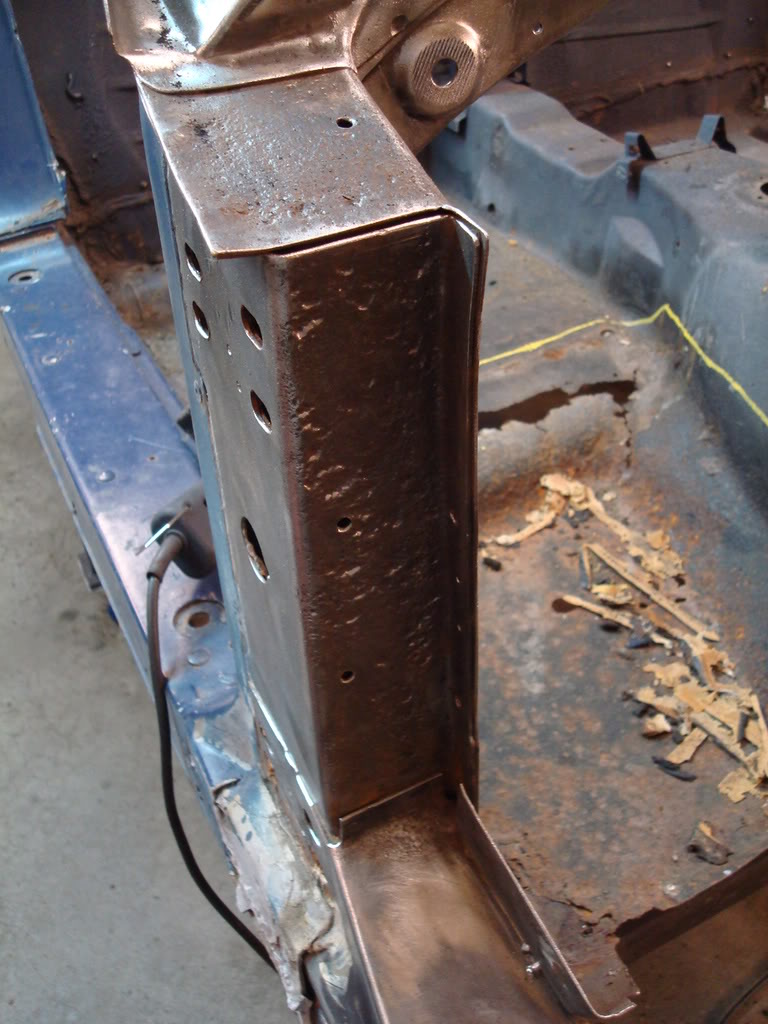
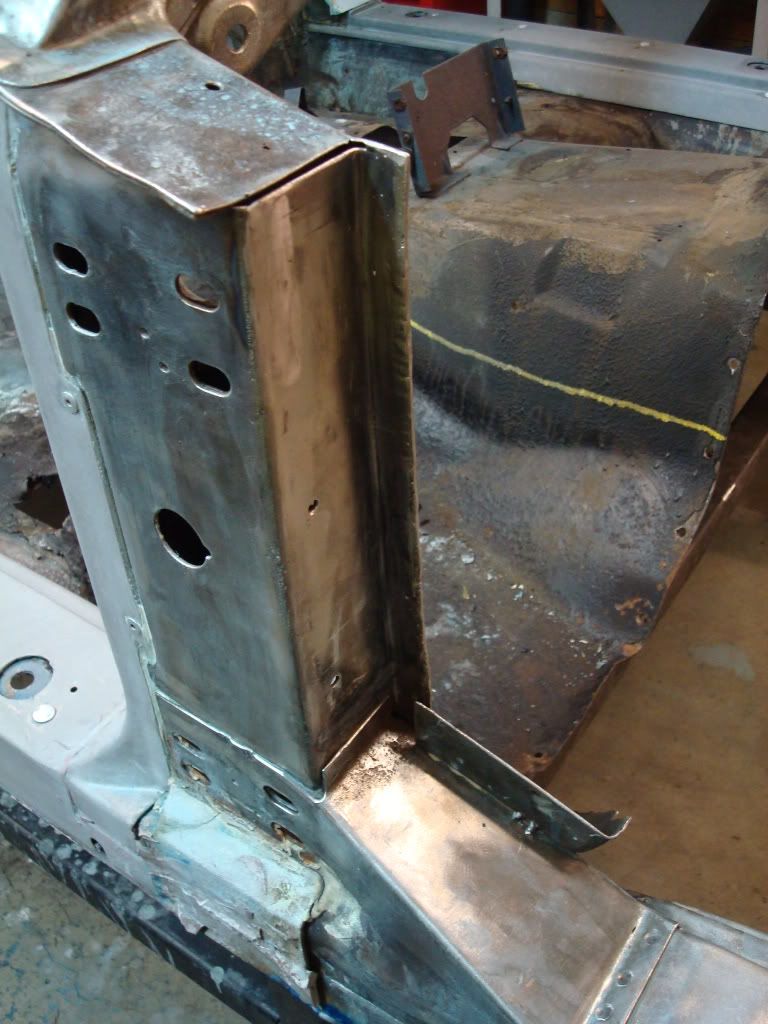
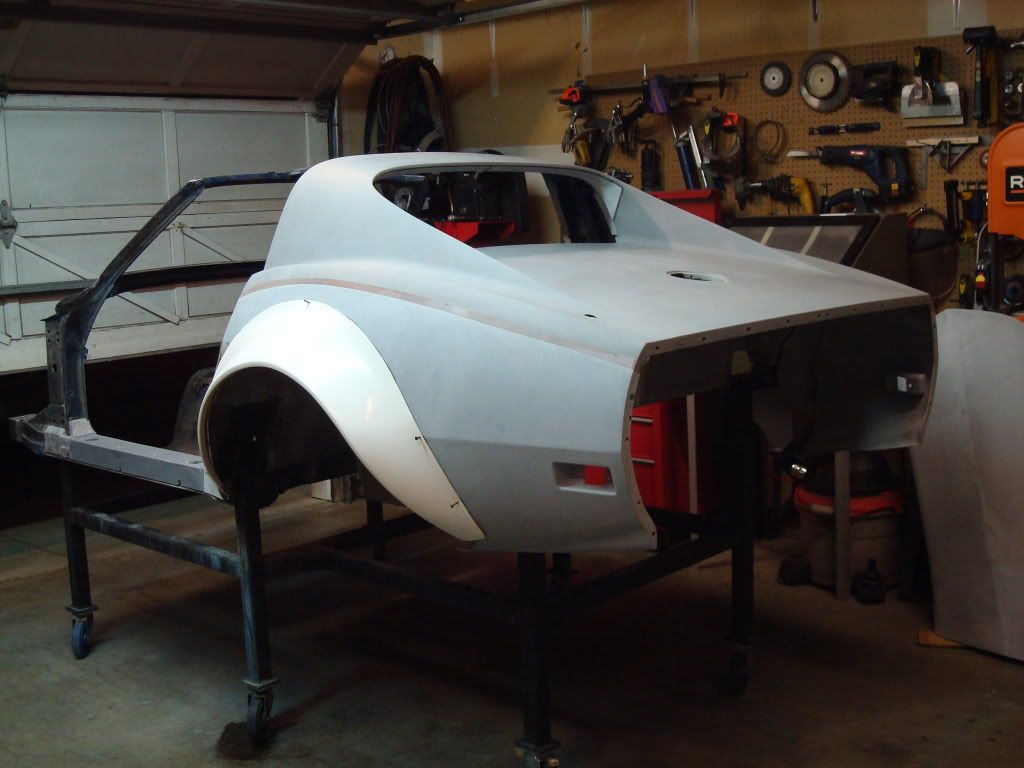
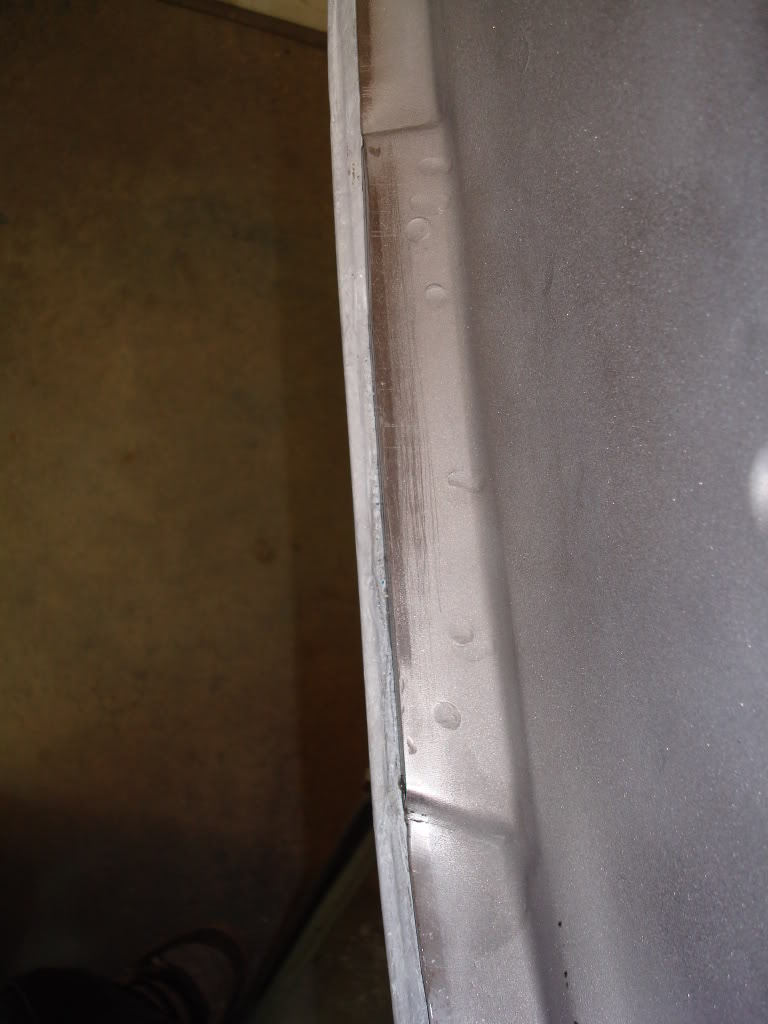
Been working my *** off stripping the car, and removing any of bubba's previous repairs. I have another batch of parts coming in from Mike - I hope to have the entire underbody fixed and undercoated/painted within 2 months, and I am confident that I can complete that goal. I barely have any bodywork to do on the rear clip (ignoring the flares and body seems that is) - there are only a few repairs I need to fix due to bubba. It may look bad to you guys, but this is an easy repair - its very simple. That trip down to Dallas to learn bodywork has already paid off
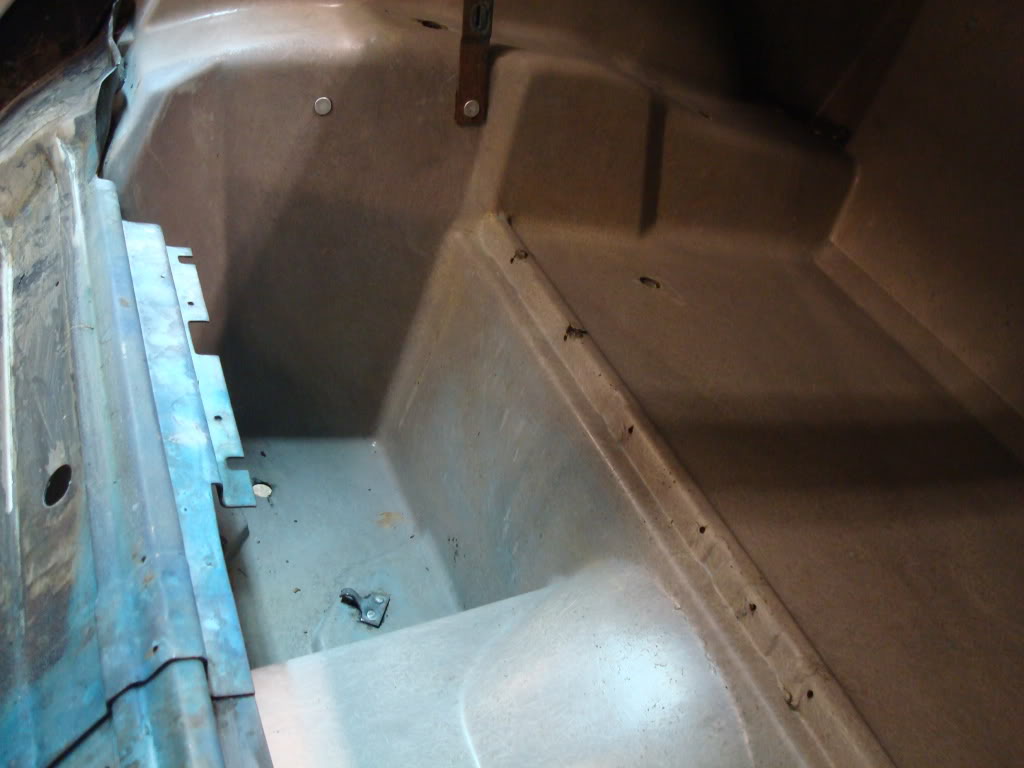
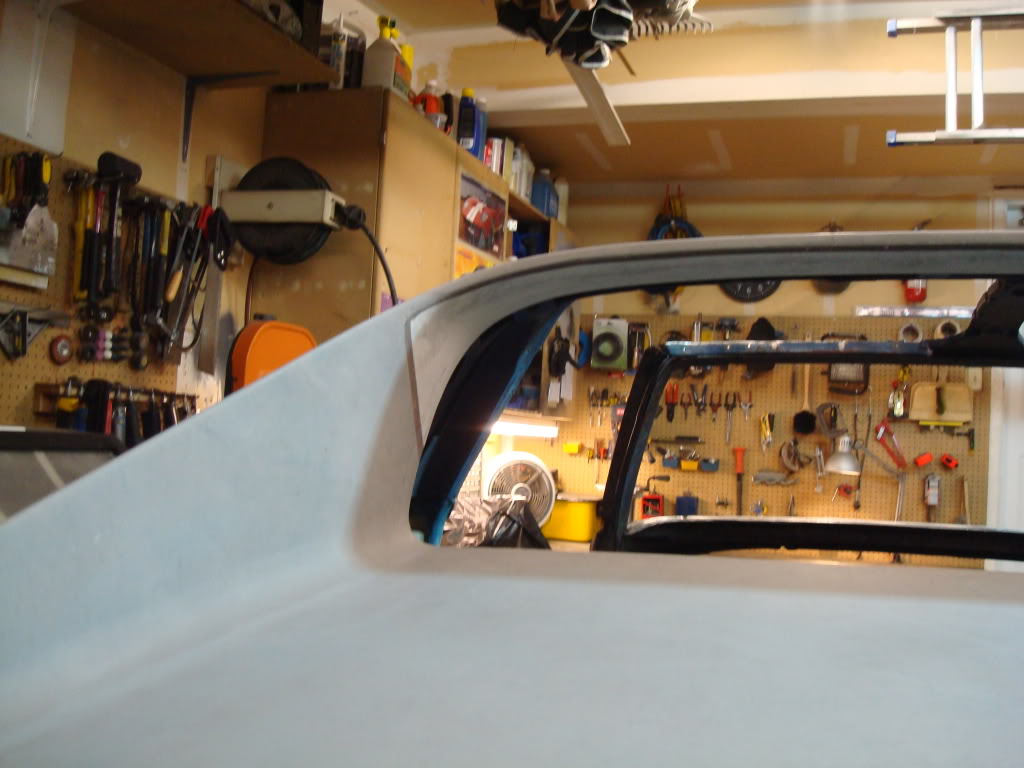
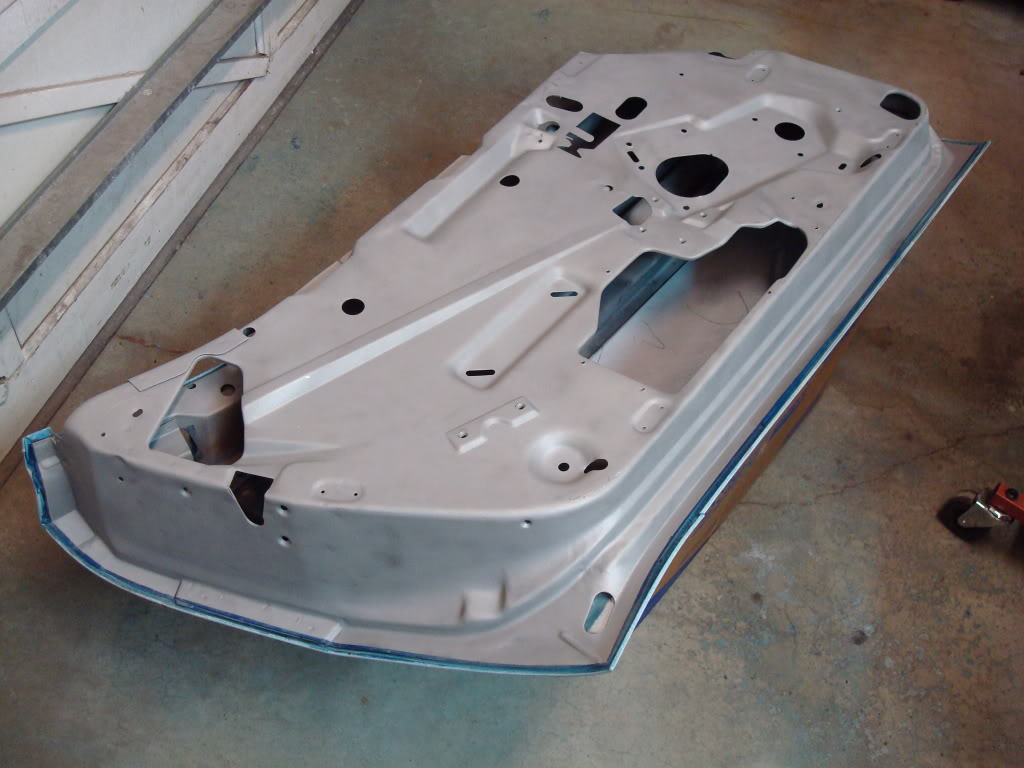
what you are seeing here is a piece of sheet metal, which bubba rivetted onto the backside of the glass before he laid new matt and resin down.

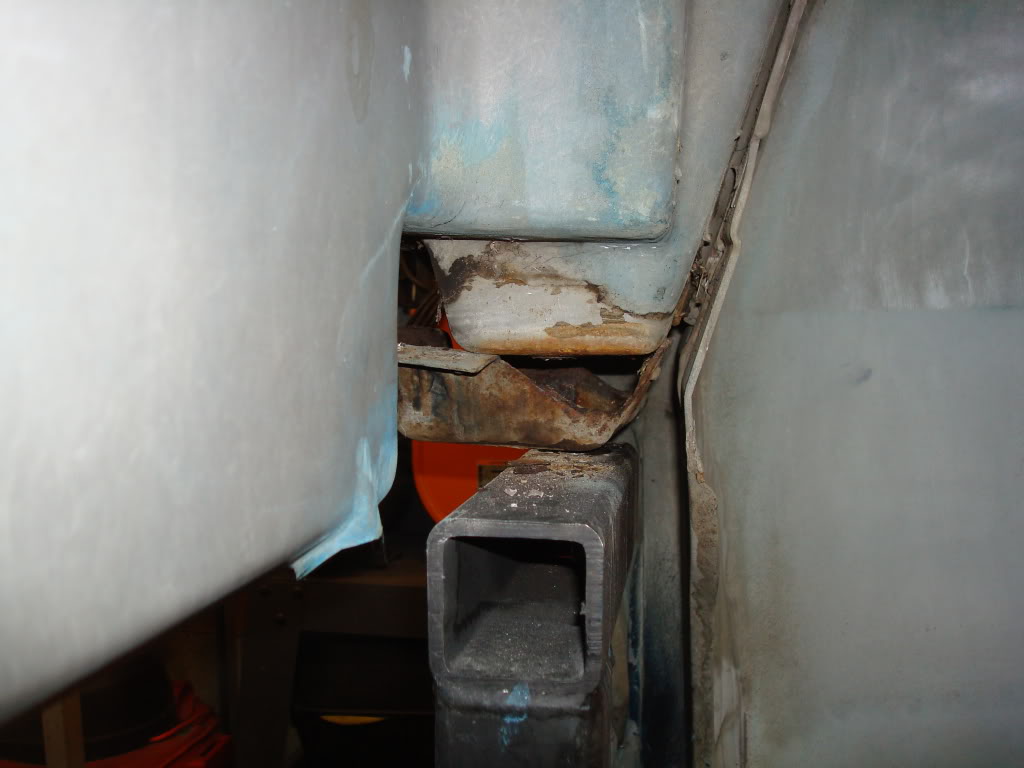
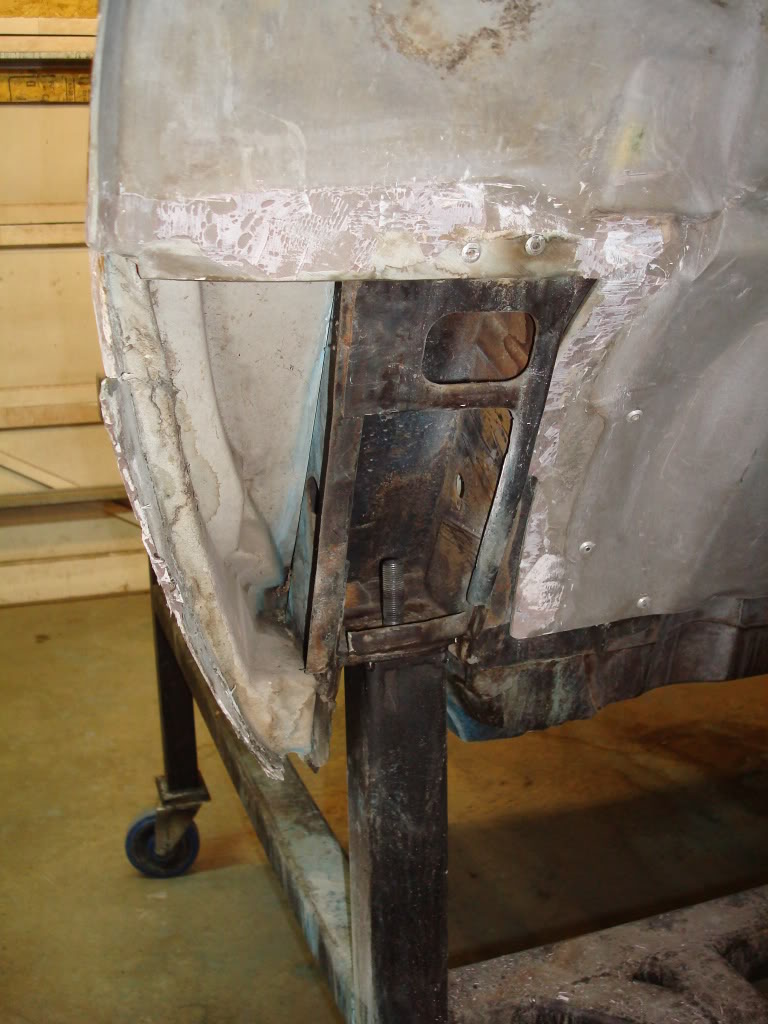
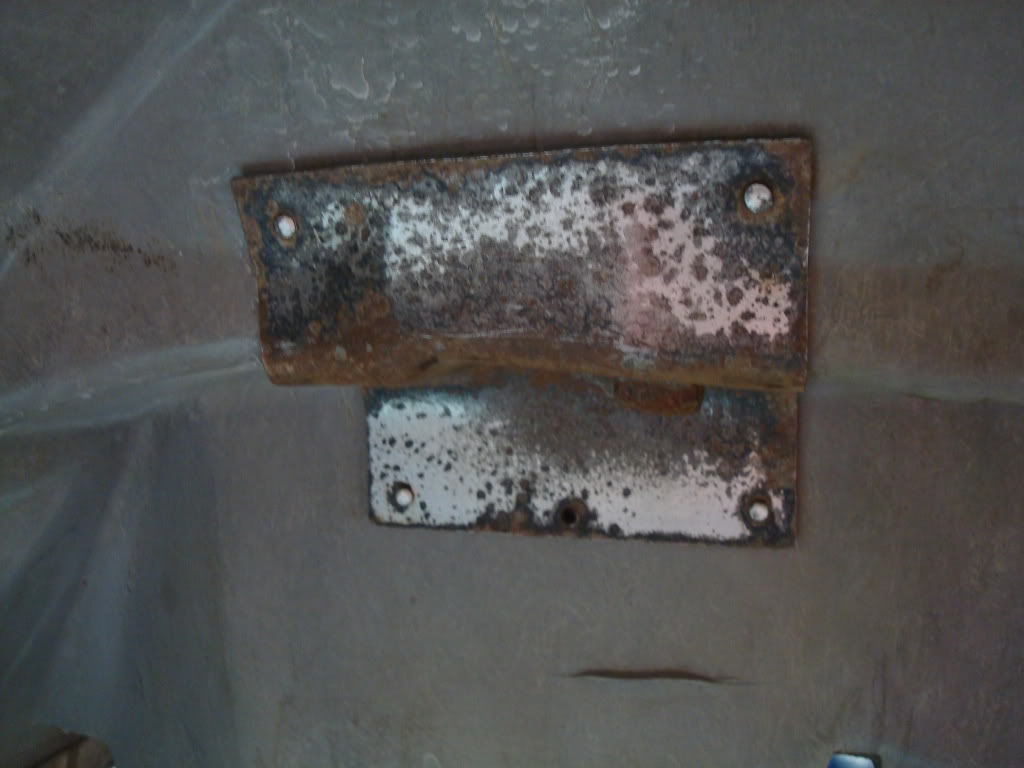
Take a look at the condition of the seat belt reinforcements - look friggin brand new
what you are seeing here is a piece of sheet metal, which bubba rivetted onto the backside of the glass before he laid new matt and resin down.
Take a look at the condition of the seat belt reinforcements - look friggin brand new
04-07-2009, 12:30 AM
#808
Safety Car
Thread Starter
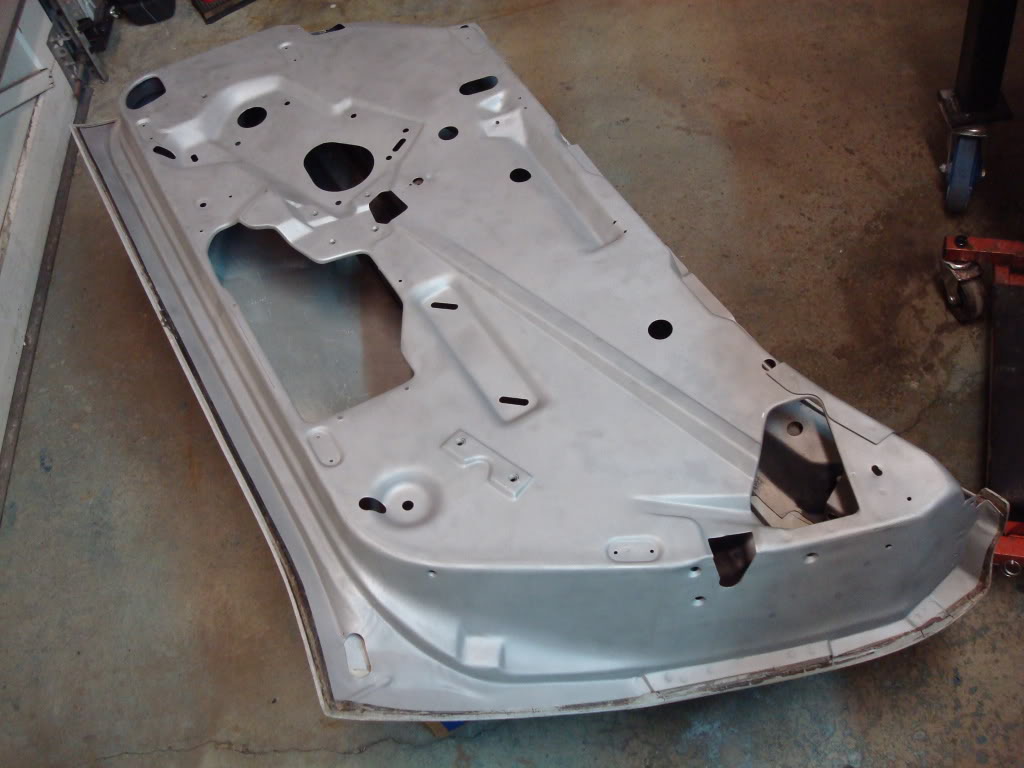
Doors are stripped
I'll be sandblasting the inner door frames this saturday. Need to mask off all the fiberglass areas to prevent damage.

I'll be sandblasting the inner door frames this saturday. Need to mask off all the fiberglass areas to prevent damage.
Last edited by stinger12; 01-17-2012 at 03:22 AM.
04-07-2009, 12:50 AM
#809
Instructor
 04-07-2009, 07:51 PM
#810
Safety Car
Thread Starter
I'm working my butt off trying to get this vette back on the road 04-07-2009, 08:20 PM
#811
Instructor
Ya i hear you on that. You should be in college at the same time. Class 8:30 to 4:30 mwf work 8am-6pm tr work on the vette till midnight or whenever my friend Dixon gives up and leaves. Then its off to campus to do homework. Sleep on sundays. Trying to completely go through the car in 3 months and its a killer. Your doing great work though love following your thread!
04-07-2009, 10:57 PM
#812
Melting Slicks

Jeremy,
Every time I get up to date on this project I need to go lay down and rest for a while! You have way too much energy for us old guys!
A little disappointed that I missed some of the pictures of the new body and the stripping progress(shows up as exceeding bandwidth). Always had a particular interest in stripping!
Keep moving forward. Your project dedication is motivation!!
Dan
Every time I get up to date on this project I need to go lay down and rest for a while!
You have way too much energy for us old guys!A little disappointed that I missed some of the pictures of the new body and the stripping progress(shows up as exceeding bandwidth). Always had a particular interest in stripping!
Keep moving forward. Your project dedication is motivation!!
Dan
04-08-2009, 03:45 AM
#813
Safety Car
Thread Starter
This is getting really annoying (when the pics disappear). They will show up at the end of the month, after my bandwidth is refreshed. I must have uploaded those pics on my free account, not my upgraded pro account which I paid for. I will try and fix it when I get some more time, and uplosad them onto my pro account, then relink each pic...will take some time though.
04-08-2009, 03:46 AM
#814
Safety Car
Thread Starter
I wish I had more energy...this damn project and work is draining the life out of me. I barely have time to sleep...that's how much overtime I have been putting in the vette. Have not had a good nights sleep in about 3 weeks.
WOW, WOW!!!!....I'm finally done with the paint stripping on the body:nuts: Time for some sandblasting - birdcage, floorpans, inside of doors, door hinges and radiator support. Once again a big thumbs up to Mike for teaching me how to strip a vette, without making it an ocean full of waves! I tell yeah, the paint stripper/ scotchbrite method is very slow and tedious, but you can't get a panel in any better condition...the feeling of a job well done is friggin awesome:bounce:
WOW, WOW!!!!....I'm finally done with the paint stripping on the body:nuts: Time for some sandblasting - birdcage, floorpans, inside of doors, door hinges and radiator support. Once again a big thumbs up to Mike for teaching me how to strip a vette, without making it an ocean full of waves! I tell yeah, the paint stripper/ scotchbrite method is very slow and tedious, but you can't get a panel in any better condition...the feeling of a job well done is friggin awesome:bounce:
Last edited by stinger12; 04-08-2009 at 03:49 AM.
04-11-2009, 11:57 PM
#815
Safety Car
Thread Starter
I sandblasted the doors today. Went to my father's office to do it, as it makes too much of a mess in the driveway. Lots of masking to prevent the sand from touching the 'glass.
 04-12-2009, 10:11 AM
#818
Melting Slicks


Stinger, if I were you I would make sure I kept all of the photos and notes taken during this whole restoration and turn it into a restoration book. Hell you might even be able to pay for the restoration of your car if it sells.
No sense in letting all of your hard work, as well as your time taken to document this process, go to waste. (not the best choice of words but, you know what I mean).
I look forward to seeing your updates and can't wait to see it finished.
No sense in letting all of your hard work, as well as your time taken to document this process, go to waste. (not the best choice of words but, you know what I mean).
I look forward to seeing your updates and can't wait to see it finished.
04-12-2009, 12:51 PM
#819
Safety Car
Thread Starter
Thanks for the kind words guys, I appreciate the comments. As I said before, Mike is guiding me through this build. He is telling me what to do, and how to do it. He truly is the messiah of vettes. I have come a long ways since meeting him - my technique and skill has gone through the roof
04-20-2009, 06:42 AM
#820
Safety Car
Thread Starter
Mike told me to remove all the old crap around the edges of the door which I previously had masked off. It has taken me 15 hours to get them cleaned, and I still have a lot left. I will be bonding this area using Marinetex around the inside of the door (the areas where I removed the old junk). It will look nice and smooth when completed, and the inner doors will look perfect. You need to use a hacksaw blade to get under the edge of the metal frame, where the door skin is bonded too. You need a little bit of a lip underneath the metal, so the Marinetex has strength and durability. You need to use the side of the teeth on the hacksaw blade to roughen the metal you can't get too, and also to roughen the fiberglass. It needs a rough surface for a good bond.
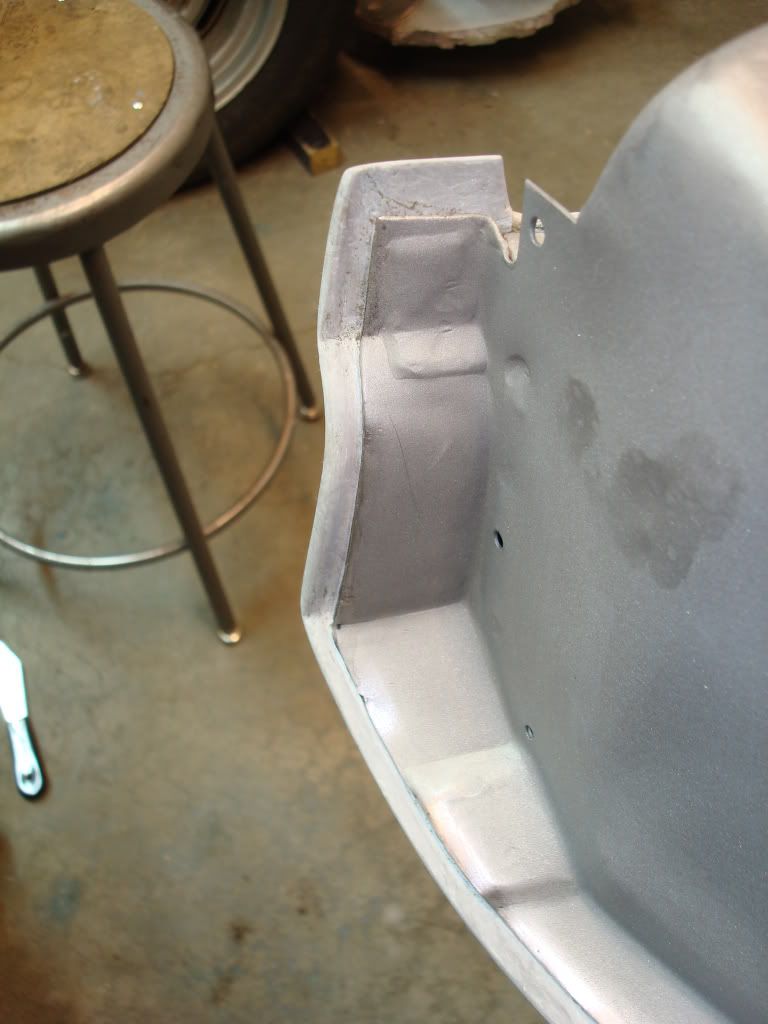
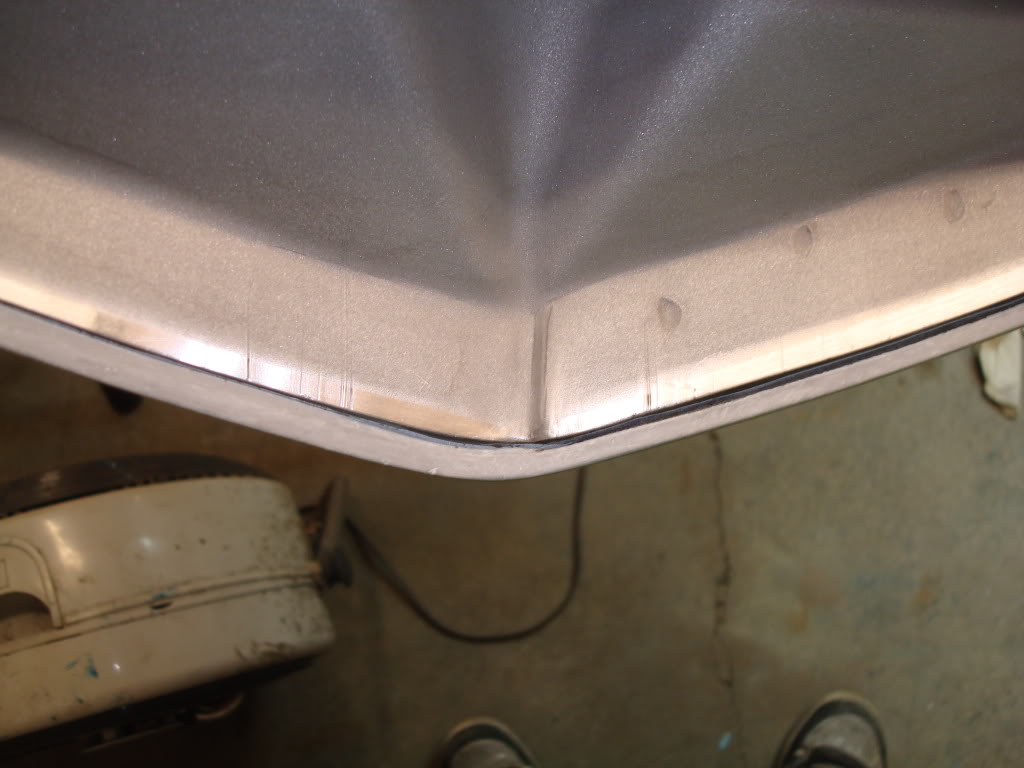
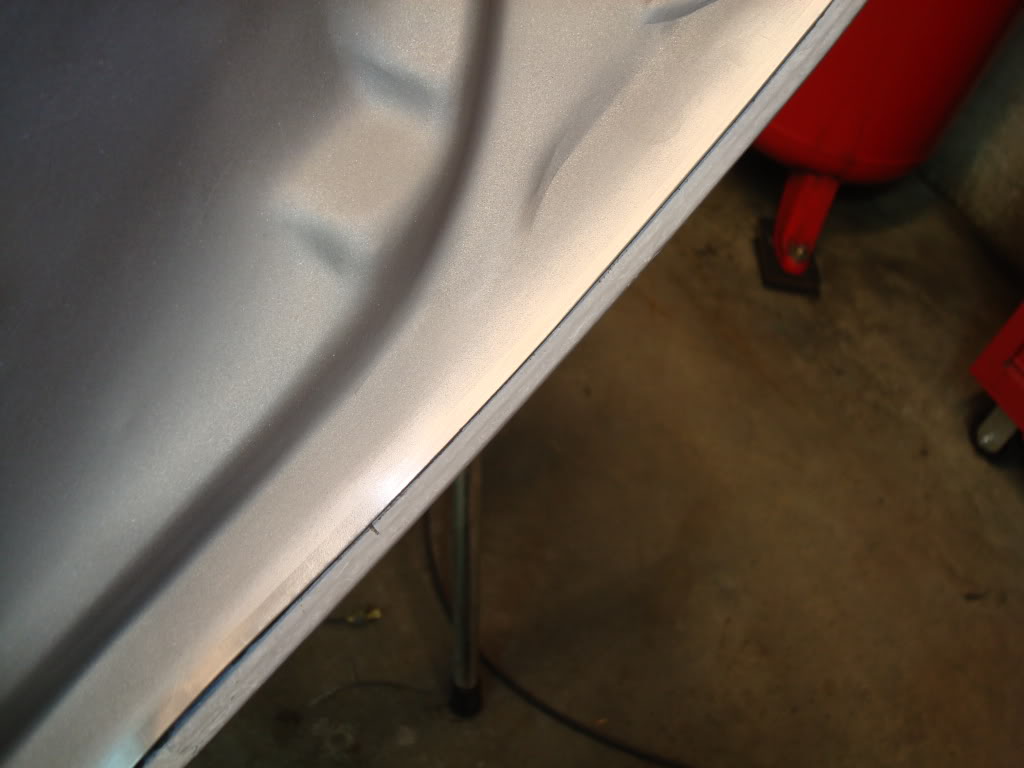
Another tip to make the door frames look pretty - cut off this little edge using a dremel and a cutting wheel. Mike gave me this tip. This little edge is not bonded to the fiberglass underneath, and it is just excess. The area I cut off will be packed with Marinetex. Lots of work.

The areas of the door skin which have separated from the inner door frame have been cleaned out using a hacksaw blade with a point on both ends. It takes lots of time to scuff and score areas you can't get to with your bare hands. they need to be roughened up, or else the bonding adhesive won't adhere and form a strong bond. It'll be worth it in the end though. More later
Another tip to make the door frames look pretty - cut off this little edge using a dremel and a cutting wheel. Mike gave me this tip. This little edge is not bonded to the fiberglass underneath, and it is just excess. The area I cut off will be packed with Marinetex. Lots of work.
The areas of the door skin which have separated from the inner door frame have been cleaned out using a hacksaw blade with a point on both ends. It takes lots of time to scuff and score areas you can't get to with your bare hands. they need to be roughened up, or else the bonding adhesive won't adhere and form a strong bond. It'll be worth it in the end though. More later