
Rookie's first attempt at a restoration...
 10-25-2009, 01:46 AM
#1021
Safety Car

Thread Starter

Started fitting the #4 mount reinforcements earlier today. What a headache. These stamped parts needed a ton of work to get them to fit tight...took me almost 3 hours of hammering and dollying the damn things.
I also finished the last 2 fiberglass repairs on the underbody
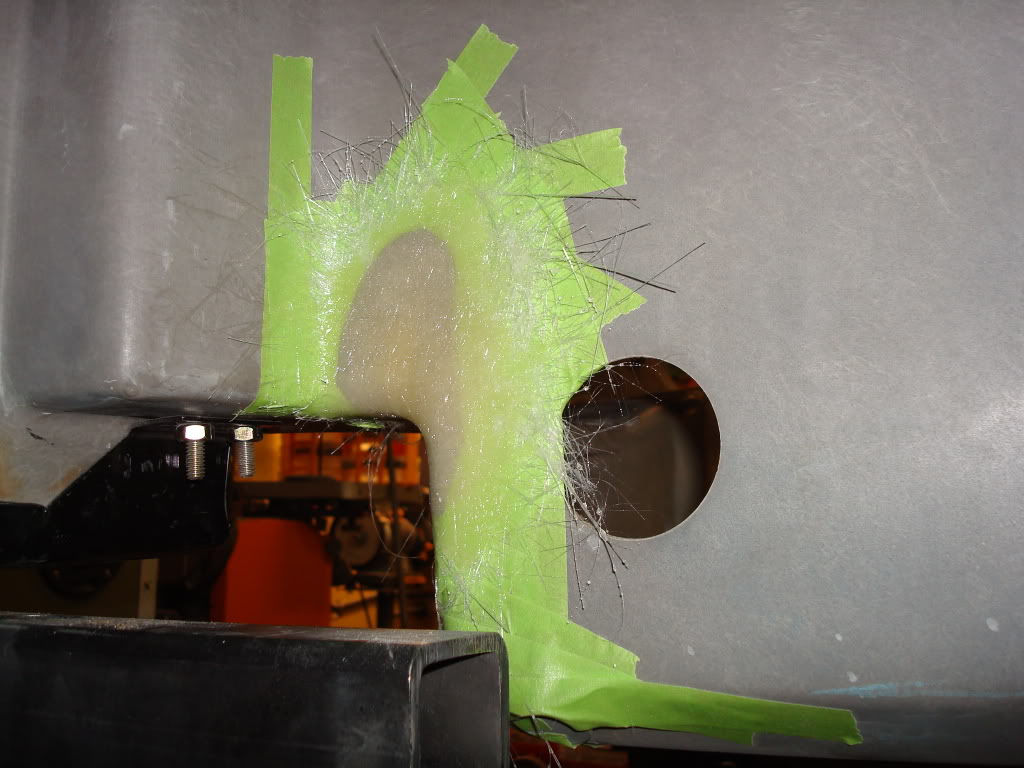
I also finished the last 2 fiberglass repairs on the underbody
 10-25-2009, 07:10 AM
#1022
Melting Slicks

Like many others, I've watched this thread from the beginning. Also like many others I am amazed at the skill you have and the detail you are going to on this project. What an inspiration! Thank you for taking the time to post your regular progress I sure we are all learning from this. You are doing an awesome job with this car ! I hope this car makes it in the magazines when you are finished !
10-25-2009, 01:56 PM
#1023
Race Director

Thank you, I have been up all night catching up on this thread... I posted a few times on your thread, don't know if you remember... all the way back to Jan 08. Wow have you made progress! You have a talent.
Any way I had to put all my projects on hold cause I got stationed in Japan for a few years. I will be learning with you and living through your work for the next 2-3 years, keep up the good work, I'll be watching
Any way I had to put all my projects on hold cause I got stationed in Japan for a few years. I will be learning with you and living through your work for the next 2-3 years, keep up the good work, I'll be watching
Last edited by NAVY08; 10-25-2009 at 02:00 PM.
10-25-2009, 04:14 PM
#1024
Safety Car
Thread Starter
Man, that would be pretty cool...but I doubt it. Lots of other guys out there with nicer projects than mine...and they have a whole lot more time and money invested.
Thanks for the compliments guys, greatly appreciated. It keeps me motivated every time I finish one piece of the puzzle, and then make a post on it...makes it look like I am actually making progress on it!!!!
Thanks for the compliments guys, greatly appreciated. It keeps me motivated every time I finish one piece of the puzzle, and then make a post on it...makes it look like I am actually making progress on it!!!!
10-25-2009, 04:52 PM
#1025
Team Owner

Just remember that the journey is just as important to you as reaching your goal. 
10-25-2009, 05:12 PM
#1026
Safety Car
Thread Starter
 But you are correct - every time I look at old photos all I say to myself is "holy crap, I'VE COME A LONG WAY". I remember when I kept telling myself that I would never have a presentable car again - that's finally about to change in the next couple of months. I'm just glad that I have gotten this far without giving up...even when I was exhausted from all the labor.
Last edited by stinger12; 10-25-2009 at 05:15 PM.
10-25-2009, 08:43 PM
#1027
Racer

Stinger12, awesome thread and an awesome job you've done.
I'm a new member and I just discovered this thread this afternoon and read through the whole thing. I'll just add my name to the list of folks who have congratulated you on the amazing job you have done on your car and on this thread. You are getting close.
Keep up the good work!
I'm a new member and I just discovered this thread this afternoon and read through the whole thing. I'll just add my name to the list of folks who have congratulated you on the amazing job you have done on your car and on this thread. You are getting close.
Keep up the good work!
10-26-2009, 02:48 AM
#1028
Safety Car
Thread Starter
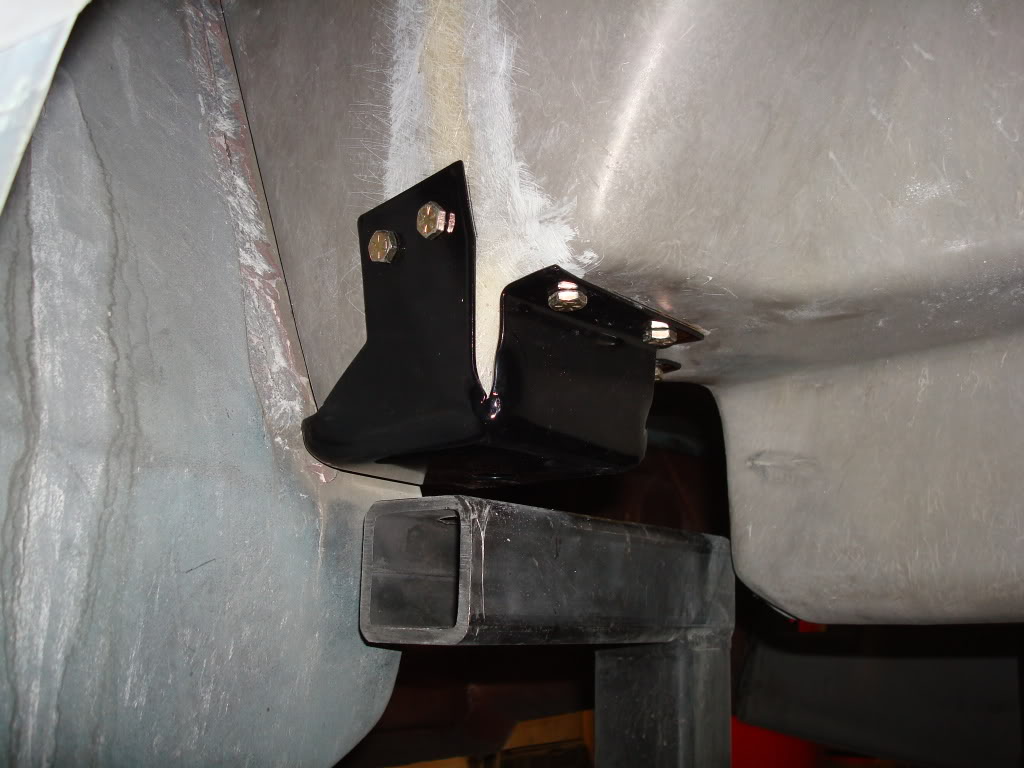
I finally finished fitting the reinforcements tonight. After I reshaped them (plenty of hammering and rebending), I realized that the original paint just wasn't going to cut it. I decided to sandblast and powdercoat them. I installed them one last time for a test fit, and now I am ready to seal them up with some adhesive. This will prevent water from getting to the bottom of the mount. I'll have to pop them off tomorrow and fill the crap out of them with sealant, then reinstall them for a final time. One step closer to mating my body and chassis!!!
10-26-2009, 04:17 PM
#1029


Steve L
73 coupe since new
10-28-2009, 03:30 AM
#1030
Safety Car
Thread Starter
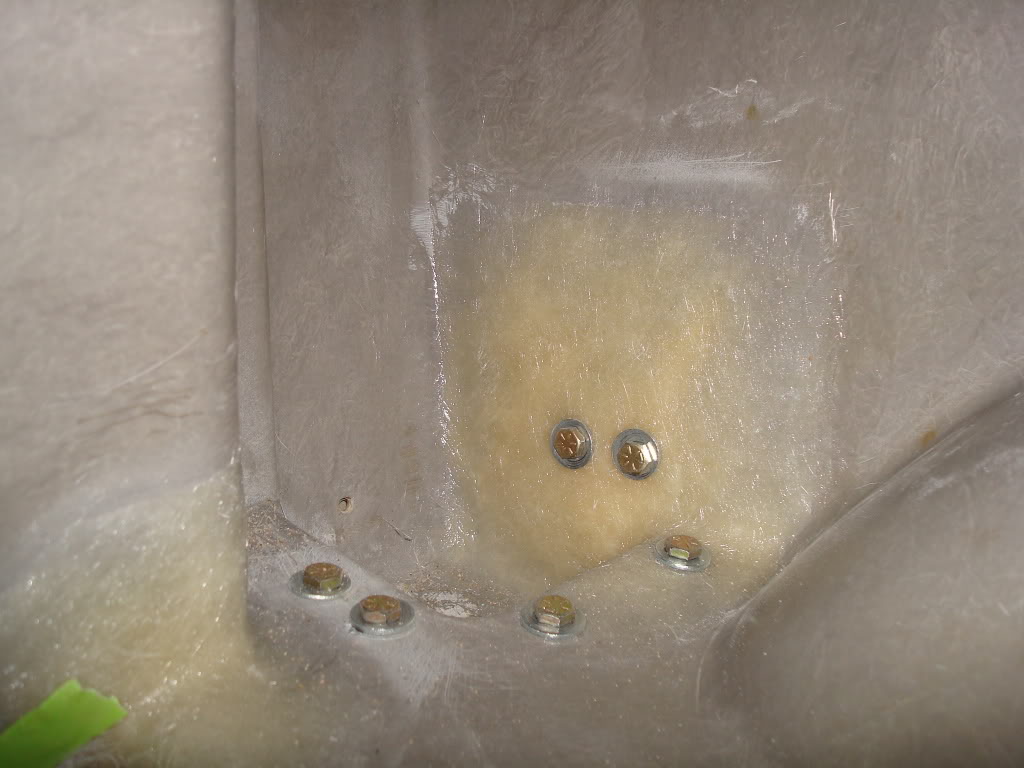
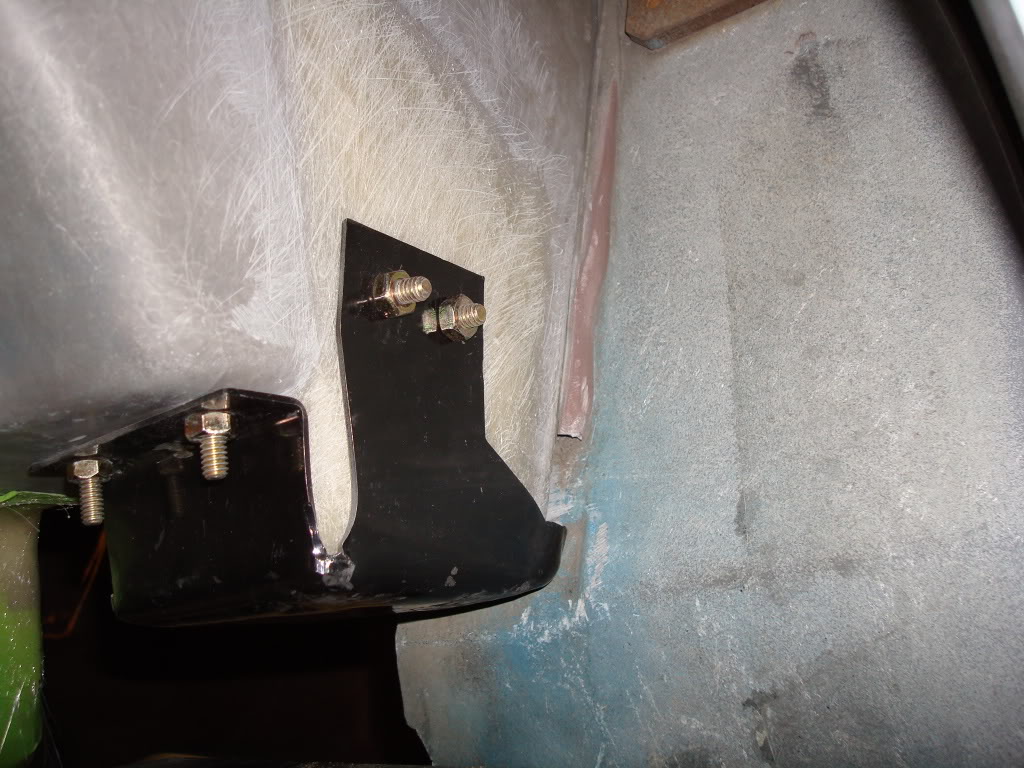
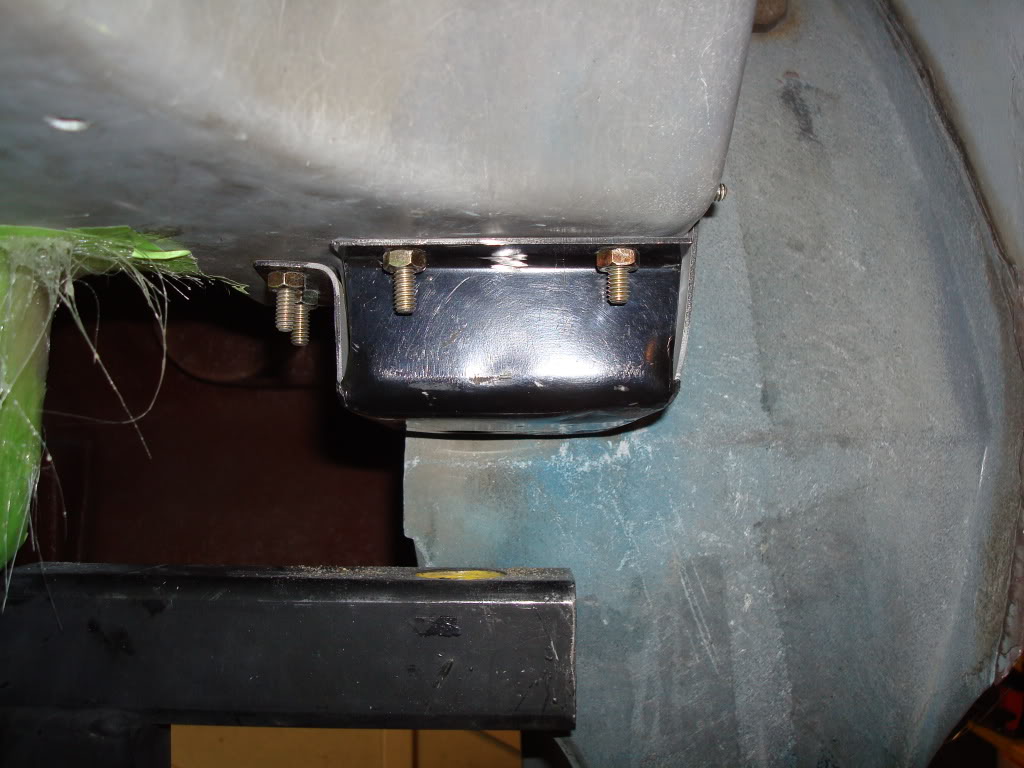
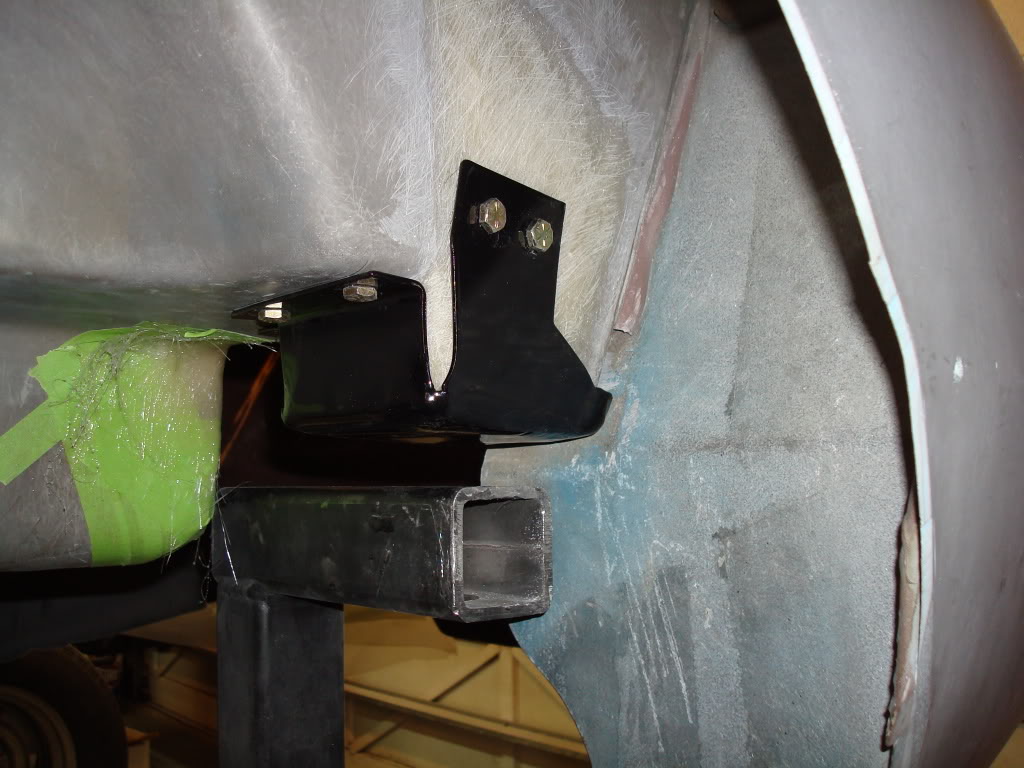
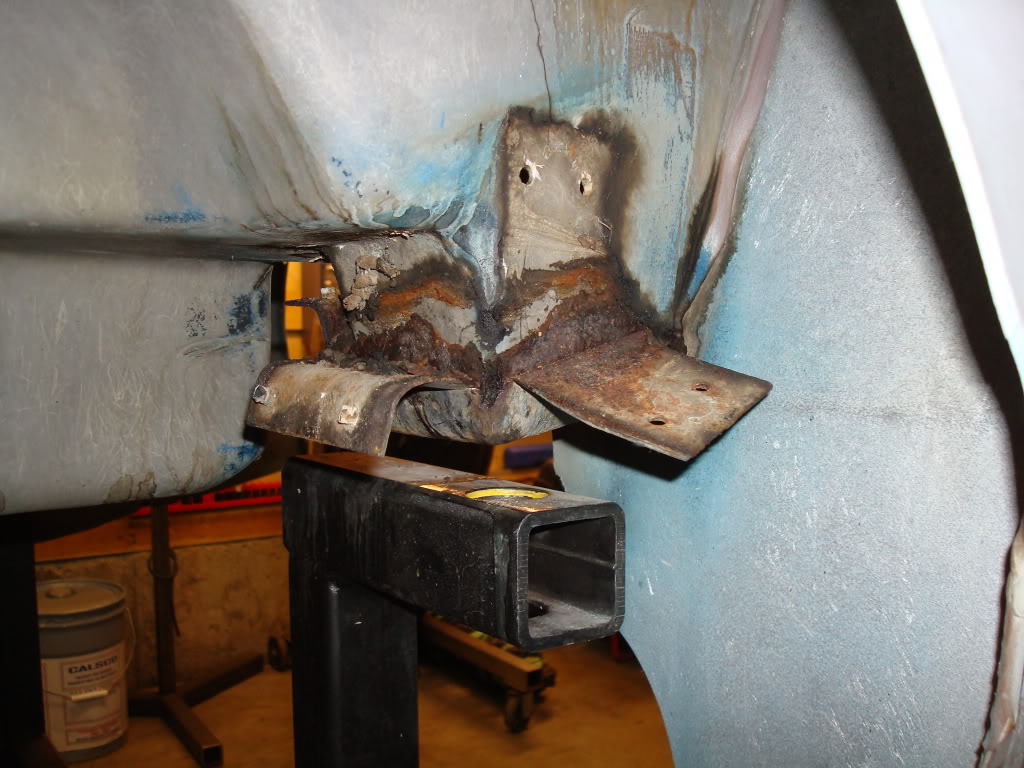
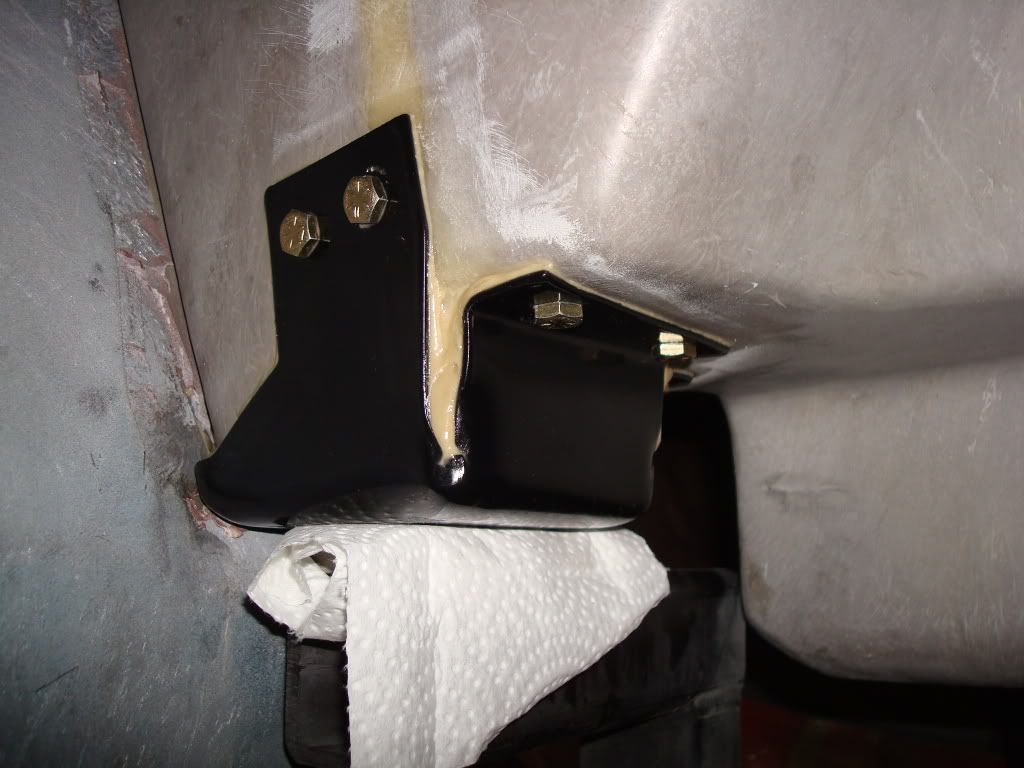
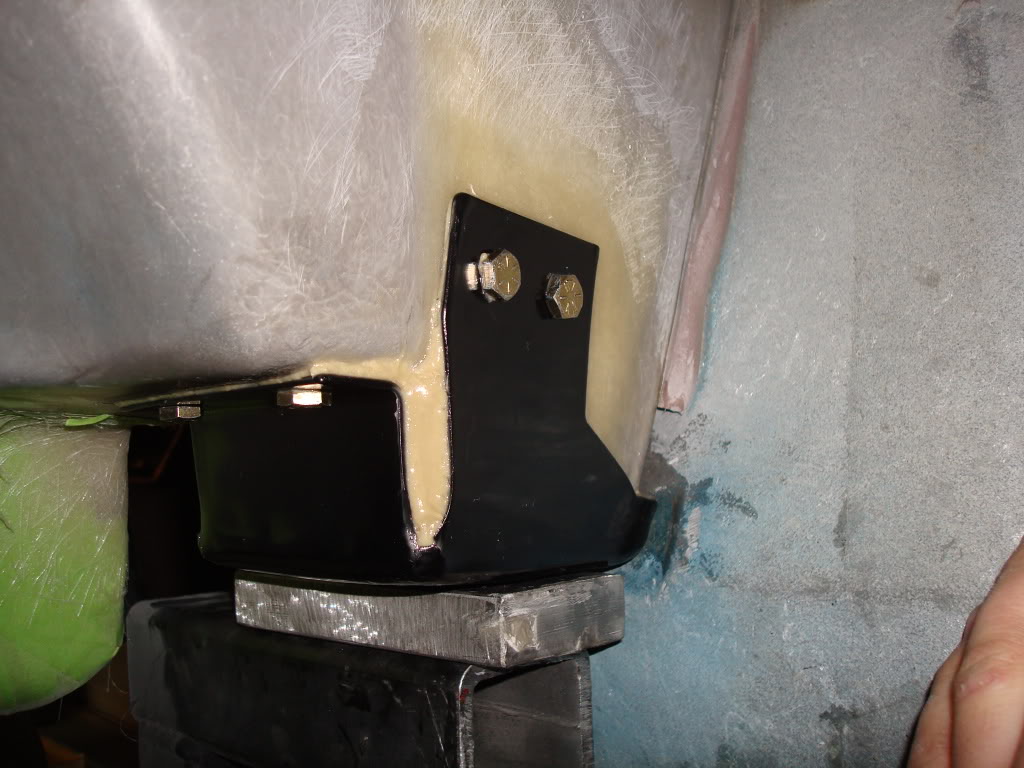
I finally finished my #4 mounts today. What a project...never want to do that again. I packed the crap out of each mount with polyurethane construction adhesive. I roughed up the powdercoat and fiberglass with a sandblaster before I bonded them in place. Next project - finish up some little welding jobs on the b-cage. Another project I get to cross off the list
Before...
After...
Time to get some sleep
Before...
After...
Time to get some sleep
Last edited by stinger12; 10-28-2009 at 04:29 PM.
10-28-2009, 04:34 PM
#1031
Racer
Member Since: May 2005
Location: Red Deer Alberta
Posts: 417
Likes: 0
Received 0 Likes
on
0 Posts

Wow, I don't think you should refer to yourself as a Rookie. Your are doing "SUCH" a professional job. I was in Calgary today, I would love to drop by and look at your Vette in person. (You can never see mine though sorry)
JR
JR
10-28-2009, 08:32 PM
#1032
Safety Car
Thread Starter
I'm a pretty busy guy...I'd have to find some free time sometime this week. Are you in town as we speak?
10-29-2009, 06:54 PM
#1034
Safety Car
Thread Starter
10-30-2009, 12:12 AM
#1036
Safety Car
Thread Starter
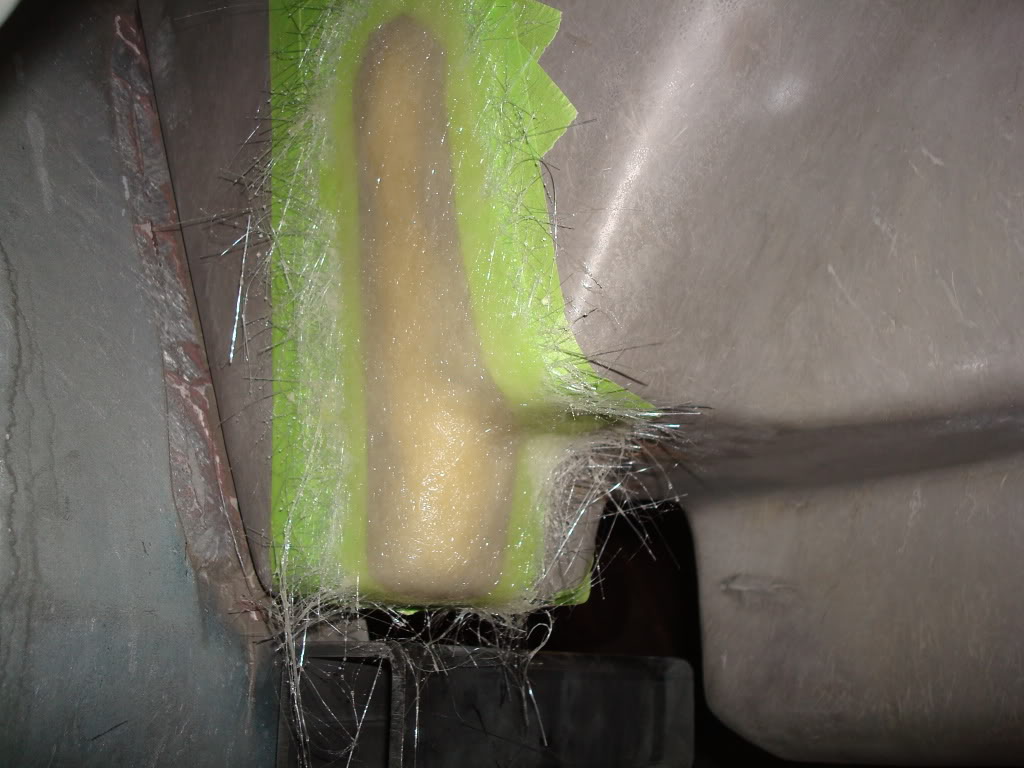
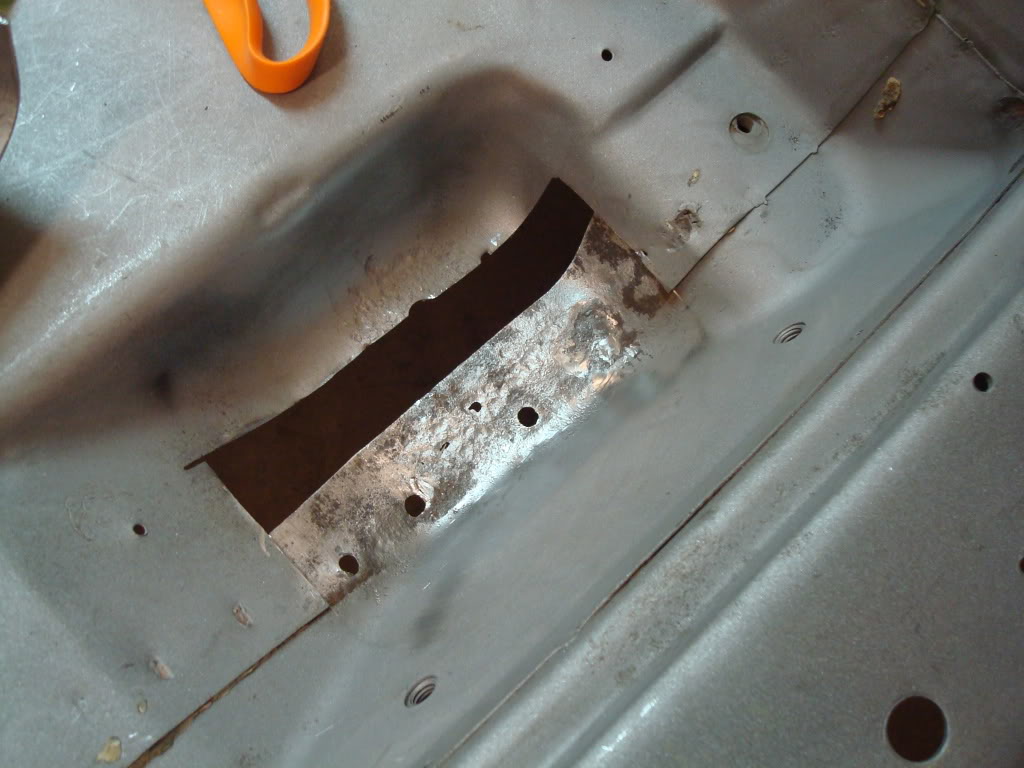
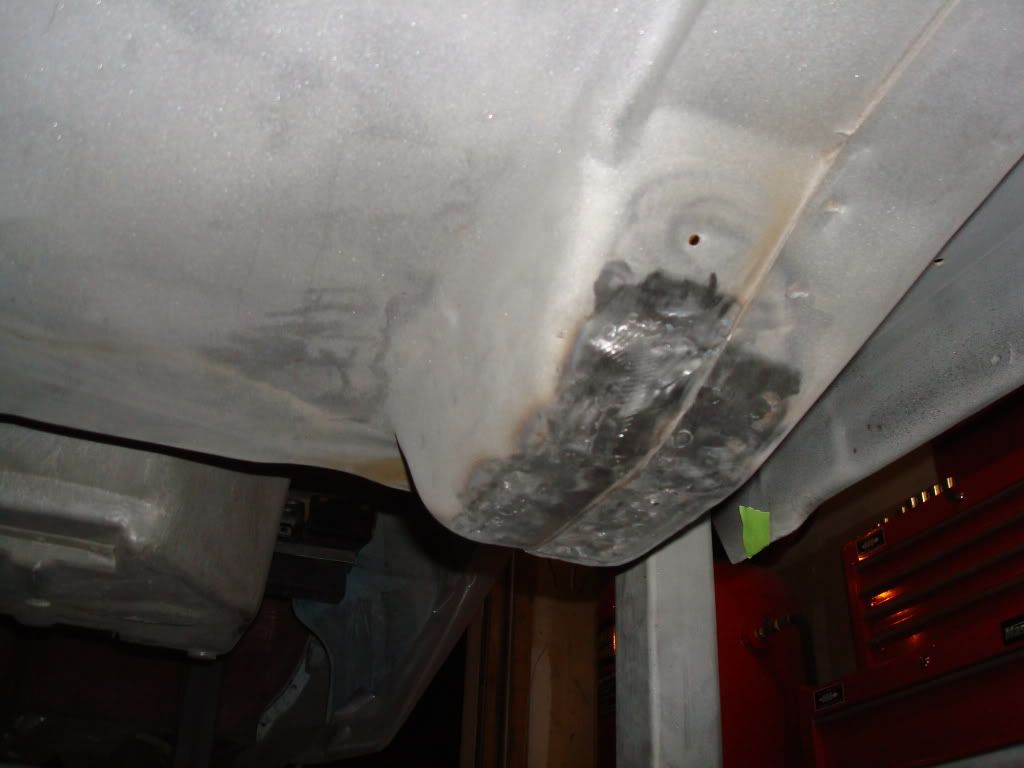
Just finishing up a few repairs before I paint the birdcage and mount the body back on the frame (hopefully in 2 weeks or so). Over the last 6 months, water (oops on my part), collected in the left seat belt reinforcement, and rusted it to nothing. I cut out the rotten metal, and shaped a new piece out of 16 gauge. I need to pick up some more gas for my welder...I just ran out


 10-31-2009, 01:19 PM
#1038
Safety Car
Thread Starter
10-31-2009, 03:31 PM
#1039
Race Director


That is some awesome work on the body mounts. That is going so well. Your work looks very professional to me and not rookie at all. Keep up the good work. 
11-02-2009, 11:34 PM
#1040
Safety Car
Thread Starter
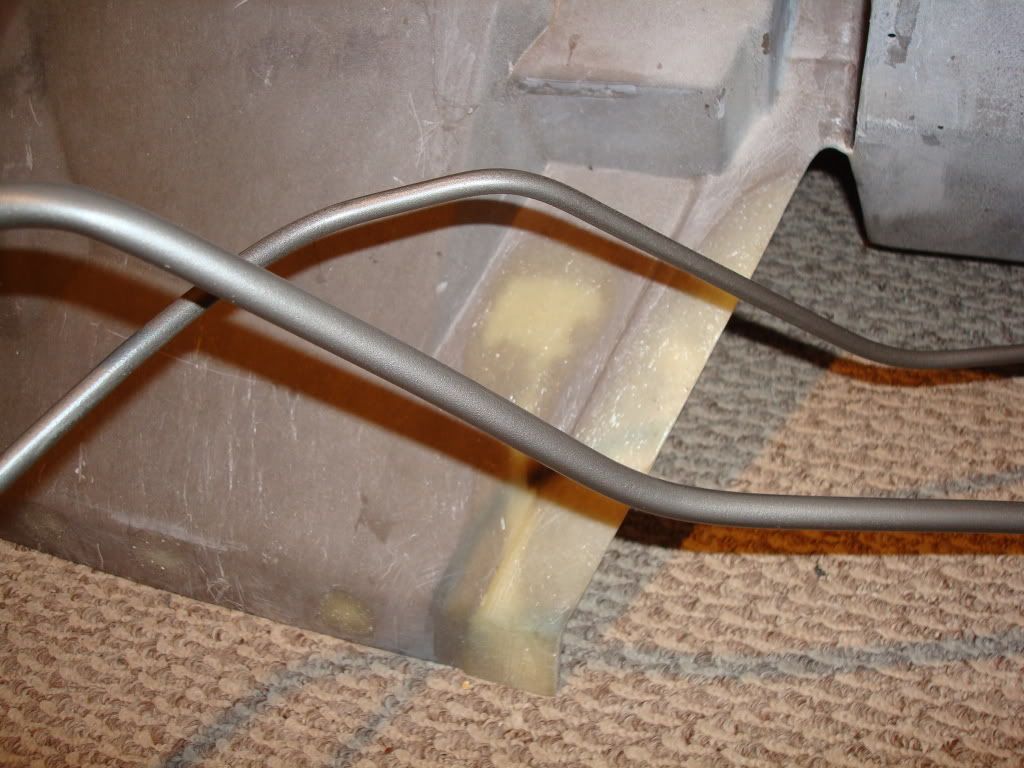
I sandblasted the fuel lines and painted them with Seymour cast blast today.
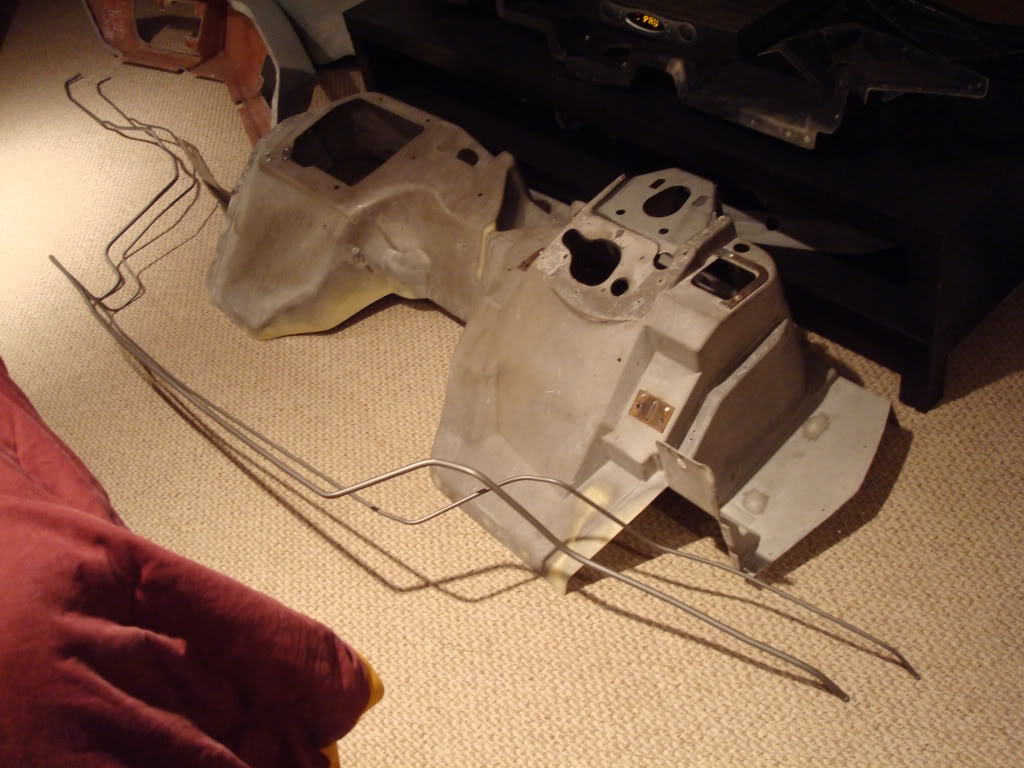
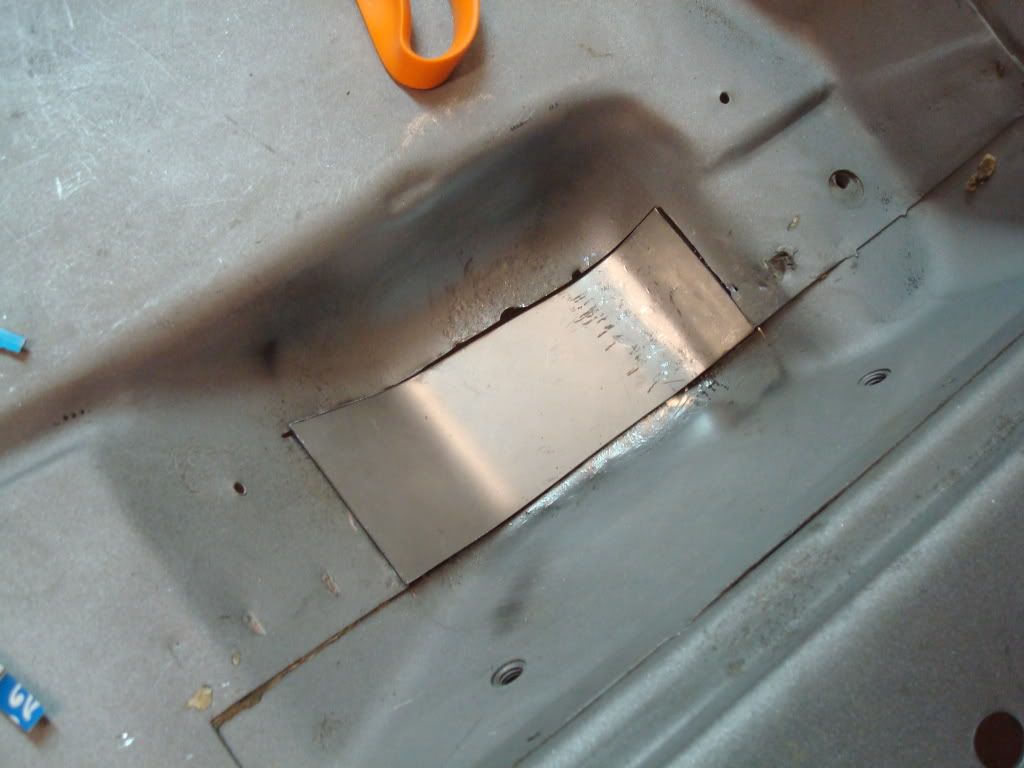
Last night I finished welding the left seat belt pocket on the floorpan...
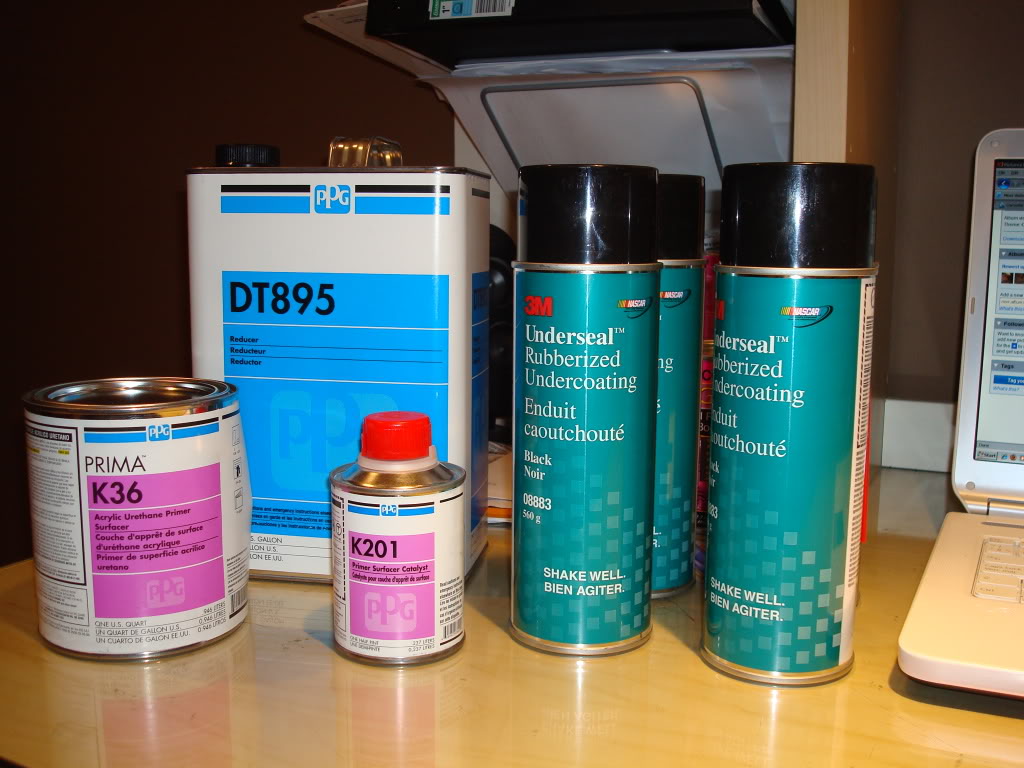
I also picked up my painting supplies earlier today. The paint is for the birdcage and floor pans. The undercoating is for the underbody of the car...some awesome stuff Mike uses and recommended to me. Once again, this stuff is more expensive than other undercoats (in aerosol cans)...its high quality stuff, looks great, and is very durable.
Now I am waiting on parts from Sermersheims fiberglass
Last night I finished welding the left seat belt pocket on the floorpan...
I also picked up my painting supplies earlier today. The paint is for the birdcage and floor pans. The undercoating is for the underbody of the car...some awesome stuff Mike uses and recommended to me. Once again, this stuff is more expensive than other undercoats (in aerosol cans)...its high quality stuff, looks great, and is very durable.
Now I am waiting on parts from Sermersheims fiberglass
Last edited by stinger12; 11-02-2009 at 11:52 PM.

