When you click on links to various merchants on this site and make a purchase, this can result in this site earning a commission. Affiliate programs and affiliations include, but are not limited to, the eBay Partner Network.
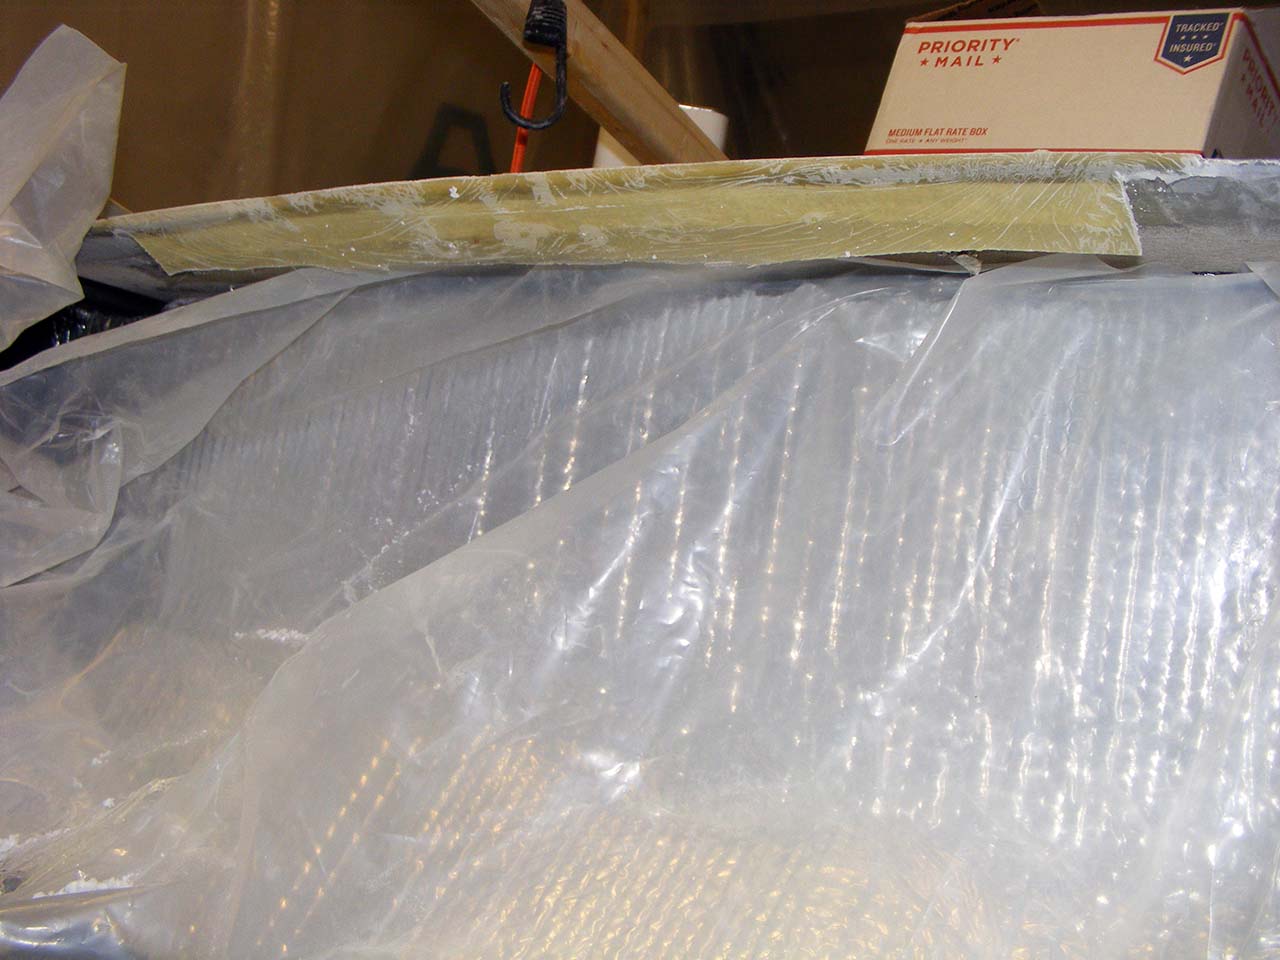
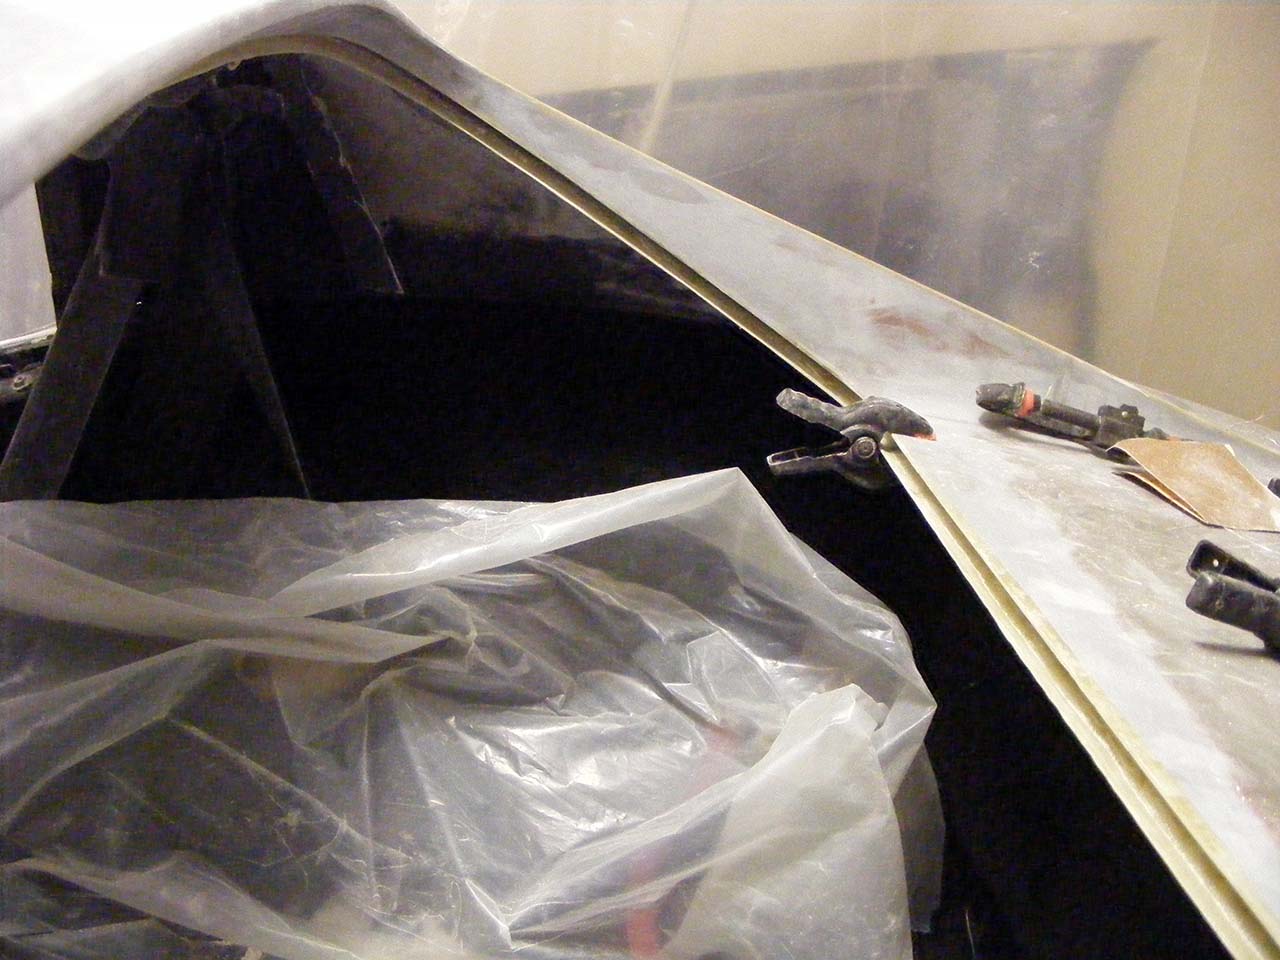
During the week I've been able to mold the center of the bottom of the window frame.
It looks twisted because the bottom is not cut straight yet.
It's perfectly in the plane as it cured against the installed guide board.
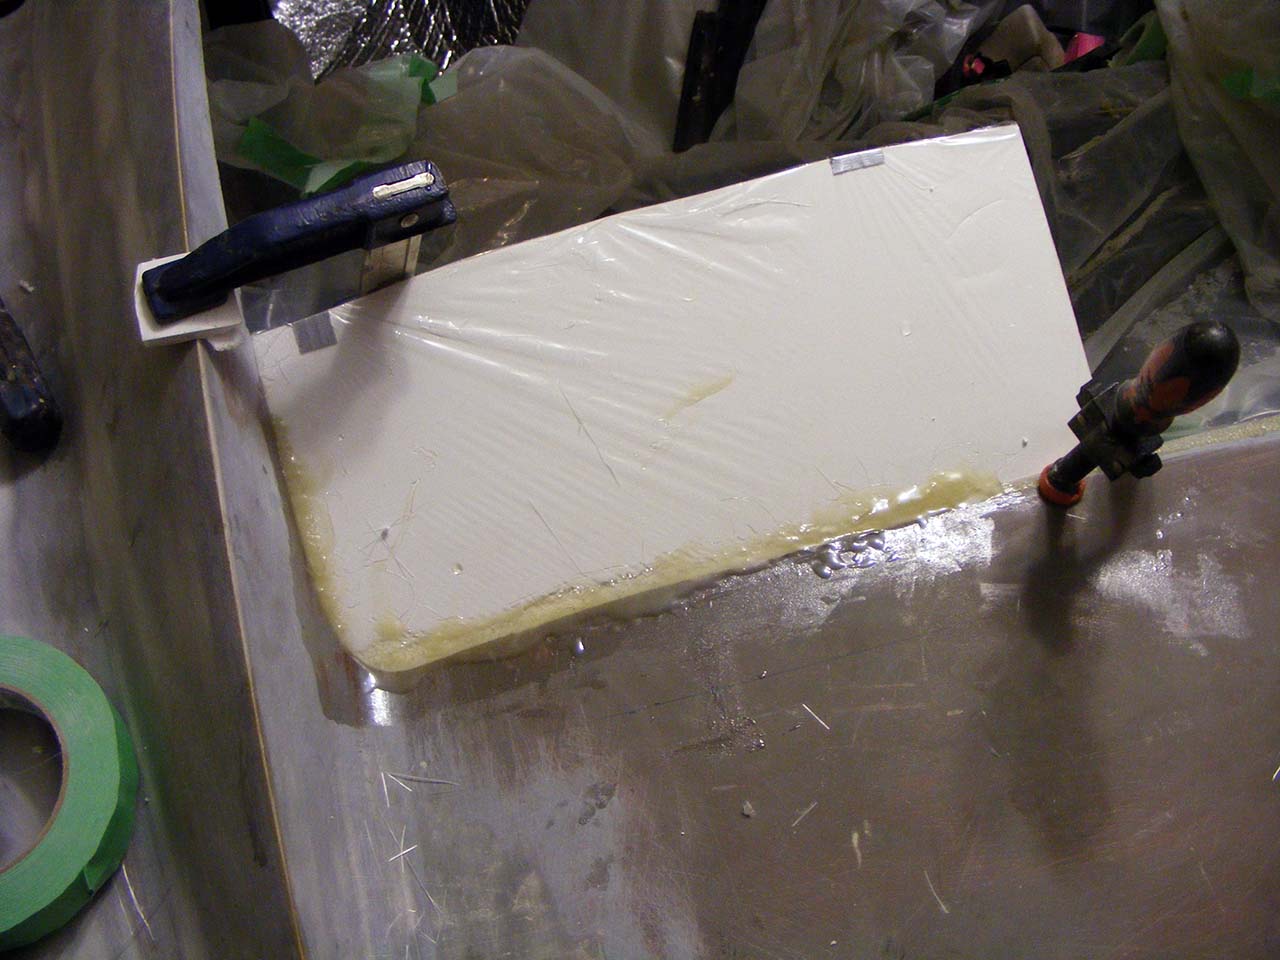
I used a long styrofoam wedge shape to force fiberglass to stick at the top and on the reference board.
You can see the wrinkles of the plastic wrap.
In the pic the wedge have already been scratched out.
I will wipe it with acetone and fill the space with something.
A pleasant surprise is to see the curvature of the bottom slowly appear.
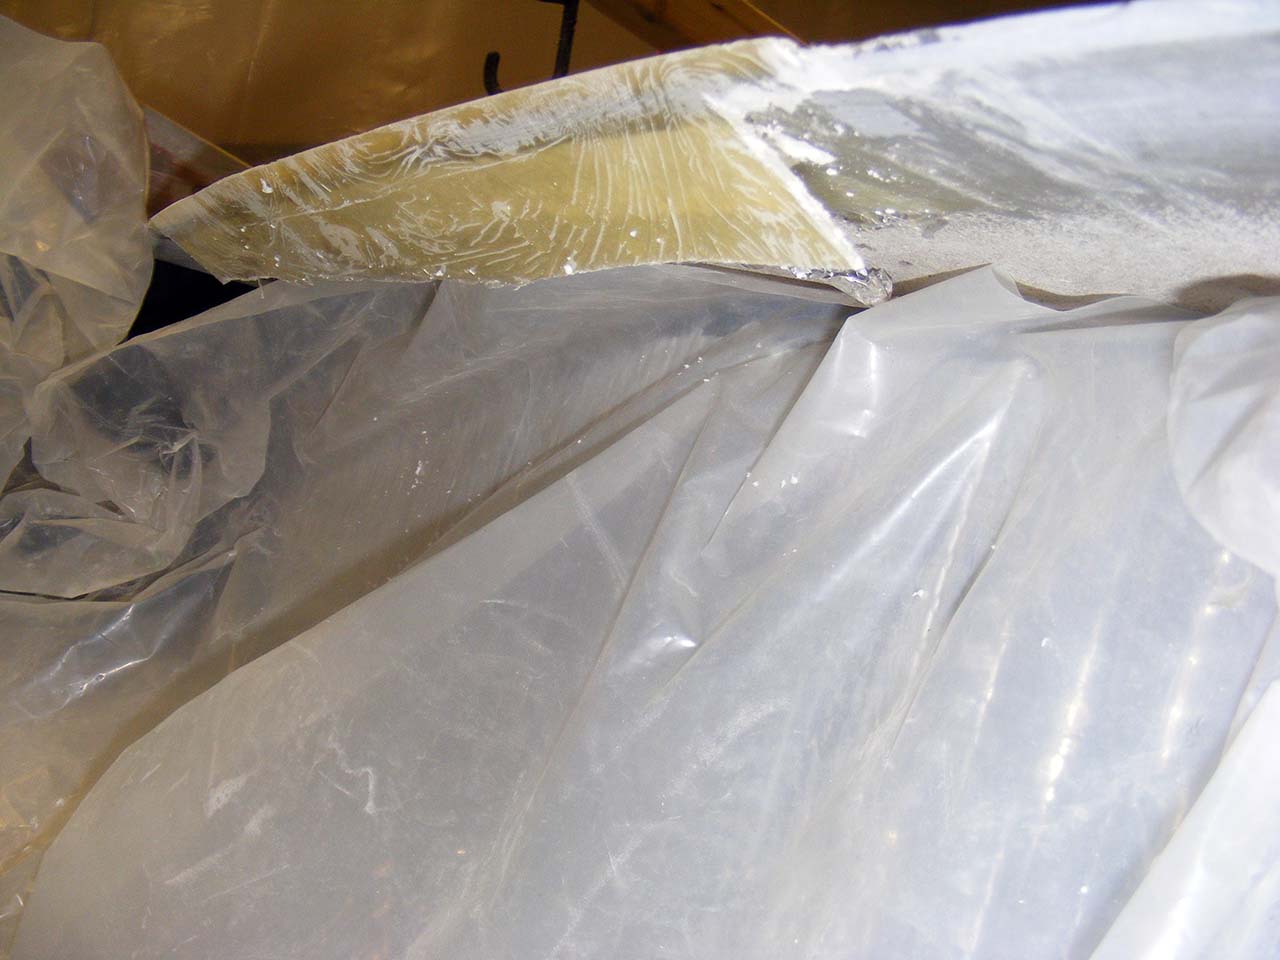
Once the wedge is completed and filled, I'll grind off this bottom edge, and will rebuild it with a lot of fiberglass. For not it's mostly resin an would crack supporting the window. I keep it for now as it hold the whole shape.
This is the kind of wedge shape I used.
Cut by hand with a razor blade at approximately the right angle (27�).
We are in the land of the cut twice measure never.
See
Told ya
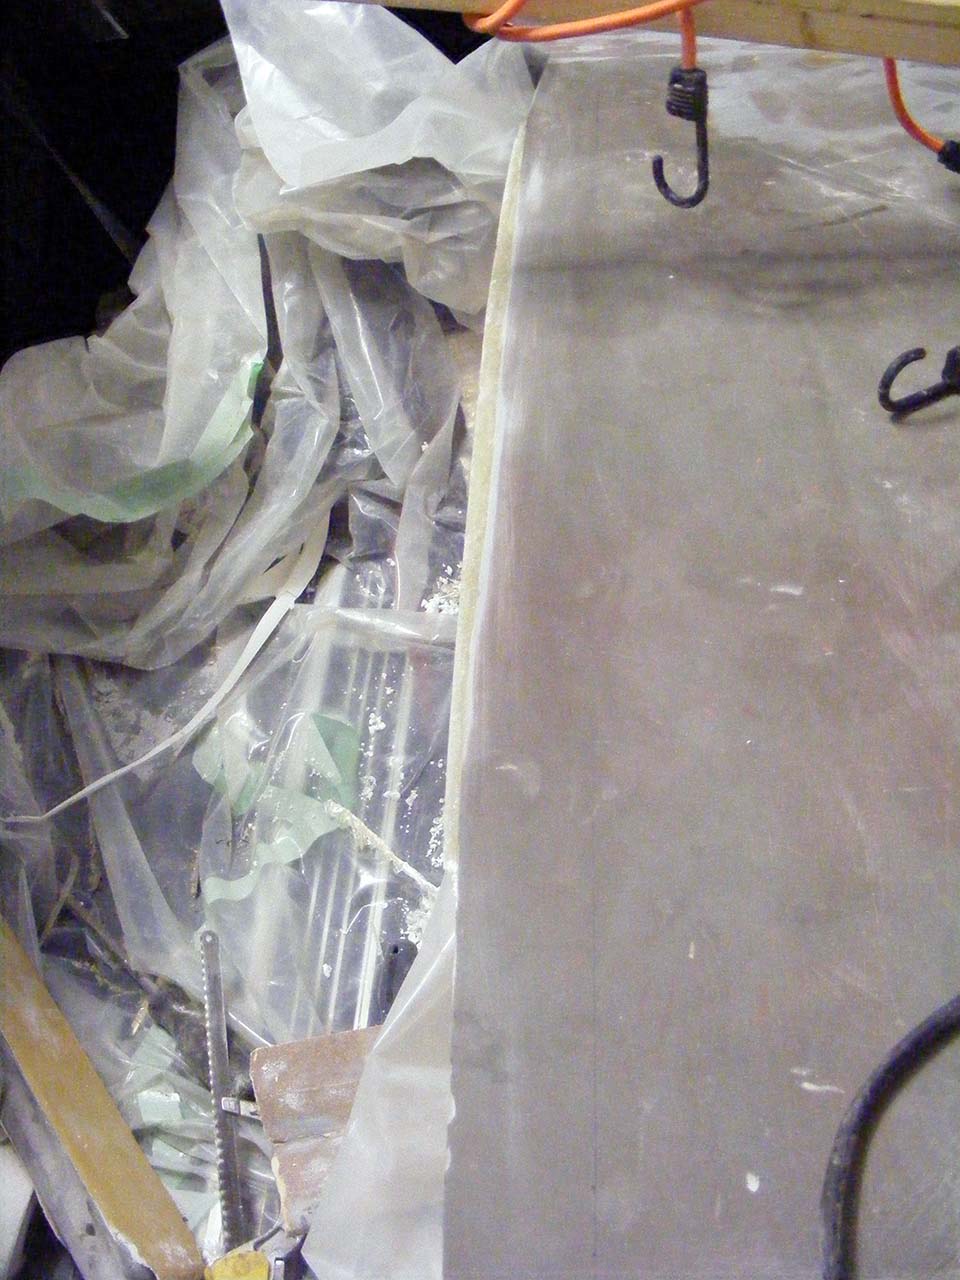
This is the smae setup I used for the central part, two more layer come on top of this before I stick it to the frame from under.
Like that.
It's going really well, much better than I anticipated.
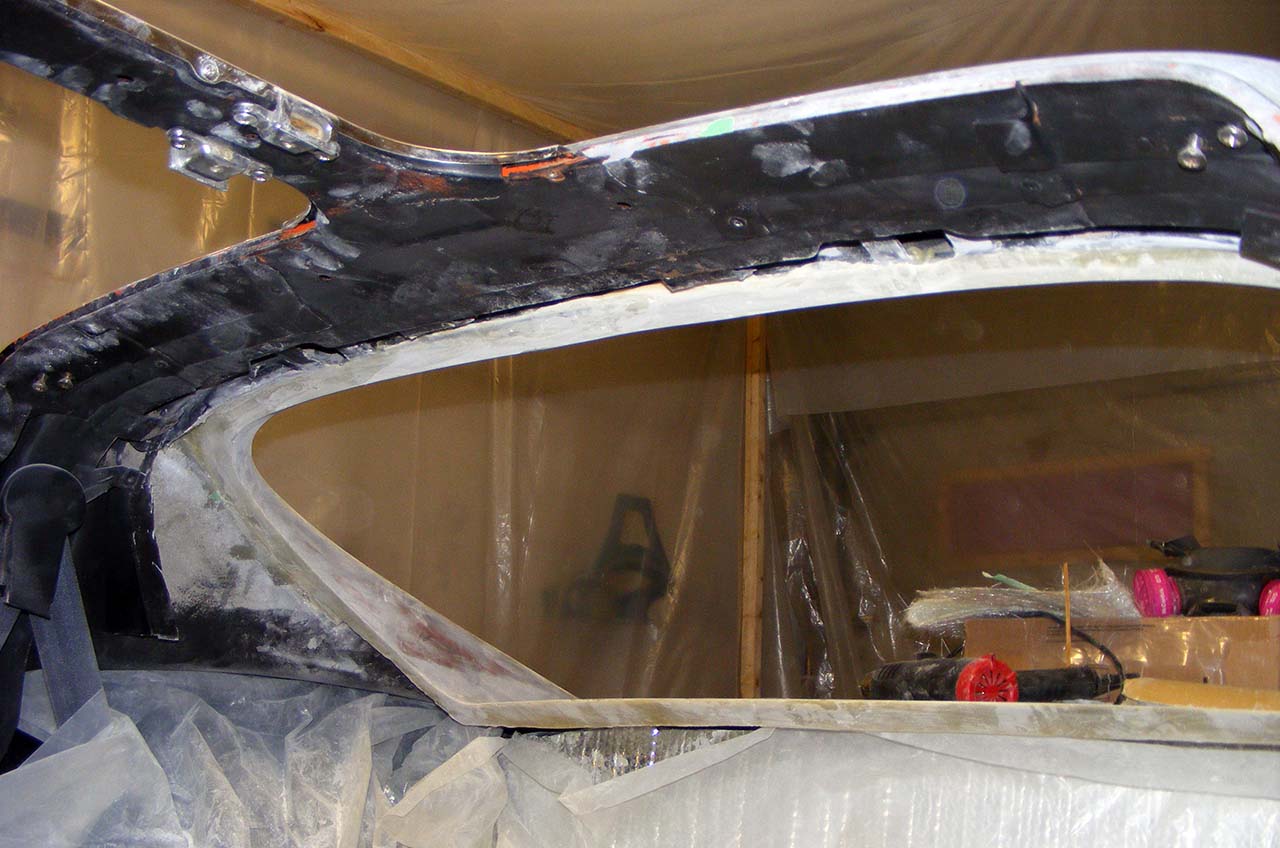
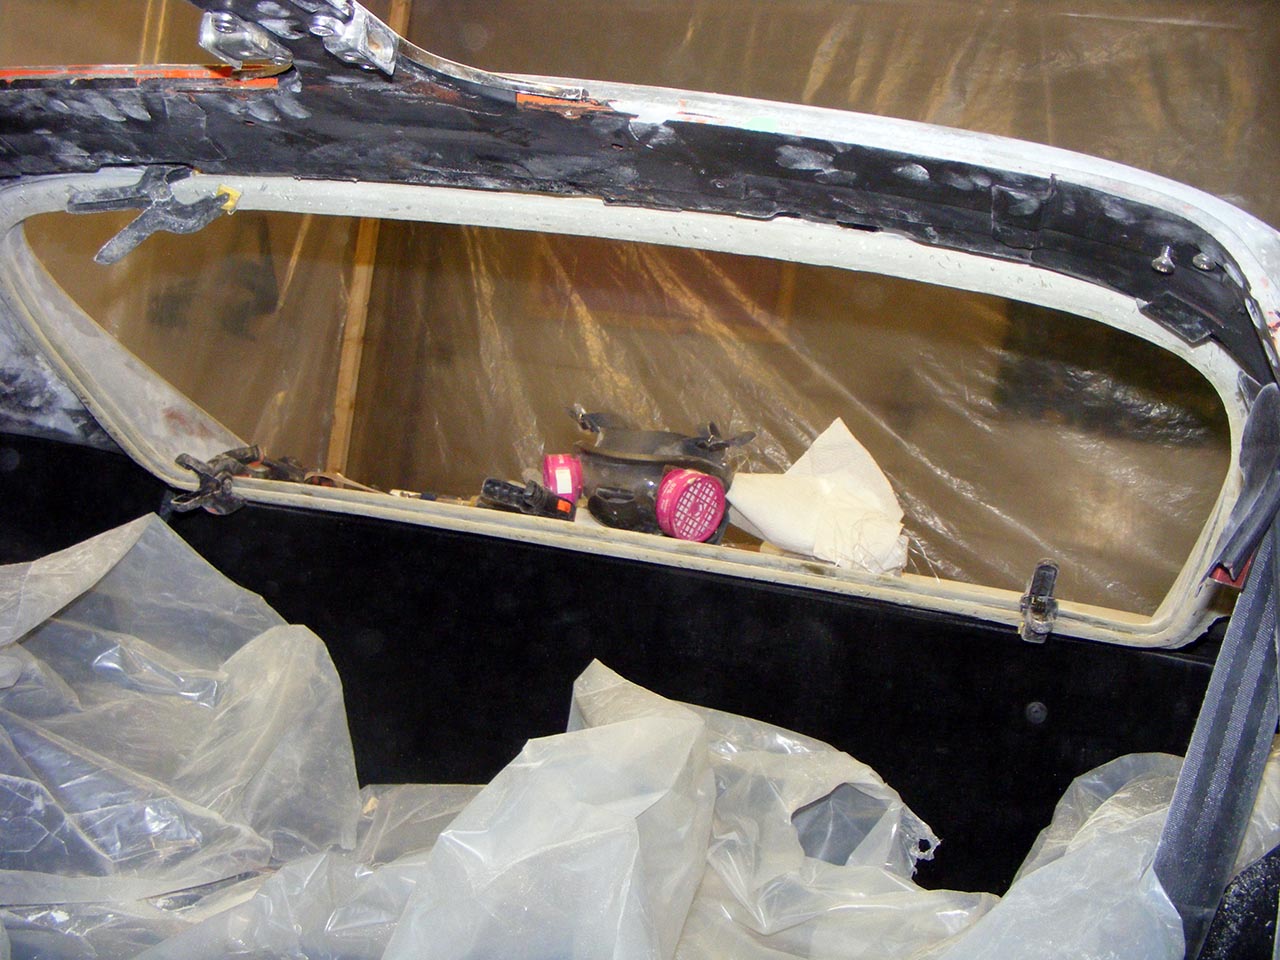
Ok, at the exception of this little gap which is closed by now, the frame contour have been bridged.
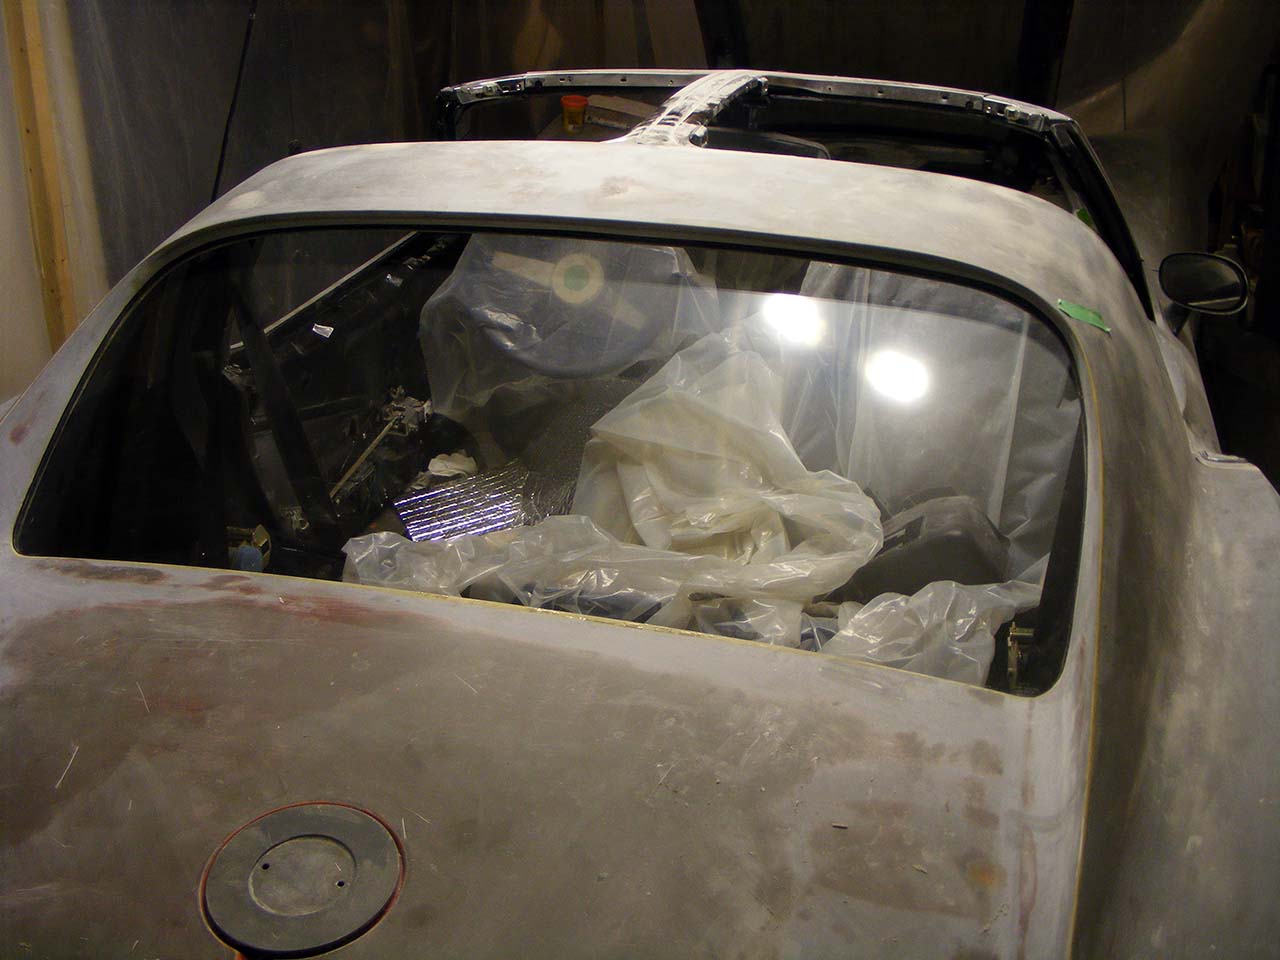
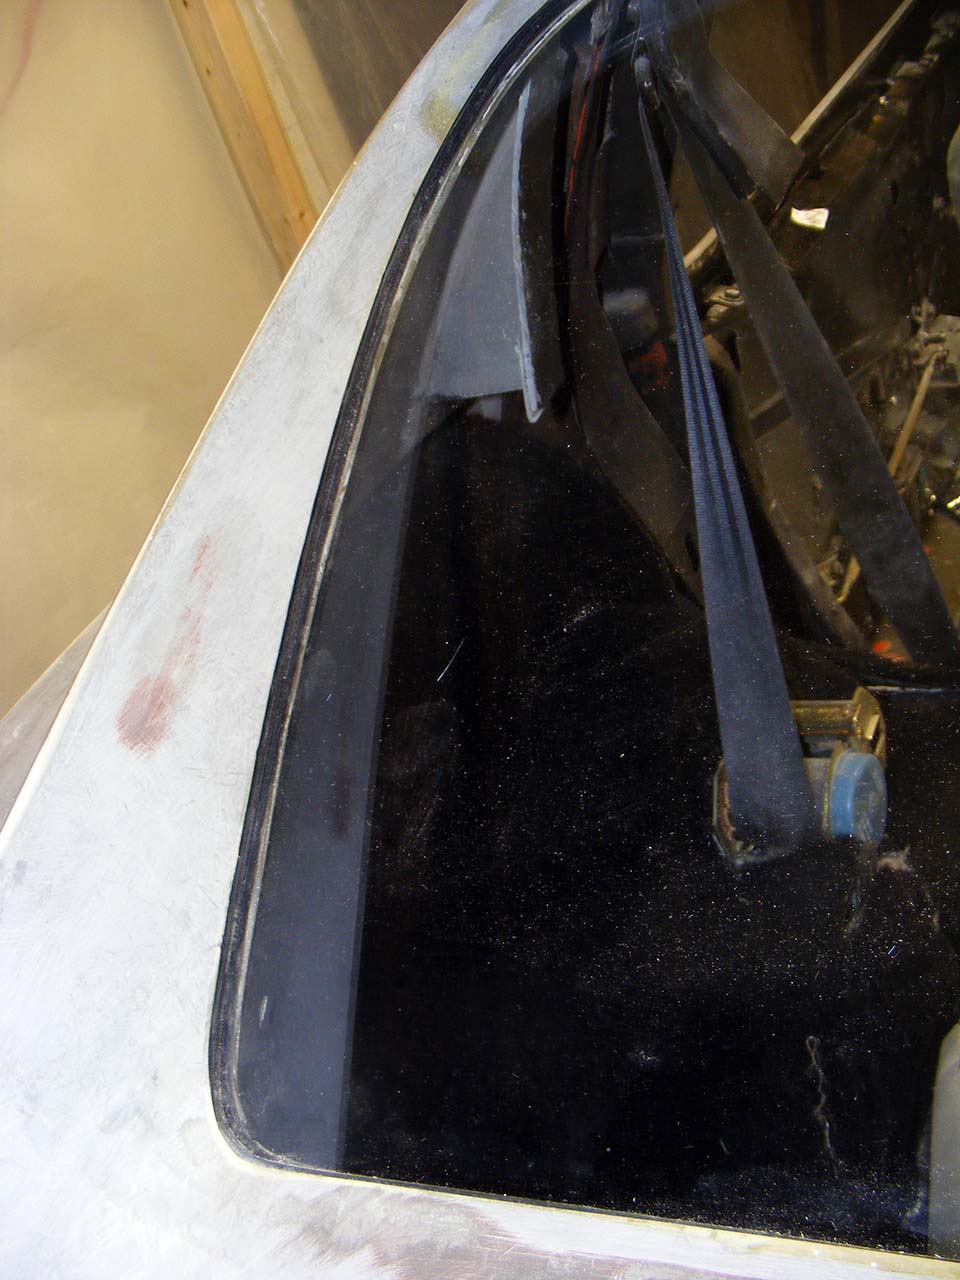
And while I was at it, I redid the upper window edge, which is made of sealant, just like the fender seams.
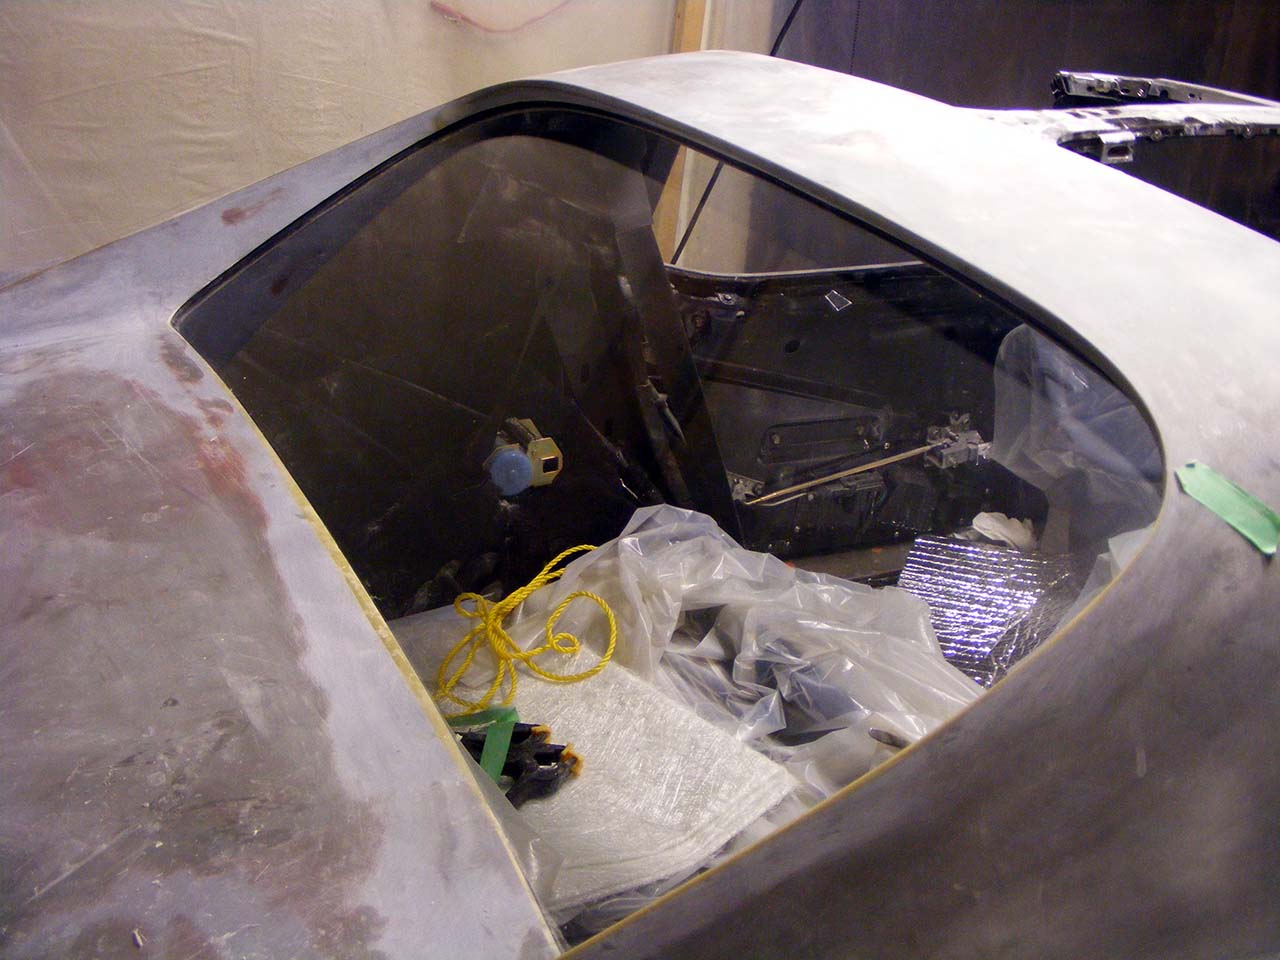
Driver side is done, passenger side is gutted and waiting to be glassed.
And this is how I fight the gravity in this particular case.
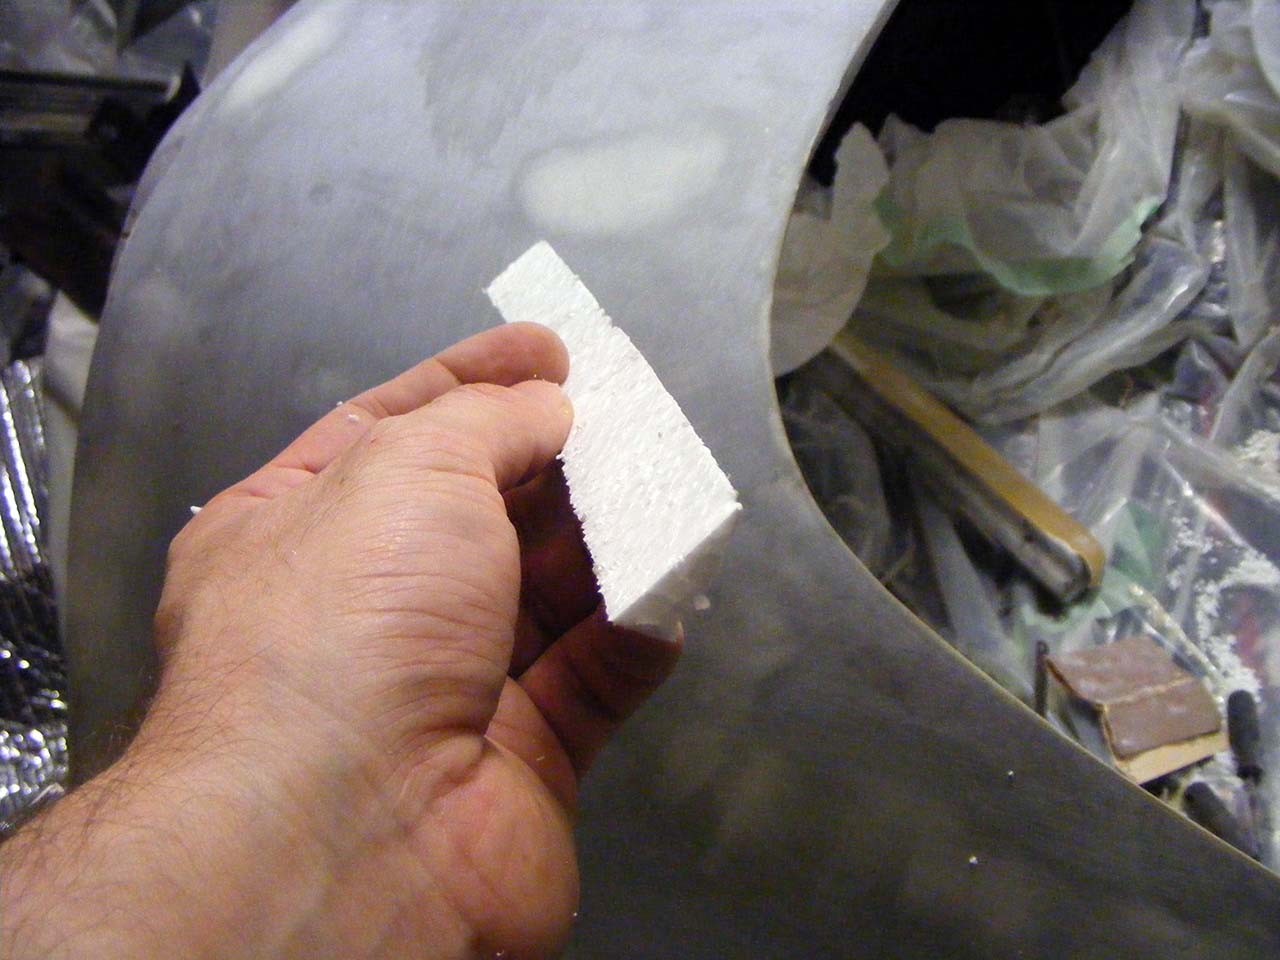
I'm already busy building some meat behind those molded edges.
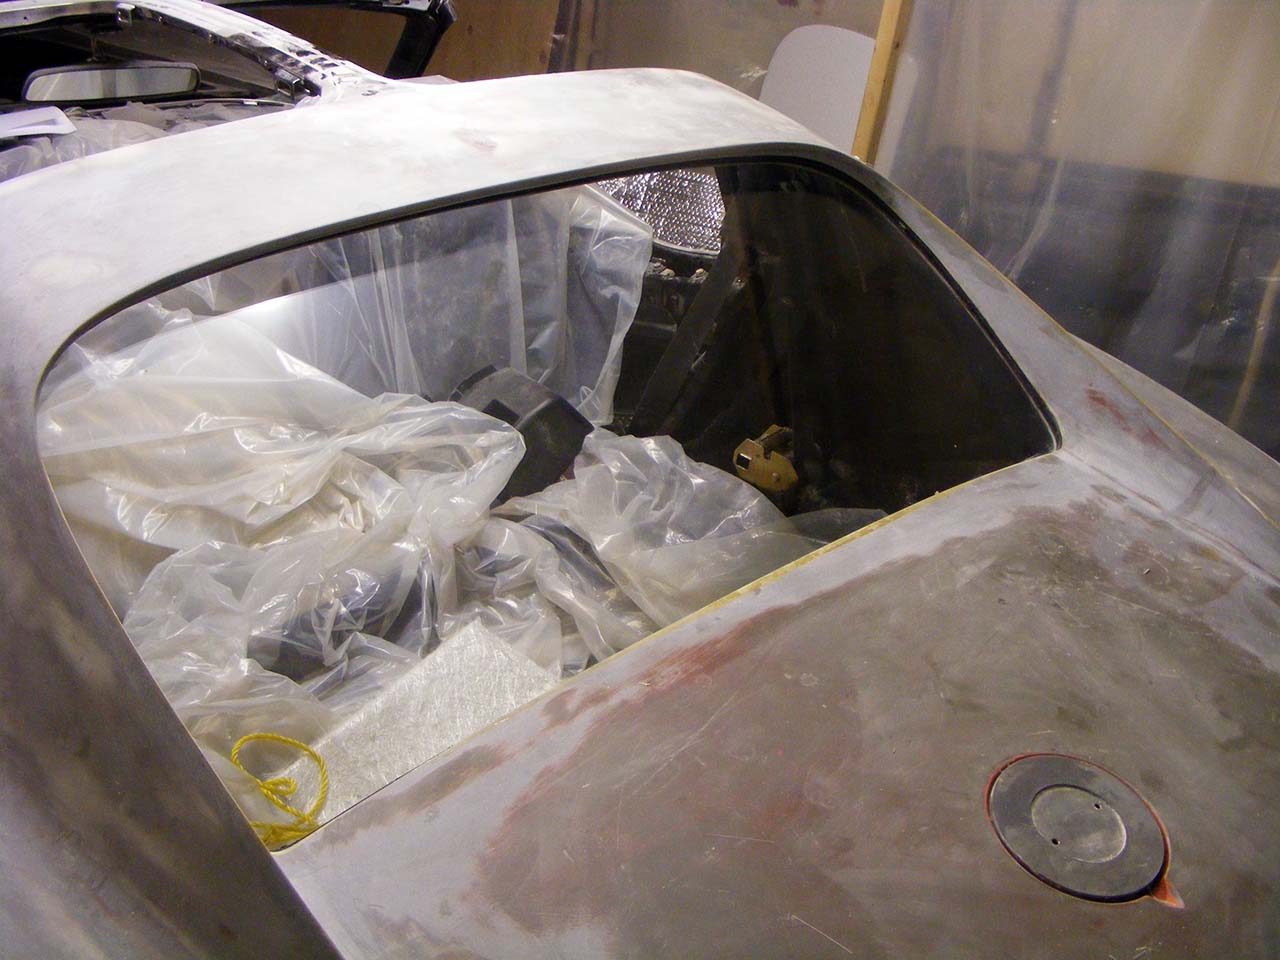
Next week I'll probably get the final contour shape and get the glass cut.
Then I'll build the other side of the frame to secure the glass in place.
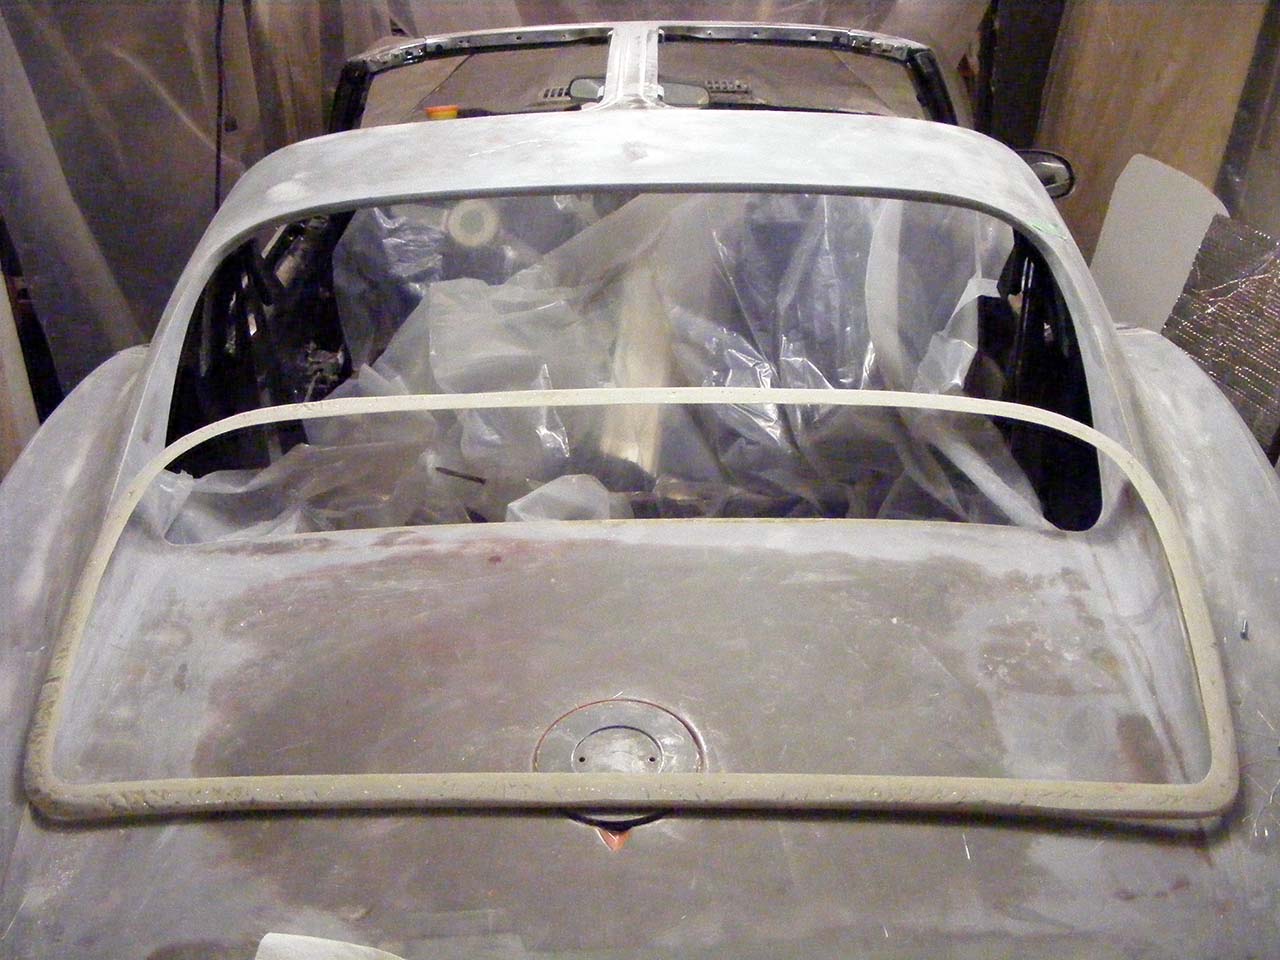
You remember last time me boasting about the "finished" frame surface.
Turned out the fitting was good, but in order not to induce any stress to the glass, I needed the fitting to be perfect.
I would place the guide board in place, then knock all around the board edge from inside the car. Look for any place that sound hollow (valley), then find the place that sound plain which is responsible (hill). Sand down the hill, rinse and repeat.
It took me more than a week of evening sweat to get an all around plain sound.
I think the glass will get more torsion from its own weight in its middle that from twist in the frame.
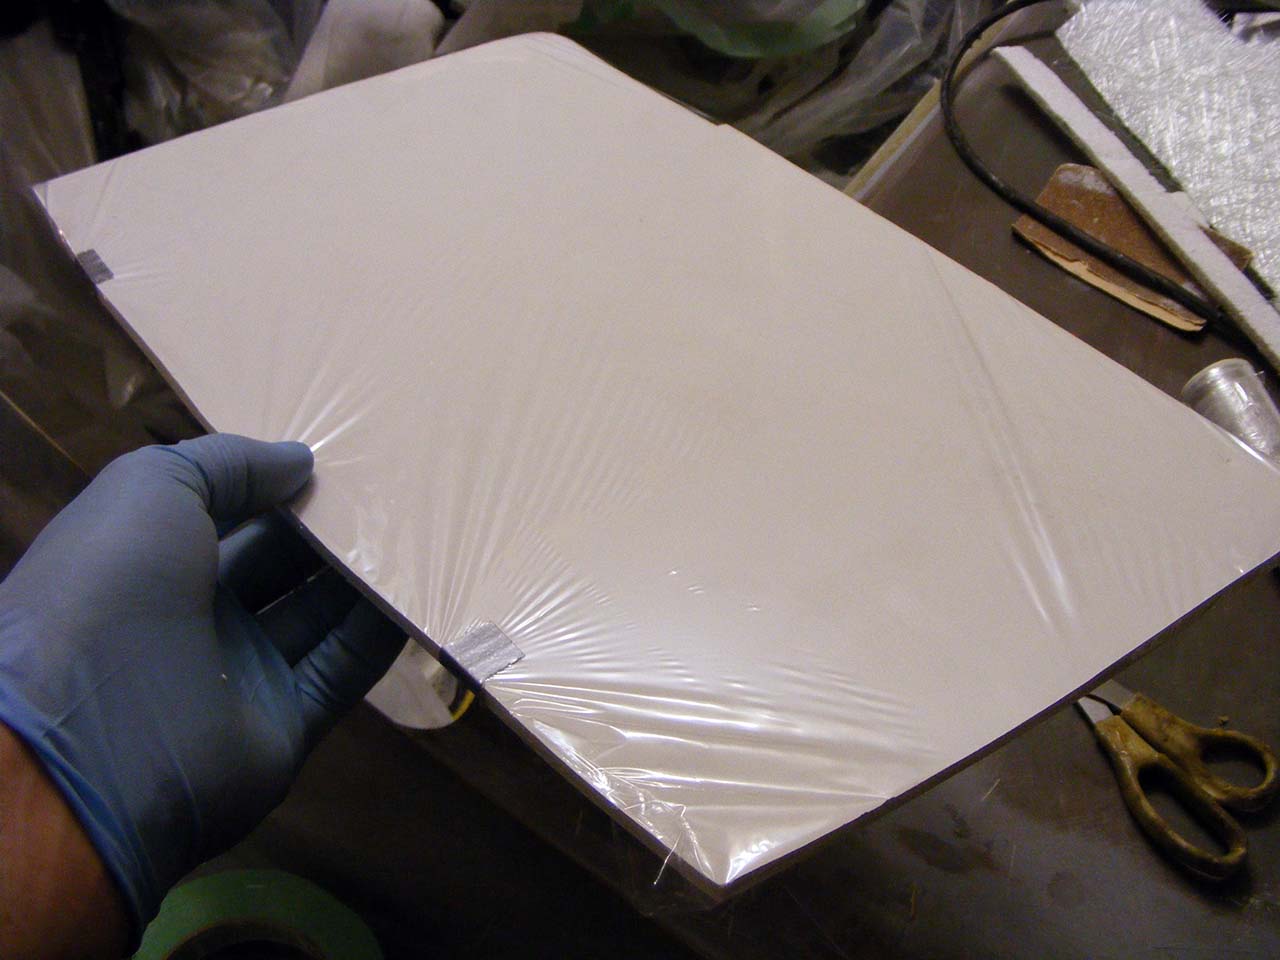
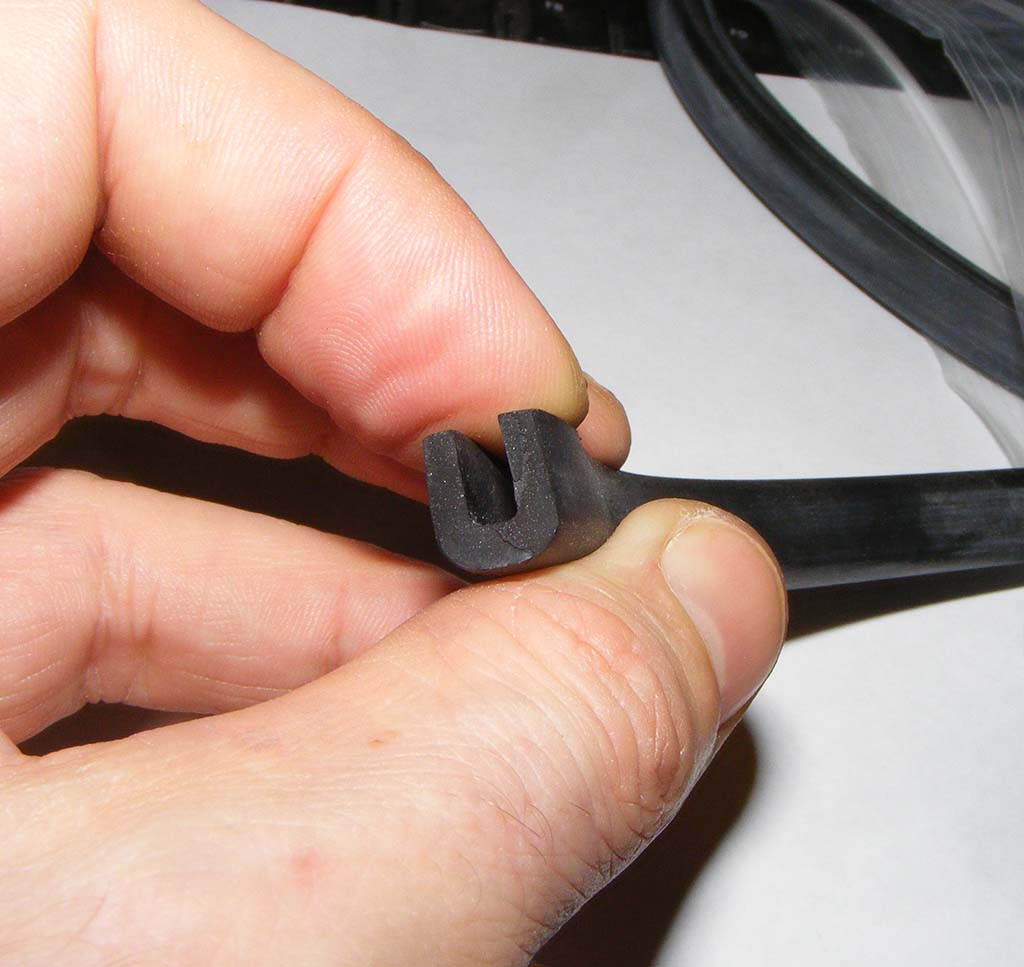
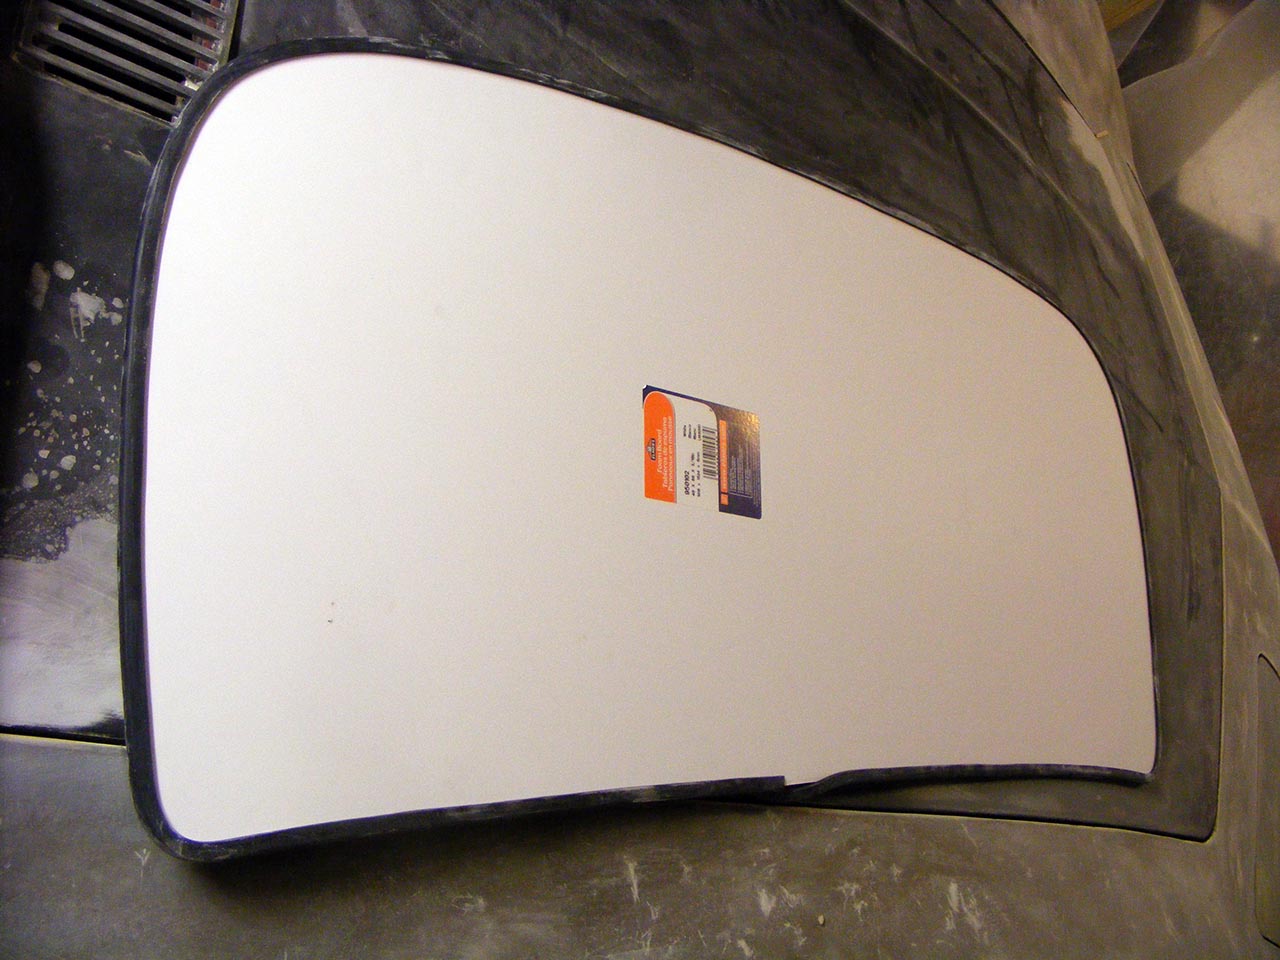
I've traced the final contour on the wooden guide board, then transferred the shape on some tracing paper, added the weatherstrip groove depth then transferred it on 3/16" foam core cardboard sheet.
Then cut the final shape I'm gonna bring to the glass shop.
Here it is with the weatherstrip fitted.
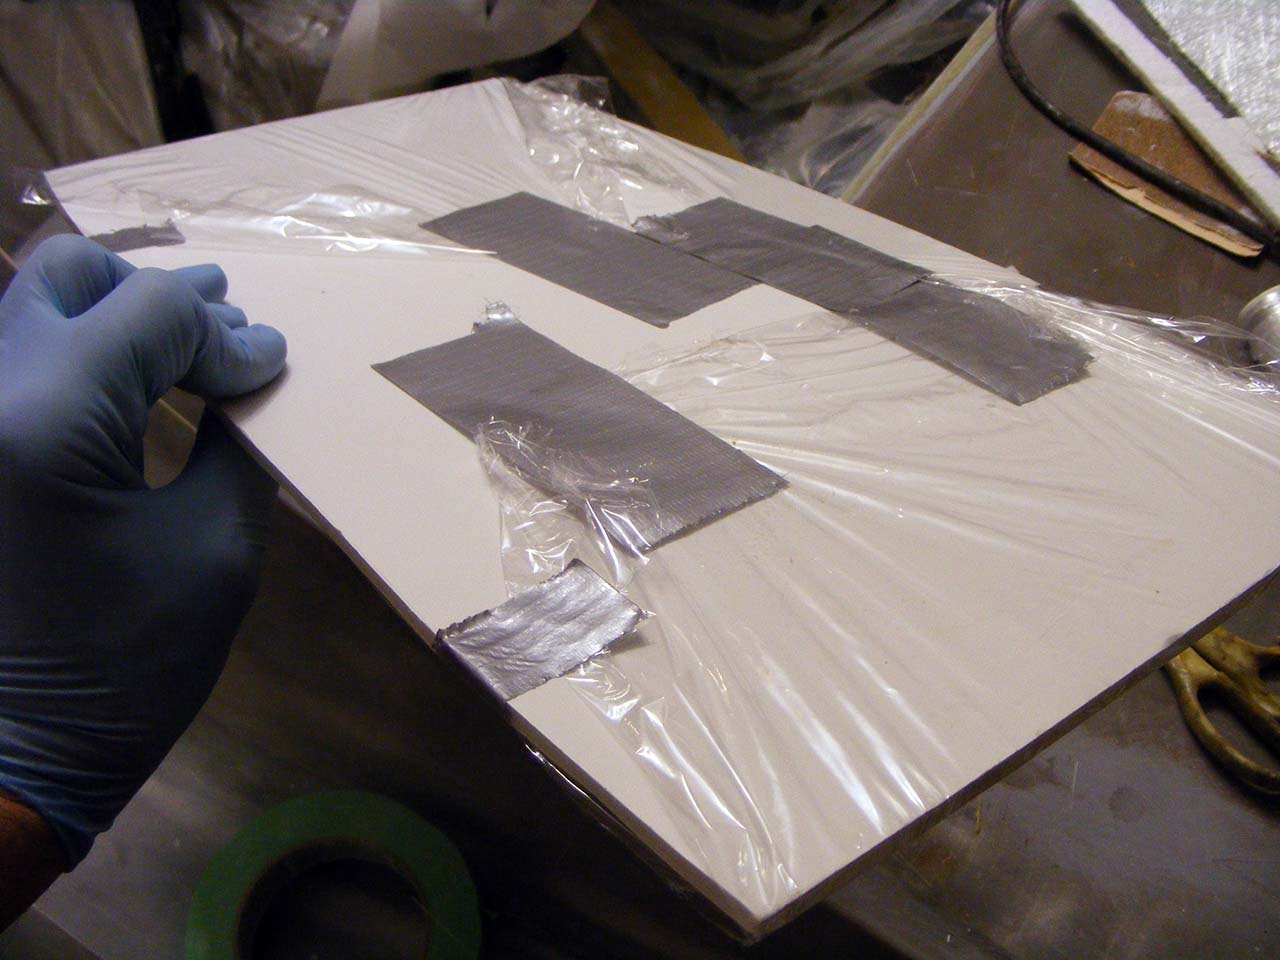
A cardboard cutout have been brought to the glass shop last Friday. I should expect the cut piece next week.
In the meantime I moved along with the rear window frame.
I made another cardboard template, fitted it with the actual weatherstrip, placed it on a flat surface made a cast of it.
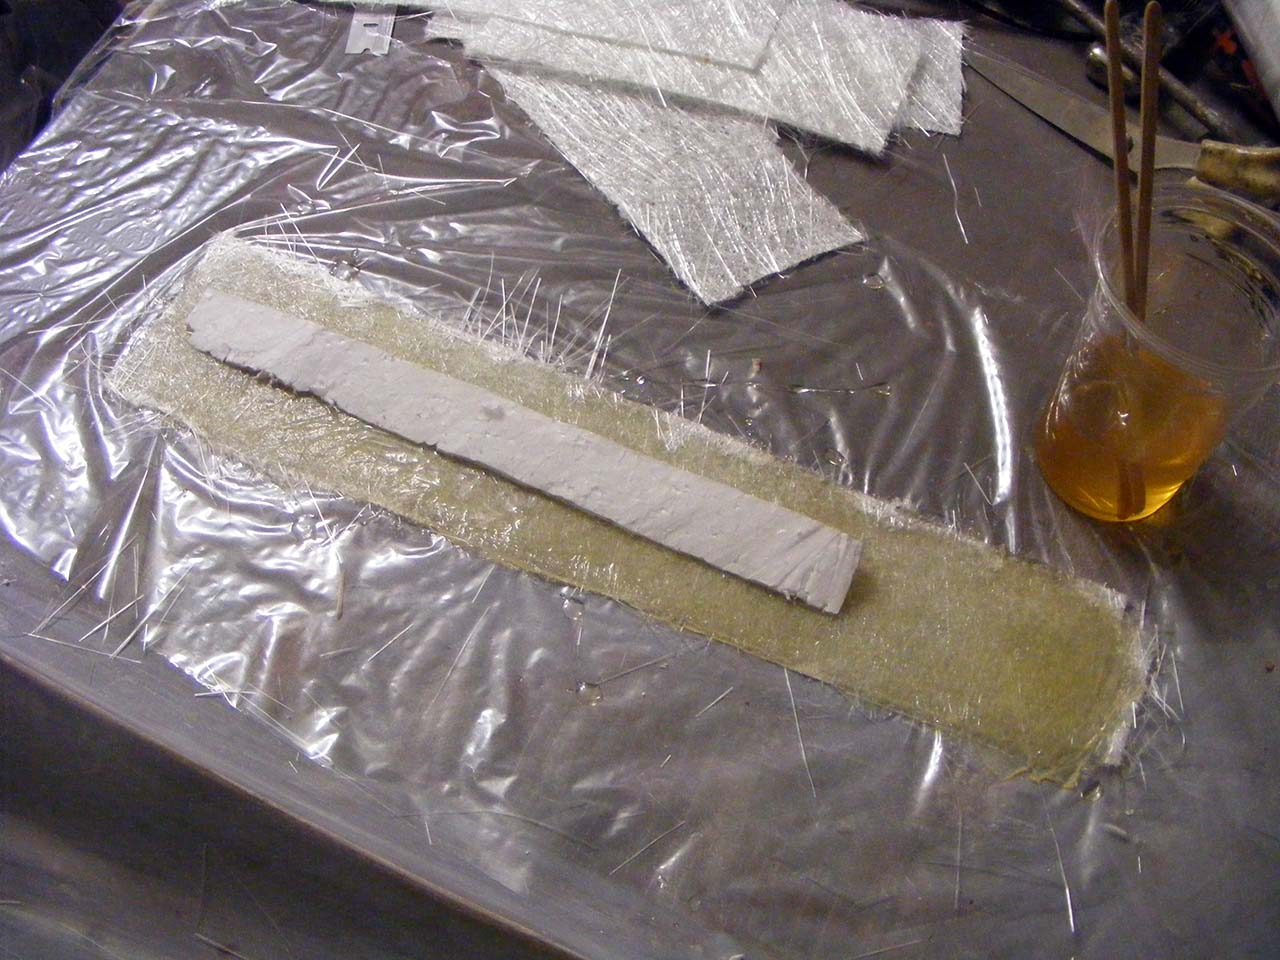
First a couple layer of fiberglass woven (for flexibility), then a copious amount of epoxy+cruched fiberglass to form the core.
Right now it has round corner, I'm probably gonna fill it square and add a final layer of mat to finish the sandwich.
I'm realizing that if I make one more layer between the body side and the window side of the frame, I could make the window removable.
If I would take this path, I would yet have to find find/devise some sort of easy but safe latching mechanism, and the removed glass would likely be left at home. It's too wide to rest flat anywhere.
So it's probably gonna be a fixed setup after all.
2020 Corvette of the Year Finalist (appearance mods)
C3 of Year Winner (appearance mods) 2019
Looks good. Never really thought about how much work it was going to be to do that.
I guess that is the way it usually works though.
I made my window removable but honestly, I have never taken it out.
Besides, would your dog jump out?
Keep at it.
Looks good. Never really thought about how much work it was going to be to do that.
I guess that is the way it usually works though.
Thanks Brent.
To be honest I'm quiet content with my pace, I didn't expect the process to be any faster, and I haven't meet any major roadblock.
Could have been much worse.
Originally Posted by brent319
I made my window removable but honestly, I have never taken it out.
Besides, would your dog jump out?
Keep at it.
Surely the dog would stay at home too, guarding the removed window.
I guess that's why over the years it's been dropped by GM, cool feature but rarely used.
Coming along nicely- NO- really nice!!! Especially the attention to detail.
You are probably right about making the glass removable...
My DD Chevy Avalanche has removable glass- rarely take it out unless it's to carry something long on the top of the bed.
Richard
Thanks Richard, your comments are appreciated as always.
By the way, I forgot to mention I received the brake flasher module you indicated me.
I can't wait for my machinist to complete his moving and resume operations, I want the rear lighting wrapped.
Tonight I could install my window for the very first time. 4 threaded insert where frame meat allowed.
I still got to devise some kind of clamps I can put everywhere else.
I will also build a support ridge at the bottom.
I start to see how I will build the custom interior trim, that's gonna be fun.
Thanks you guys, that's appreciated.
Now I can start mudding the body all around the window and call it a wrap.
It received its share of epoxy spatters during the window construction and needs a good cleaning.
After that, I still have to work the inside of my flares and do my hood mod and we're done.
I'm not gonna lie, no much happened in the garage lately.
Must be all the snow and cold, or just that it's been a looong time since last holidays.
A couple of my sub-projects depend on other people who can be qualified for the moment as "volatile", so I'll have to be patient.
Still a managed to piece together all the pieces needed to have a proper ignition shielding :
Still, it's Xmass, so I felt like getting myself a little treat :
LS conversion engine mounts:
This part has a funny story.
When I started my restoration, almost 5 years ago, I found a already one year old post in the for sale section, a gentleman had a canceled restomod project and was selling a complete brake/fuel line setup.
I contacted the person, and lo and behold, he still had the part.
While I was at it I also bought a new proportioning valve.
Fast forward two year ago, when I realized the rear bumper cover I bought on the cheap was too much trouble for the saving. I remember the post of the guy.... he was also selling a bumper cover.
I contacted him again, and lol yes, he still had the cover.
I bet you guessed it.... last month, when the idea of a LS conversion became more concrete, I remember the 6 years old post... he was also selling what you see in the picture above.
We both had a good laugh about that.
I also bought myself a set of 799 ls heads :
Those are similar to the LS6 243 heads except for the valves and springs.
I can't wait to try myself at porting them, if you can't risk to screw things up then it ain't funny anymore
I had to start by something, I started with the heads.
From what I read on LS1Tech, the trend has shifted to rectangular port LS3 conversion, so cathedral port heads are becoming more affordable.
Still, when it comes to the intake, I don't know what's up, but it's all the rage for the LS6 intakes.
Most of what I see on Ebay goes for over the price of a brand new Doorman replacement.
So I'm still unsure about this, maybe I'll go for a LS1 intake, even if they don't go that cheap either.
Sometimes I think that if I'd put a little more, I could get http://www.ebay.com/itm/SLP-FABRICATED-ALUMINUM-HIGH-RAM-LS-INTAKE-MANIFOLD-ASSEMBLY-LS1-LS2-LS3-LS6-/251764943371?pt=Motors_Car_Truck_Parts_Accessories&hash=item3a9e5c2a0b&vxp=mtr:
I'm guilty, I admit it would be solely for the look factor.
Don't even get me started with Fast's 1k$+ piece of plastic...
I'm still on the hunt for an oil pan also,looking into either C5's batwing and low profile C6's.
The engine can be sourced from Canadian scrapyard at any time, but specific parts are easier to get from the US.
Right now I'm still at glassing the inside of the fenders, nothing worth showing really.
Love that metal LS intake! Will it fit under the hood? And yes, the LS engines are the bomb. Stupid easy to get 500 hp out of them.
This stupidly sexy intake cost just 200$ more than the price of a new stock one, so yeah it got me thinking.
Compared to my current setup (Weiland team-G, Holley 4150 and drop base cleaner), I think it would still be lower, but surely I will take measurement if I fall for it.
Still, if everything could have been planned ahead, like having the engine done before completing the body, I wouldn't have minded cutting a hole in the hole to let the intake bulge out, with the car name engraved on it.
Oh well,I guess dreaming out loud is free
Plan is still to get the car completed this year. The LS conversion wouldn't get into the car before next winter.
Performance wise, it probably would be worse than stock LS6 intake. Short runners equate loss of low-end torque. Benchmarks of similarly designed intake show marginal gain in the higher-end hp.
By the way, is the LS engine intake valley at the same height than an SBC's? I guess so, but better safe than sorry.
I think I'm finally done with the rear window mod.
I added 5 more mounting point with smaller threaded insert.
I will post pic a soon as I get decent fastener, for now it's just a mismatch of screws.
My favorite fastener merchant is close for the Xmass holidays.
So I did a final mud pass on the rear desk
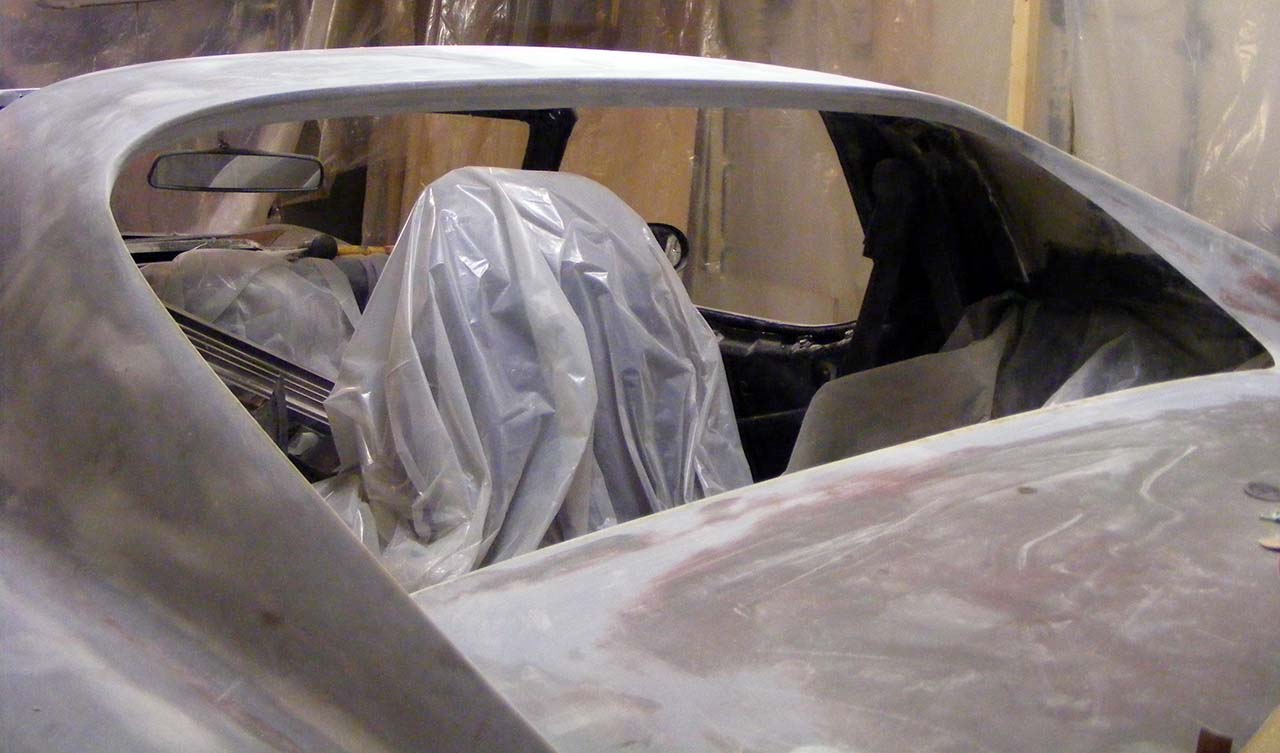
And then start a massive cleaning, removing the plastic sheet that covered the interior for so long.
I then had the opportunity to finish a small mod I started last year.
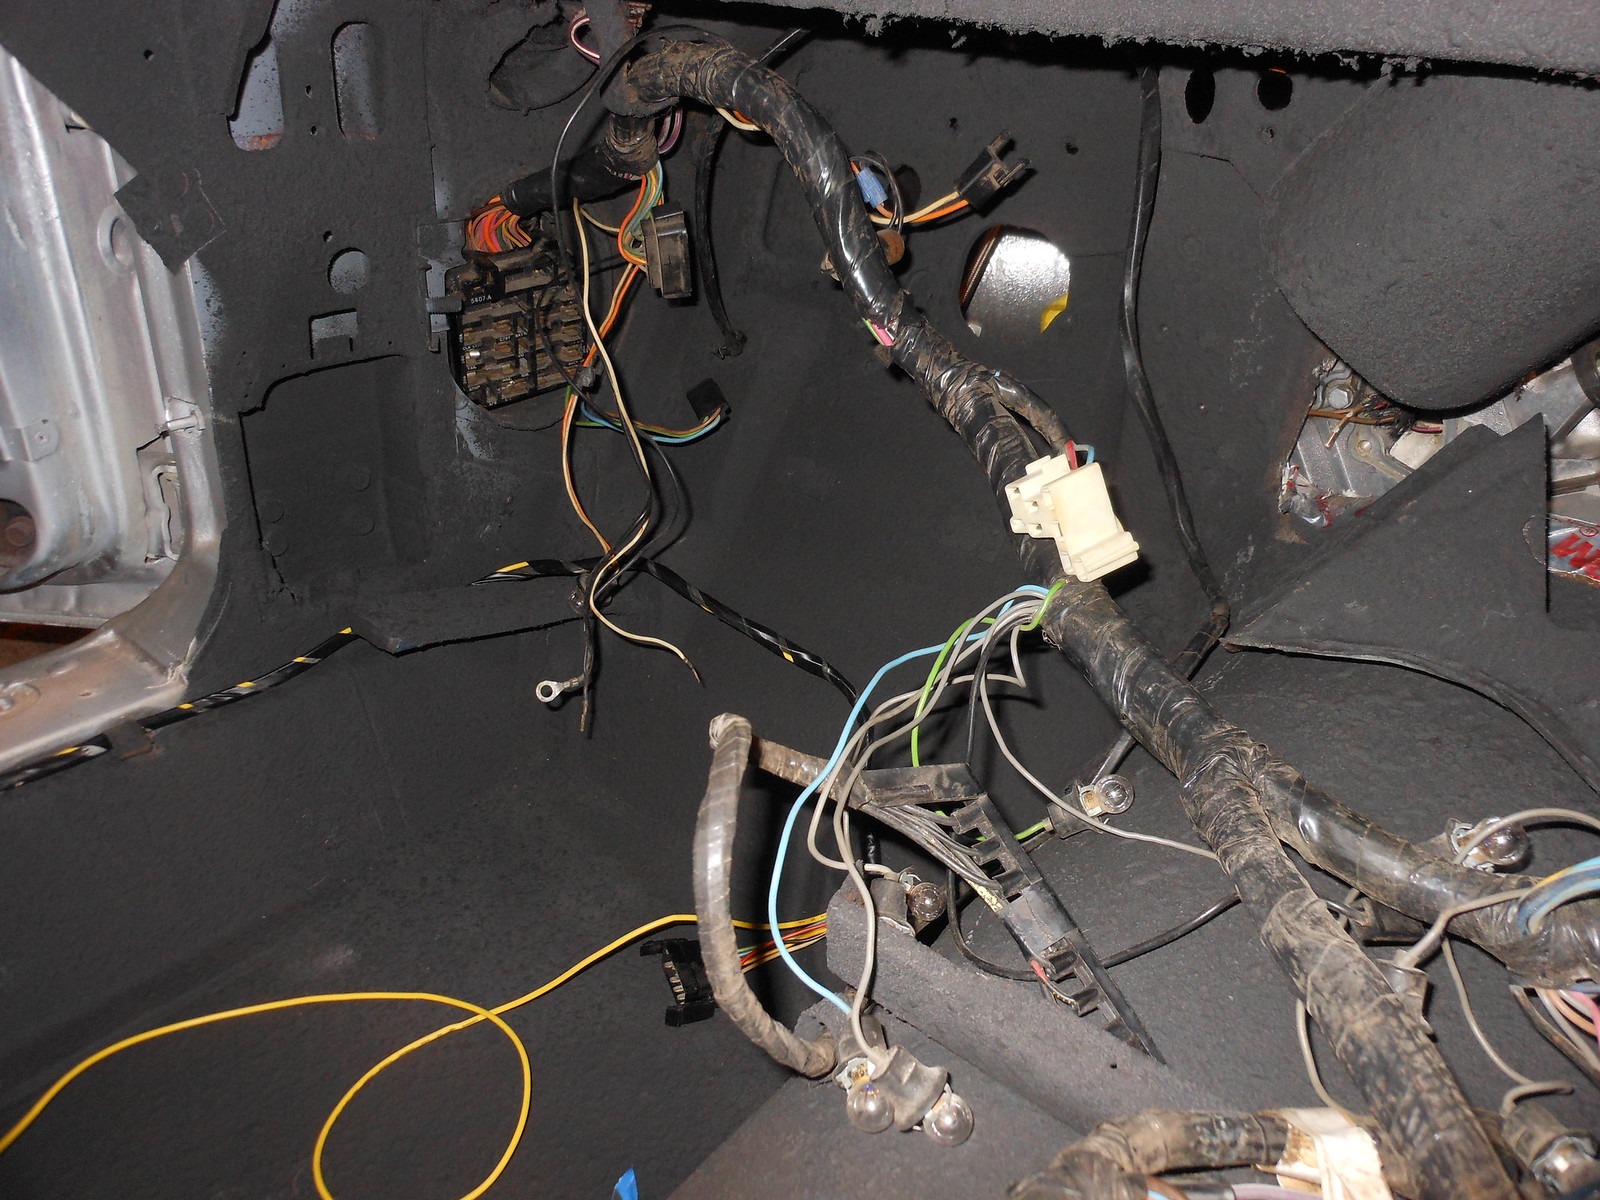
I finally got to install the fuse adapter I bought myself last Xmass.
It's a simple idea, but it really makes life easier, I don't count how many glass fuse I broke.
I am going to order some of those converta-fuses!!!
Nice find!!! But sorta gets rid of the old "No-blows" - the aluminum foil fuse wrap!!!
I need to update my website w/ some cool electrical finds- Don't worry I'll give you credit!!!
I am moving my fuse block to where the astro vent was..so if I do need to change the much easier to pull blade fuses- I'll be able to get to them. Also will be able to hide the wire in the engine compartment better.

 10-25-2014, 12:03 AM


wBRr5jj3Q0!~~60_35.JPG)
 DSCN4840 by richardhayes454, on Flickr