
My 1970 painting thread
 04-20-2012, 01:08 AM
#21
Safety Car


Thanks. I have worked extremely hard to get where I am. Yes, I will keep an eye on this whenever I get a chance...lately I've been working on everyone elses vehicle but mine...but I guess that's how it goes!
 04-20-2012, 01:18 AM
#22
Safety Car
As far as not having to worry about flash times, I disagree. You need air movement for the waterborne paints to dry, and if you don't let it flash off, you will trap water in the underlying coat. Its no different than clearing on top of clear that isn't flashed - you'll trap solvents and get solvent pop. Water will eventually try to escape and give you the same failure.
Anywho, time for me to get some sleep

Last edited by stinger12; 04-20-2012 at 01:24 AM.
04-20-2012, 06:17 AM
#23
Safety Car

If I remove both screws and the T-top post it appears the inner piece is going to disappear forever into the body. Can I get access to this piece with the interior panels removed?
Mine didn`t fall down either, but Sully has me nervous now. Should we put a bolt back in? WILL they fall? Not intending to hijack the thread, but I`d like to hear more about this!
04-20-2012, 09:12 AM
#24
Burning Brakes

If it helps you feel better, put a long screw in one of the holes. A longer screw won't get in the way of your painting and you will have some peace of mind.
04-20-2012, 01:54 PM
#25
Melting Slicks


i think there's some body putty holding that backing plate in place, just run a few a the threads of one screw back into it. pull the rest off and polish it up.
Sully
Sully
04-20-2012, 08:58 PM
#26
Safety Car
Thanks! I did put some long screws in, and yes, there DOES seem to be some putty in there!
Double take, keep us posted on your progress, some of us are watching.... and are in the same process as you are!
Double take, keep us posted on your progress, some of us are watching.... and are in the same process as you are!
 05-01-2012, 11:23 PM
#28
Racer

Thread Starter
Brief photo update.
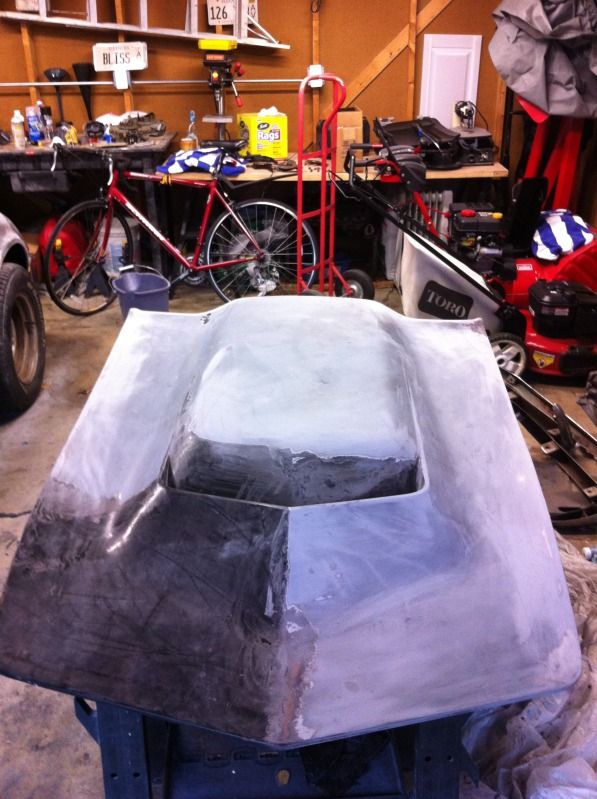
The hood is something I picked up on Craigslist earlier this spring. The stock 70 SB hood is a little too boring for me. :devil: Unfortunately, it had been painted multiple times and its been a pain in the *** to get off the paint. I need to pick up another gallon of paint stripper, but im almost done. I cant wait to start fiberglass work.
Not sure exactly, maybe 20 hours? Ive been trying to take my time and get every last little bit though.
The plate on the passenger side is definitely loose. The adhesive must have failed. Im going to get a longer screw and try to get some adhesive through the other screw holes. Before it dries ill install the t-top to ensure everything lines up perfectly.
The hood is something I picked up on Craigslist earlier this spring. The stock 70 SB hood is a little too boring for me. :devil: Unfortunately, it had been painted multiple times and its been a pain in the *** to get off the paint. I need to pick up another gallon of paint stripper, but im almost done. I cant wait to start fiberglass work.
The plate on the passenger side is definitely loose. The adhesive must have failed. Im going to get a longer screw and try to get some adhesive through the other screw holes. Before it dries ill install the t-top to ensure everything lines up perfectly.
05-01-2012, 11:31 PM
#29
Racer
Thread Starter
The water based paints are good. However, all clears are solvent based. The water stuff is way more expensive than the solvent based paints. You don't reduce it (or at least in our paint system anyways). What you get in a can is what you can spray...with solvent paint you reduce it and increase the volume of the can you purchased. We use Dupont's highest quality paint you can get, which is Dupont Chromax Pro. Its extremely expensive, but its some amazing stuff.
As far as not having to worry about flash times, I disagree. You need air movement for the waterborne paints to dry, and if you don't let it flash off, you will trap water in the underlying coat. Its no different than clearing on top of clear that isn't flashed - you'll trap solvents and get solvent pop. Water will eventually try to escape and give you the same failure.
Anywho, time for me to get some sleep
After staring at colors for weeks, the best way for me to get the color I want is to go with either PPG or sherwin williams. Im expecting a lot of cheerleaders for the PPG stuff. However, I have a SW dealer near me and I have a hard time believing that a paint company of that size will produce an inferior product. I wont be using the cheap stuff from either brand.
What other options are there if I want to match a past factory color?
05-02-2012, 11:58 PM
#30
Racer
Thread Starter
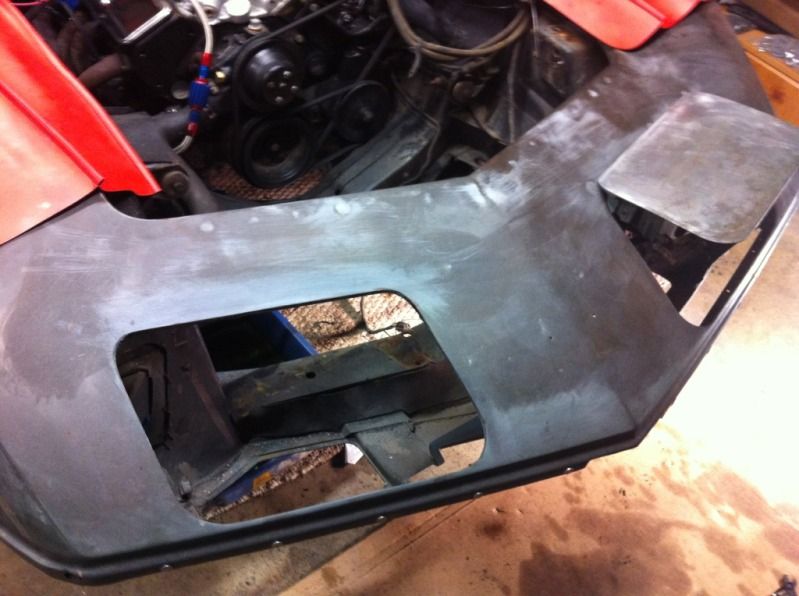
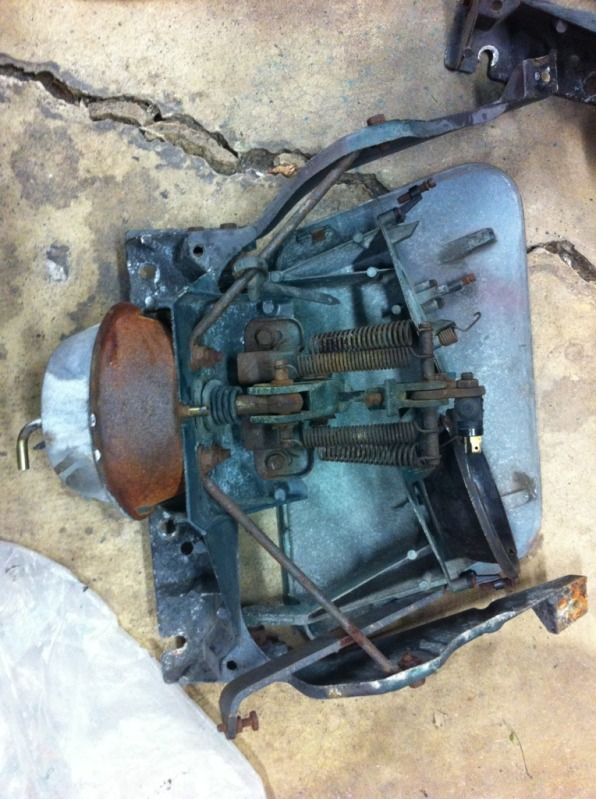
More progress. I am sick of taking paint off the car so I turned my attention to the headlight assemblies.
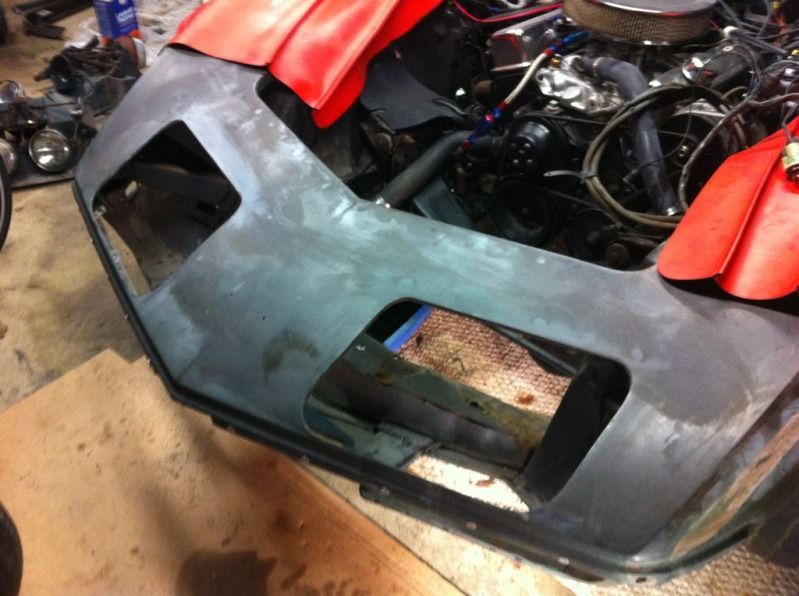
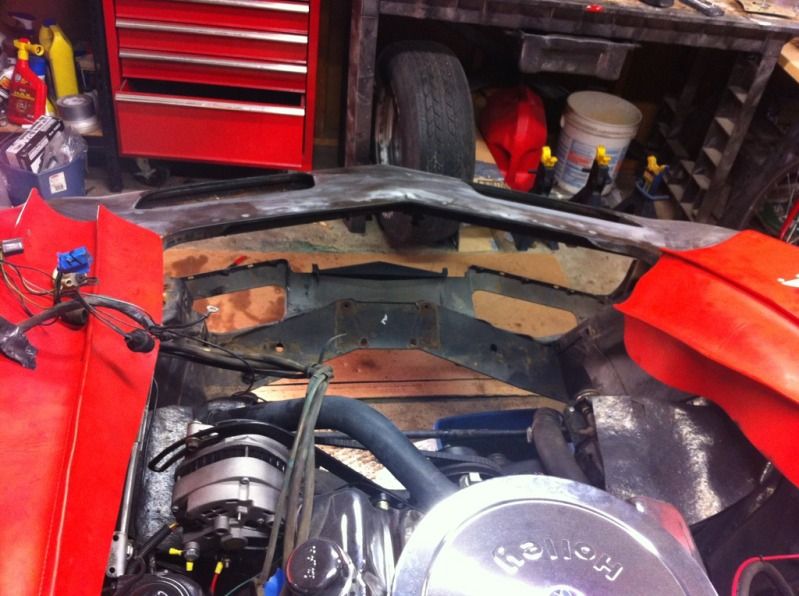
First step, remove all the bolts holding the radiator support in place. Having taken the radiator and an electric fan out multiple times, I knew getting the support loose first would make the job a lot easier. After the entire radiator, fan and support was loose, I removed the top radiator brackets. Now it was easy to pull the radiator and fan straight up and out. The support comes right out after the radiator.

Lots of space now!

Next I pulled the wiring harness and the vacuum hoses. I marked the hoses because I havent decided if im going to replace all the hoses yet. They will get cleaned up at least.
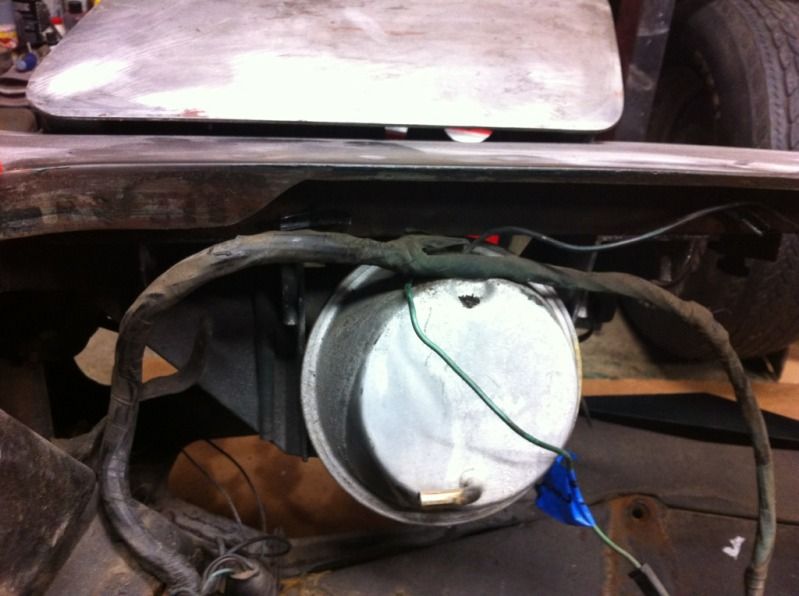
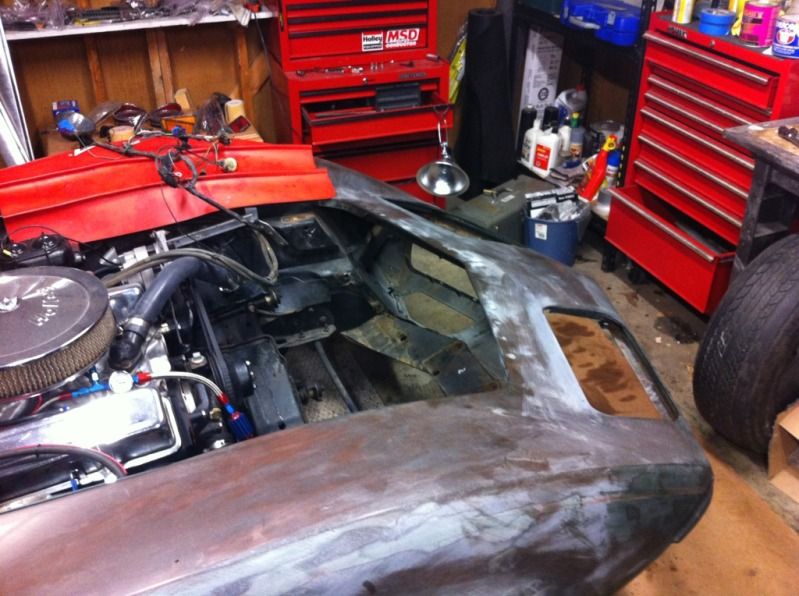
5 bolts hold each headlight assembly in place, 2 just under the front bumper, 3 more near the hood. A little massaging and the entire assembly comes out through the hood opening.
One side out
They arent in bad shape. Most of the bolts are completely welded together with rust. When removing one headlight connector, one blade was so stuck in the connector the rivet head failed first. Ill take these apart and clean them up before reinstalling for paint.

All done!
First step, remove all the bolts holding the radiator support in place. Having taken the radiator and an electric fan out multiple times, I knew getting the support loose first would make the job a lot easier. After the entire radiator, fan and support was loose, I removed the top radiator brackets. Now it was easy to pull the radiator and fan straight up and out. The support comes right out after the radiator.
Lots of space now!
Next I pulled the wiring harness and the vacuum hoses. I marked the hoses because I havent decided if im going to replace all the hoses yet. They will get cleaned up at least.
5 bolts hold each headlight assembly in place, 2 just under the front bumper, 3 more near the hood. A little massaging and the entire assembly comes out through the hood opening.
One side out
They arent in bad shape. Most of the bolts are completely welded together with rust. When removing one headlight connector, one blade was so stuck in the connector the rivet head failed first.
Ill take these apart and clean them up before reinstalling for paint.All done!

 05-16-2012, 08:28 AM
#32
Racer
Thread Starter
More progress.
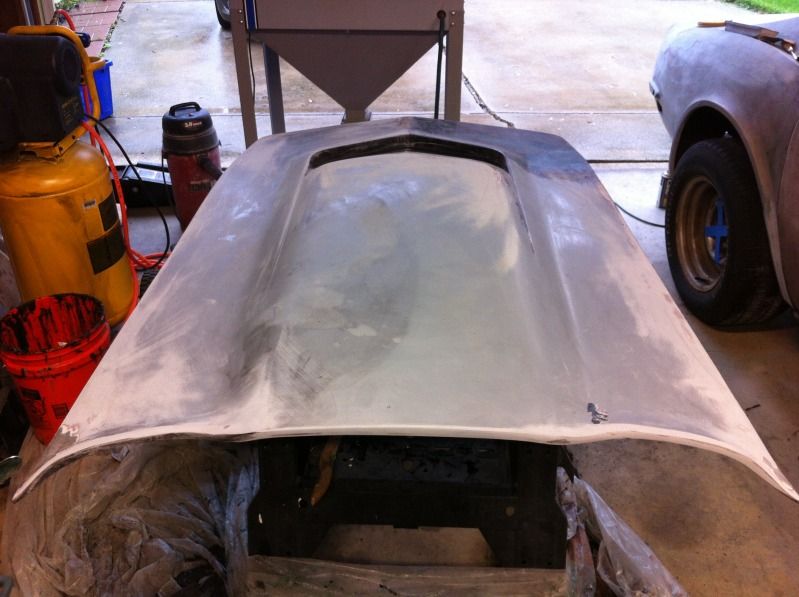
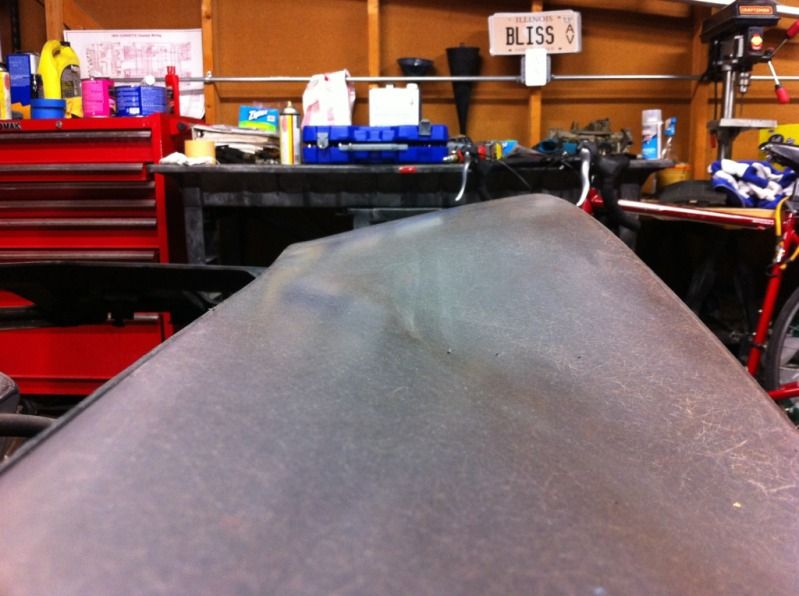
Finally completed the hood:

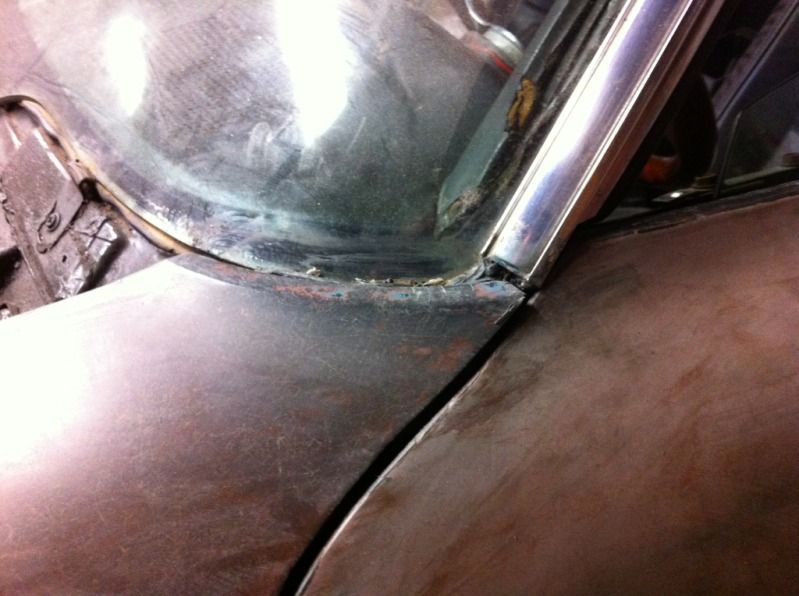
The bottom needs some work and one area on top will be completely removed and reglassed:
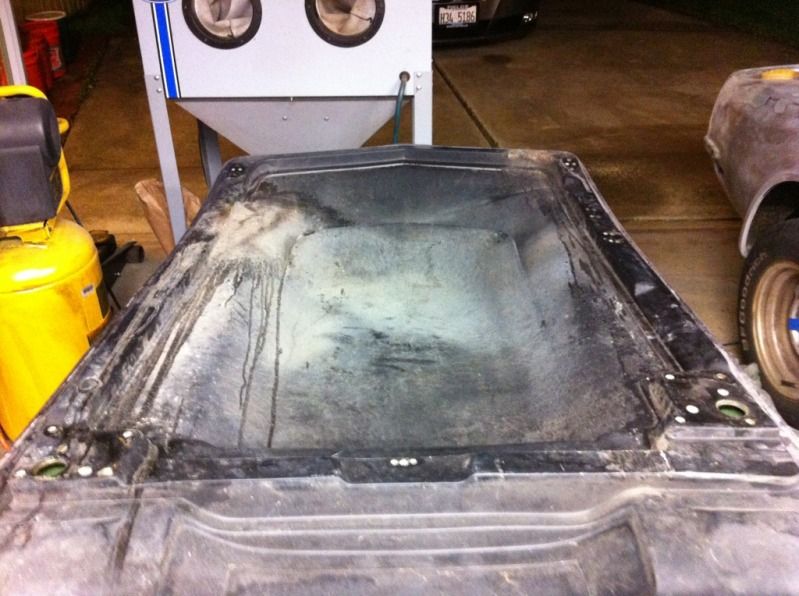
The hood is ~.5" too narrow at the top. What is the best method to build up fiberglass to the edge? I assume ill grind down the top and bottom of the edges, lay down fiberglass until I get the right thickness, then carefully cut the excess leaving an small gap?
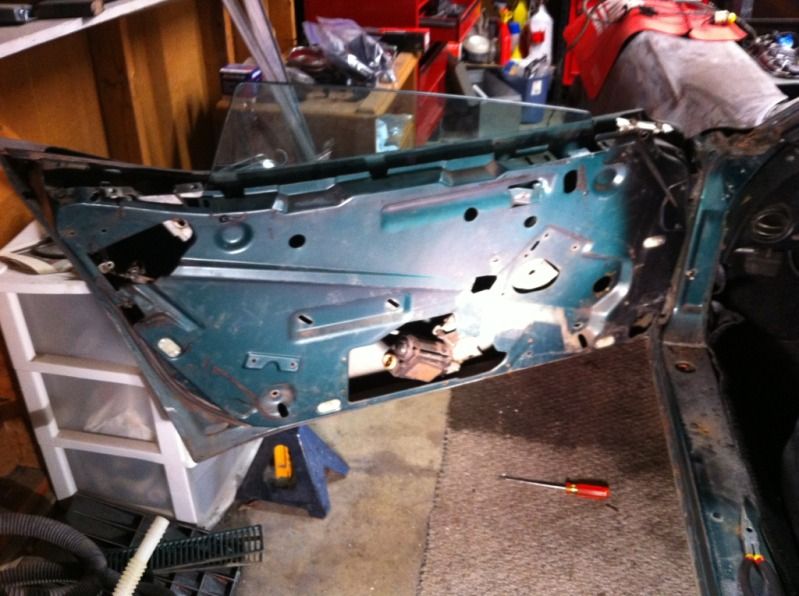
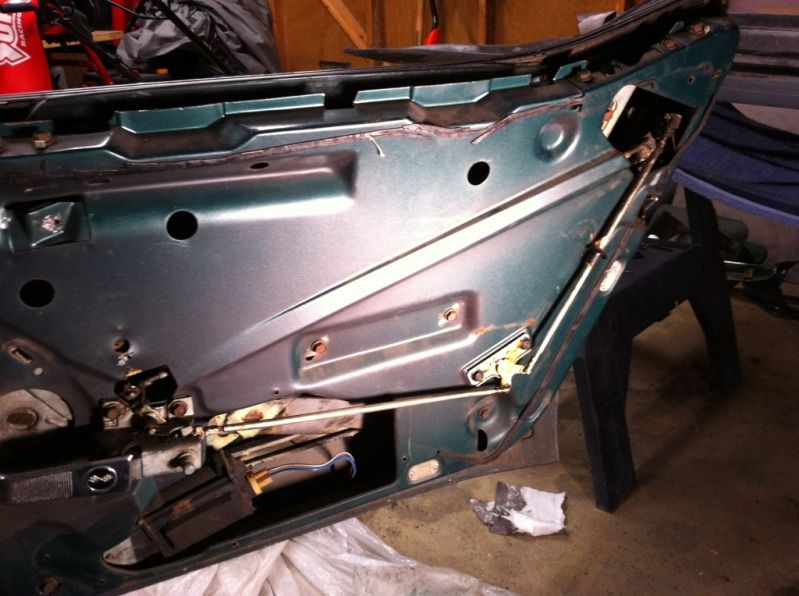
Took most of the doors apart. Whats the secret to removing the window and hardware?
Anyone have a 68-72 with a long hood? Can you post pics of this area? My intention is to add glass to this area to match the hood and make it look like a 73.
I cant wait for the real body work to start. The body is already razor straight and will make for quick work.
(yes thats the reflection of my workbench in bare fiberglass)
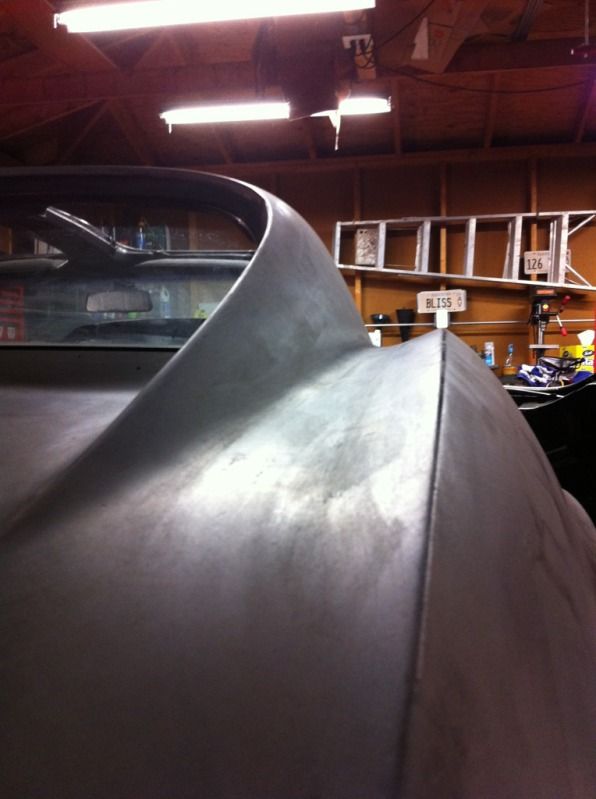
Rear fender (need to build up all the edges. Can I use short glass evercoat to do this?)
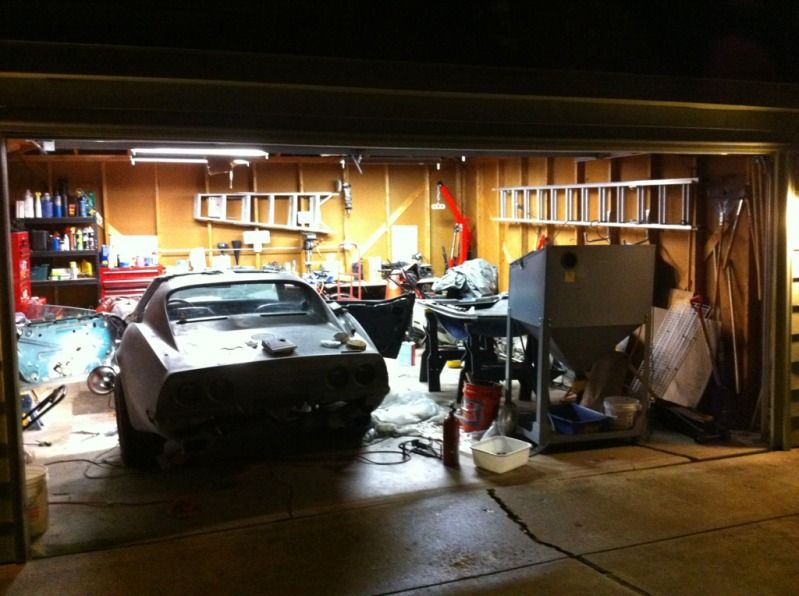
FInally a good one of the shop. Total chaos right now. It will be nice to get the hood out of the way and finish blasting parts in 2-3 weeks.
Finally completed the hood:
The bottom needs some work and one area on top will be completely removed and reglassed:
The hood is ~.5" too narrow at the top. What is the best method to build up fiberglass to the edge? I assume ill grind down the top and bottom of the edges, lay down fiberglass until I get the right thickness, then carefully cut the excess leaving an small gap?
Took most of the doors apart. Whats the secret to removing the window and hardware?
Anyone have a 68-72 with a long hood? Can you post pics of this area? My intention is to add glass to this area to match the hood and make it look like a 73.
I cant wait for the real body work to start. The body is already razor straight and will make for quick work.
(yes thats the reflection of my workbench in bare fiberglass)
Rear fender (need to build up all the edges. Can I use short glass evercoat to do this?)
FInally a good one of the shop. Total chaos right now. It will be nice to get the hood out of the way and finish blasting parts in 2-3 weeks.
 05-16-2012, 09:28 AM
#34
Racer
Thread Starter
 05-16-2012, 11:33 AM
#35
Melting Slicks

I just kept taking bolts out of mine until the whole thing came apart. The windows are running slow because the rollers are gummed up w/ old grease. If you get the regulators out and clean the tracks up in a solvent tank and re-grease everything they'll work like new again. I found that the biggest PITA was getting the handle mechanisms out...not getting them out per se but rather knowing what a pain it was gonna be to put the whole mess back together once the time came!
Considering when you started you're screaming along at very high speed-yours will probably be one of the first projects that I actuially saw completed on this forum! Great effort, bro!
Considering when you started you're screaming along at very high speed-yours will probably be one of the first projects that I actuially saw completed on this forum! Great effort, bro!
05-16-2012, 11:44 AM
#36
Racer
Thread Starter
I just kept taking bolts out of mine until the whole thing came apart. The windows are running slow because the rollers are gummed up w/ old grease. If you get the regulators out and clean the tracks up in a solvent tank and re-grease everything they'll work like new again. I found that the biggest PITA was getting the handle mechanisms out...not getting them out per se but rather knowing what a pain it was gonna be to put the whole mess back together once the time came!
Considering when you started you're screaming along at very high speed-yours will probably be one of the first projects that I actuially saw completed on this forum! Great effort, bro!
Considering when you started you're screaming along at very high speed-yours will probably be one of the first projects that I actuially saw completed on this forum! Great effort, bro!
Thanks! I really want to enjoy the car this summer so im moving as fast as I can. Over the weekend I was pondering pulling the engine and tranny so I can really clean up the engine bay. That seems to be a very slippery slope.
 05-16-2012, 01:43 PM
#37
Melting Slicks
You might notice from my thread that my car was a hand-crank window setup, so I don't know the specifics as far as how to safely get the mechanism out. Since I work on airplanes for a living which were very carefully and expensively hand-assembled I have to keep reminding myself when working on cars that they were designed with ease of assembly in mind to keep costs down, so there is probably a pretty simple way to get those motors out. I do recall seeing a couple threads about "door assembly"...you might want to check out one of those.
As far as getting "while I'm at it-itis", the last time I painted my vette I had the motor out too. It made the job easier at the time, but since the car isn't in need of a rebuild this time I'll be painting it with the motor in the car. It'll just make masking a little more difficult...
As far as getting "while I'm at it-itis", the last time I painted my vette I had the motor out too. It made the job easier at the time, but since the car isn't in need of a rebuild this time I'll be painting it with the motor in the car. It'll just make masking a little more difficult...
05-16-2012, 03:57 PM
#38
Racer
Thread Starter
You might notice from my thread that my car was a hand-crank window setup, so I don't know the specifics as far as how to safely get the mechanism out. Since I work on airplanes for a living which were very carefully and expensively hand-assembled I have to keep reminding myself when working on cars that they were designed with ease of assembly in mind to keep costs down, so there is probably a pretty simple way to get those motors out. I do recall seeing a couple threads about "door assembly"...you might want to check out one of those.
As far as getting "while I'm at it-itis", the last time I painted my vette I had the motor out too. It made the job easier at the time, but since the car isn't in need of a rebuild this time I'll be painting it with the motor in the car. It'll just make masking a little more difficult...
As far as getting "while I'm at it-itis", the last time I painted my vette I had the motor out too. It made the job easier at the time, but since the car isn't in need of a rebuild this time I'll be painting it with the motor in the car. It'll just make masking a little more difficult...
 Im 100% with you, these things always go together and come apart really easily...if you know the proper order.
  I have since learned remove the glass first. My thread on another forum is going to get a full picture by picture process for removing an automatic window and hardware. Ill re-post as much as I can here.
I keep going back and forth on the engine. On one hand the engine bay needs a lot of cleanup and its not a HUGE project to get the engine out (I hate doing the hurst shifter linkage clips), on the other I want to get the car back on the road. Eventually a dirty engine bay is going to start bugging me. Decisions decisions decisions.
Last edited by Double_take; 05-16-2012 at 03:59 PM.
 05-17-2012, 12:47 AM
#40
Racer
Thread Starter
Made a little more progress tonight. Sand blasted more parts (ill do a post about painting all the little bits sometime in the future) and finished the final lacquer thinner wipe down. There are still a few annoying bits around the gas filler opening, rear deck vents, and door jams.