
1971 Journey
 02-18-2013, 02:12 AM
#41
Melting Slicks

Thread Starter


September 2010
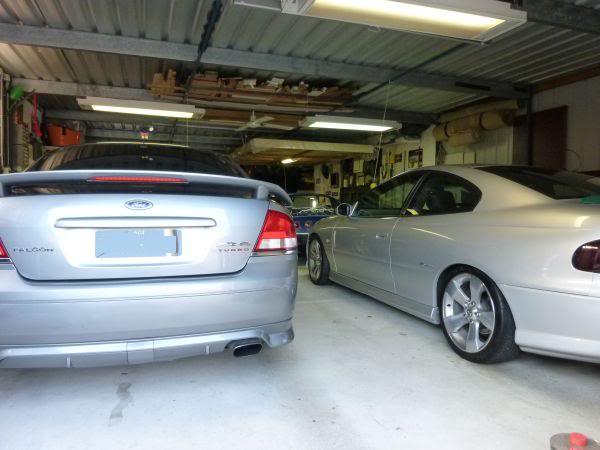
Got side tracked today cleaning our other cars and pulling the bumper out of my wife's XR6 Turbo. Courtesy of a delivery van at a circle.
Needs to go into panel shop but it can wait a few weeks. At least now the boot is not rubbing on the bumper and it sits fairly straight.
But I did find a bit of time for the vette :-)
Removed all the HVAC pipes tubes etc to give me better access to the floor.

Then I removed the console. Bagging all screws etc.
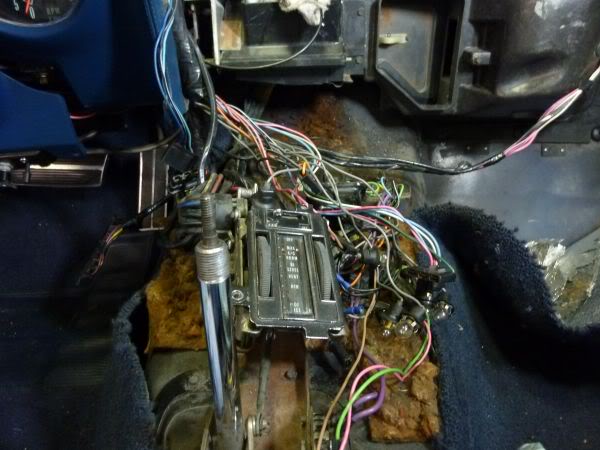
Took out the shifter and all relays etc etc.
First pass of cleaning up.
Need to brush it off a bit more then I will Dynomat the tunnel and start putting it back in.
I managed to get a pair of dash speaker mounting frames for US$9 and also a T-Top hold down strap set in light grey for US$14. (I can dye it blue)
They should be here this week so I can put the dash back in.
I also cleaned up the bottom edge of the windscreen frame where the pad attaches and repainted it all flat black.
My son is busy on the media blaster cleaning all the brackets etc ready to paint - Good to have some help.
I am having some paint mixed up so I can finish the birdcage behind the kick panels in that zinc cromate colour.
That was enough for today.
Got side tracked today cleaning our other cars and pulling the bumper out of my wife's XR6 Turbo. Courtesy of a delivery van at a circle.
Needs to go into panel shop but it can wait a few weeks. At least now the boot is not rubbing on the bumper and it sits fairly straight.
But I did find a bit of time for the vette :-)
Removed all the HVAC pipes tubes etc to give me better access to the floor.
Then I removed the console. Bagging all screws etc.
Took out the shifter and all relays etc etc.
First pass of cleaning up.
Need to brush it off a bit more then I will Dynomat the tunnel and start putting it back in.
I managed to get a pair of dash speaker mounting frames for US$9 and also a T-Top hold down strap set in light grey for US$14. (I can dye it blue)
They should be here this week so I can put the dash back in.
I also cleaned up the bottom edge of the windscreen frame where the pad attaches and repainted it all flat black.
My son is busy on the media blaster cleaning all the brackets etc ready to paint - Good to have some help.
I am having some paint mixed up so I can finish the birdcage behind the kick panels in that zinc cromate colour.
That was enough for today.
Last edited by CraigH; 04-09-2023 at 06:06 AM.

The following users liked this post:
Primoz (05-03-2021)
02-18-2013, 02:13 AM
#42
Melting Slicks
Thread Starter
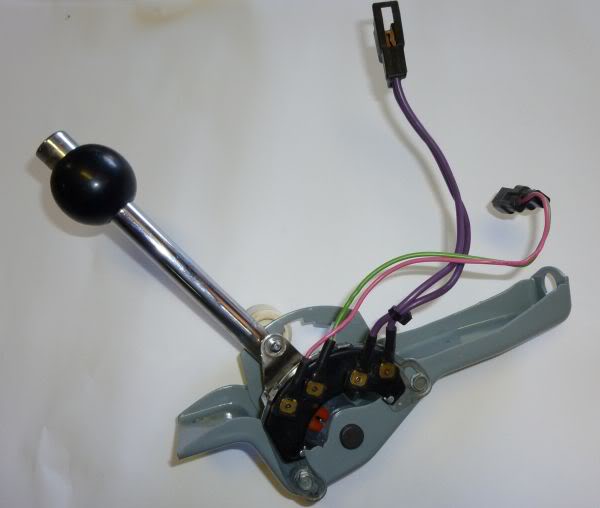
Disassembled the shifter then media blasted the frame to get rid of the rust.

Then painted the frame and cleaned and lubricated the handle as well as repaired and cleaned the switching parts.

Ready to go back together. when the paint has had a few days to dry.
Then painted the frame and cleaned and lubricated the handle as well as repaired and cleaned the switching parts.
Ready to go back together. when the paint has had a few days to dry.
Last edited by CraigH; 04-09-2023 at 06:47 AM.
02-18-2013, 02:13 AM
#43
Melting Slicks
Thread Starter
Finished off my relays for the CEC/TCS system.
Media blasted the tops and repainted the sides then coated with clear satin paint.
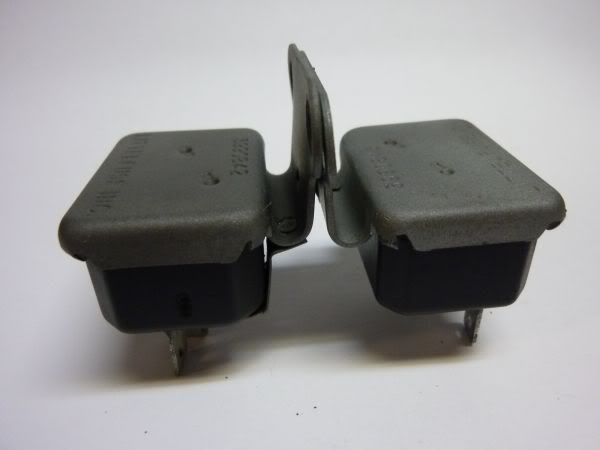
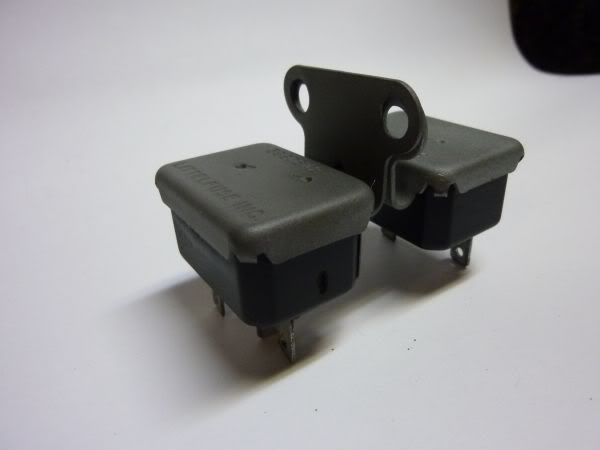
Tops look brighter in real life...am shooting without a flash.
Media blasted the tops and repainted the sides then coated with clear satin paint.
Tops look brighter in real life...am shooting without a flash.
Last edited by CraigH; 04-09-2023 at 06:47 AM.
02-18-2013, 02:14 AM
#44
Melting Slicks
Thread Starter
Started stripping the console parts
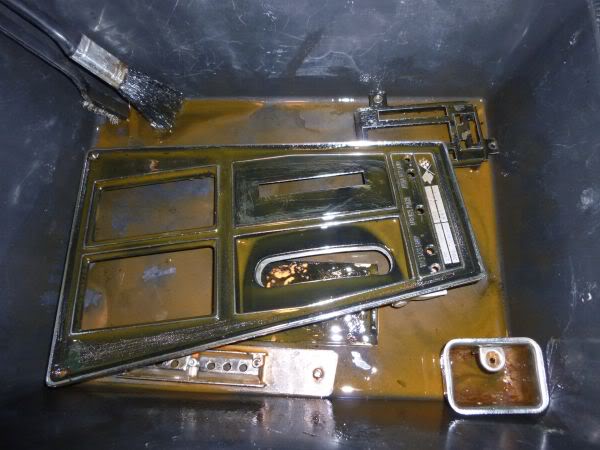
Citrus strip seems to do a good job - they will need to soak for a while.
Citrus strip seems to do a good job - they will need to soak for a while.
Last edited by CraigH; 04-09-2023 at 06:47 AM.
02-18-2013, 02:17 AM
#45
Melting Slicks
Thread Starter
While all the air vents were out I washed them all free of 40 years of dirt as well and drilled out the rivets holding metal pieces, media blasted them, painted them then put them back.

Last edited by CraigH; 04-09-2023 at 06:48 AM.
02-18-2013, 02:18 AM
#46
Melting Slicks
Thread Starter
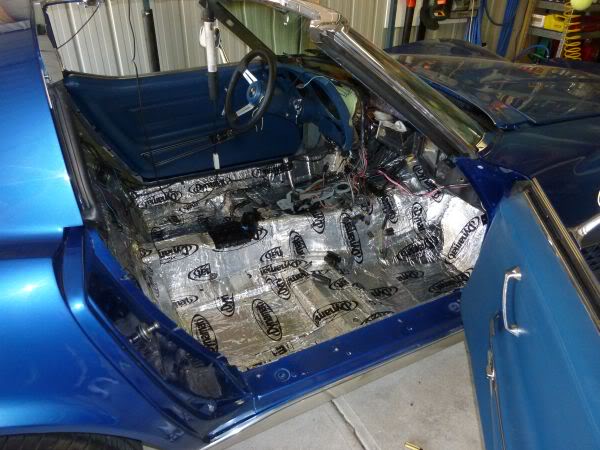
Decided that if I am going to clean up the front area I should take out the seats etc etc so I can do it properly.

Once its clean I will Dynamat the surfaces.
Gong on holidays so I will have more time to spend :-)
However there is a long list of other home tasks to be done as well....
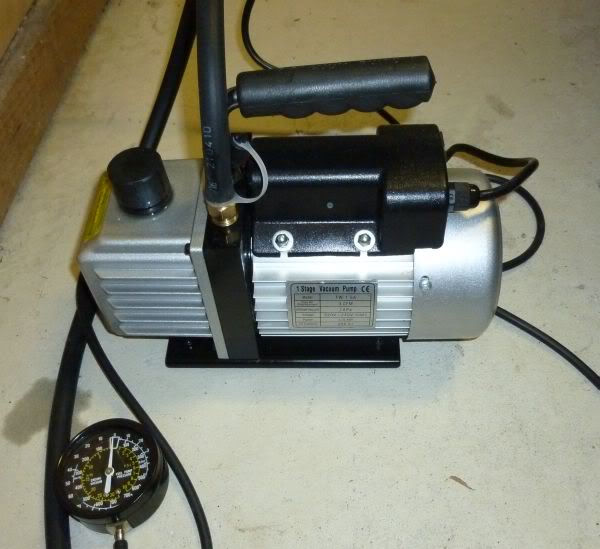
Have ordered a small electric vacuum pump so I can do testing of vacuum systems more easily -

Once its clean I will Dynamat the surfaces.
Gong on holidays so I will have more time to spend :-)
However there is a long list of other home tasks to be done as well....
Have ordered a small electric vacuum pump so I can do testing of vacuum systems more easily -
Last edited by CraigH; 04-09-2023 at 06:48 AM.
02-18-2013, 02:18 AM
#47
Melting Slicks
Thread Starter
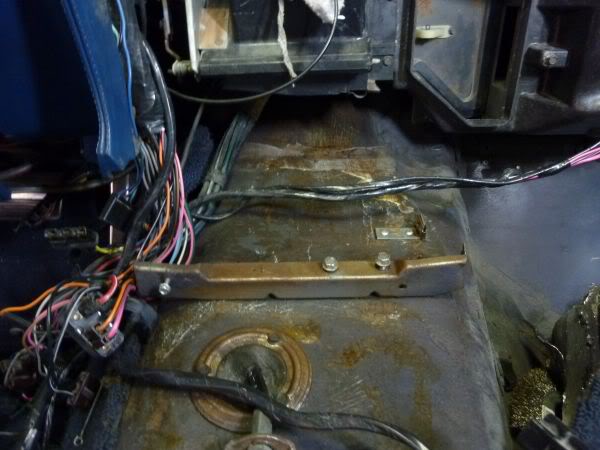
Started cleaning up the floor and the rear divider panel. Was previously sprayed with contact cement so was a pain to clean up.
Wiped down the entire floor etc with wax and grease remover the started to dynamat .
Got the rear panel, the transmission tunnel and one side finished
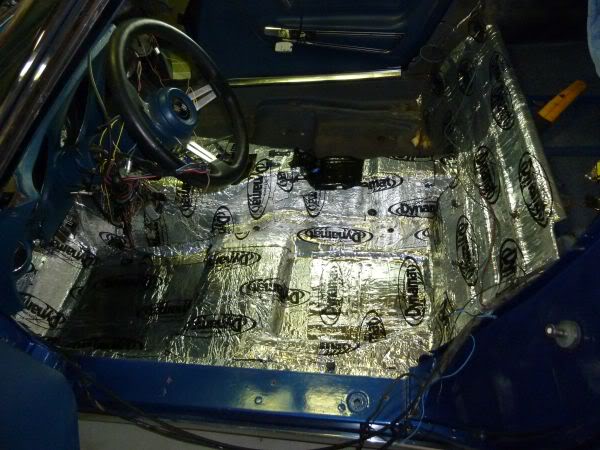
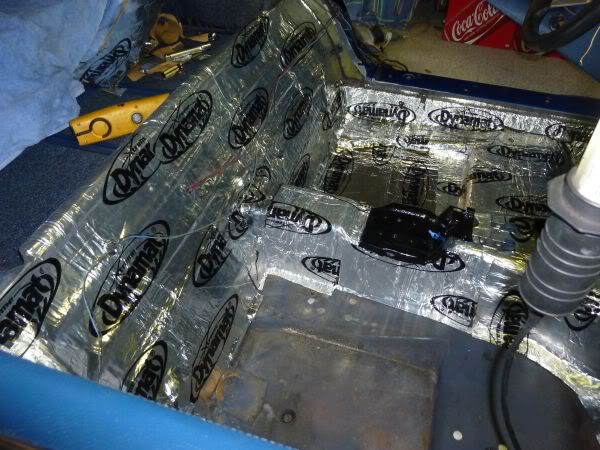
Messy and painful job but looks good in the end.
Shame it wont be seen :-(
Wiped down the entire floor etc with wax and grease remover the started to dynamat .
Got the rear panel, the transmission tunnel and one side finished
Messy and painful job but looks good in the end.
Shame it wont be seen :-(
Last edited by CraigH; 04-09-2023 at 06:48 AM.
02-18-2013, 02:19 AM
#48
Melting Slicks
Thread Starter
I put the shifter back together and its ready to go back in the car.
Need to get it in nuetral so I can move it around and open the passenger door a bit more to finish dynamat.
Need to get it in nuetral so I can move it around and open the passenger door a bit more to finish dynamat.
Last edited by CraigH; 04-09-2023 at 06:49 AM.
02-18-2013, 02:19 AM
#49
Melting Slicks
Thread Starter
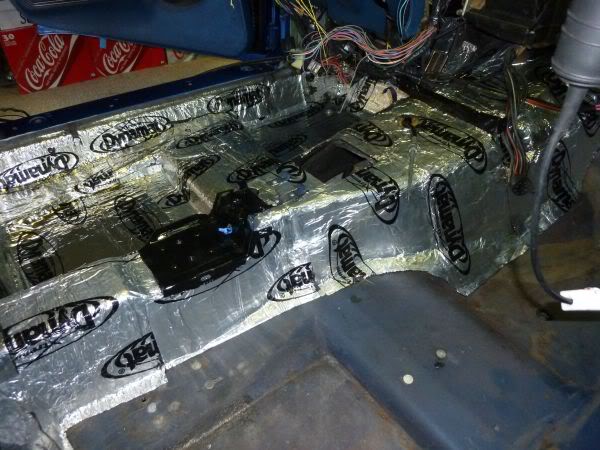
Dynamat finished in the front of the vette.
Another box ordered for the rear.
Started to refit shifter etc.

Started cleaning up all the wires and routing them neatly etc.
Another box ordered for the rear.
Started to refit shifter etc.
Started cleaning up all the wires and routing them neatly etc.
Last edited by CraigH; 04-09-2023 at 06:49 AM.
02-18-2013, 02:20 AM
#50
Melting Slicks
Thread Starter
Finished mounting and wiring the Polk 4x6 speakers on dash pad.
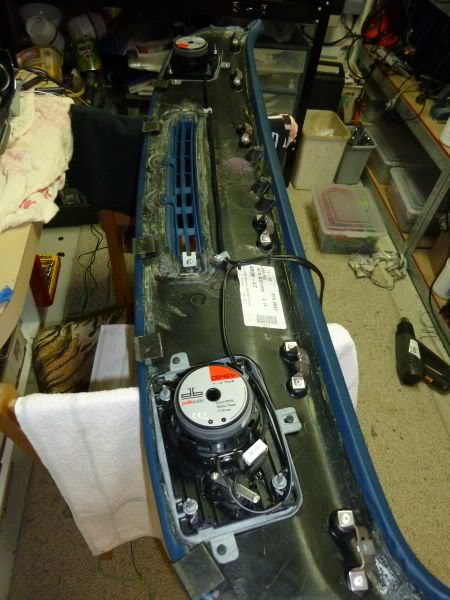
Modified the loop bracket on top of gauge cluster so no clearance problems with the speakers.
Ran all new vacuum hoses inside the car (except HVAC hoses as they all work fine)
Got a chance to test out my vacuum pump to check it all worked ok inside the car.
Adjusted all the HVAC vacuum items to ensure they opened closed properly.
Replaced seals on joins in the HVAC plastic ducts etc.
Then put dash pad back in car.
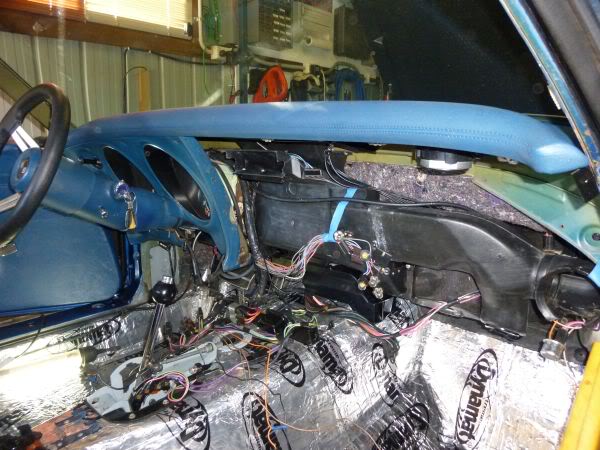
Using all new mounting hardware lets it snug up much better than before.
Modified the loop bracket on top of gauge cluster so no clearance problems with the speakers.
Ran all new vacuum hoses inside the car (except HVAC hoses as they all work fine)
Got a chance to test out my vacuum pump to check it all worked ok inside the car.
Adjusted all the HVAC vacuum items to ensure they opened closed properly.
Replaced seals on joins in the HVAC plastic ducts etc.
Then put dash pad back in car.
Using all new mounting hardware lets it snug up much better than before.
Last edited by CraigH; 04-09-2023 at 06:50 AM.


 02-18-2013, 04:36 PM
#54
Melting Slicks
It's nice you can still drive your car while doing the repairs. Mine was in boxes for many years before I could drive it.
Nice work on a good car
Nice work on a good car
02-18-2013, 04:45 PM
#55
Melting Slicks
Thread Starter
Thanks for comments guys and yes I wanted to keep it on the road while doing work.
However it has been off the road during a few updates that i will post soon. But not for too long.
However it has been off the road during a few updates that i will post soon. But not for too long.
02-18-2013, 04:45 PM
#56
Melting Slicks
Thread Starter
Cleaned up the dash pads using "Simple Green".
Amazing how much dirt it can get off.

When I took it apart I found that a previous owner liked to use toothpicks and heaps ended up at the bottom of the pocket with his chewing gum wrappers :-)
Amazing how much dirt it can get off.
When I took it apart I found that a previous owner liked to use toothpicks and heaps ended up at the bottom of the pocket with his chewing gum wrappers :-)
Last edited by CraigH; 04-09-2023 at 06:50 AM.
02-18-2013, 04:46 PM
#57
Melting Slicks
Thread Starter
Am trying to decide what wheels to put on the vette
Its down to Coys C5's in either
Polished or Polished lip with Grey center.
http://www.coyswheel.com
I am leaning more to the later one as the polished lip looks a bit like the trim ring and they Grey matches the original wheel colors
They will most likely be both 18's or possibly 17" front 18" back.
Rego does not look too kindly on staggered size rims so I may stick to 18"
Last edited by CraigH; 06-05-2018 at 10:02 PM.
02-18-2013, 04:46 PM
#58
Melting Slicks
Thread Starter
Look here for prices in US$
http://www.coyswheel.com/coys.html
Delivery to Australia is a few hundred dollars.
If your doing 18" x 8"s go 4" backspace.
If you want wider on the back there is a 9.5" option in 5.5" or 5" backspace.
5.5" would maintain exactly the outer edge per standard but be 1 1/2" closer to suspension.
5" would have 1/2" inch more dish than standard and be 1" closer to suspension.
9.5 would mean moving the brake bracket and cable and would be very close to the trailing arm but people do it.
I think I will stick to 8"
02-18-2013, 04:47 PM
#59
Melting Slicks
Thread Starter
I completed the passenger side wiring.
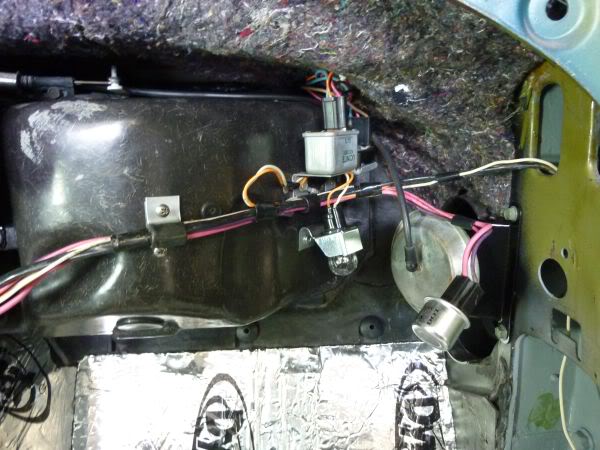
Changed it slightly from stock to put the courtesy light in a better position. Just need the bracket to hold the blinker control - I see Zip have one.
Put the dash pads back and then the center cluster.
There seems to always be so many adjustments needed to get them all to line up nicely............... then I added the console and started the alignment exercise again fw)
I feel like I do need a beer after that.
Last edited by CraigH; 04-09-2023 at 06:51 AM.
The following users liked this post:
Primoz (05-08-2021)
02-18-2013, 04:48 PM
#60
Melting Slicks
Thread Starter
Been away on holidays for 10 days so time to start again.
Ran a new oil pressure line for the gauges. Old one was not leaking but had a kink in it.

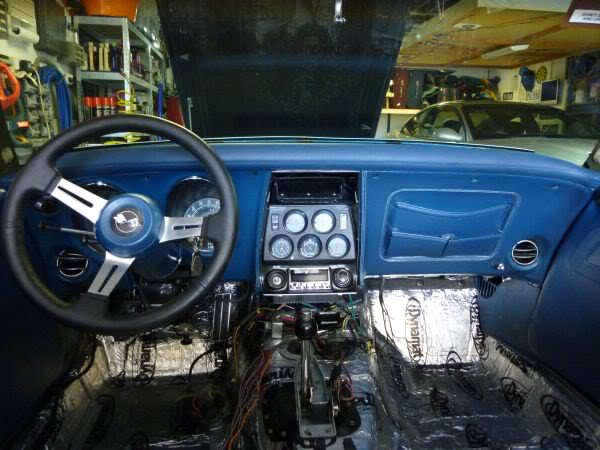
Then I spent the rest of the day test aligning the dash console etc.
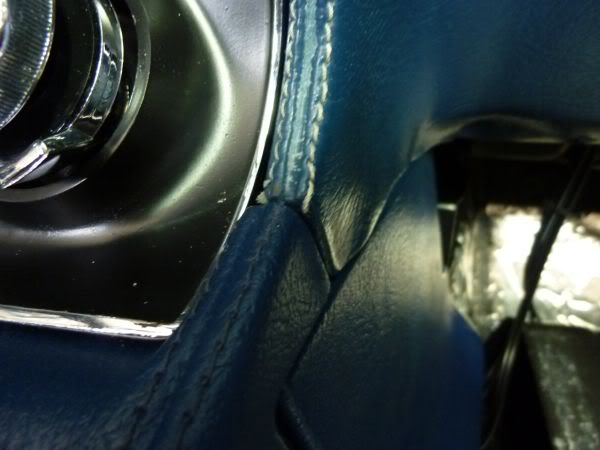
I wanted all the edges to line up nicely, but they were way out.
After massaging lots of brackets, a little bit of surgery on the lower dash pad with a dremel then lots of careful heat gun work I got it to align ok.
 .
.
Now to take it apart again and glue all the vinyl edges on the lower dash pad neatly.
Then back in for the final fit - so I think :-)
Ran a new oil pressure line for the gauges. Old one was not leaking but had a kink in it.
Then I spent the rest of the day test aligning the dash console etc.
I wanted all the edges to line up nicely, but they were way out.
After massaging lots of brackets, a little bit of surgery on the lower dash pad with a dremel then lots of careful heat gun work I got it to align ok.
.Now to take it apart again and glue all the vinyl edges on the lower dash pad neatly.
Then back in for the final fit - so I think :-)
Last edited by CraigH; 04-09-2023 at 06:51 AM.