When you click on links to various merchants on this site and make a purchase, this can result in this site earning a commission. Affiliate programs and affiliations include, but are not limited to, the eBay Partner Network.
And the linkages powder-coated and new sleeves etc. installed
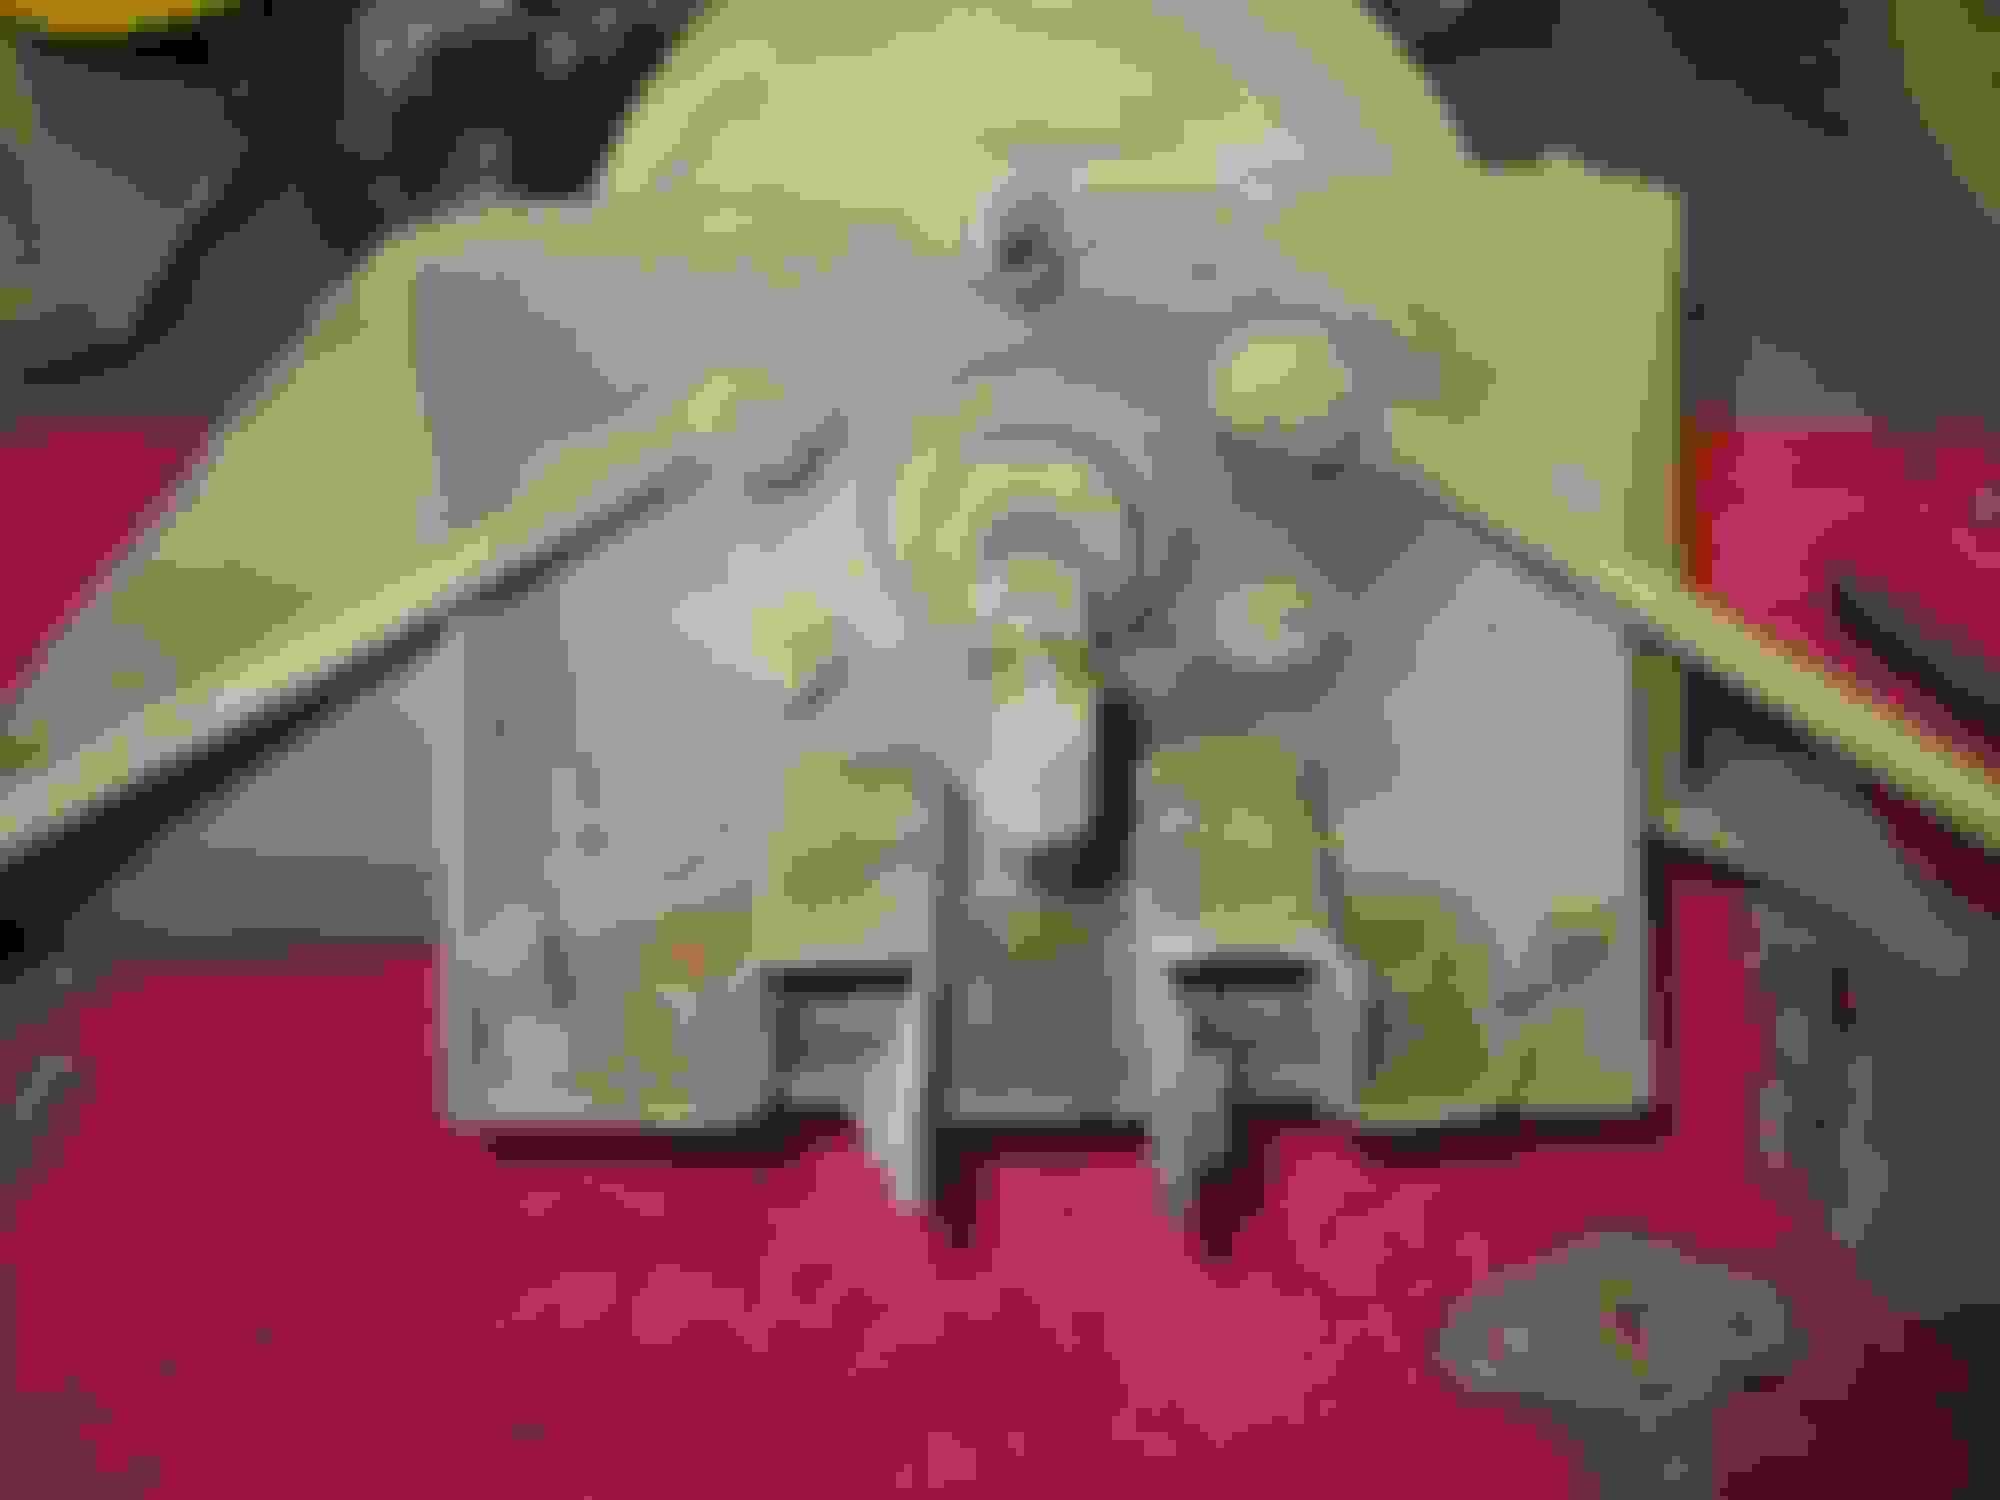
Cleaned everything down, masked and stripped the undersides and re-shot the base w/clear (looks kind of orange in the pic but it's yellow)
Cleaned and coated the bucket hardware, used black krylon fusion on the nylon parts, turned out well
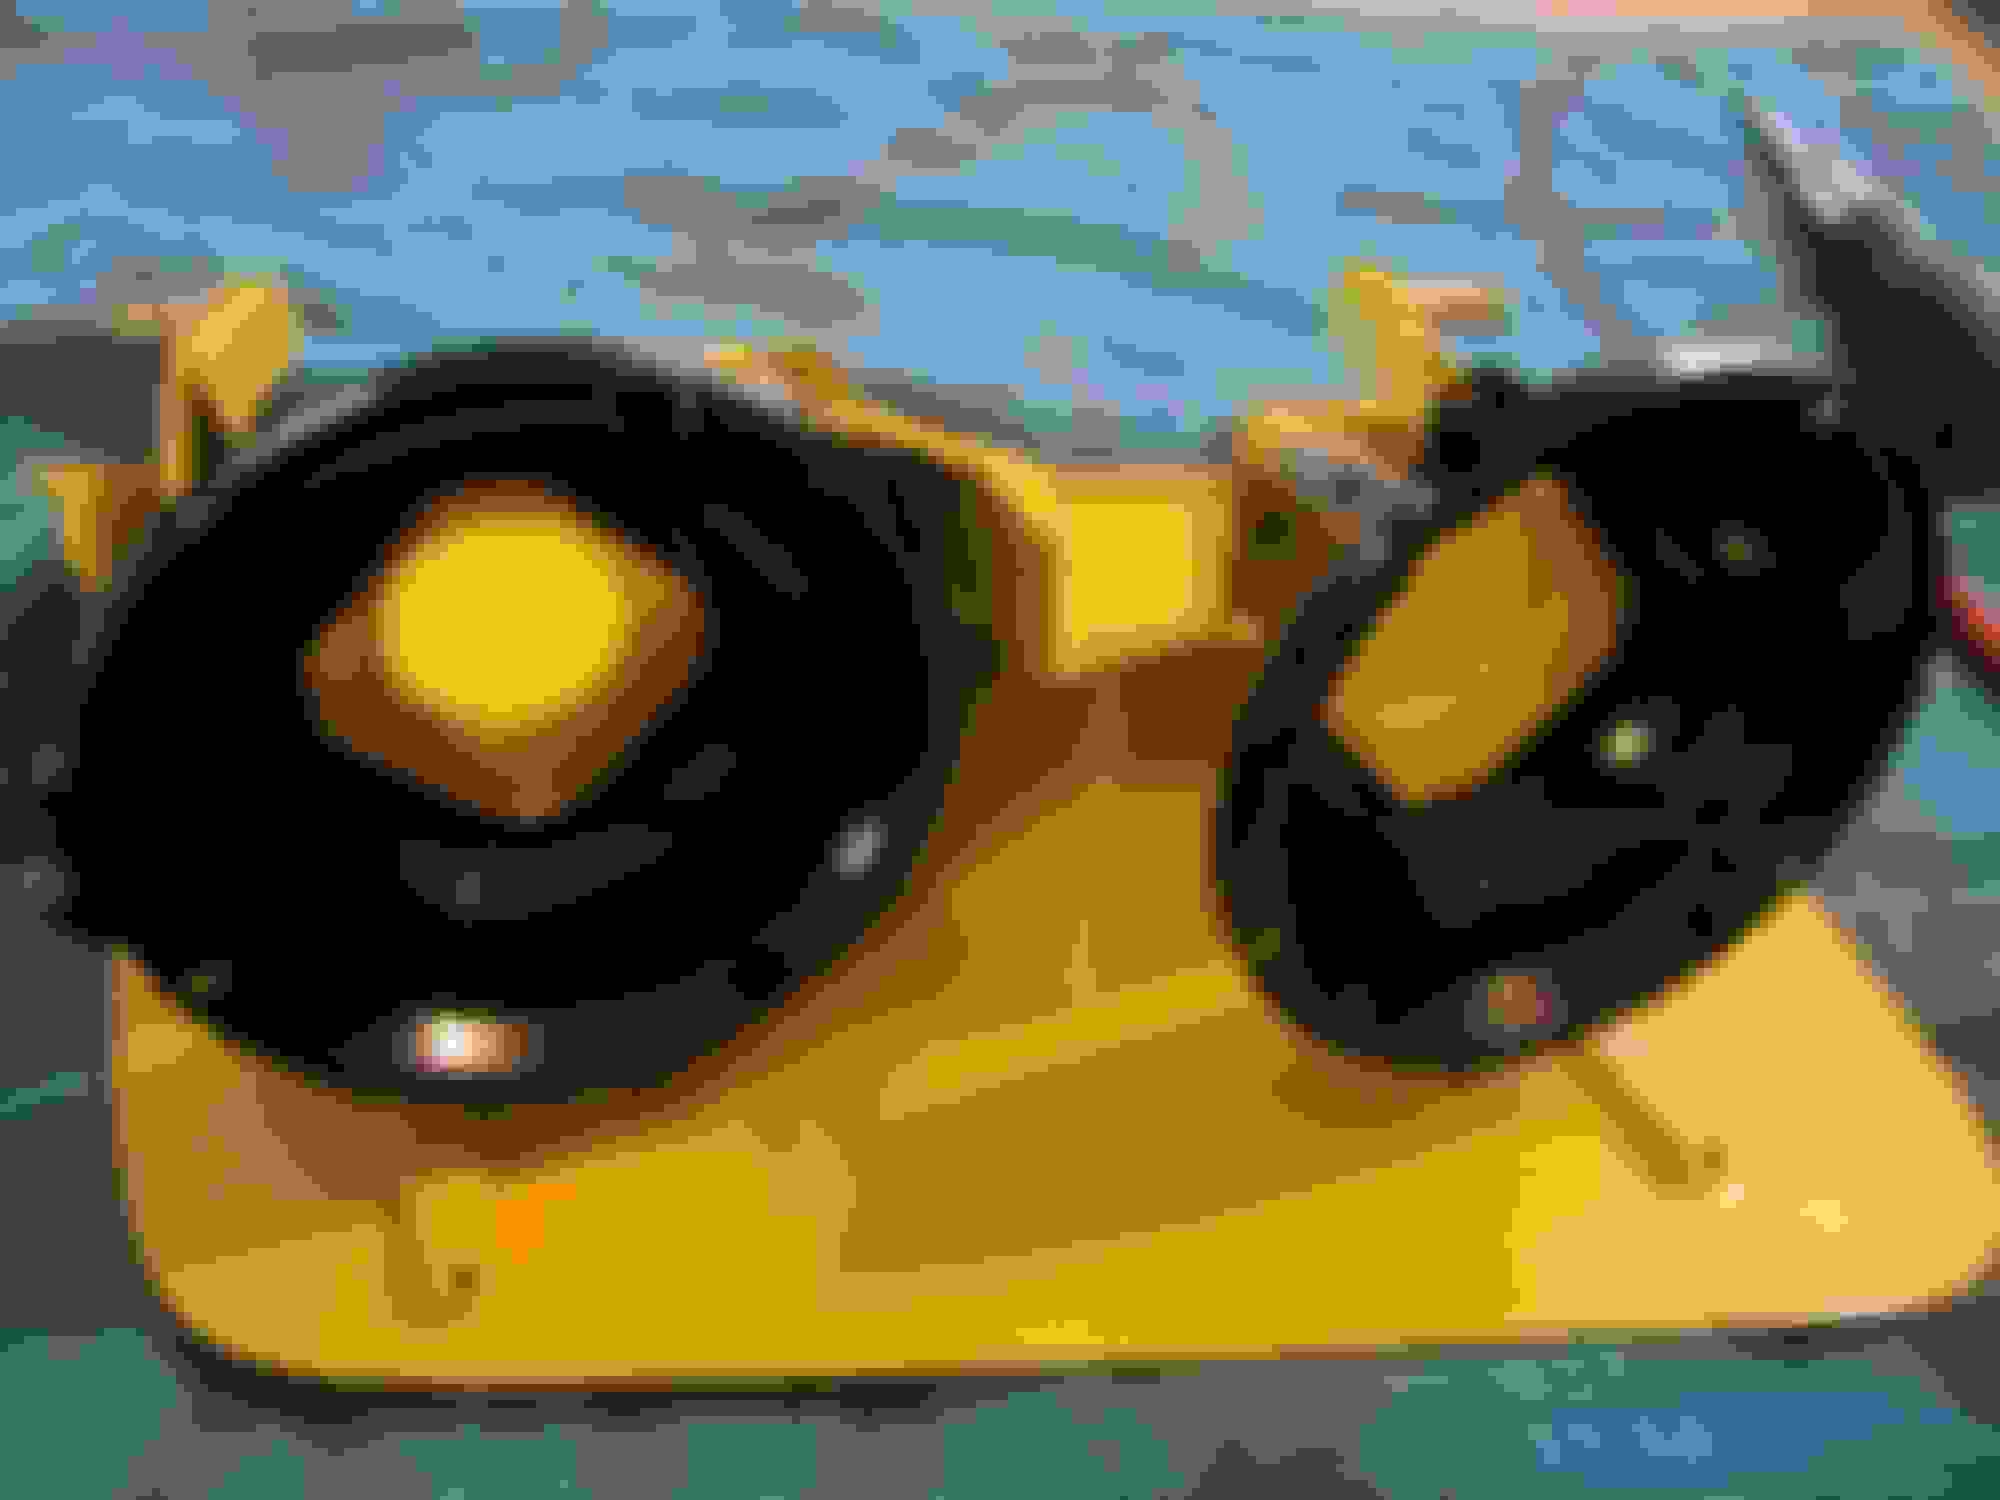
Buckets cleaned up nice and got a coat of gloss black powder
Mounted everything and set the aim screws to the mid-point for a start. Added a touch of white grease to all adjustment screws. Probably not needed but can't hurt.
The pots are different and the orientation matters
Each pot is marked beside one of the mounting slots A B C D
Looking at the front of the car the order is C B D A from left to right
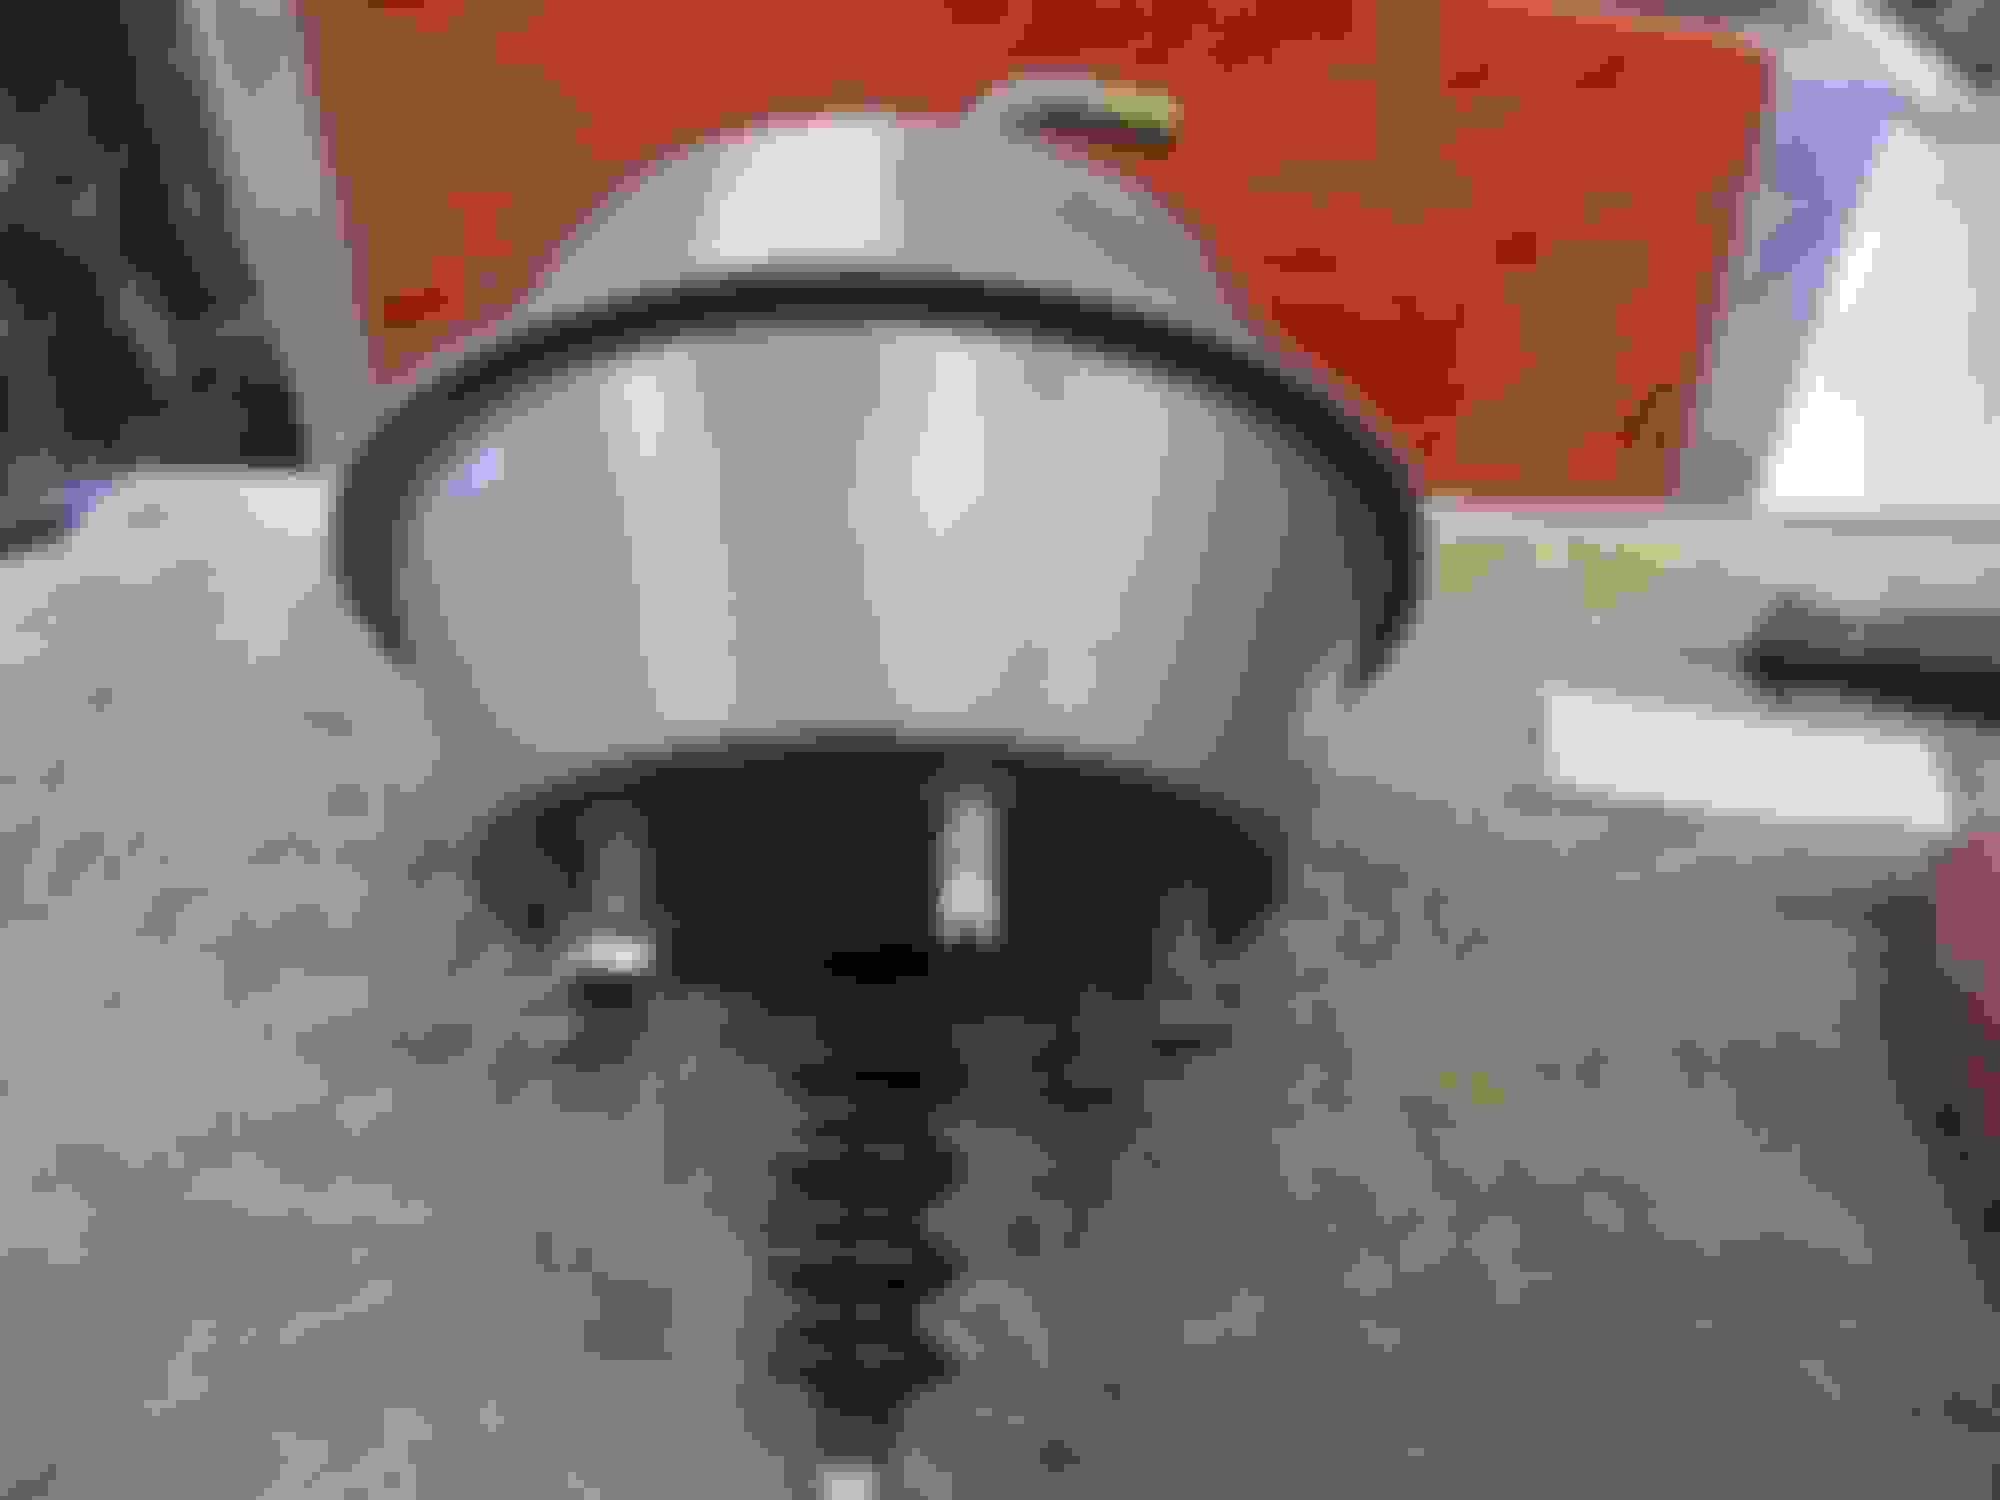
Buffed up the rings and dropped in the Wagner Halogens. I've run them for a few years and I'm quite happy with how bright they are.
Put the light and frame assy together with the linkages and gave everything a mid-point rough setting for now just to test the movements (handheld vac-pump, remarkable how much volume these have) and it still seems to function correctly (up - down - overcenter lock)
Going to remove the lid to re-install on the car but just had to see it all together first.
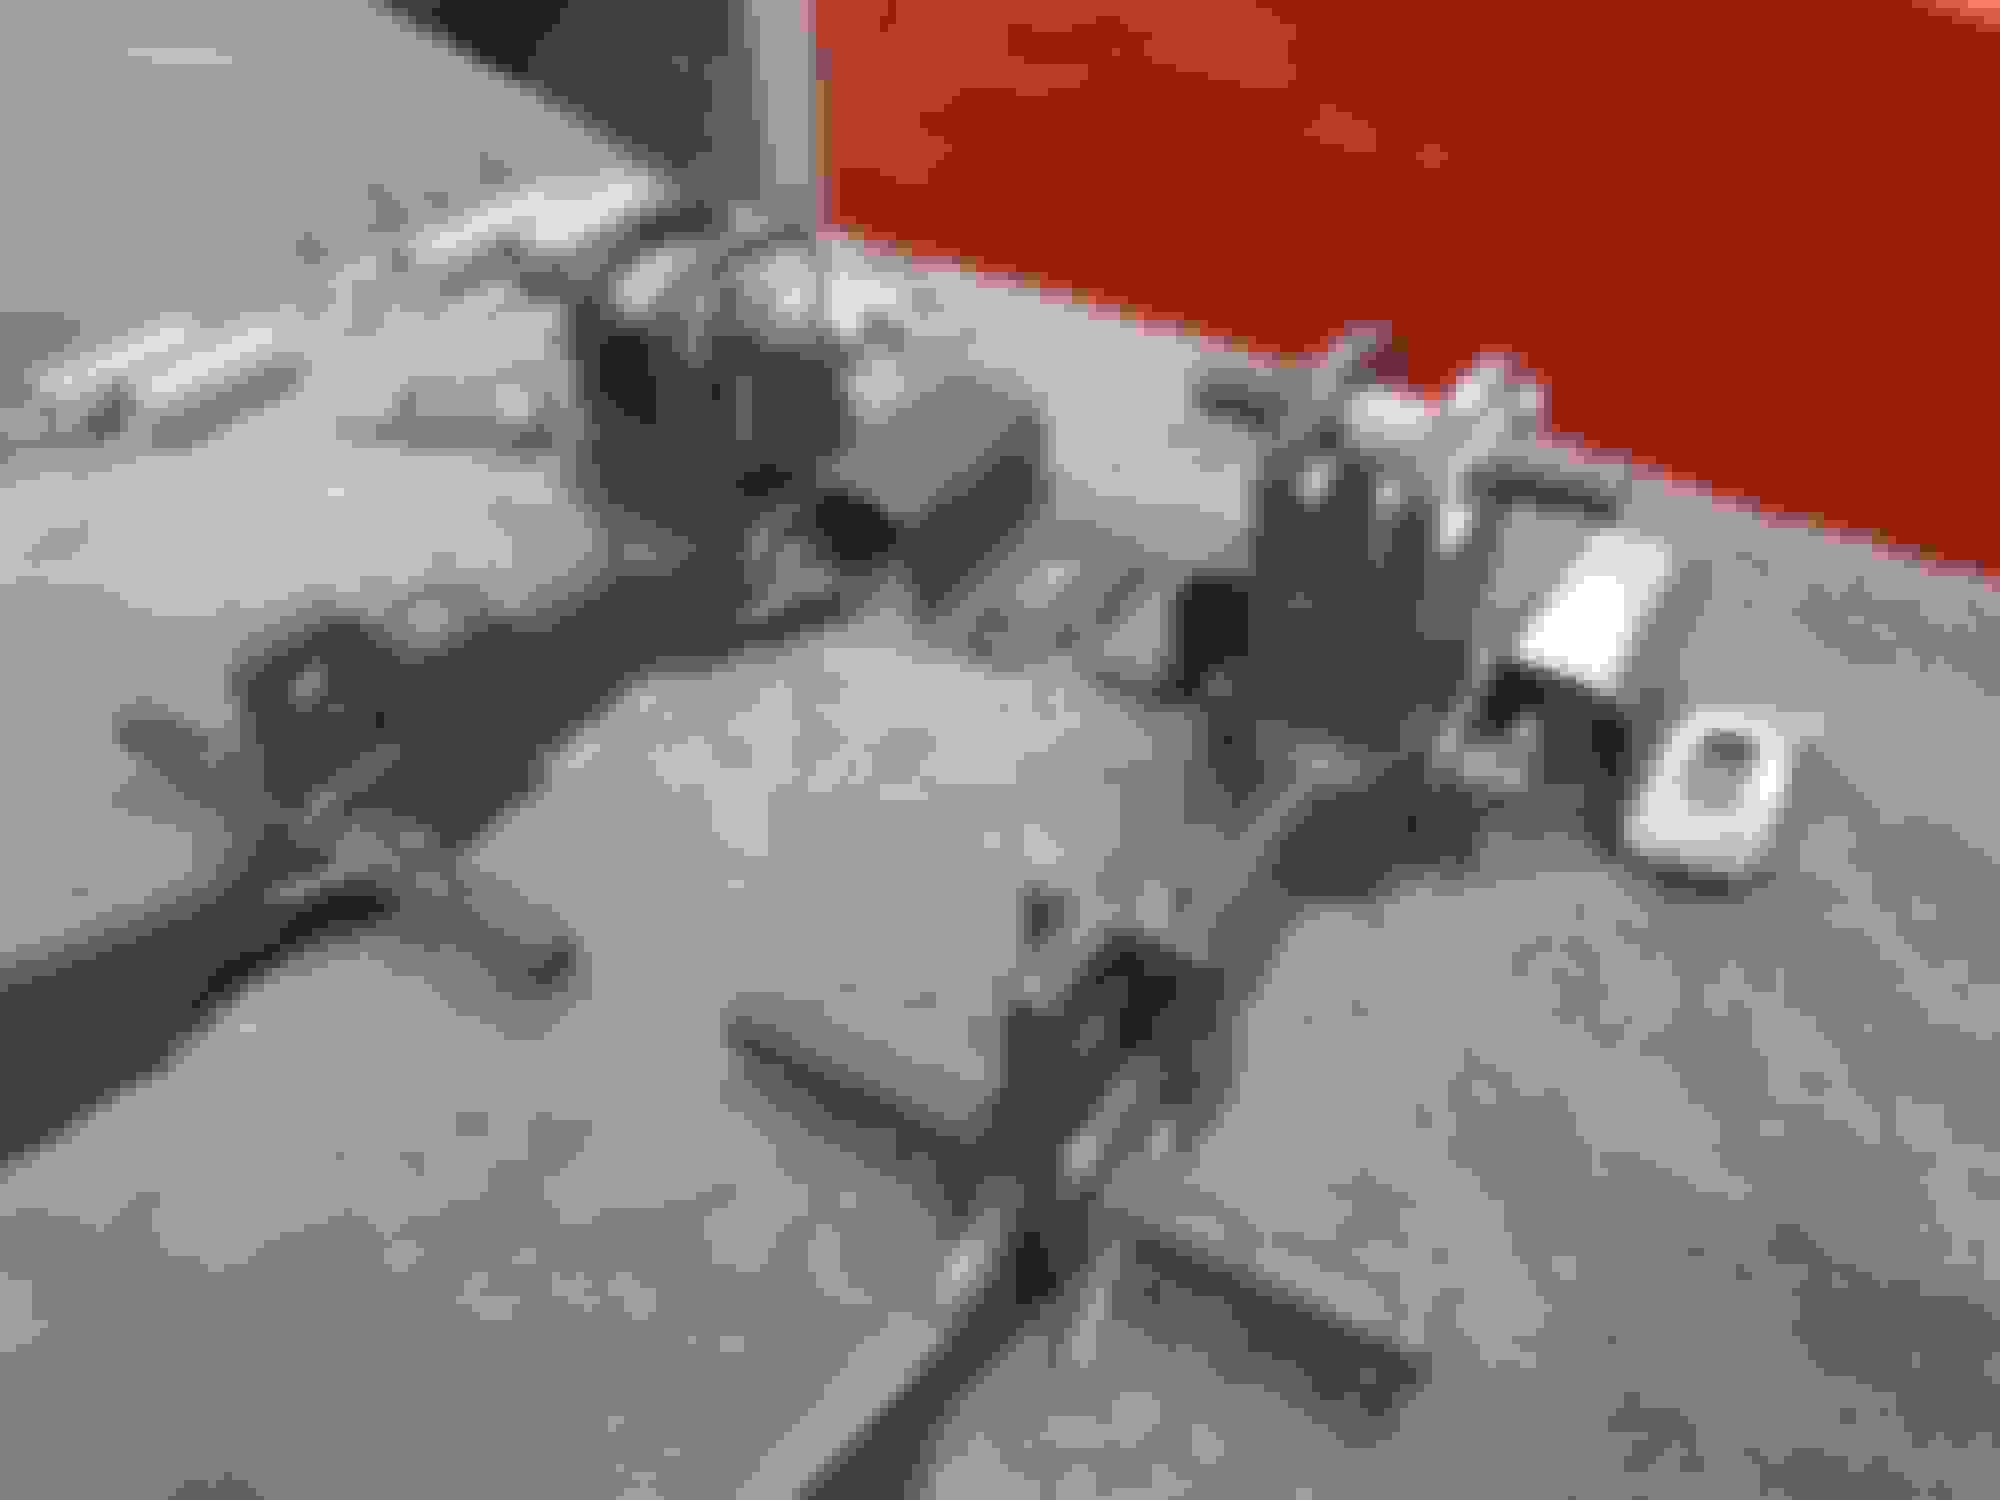
These are replacement up-stop brackets and I haven't figured out where they should sit yet,
I still don't see the real function of the curved slot where the actuator connects to the main pin. At no time does the pin slide back to the rear of the slot. The pull on the springs seems to hold it to the front pretty tightly.
Anyone have any insight other than if something jammed it would let it move some?
Now to get them back into two pieces and mount them to the car. followed by a bucketful of re-adjustments to get them to sit right again. (as I recall that was a PIA the last time)
Last edited by Mooser; 11-24-2017 at 10:35 PM.
Reason: fix photobucket mess
Hi Mooser,
My wife had to get me up off the floor and revive me?!?!?!
For me there's only one way, BUT, I realize my way isn't the ONLY way.
I can appreciate your work because I know how much effort and time it takes to do the work shown in your pictures.
I can HONESTLY say ... Well Done!
Regards,
Alan
Nice work....to say the least..... and just in time as I get ready to probably do the same thing to the 74 next month....will be checking the thread often....... Tom
Put the lids in and bolted the pivot bearings in, again just snug
With the bearings pulled all the way forward, I still didn't have enough room at the back of the lids to the body for them to open.
Loosen off the frame and moved it forward as far as possible, that allowed the bearings to have movement.
I left the linkage off and centered the lids front/rear by sliding the pivot bearings. Try to hold the rear of the lids as close to flush as possible when setting the bearings since it will move them.
Centered the lids left/right by sliding them in the pivots and then sliding the locking rings outwards and tighten the set-screw to lock them in place
Put the up-stop brackets in and loosened off the stop bolt
Installed the headlight surrounds so I could set the up-stop
Went to adjust the actuator link to touch + 1/2 turn in the up, over center position as per AIM
When I lowered the lights, the actuator was fully in and wouldn't let them down any father.
Loosened the three bolts (the one under the actuator rod is a PIA, used a 1/4" drive socket with ball end extension and it fits) that hold the linkage to the frame and slide the linkage forward almost to the end of the slots. Reset the actuator link to touch +1/2 and everything works now, slightly higher than it needs and slightly lower than in needs.
Us the center adjusting bolt to set the stop for down position
I also needed to raise the inner (center of car) pivot bearing just a hair at the same time to get it to sit nicely.
Adjusting the pivot bearings up/down also has a little of the opposite effect on the opposing corner.
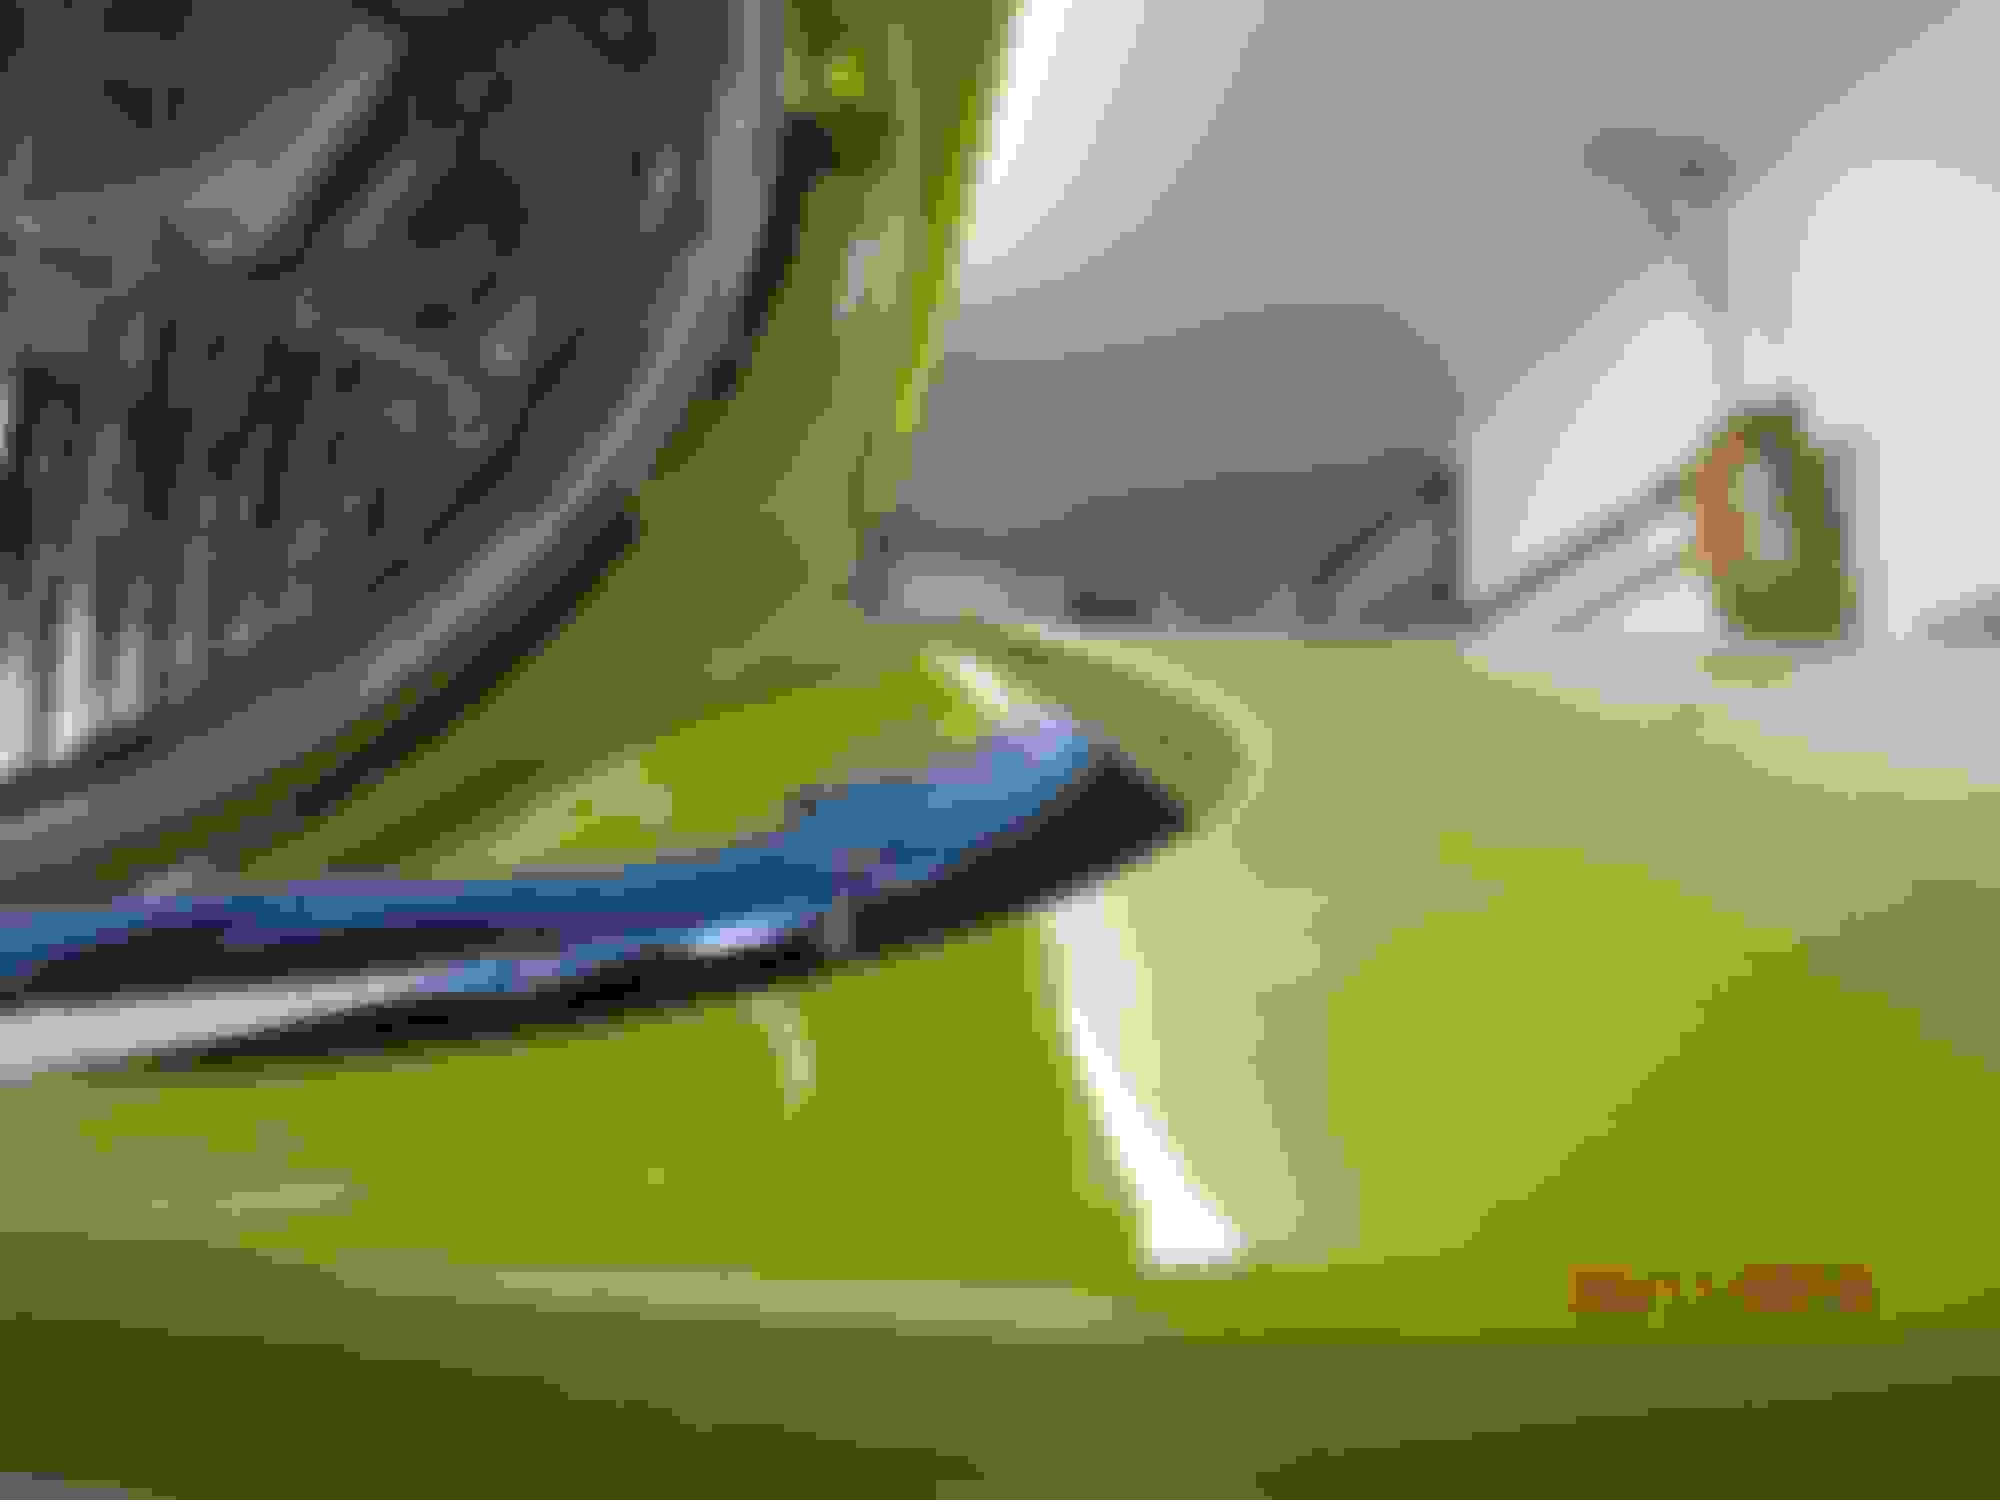
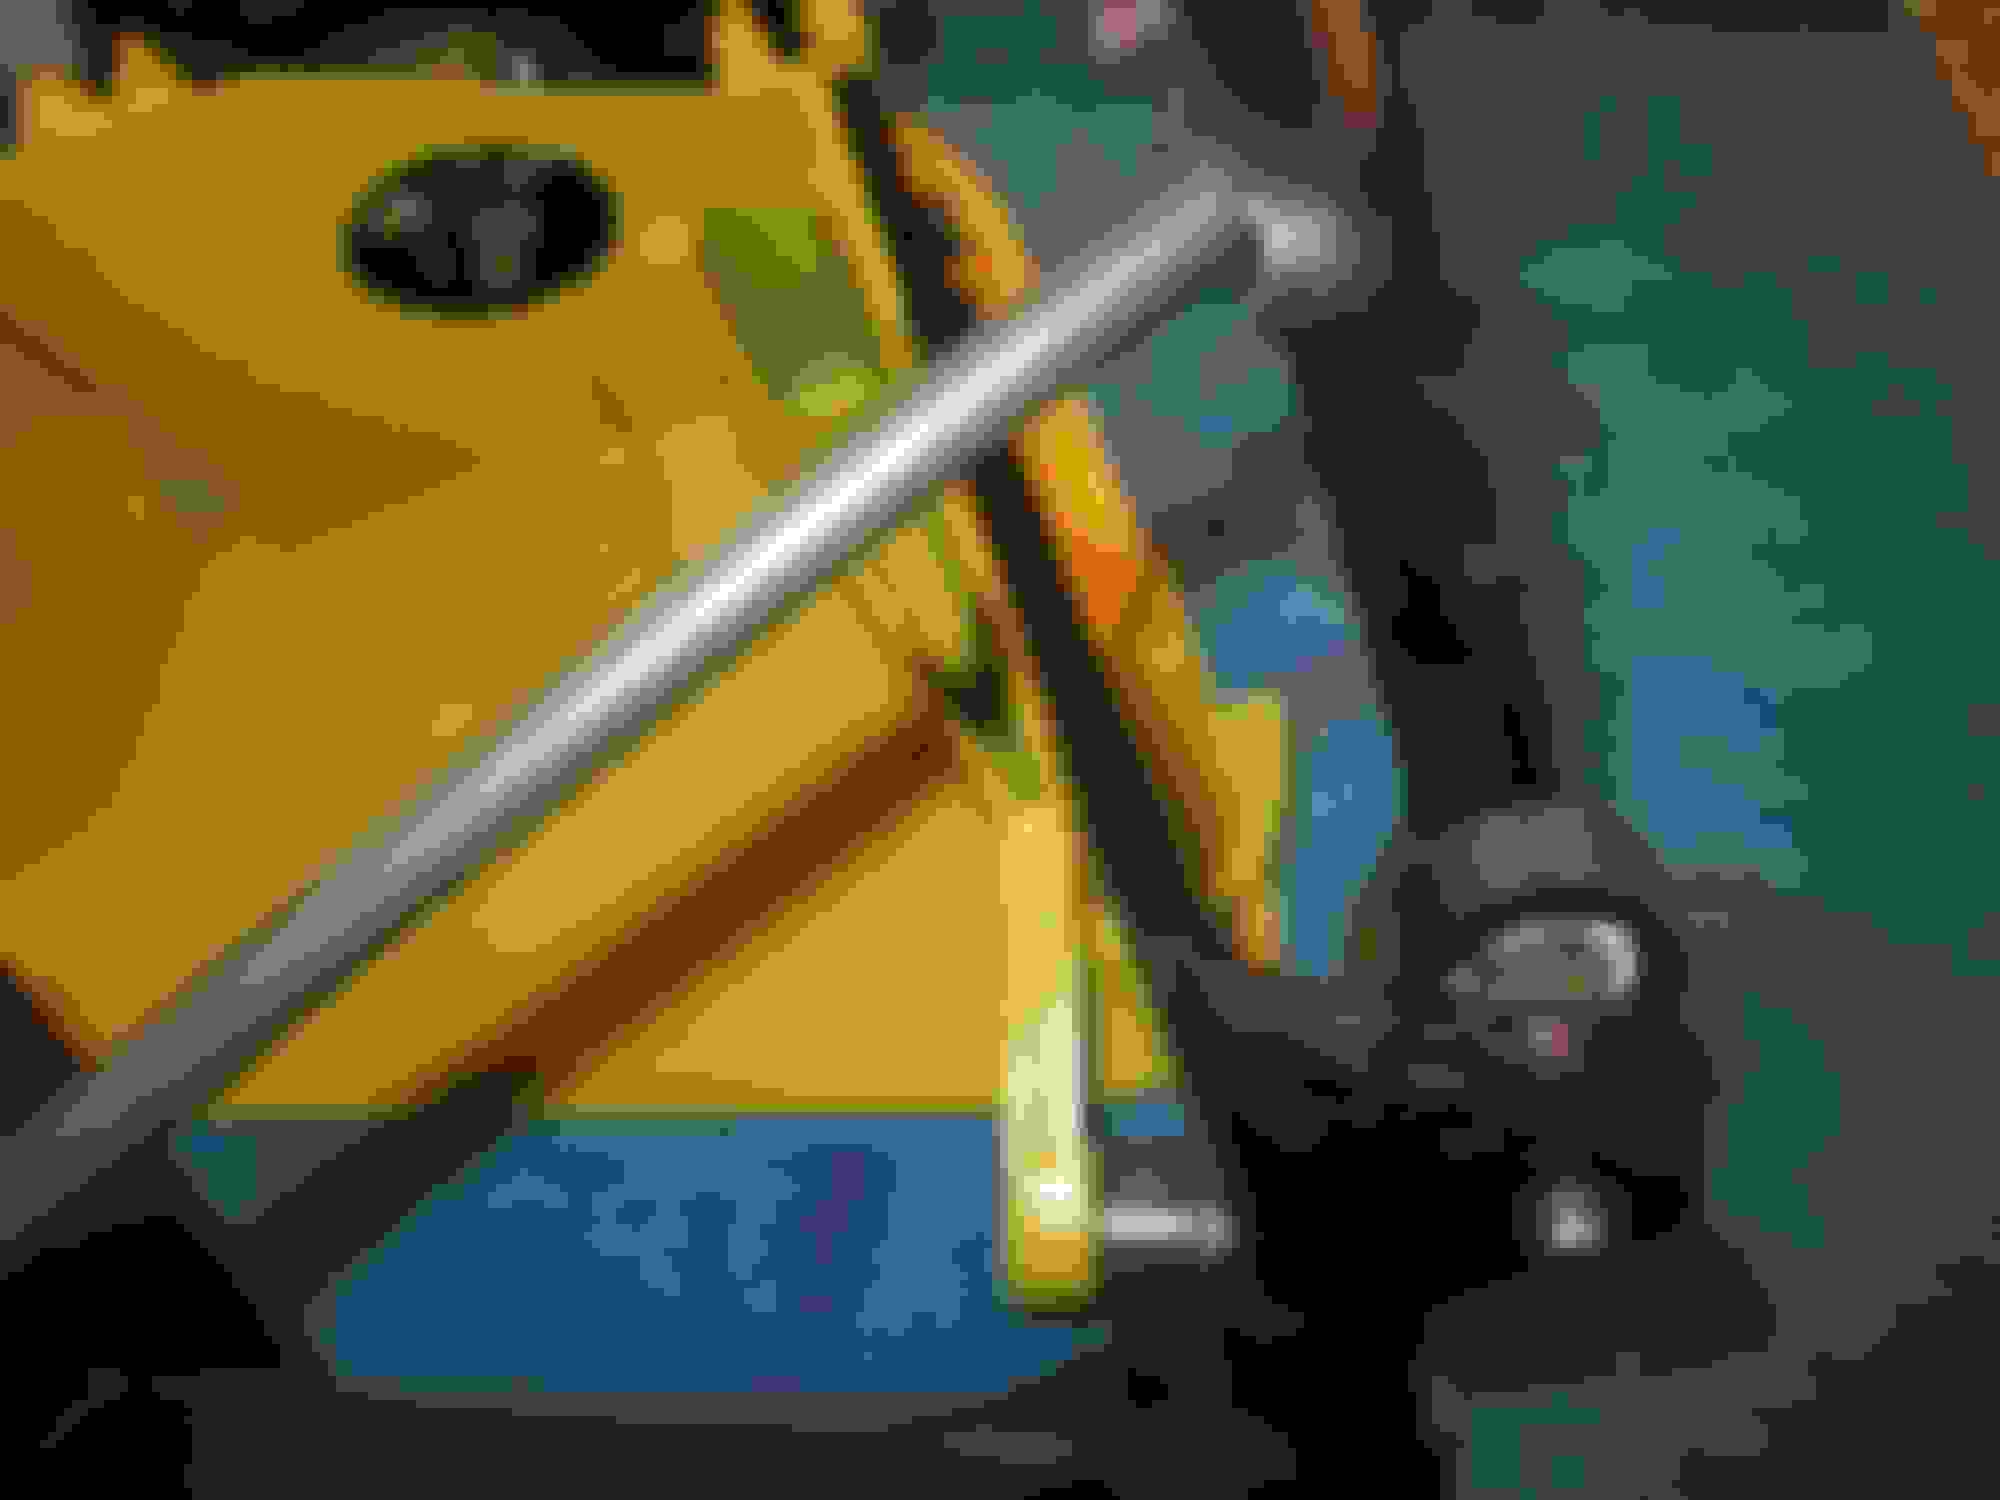
Hard to see but it's sitting almost perfect with the outboard front corner just a hair low.
With the linkage open and over-center, set the lights so that the surrounds sat the best they can.
There's no real adjustment on the surrounds so it's only raising and lowering the lid stop position until it looks good.
Once the up position is set. Brought the up-stop screw in until it touched, lower the headlights a little and gave in another full turn and tightened the lock nut, raised the headlight and it wouldn't click overcenter. moved the up-stop back in 1/2 turn and it works fine.
The rubber covers are new so I figured I could go a full turn and they would squish but I couldn't. May need to re-set the up-stops later on once everything settles in.
All in all it went pretty good if I don't count the bumper bracket problem, looks like I'm greedy and set the gap tighter than I should have.
Also notice I left the little plastic warning switched off, I'll put those on at the very end of the project, I've already broken those before and learned the hard way.
Mooser
Last edited by Mooser; 11-24-2017 at 10:47 PM.
Reason: fix photobucket mess

 05-11-2013, 11:48 PM


 Very nice work. Thanks for the write up. I like your choice of color on the light frame.


 and just in time as I get ready to probably do the same thing to the 74 next month....will be checking the thread often.......
 Tom
Tom