
Doorgunner's '68 Convertible Project
 11-27-2014, 07:20 PM
#741
Nam Labrat


Thread Starter
Member Since: Sep 2013
Location: New Orleans Loo-z-anna
Posts: 33,881
Received 4,153 Likes
on
2,726 Posts

After a great turkey dinner I took the video camera for a 1 hour ride in the project car this afternoon.
I got some really good video on some twisty roads.....good video of an idiot in a nice-looking Jeep about to pull out into my path until I hit the A I R H O R N S
I also discovered that when I get above XXX mph, the rear tires pic up a vibration (owning "straight-axle" differential vehicles all my life--I forgot my project car "is a different kind of animal"). Tomorrow they will "get balanced"!
Annnnnnnnnnnd again---NO OVERHEATING!
Now......
about the video........ ......
it would not download....at all.....

I'll try again tomorrow.................unless God has other plans.
I got some really good video on some twisty roads.....good video of an idiot in a nice-looking Jeep about to pull out into my path until I hit the A I R H O R N S
I also discovered that when I get above XXX mph, the rear tires pic up a vibration (owning "straight-axle" differential vehicles all my life--I forgot my project car "is a different kind of animal"). Tomorrow they will "get balanced"!
Annnnnnnnnnnd again---NO OVERHEATING!
Now......
about the video........
......it would not download....at all.....
I'll try again tomorrow.................unless God has other plans.
Last edited by doorgunner; 11-28-2014 at 05:05 PM.
 11-28-2014, 10:30 PM
#742
Nam Labrat
Thread Starter
Member Since: Sep 2013
Location: New Orleans Loo-z-anna
Posts: 33,881
Received 4,153 Likes
on
2,726 Posts
NO GO today.........I had too many things on the to-do list (but I did manage to drop the two rear tires off at the shop to have them balanced)......the car was picking up vibration above 60 mph......(60 )
and the rear tires were the ONLY "parts" that haven't been dissected that could cause the problem.

)and the rear tires were the ONLY "parts" that haven't been dissected that could cause the problem.
11-29-2014, 05:42 AM
#743
Nam Labrat
Thread Starter
Member Since: Sep 2013
Location: New Orleans Loo-z-anna
Posts: 33,881
Received 4,153 Likes
on
2,726 Posts
Bad news...............and Good news!
The tach cable snapped off internally....I didn't pay attention to the kink in the cable against the firewall
BUT...three auto parts stores later...Blue's Auto Parts had a cable that fit in stock---so I put my rookie skill to use---15 minutes later I was back on the road with a re-indexed plug-wire distributor cap and a new tach cable (I made sure that the distributor/tach cable were rotated to be kink-free...timed it to the same RPM as before the cable broke)
Thanks, Forum members.....it's nice to have all the info available to keep the project car rolling!
(Which reminds me...I need to put the bearing puller in my tool box so I can complete ANY repair on the road...makes me glad I did all the rebuilding myself........positive thinking....LOL)
Last edited by doorgunner; 11-29-2014 at 05:49 AM.
11-29-2014, 06:17 AM
#744


Bad news...............and Good news!
The tach cable snapped off internally....I didn't pay attention to the kink in the cable against the firewall
BUT...three auto parts stores later...Blue's Auto Parts had a cable that fit in stock---so I put my rookie skill to use---15 minutes later I was back on the road with a re-indexed plug-wire distributor cap and a new tach cable (I made sure that the distributor/tach cable were rotated to be kink-free...timed it to the same RPM as before the cable broke)
Thanks, Forum members.....it's nice to have all the info available to keep the project car rolling!
(Which reminds me...I need to put the bearing puller in my tool box so I can complete ANY repair on the road...makes me glad I did all the rebuilding myself........positive thinking....LOL)
The tach cable snapped off internally....I didn't pay attention to the kink in the cable against the firewall
BUT...three auto parts stores later...Blue's Auto Parts had a cable that fit in stock---so I put my rookie skill to use---15 minutes later I was back on the road with a re-indexed plug-wire distributor cap and a new tach cable (I made sure that the distributor/tach cable were rotated to be kink-free...timed it to the same RPM as before the cable broke)
Thanks, Forum members.....it's nice to have all the info available to keep the project car rolling!
(Which reminds me...I need to put the bearing puller in my tool box so I can complete ANY repair on the road...makes me glad I did all the rebuilding myself........positive thinking....LOL)
 11-29-2014, 06:39 AM
#745
Nam Labrat
Thread Starter
Member Since: Sep 2013
Location: New Orleans Loo-z-anna
Posts: 33,881
Received 4,153 Likes
on
2,726 Posts
My compact tool box is generic/U.S and metric tools....the box went into any car that I was taking on a road-trip.
I will make up a dedicated compact box for the Corvette consisting of U.S tools only....this will provide plenty of room in the box for the bearing puller/specialty tools....which means I will never need the bearing puller---because it will be in the car at all times...Strategy!!!!
 11-29-2014, 07:48 PM
#746
Nam Labrat
Thread Starter
Member Since: Sep 2013
Location: New Orleans Loo-z-anna
Posts: 33,881
Received 4,153 Likes
on
2,726 Posts
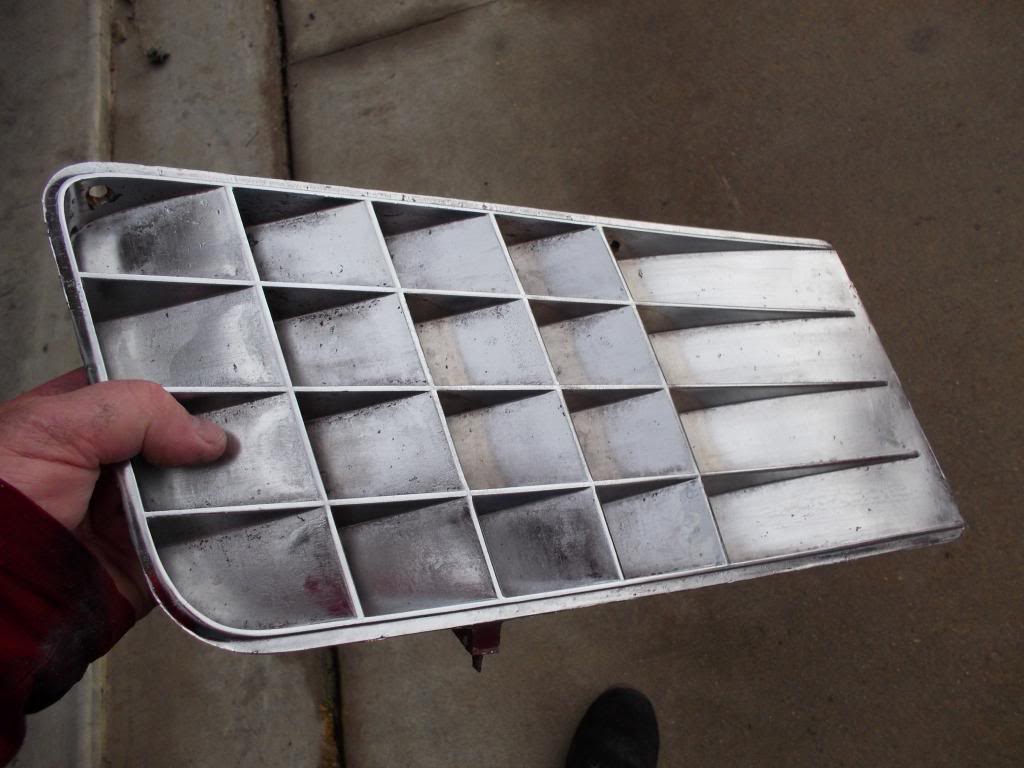
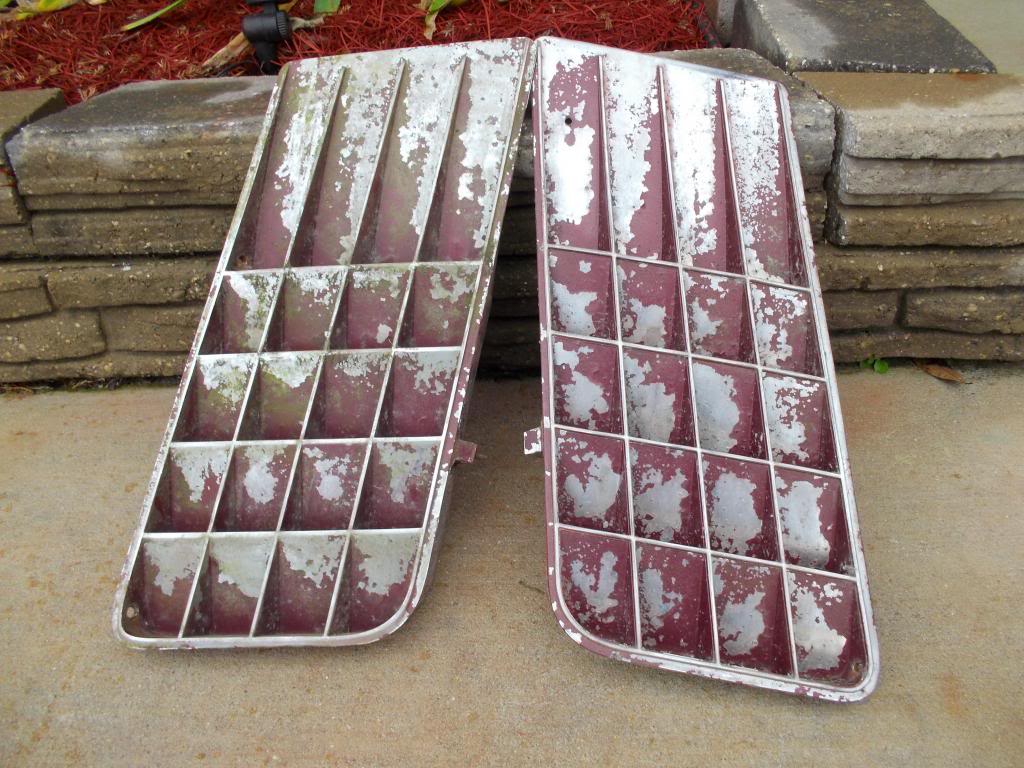
BATS....they are aluminm with GM part numbers......the raised chrome trim is in good shape...... ? 1970/1971 ?
What do you think price-wise for a quick sale?


What do you think price-wise for a quick sale?


Last edited by doorgunner; 12-05-2014 at 12:19 PM.

 11-29-2014, 08:27 PM
#748
Nam Labrat
Thread Starter
Member Since: Sep 2013
Location: New Orleans Loo-z-anna
Posts: 33,881
Received 4,153 Likes
on
2,726 Posts
11-30-2014, 10:51 AM
#749
Nam Labrat
Thread Starter
Member Since: Sep 2013
Location: New Orleans Loo-z-anna
Posts: 33,881
Received 4,153 Likes
on
2,726 Posts
COPIED FROM THE "INTERIOR HEAT" THREAD (to keep all the info "findable"):
Thanks Men....I made sure I did every improvement this thread offered...the top-radiator-foam was missing on my project car /being a rookie, I didn't know it needed one (along with many more things LOL)....improvements which made the interior FINALLY comfortable (there's nothing like sitting at a traffic light with the top down and SWEAT/not perspiration LOL.....pouring down your face.....NOT BECAUSE OF THE SUN.....but because of the 140*F inner firewall and floorboard.
Also....I believed in 100 years of 'AUTOMOBILING", there MUST be a better way of cooling the engine/engine bay.....and give extra life to the engine and accessories, while helping to keep unwanted heat out of the cabin.
Now, the radiator is happy with it's own fresh-air cooling fan.....the engine is happy with it's own fresh-air cooling fan....the carb is happy with it's "CAI" (if you can call 95* summer air Cold.....LOL).......and my poor feet are happy!
I think I saw this somewhere on this forum, but it bears repeating.
Make sure you have the weatherstrip on the top of the radiator.
Otherwise the outside are comes in the front and bypasses the radiator, getting further heated by the engine and flows into the vents, very hot. Not to mention overheated engine.
I went to Lowes and got 2 inch foam weatherstrip, glued to the top rail of the radiator across the entire width of the engine bay.
There is and official part for this, but my solution was only about $10 including some 3m weatherstrip glue. Also make sure the hood gasket is in place.
Dropped the engine temp nearly 60 degrees, and made the interior much more comfortable.
I have a 1979 L-48 auto.
I have a 79 that had a interior heat problem but I have solved it. I cover the underside of the car with the dei floor and tunnel shield and lined the inside of the floor with dyno mat and the fire wall with Dyno liner. Before driving this car would back me and long trips would burn my leg. In fact my carpet gad melted to the floor next to the gas peddle. Now with the outside temp at 105 and driving at 80 mph for a hour + the floor is the same temp as my seat. This is a 355 with 335 hp at the wheels long tube headers a t10 and 3.55 gears. But also everything else in the car is sealed up well.
Thanks Men....I made sure I did every improvement this thread offered...the top-radiator-foam was missing on my project car /being a rookie, I didn't know it needed one (along with many more things LOL)....improvements which made the interior FINALLY comfortable (there's nothing like sitting at a traffic light with the top down and SWEAT/not perspiration LOL.....pouring down your face.....NOT BECAUSE OF THE SUN.....but because of the 140*F inner firewall and floorboard.
Also....I believed in 100 years of 'AUTOMOBILING", there MUST be a better way of cooling the engine/engine bay.....and give extra life to the engine and accessories, while helping to keep unwanted heat out of the cabin.
Now, the radiator is happy with it's own fresh-air cooling fan.....the engine is happy with it's own fresh-air cooling fan....the carb is happy with it's "CAI" (if you can call 95* summer air Cold.....LOL).......and my poor feet are happy!
Last edited by doorgunner; 11-30-2014 at 01:31 PM.
11-30-2014, 07:17 PM
#750
Nam Labrat
Thread Starter
Member Since: Sep 2013
Location: New Orleans Loo-z-anna
Posts: 33,881
Received 4,153 Likes
on
2,726 Posts

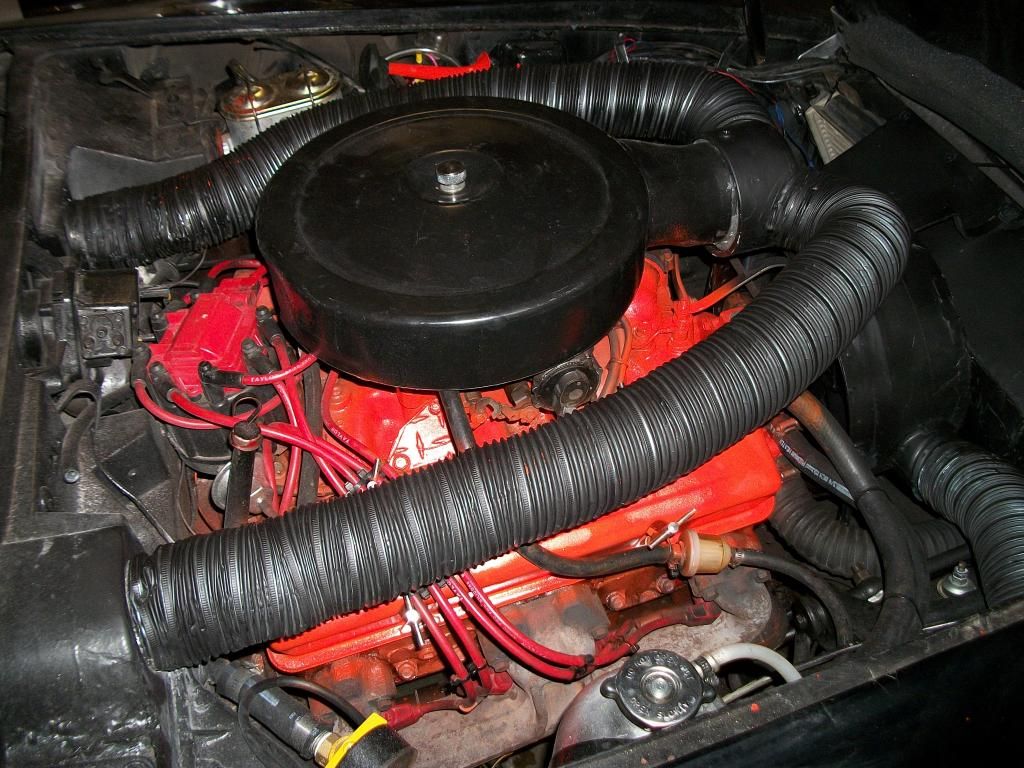
I just came from the garage after doing a re-mod to the mod of the CAI....I reversed the two flexible ducts to draw air from the "water trough", as another Forum member has done in the last year (can't remember his name). I think I'll go to the garage and get a pic of the new conflageration.....errrrrrr....configura tion.....be back in 10.

Since CAI is a given and I like the old school hood.....I'll order one of those nice/neat kits to draw air from the cowl that will eliminate the R2D2 ducts to the air cleaner.
MIKE21175 will appreciate those changes!
38700
Last edited by doorgunner; 12-01-2014 at 08:09 AM.
12-01-2014, 07:37 AM
#751
Nam Labrat
Thread Starter
Member Since: Sep 2013
Location: New Orleans Loo-z-anna
Posts: 33,881
Received 4,153 Likes
on
2,726 Posts


 12-01-2014, 01:57 PM
#754
Nam Labrat
Thread Starter
Member Since: Sep 2013
Location: New Orleans Loo-z-anna
Posts: 33,881
Received 4,153 Likes
on
2,726 Posts
Will do (even though the camera makes it look that way).
12-01-2014, 07:42 PM
#755
Nam Labrat
Thread Starter
Member Since: Sep 2013
Location: New Orleans Loo-z-anna
Posts: 33,881
Received 4,153 Likes
on
2,726 Posts
I told my wife that I'd take her for a ride in the project car now that the overheating problem is solved.
She said she wasn't getting in it until the door panels were installed.
Hmmmmmmmmmmmmmm......that never stopped me........
OHHHHHHH......WELL!.........SEE YA"!
She said she wasn't getting in it until the door panels were installed.
Hmmmmmmmmmmmmmm......that never stopped me........
OHHHHHHH......WELL!.........SEE YA"!
12-02-2014, 09:35 PM
#756
Nam Labrat
Thread Starter
Member Since: Sep 2013
Location: New Orleans Loo-z-anna
Posts: 33,881
Received 4,153 Likes
on
2,726 Posts
Now that a month has been dedicated to overheating, I can get back to finishing the car.
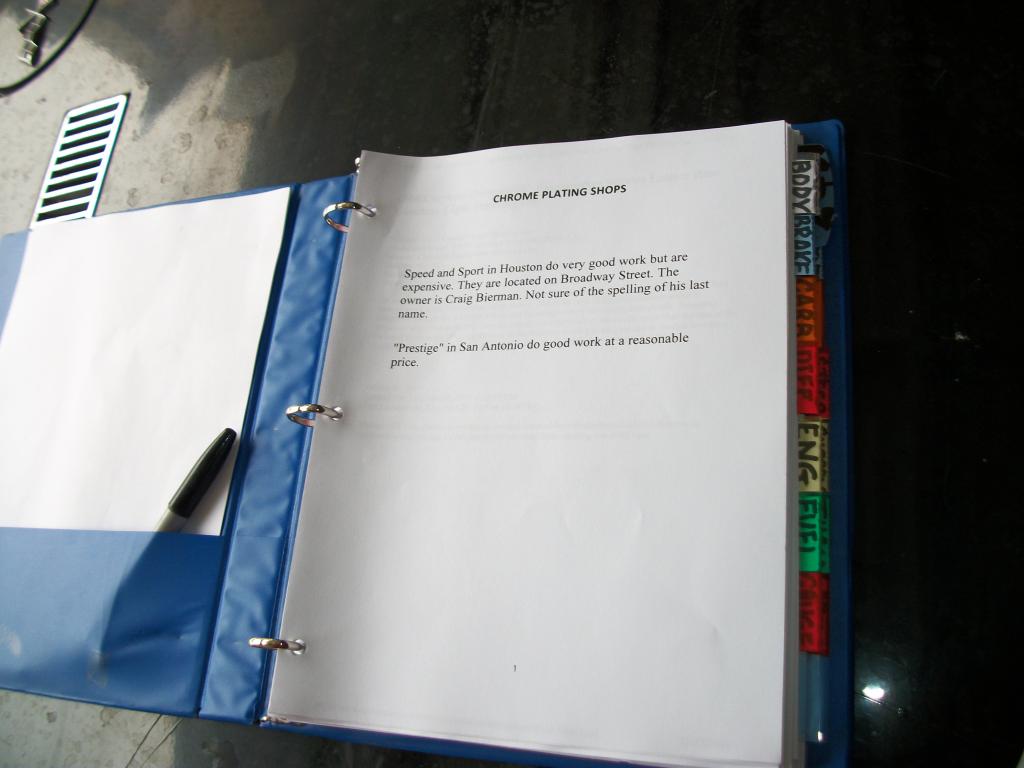
Here's my guide-book......anything you guys post that will help me with my project goes into this book from my wireless printer.....
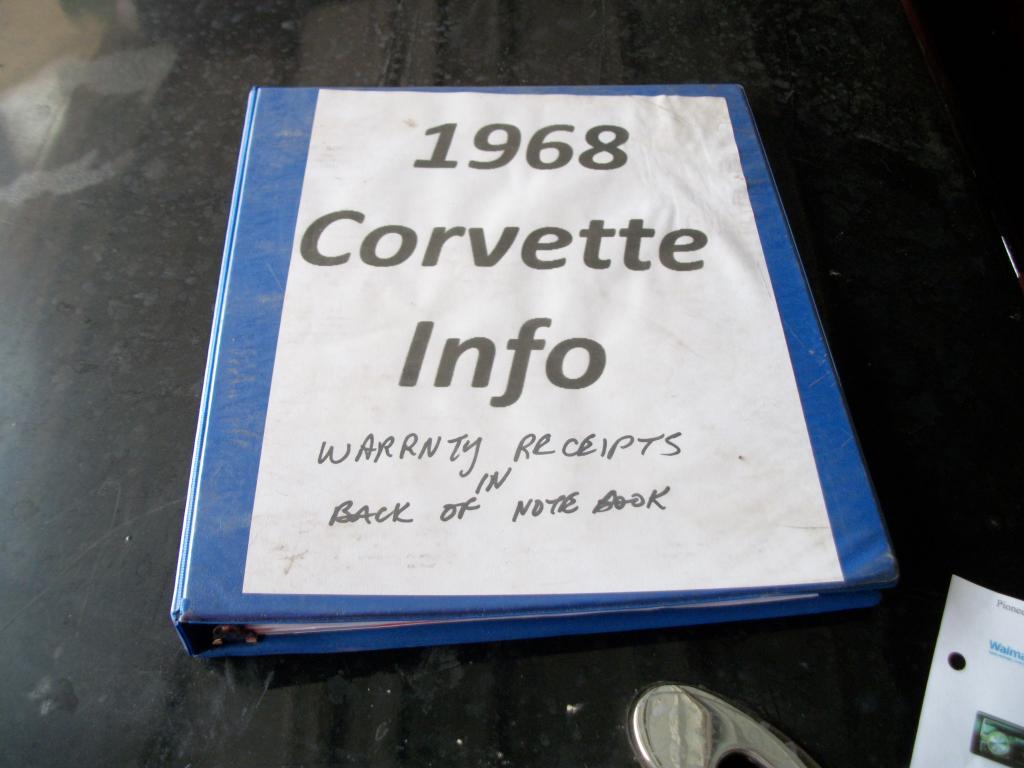
It's divided into categories to make sub-projects easier.........
BOSTON CAMARO.......I finally installed the seat belt guides! Since I'm a short guy, I had to mount them on the sides to keep the belt from rubbing my neck .............
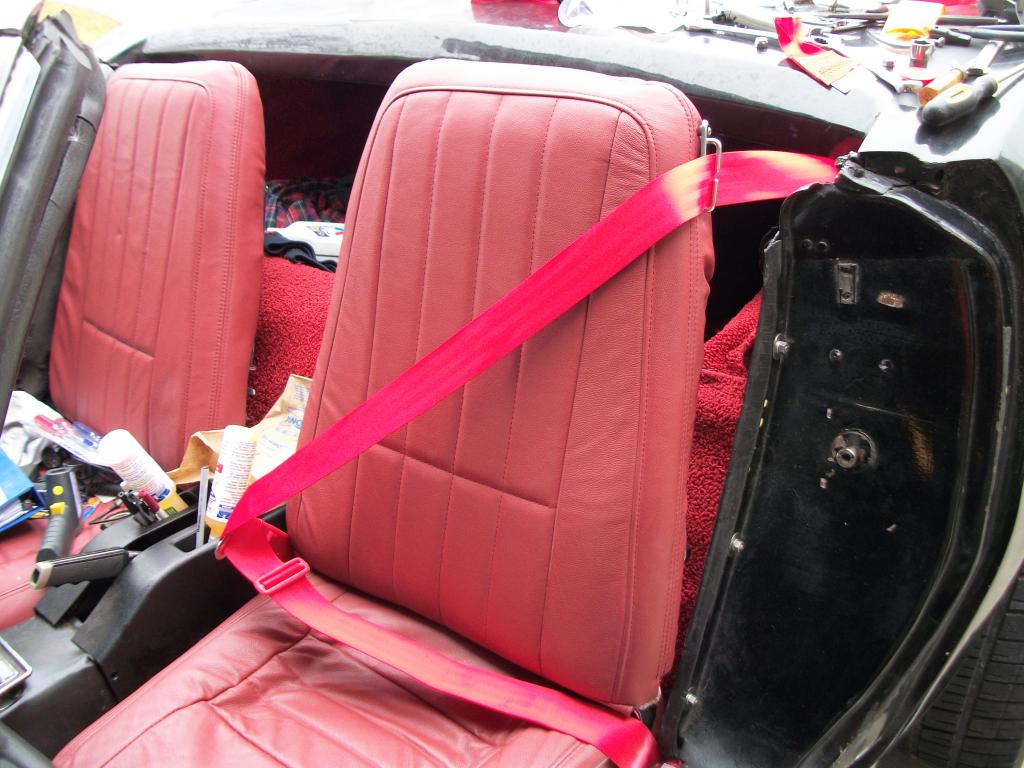
4 hours and they're done.................................... ................
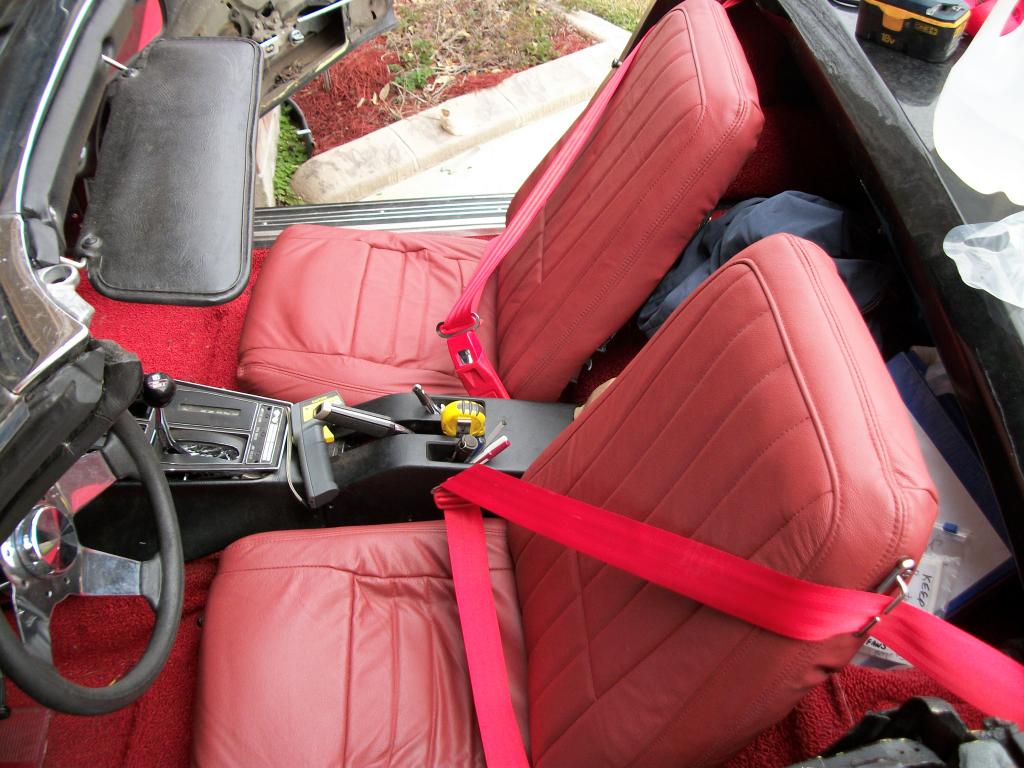
Those daily-driver seat covers are a "little" baggy....Ohh well.
Here's my guide-book......anything you guys post that will help me with my project goes into this book from my wireless printer.....
It's divided into categories to make sub-projects easier.........
BOSTON CAMARO.......I finally installed the seat belt guides! Since I'm a short guy, I had to mount them on the sides to keep the belt from rubbing my neck
.............4 hours and they're done.................................... ................
Those daily-driver seat covers are a "little" baggy....Ohh well.
 12-02-2014, 10:06 PM
#758
Instructor

 12-02-2014, 10:16 PM
#759
Nam Labrat
Thread Starter
Member Since: Sep 2013
Location: New Orleans Loo-z-anna
Posts: 33,881
Received 4,153 Likes
on
2,726 Posts

LOL.........scarey---isn't it! (How about that "diamond-plate" that Bubba blocked off the EGR port with?)
I'm working on an "addballer intake system" as we speak!
39000
Last edited by doorgunner; 12-05-2014 at 09:01 AM.

