My 1973 Frame off Follow along the Restration
 10-07-2013, 02:59 PM
#1
Burning Brakes

Thread Starter
Let me start by giving you a bit of the background on my 73 Coupe.
I was at a local machine shop that is in a building next to his house on about 10 Acres on land. I was having them make me a adapter to put a V groove pulley on a blower 4" pulley for my 1937 Dodge PU. Putting AC in it as I live in Texas!
The place had a bunch of Vette bodies and this one caught my eye as I was done with the 37 and needed to find a new one. I have been looking to buy a vette but if I could get this at the right price I would be fun to restore one.
The one I was looking at was complete except the engine was gone.

I made the guy a offer and he took it.
Knowing the vehicle was needing a complete frame off the fun starts.
This was Feb 2012 when I brought the 73 Home, Had to clean up shop and had a friends vehicle in the shop that needed to go as he had not done a thing on it in a year..
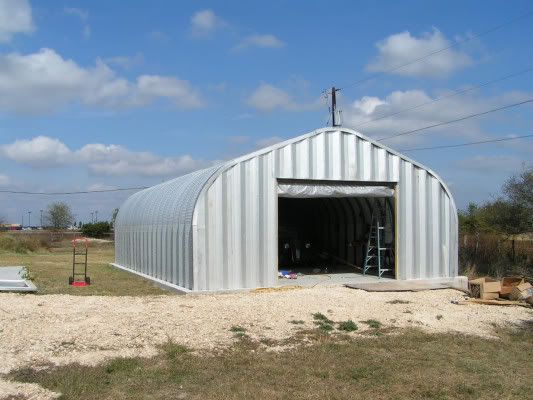
I have a 30' x 40' shop...
I was at a local machine shop that is in a building next to his house on about 10 Acres on land. I was having them make me a adapter to put a V groove pulley on a blower 4" pulley for my 1937 Dodge PU. Putting AC in it as I live in Texas!
The place had a bunch of Vette bodies and this one caught my eye as I was done with the 37 and needed to find a new one. I have been looking to buy a vette but if I could get this at the right price I would be fun to restore one.
The one I was looking at was complete except the engine was gone.
I made the guy a offer and he took it.
Knowing the vehicle was needing a complete frame off the fun starts.
This was Feb 2012 when I brought the 73 Home, Had to clean up shop and had a friends vehicle in the shop that needed to go as he had not done a thing on it in a year..
I have a 30' x 40' shop...
Last edited by Tim 1973; 06-25-2014 at 05:35 PM.
 10-07-2013, 03:37 PM
#2
Burning Brakes
Thread Starter
The first Item on my list was to figure out how to repair The body and research how the body was mounted to the frame.
The body had two areas that needed to be addressed. a few weeks before I measured the area and ordered from a Corvette junk yard a rear quarter
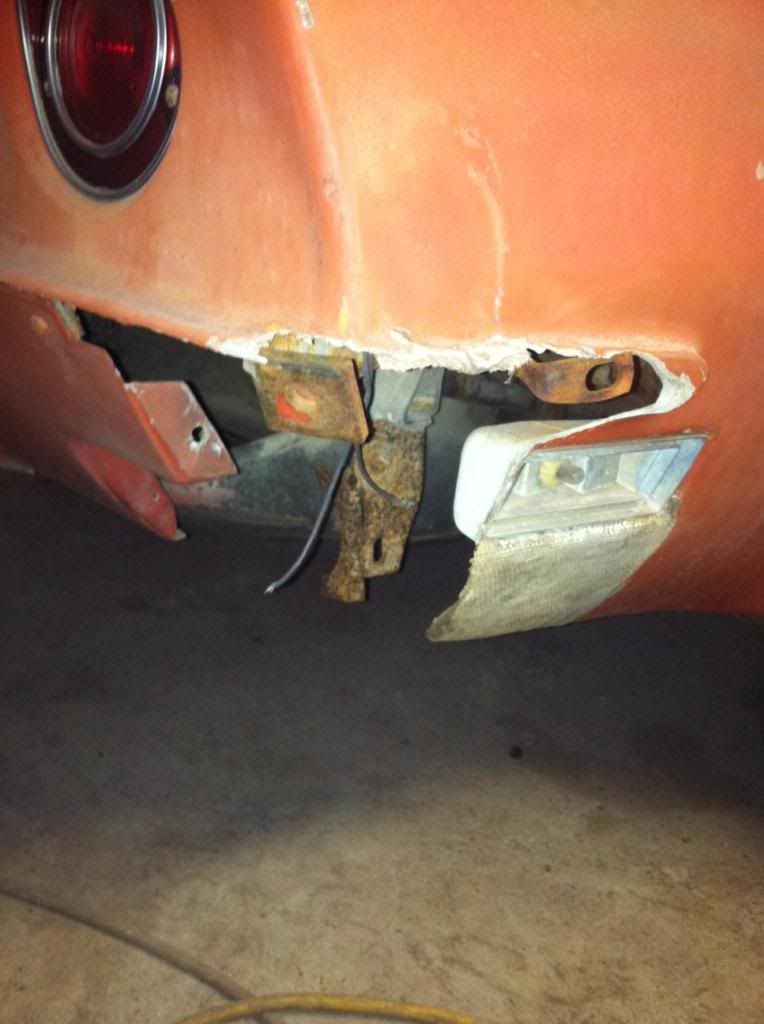
I made some custom bonding strips after cutting and fitting the new replacement corner.
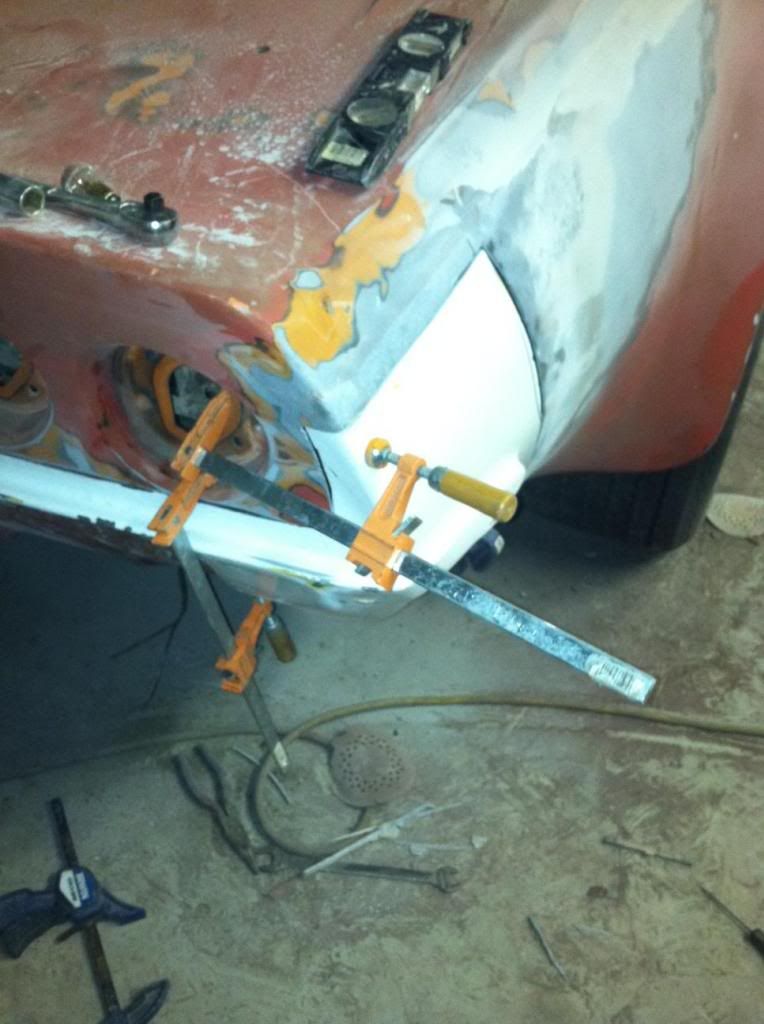
I connected this replacement corner just like the other panels on the vehicles are using bonding strips. Using the correct adhesive from Ecklers
The body had two areas that needed to be addressed. a few weeks before I measured the area and ordered from a Corvette junk yard a rear quarter
I made some custom bonding strips after cutting and fitting the new replacement corner.
I connected this replacement corner just like the other panels on the vehicles are using bonding strips. Using the correct adhesive from Ecklers
Last edited by Tim 1973; 10-07-2013 at 03:46 PM.


 10-07-2013, 03:49 PM
#4

 10-07-2013, 03:57 PM
#5
Burning Brakes
Thread Starter
I was about done stripping the interior, I was waiting on the lifting straps so I could pull the body off.
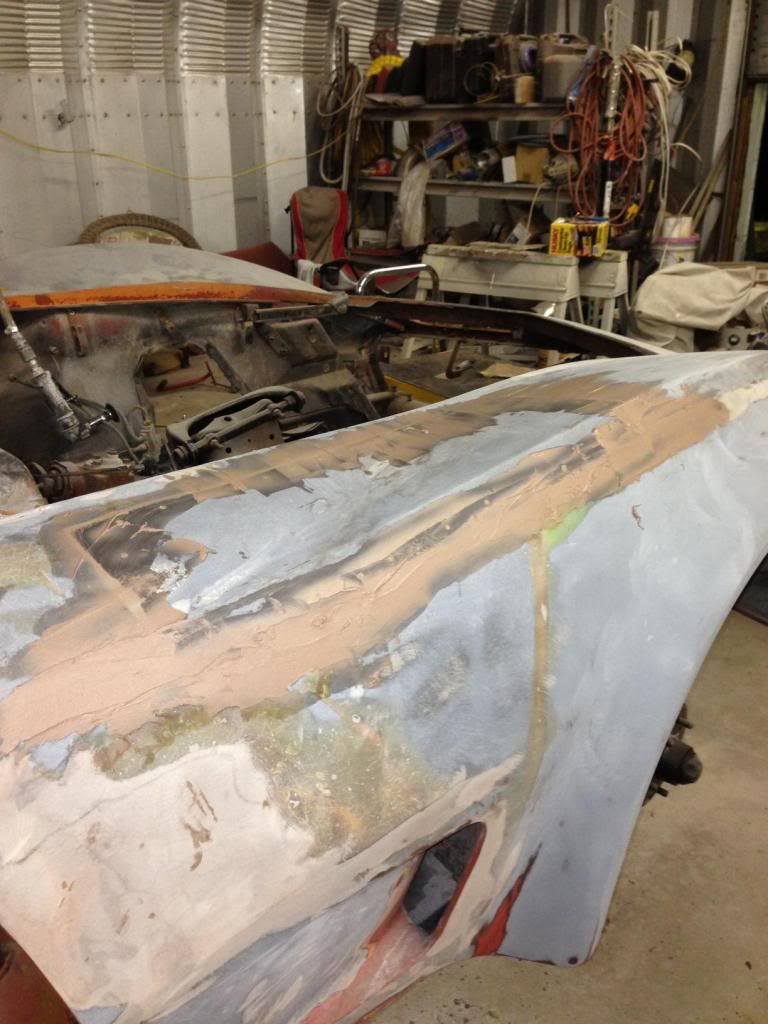
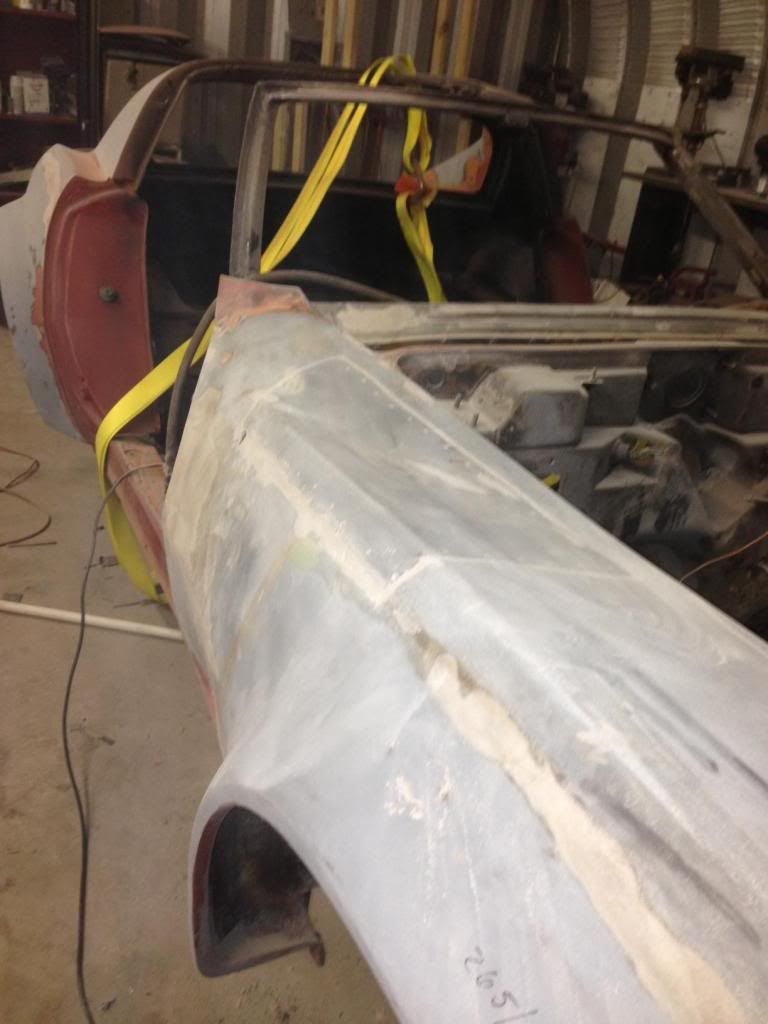
I got the R front fender piece in I ordered from the Corvette bone yard.

I again made the bonding strips
I got the R front fender piece in I ordered from the Corvette bone yard.
I again made the bonding strips
10-07-2013, 04:41 PM
#8
Burning Brakes
Thread Starter
In Dec 2012 I pulled the Body off frame for the first time.
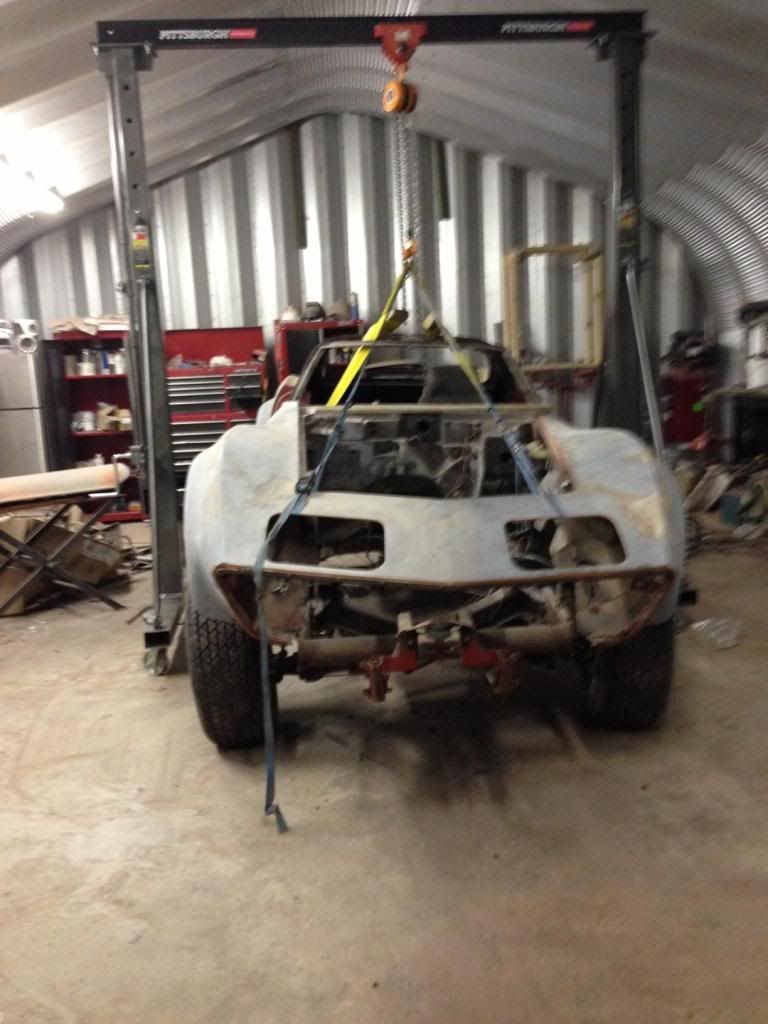
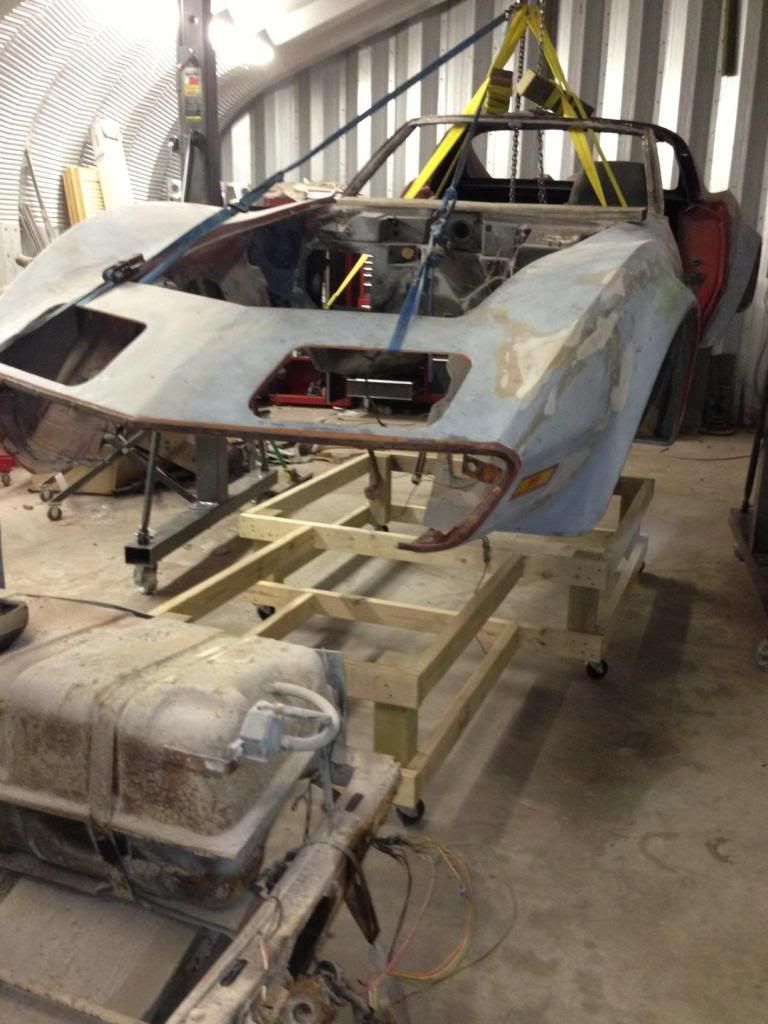
Its now on the roll around frame I built
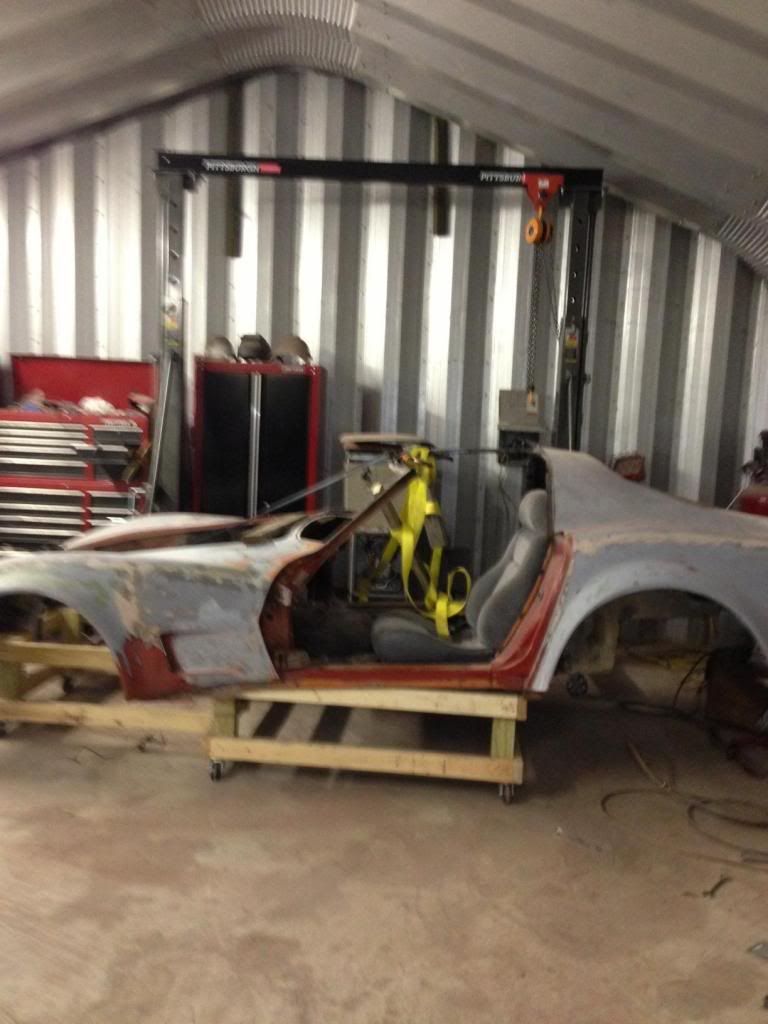
As you can see most of the fiberglass has been striped. Using razor blades and sand paper
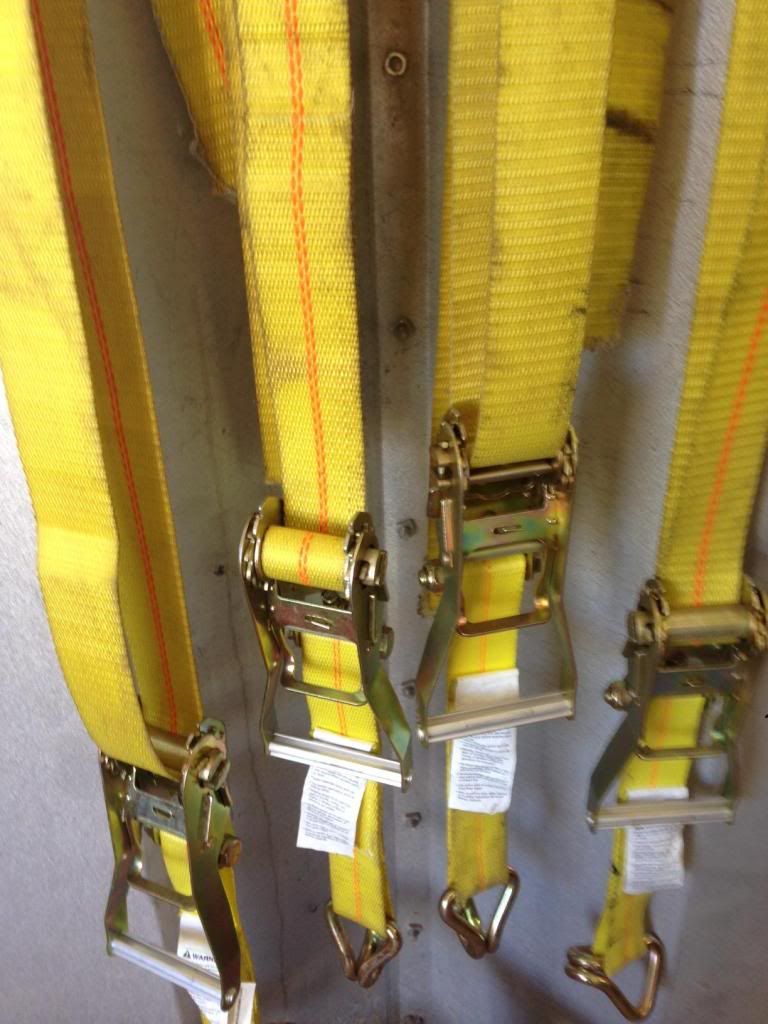
After lifting the body and finding the straps way too long and having to put blocks of wood in the straps I ordered some ratchets so I can adjust straps.
Its now on the roll around frame I built
As you can see most of the fiberglass has been striped. Using razor blades and sand paper
After lifting the body and finding the straps way too long and having to put blocks of wood in the straps I ordered some ratchets so I can adjust straps.
10-07-2013, 04:50 PM
#9
Burning Brakes

WoW, that is going to be some project. Do you have any pictures of your '37 before you started working on that? Also, some might wonder if you have any other pictures of the C2 that is next to the '73 in the field!
10-07-2013, 05:01 PM
#10
Burning Brakes
Thread Starter
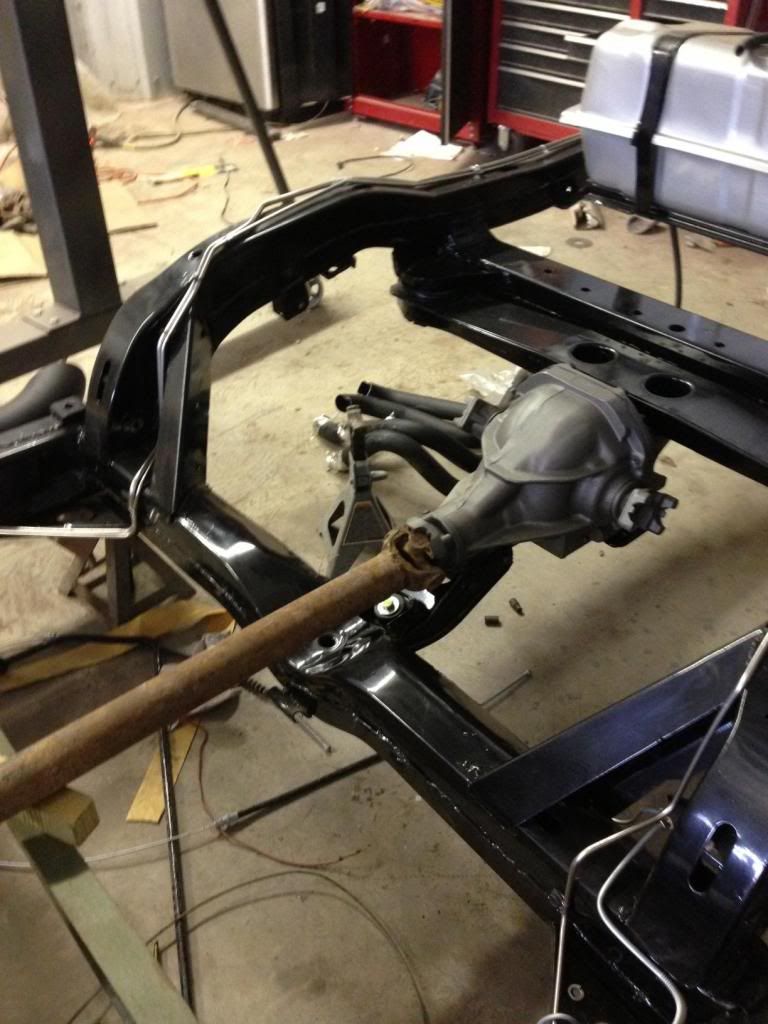
So at this point I decided what I was going to do for the engine. The vehicle was a ORG BB 454 vehicle. I never do things easy so I have decided that I'm going to put a 454 LSX in the beast! Steering is going to be a steroids, Front springs are going to be coil overs and going to have side exhaust.
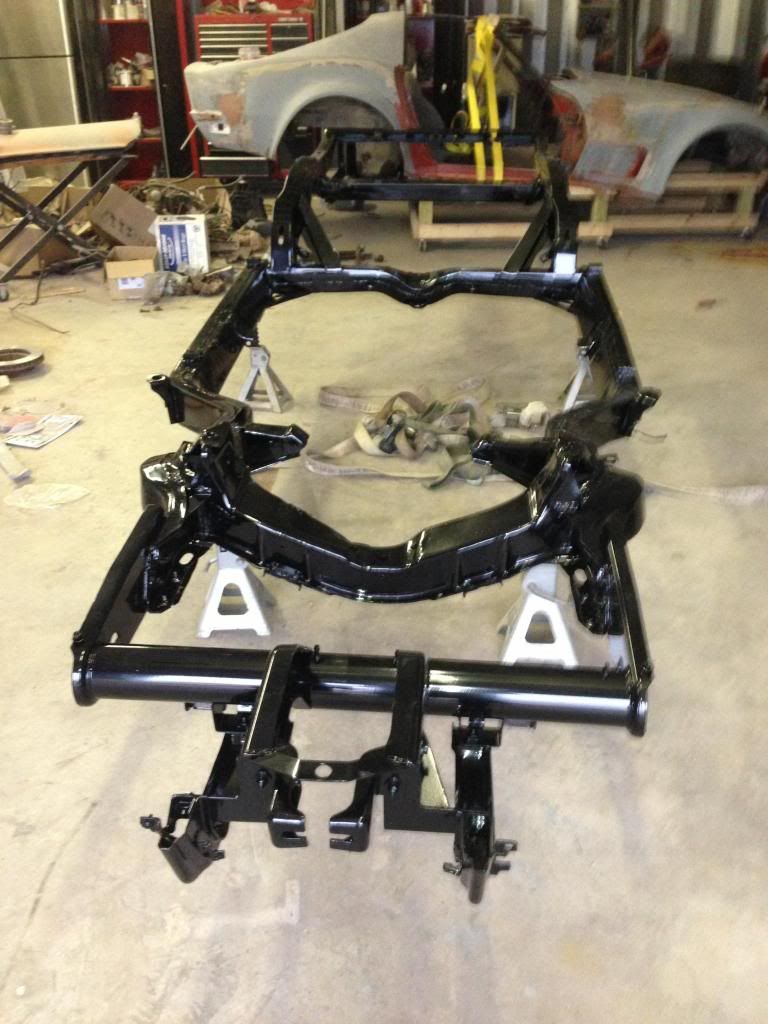
A few days after removing the body I dissembled the Frame.
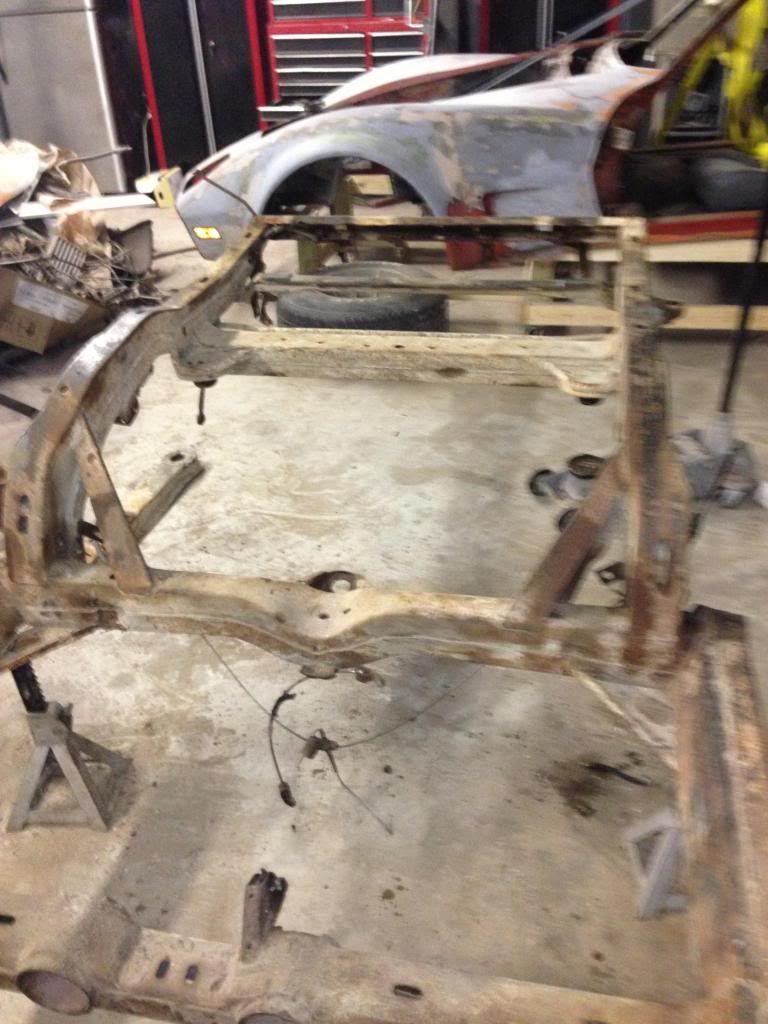
I inspected frame and no rust holes it was a solid frame. I loaded it on a trailer and took to powder coaters.
After Christmas I got frame back.... Looks great....
I sent the diff and trailing arms off to be rebuilt.
A few days after removing the body I dissembled the Frame.
I inspected frame and no rust holes it was a solid frame. I loaded it on a trailer and took to powder coaters.
After Christmas I got frame back.... Looks great....
I sent the diff and trailing arms off to be rebuilt.
10-07-2013, 05:05 PM
#11
Burning Brakes
Thread Starter
Yes I have hundreds of pictures of the 37 from start to finish... It was a long project.... I will see if Fred still has the c2...
10-07-2013, 05:27 PM
#12
Burning Brakes
Thread Starter
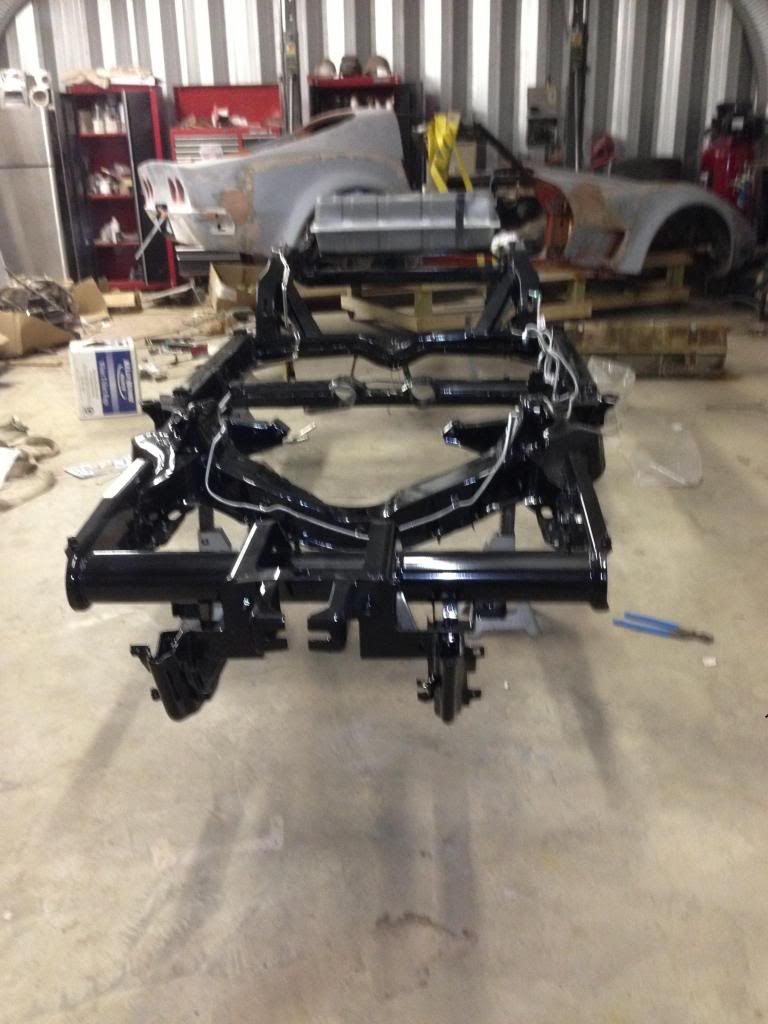
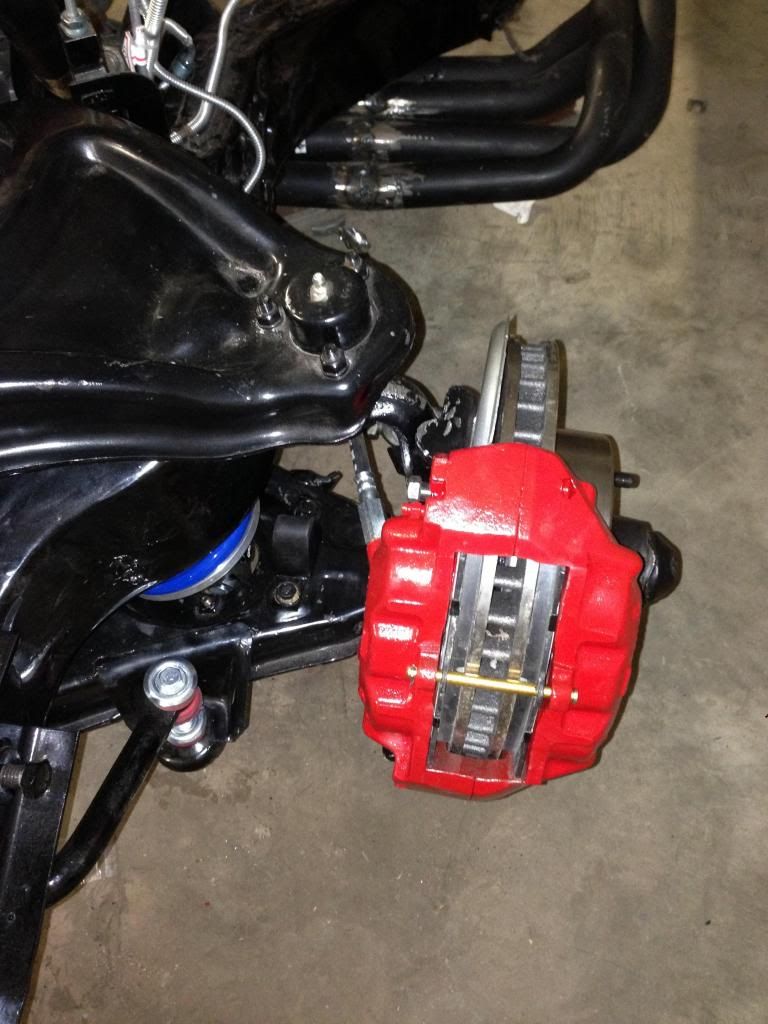
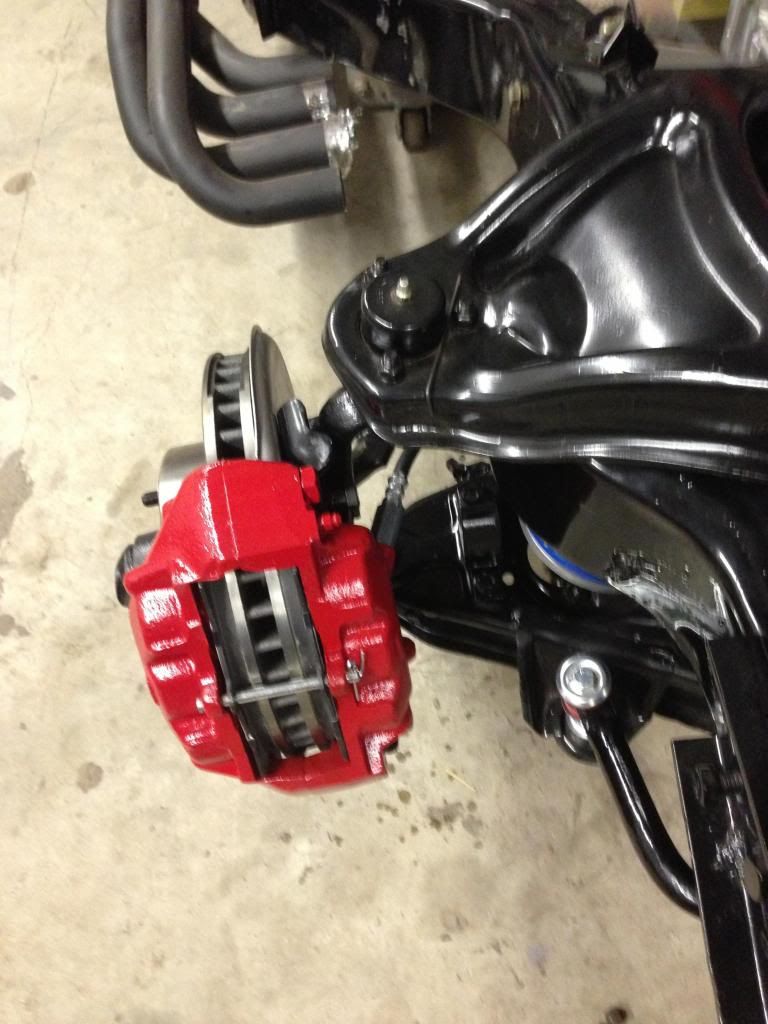
I got the brake lines and fuel lines in. I decided to go with the SS ones..
It was a Farley easy task to install. I ordered the kit with new clips. I blasted the bolts and painted them prior to installing.
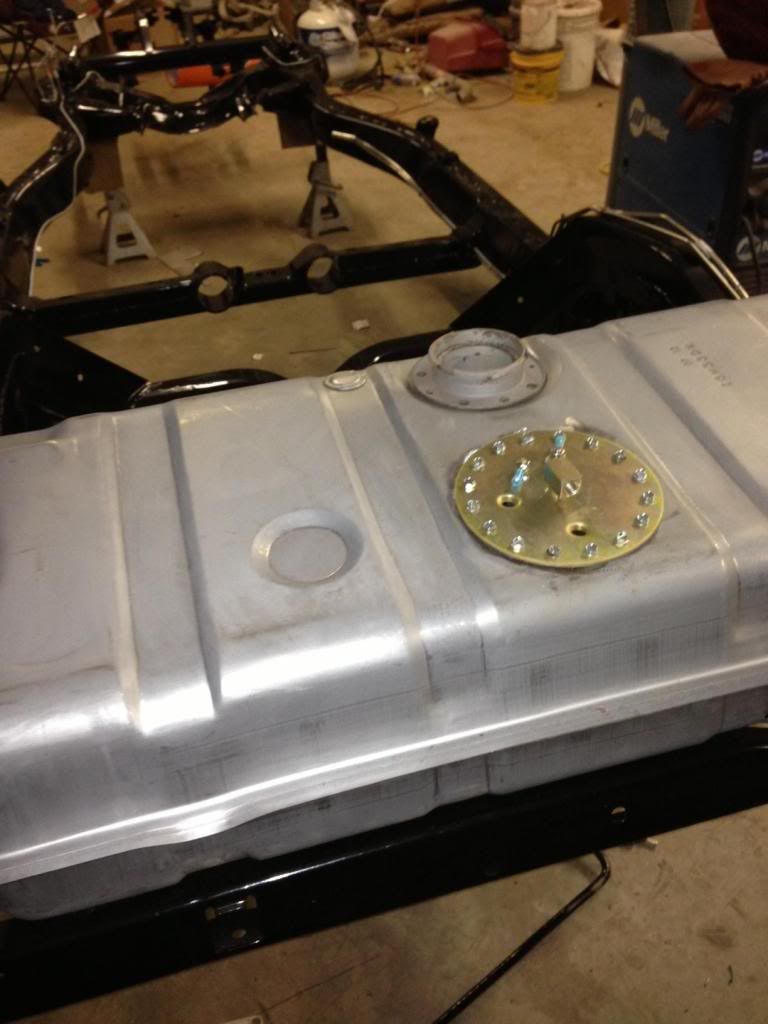
I got new fuel Tank in but needed to modify it for a in tank fuel pump. The old Tank had rusted holes in it.
It was a Farley easy task to install. I ordered the kit with new clips. I blasted the bolts and painted them prior to installing.
I got new fuel Tank in but needed to modify it for a in tank fuel pump. The old Tank had rusted holes in it.
10-07-2013, 05:48 PM
#13
Burning Brakes
Thread Starter
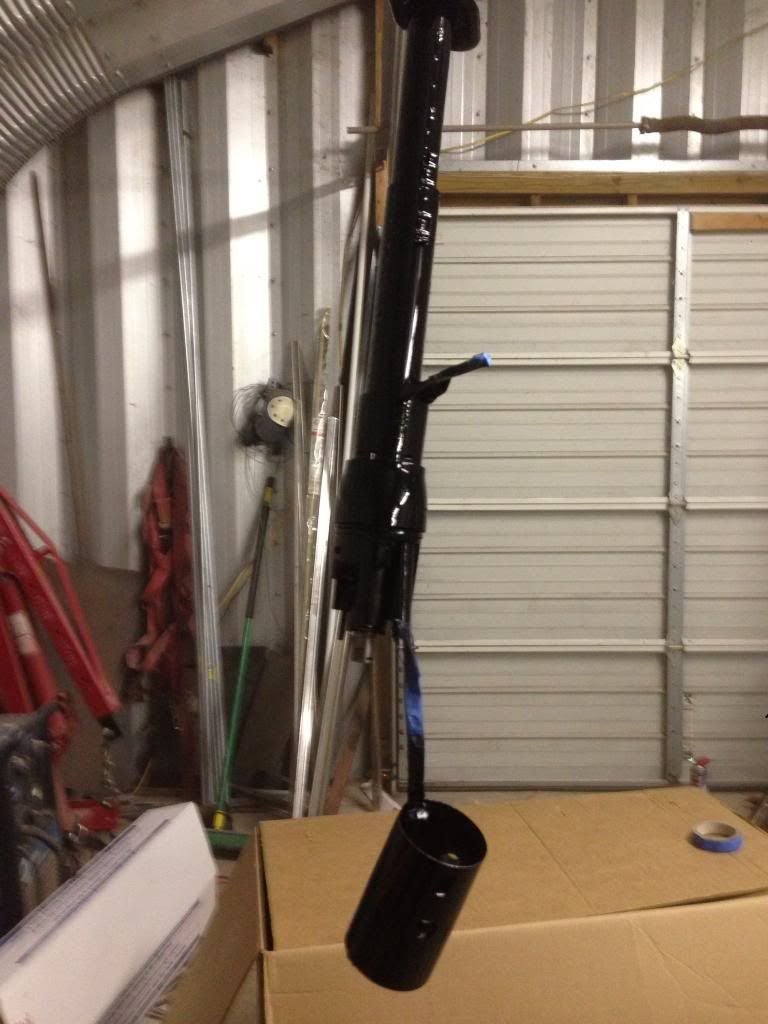
End of Jan I got in the coil Overs from VBP..
At this point I have acquired a LS1 block for fitting everything. I also received the hooker side pipes that I have to be modified to fit a LS engine
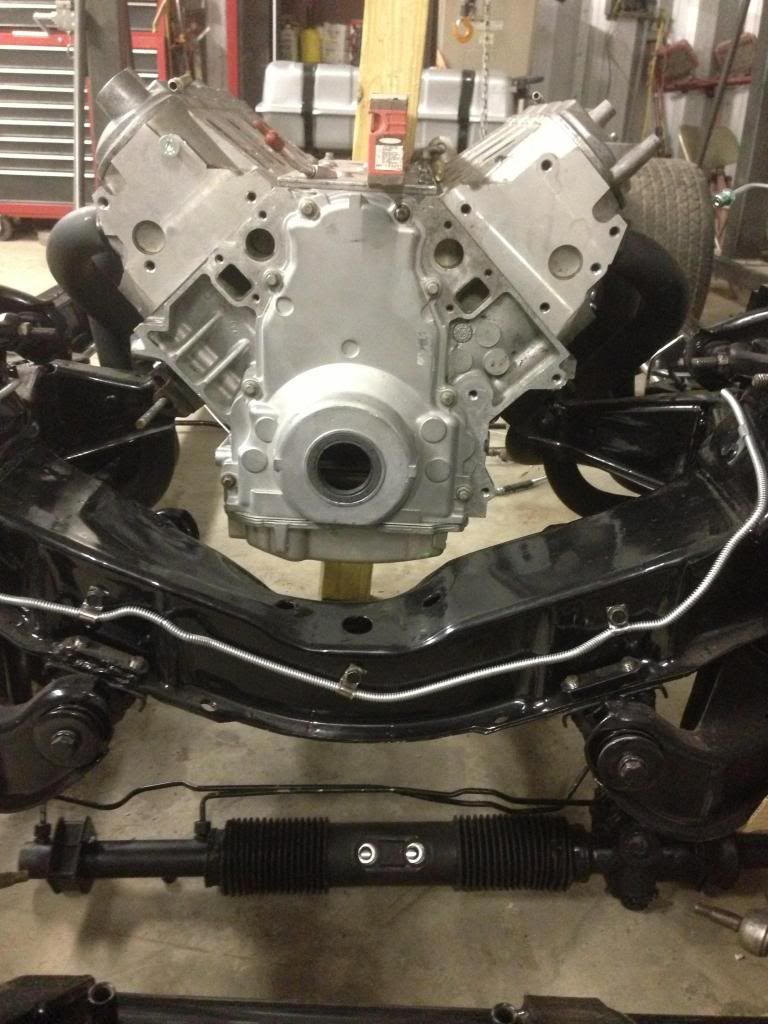
One big concern at this point was that getting the steroids and headers to fit. Since I was modifying the headers I found a used Rack for sale. The person could not get it to fit with side pipes. So it was new like new.
At this point I have acquired a LS1 block for fitting everything. I also received the hooker side pipes that I have to be modified to fit a LS engine
One big concern at this point was that getting the steroids and headers to fit. Since I was modifying the headers I found a used Rack for sale. The person could not get it to fit with side pipes. So it was new like new.
 10-07-2013, 06:15 PM
#15
Drifting

It's looking good. Would like to see more pictures of you 37. Keep posting pictures
of your progress. I think I will be following this thread. If the 73 turns out anything like
your 37 its going to be a nice ride.
of your progress. I think I will be following this thread. If the 73 turns out anything like
your 37 its going to be a nice ride.
10-07-2013, 06:15 PM
#16
Burning Brakes
Thread Starter
The next item was to modify the fuel Tank. Cutting the hole was fast then using a tack cloth to clean all metal shavings out after I ground down the welds.
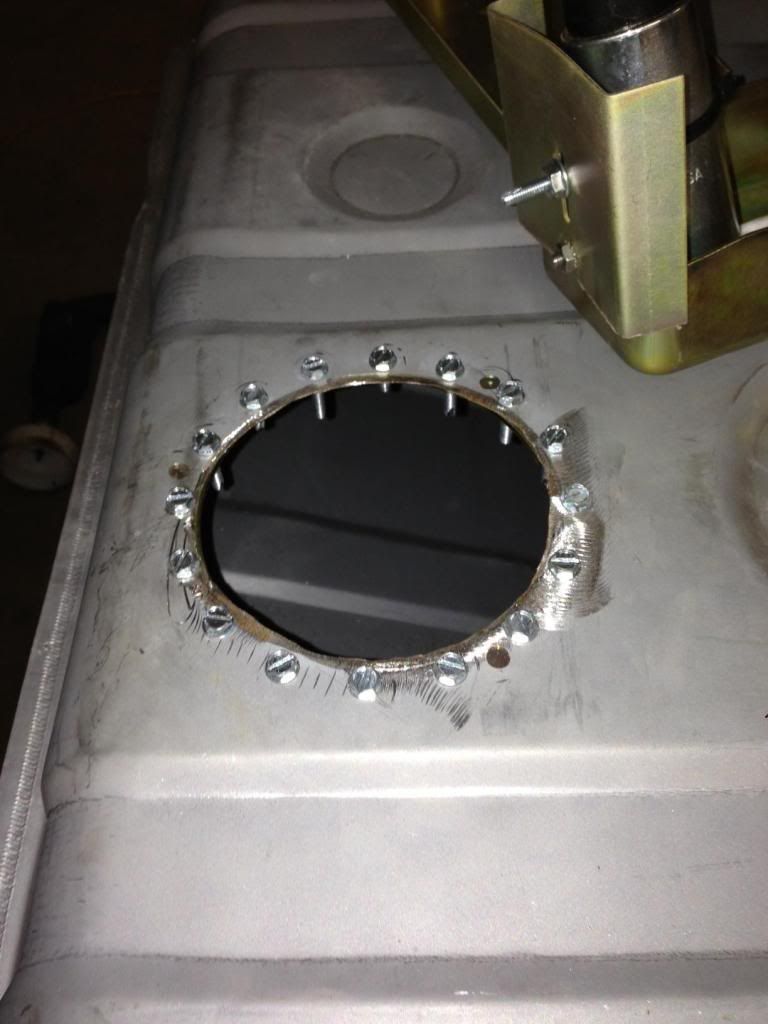
Then Test fitting pump.
took tank and had it painted.
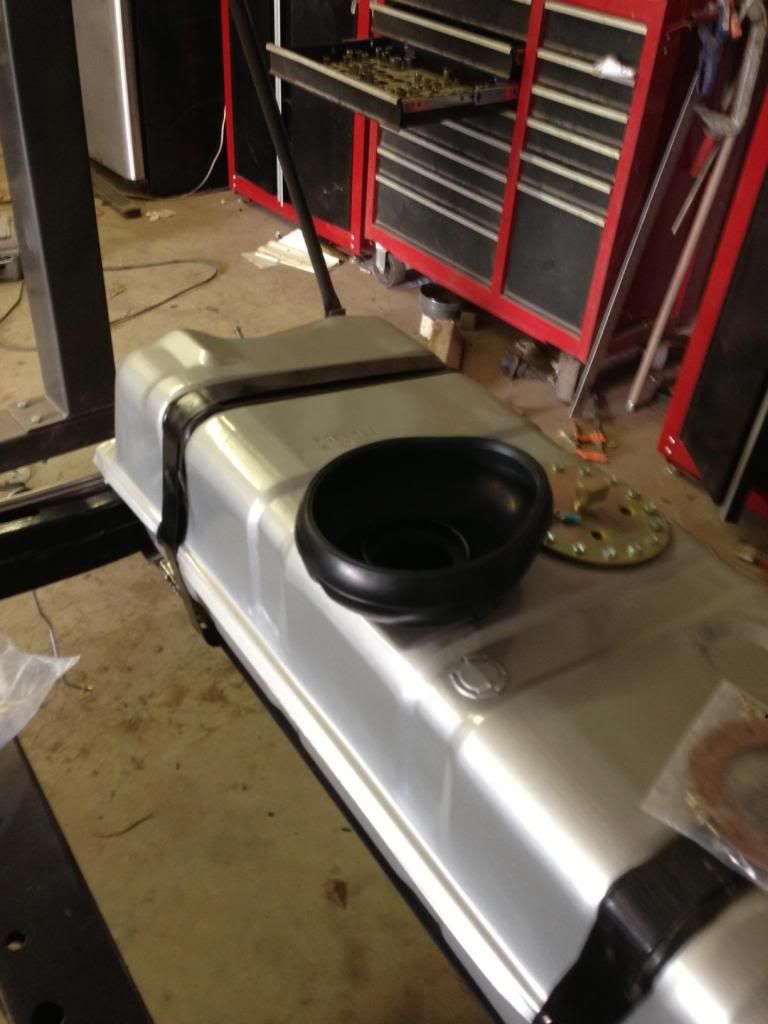
Mounted and all plumed up
Then Test fitting pump.
took tank and had it painted.
Mounted and all plumed up
Last edited by Tim 1973; 10-07-2013 at 07:16 PM.
10-07-2013, 06:19 PM
#17
Burning Brakes
Thread Starter
If you have FB I will send you my link and I have a album for the 37. I have a way to go until I get up to date..
10-07-2013, 06:41 PM
#18
Burning Brakes
Thread Starter
Its the end of Feb and I Purchased some Fiero seats back in Jan, I also selected the covering from
http://www.mrmikes.com
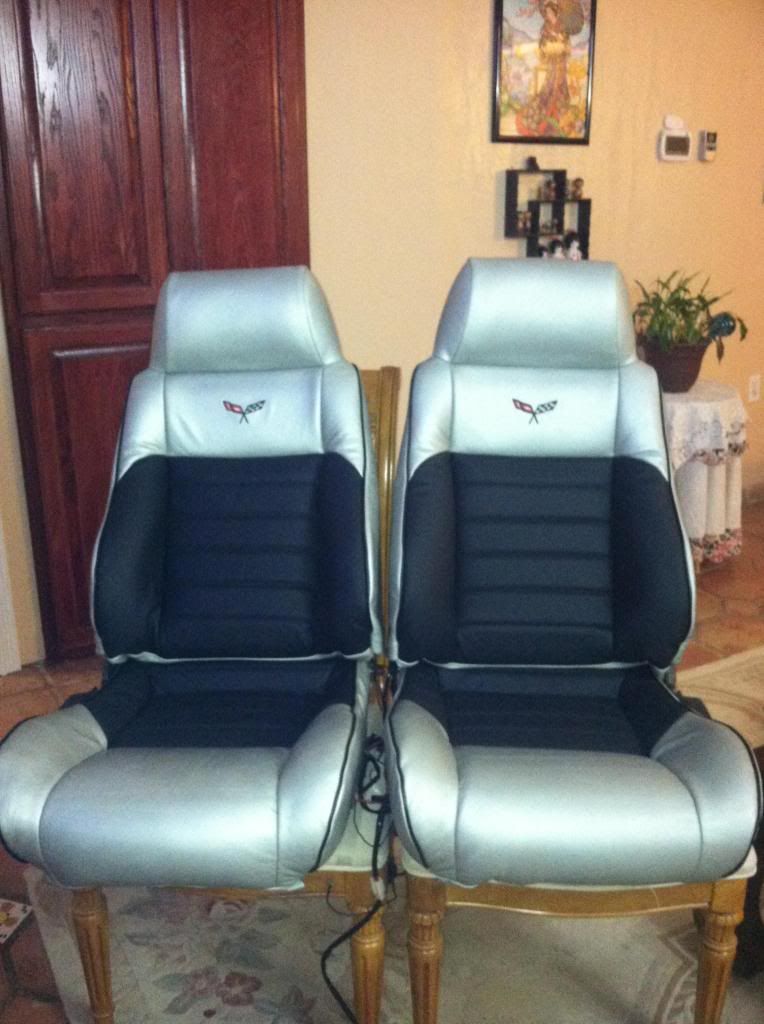
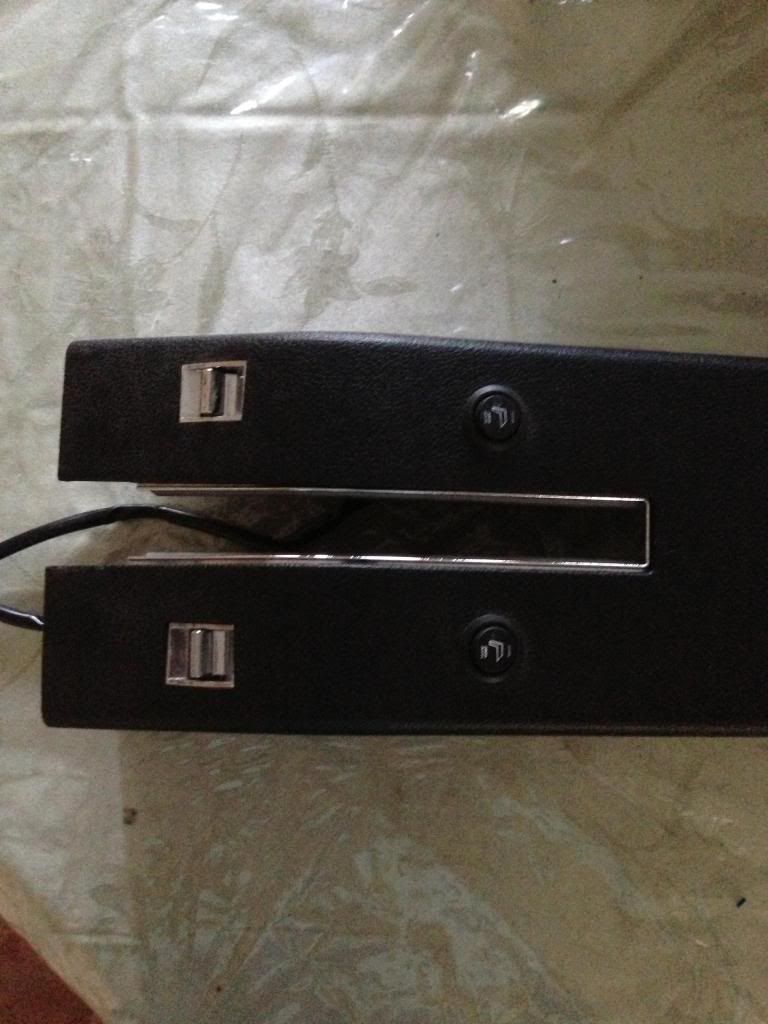
When installing the seat covers I installed seat warmers and mounted the controls on the emg brake console
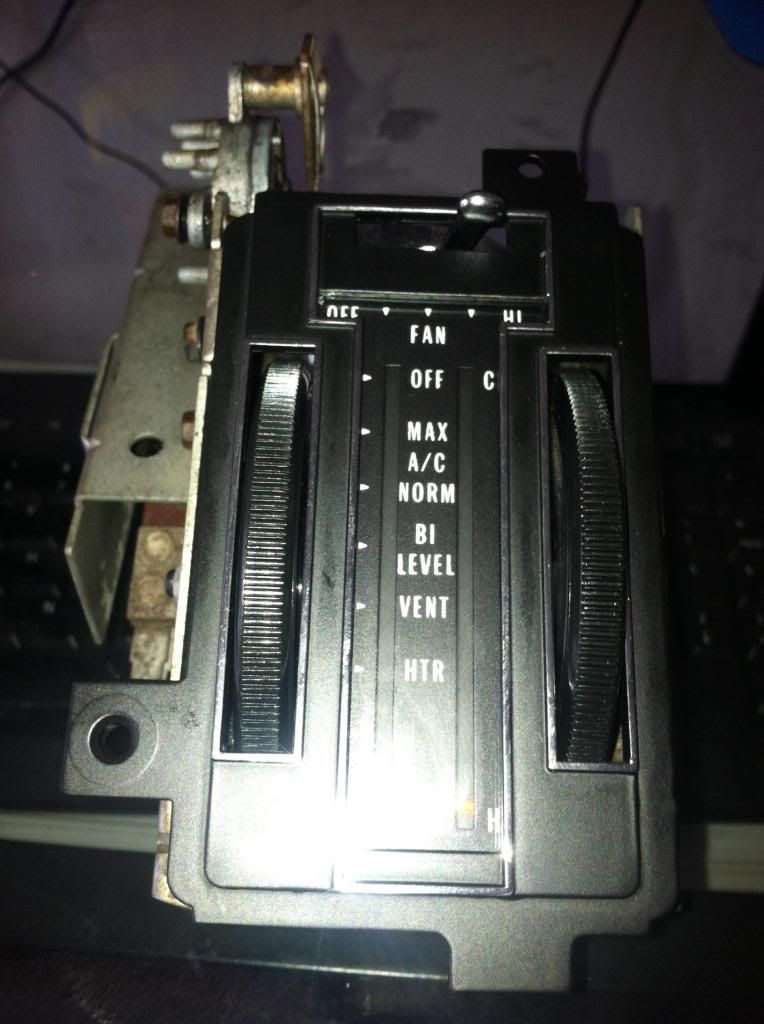
I received the rebuild kit for the heater control
http://www.mrmikes.com
When installing the seat covers I installed seat warmers and mounted the controls on the emg brake console
I received the rebuild kit for the heater control
10-07-2013, 06:58 PM
#19
Burning Brakes
Thread Starter
4 March 2013 the Big Brown Truck came back with the Diff. Installed and test fitted drive shaft as I was sure I would need to have one built. I was right.