
PAINT!!!!! Follow Along If You'd Like :)


 10-19-2014, 09:26 AM
#22
Very nice!!!
Just curious for my own work. Were you able to determine if the birdcage was OK in the lower corners? I noticed you left the clip attached. I'd like to avoid removing mine if at all possible, but suspect a little corrosion (hopefully just a little!!)
Just curious for my own work. Were you able to determine if the birdcage was OK in the lower corners? I noticed you left the clip attached. I'd like to avoid removing mine if at all possible, but suspect a little corrosion (hopefully just a little!!)
10-19-2014, 10:19 AM
#23
Race Director

Thread Starter

Like you it was something I didn't want to tackle if I didn't have to.
I didn't even look into it all that much to know how much is hidden that I can't see from the inside. Maybe I was stupid not to open it up and check but based off of what the #2/#6 body mounts looked like I knew I was probably in decent shape. Plus with the interior gutted you can see into the door mount pockets and those were pretty rust free...on my car that was amazing considering how much rust the frame had.
11-22-2014, 11:16 AM
#24
Race Director
Thread Starter
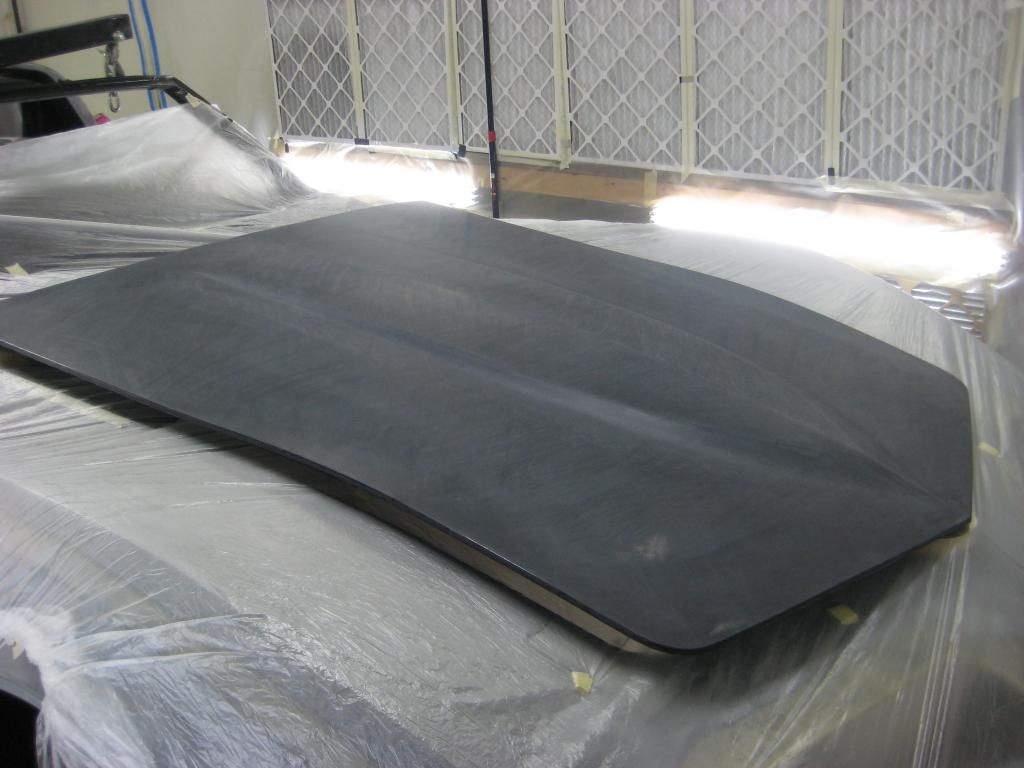
Well I primed and blocked the old hood 3 times last week. Slow process for such an easy and flat area so I'm not looking forward to having to block the whole car a few times.
I also committed to Cyber Gray and got 2 gallons sprayable... we'll see if that'll be enough.
I also committed to Cyber Gray and got 2 gallons sprayable... we'll see if that'll be enough.
 11-22-2014, 11:19 AM
#25
Race Director
Thread Starter
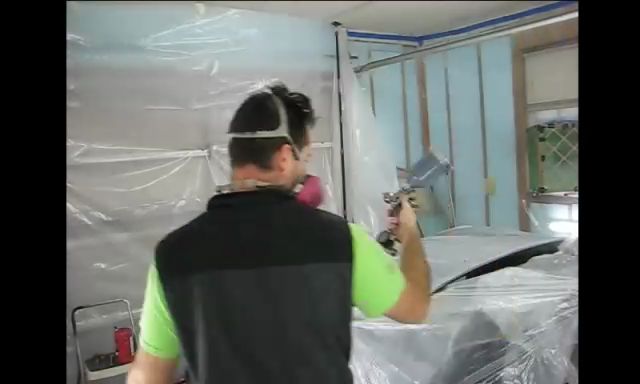
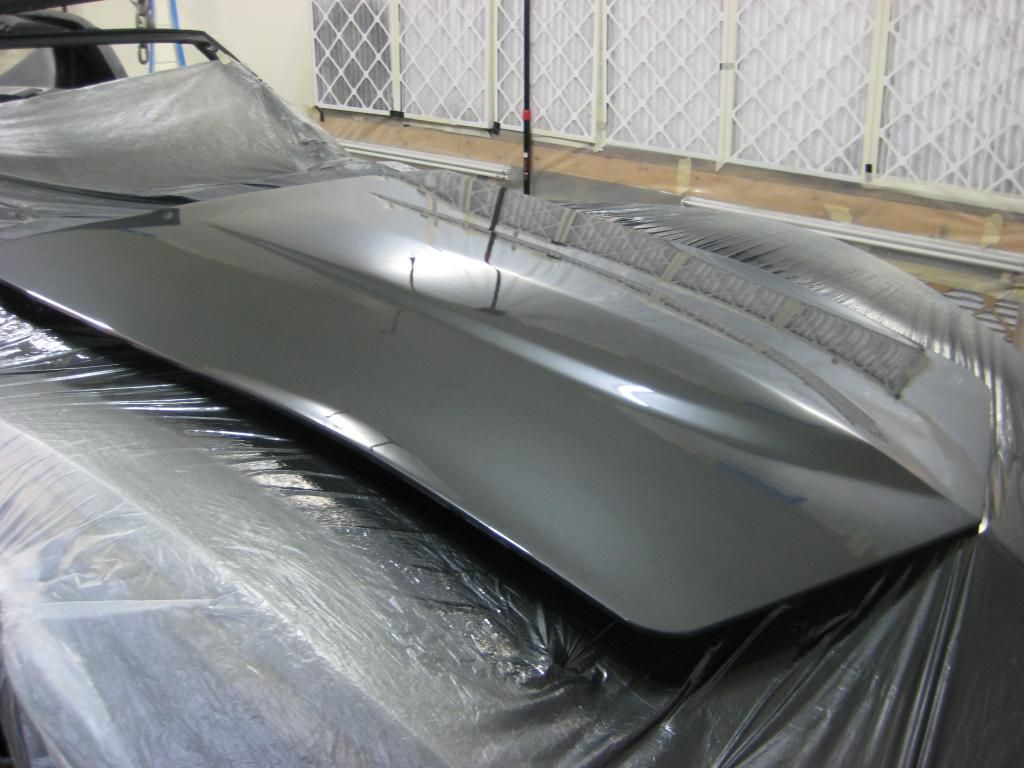
Decided with zero experience with metallics to just wing it... probably a bad idea but how else can I learn?
Did 3-4 coats. was using way too much PSI and also applied a final "mist" coat that ended up making things look very blotchy.
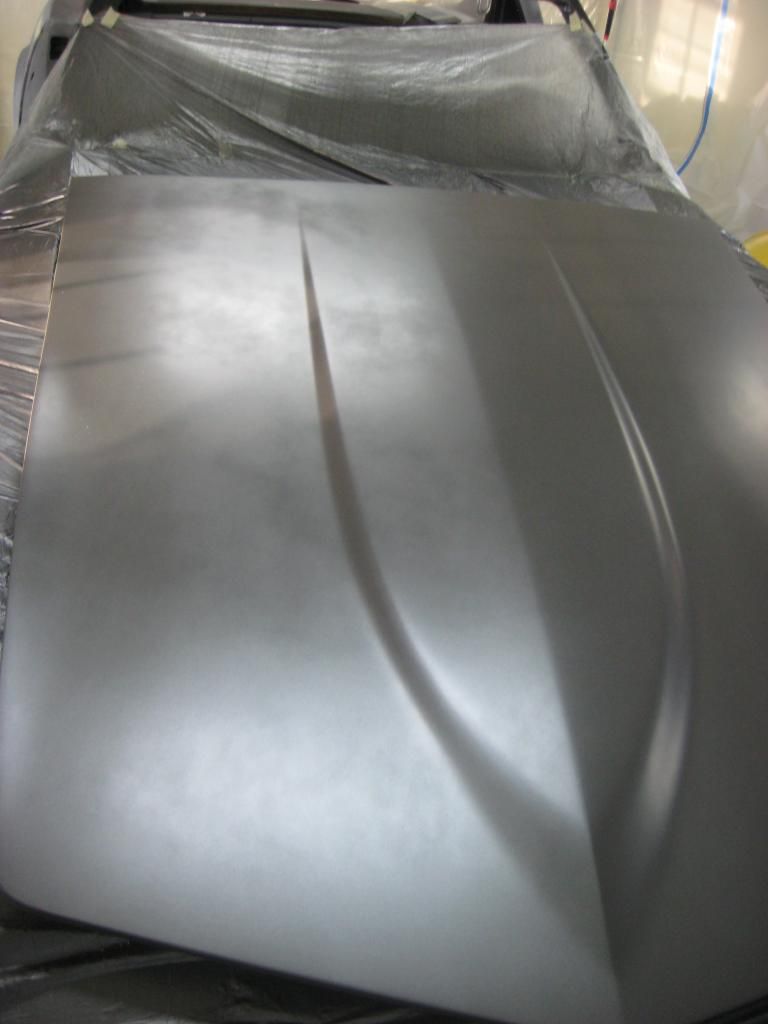
So I had to apply another 2 coats at the proper PSI and no mist coat. This eliminated 95% of the blotchyness...I think with another coat I could have had full hiding of my initial screw ups. Went ahead and sprayed 2 coats of clear... probably going to wetsand and apply another just to see the affects of that and for my learning.
These pictures don't show very much as I had a TON of debris despite my best efforts to prevent them(blew DIY booth out day before, mopped floor, wet floor before spraying, tacked, fresh plastic under hood, tyvek suit, new hose, ...) My only hope is that the .01 micron filter I have coming helps as I don't know where else the dust is coming from. This paint job on this old hood was good experience of what to watch out for...but that's about it.


Last edited by PUNISHER VETTE; 11-22-2014 at 11:24 AM.

 11-22-2014, 11:32 AM
#27
Race Director
Thread Starter

The dust/debris is just killing me. I've eliminated almost everything but my air supply and maybe when I filtered the primer/sealer I didn't do a very good job.... and i'll probably start running a tiny filter in the gun despite people saying they clog and restrict...
11-23-2014, 08:45 AM
#31
Race Director
Keep up the great work and the great pics! It's fun for the rest of us to watch the progress.
I had to laugh when you talked about the dust finding its way into your enclosure. I only had to paint some parts so I made a small, home made paint booth and fed air in through a shop filter. Long story short, it seemed to keep the dust out but the fuel door ended up with a bug in it no idea how it got in there. That cost a few hours work to fix.
I had to laugh when you talked about the dust finding its way into your enclosure. I only had to paint some parts so I made a small, home made paint booth and fed air in through a shop filter. Long story short, it seemed to keep the dust out but the fuel door ended up with a bug in it
no idea how it got in there. That cost a few hours work to fix.
 11-23-2014, 11:22 AM
#32
Race Director
Thread Starter
The bad news is I'm going to be moving mid March...not sure how much painting will get done this winter... maybe just body in primer.
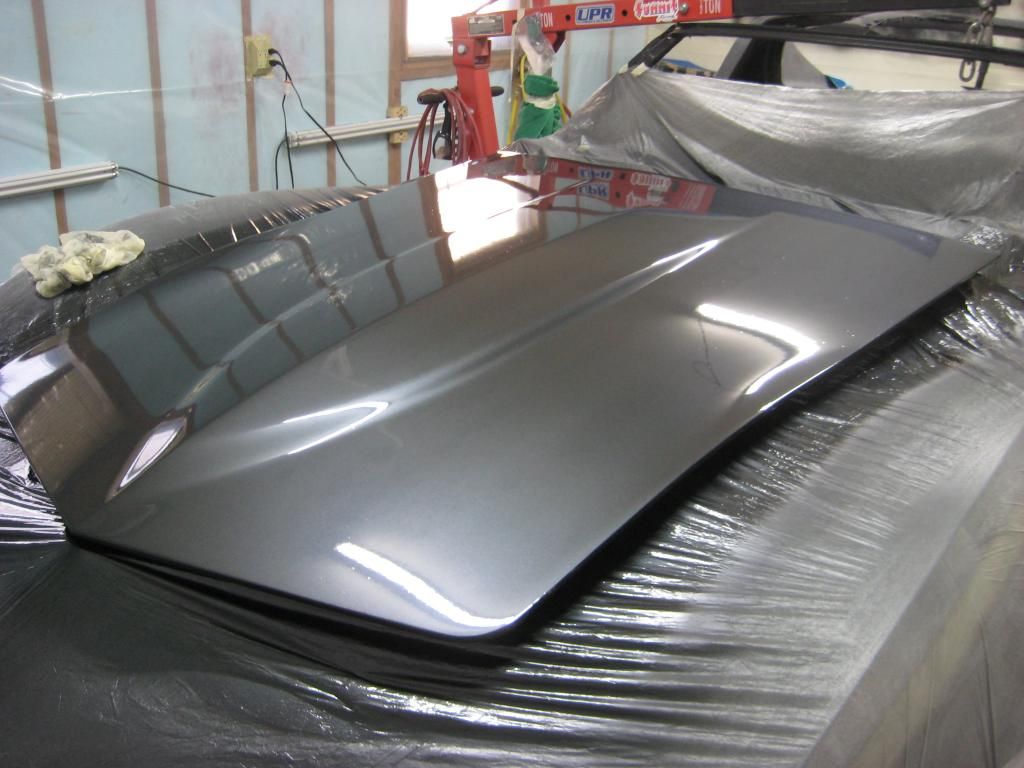
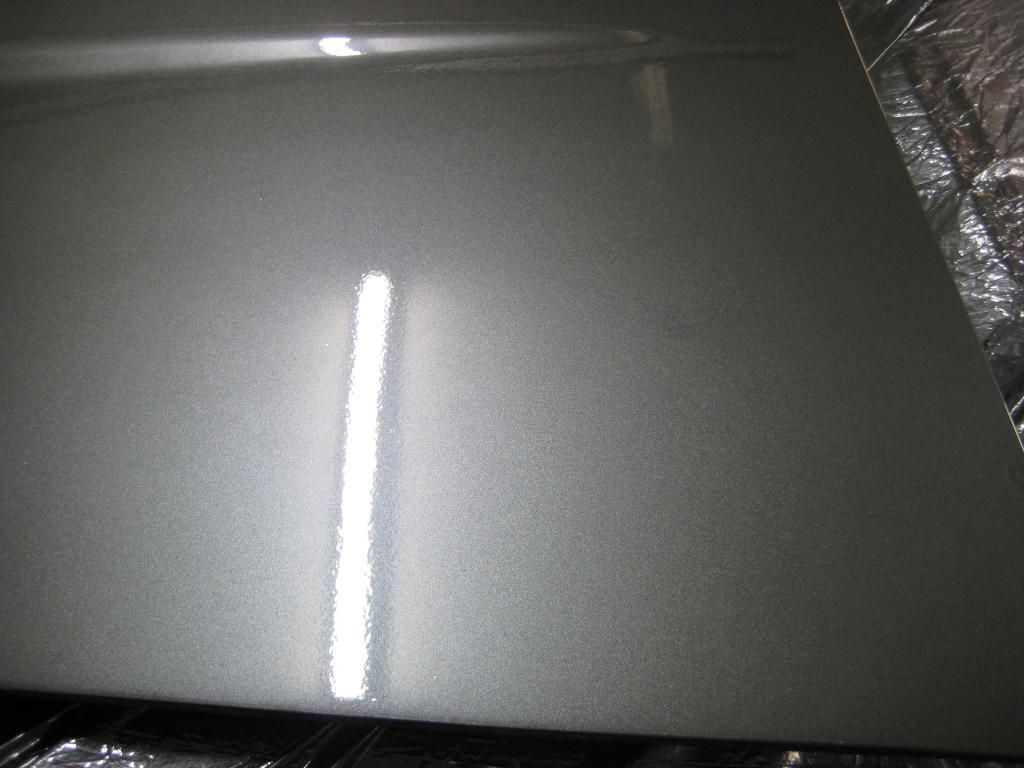
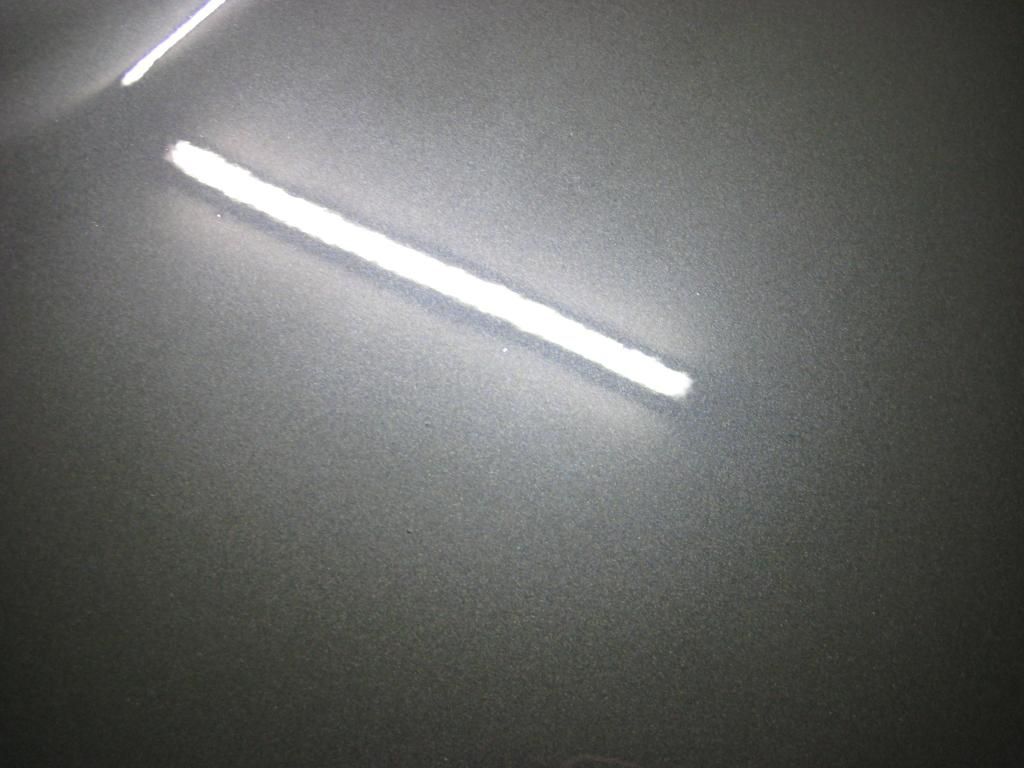
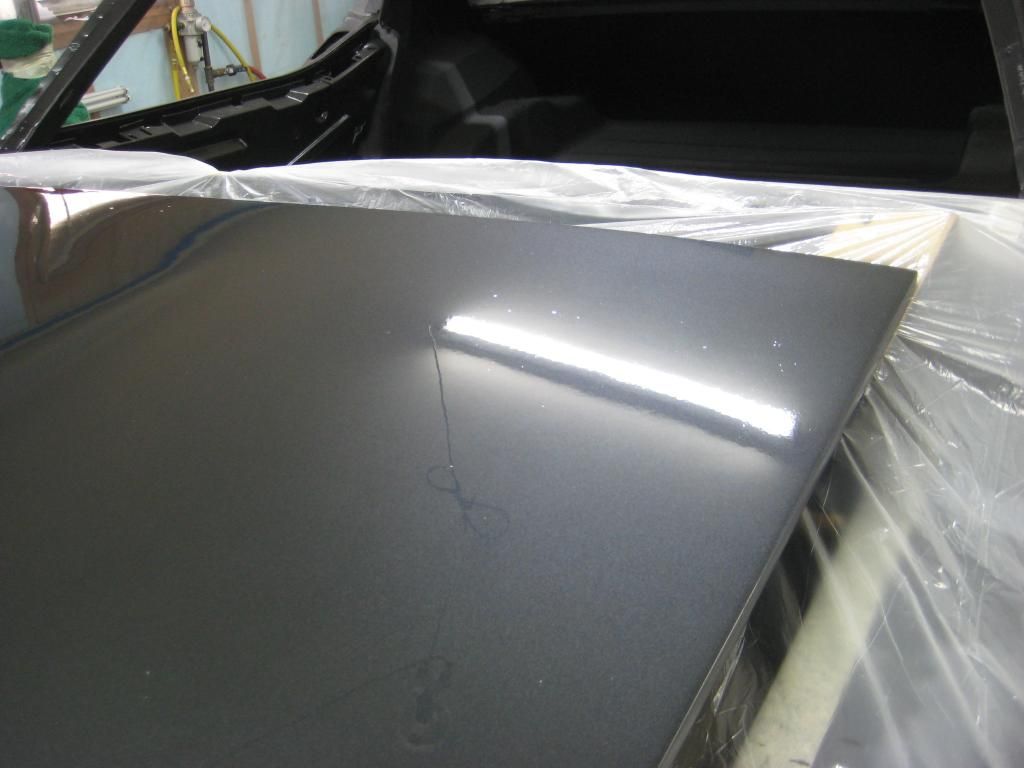
The GOOD news is once I wetsanded the clear and sprayed 2 more coats yesterday the original dust nibs in the base are smoothed out(they just look like a darker speck). But aren't the worst thing I've ever seen so makes it less scary knowing that.
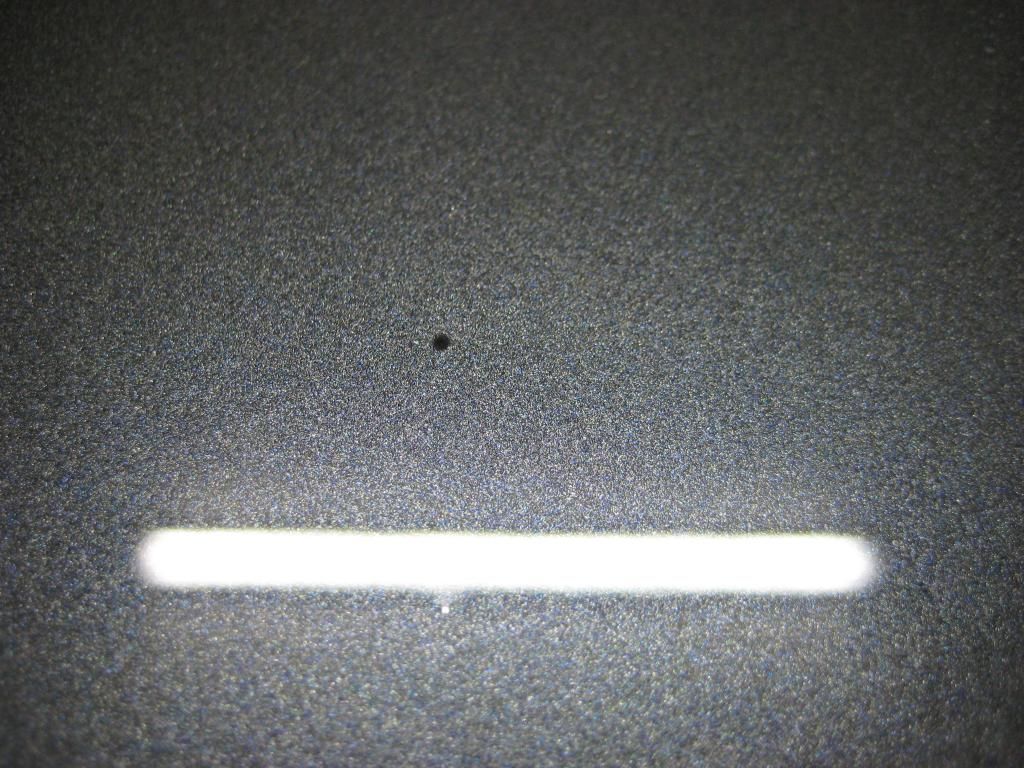
Here is a good picture of the amount of dust I'm getting... we'll see if the .01 micron filter coming helps this or if it's all in the air still. Even these will get removed in the cut/buff stage so i'm not worried about them. I also got very lazy and stopped being careful about dust so wasn't wetting the floor, wearing my suit, and all that stuff so there are more below than there should be probably lol.
The GOOD news is once I wetsanded the clear and sprayed 2 more coats yesterday the original dust nibs in the base are smoothed out(they just look like a darker speck). But aren't the worst thing I've ever seen so makes it less scary knowing that.

Here is a good picture of the amount of dust I'm getting... we'll see if the .01 micron filter coming helps this or if it's all in the air still. Even these will get removed in the cut/buff stage so i'm not worried about them.
I also got very lazy and stopped being careful about dust so wasn't wetting the floor, wearing my suit, and all that stuff so there are more below than there should be probably lol. 
Last edited by PUNISHER VETTE; 11-23-2014 at 11:28 AM.
11-24-2014, 09:18 PM
#33
Drifting

Do you think that the debris is coming through the hose and spray gun? Or can it be airborne and settling? Most successful home paint I read about the painter built a booth in the garage with a box fan at one end at the bottom and a few furnace filters at the other end up high. creating a downdraft sort of and filtering the incoming air. They wet the floor. The space is a lot smaller and less contaminated due to the size than a full size 2 car. Don't know if this might solve most of the dust issue. Paint does look good. I hope mine comes out that nice for my first time. I am just putting finishing touches on a garage I have been building to finish my 68. Good luck and keep the pictures coming.
11-24-2014, 09:28 PM
#34
Instructor


I am not a professional and advice off the internet is worth what you pay for it most times, but here are a few things I have picked up doing what little painting I have done.
First, lose the plastic sheeting. That stuff is a major dust magnet, it creates a static charge and will pull any floating debris right towards it.
Second, how are you filtering your painting area? Are you pushing air into the room or sucking it out? If you can create a small positive pressure (pushing air in) it will force the dust to escape out of any cracks and crevices that air can leak past. Just make sure the incoming air is filtered. If you are creating a negative pressure area (sucking air out), it can pull dust in through any cracks or gaps.
I tried one of the inline filter/separators and and could not get enough pressure to the gun for proper operation. It must work for somebody since it seems to be a legitimate product, it just would not work with the home shop equipment I have.
Your project is looking really good.

 11-24-2014, 10:11 PM
#36
Race Director
Thread Starter
I am not a professional and advice off the internet is worth what you pay for it most times, but here are a few things I have picked up doing what little painting I have done.
First, lose the plastic sheeting. That stuff is a major dust magnet, it creates a static charge and will pull any floating debris right towards it.
Second, how are you filtering your painting area? Are you pushing air into the room or sucking it out? If you can create a small positive pressure (pushing air in) it will force the dust to escape out of any cracks and crevices that air can leak past. Just make sure the incoming air is filtered. If you are creating a negative pressure area (sucking air out), it can pull dust in through any cracks or gaps.
I tried one of the inline filter/separators and and could not get enough pressure to the gun for proper operation. It must work for somebody since it seems to be a legitimate product, it just would not work with the home shop equipment I have.
Your project is looking really good.
First, lose the plastic sheeting. That stuff is a major dust magnet, it creates a static charge and will pull any floating debris right towards it.
Second, how are you filtering your painting area? Are you pushing air into the room or sucking it out? If you can create a small positive pressure (pushing air in) it will force the dust to escape out of any cracks and crevices that air can leak past. Just make sure the incoming air is filtered. If you are creating a negative pressure area (sucking air out), it can pull dust in through any cracks or gaps.
I tried one of the inline filter/separators and and could not get enough pressure to the gun for proper operation. It must work for somebody since it seems to be a legitimate product, it just would not work with the home shop equipment I have.
Your project is looking really good.
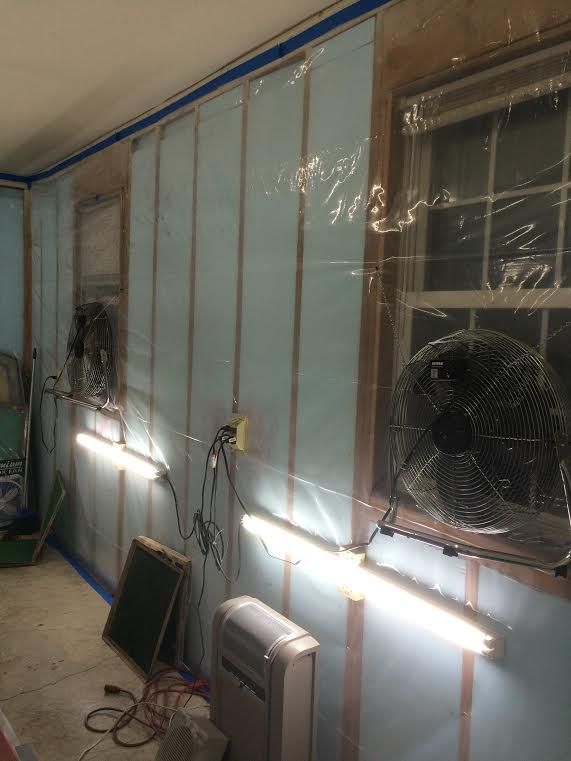
I questioned using the plastic under the hood just for the fact it seems to be poorly designed for painting. It attracts particles but also at the same time very slippery allowing them to also be blown around so this alone could be the reason. I like it on the walls as it helps form the booth, protect the walls, and makes the space smaller to heat.
I have 2 fans pulling air out of the booth. I tried pushing but didn't like the amount of air movement vs. pulling. There are gaps but I'm also pulling the air from the house which is already very clean air.
I have a feeling the dust is a combination of everything. no plastic(use paper instead), .01 micron filter(actual one not those inline ones as I also heard about being too restrictive), and just being more careful should help I think. This booth probably won't be up for that long since I'm moving in March so maybe I'll make some changed to it once i get to the new garage.
11-24-2014, 10:34 PM
#37
Race Director
Thread Starter
the booth. The fans I have a box of filters made that go over them once they're on. Trying to keep the over spray from going all over.
I took the pic when I was done for the night! I know the window is close smarties!
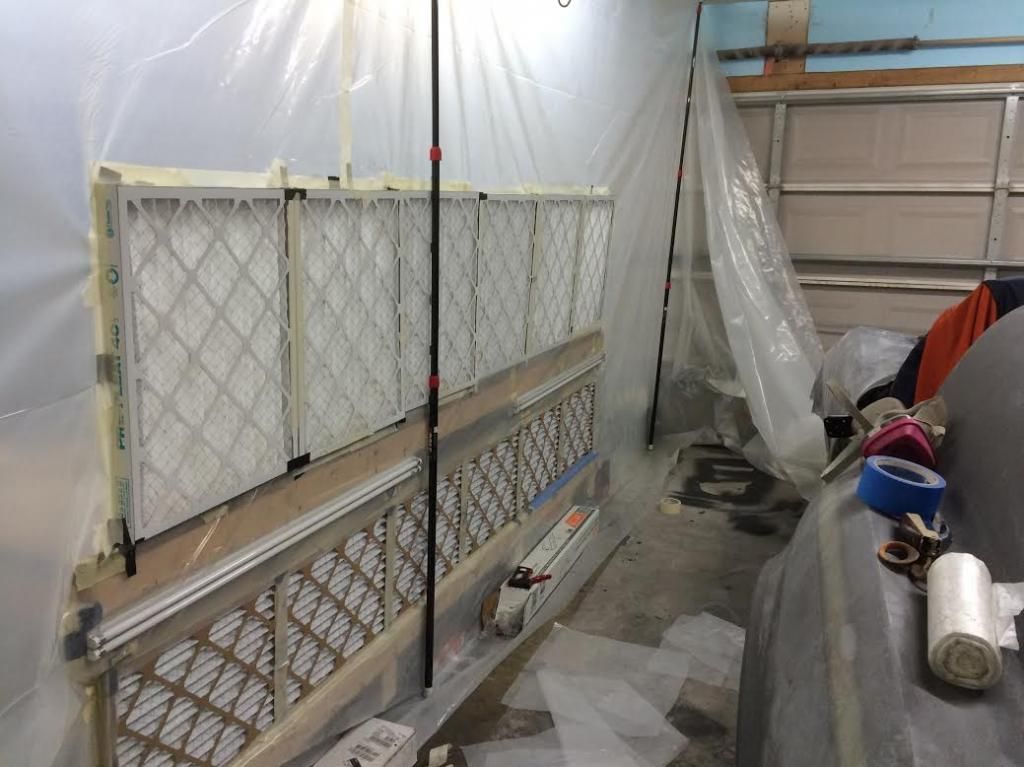

I took the pic when I was done for the night! I know the window is close smarties!
 11-24-2014, 10:37 PM
#38
Instructor
I do use the plastic for covering stuff along the walls, but keep in mind that the over-spray will not remain stuck to the plastic. If you brush against or move the plastic sheet, you end up with a lot of loose particles floating around. I am going to find some old sheets to use for covers before I start spraying my base/clear this go around.
The last temporary booth I made was out of 1x2's and plastic sheeting, it worked but the plastic had the above issues.
Good luck, I think you are on the right track.
The last temporary booth I made was out of 1x2's and plastic sheeting, it worked but the plastic had the above issues.
Good luck, I think you are on the right track.
11-25-2014, 03:25 PM
#39
Instructor

Member Since: Jan 2013
Location: Missouri
Posts: 218
Likes: 0
Received 0 Likes
on
0 Posts
PV;
I have painted many cars at home in the garage and have a few pointers. First, ground the bird cage to the floor. This will eliminate any static built up around your fiberglass areas that might attract dust. Texas70 was talking about how plastic causes static. The grounding of the cage will clear up alot of that because your plastic does touch the cage. I usually just hang a chain or metal of some kind to touch the floor like under an ambulance. Using a masking paper does work well also but I have always used plastic and never had an issue. Use a good filter before the paint gun and a good water filter at the compressor. I also make sure that my connector to the gun is in excellent shape and no slop. I wipe down the surface with a good prep solvent prior to spraying. I let that dry very good and then tack cloth it. You will get a small amount of dust even in a booth. Your setup looks decent to spray in. The only other thing I could think is your ceiling has debris falling on the car if its not already covered. Your car will look great when its done, I like your booth setup alot! Keep up the good work!!
Rich
Last edited by Z06FEVER; 11-25-2014 at 03:31 PM.