
PAINT!!!!! Follow Along If You'd Like :)
 09-28-2014, 07:30 PM
#1
Race Director

Thread Starter

Sorry to disappoint as it's only undercoating/inter-coating so far...but I'm excited about it none the less and thought I'd start a paint thread as I slowly tackle my project head on.
The paint section is very boring so hopefully this can stay in the C3 section...since it's '69 specific
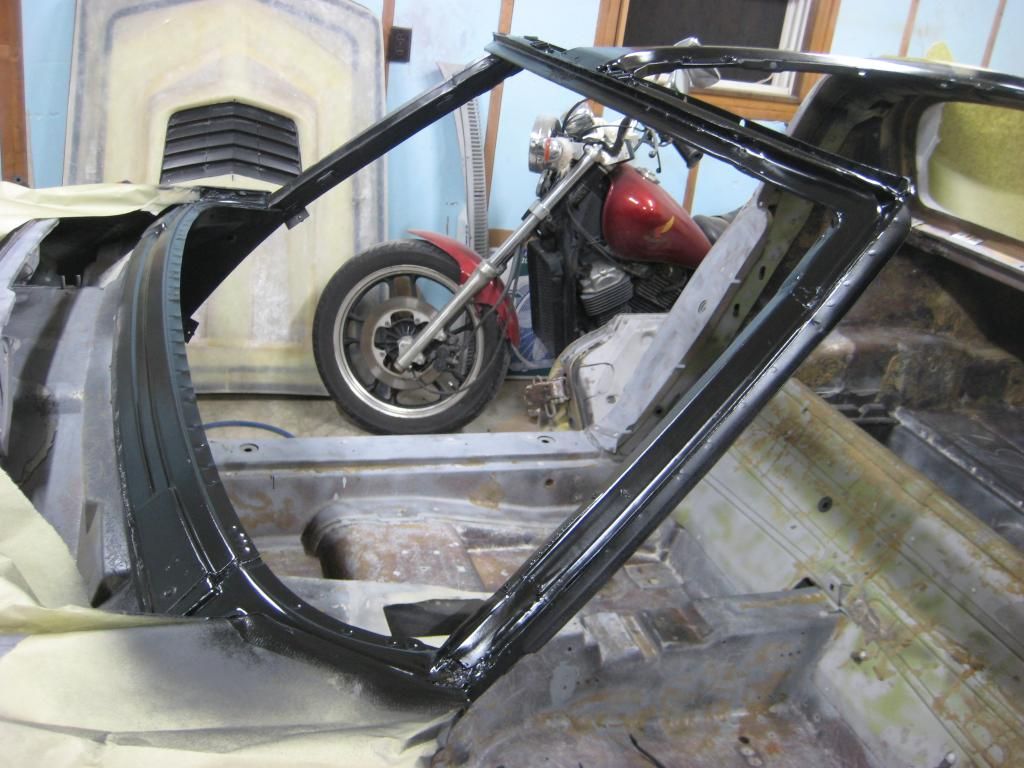
First thing I painted was my windshield frame so it wouldn't flash rust on me. Came out very good for the first time using a HVLP gun I think.
The paint section is very boring so hopefully this can stay in the C3 section...since it's '69 specific
First thing I painted was my windshield frame so it wouldn't flash rust on me. Came out very good for the first time using a HVLP gun I think.

 09-28-2014, 07:33 PM
#2
Race Director
Thread Starter
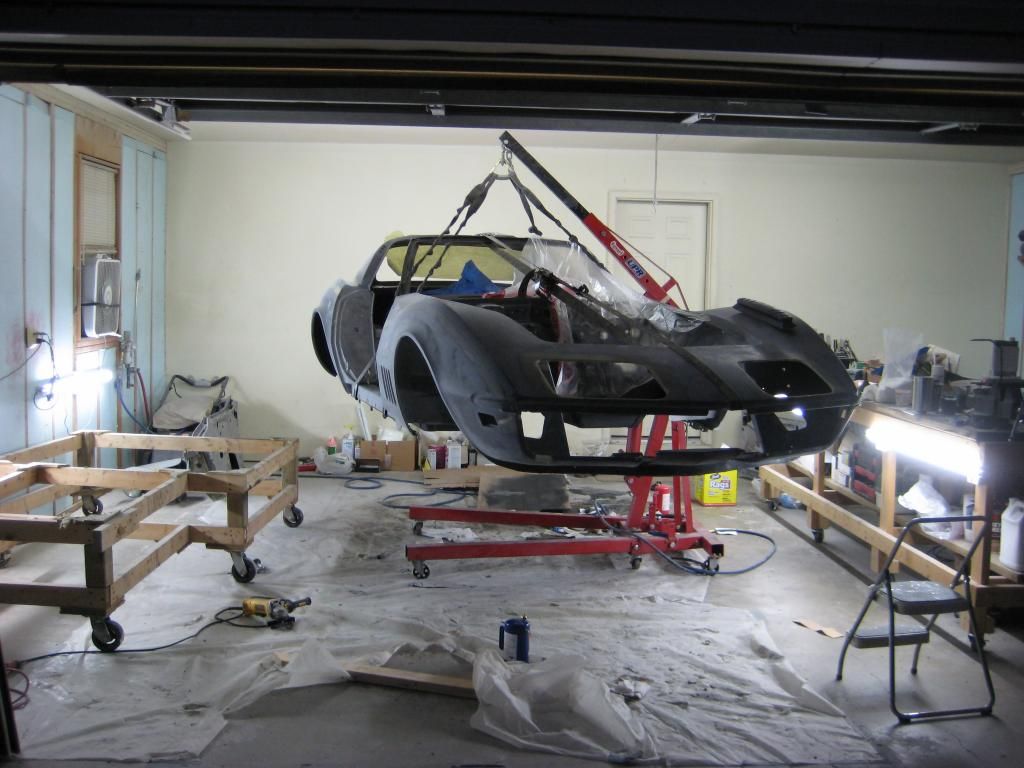
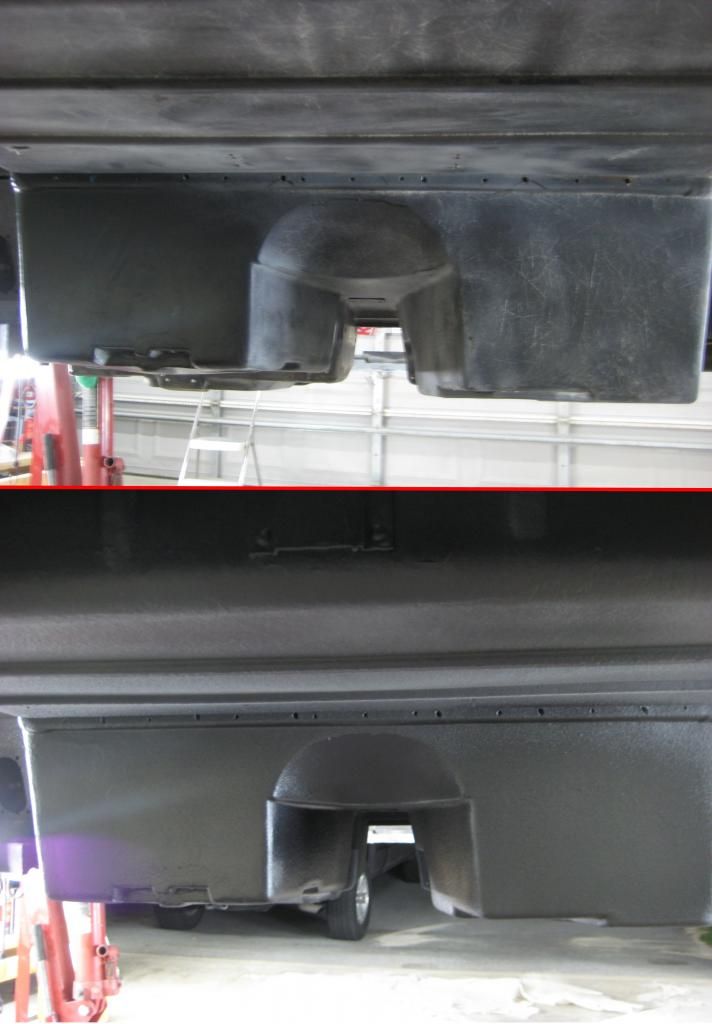
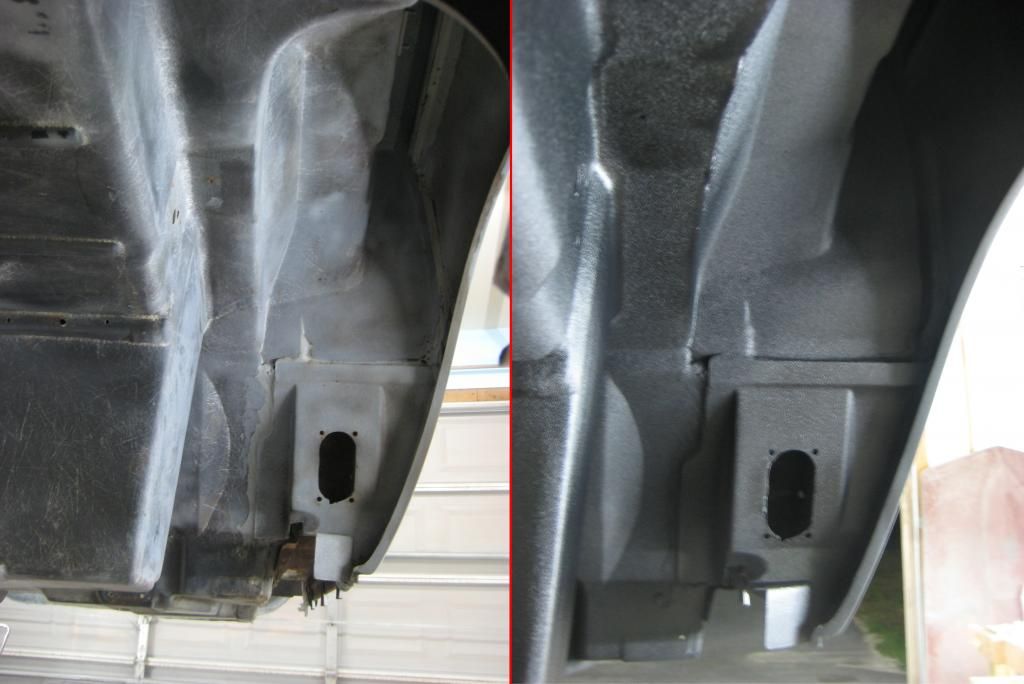
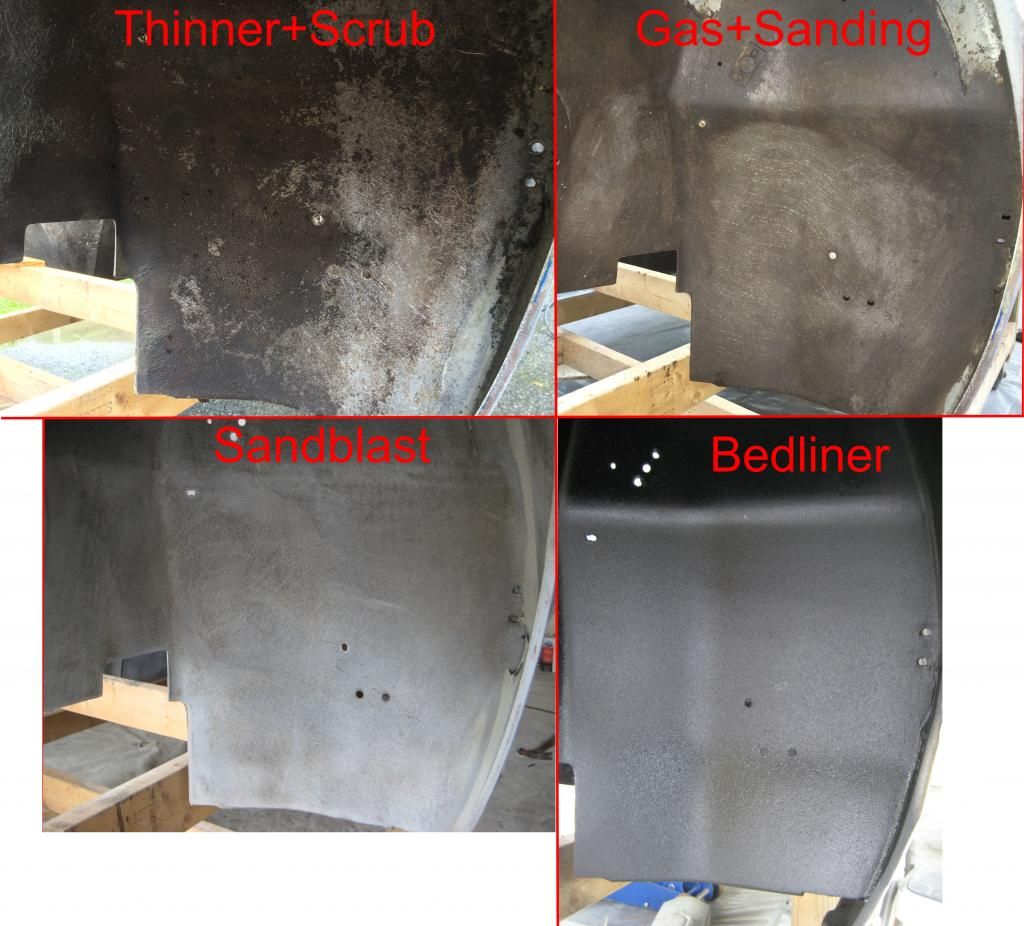
I then lifted the body and did the best I could spraying the underside and rear wheel wells.
Sprayed some DIY heat barrior(which many have doubts about) but I did it anyway. Little blotchy as spraying upside down was way harder than I'd have liked.
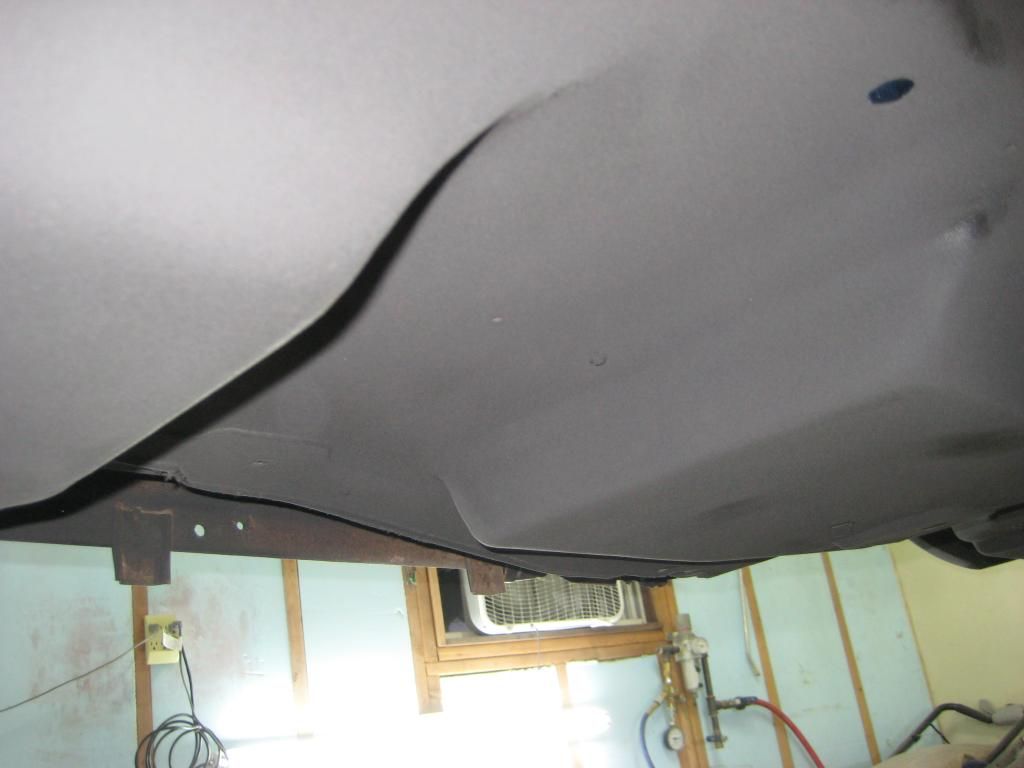
I then sprayed some bedliner thought the same HVLP gun..which was super slow going but laid down a super thin layer. I like this look over what an actual undercoating gun would have probably gotten me.

Sprayed some DIY heat barrior(which many have doubts about) but I did it anyway. Little blotchy as spraying upside down was way harder than I'd have liked.


I then sprayed some bedliner thought the same HVLP gun..which was super slow going but laid down a super thin layer. I like this look over what an actual undercoating gun would have probably gotten me.


Last edited by PUNISHER VETTE; 09-28-2014 at 07:35 PM.
09-28-2014, 07:38 PM
#3
Race Director
Thread Starter
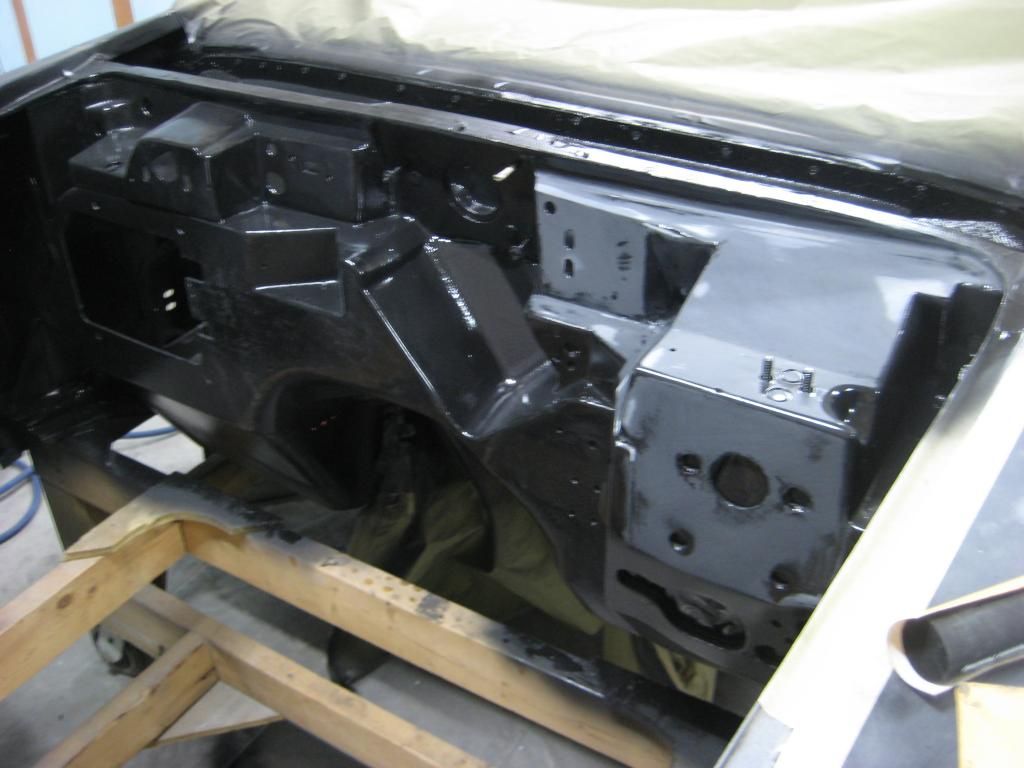
Next I tackled the inside. PO installed **** carpet with some of the nastiest glue i've ever seen. I did my best but didn't want to obsess in getting it perfect for nobody ever going to see it.
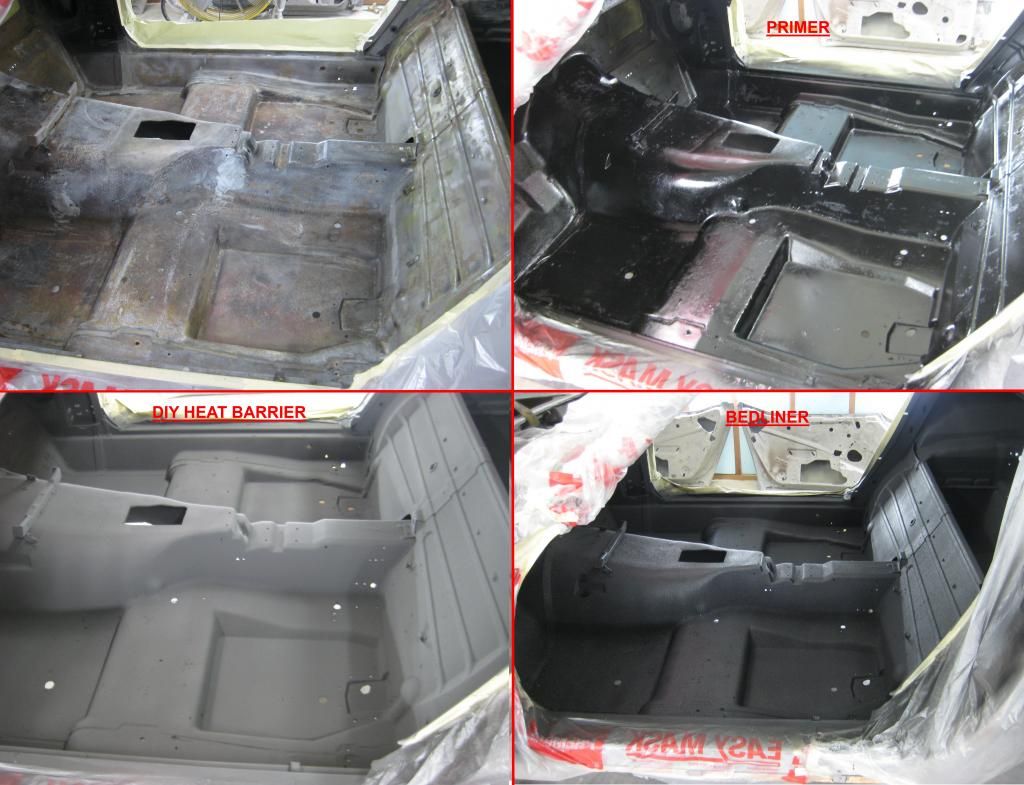
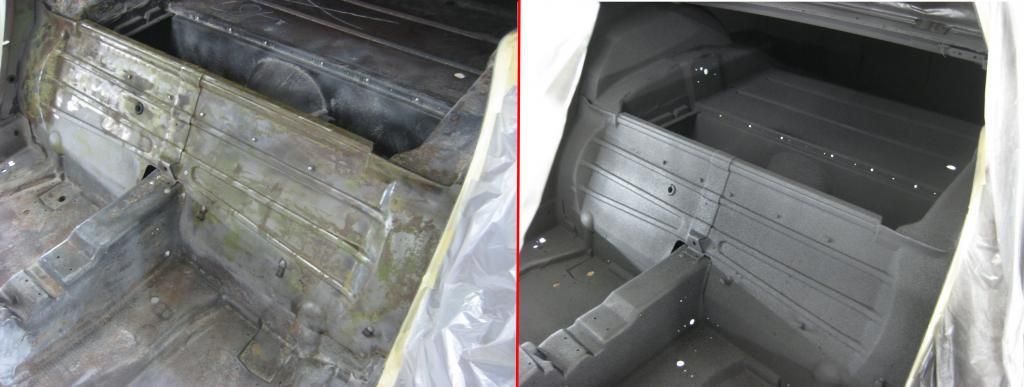
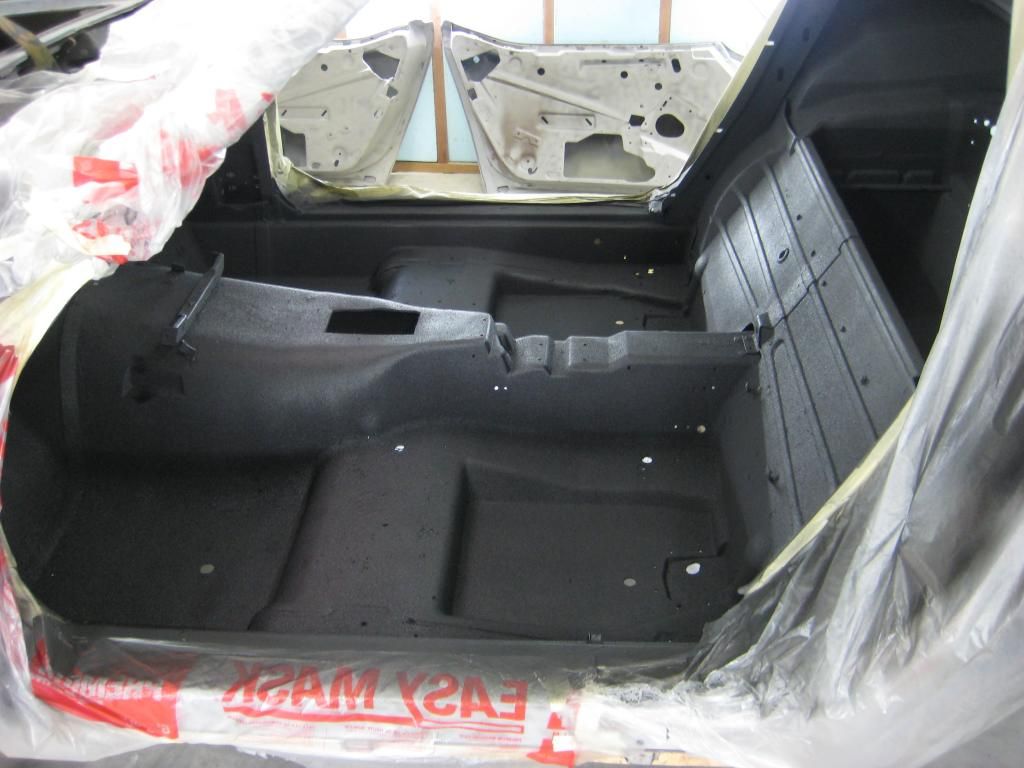
I've started putting some of the riveted reinforcements back on and the air hammer has shaken some sand loose that was hidden and made the coating look not perfect anymore


I've started putting some of the riveted reinforcements back on and the air hammer has shaken some sand loose that was hidden and made the coating look not perfect anymore
09-28-2014, 07:40 PM
#4
Race Director
Thread Starter
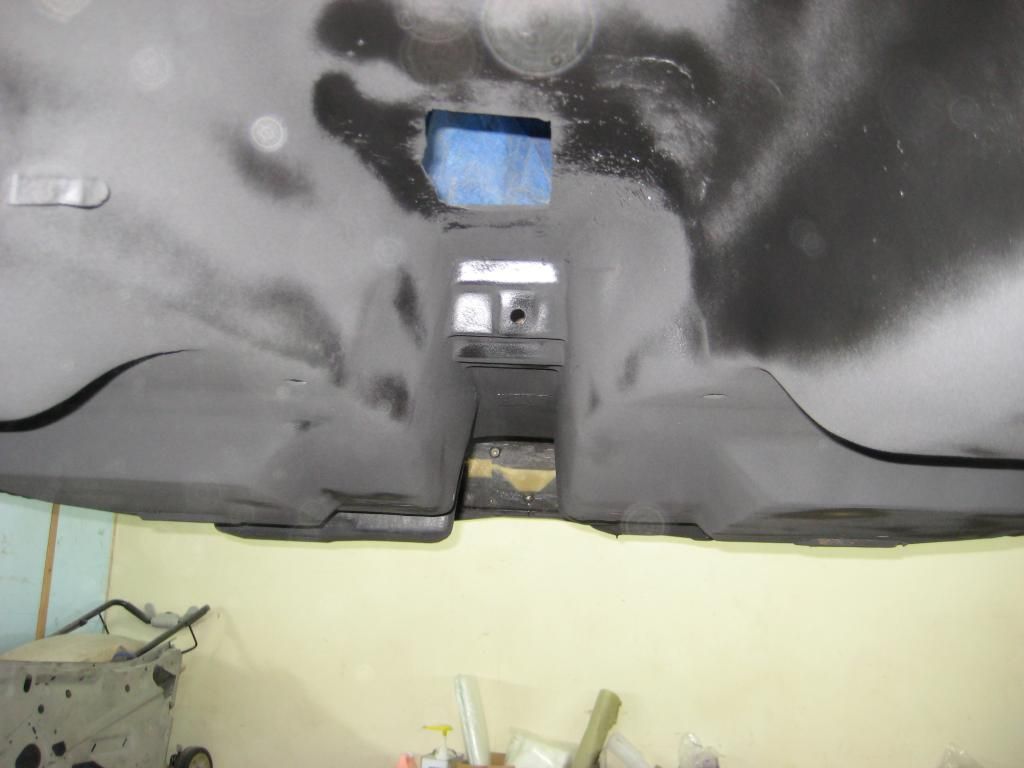
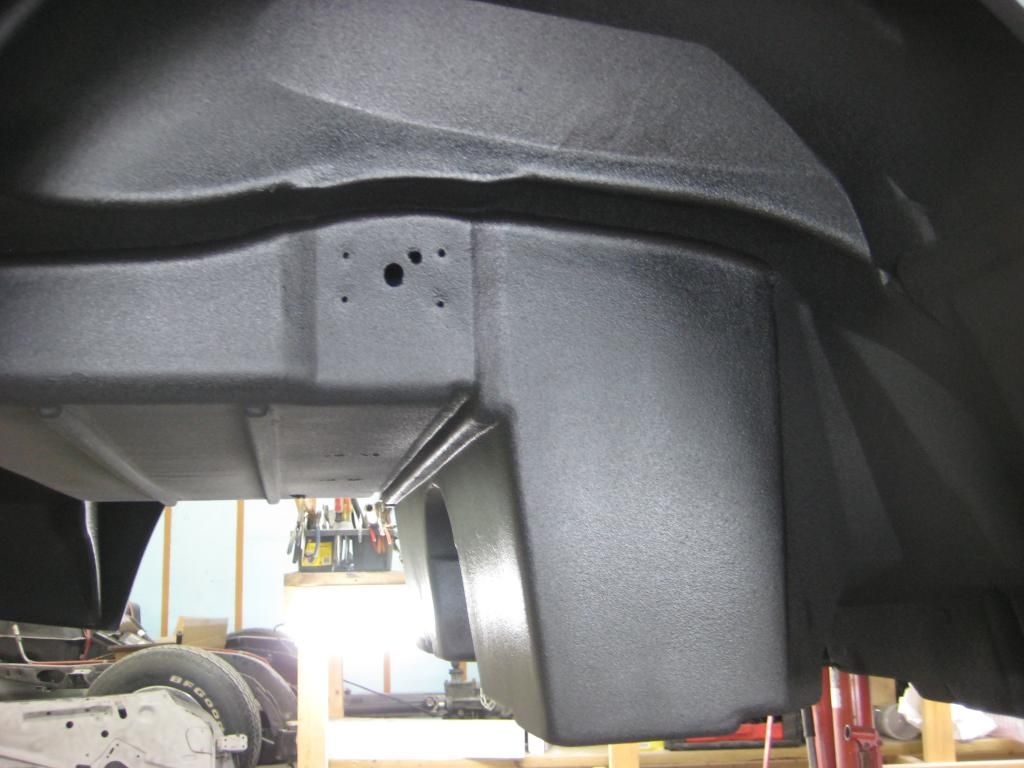
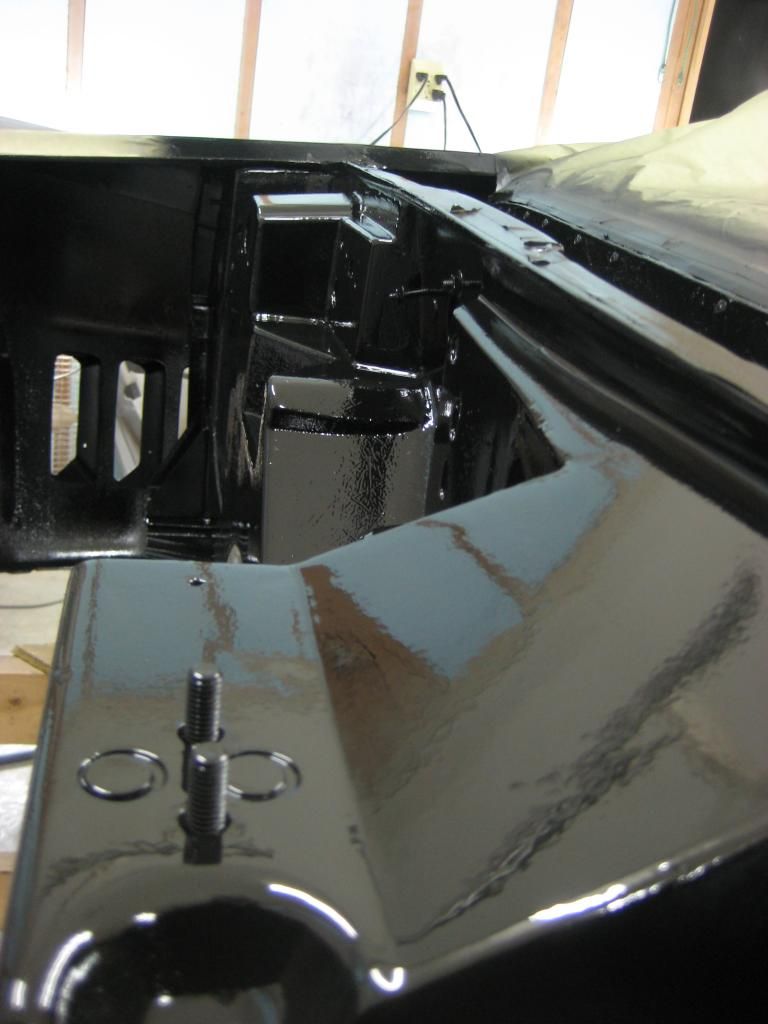
Next I tackled the front wheel wells. with just the primer and bedliner(no heat barrier stuff)
Sorry...hard to get good pictures of it. The different lighting makes it look different in pictures.
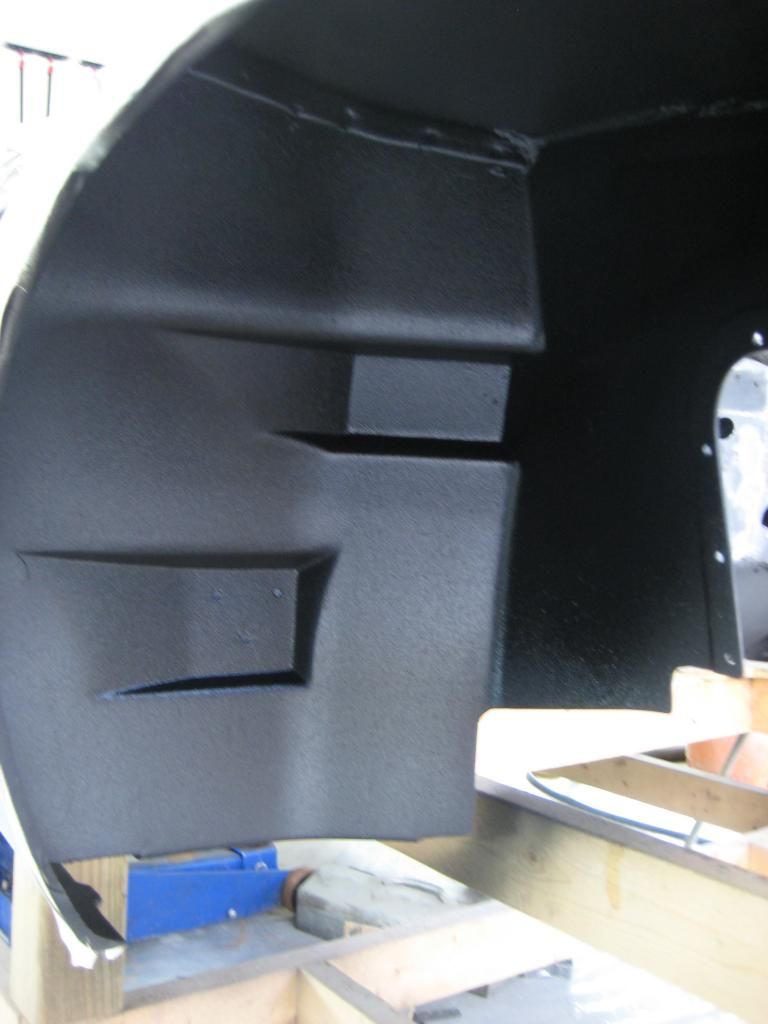
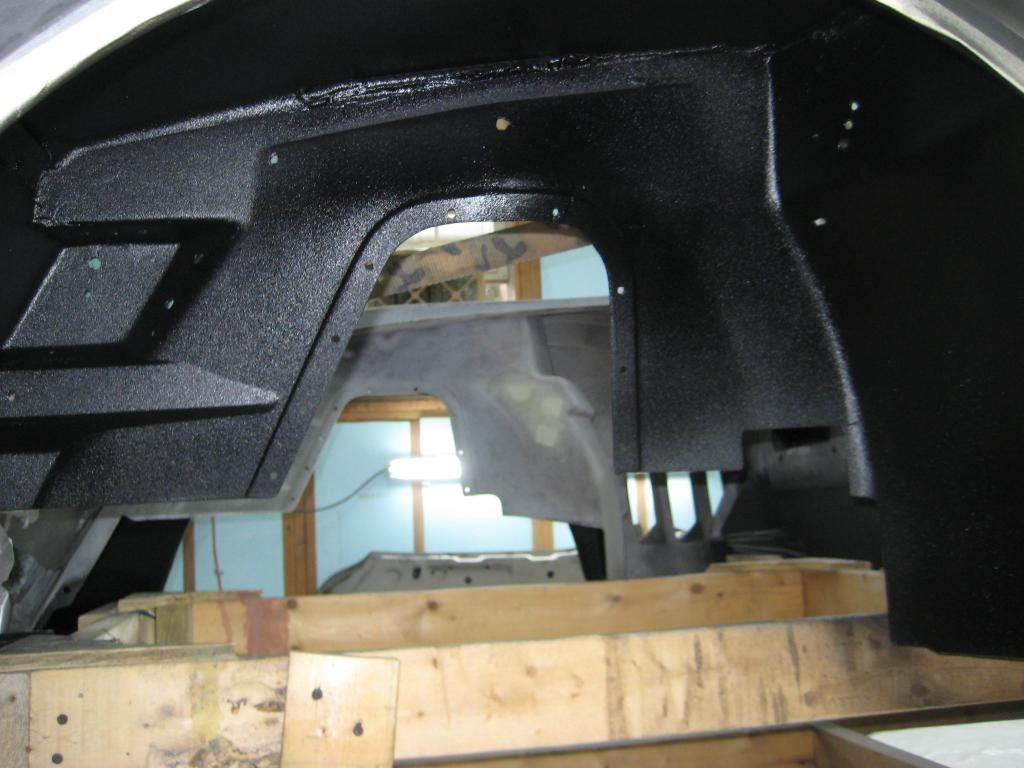
Sorry...hard to get good pictures of it. The different lighting makes it look different in pictures.


Last edited by PUNISHER VETTE; 09-28-2014 at 07:42 PM.
 09-28-2014, 07:56 PM
#6
Le Mans Master


That came out really good! Great job on the undercoating and the before and after '**** rug' interior shots showed the major diff you made. As far as the heat resistant under-coating, gotta try it! If nobody experimented, nobody would know (like your hood scoop!).

09-28-2014, 07:58 PM
#7
Drifting


Looking good Punisher. I can see the excitement in your post. It's always that way when you reach that point in a build where you get to break out the gun or guns . And start shootin' something, weather it's primer, paint, or undercoating ( in your case bed liner).
09-28-2014, 08:06 PM
#8
Race Director
Thread Starter
Thanks! Yeah. Knowing from here on I should be mostly building it back from brink is a good feeling.
09-28-2014, 09:07 PM
#9


 10-04-2014, 09:23 PM
#10
Race Director
Thread Starter
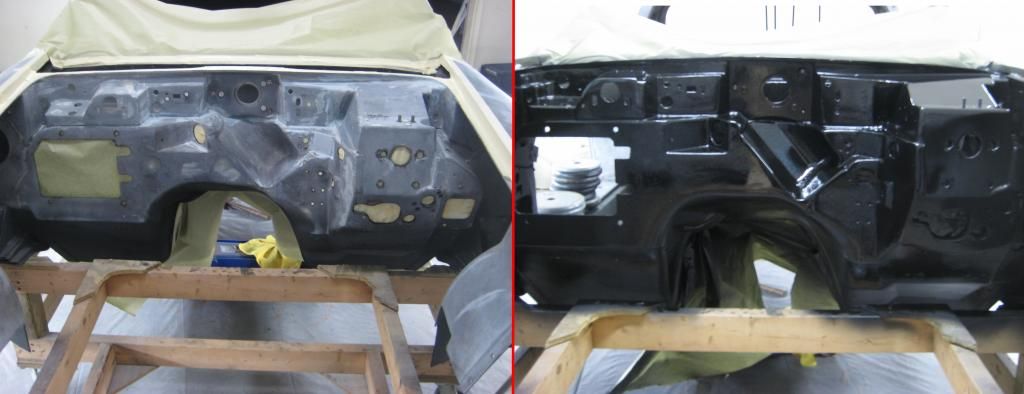
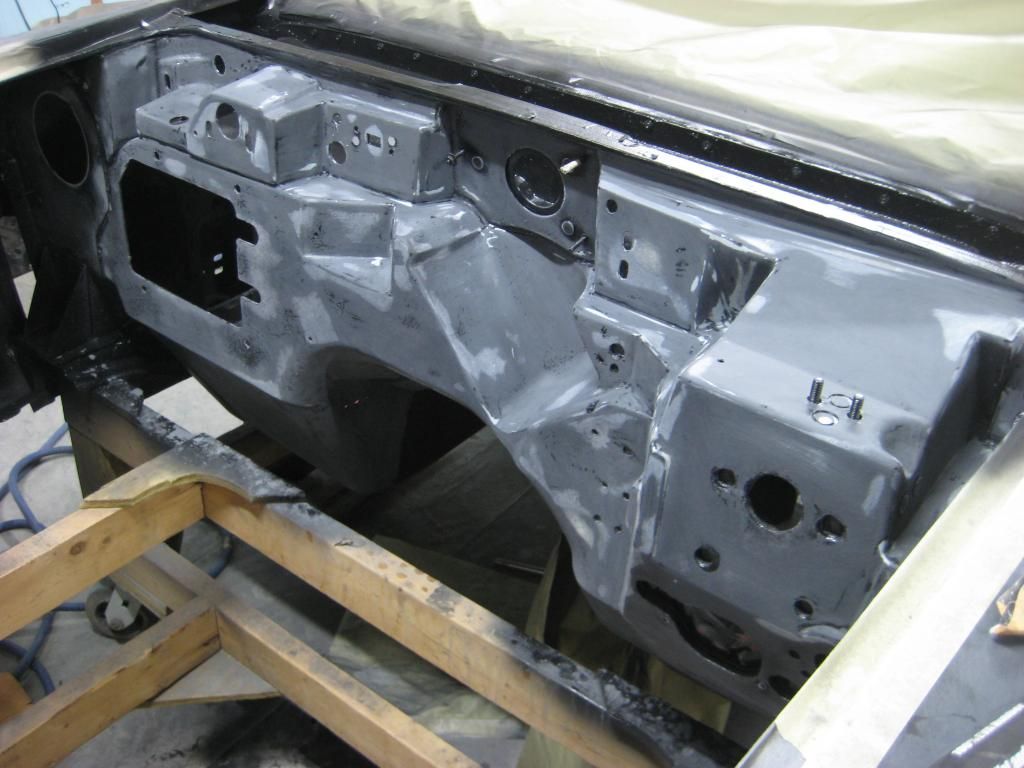
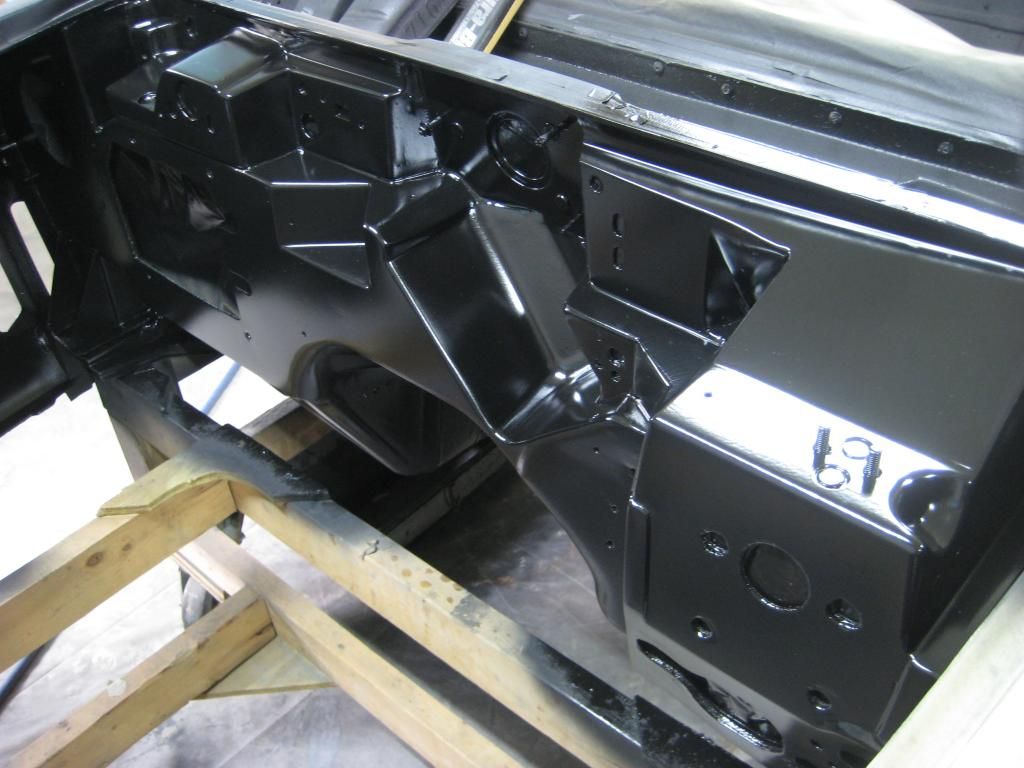
Painted the firewall tonight. Still wet in the pics so should dry and look even better I hope?
I have 3 options from how i see it:
1. Leave it like it is since anymore work i put into sanding will go unnoticed most likely anyway.
2. Block sand as best I can then spray a sealer coat and call it good.
3. block, sealer, cyber gray body color, clear?. WAY more work but will be a lot more unique, give me some practice spraying the metallic. and might look better than the overused black?


Last edited by PUNISHER VETTE; 10-04-2014 at 09:28 PM.
 10-08-2014, 01:18 PM
#13
Melting Slicks

Painted the firewall tonight. Still wet in the pics so should dry and look even better I hope?
I have 3 options from how i see it:
1. Leave it like it is since anymore work i put into sanding will go unnoticed most likely anyway.
2. Block sand as best I can then spray a sealer coat and call it good.
3. block, sealer, cyber gray body color, clear?. WAY more work but will be a lot more unique, give me some practice spraying the metallic. and might look better than the overused black?
]
MY VOTE #3
10-08-2014, 09:23 PM
#14
Race Director
Thread Starter
Yeah... I pretty much came to that conclusion too the other day and started blocking the firewall. Didn't make it very far as work is at it's peak right now and it's getting cold. any painting I do from here on I'll need to heat the garage to get it to cure properly I guess.
I'm NOT going to make it perfect like I'll be doing the outside. But I'll give it a good blocking at least this once or twice and call it good I think.
I'm NOT going to make it perfect like I'll be doing the outside. But I'll give it a good blocking at least this once or twice and call it good I think.

 10-09-2014, 08:37 AM
#15
Melting Slicks
Looking good. I think you made a good choice for the engine bay. Will mean a lot more work but I think outcome will be worth it in the end. Enjoy.
10-11-2014, 08:27 PM
#16
Race Director
Thread Starter
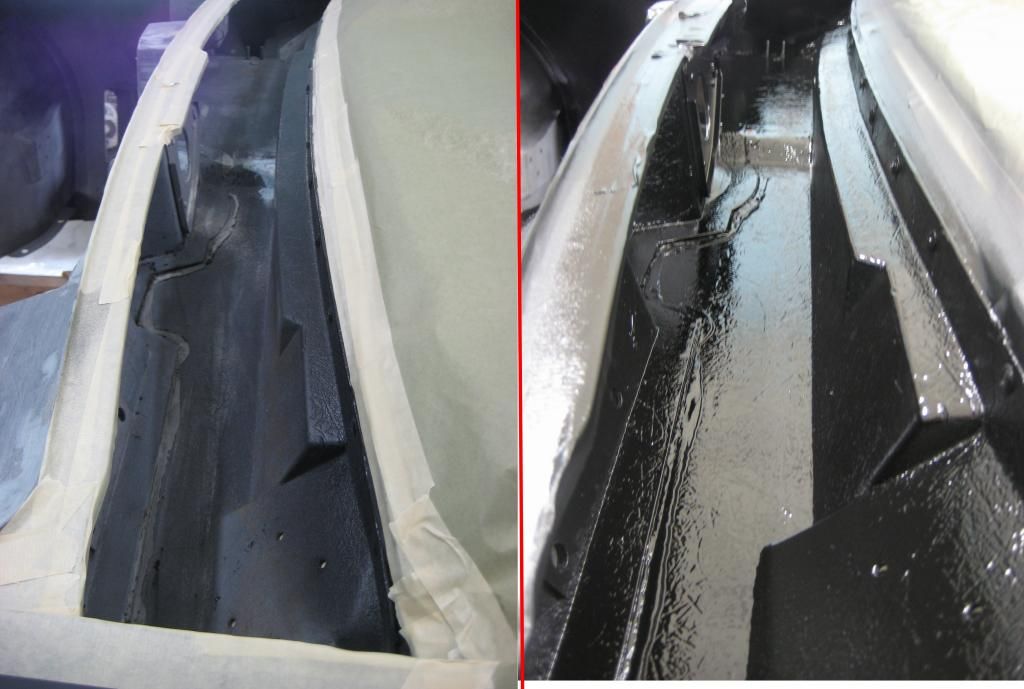
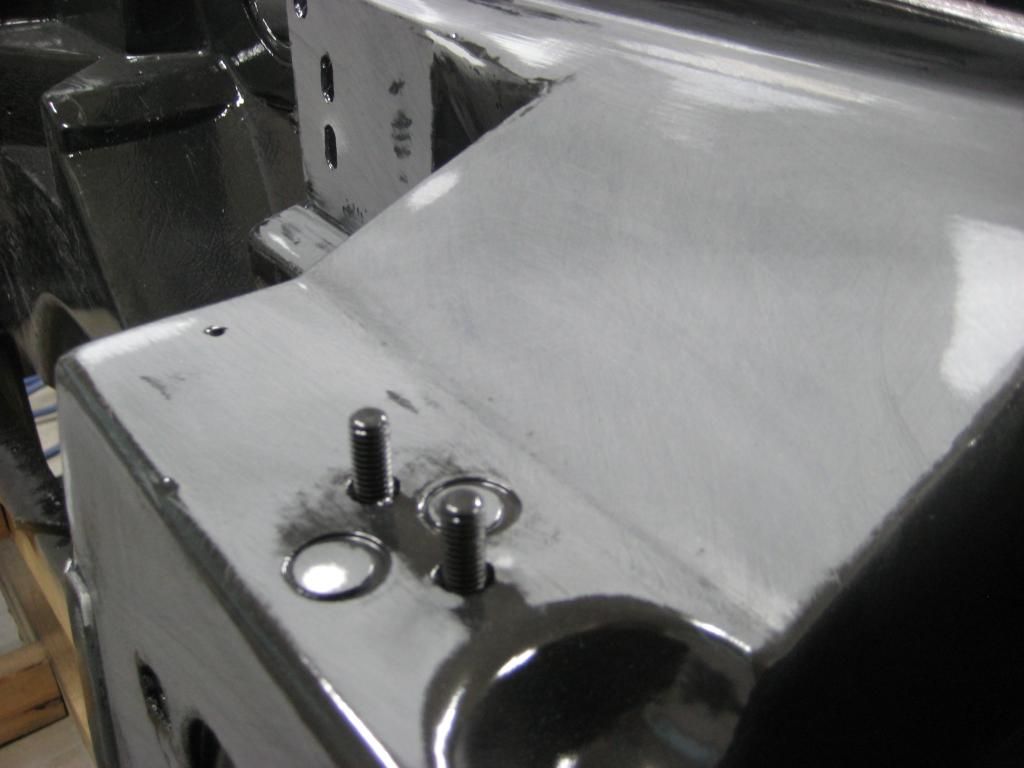
block sanding #1 done...ish
I'll definitely have a VERY good appreciation from now on for those who have gone through the trouble of making their firewalls smooth. This first sanding alone was a couple hours. BUT...no more ugly adhesive ooze out areas for me!
I'll definitely have a VERY good appreciation from now on for those who have gone through the trouble of making their firewalls smooth. This first sanding alone was a couple hours. BUT...no more ugly adhesive ooze out areas for me!

 10-18-2014, 08:30 PM
#17
Race Director
Thread Starter
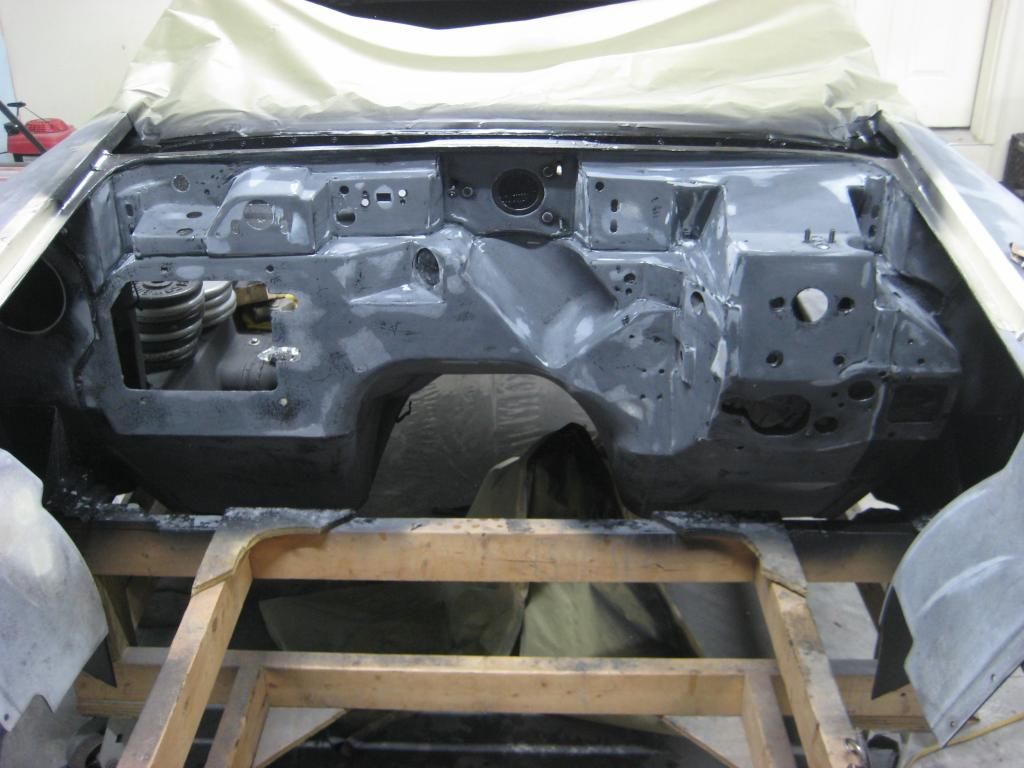
Well either I adjusted my primer gun better somehow or a little block sanding really helps.
This is only blocked with 120... Still have another full session to go then I can think about color.
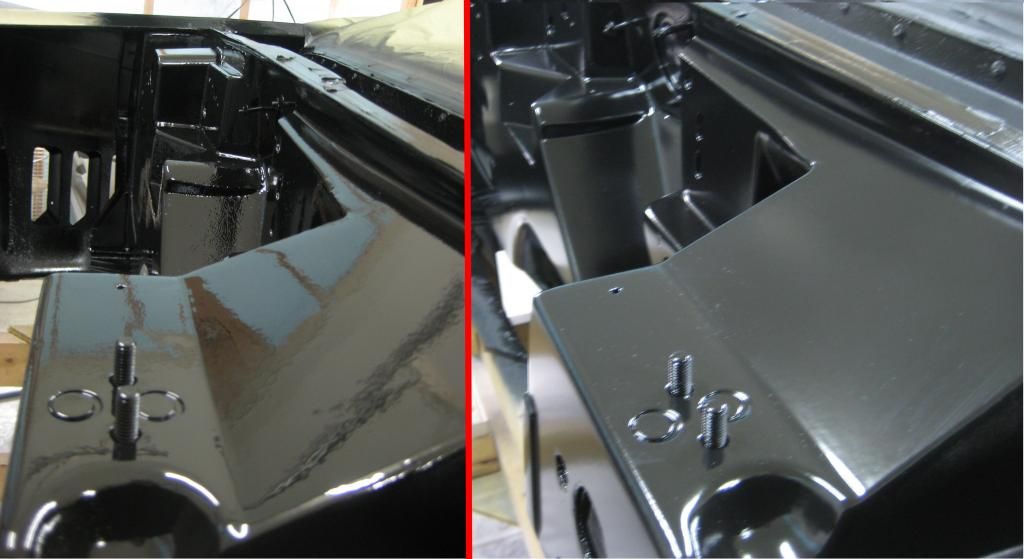
It looks so nice to me I feel bad I have to sand it again. But there's still a few tiny imperfections that I might as well get since I've come this far.
This is only blocked with 120... Still have another full session to go then I can think about color.

It looks so nice to me I feel bad I have to sand it again. But there's still a few tiny imperfections that I might as well get since I've come this far.

Last edited by PUNISHER VETTE; 10-18-2014 at 09:00 PM.
10-18-2014, 09:10 PM
#18
Drifting
Your car is coming along really nice Punisher. I just finished the engine bay on mine. Except for the choice of a little more shine in my black, I went with a more factory look. But nonetheless a lot of work and a huge relief to now be able to put stuff back on instead of removing.
10-18-2014, 09:31 PM
#19
Race Director
Thread Starter
Your car is coming along really nice Punisher. I just finished the engine bay on mine. Except for the choice of a little more shine in my black, I went with a more factory look. But nonetheless a lot of work and a huge relief to now be able to put stuff back on instead of removing.

