When you click on links to various merchants on this site and make a purchase, this can result in this site earning a commission. Affiliate programs and affiliations include, but are not limited to, the eBay Partner Network.
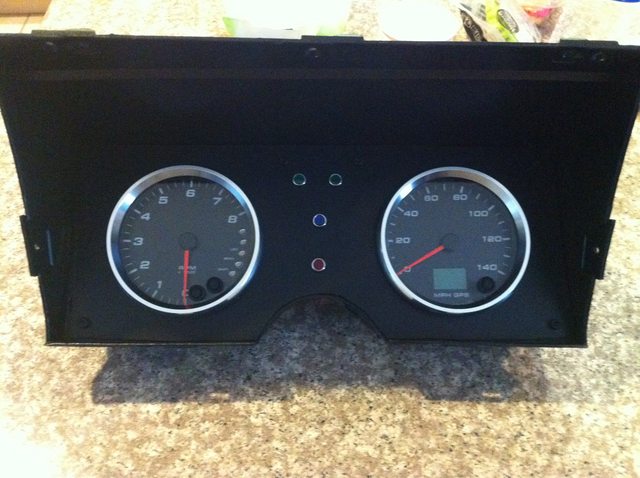
Custom gauge panel, the gauges weren't cheap but the clear plastic and black plastic paint was:
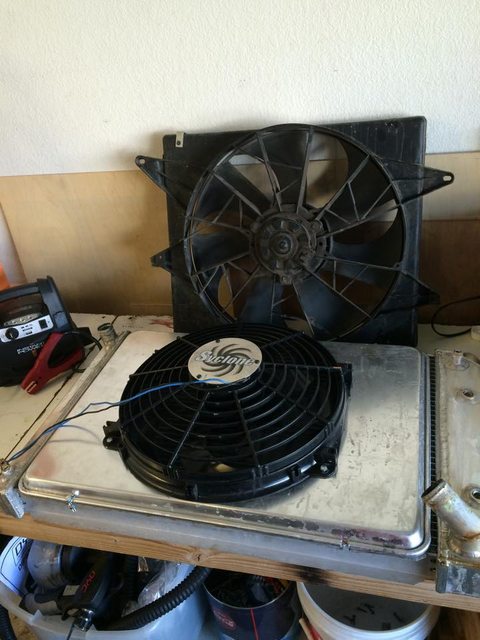
Made a fan shroud out of a baking sheet. The large black fan is a junkyard fan that lasted me about a year. The baking sheet was about $20 and the Syclone fan was about $110 from amazon.
Thanks, I was proud of that one! I spent a good amount of time looking into several ways of making a shroud. I don't know who it is who gave me the baking sheet idea, but I measured the radiator surface and found that an 18"x26" sheet should fit over it. Found it on amazon:
Okay so here is what I had to make up in order to install the rear leaf spring in my 69 while doing an off body restore. Try to jack the end of the leaf spring with no body wait. The entire frame was lifting.
Solution below
This allowed me to jack the end of the leaf to install the bolt while the wood pushed down on the frame.
I know it may not be everyone's cup of tea...
I bought this mesh for like 2 buck at this import/aftermarket shop to complete the 25 dollar minimum purchase.
I didn't use any wire cutters i just bent the thing a million times to cut off piece the size i needed using old grill as a template just cutting about 1inch more. My originals were a little brittle and broken.
I think they look cool next step is led signals down there and some mesh for the side gills
ALUMINUM FOR TUNING
This is the Aluminum net to make your car more sportive, to fit on the front of your car.
So...is your car more sportive?
It does looking cool, though.
yeah its more sportive
For the money i can't complain. once I get the middle open it'll be more sportive there too. I also used it to replace the chicken wire in the wiper compartment and added some silicone to make it some what flush and sprayed it with some sound deadner rubberized spray to see if it helped with leaks and so far after rain nothing.
Last edited by 76CSRvette; 11-06-2014 at 06:59 PM.
My free sand blast cabinet. An old stereo cabinet, I just cut two holes in the side for my arms and one for the hose. The sleeves are old shirt sleeves, it works great for most of the parts i took off the car.
My "free" from scrap powder coating booth with rotating rack that goes with my $15 thrift store dedicated powder coat oven. Notice the oven rack in the booth? slides right out and into the oven. The rotating assembly is the same size as the inside of the oven so when i hang stuff in the 'booth' I know it'll fit in the oven.
Now that is a cool setup. All the parts look great. Neat idea.
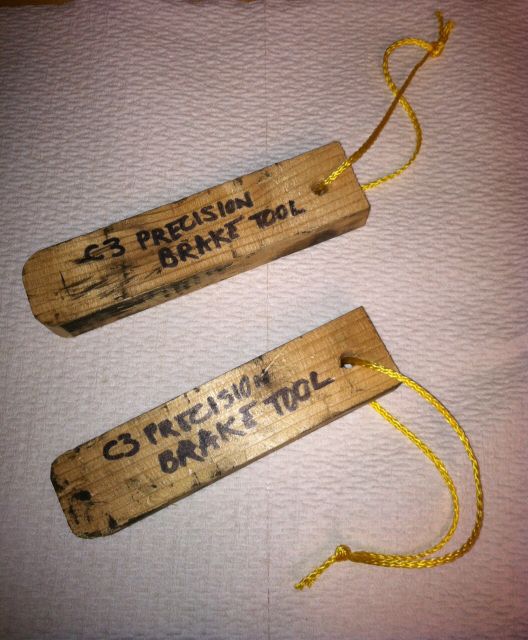
Speaking of brakes, like Mick 71, here are the "precision tools" I use to keep the pistons in the calipers when I am working on them. Nothing but the best in my shop!
I made my own No.1 body mounts, seat belt reinforcements and the two brackets that hold the reverse lockout cable to the trans. Just because I didn't want to wait a week for parts to ship. Not because I'm a cheapskate. Really.
I made my own No.1 body mounts, seat belt reinforcements and the two brackets that hold the reverse lockout cable to the trans. Just because I didn't want to wait a week for parts to ship. Not because I'm a cheapskate. Really.
Thanks Roger. Here are some pics of a bearing setup tool that I made to rebuild the trailing arms. I made a knockout tools for the shock mount and spindle, a rear spindle bearing install tool, and race installers for the rear spindle bearings but don't have pics Rick
I like your idea for installing the rear spring. I had trouble with that and wound up using chain. It was a little dangerous that way but worked out ok.

 10-31-2014, 02:11 AM