When you click on links to various merchants on this site and make a purchase, this can result in this site earning a commission. Affiliate programs and affiliations include, but are not limited to, the eBay Partner Network.
I replaced the port side headlights on my 1979 C3. The bezel was trapped by the body, so it was no small feat. Details on this thread: https://www.corvetteforum.com/forums...ght-bezel.html
The trim rings polished up nicely using some chrome polish that I bought 15 years ago. I'll get the starboard side next, then work on adding the relay mod.
With the '95 awaiting the slipping trans to be pulled out and rebuilt, I've been daily driving the '74. Of course, I couldn't help notice (again!) the billowing heat coming up from the bottom of the dash, right between my legs.
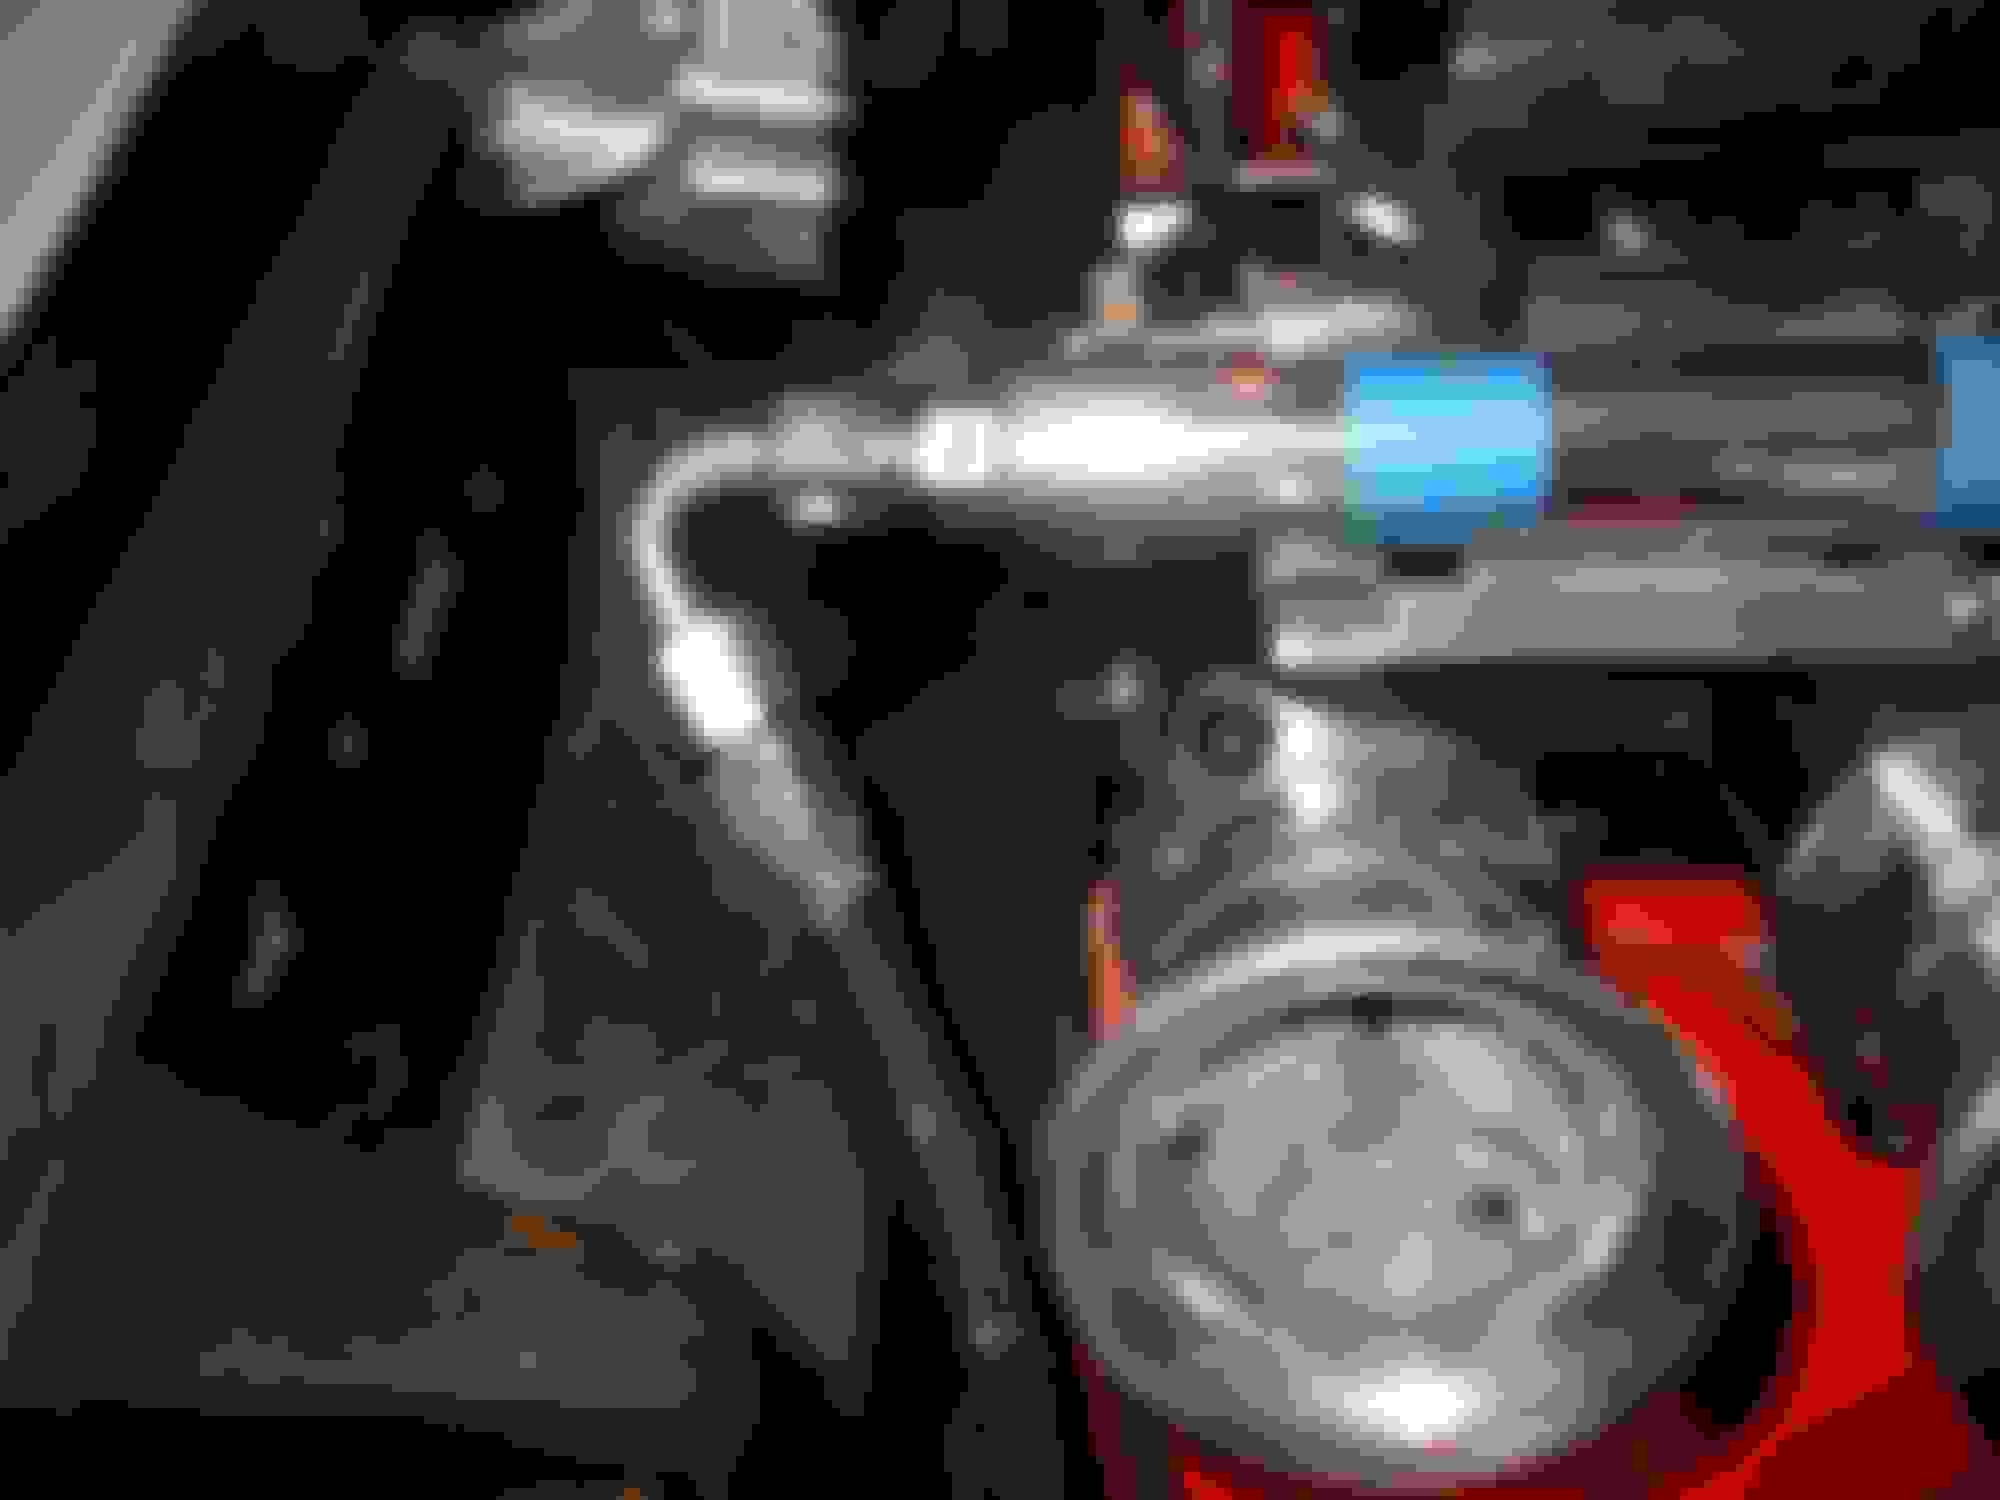
From that long thread and a lot of investigation, I knew exactly where that excessive heat was coming from! It's the steering column and the steering column support plate. I've done temperature measurements with a heat gun and that is the hottest thing on the floor board, is that plate and the steering column.
I already took wrapped the steering box, the best I could, but I was still cooking, so I took the next step, last Saturday and put the car on the lift in my shop. Then I took the DEI (Design Engineering) heat shield (the really thick stuff) and cut out a big section to cover the steering column support plate. I notched it out for the steering column and then left enough to wrap around the trans tunnel for at least three to four inches to protect it, from the number 7 exhaust.
Then, I took a smaller section and wrapped it, by itself, around the steering column, with the joint, leaving room, so it could rotate freely. It has to be a triangle shape, to fit around the flexible rubber/metal joint and I secured it with steel ties.
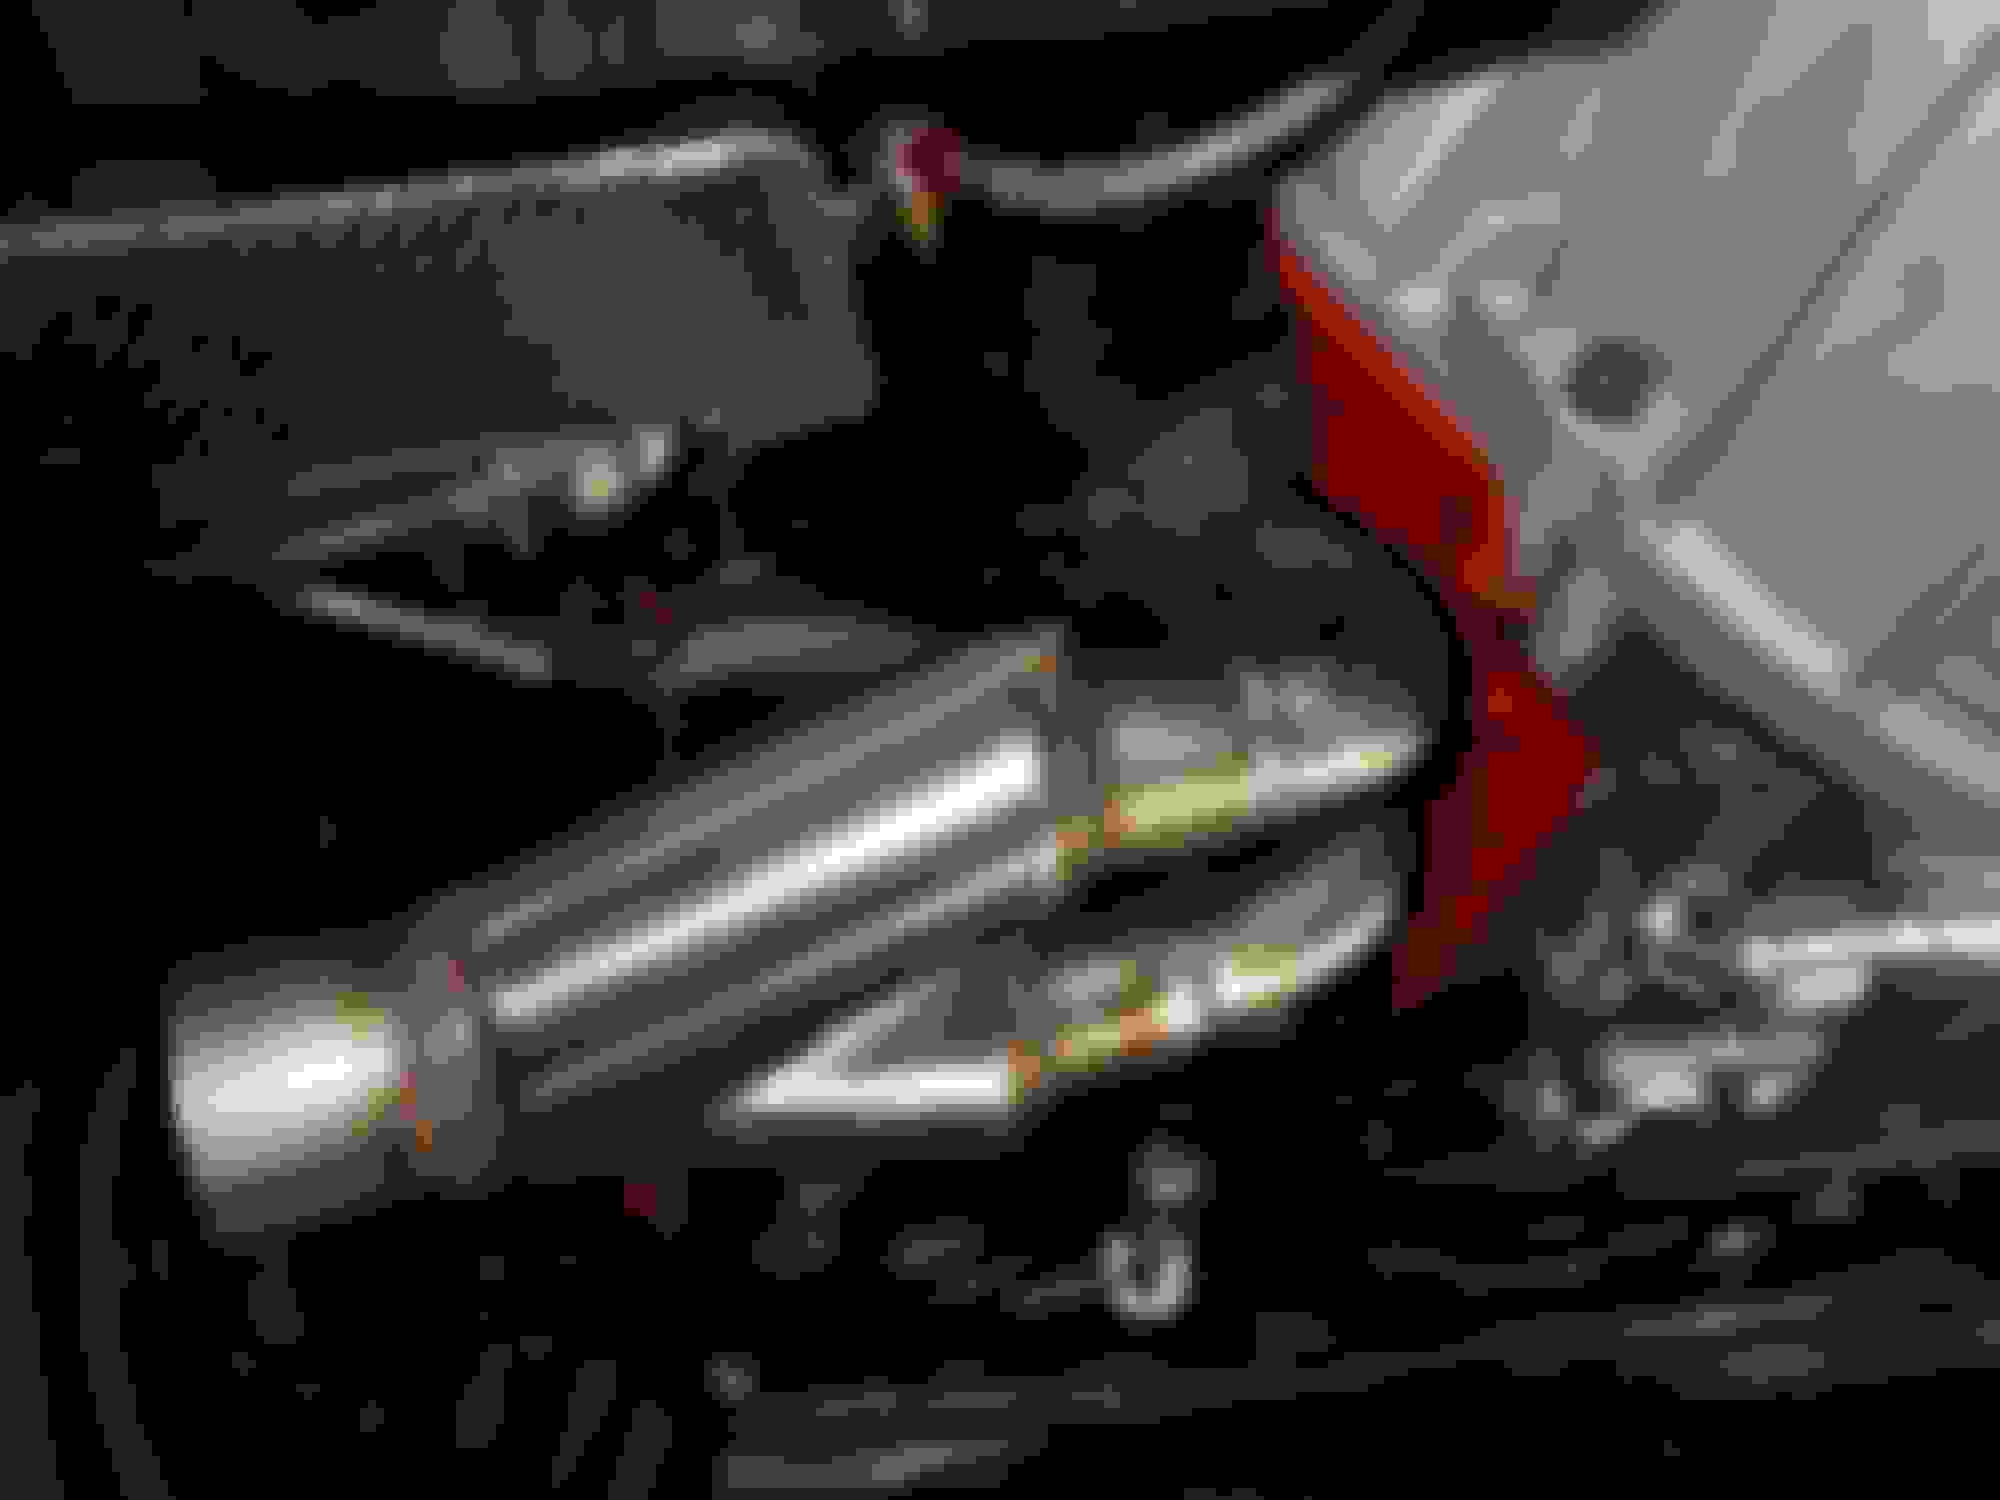
I had a thin sheet of the DEI product and I wrapped the brake booster with it, all the way around. Then with the left over, I used that same sheet and draped it over the transmission, tucking it behind the shift levers and securing it on the front end only, right by the bell housing.
The results? So far, so good. The steering column still gets warm, but it's not 165 degrees anymore and the heat doesn't billow out from that area, under the dash any longer. Not cool by any means, but not uncomfortable either. I'll keep an eye on it and evaluate it. I'll also post more pics, soon, when I can from the top.
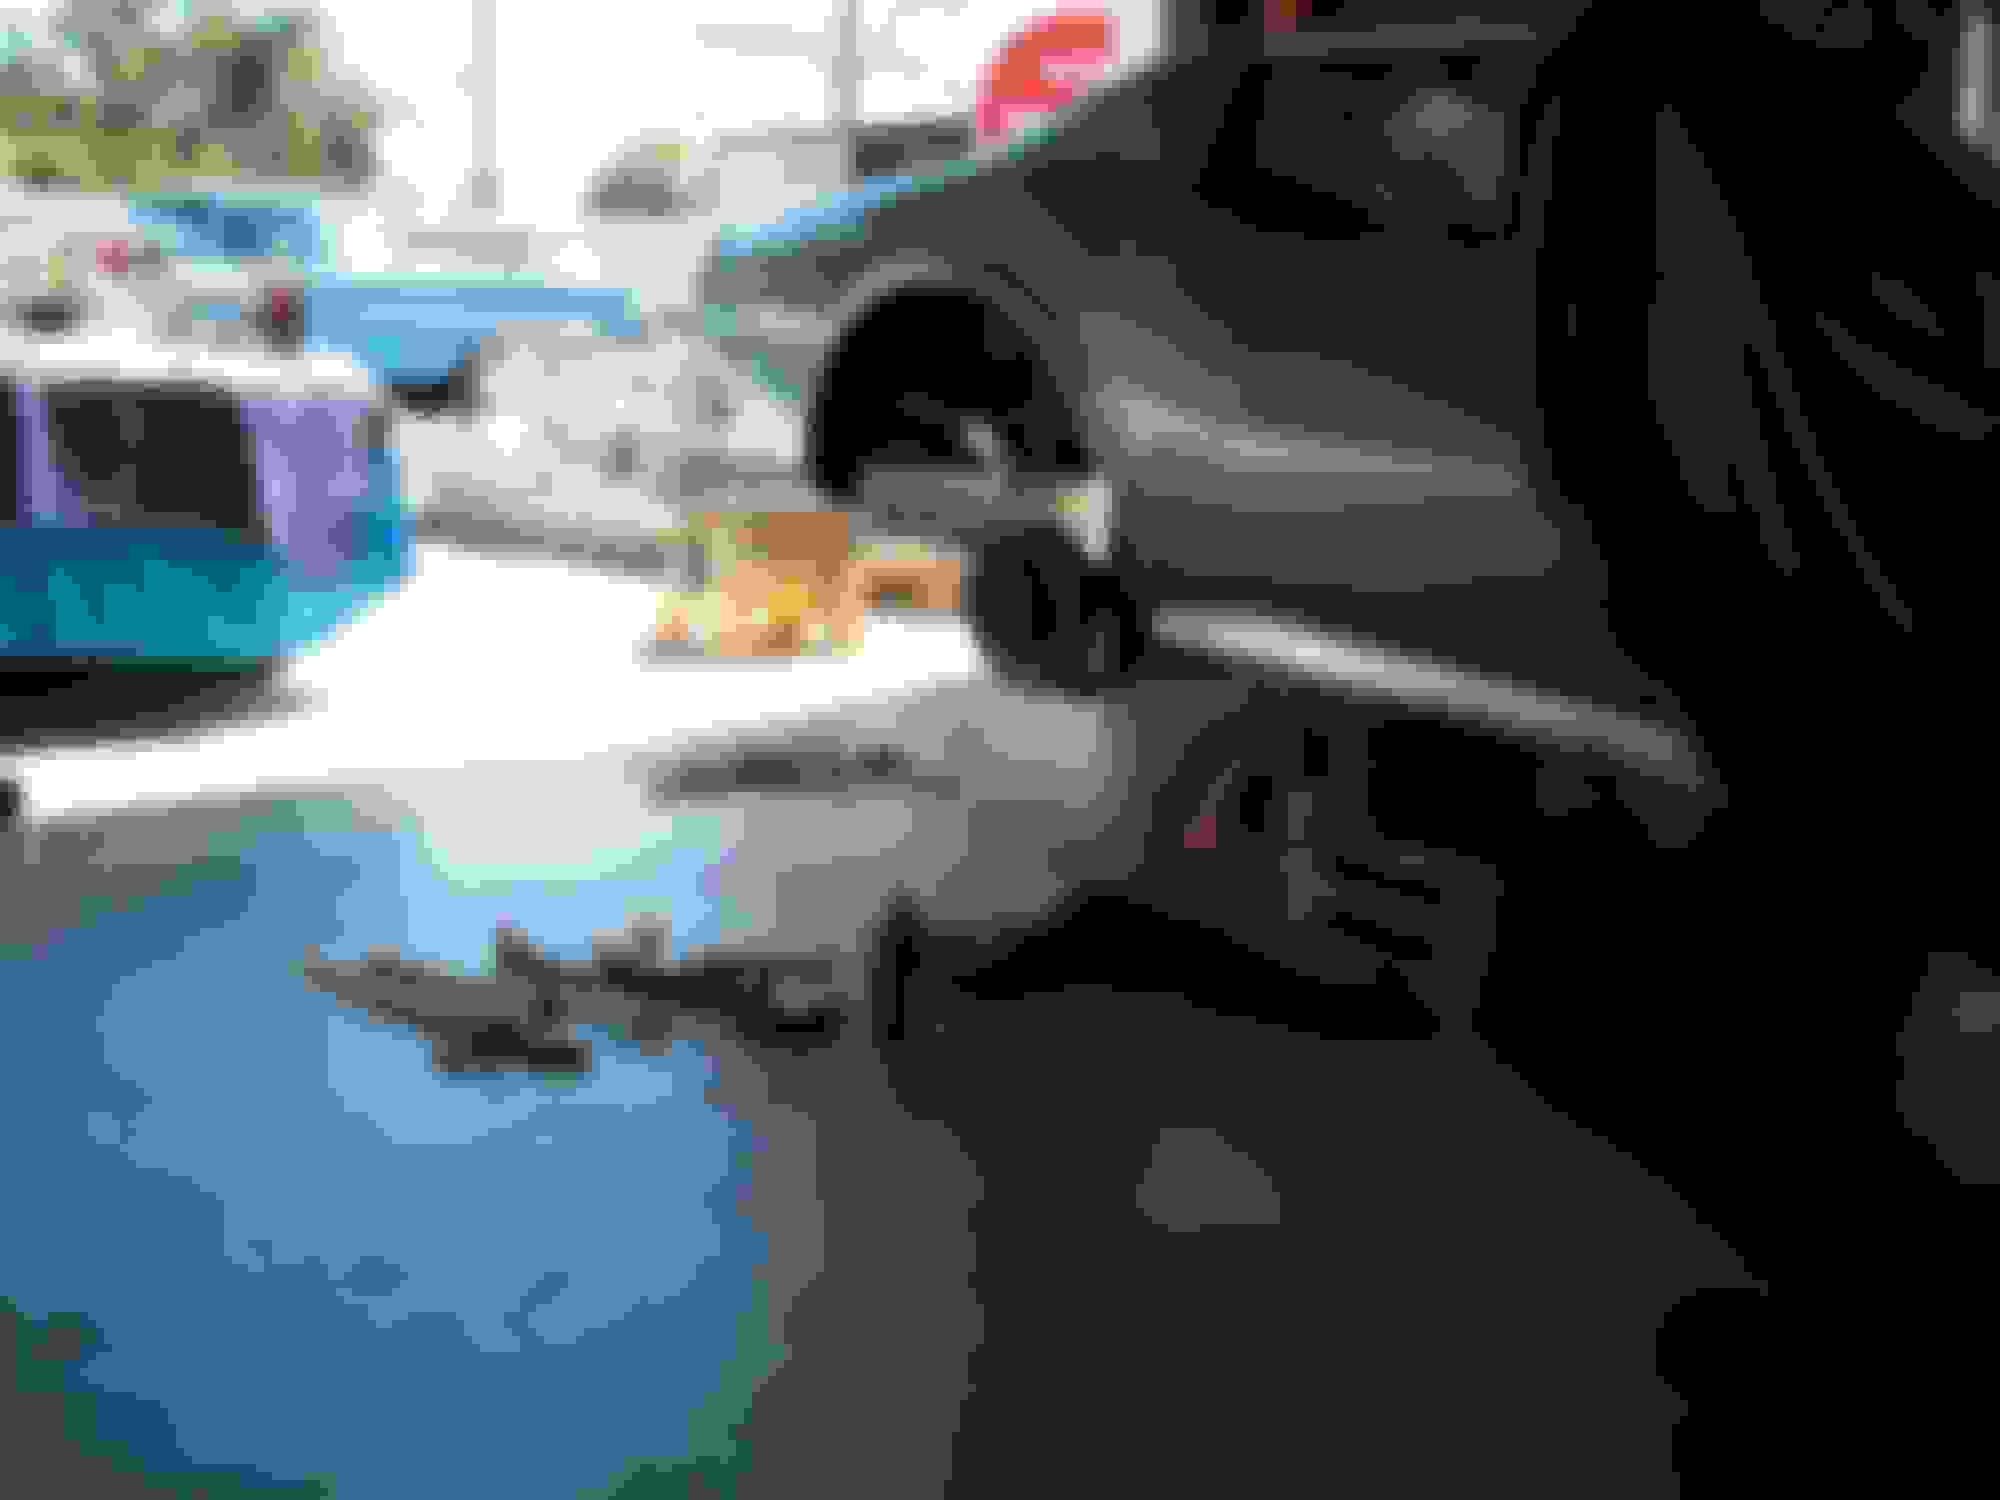
This shot taken, from under the car, facing the driver's footwell. Engine on the left.
Last edited by F22; 03-21-2017 at 02:16 PM.
Reason: Added details to picture...
Well.... it`s been more than "today"... a couple weekends actually... but we got the trailing arms off and the rear diff is out. These were a lot of work getting out, but they should go back IN a lot easier!
I got the driver's side exhaust pipe made up. Cut the old downpipes flange off- got some SS bends from Summit Racing- tacked it together. Then had my welder buddy finish it off.
I completed the convertible top installation on my 75 today. We had a cold snap here in Georgia, so I waited for a warm up to pull her out of the garage and finish the install. I am happy with the out come. I know a pro-installer will find issues with my work, but I will use the $700-$800 dollars I saved for something else needed for the car.
I video taped most of the work and will be putting that together soon.
I did use an Al Knoch top and it worked perfectly.
Here are some pictures of the process.
My wife said that "Lucille" now has her Easter bonnet on.
It is not the hardest activity I have done on the car. Would rather put on 5 tops verses doing anything under the dash.
Dart heads are here from Summit. Time for a quick port-match and assembly. I have a set of Manley stainless swirl-polished 2.02 / 1.60 waiting to go in.
I completed the convertible top installation on my 75 today. We had a cold snap here in Georgia, so I waited for a warm up to pull her out of the garage and finish the install. I am happy with the out come. I know a pro-installer will find issues with my work, but I will use the $700-$800 dollars I saved for something else needed for the car.
I video taped most of the work and will be putting that together soon.
I did use an Al Knoch top and it worked perfectly.
Here are some pictures of the process.
My wife said that "Lucille" now has her Easter bonnet on.
It is not the hardest activity I have done on the car. Would rather put on 5 tops verses doing anything under the dash.
I like the aftermarket speakers on the dash.can you show a couple of pics of the rest of the dash.
I bought a complete parking brake rebuild kit intending to fix that problem, then get the car inspected. I reviewed the PO's repair receipts, and saw that the parking brake hardware had been replaced (not, apparently, anything outside the rotor, but at least it had new shoes).
After seeing what a PITA it is to remove the parking brake cover in my '79, I descoped the task to just replacing the rear brake cable. I also took the opportunity to chase a die over several threads, including the rear lugs, the front parking brake cable adjuster, and the brake caliper bolts.
Got the 72 aligned today after rebuilding the trans back driveline this winter. Rebuilt trailing arms and universals. The rubber and universals were dry. All parts were original and are date coded correct.
Took a cruse on the highway - what a great feel and cruse. Back to sleep until the car shows start.
I got my power locks working!!!!! I know, no big deal, but I'm pretty excited.
Who knows how long those have not worked as I don't think my dad locked the doors once since 1994. All the driver's side needed was some grease to free things up, but the armrest on the passenger's side was preventing the rod from going to the rear fully. I bent the rod some and used a Dremel on the inside of the arm rest and does the job now. He had the interior changed out in 1994-ish and I'm not too happy with the quality of the pieces. Either not fitting properly or just falling apart now. The lock works like a champ with the arm rest off!


 Jim
Jim

 03-19-2017, 11:22 PM