When you click on links to various merchants on this site and make a purchase, this can result in this site earning a commission. Affiliate programs and affiliations include, but are not limited to, the eBay Partner Network.
I installed new brake calipers, bled the brakes, fixed my gas tank, new plugs, wires, and distributor. Almost ready to start for the first time. Having problems with the Hurst shifter linkage and it not going into reverse though.
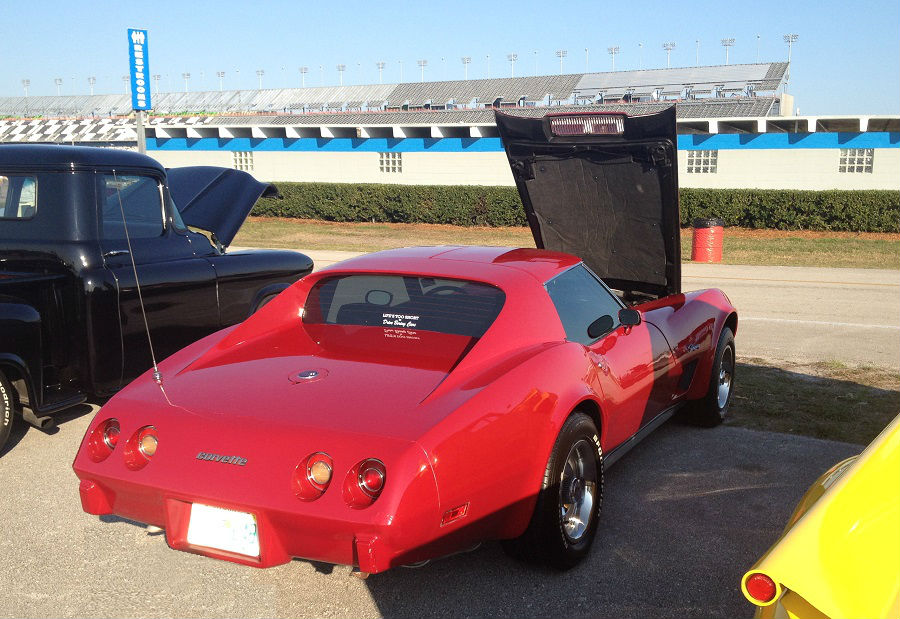
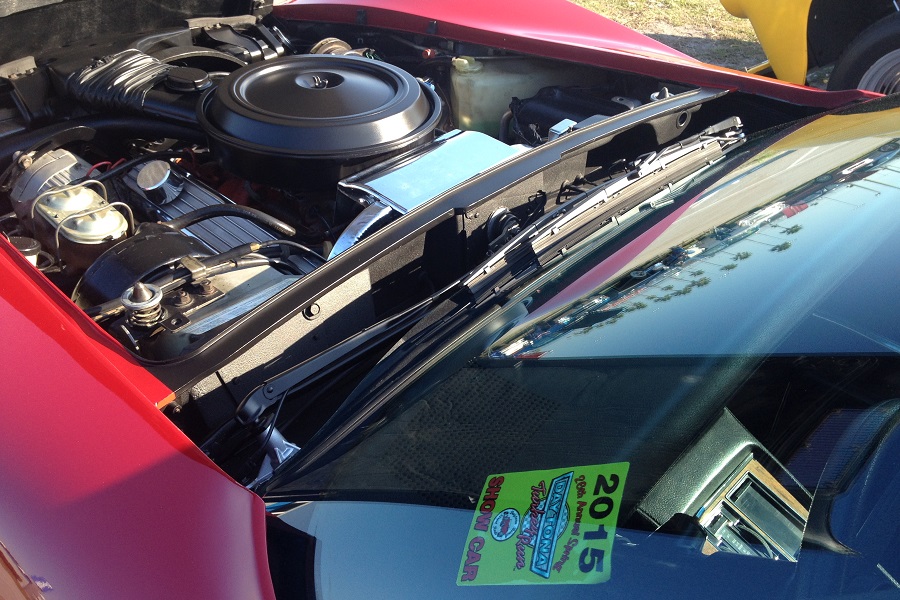
I actually didnt work on the vette today. Instead I took the t tops off, and drove to the GOOD GUYS car show in Pleasanton, CA. almost 100 miles round trip, with the tops off going both directions.
[QUOTE=CFLVette;1589234605]Installed fender vent grilles on my '76. Never cared for the open vent look. It was great to have access to a lift for this install. I can only imagine trying to do this with the car on jackstands.
Got my 77 on the road today, first time this year. Aside from routine maintenance and new tires over the winter, I had both of my carburetors (Qjets) tweaked and I reistalled one and needed to test it. Went to my local test road - straight, flat, good pavement and deserted. Burned rubber as expected, instant throttle response, wound out low and second to 5,800 without problems. Ready for cruising and racing.
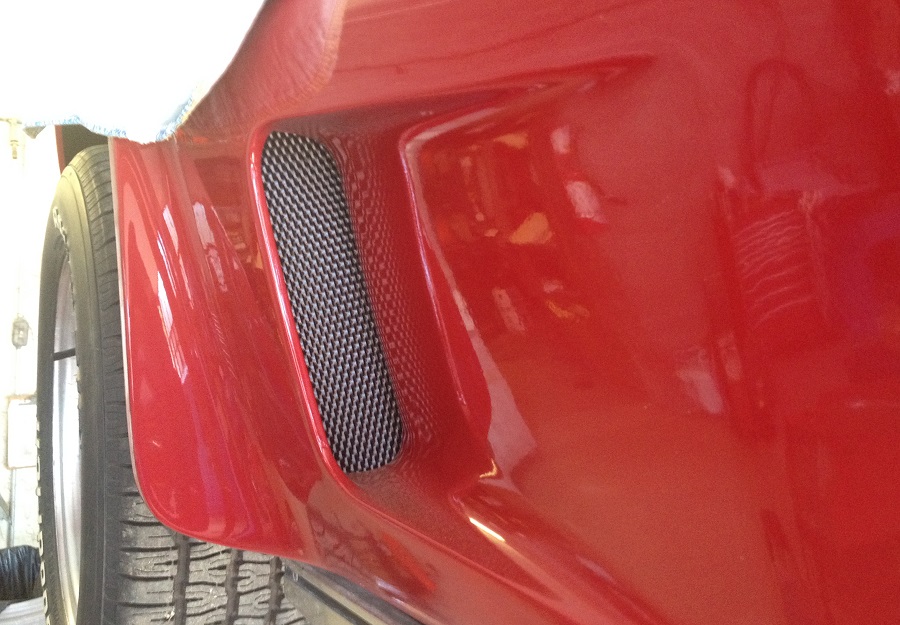
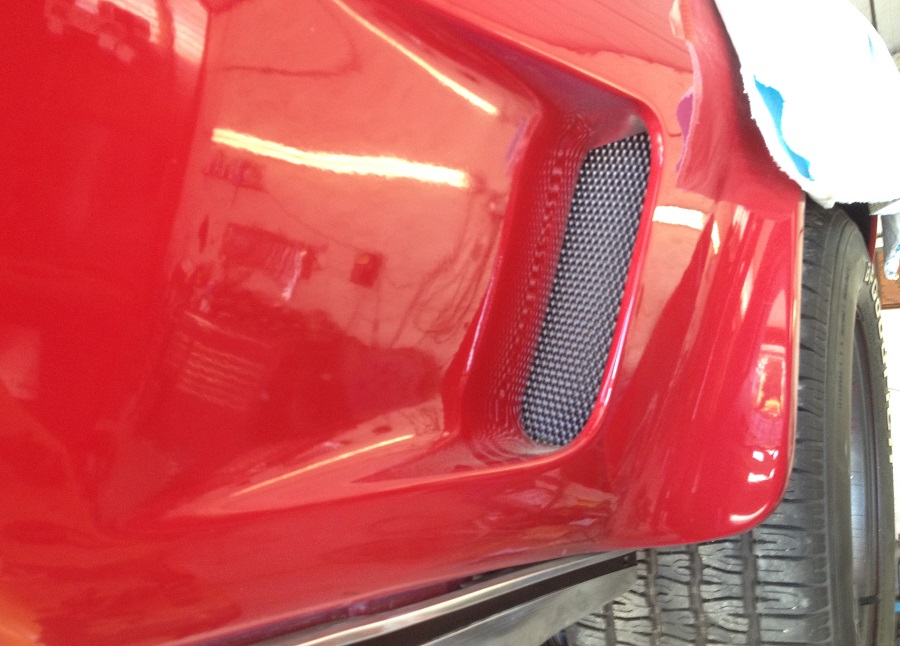
Installed fender vent grilles on my '76. Never cared for the open vent look. It was great to have access to a lift for this install. I can only imagine trying to do this with the car on jackstands.
You have to remove the lower access panels, so having access to a car lift is a definite plus. I chose to epoxy mine in place but I think that clear silicone would work just as well, if not better. Between access panel removal, cleaning, then mixing and applying the epoxy, I'd say I spent about 30-45 minutes per side.
The driver's side can be a little tricky since the charcoal canister is in the way. I removed the two lower bolts from mire and pushed it about an inch out of the way. I then trimmed the screen so it would clear the canister when pushed back into position. I epoxied the screen in place, then bolted the canister as it was originally, even though the instructions suggest drilling new holes. That was not necessary once the screen was trimmed.
By the way, trimming the screen is quite easy with a good pair of scissors, since they're made out of thin aluminum.
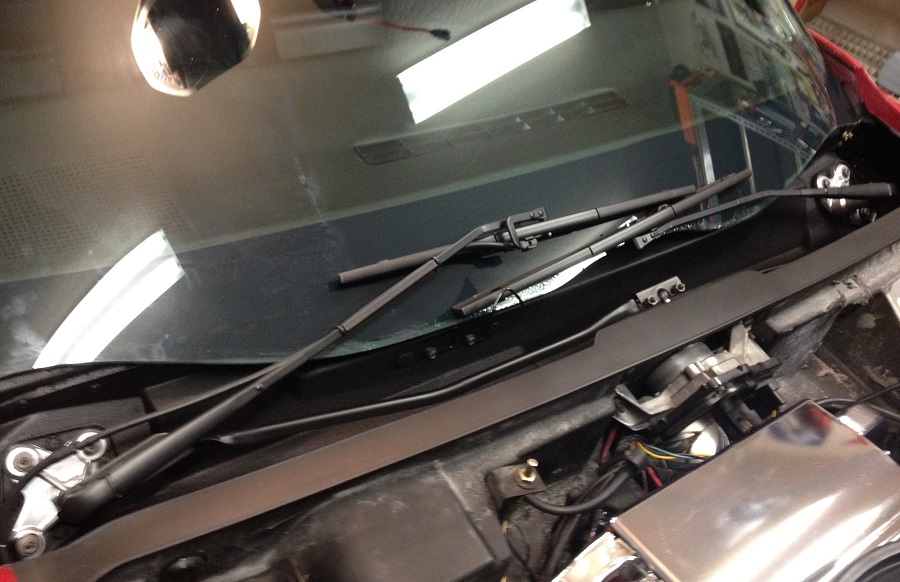
Adjusted the TPS back to .56 volts at curb idle on my 1981 Rochester E4ME carburetor. I changed out the TPS on my 81 a couple of months ago, my mechanic said it wasn't necessary to adjust the voltage, ( I actually think he just didn't want to do the task) he said it was factory set and didn't need adjusting. So just out of curiosity I checked the voltage and it showed .88 at curb idle which explained my check engine light problem. I followed the TPS adjusting procedure in my shop service manual, well kind of. I didn't have the proper removal tool (J-28696) so I used an electrical fitting which did a great job.
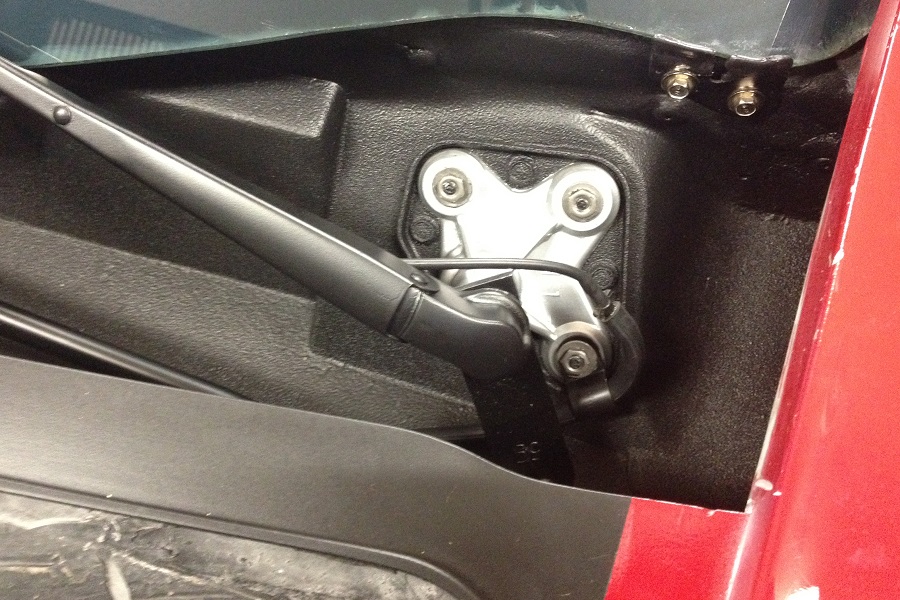
Here is a pic of the plug that was removed.
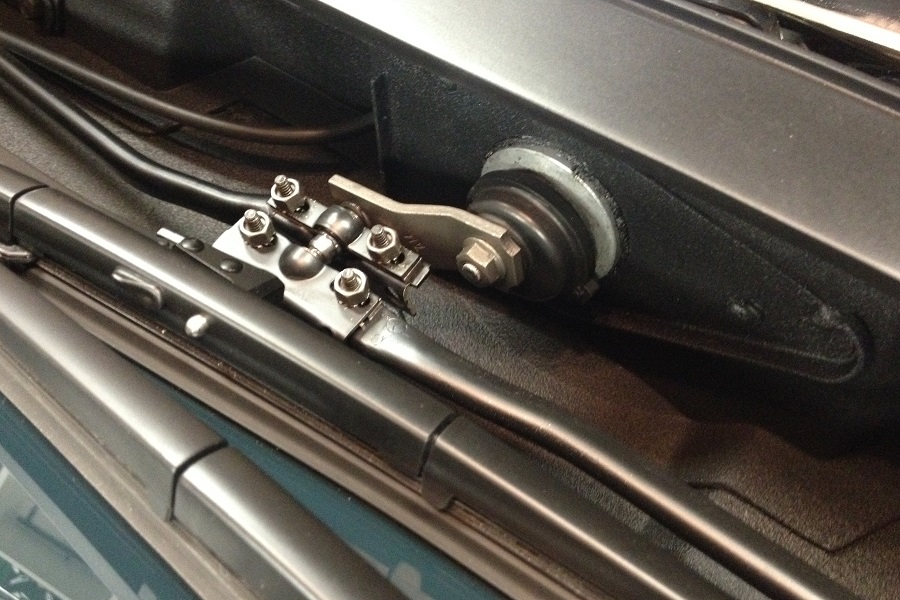
The adjusting screw that was removed.
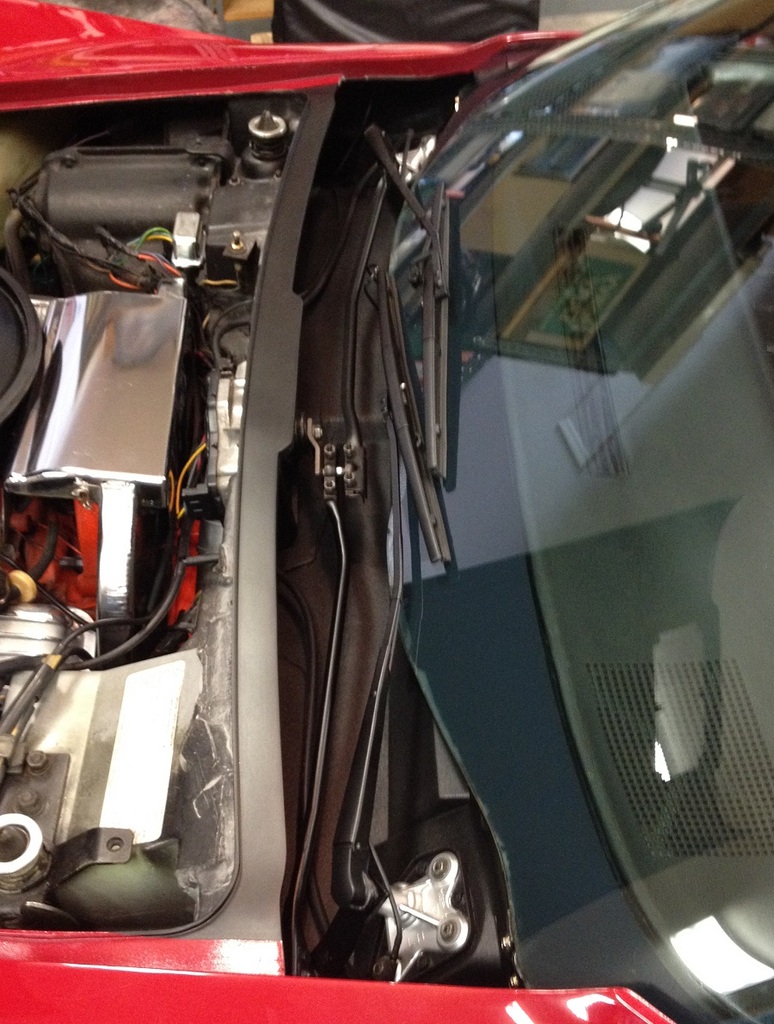
And lastly I used my dremel tool to make a screw driver slot in the adjustment screw, this worked out great. I applied some Loctite on the screw and set my TPS voltage to .56. No more check engine light and back to running smooth again.
Last edited by golfradict; 04-04-2015 at 07:10 PM.
I took my old left-rear caliper in for a core and got a new one about a week ago. The old one was sleeved but I wasn't sure about the bore and didn't want to risk it. Picked up two boxes of pads too so I could redo the whole car. Got the caliper installed with new pads, but just barely got the pads in on the right rear: didnt have the tool to hold the pistons back. So, I bought one of those and finished up installing the other pads tonight. Now all that's left is it bleed the brakes and I should be road-ready again.

 03-25-2015, 11:06 PM