
What did you do to your C3 today?
 01-21-2015, 07:50 PM
#61
Instructor

Thread Starter
changed out the fuel pump gaskets. I put a new pump on it a few months back and noticed a very small leak at the bottom of the block where it bolts on. it was the thin paper gasket that came with the pump so I swapped it out with a thicker one I got from the speed shop. no more leaks
 01-21-2015, 07:56 PM
#62
Melting Slicks


The mechanical fuel pump is a sealed unit. The gasket between the pump and block wouldn't have any bearing on the fuel pressure provided by the pump.
01-21-2015, 09:21 PM
#63
Racer
Tonight I pulled the steering wheel and confirmed the lower horn contact is broken; now I have a full list of parts to order to get the horn working again.
Also repaired a connector at the column that got my key buzzer working again.
Baby steps.
Also repaired a connector at the column that got my key buzzer working again.
Baby steps.
01-21-2015, 10:02 PM
#64


Have finally started taking my dash apart. Finding unexpected things. Passenger vent cable was loose so vent was stuck in open position. Found a dead speaker that I know worked intermittently last year. Cleaned up the center gauges. Polished the plastic lenses but decided to buy a new one. Found tears in both the upper and lower shift boots. Fixed the stuck push button mechanism on the radio and cleaned the radio contacts. Replaced all the bulbs in the center console.
Having fun so far. Now to order parts (debating whether to spring for the quartz clock conversion). Next on to the driver dash. I'm sure I'll be cursing when it's time to try and get it all back together.
Having fun so far. Now to order parts (debating whether to spring for the quartz clock conversion). Next on to the driver dash. I'm sure I'll be cursing when it's time to try and get it all back together.
01-21-2015, 11:44 PM
#65
Burning Brakes

Again, interesting...
01-21-2015, 11:57 PM
#66
Instructor
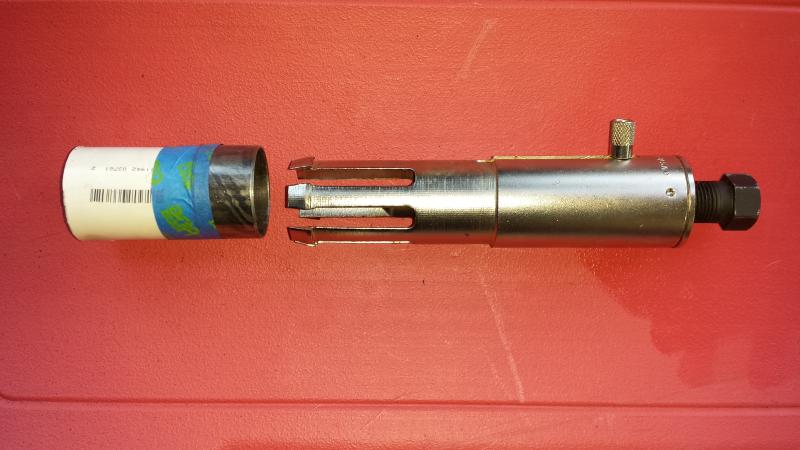
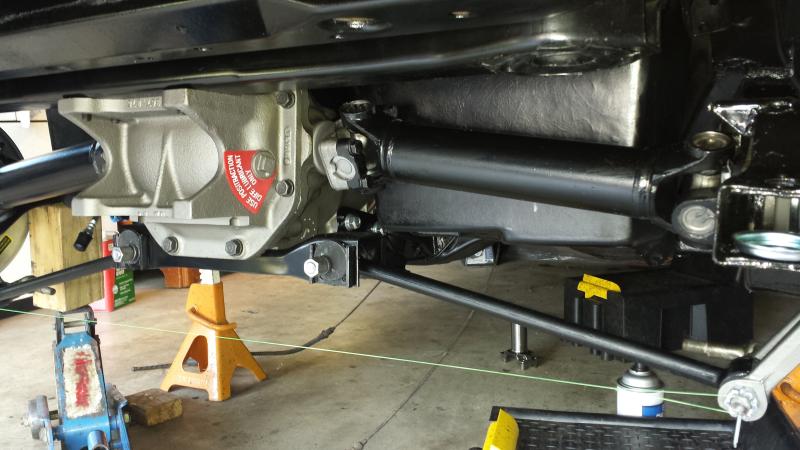
I posted this in the tech section also.....I just did this and it was very easy on my 69. It took about 5 minutes. You need the tool in the pic below. The tool is S8672D and was made by Snap-on. I got a used one on Ebay. To drive in the new bushing, I taped the new bushing to a 1" pvc pipe connector. Hope this helps the next guy!
The following users liked this post:
stinger71 (03-03-2023)
 01-24-2015, 09:17 PM
#68
Le Mans Master


Haven't done anything to mine for over a week now . Pulled my back and have been out of commission so I'm spending all of my time on here.
01-24-2015, 10:41 PM
#69
Racer
Let's see.... Today my parents came down to visit and lend a hand around the house. While Mom was doing other things my dad and I installed the new coolant overflow tank and cap. In the process I found the existing hoses from the cap to the radiator were stiff and brittle, so off to the parts store for new ones.
Once we got that buttoned up it was time to remove Bubba's machine screws from the seat track mounts and install them with a proper set of seat bolts. Got the junk screws removed, and decided while I was there to pull the carpet out of the way and see why the driver's seat belt wouldn't retract. Turns out, water got in there and corroded the mechanism. So, I either need to get them rebuilt or buy new ones. I was wanting to rebuild but after seeing the water damage to the webbing I'm thinking new might be better, because after replacing the webbing and rebuilding the retractors there will be little if anything original left.
But, that'll be later. Right now I wanted to get the seats back in so I could toodle around down once I get a brake issue fixed.
We fought, yanked, pulled, pushed and otherwise cursed the bolts for not wanting to feed into nuts on the underbody. Turns out Bubba installed some reflectix-like material beneath the carpet and it was pushing everything up just enough that the threads wouldn't engage. They were just a shade too short. So, I'm trimming the reflectix away from the seat mount areas, and here comes Mom. She climbs into the car, all 5'-2" and 130 lbs of her, wedges herself into the storage area, and pushes down on the seat to help compress the carpet and reflectix so I can get the bolts started. Wouldn't you know it... they went in. Unfortunately, that was just the driver's seat. We were tired and hungry after that so off to dinner it was. I'll have to put the passenger seat in some other time.
That's all for today.
01-25-2015, 02:56 PM
#70
Le Mans Master
Not today, but this week.
On Monday, I tore the dash apart to find out why I couldn't get heat. Tuesday I spent trying to figure out why, as everything seemed to move and work. still I can't get heat to flow, although the heater core is hot. I think the cold air/hot air door is not moving although the control on top seems to move. Maybe it is stripped off the shaft.
Friday I put it all back together, still without a real solution.
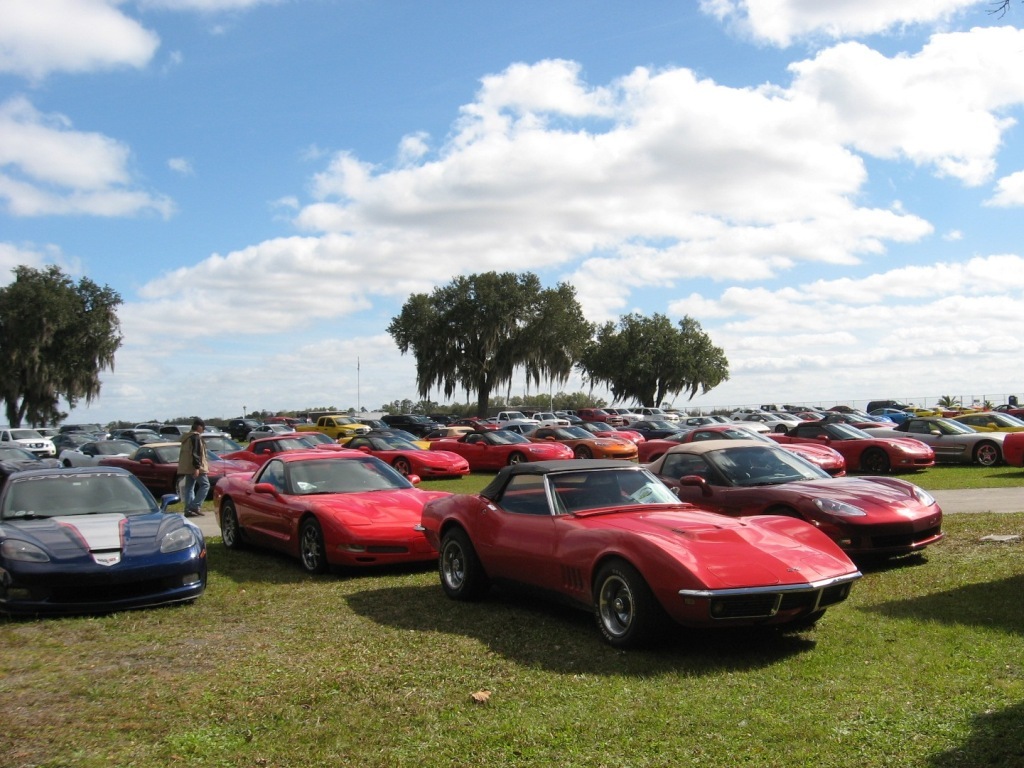
Saturday, I tried to make it mad, driving it in the rain to Lakeland.
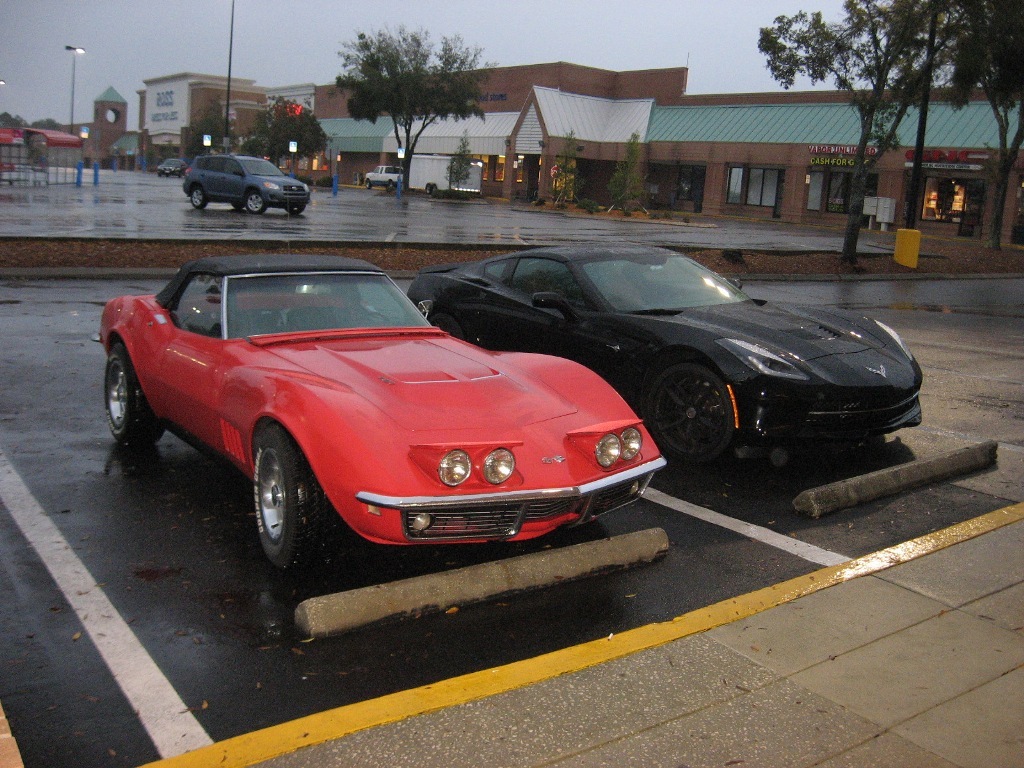
If you were there, mine was out front in the spectator parking.
On Monday, I tore the dash apart to find out why I couldn't get heat. Tuesday I spent trying to figure out why, as everything seemed to move and work. still I can't get heat to flow, although the heater core is hot. I think the cold air/hot air door is not moving although the control on top seems to move. Maybe it is stripped off the shaft.
Friday I put it all back together, still without a real solution.
Saturday, I tried to make it mad, driving it in the rain to Lakeland.
If you were there, mine was out front in the spectator parking.


The following users liked this post:
hanig1one (12-15-2019)
01-26-2015, 07:43 AM
#73
Safety Car


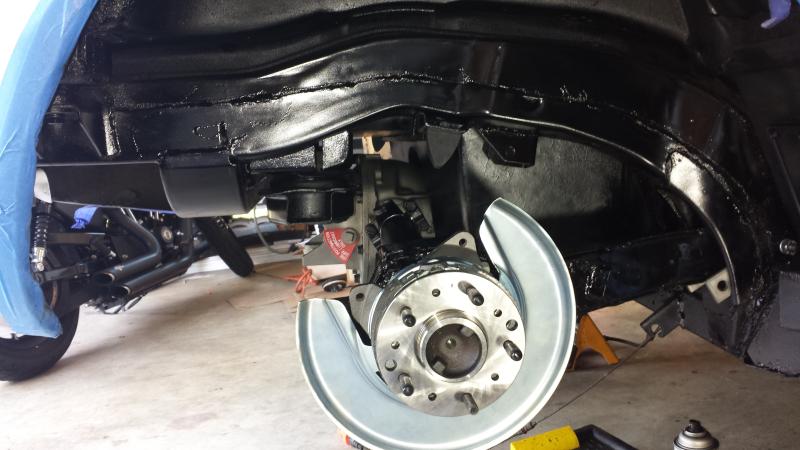
I dropped the SBC 427 in, Installed 4L80E , had to cut and mod the bowtie cross member , installed rear axles and Aero Spcace break backing plates .
Mock up almost complete ..
Mock up almost complete ..
01-26-2015, 11:17 AM
#74
Instructor
The following 2 users liked this post by nestor:
Charged 67 (04-08-2020),
Doughann (07-25-2019)
01-26-2015, 01:01 PM
#76
Pro

Removed the complete dash, replaced the tach board and headlight switch and defroster vents, and center cluster, and various bulbs and wiring repairs, pulled the heater box and now waiting on UPS for my new hoses and core. Amazing how fixing one small thing turned into this since I was already in there and didnt want to take it apart again.
01-26-2015, 01:28 PM
#77
Le Mans Master
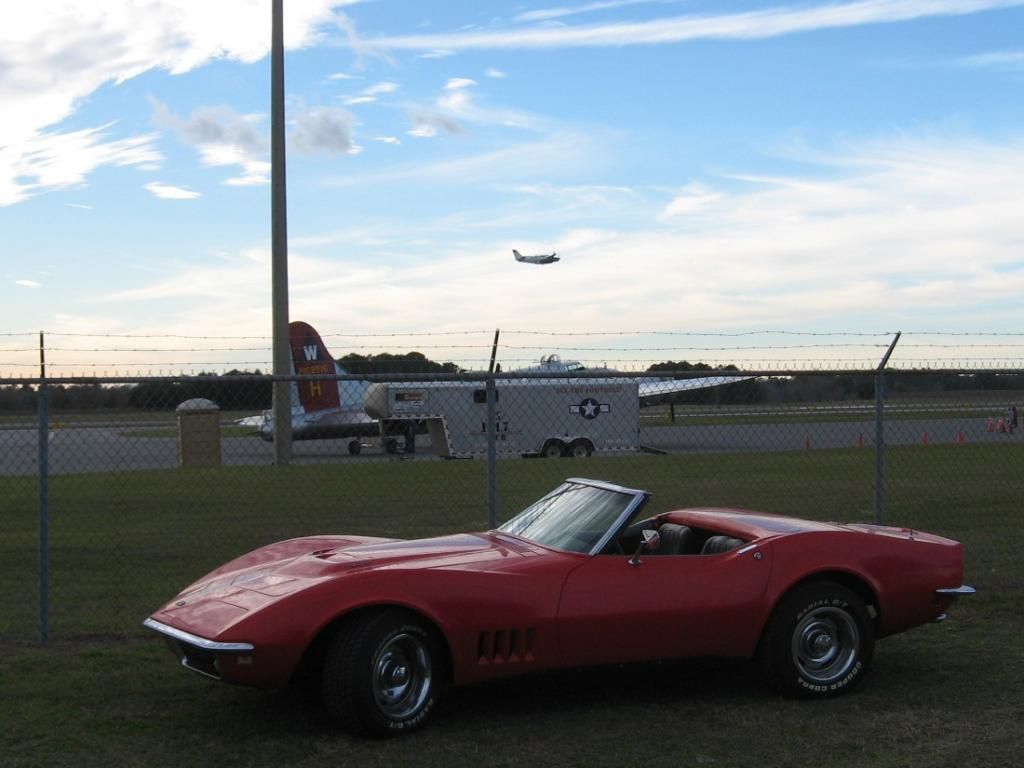

I love the B17 in the background. At my local airport KTYR, there are several cool war birds. DC-3, PBY, several Migs (Cold war), F4, T37, corsair,and several more. Not so long ago a Messerschmitt ME 262 (first jet fighter, WWII German fighter to be exact) flew in there. So did the infamous B-29 "FiFi" and a bunch of other airplanes.
Thanks for sharing!
01-26-2015, 01:40 PM
#78
Burning Brakes
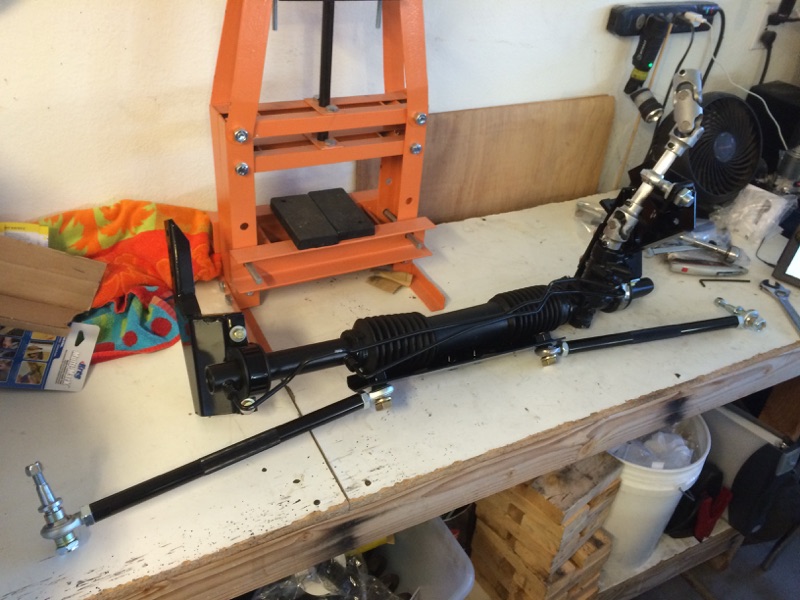
Yesterday I bench assembled the steeroids kit I received, now I understand how it all works and can tackle the install. I'm concerned about header clearance, though.
01-26-2015, 04:45 PM
#79
Advanced

Member Since: Dec 2014
Posts: 67
Likes: 0
Received 0 Likes
on
0 Posts
got my 78 running for the first time with the new aluminum heads , cam and sidepipes. got the cam broke in , need to reset valves one more time and a couple other things and then it will be time for a test drive(weather permitting) to see how much power I gained. the OBX side pipes sound AWESOME. 
01-26-2015, 05:02 PM
#80

I drained my transmission pan changed the filter and put a new aluminum pan back on it. that polished aluminum makes it run better. tomorrow here in east texas it will be 73 degrees and ill be out driving!!!!