
My "somewhat of a" restoration / mod
 07-05-2015, 08:35 PM
#21
Burning Brakes

This is project is coming along great!
Just an observation, and you probably already thought about it, but the top rear of the front fenders where they transition into the door look like they need a little help so the line will flow better.
Keep up the good work.
Just an observation, and you probably already thought about it, but the top rear of the front fenders where they transition into the door look like they need a little help so the line will flow better.
Keep up the good work.
 07-05-2015, 10:13 PM
#22
Pro

Thread Starter

 It bothers me that much. I think it needs one of the upper door hinge shims taken out now that the gaps are tighter and pull the door in more. Going to wait for paint when the doors come back off to get er done.
07-05-2015, 10:45 PM
It bothers me that much. I think it needs one of the upper door hinge shims taken out now that the gaps are tighter and pull the door in more. Going to wait for paint when the doors come back off to get er done.
07-05-2015, 10:45 PM
#23
Pro
Thread Starter
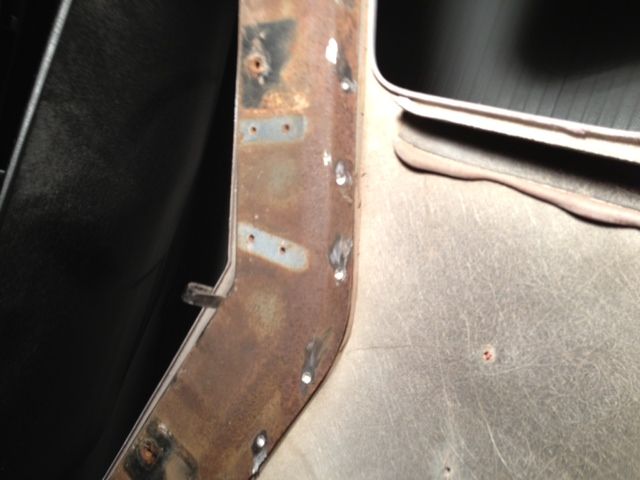
Cant paint with the expanded rivets in the front causing bumps in the glass. Oh well, it was rusted anyway. Why do I get the feeling this is about to turn into a "May as well just pull the body real quick"?? 


The following users liked this post:
MISTERZ06 (04-21-2017)


The following users liked this post:
MISTERZ06 (04-21-2017)
 07-20-2015, 01:37 AM
#28
Pro
Thread Starter
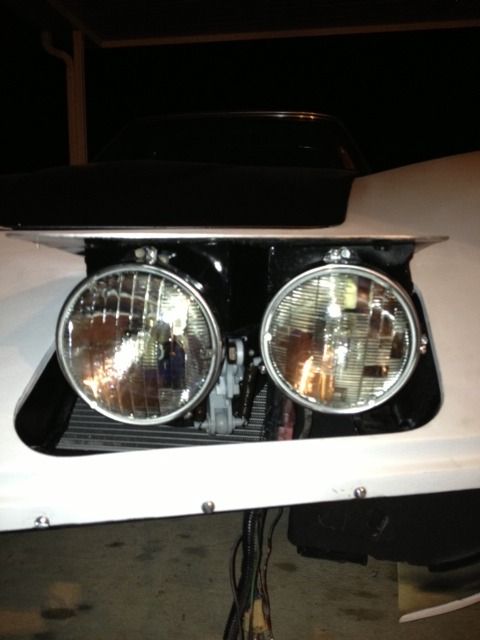
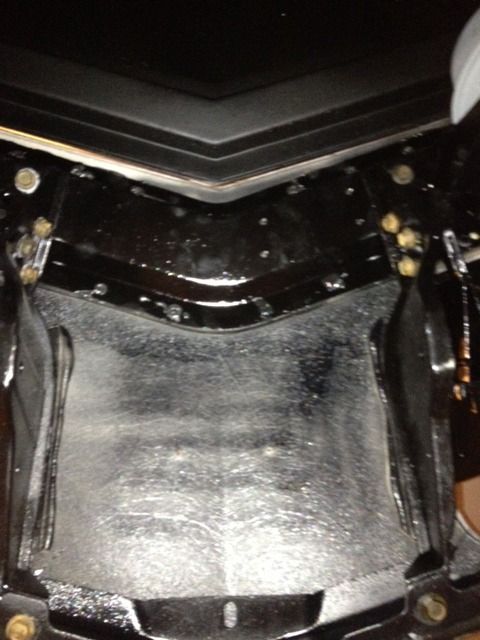
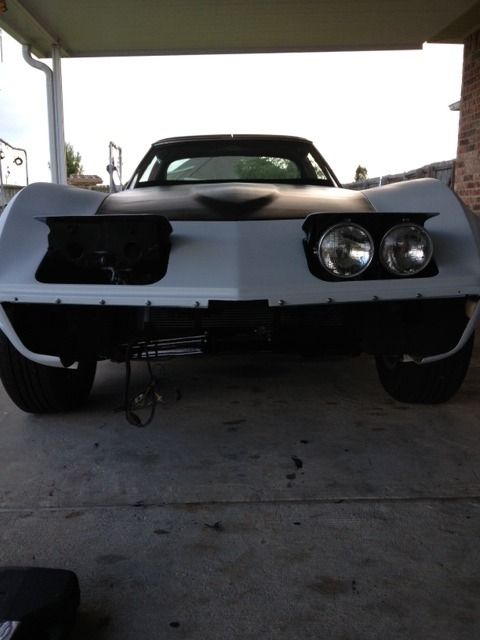
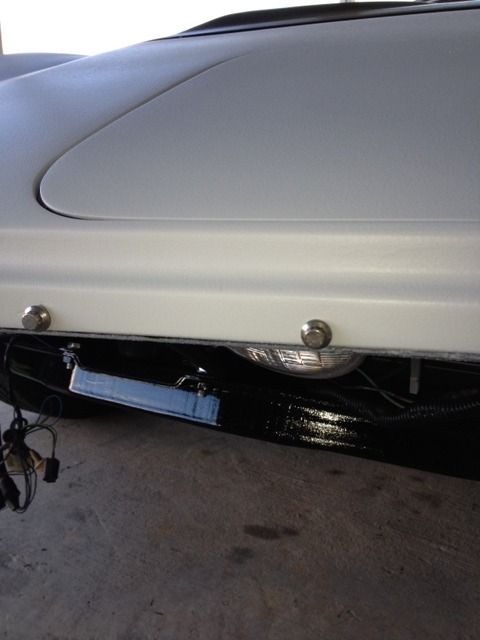
Waiting for 2 light bezels and a light adjustment kit to finish the passenger side light, but its coming along. So much nicer with the rust all gone.


The following users liked this post:
sirleo (07-29-2022)
07-20-2015, 09:05 PM
#29
Drifting

Member Since: Jun 2011
Location: iowa city iowa
Posts: 1,540
Received 253 Likes
on
139 Posts
2020 Corvette of the Year Finalist (appearance mods)
C3 of Year Winner (appearance mods) 2019

Man this project took on a life of its own!
Looking really good and am looking forward to seeing the car when it's finished.
Oh wait. They are never finished.
Looking really good and am looking forward to seeing the car when it's finished.
Oh wait. They are never finished.
The following users liked this post:
sirleo (07-29-2022)
07-22-2015, 07:23 PM
#30
Pro
Thread Starter
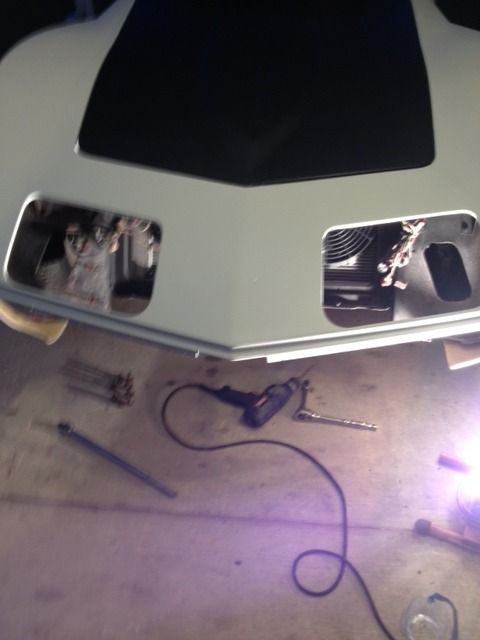
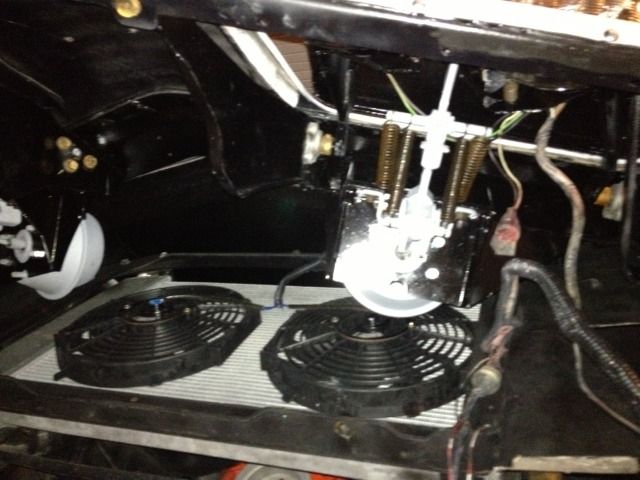
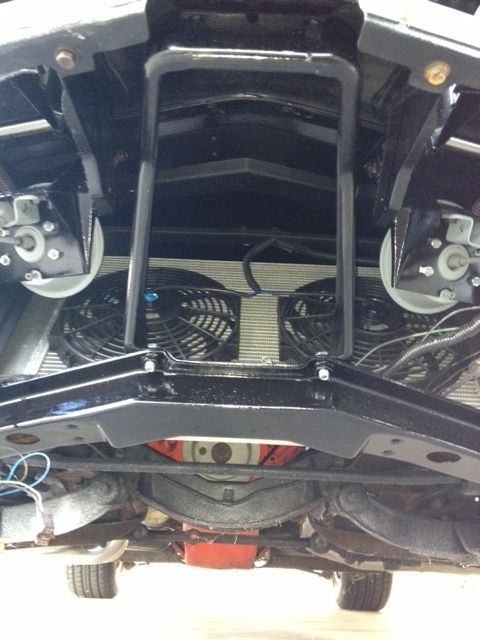
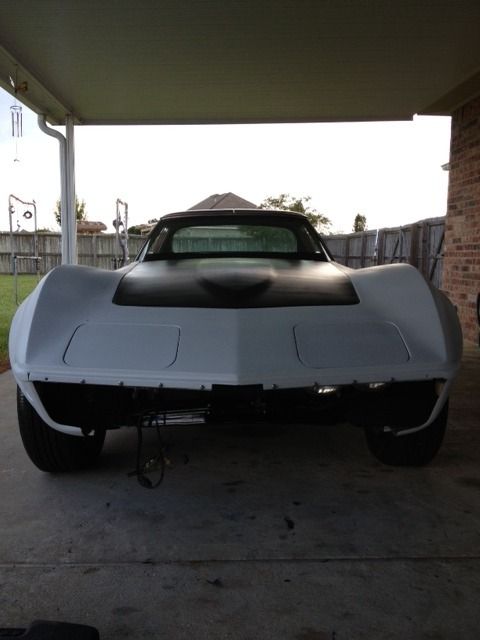
Headlight adjustment repair kit was supposed to be in today but no luck. Managed to get the front pretty much back together though. Pop up covers were a real PITA to get adjusted. Found a good use for some old ARP header bolts. Thought about going old school vintage racer look with bumper delete. I think the header bolts would be a pretty cool old school look.


 07-22-2015, 07:55 PM
#31


Man RC...and I thought I had a project...looks great!!!! In doing mine I can appreciate the amount of work you are pouring into this. Few questions....the double fan on the rad....did you do this due to an overheating problem and did it solve the problem? Reason I ask is mine overheats a bit when I run at high speeds. Also, what type of manual tranny did you install? Again, really a jaw dropping piece of work...good job!!!!
07-22-2015, 08:14 PM
#32
Pro
Thread Starter
Man RC...and I thought I had a project...looks great!!!! In doing mine I can appreciate the amount of work you are pouring into this. Few questions....the double fan on the rad....did you do this due to an overheating problem and did it solve the problem? Reason I ask is mine overheats a bit when I run at high speeds. Also, what type of manual tranny did you install? Again, really a jaw dropping piece of work...good job!!!!
Only had to put new clutch and flywheel since running a small block. Was going to delete bumpers and go the vintage racer look (shed a few more pounds) but didn't want to buy the Daytona lights so might look at what's available in glass bumper wise. The place I got the flared fenders from has a front fiberglass bumper I know of so far. Post some pics of yours as I'm always looking for inspiration.
07-22-2015, 08:32 PM
#33
RC...look at my thread " 76 project in pics" and you will see mine. I also added the wide meats on the back but was afraid I was not skilled enough to glass in a quarter panel so I decided to go with the prefab flares....still they were an ill fit at best and needed a lot of massaging to get right. It is my first try at bodywork and paint. I opted for the 295-15.5-15s on the back. I have the fiberglass bumper in the front but it is like a skin....mostly steel underneath so the amount of weight savings may not be worth the loss of a nice chrome bumper...still I understand you wanting to shed every pound you can
07-22-2015, 11:17 PM
#34
Pro
Thread Starter
RC...look at my thread " 76 project in pics" and you will see mine. I also added the wide meats on the back but was afraid I was not skilled enough to glass in a quarter panel so I decided to go with the prefab flares....still they were an ill fit at best and needed a lot of massaging to get right. It is my first try at bodywork and paint. I opted for the 295-15.5-15s on the back. I have the fiberglass bumper in the front but it is like a skin....mostly steel underneath so the amount of weight savings may not be worth the loss of a nice chrome bumper...still I understand you wanting to shed every pound you can
I stripped the entire body with razor blades. I don't even want to guess how many hours I have in strippin more less hanging fenders and glassing in the bonding seams (easiest part of all) I have a whole new respect for paint and body men. I would much rathere mechanical work. Can't wait to get Into the suspension. Having a blast with a sand blasting cabinet bringin these 40 year old Parts back to life.
05-18-2016, 12:41 AM
#35
Pro
Thread Starter
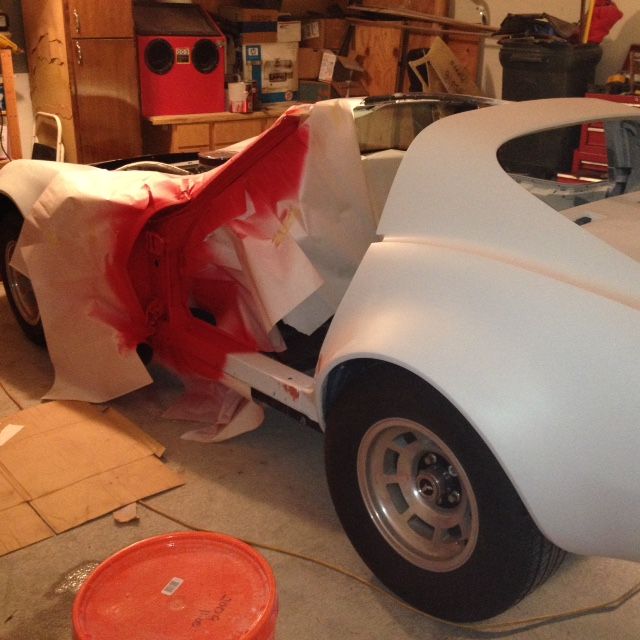
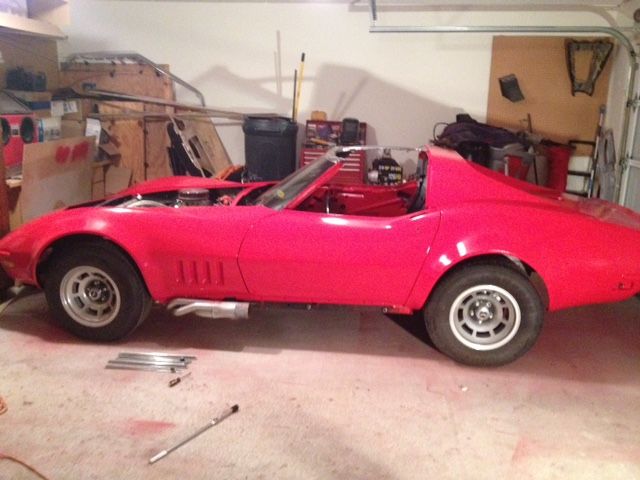
I moved to be closer to work, so the car was stored for about 6 months. The rear had some damage in the glass, so more fiberglass work was in order. Probably ruffle some feathers, but I glassed in the front fender gills. Nothing original on the car anyway. Finally got color on this past weekend also. Duplicolor performance red. Just need to compound, polish and wax.
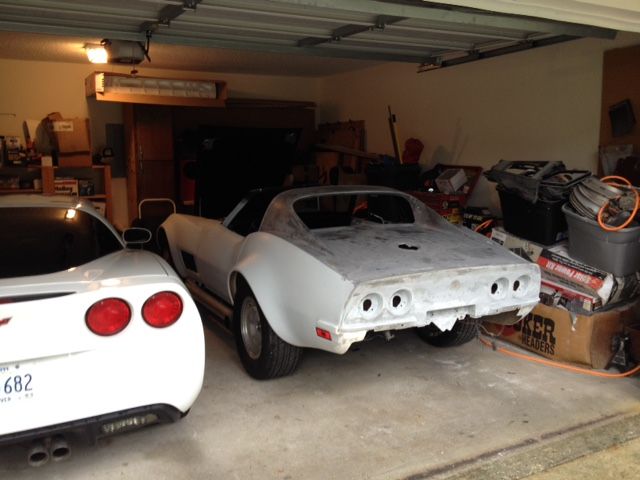


Last edited by rajin cajin; 05-18-2016 at 12:41 AM.
05-18-2016, 01:20 AM
#36
Nam Labrat


Member Since: Sep 2013
Location: New Orleans Loo-z-anna
Posts: 33,898
Received 4,178 Likes
on
2,738 Posts
It's looking good!

05-18-2016, 09:57 AM
#37
Dementer sole survivor

Member Since: Oct 2015
Location: YUPPY HELL Westford MASS
Posts: 16,442
Received 6,291 Likes
on
3,919 Posts
2020 C3 of the Year Finalist - Modified
2020 Corvette of the Year Finalist (performance mods)
2019 C3 of Year Winner (performance mods)
2016 C3 of Year Finalist
Great job!
 05-18-2016, 06:45 PM
#40
Le Mans Master

Member Since: Oct 2007
Location: Akron Ohio
Posts: 8,871
Received 1,754 Likes
on
941 Posts
2023 C5 of the Year Finalist - Modified
2022 C5 of the Year Finalist - Modified
St. Jude Donor '09-'10-'11

Looks good! Where did you get those '68-'69 side gills? I want to covert my '71 like that too.