When you click on links to various merchants on this site and make a purchase, this can result in this site earning a commission. Affiliate programs and affiliations include, but are not limited to, the eBay Partner Network.
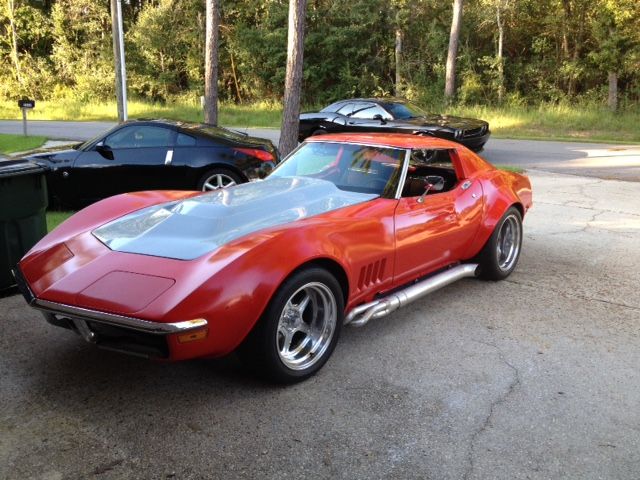
That hood looks good on there! What didn't align right? Are the holes for the latches Ina different spot?
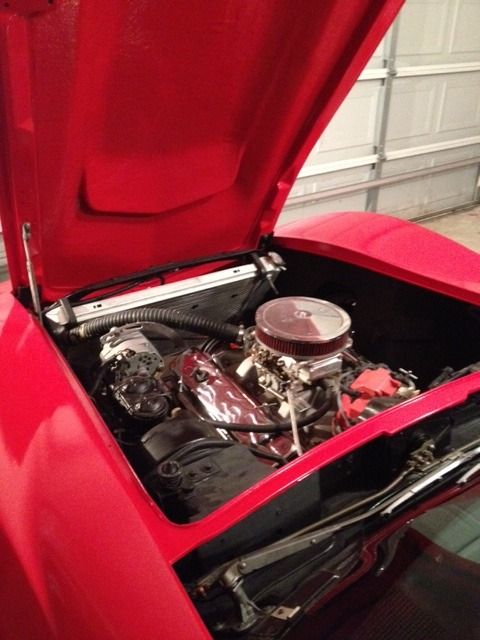
Kubs, The hood latch spring on the drivers side (the bracket in the engine bay with the spring) needed a slight adjustment. It got stuck the first time I closed the hood. It wasn't giving an inch when trying to open. There is a small hope in the fire wall, between the engine bay and wiper tray, that you can put an 8 inch screw driver through and activate the latch. It was a no go there. I got it off, its adjusted correctly and opens smoothly. I was seriously thinking about just pinning the hood on.
Now- I was thinking- wouldn't it be cool to replace the wiper door/vent w/ a nice clean wiper block off plate- use some trunk hinges and have it flip up a couple inches in the back when you run the wipers.....
Now- I was thinking- wouldn't it be cool to replace the wiper door/vent w/ a nice clean wiper block off plate- use some trunk hinges and have it flip up a couple inches in the back when you run the wipers.....
I like the way you think Richard. That would be bad azz to do that. I just want to get on the road for cruising the coast in 5 weeks and am short on time for a lot of glass work for the wiper tray. But who knows what kinda project may come up over the winter months.
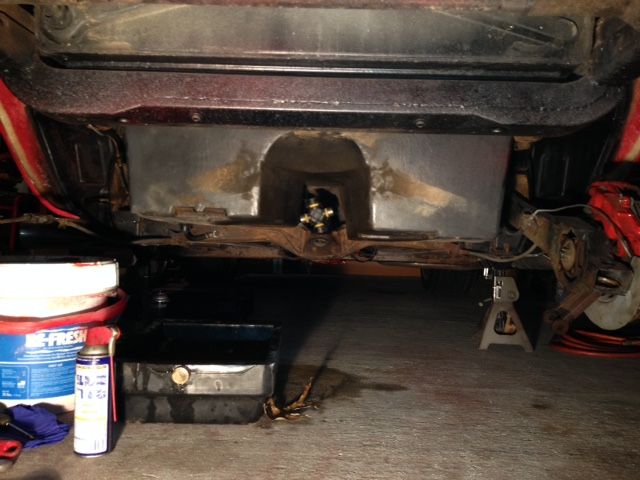
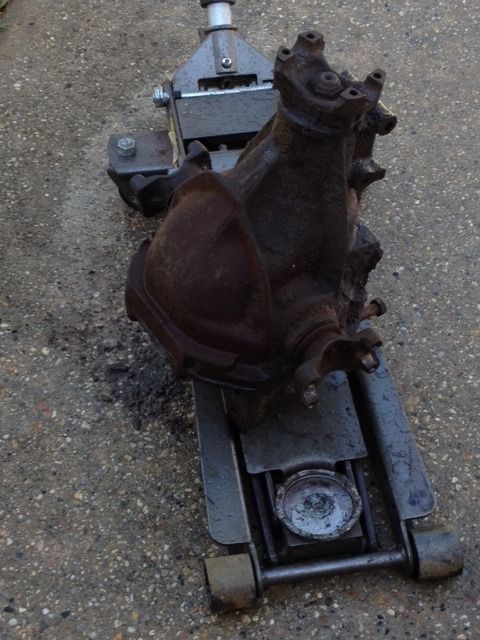
Took the plunge on the rear end rebuild. Dropped the differential off yesterday for a good going through. One TA out. Luckily, the TA bolt came right out of the TA bushing and frame. I hope the rest goes this smoothly.
Last edited by rajin cajin; 10-12-2016 at 04:21 PM.
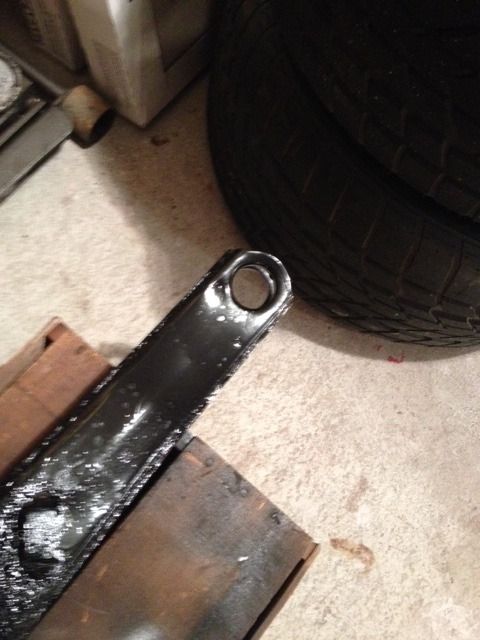
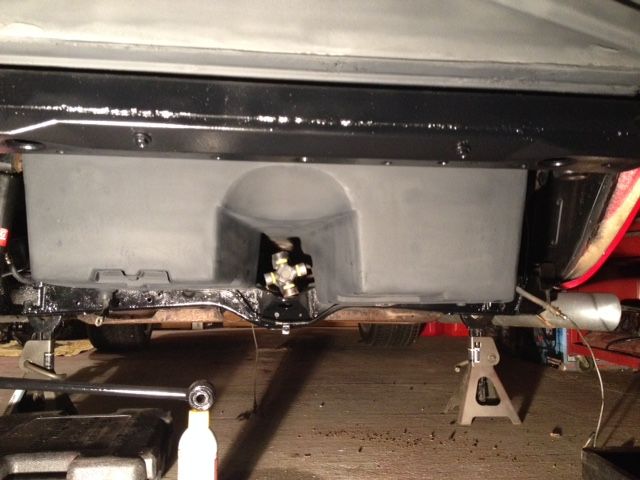
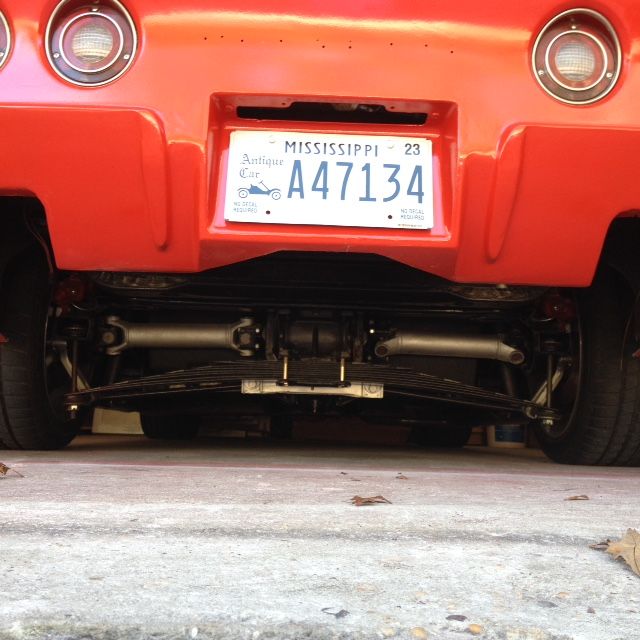
Differential rebuilt, painted and ready to go back in. Bushing replaced on one trailing arm and its back in. Cleaned up the frame and ready to start bolting stuff back up. Replaced the rubber and steel brake lines also.
Last edited by rajin cajin; 10-25-2016 at 11:54 PM.
Few updates. Rear end all in. Rear valance glassed in and painted. I need to wet sand. Under side of hood painted. Hopefully paint the top of the hood over the Christmas holidays.
Shannon, thanks for the information. I'd like to know what size tires you have on the rear of the car?
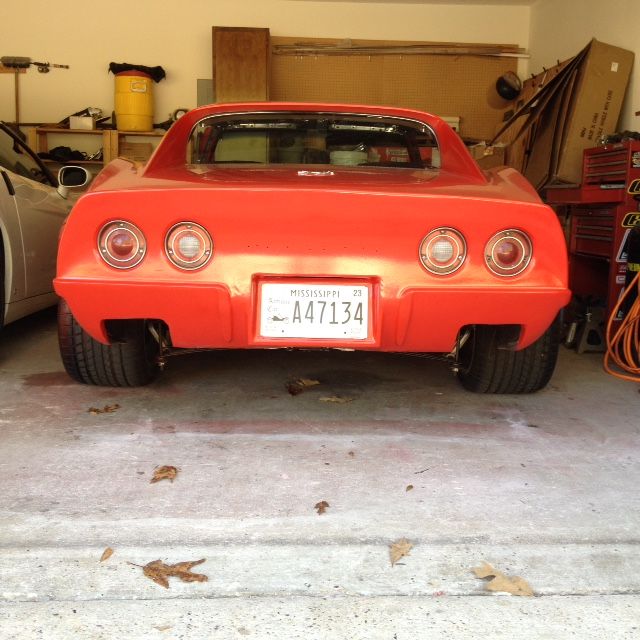
Running 315/35/17s on a 17 x 11 rear. 17 x 9.5 with 275/40/17 front. Huge footprint. The little small block don't turn these over like the previous 275 that were on the rear.
Running 315/35/17s on a 17 x 11 rear. 17 x 9.5 with 275/40/17 front. Huge footprint. The little small block don't turn these over like the previous 275 that were on the rear.
Just found your thread and read it all the way through... I am subscribing!
How do you take fenders off? I am struggling ti get them to separate at the seams. What is the trick?
Navy,
Drill holes through the fender and from the back side of the fender. Drill just below the bonding strip (drill bit about 1/8 inch below the bonding strip lip) and about every 6 inches apart horizontally down the fender. This will give you a template from the outside of the fender. Take a marker and connect the dots (drill holes). This will show you where not to cut into the bonding strip or fender wells that are connected to the fender. I started with a 4 inch cutting wheel and quickly went to a sawzall with a 4 inch fine tooth blade (throws up less fiberglass versus a 4 inch cutting wheel). Cut the marked out portions of the fender (I am assuming you are not going to reuse the fenders). Then take a 1 inch putty knife and gently tap it between the bonding strip and the portion of the remaining fender that is still there. Turn the putty knife at a 45 degree and tap it down the bonding strip and separate the pieces of fiberglass (fender and bonding strip). Do not go all the way through the bonding strip to the top of the fender (removing only the bottom section will leave the bonding strip attached to the top of the fender). This will allow you to easily attach the new fender. I also took the 4 inch grinding wheel and cut a 1/16 inch channel into the factory filler (about a 1/2 in filler between the upper and lower panels becomes visible once the paint is removed and down to bare glass). When the putty knife splitting the two panels meets that 1/16 inch channel, the two pieces will come right apart like butter. I hope that makes sense. Look at the picture of the car on the car ramps and you can see the bonding strip. That's what you will bond and screw the new fender to (while the epoxy is drying).
Thanks Richard. How is yours coming along?? And by the way, I'm trading the C6 in to get a Newer Mustang GT. I need a car with a back seat and that coyote motor is a beast. 11.0 to 1 compression . Easy 600-625 HP with a safe 7-8 pounds of boost and full exhaust. I didn't realize how potent the new mustangs are. You do any aftermarket to yours yet??
Thanks Richard. How is yours coming along?? And by the way, I'm trading the C6 in to get a Newer Mustang GT. I need a car with a back seat and that coyote motor is a beast. 11.0 to 1 compression . Easy 600-625 HP with a safe 7-8 pounds of boost and full exhaust. I didn't realize how potent the new mustangs are. You do any aftermarket to yours yet??
HAHAHA- back seat? My wife uses the back seat to hold her purse- as it doesn't have any legs!!! Haven't had any issues with the car and the trunk holds a lot of stuff!!!
Nothing yet...I want to do the exhaust cut-outs...but she won't let me mess with it !!!
I'm working on my gameplan- as I am going to do part of the HRPT this year as it ends up in Bowling Green- only a 5 hour trip home.
Had a few issues on my 71 that I was just trying to figure out how to address- mainly an oil leak at the AN fittings on the oil pan. Decided to just drop the pan, have my buddy weld it and then helicoil the block for all the pan bolts.

 09-01-2016, 06:21 PM


 . Easy 600-625 HP with a safe 7-8 pounds of boost and full exhaust. I didn't realize how potent the new mustangs are. You do any aftermarket to yours yet??


