When you click on links to various merchants on this site and make a purchase, this can result in this site earning a commission. Affiliate programs and affiliations include, but are not limited to, the eBay Partner Network.
This August will be 4 years since I purchased my 68 coupe in pieces (WOW... how time flies! I originally wrote 3 years in my opening sentence then I checked my forum join date and it was in 2011!!! Lost a year in there somewhere). Anyways, I was like every other member who buys their first Corvette and joins the forum. I posted all kinds of pictures and was gonna do "this" and gonna do "that"... I was on fire. Motivated beyond belief. Then somewhere along the way things SSLLLOOOOWWWWED down. The motivation dwindled and the car would sit for longer and longer periods of time. I stayed active on the forum and watched many projects start like mine with the posts and dwindle away in the same manor. But I also watched many projects trug right along with great success and progress. I also learned that a lot of the quicker moving projects were that of experienced Vette owners. Meaning they had one or two under their belt and knew what to buy and what to stay away from. They gained the experience of having put one together before and were wise in the way of doing things "the next go'round". This will be me someday as my knowledge base of C3's has grown a ton. It's still like a puzzle and VERY frustrating at times because I wasn't the one who took my car apart. Figuring out where things go takes longer than the actual work. I say all of this because I think I'm ready to start a new thread and track my progress again. I don't feel my project is anything special but I know how much I enjoy reading other people's builds and especially looking at the pictures. Plus, I'll have some accountability again, people watching and commenting... checking in with me and that's exciting.
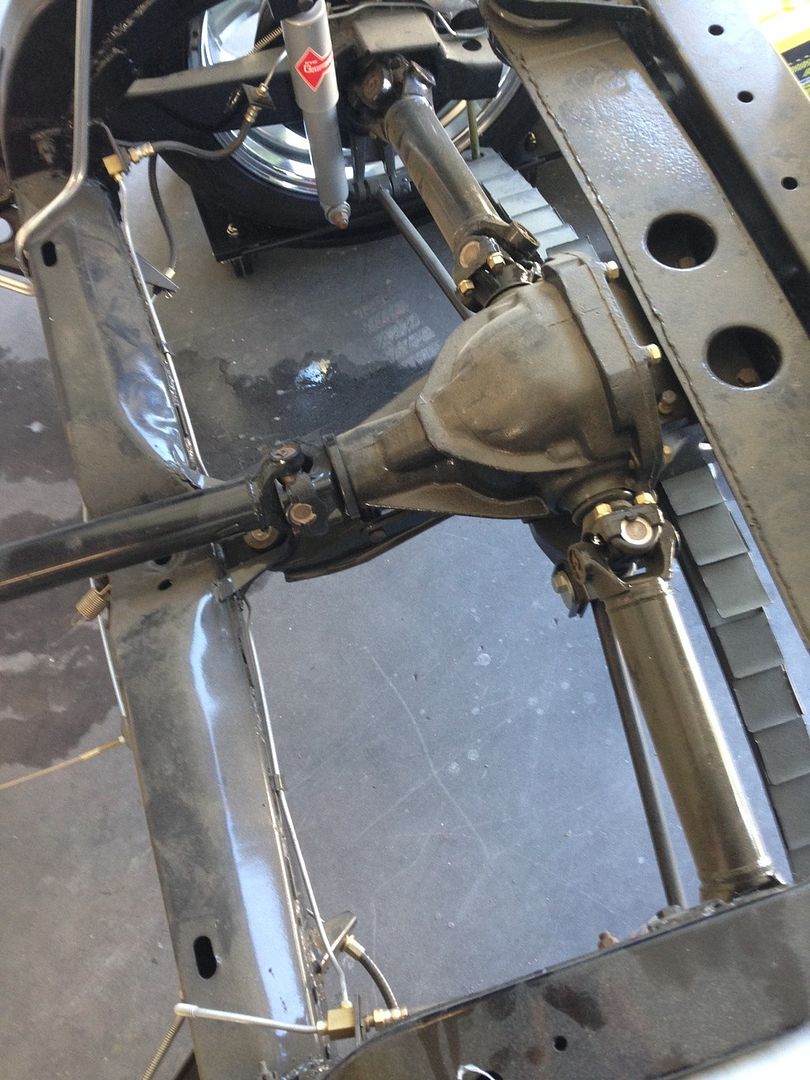
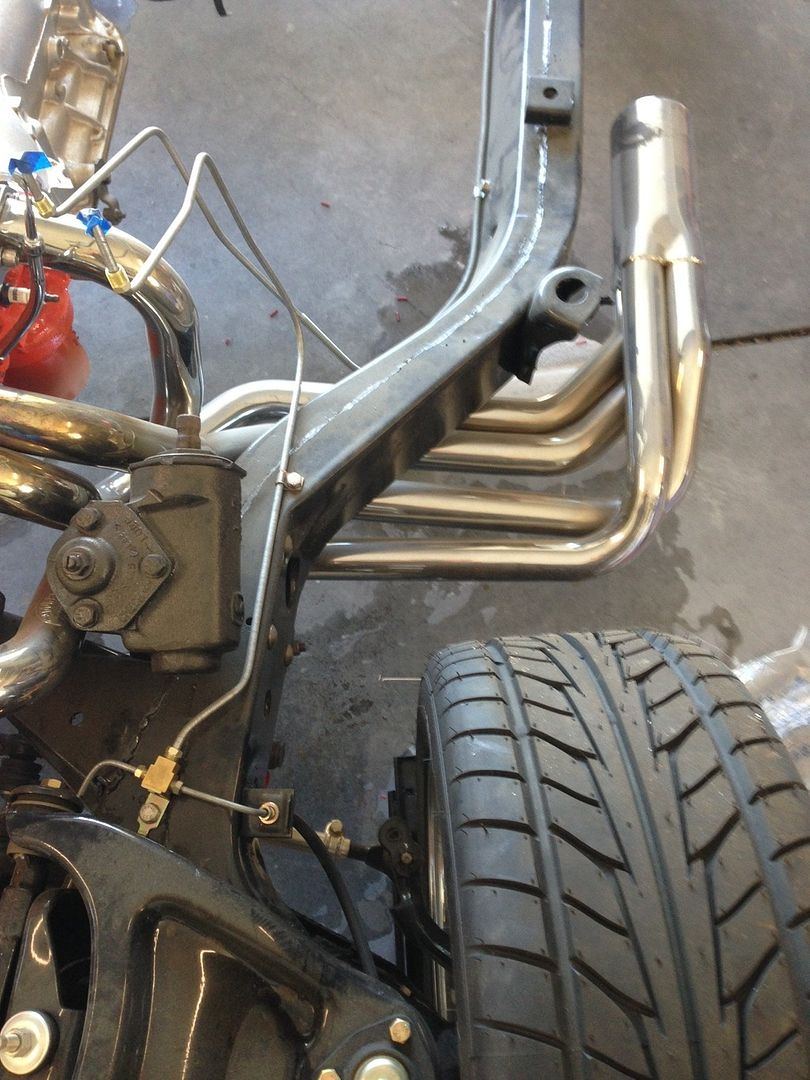
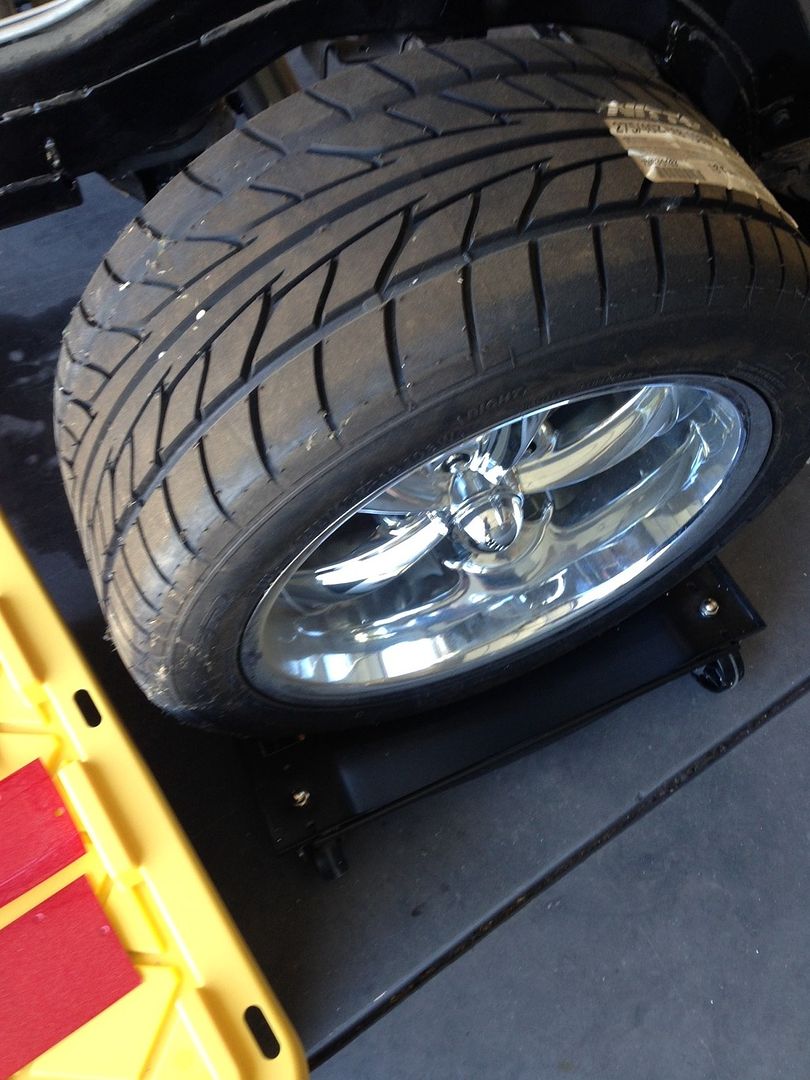
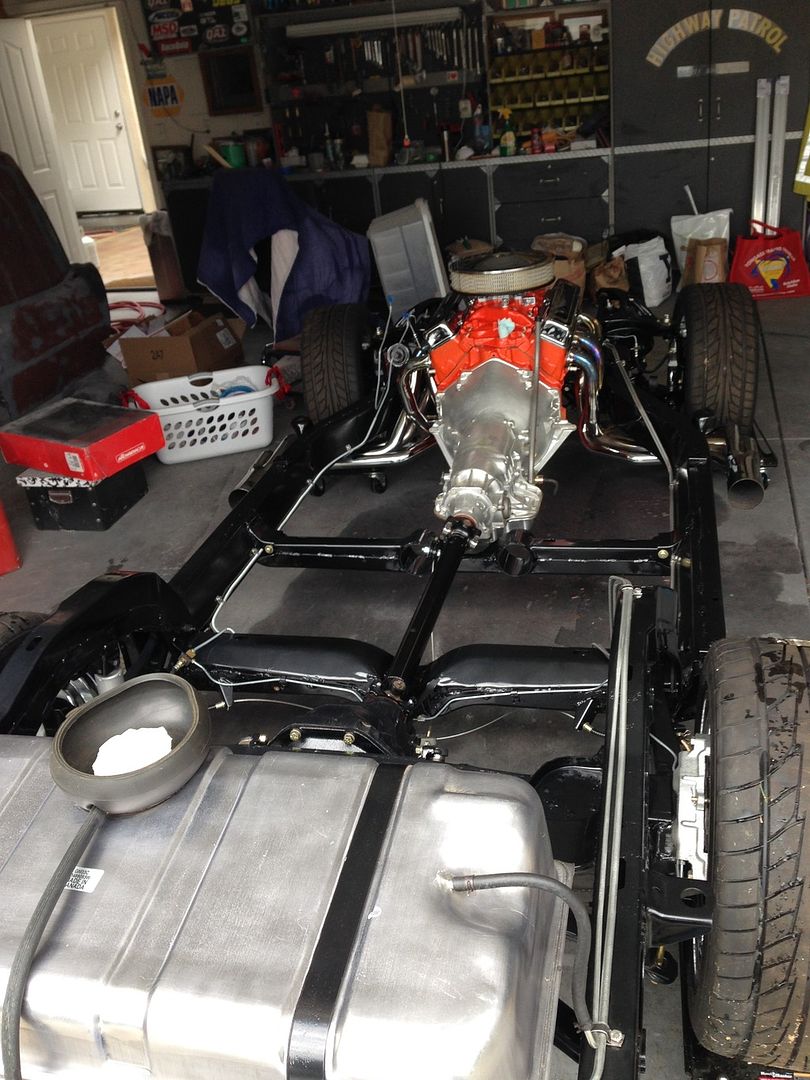
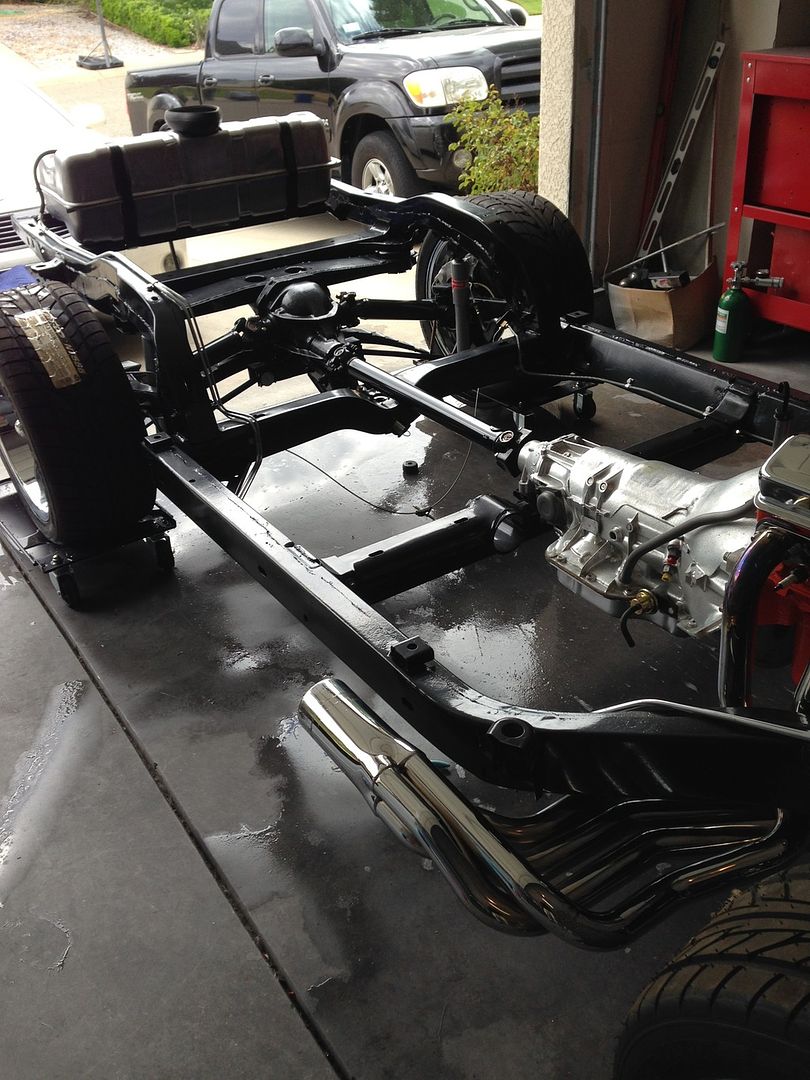
Let's start with the present. I recently brought home the chassis. After making it all pretty I stored it in my grandma's garage for a few months while I got the body ready to go back on. Well, those few months turned in to about 2 1/2 years. So my pretty chassis looked like crap when I picked it up. Here's a few pics...
I wish I'd have wrapped it up before it sat... hind sight!!!
So today I'm spending time cleaning and polishing it so I can wrap it up tight before the body goes back on.
It's cleaning up nicely. But what a PITA!!! OK, this turned out to be a pretty long post. I'll continue to update it as I move along. But this time at a more realistic pace!
Hi 13611,
It looks like it cleaned up well! In fact I think it looks terrific!
Getting it back to this condition should help you to feel better about it and give you the impetus to keep working now!
Good Luck!
Regards,
Alan
Finished cleaning!!! Stand by for the wrapping job!!!
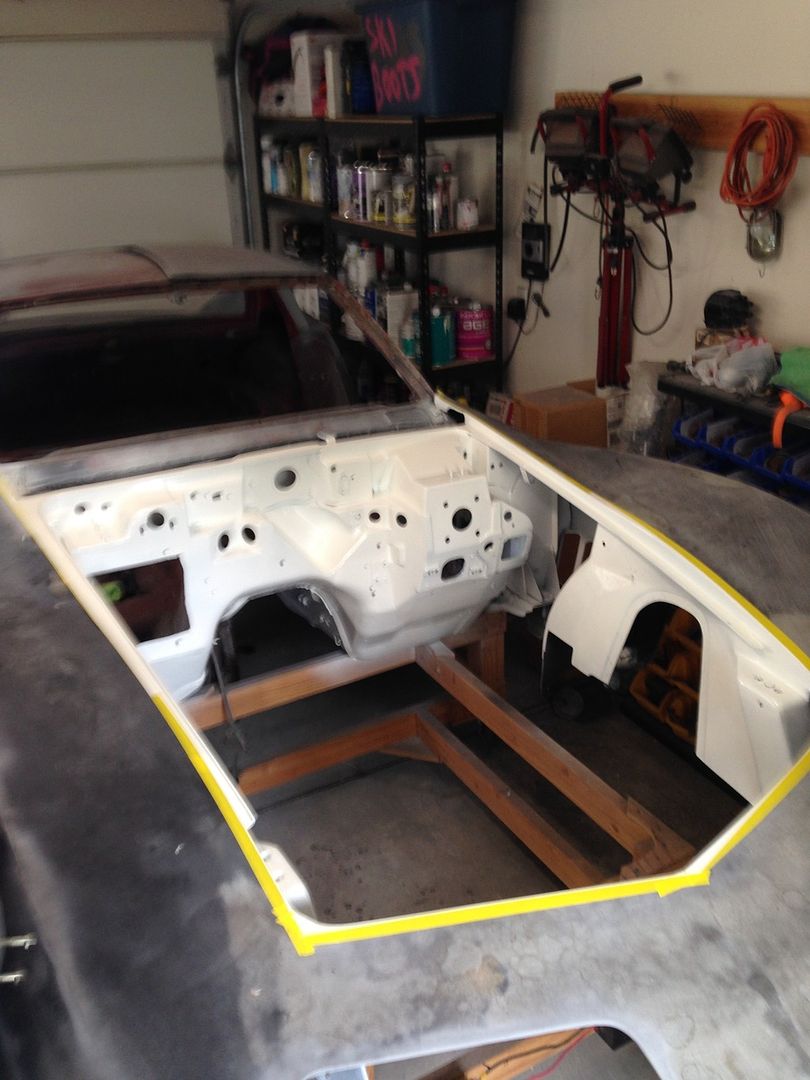
Also, over the weekend, I finished prepping the engine compartment and got the first couple coats of SPI epoxy primer on it. I also have the wheel wells and underside undercoated.
Wet sanding just about done in the engine compartment. I went ahead and primed the underside of the hood so I could knock out the black paint on both at the same time. I wasn't happy with the texture of the under hood area so I applied a skim coat of VPA and went to town. What a difference!
The inner area of the hood is done and nice and smooth. You can see the outer edge I've yet to skim coat and the difference in texture is very evident.
I also mounted a small wench on the front of my body dolly so I could roll it down my angled driveway a bit to do most of the messy sanding outside. Getting it back into the garage is now a one man job!
I left the epoxy as sprayed and just made sure I did what I did within the 7 day window. I'm wet sanding the 2k I put on. If I recall correctly, Porchdog uses nothing but SPI epoxy so I'm sure he's wet sanded it and may be able to elaborate some if you asked him.
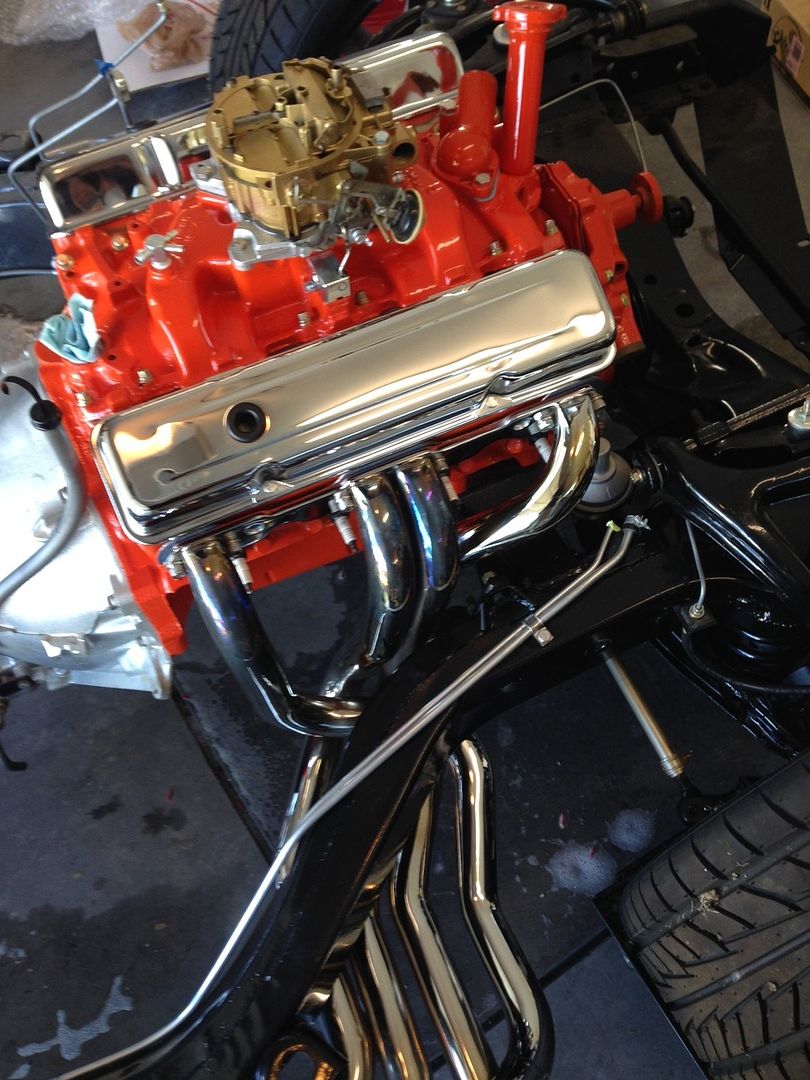
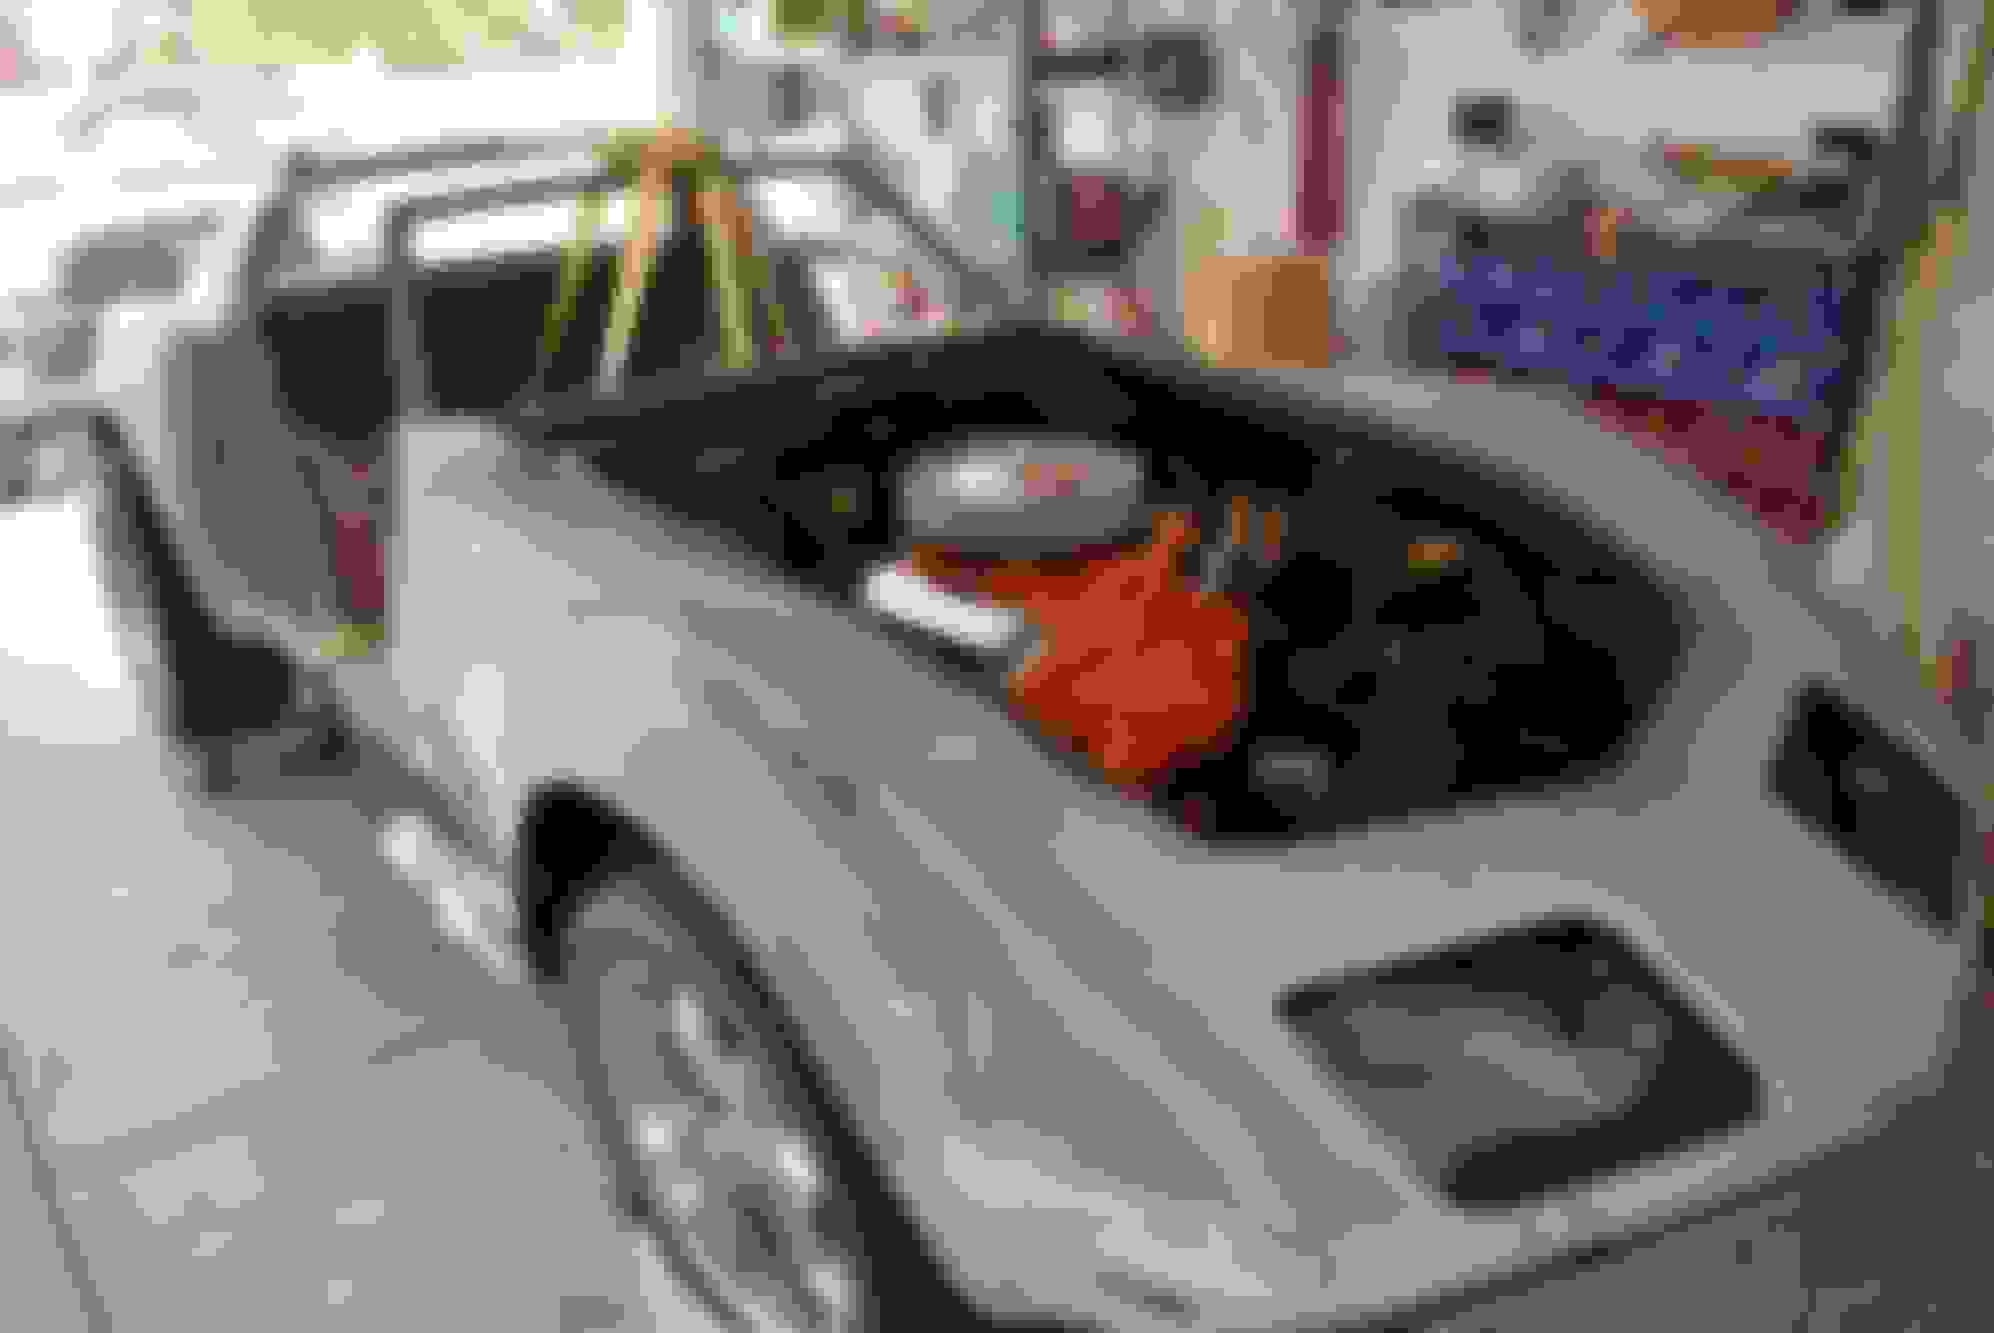
Engine compartment and under hood are finished!!! Here's a few pics. I took them a little prematurely as it is still a little wet. This is the "Hot Rod Black" and it dried more like a satin... not so glossy. Thanks for looking!!!
Finally got the motivation to attack the nasty heater and a/c box. The portion that houses the blower motor was broken badly so I got a used piece from George (1906i). However, I missed the big crack in the other half of it until I tore it apart. I was able to fix it up and smooth it out. Painted it, put it all together and today I got it in the car! Enjoy the pics!!!
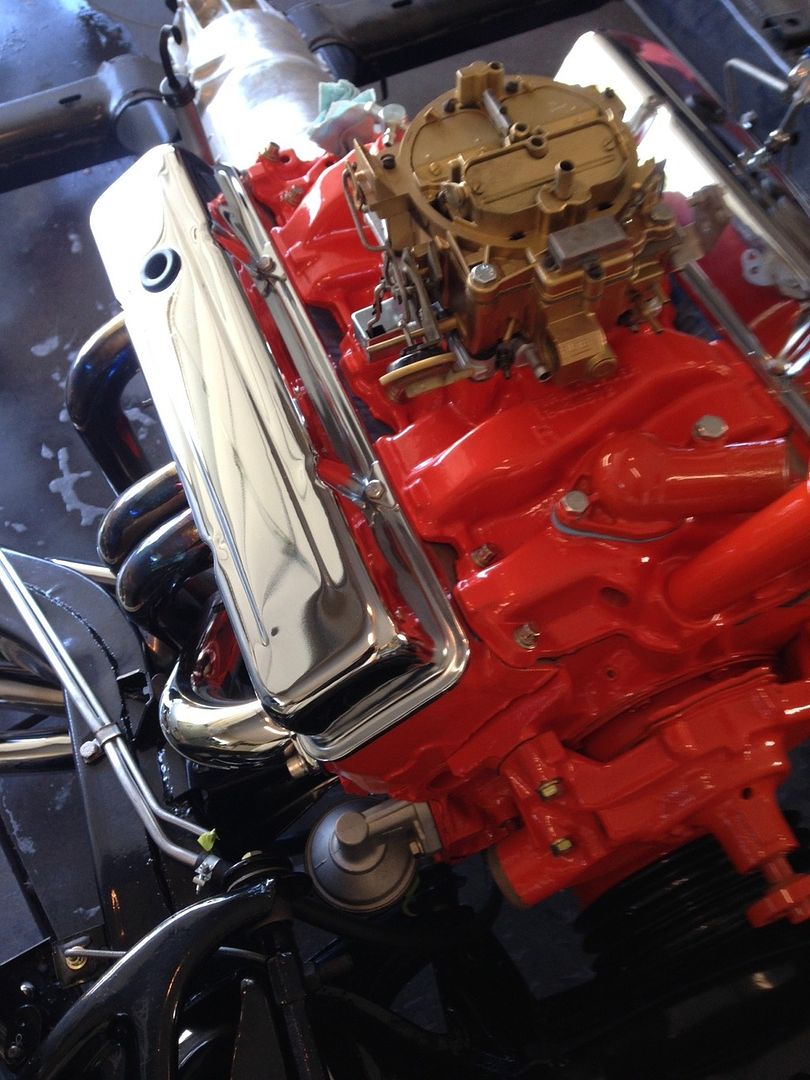
Jason everything looks great. Some job of gift wrapping the chassis. What did you shoot the engine with rattle can or spray it looks great. Can't wait to see the body back on with the beautiful job on the engine compartment and then the colors of the engine and things, SWEET!
R
Next month it will be 4 years since I bought this aborted project in pieces... and I FINALLY got to see it with the body on the chassis. A milestone in it's life with me! Still WAY far away from being anything drivable, but a big deal for me. I used 8" bolts in the rear but it's still sitting up WAY TOO high. Any ideas? Oh, and the plastic wrap... great idea, just think I did it wrong. The body wouldn't seat up front because I had the bumper extension things mounted to the frame so I had to cut it. Then just lining things up, I couldn't see... so it all came off. There's a lot of masking in my future!!! Enjoy the pictures...
Next month it will be 4 years since I bought this aborted project in pieces... and I FINALLY got to see it with the body on the chassis. A milestone in it's life with me! Still WAY far away from being anything drivable, but a big deal for me. I used 8" bolts in the rear but it's still sitting up WAY TOO high. Any ideas? Oh, and the plastic wrap... great idea, just think I did it wrong. The body wouldn't seat up front because I had the bumper extension things mounted to the frame so I had to cut it. Then just lining things up, I couldn't see... so it all came off. There's a lot of masking in my future!!! Enjoy the pictures...
Hi Jason, man it all looks so nice. I do like the hot rod black and the Krylon #1613 for touchup. Like the under portion of the hood as well as what you did to the AC and heater box. Really nice. May want to find Porchdog for a PM. What's next, and love the pictures.
R
All along I had in my mind that I would be going right into the paint process after I got the body on. After running it by the forum, the general opinion is that I need to get all the mechanical stuff done first and do the paint last. So... I need to come up with some sort of list like you made because I get completely overwhelmed when I think about what to do next!
All along I had in my mind that I would be going right into the paint process after I got the body on. After running it by the forum, the general opinion is that I need to get all the mechanical stuff done first and do the paint last. So... I need to come up with some sort of list like you made because I get completely overwhelmed when I think about what to do next!
Yup! I go in the garage and wonder around thinking what to do next. That must change. We are restoring a car that will have our butts in it and need to work as efficient as we can, hence the list. Probably should have been done sooner but better late then never. The bright spot is we get to check things off which should make us feel like we are getting somewhere. We can do it!!!
R
All little overwhelmed is an under statement!!! Since aborting my idea of going right into paint and opting to get it running and driving first I've had to start cleaning and painting parts. Now mind you, I had s#@t stacked and stashed EVERYWHERE! So, trying to figure out what I need and then dig around and hope I found it was killing my motivation. SO... I took everything from everywhere and this is what I wound up with...
...that's step one! I was going to do the blasting myself in my little HF cabinet, but after seeing this "pile" I'm opting to gather up most everything and take it to the blaster and pay him to do it! I'll keep you posted on my progress. Thanks for looking!!!

 06-01-2015, 01:59 PM


 Then somewhere along the way things SSLLLOOOOWWWWED down. The motivation dwindled and the car would sit for longer and longer periods of time. I stayed active on the forum and watched many projects start like mine with the posts and dwindle away in the same manor. But I also watched many projects trug right along with great success and progress. I also learned that a lot of the quicker moving projects were that of experienced Vette owners. Meaning they had one or two under their belt and knew what to buy and what to stay away from. They gained the experience of having put one together before and were wise in the way of doing things "the next go'round". This will be me someday as my knowledge base of C3's has grown a ton. It's still like a puzzle and VERY frustrating at times because I wasn't the one who took my car apart. Figuring out where things go takes longer than the actual work. I say all of this because I think I'm ready to start a new thread and track my progress again. I don't feel my project is anything special but I know how much I enjoy reading other people's builds and especially looking at the pictures. Plus, I'll have some accountability again, people watching and commenting... checking in with me and that's exciting.