When you click on links to various merchants on this site and make a purchase, this can result in this site earning a commission. Affiliate programs and affiliations include, but are not limited to, the eBay Partner Network.
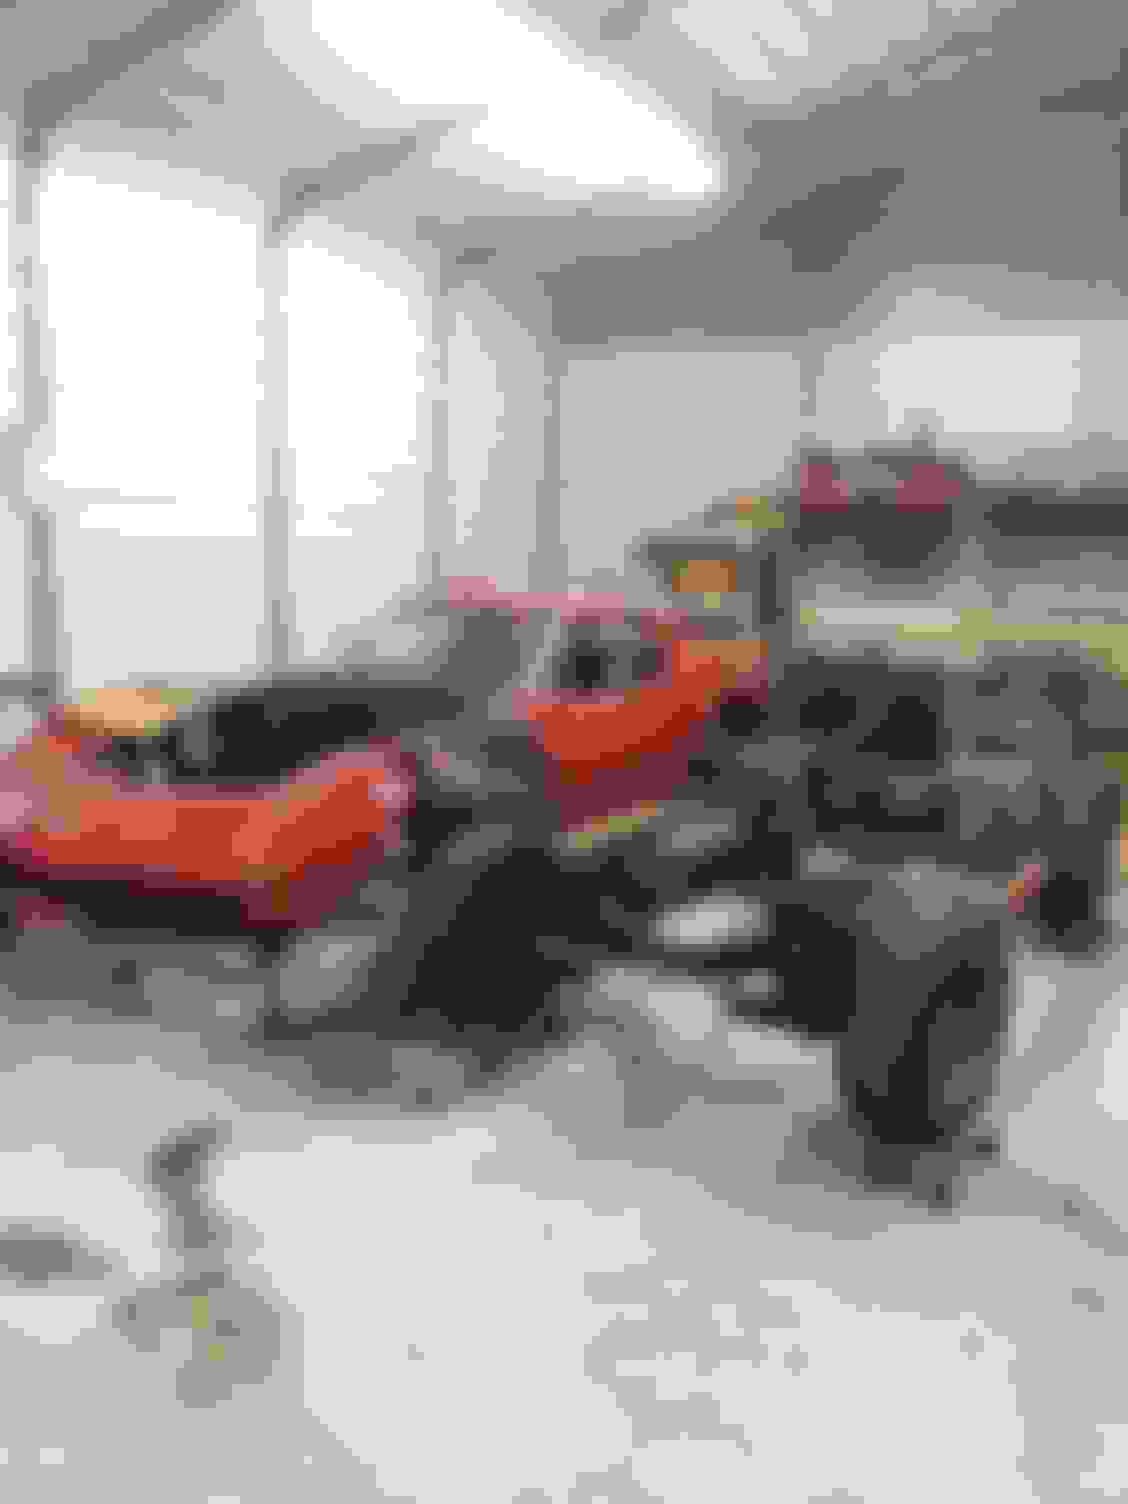
Hey guys, just an update. Removed the body earlier with no problems!! Birdcage held. Cheers
I took several pics of the frame, I'd appreciate it if you all let me know what you think of its condition.
Thanks,
-Matt
Hi 72,
It looks like you did a good job doing the lift!
The frame looks good in the photos. You'll know better when you start cleaning it up, but it's certainly appears solid.
Interesting repair on the fuel line.
Have you remembered to note the number of shims at each body mount location?
Big fun ahead!!
Regards,
Alan
I'd be interested in know if there's anything unusual about the pinion snubber nut. Either it's finish or configuration??
Frame looks good. I need to do this on my 71 this summer, hopefully. I have not touched it in years. I am afraid of what may be done to the frame. It sat for many years. I will have to remember to count the shims never thought about that. Better get a note book ready I guess.
looks good from the top , should come up nice with a good clean and some fresh colour. Curious about what the cable ties were for at each end of the diff mount cross-member .
The frame looks pretty good. If the birdcage is no worse, I think you're in good shape. Congrats!
Originally Posted by Alan 71
Hi 72,
It looks like you did a good job doing the lift!
The frame looks good in the photos. You'll know better when you start cleaning it up, but it's certainly appears solid.
Interesting repair on the fuel line.
Have you remembered to note the number of shims at each body mount location?
Big fun ahead!!
Regards,
Alan
I'd be interested in know if there's anything unusual about the pinion snubber nut. Either it's finish or configuration??
Nice catch on the fuel line repair. Even without that, I'd be tempted to replace the fuel and return lines in any case. They don't look terrible but this will be the easiest time to replace them.
Hi CA-L,
Yes I agree, there's not going to be a better/easier time to replace all the lines than now.
I just replaced all the stainless brake lines and the stainless vapor line on the left frame rail I had originally installed with Bundy steel.
It's not an easy thing to do with the body in place.
Regards,
Alan
I was curious about the ties too at the diff crossmember. They didn't appear to be doing anything, but were bolted to the floor pan around the seat..? Also I accidentally cut the parking brake cable when removing the exhaust I planned on replacing it anyway so I guess it doesn't matter. & yeah I agree I'll definitely be replacing all fuel & brake lines while the frame is off!! Thanks everyone for the feedback. I thought the frame looked pretty good, but just wanted some more opinions. Doesn't appear to really even have much surface rust.
Last edited by 72Shark_VAL; 03-05-2017 at 02:56 PM.
What did you hook the straps to on the sides to lift off the frame ?
The rocker channels of the birdcage. Once you remove the rocker moldings/side pipes (if equipped) that cover it up you can easily distinguish the bottom lip of the birdcage from the frame. You can buy the same lift straps I did from any of the corvette parts suppliers that are specifically made for this lift. They have hooks on the bottom of them that fit nicely around the lip of the birdcage.
Last edited by 72Shark_VAL; 03-05-2017 at 03:13 PM.
Hi 72,
It looks like you did a good job doing the lift!
The frame looks good in the photos. You'll know better when you start cleaning it up, but it's certainly appears solid.
Interesting repair on the fuel line.
Have you remembered to note the number of shims at each body mount location?
Big fun ahead!!
Regards,
Alan
I'd be interested in know if there's anything unusual about the pinion snubber nut. Either it's finish or configuration??
All but 3 shims stayed in place on the frame...the 3 I picked up off of the floor either came out of passenger side body mount #1 or #2..yikes. I can see the indention of atleast one shim on both mounts so I put one on each, but that leaves me with a remainder of one. I'm not sure if it goes on #1 or #2...hmmm any suggestions Alan?
Hi 72,
It looks like you did a good job doing the lift!
The frame looks good in the photos. You'll know better when you start cleaning it up, but it's certainly appears solid.
Interesting repair on the fuel line.
Have you remembered to note the number of shims at each body mount location?
Big fun ahead!!
Regards,
Alan
I'd be interested in know if there's anything unusual about the pinion snubber nut. Either it's finish or configuration??
If you are lucky the shims will stay in place when you lift the body so you can take notes , but I have never been that lucky on any body removals that I have done because they usually just stick long enough to start lifting the body then they fall on the ground. It's not that hard to figure out where the shims go when the body is lowered and a few of the body bolts are temporarily snugged down but the body might have to be raised a little to make the final placement . No doubt though it is always easier if the original shims stay in place to document it.

 03-04-2017, 09:34 PM


 I planned on replacing it anyway so I guess it doesn't matter. & yeah I agree I'll definitely be replacing all fuel & brake lines while the frame is off!! Thanks everyone for the feedback. I thought the frame looked pretty good, but just wanted some more opinions. Doesn't appear to really even have much surface rust.
