
Loose rear bumpers
 06-30-2008, 08:43 PM
#1
Melting Slicks

Thread Starter
Member Since: Mar 2008
Location: North Bellmore Ny
Posts: 2,336
Likes: 0
Received 1 Like
on
1 Post
St. Jude Donor '09
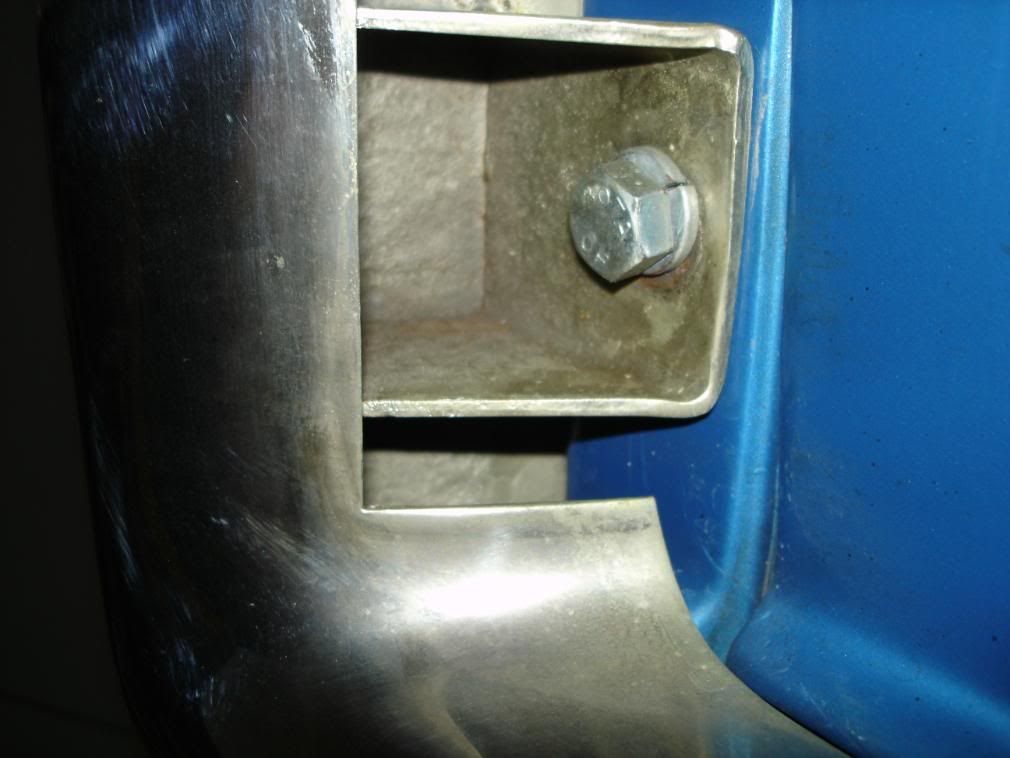
This is the first metal bumper vette I've owned. I want to know if the looks right before I tighten the bolts. I would hate to crack the fiberglass, Just want to make sure someone before I purchased the car didn't tighten the bolts for a reason or did they just come loose.
 06-30-2008, 08:55 PM
#2
Former Vendor
Member Since: Aug 2006
Location: Jeffersonville Indiana 812-288-7103
Posts: 76,656
Received 1,813 Likes
on
1,458 Posts
St. Jude Donor '08-'09-'10-'11-'12-'13-'14-'15

I would be careful when tightening the bolts, but I would have to try if it were my car!
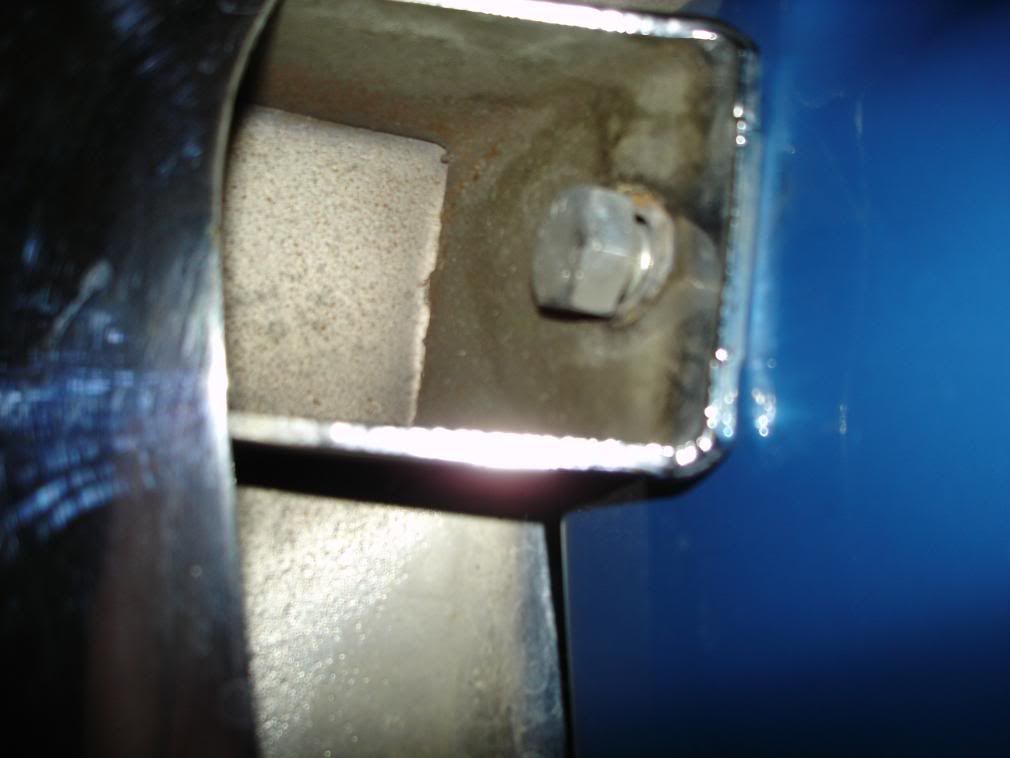
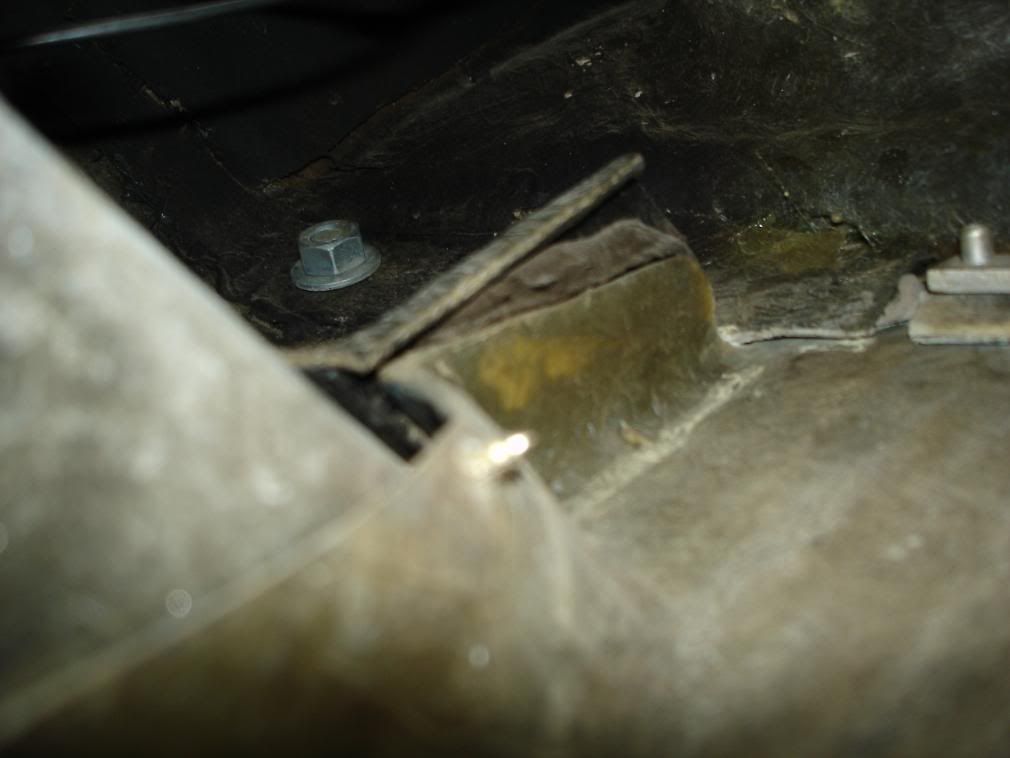
I see hand laid fiberglass in your second and fourth picture. This indicates a repair has been made to the car. You may crack some, and stop if you feel like you are doing any damage.
The bolts should be tight enough to collapse the lock washers on the car.
Willcox Inc.
I see hand laid fiberglass in your second and fourth picture. This indicates a repair has been made to the car. You may crack some, and stop if you feel like you are doing any damage.
The bolts should be tight enough to collapse the lock washers on the car.
Willcox Inc.
06-30-2008, 08:56 PM
#3
Safety Car

Member Since: Aug 2001
Location: North Easton Mass
Posts: 4,883
Likes: 0
Received 8 Likes
on
8 Posts

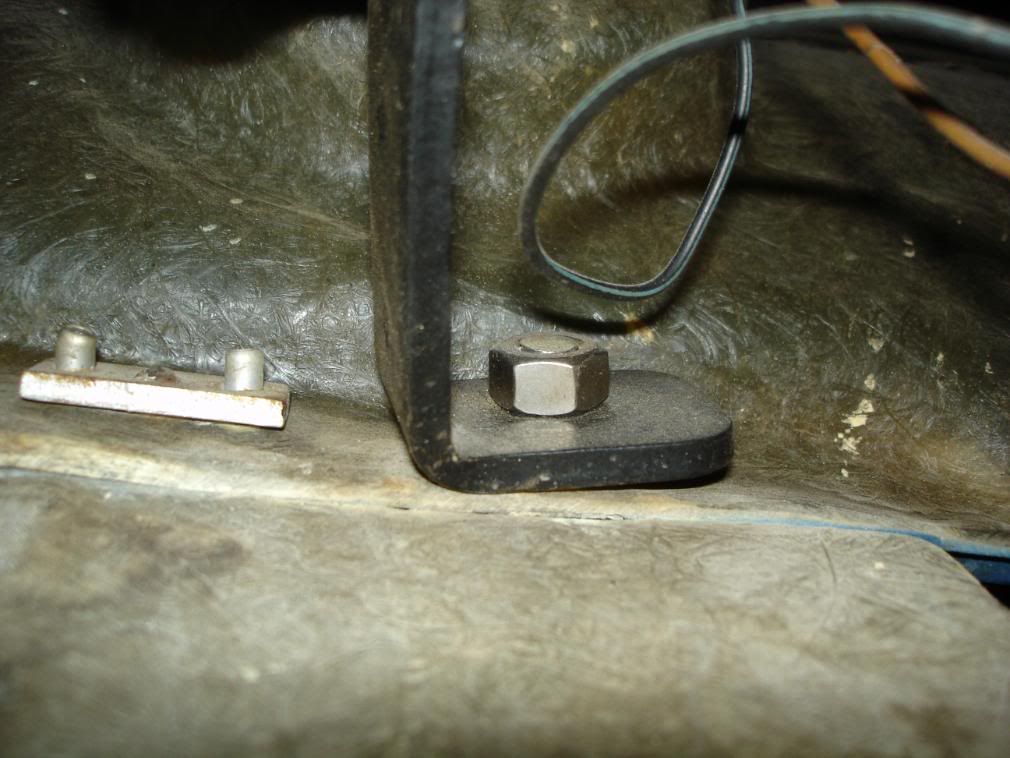
The bolts look a little short. I would get some bolts that are at least 1/4" to 3/8" longer and put a flat washer on each side of the body panel and the lock washer next to the nut.

Rick B.
Rick B.
06-30-2008, 09:39 PM
#4
Former Vendor
Member Since: Aug 2006
Location: Jeffersonville Indiana 812-288-7103
Posts: 76,656
Received 1,813 Likes
on
1,458 Posts
St. Jude Donor '08-'09-'10-'11-'12-'13-'14-'15
Rick I agree, a large washer would keep from doing damage for sure.
Willlcox Inc.
Willlcox Inc.
06-30-2008, 11:12 PM
#6


I have the same model/engine as your's and just reinstalled my bumpers, both rear and front.
I'd guess, but not absolutely, that the bolts were left loose to compensate for bumper mis-alignment. The corner bolts, once tightened, "fix" the position of the rest of the rear bumpers. It'll cause both ends to shift up/down and in/out. Both rear corners are heavily reenforced and the outside surface and bumper brace determine where the bumper will align.
Before you tighten any body-to-bumper bolts make sure the inboard bolts/braces are loose and free to move. Remove the two front-most bolts that go thru the body to the bumper, but have no frame braces tied to them. The holes for these bolts may very well be torn out due to earlier "Bubba" activities. Now tighten the corner bolts and see which way the bumper wants to "settle". I used shims (THE SHIMS I USED WERE LARGE WASHERS THAT I GROUND INTO "WEDGES" SO I COULD "ROTATE" THEIR POSITION AND VARY THE SPACING BETWEEN THE BUMPER AND THE BODY.) between the body and bumper in these corners to cause the bumper to align with the body. Once aligned the holes in the body should be aligned with the nut-braces on the bumper. I didn't want any stress on the 'glass.
The two front-most holes may require shims/washers between the bumper mounting braces and the body. I used large "fender" washers. If you'd like use a thin rubber one next to the body to protect it.
The other brackets/braces should be able to be tightened sandwiching the body between them. Now tighten the brace to frame bolts. I pressed outward somewhat to give a small "preload".
I tightened the bolts that sandwich the body "tight", but not "bull tight". You can and will damage the 'glass. Remember, the factory didn't go for "perfect", just a good eyeball fit, and the two sides may not be exactly the same either.
Last edited by wattac2; 07-02-2008 at 03:46 PM.
07-01-2008, 06:10 PM
#7
Melting Slicks
Thread Starter
Member Since: Mar 2008
Location: North Bellmore Ny
Posts: 2,336
Likes: 0
Received 1 Like
on
1 Post
St. Jude Donor '09
thanks everyone I will try wattac2's method and wilcox do you have a stainless bolt kit for the rear bumpers? I hope I don't break anything on this project.
07-02-2008, 03:48 PM
#8
I updated my post to explain what the shims were that I used to set the position of the bumper at the corner mounts. They are wedge-shaped washers that as you rotate them you change the positon of the bumper with respect to the body. Hope this clears up my explanation.
Andy
Andy

