When you click on links to various merchants on this site and make a purchase, this can result in this site earning a commission. Affiliate programs and affiliations include, but are not limited to, the eBay Partner Network.
TW1ST3Ds DIY Emergency Hood Release for under 5 Dollars!
Greeting Fellow C3ers!!
I've been following the threads in the C3 section since December when I joined and was alarmed at how many owners lost the ability to open their hoods due to a broken Hood Release cable or the linking cable to the passenger side broke. Here is a small tutorial on how I'm going to overcome the issue if it ever arises. (an ounce of prevention is worth a pound of cure )
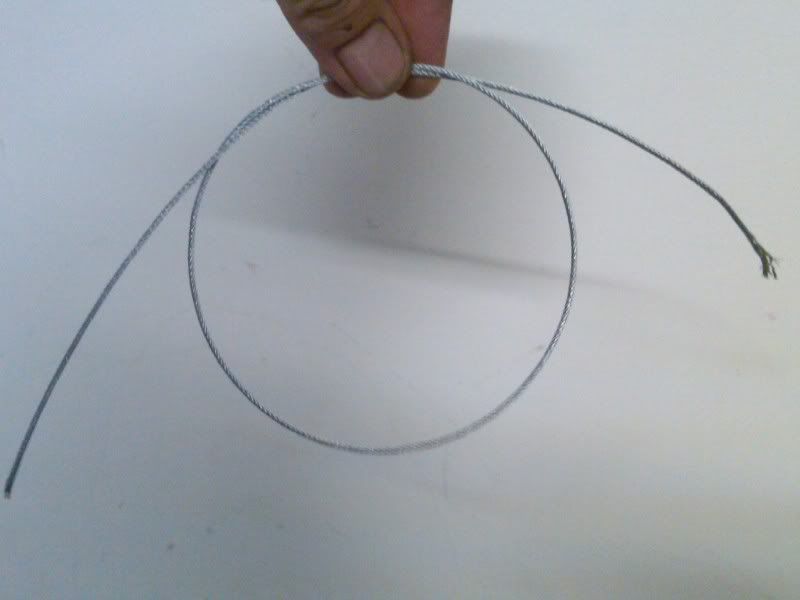
Parts List: 5 feet 1/16" Stainless Steel cable (.51 cents a foot at Lowes)
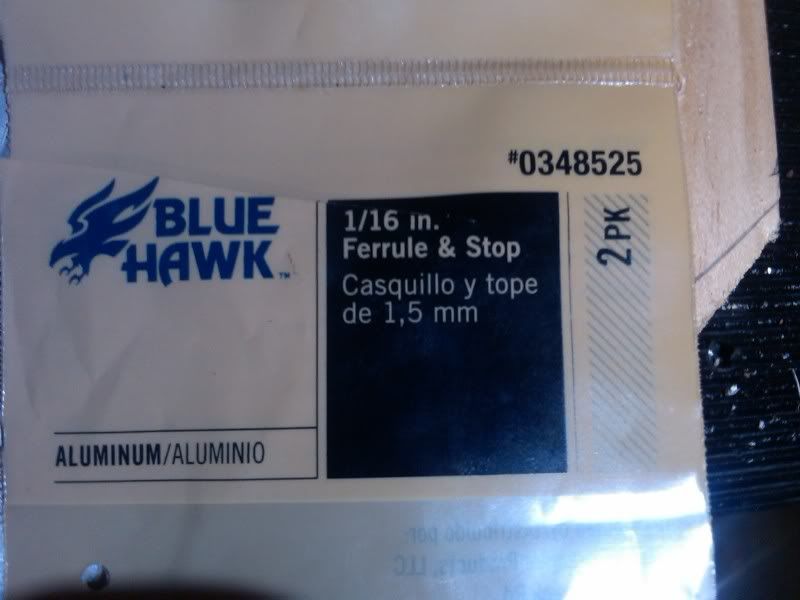
1 - 2 pack of 1/16" Ferrule and Stop ($.1.49 at Lowes)
1 1/16' Drill Bit
Tools Needed
Vise Grips or Bench Vise (to hold the cable while cutting....Safety First!!)
Angle Grinder w/ cutoff wheel (to cut the cable)
Drill
Wire Crimpers (for squashing the ferrules and stops)
How To:
1. Cut the cable in half. (I used a angle grinder with a cut-off blade)
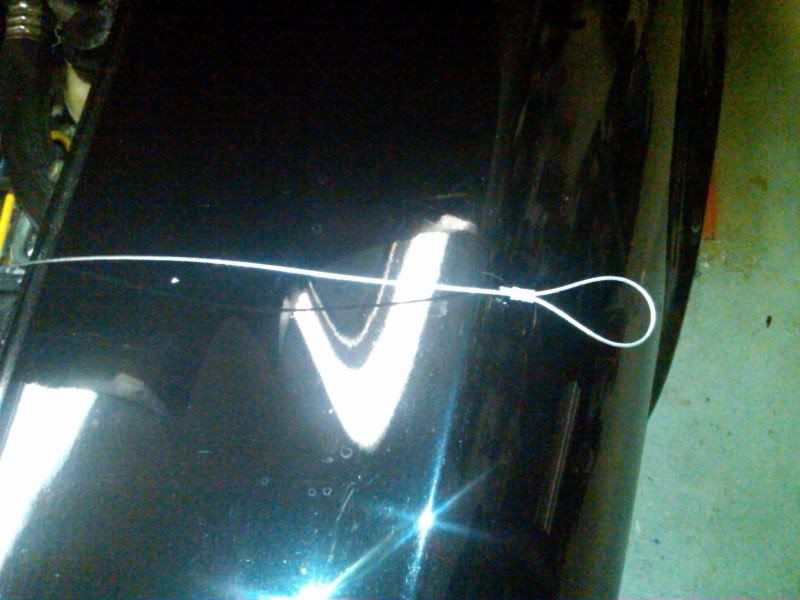
2. Install the ferrule onto the cable and make a loop then crimp tightly.
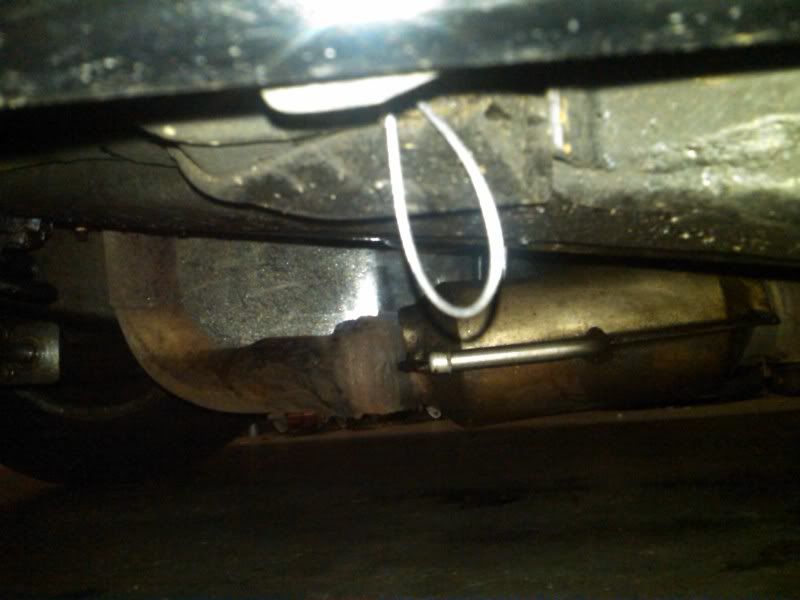
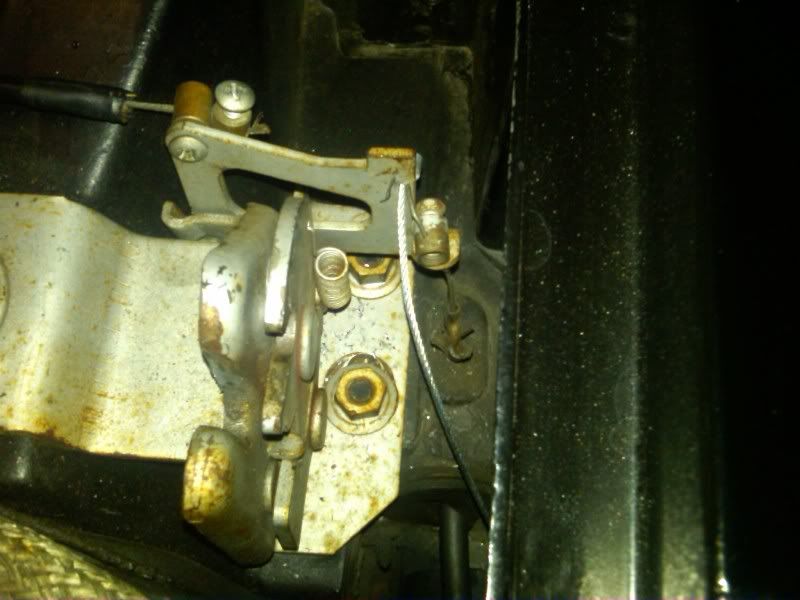
3. Drill a 1/16th hole into latch....(See Picture for location)
4. Slide cable into hole and thread wire into the stop.
5. Route the loop end down beside frame rail (CAUTION: Don't let it hang too low) and mark the cable.
6. Pull enough slack back through latch so that you can crimp the stop on the mark and cut-off excess cable.
7. Repeat on the other side.
Works Great for Me!! and only took about 1 hour including time to figure it all out.......
This is a backup hood release that you install before the hood lock out occurs...from what I can tell.
When I re-install a hood, I tie a wire on the hood latch system and when the hood is closed, the wire dangles outside. If the hood won't open, I pull the wire I've installed and open the hood. I keep adjusting the latches until the hood releases 100%. Then I remove my helper wire.
That's a good idea TW1ST3D. I had a similar idea couple years ago and did it this way. I even use the same cable from Lowes.
Electrical eyelet soldered to the cable.
Then cable goes through the firewall to the wiper tray area.
To pass through I use a 3/8" threaded rod with a hole drilled in the middle and a nut on each side. So you need to drill a hole through the firewall to get the threaded rod in. I tapped the hole for the 3/8" rod as well but probably not required.
This is passenger side.
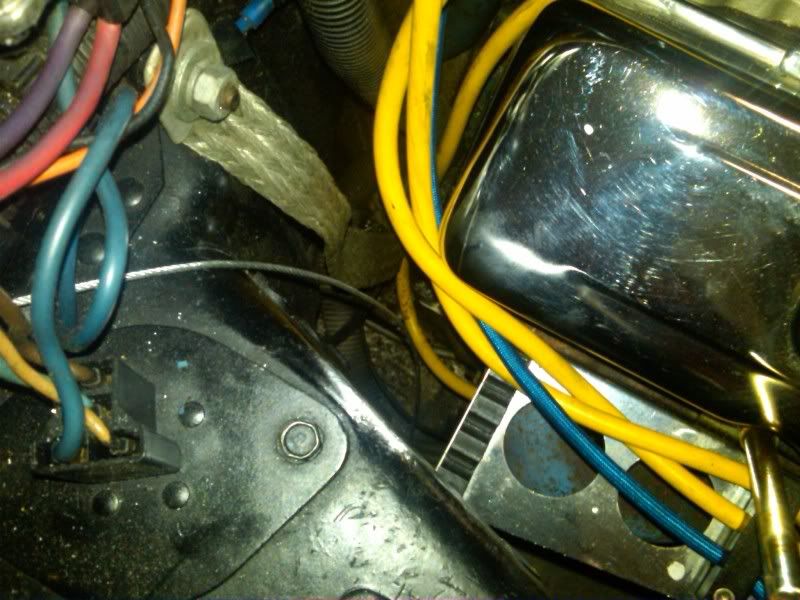
Passing through on the wiper side. Disreguard the CFM meter just doing some other testing.
Then a loop on the end and some widow putty to stick it in place so it won't flop around or get caught up in the wiper mechs.
Drivers side is slightly different.
Once you close the hood it is invisible. Tried it several times to insure it's function. Works good.
[QUOTE=REELAV8R;1587758621]Not a bad idea. Big surface area neodymium magnets. Just keep it under 130 mph:
scary ; the cable broke on my 71 convertible. 7 days and 7 nights to open hood (i have l-88 extended hood) finally i removed the master cylinder from under the car and then 3' transmission screwdriver as wedge on hood release.i will use 7 strand stainless cable as used for shark rig with crimps as a secondary release.
thanks for posting, excellent idea. need to do this for my wife's '76 since her cables are already half worn...
question--what tool did you use specifically to crimp the ferrule? I've got lots of cheapo terminal crimpers, and big hydraulic set to do battery cables, but not sure I've got anything for those ferrules.
will any old terminal crimper do or is there a specific tool I get to buy for cable ferrule crimping? (I love to buy tools, but never did cables so this may be a good excuse!)
edit: I just hit my local lowes, .26/ft for the cable and $1.29 for 6 pk of ferrules...HF had a crimper for $6.99 so I'm all set!
If you are worried about the hood release cables breaking why not just replace them with new ones and not worry about it for another 40 years instead of going the bubba route?
If you are worried about the hood release cables breaking why not just replace them with new ones and not worry about it for another 40 years instead of going the bubba route?
for the same reason I carry a spare tire even though I have new tires...redundancy in an emergency.
St. Jude Donor '05-'06-'07-'08-'09-'10-'11-'12-'13-'14-'15
[QUOTE=Captain bob;1590543313]
Originally Posted by REELAV8R
Not a bad idea. Big surface area neodymium magnets. Just keep it under 130 mph:
scary ; the cable broke on my 71 convertible. 7 days and 7 nights to open hood (i have l-88 extended hood) finally i removed the master cylinder from under the car and then 3' transmission screwdriver as wedge on hood release.i will use 7 strand stainless cable as used for shark rig with crimps as a secondary release.
Mine broke on my 70 and I was out of town on the car with just a minimum of tools. I removed the rocker molding below the door and then pulled the egg crate grill and went through that to open the hood. Only about 30 minutes or so.
the cable broke and it took me 5 days and nights to open hood.i did it by removing master cylinder and vacuum hoses.with the car jacked up.i have a L-88 LONG hood and crate is remove and rounded like later models only the same size as crated models.

 05-20-2012, 06:34 PM


 )
)
 and only took about 1 hour including time to figure it all out.......