When you click on links to various merchants on this site and make a purchase, this can result in this site earning a commission. Affiliate programs and affiliations include, but are not limited to, the eBay Partner Network.
I took my radiator down to the local Radiator shop and had them cut off the factory designed downward & in water nech and added a straight neck, This allowed me to easily put a 90* radiator hose on that side of th esystem and it passed right under the vararam tray.
So far so good
With the seal I am reading actual ambiant air temps at the MAF meter.
so far so good
Did you have to make any mods to the tray with regard to the right radiator bracket? I'm thinking I'm going to have to shave off some material on the right side of the tray.
Did you have to make any mods to the tray with regard to the right radiator bracket? I'm thinking I'm going to have to shave off some material on the right side of the tray.
Yes
A little trimming w drimmel for water filler neck
Then turn mount bracket 90* to catch radiator tank on the side
Yes
A little trimming w drimmel for water filler neck
Then turn mount bracket 90* to catch radiator tank on the side
I trimmed off the far right edge a bit & around the water inlet on the snout of the radiator.
The tray its in the car with a bit of an offset to the right/passenger side.
I then also flipped the radiator mount from vertical to horizontal.
Same exact bracket, just turned it 90* to catch the side tank..
I have seen ducting that runs back over the top of the engine to the firewall and goes into the wiper area. The duct was slightly flattened into an oval, looked pretty slick.
I can't locate the photo but I am thinking of doing it on mine.
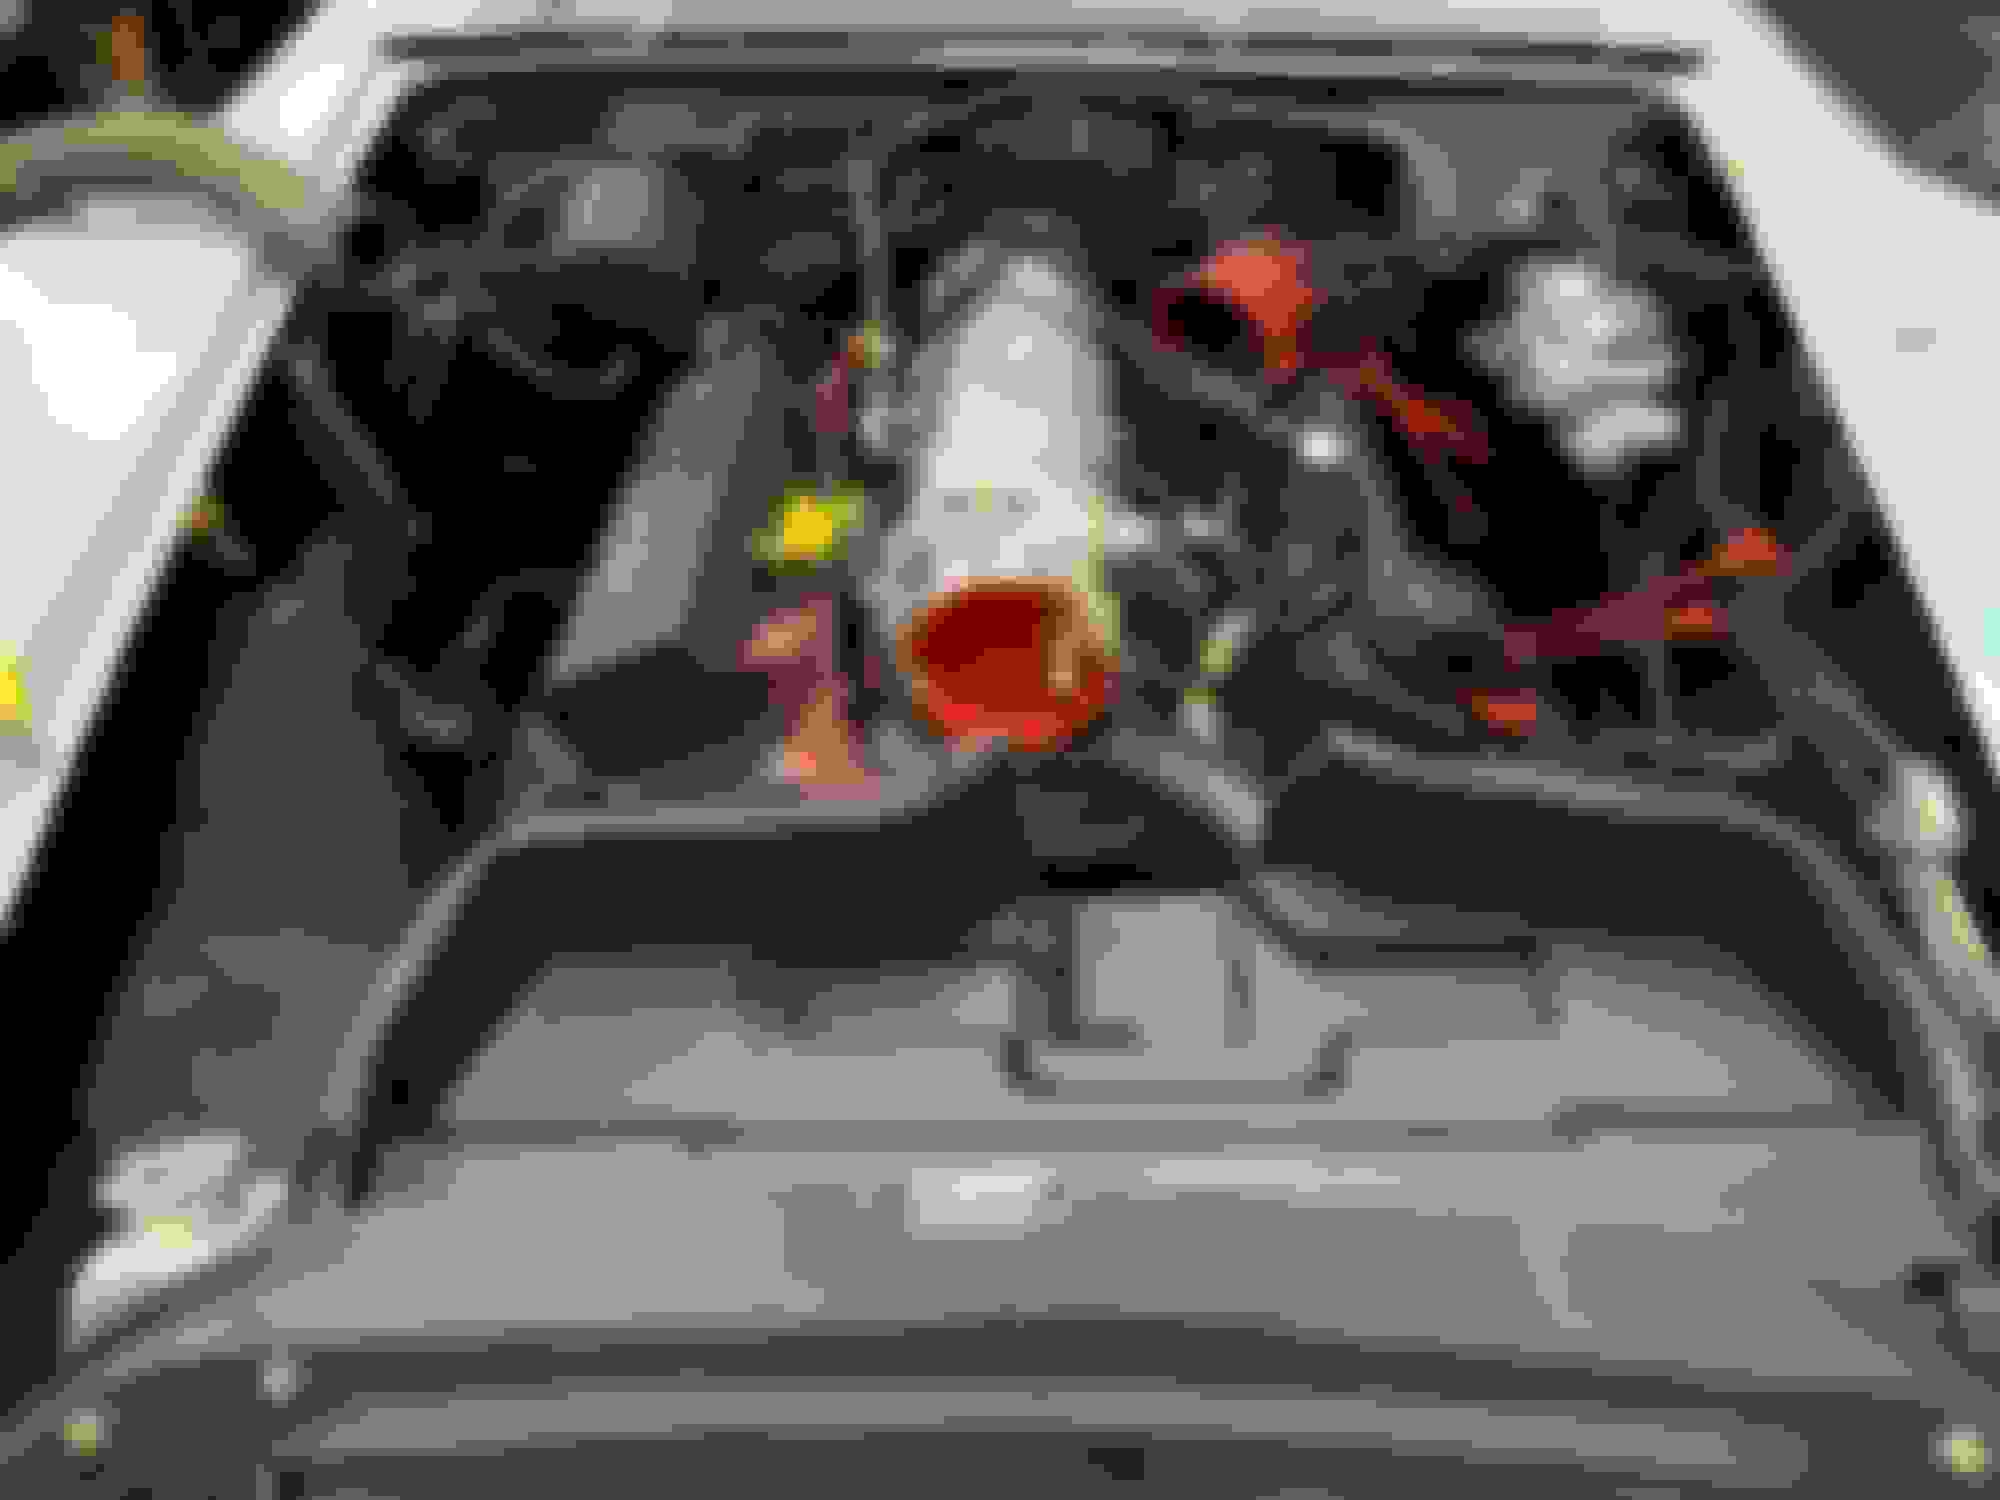
Thought I'd update here. I got the Vararam installed and I'm very happy with the result. In the first pic you can see the overall result.
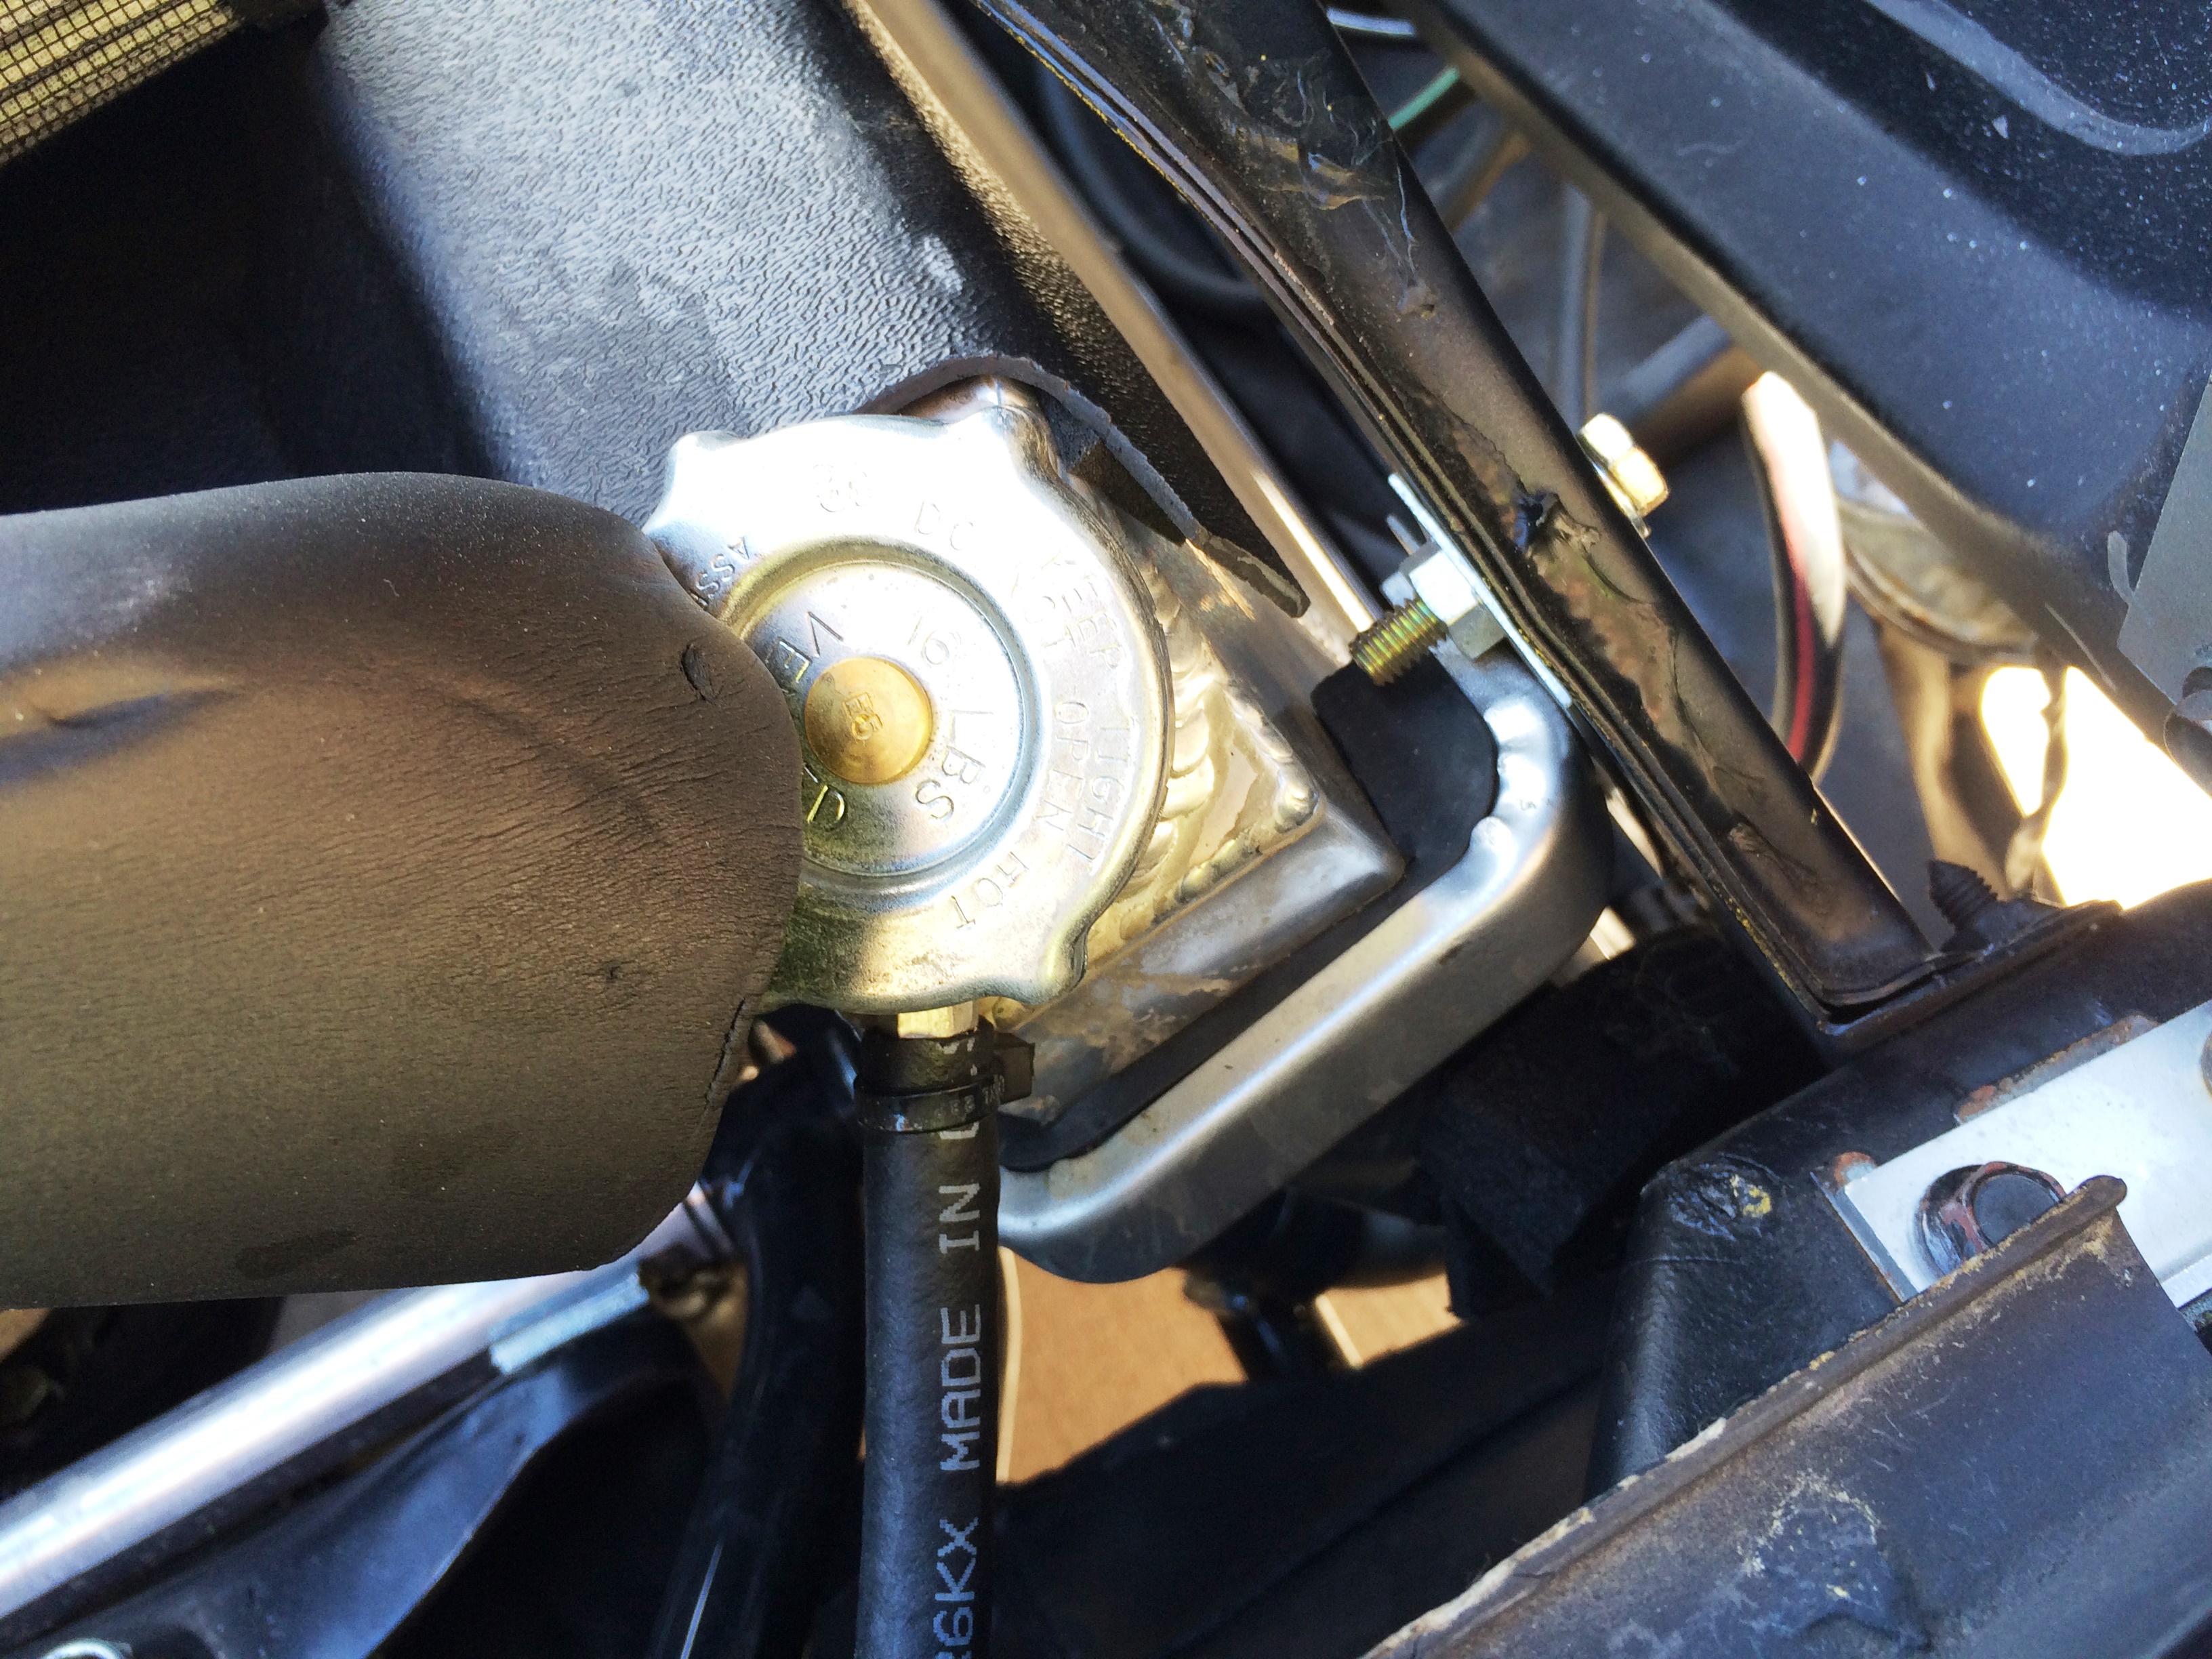
Here you get a closer look at the way I had to make clearance for the right radiator bracket. I almost did what sfsvettes did, but decided to try this first. This keeps the bracket in the stock location with both bolts used.
On the opposite side you can see how tight the fit is to the power steering reservoir. I've ordered another bracket that I'm going to modify to allow for a better fit, bit it really isn't necessary. drilled a hole and inserted a grommet for the IAT sensor.
Overall, this is a pricey setup, but it sure works out nicely. I think it only took a couple of hours to make the mods and install it.
Here is my take on it as I too was getting IATs that were god-awfully high!
This still lets it heat soak a bit if you sit in traffic too long but as soon as you get rolling, the air temps come right down. Being plastic, it doesn't heat soak nearly as bad as some of the other attempts to build an air box out of metal.
This is a GTO Vararam intake that literally just slid between my aluminum radiator and the core support, no trimming was required at all. I then used a flexible intake hose from a Corvette and my own MAF tube and bingo! Seems I have been the only one to use this, probably due to the higher initial cost of the Vararam, but it does work!
You obviously have to lose the seal between the top of the radiator and the core support. This allows plenty of fresh COOL air to rush over and into the intake when driving! Last time I looked, I was seeing IATs of 10 degrees above ambient, which was much better than the 160-170 degree temps I got with the 90 degree metal tube with a filter on the end.
After searching forums and seeing your images all over the place, I finally found the thread haha!! I'm about to do the same exact setup in my 1969 with a 383 stroker and Edelbrock Pro Flo 4 XT style intake which has a 90mm throttle body. I'm very interested in the intake couplers you used and would like to get the exact same if possible. Can you provide any more info on the ribbed/flexible corvette coupler (what year it's off and/or a part number / link?) and what straight you used to mount the MAF sensor? Also, interested in the honeycomb insert you used as well. Overall, very interested and have the Vararam in my cart ready to purchase! Thanks in advance! Any help is greatly appreciated.
Thought I'd update here. I got the Vararam installed and I'm very happy with the result. In the first pic you can see the overall result.
Here you get a closer look at the way I had to make clearance for the right radiator bracket. I almost did what sfsvettes did, but decided to try this first. This keeps the bracket in the stock location with both bolts used.
On the opposite side you can see how tight the fit is to the power steering reservoir. I've ordered another bracket that I'm going to modify to allow for a better fit, bit it really isn't necessary. drilled a hole and inserted a grommet for the IAT sensor.
Overall, this is a pricey setup, but it sure works out nicely. I think it only took a couple of hours to make the mods and install it.
Nice work! I'm interested in what setup you're running. Care to share any more information?
2020 Corvette of the Year Finalist (track prepared)
C3 of Year Winner (track prepared) 2019
Originally Posted by Dustin James
After searching forums and seeing your images all over the place, I finally found the thread haha!! I'm about to do the same exact setup in my 1969 with a 383 stroker and Edelbrock Pro Flo 4 XT style intake which has a 90mm throttle body. I'm very interested in the intake couplers you used and would like to get the exact same if possible. Can you provide any more info on the ribbed/flexible corvette coupler (what year it's off and/or a part number / link?) and what straight you used to mount the MAF sensor? Also, interested in the honeycomb insert you used as well. Overall, very interested and have the Vararam in my cart ready to purchase! Thanks in advance! Any help is greatly appreciated.
Sorry, I don't check the C3 section much at all anymore... That accordion piece is a C6 intake accordion. I don't have the part number but just google 05-07 Corvette Air Filter Snorkel Accordion and you can find them on eBay pretty easy. Glad to see the solution I tested is still working for people!
Sorry, I don't check the C3 section much at all anymore... That accordion piece is a C6 intake accordion. I don't have the part number but just google 05-07 Corvette Air Filter Snorkel Accordion and you can find them on eBay pretty easy. Glad to see the solution I tested is still working for people!
Thanks for the reply! Ah awesome, I found the intake accordion. Few questions:
Where did you get your straight piece from to mount the MAF to? Also, what size was it?
Have you change the setup since you first built it? Still holding up well?
Would you do anything different if you had to go back and do it again?
Last edited by Dustin James; 02-04-2020 at 04:13 PM.
2020 Corvette of the Year Finalist (track prepared)
C3 of Year Winner (track prepared) 2019
Originally Posted by Dustin James
Thanks for the reply! Ah awesome, I found the intake accordion. Few questions:
Where did you get your straight piece from to mount the MAF to? Also, what size was it?
Have you change the setup since you first built it? Still holding up well?
Would you do anything different if you had to go back and do it again?
The straight tube with the intake slot was something I had from a prior kit, possibly from Speartech if I remember correctly, but I would check around as a quick check shows those are super expensive and I bet Summit has a better option at this point.
My car is nothing remotely close to that set up at this point, but I had absolutely zero issue with it and if I was putting an NA LS in a C3, it would be my absolute go to even this many years later as I have not seen a (non-fabricated) solution I like better.
My car today. I would have loved to use the same set up but the LT4 intake snout is not straight and there was just no way to make it work. Looking at it, the DeWitts radiator is about the only thing left over from the old build. I'm back to soaring IATs with the angled intake tube. We had two options with this build, one was to cut the inner fender, which I did not want to do for a few reasons, the 2nd was to route the tube all the way back to the firewall and cut a hole there to try and get cool air from the cowl/wiper area, also not something I wanted to do.
Do you remember the diameter of the straight tube? 4 inches? I also have a Dewitts Pro series radiator with puller fans. So hoping the Vararam will perfectly fit overtop it under the cross support.
Thanks for sharing a photo of your car today - looks like things have changed drastically for you haha.
2020 Corvette of the Year Finalist (track prepared)
C3 of Year Winner (track prepared) 2019
Originally Posted by Dustin James
Do you remember the diameter of the straight tube? 4 inches? I also have a Dewitts Pro series radiator with puller fans. So hoping the Vararam will perfectly fit overtop it under the cross support.
Thanks for sharing a photo of your car today - looks like things have changed drastically for you haha.
I would assume 4� but that is just a guess based on stock size, TB, etc.
@fleming23 so I got my Vararam intake today soon to find out that the kit I got is substantially offset to the driver's side. After reading above, I realized that there's a lot of talk about notching the passenger side of the trey and moving the entire thing over a bit. Overall, the setup is going to work perfectly with plenty of clearance around, although I may have to get a different upper hose to go around the tray better. One thing I may run into is on the passenger site, the Dewitts radiator seems a but higher, so I may have to do some more notching than expected...
If you have any insight into the best way to notch it, I'm interested to hear. Looking at your setup, it's hard to see what you've actually done, but it looks like you just notched it and slid it over like 2-4 inches. Right?
Photos below to show how far it's off from the start.
Last edited by Dustin James; 02-06-2020 at 02:27 AM.
2020 Corvette of the Year Finalist (track prepared)
C3 of Year Winner (track prepared) 2019
You just need to gently, but forcefully move the tray into the correct position. I did not trim mine at all. It will slightly cover the fill cap, so you can trim around that if desired, I did not. I also changed my upper radiator mounts to a side mount so you may have that to deal with, it has been too long for me to remember exact details at this point. You are 95% there, I'm sure you can get the rest with a little trial and error.
You just need to gently, but forcefully move the tray into the correct position. I did not trim mine at all. It will slightly cover the fill cap, so you can trim around that if desired, I did not. I also changed my upper radiator mounts to a side mount so you may have that to deal with, it has been too long for me to remember exact details at this point. You are 95% there, I'm sure you can get the rest with a little trial and error.
Okay cool. Did you custom make your upper side mount radiator brackets? If not, what parts did you order? I think I�d only need to do the pass side realistically.


 07-31-2015, 09:22 PM


 Thanks in advance! Any help is greatly appreciated.