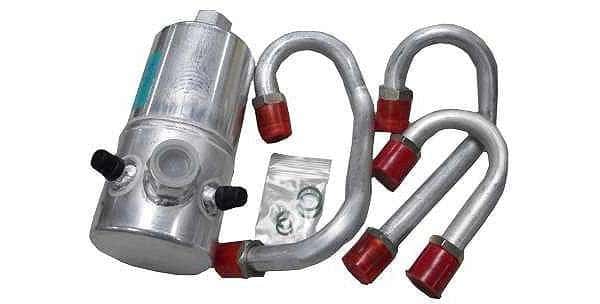
need picture of 82 condensor to evaporatoe inlet A/C tube on car
#1
Safety Car


Thread Starter
trying to see if this tube has a rubber end and how it's attached to the condenser
need a picture of the accumulator and how it's attached both to the car and to the evap tubes
thanks for the help
need a picture of the accumulator and how it's attached both to the car and to the evap tubes
thanks for the help
The following users liked this post:
slickfx3 (10-08-2015)
#4
Le Mans Master


I just replaced the accumulator on my '81 (what a bitch too). I can send you some pictures in a few days. I am out of town away from my car. The accumulator has a strap that wraps around it and attaches to a bracket. The bracket attaches to the evaporator case. If you don't get the bracket on correctly the accumulator fittings will vibrate loose. Ask me how I know...
https://www.corvetteforum.com/forums...cumulator.html
https://www.corvetteforum.com/forums...cumulator.html
The following users liked this post:
slickfx3 (10-09-2015)
#5
Safety Car


Thread Starter
I just replaced the accumulator on my '81 (what a bitch too). I can send you some pictures in a few days. I am out of town away from my car. The accumulator has a strap that wraps around it and attaches to a bracket. The bracket attaches to the evaporator case. If you don't get the bracket on correctly the accumulator fittings will vibrate loose. Ask me how I know...
https://www.corvetteforum.com/forums...cumulator.html
https://www.corvetteforum.com/forums...cumulator.html
i bought the accumulator from rock auto, kt included 3 hard lines, i believe the unit is not specific only to the vette hence the extra pipes, i narrowed it down to one
i was in there the other day and cleaned out the evap, my blow motor is acting up s a new one goes in before i put in the accumulator for obvious reasons
i took my gill off and made my access a whole lot easier, but time will tell if it helps.
the fiberglass evap box was opened before and most of the threads to hold it together are stripped, i figure stripped vs, machine screw with a Phillips head will hold it better than it is now
a stubby Philips will do the trick and wood scews with phillips heads is going to secure the blower motor, negating the need to get a ratchet, extensions an socket...looks... who cares at this point.
does this bracket looks like yours?
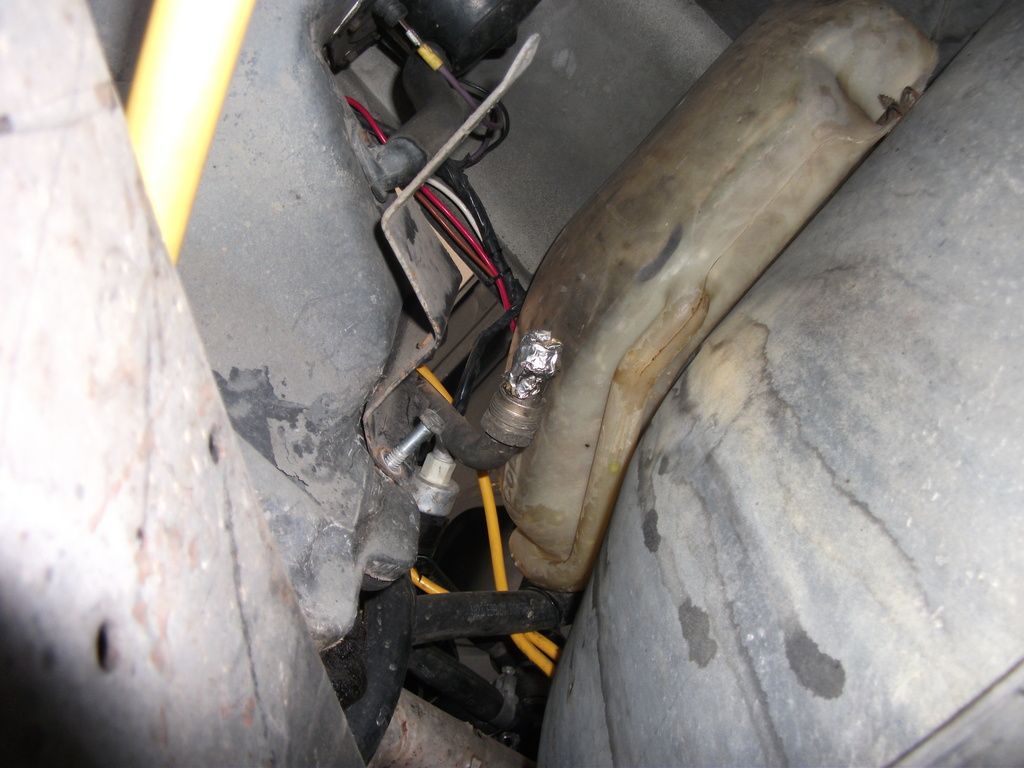
this helped a lot to access the evap scews
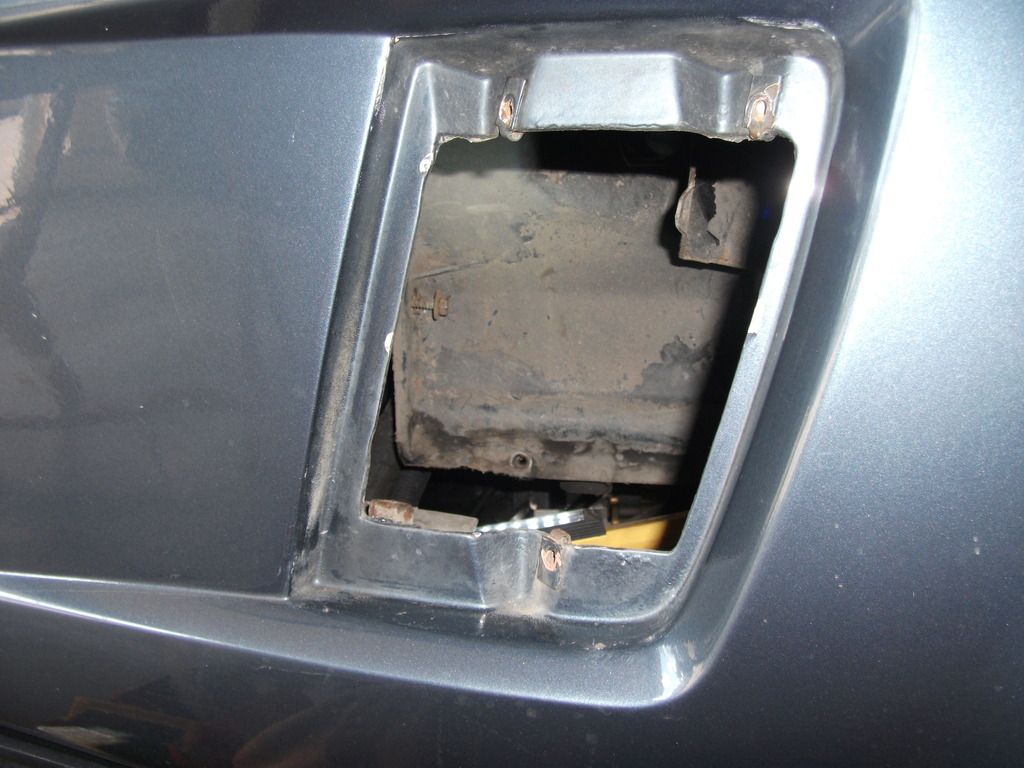
does this look like where the accumulator will screw
in?


before

after
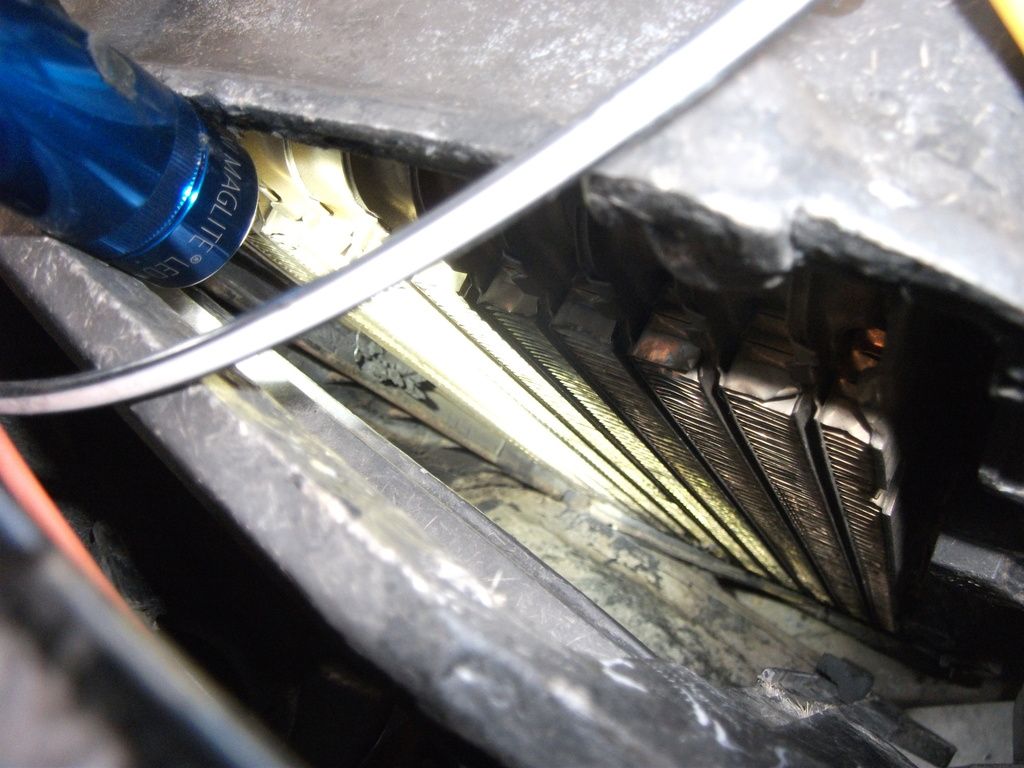

Last edited by slickfx3; 10-09-2015 at 02:47 PM.
#6
Le Mans Master


The bracket you have is correct . I pulled that side grille off and worked from underneath the car. You can put a hand through the grille access hole to help do everything from the bottom. My kit came with two curved lines. Attach the shortest one to the bottom of the accumulator. A hose from the compressor will hook up to the fitting. The large fitting from the evaporator core connects to the top of the accumulator. SO you have THREE fittings working against each other if the accumulator moves around. Which will loosen the connections.
I can get you some great photos on Sunday. If you can wait until then.
Oh yea. I filled stripped evaporator case holes with JB Weld and drilled them out to the proper size. Something else that you might try.
Sorry so long but the pictures will really help to explain things.
SR
I can get you some great photos on Sunday. If you can wait until then.
Oh yea. I filled stripped evaporator case holes with JB Weld and drilled them out to the proper size. Something else that you might try.
Sorry so long but the pictures will really help to explain things.
SR
The following users liked this post:
slickfx3 (10-09-2015)
#7
Safety Car


Thread Starter
The bracket you have is correct . I pulled that side grille off and worked from underneath the car. You can put a hand through the grille access hole to help do everything from the bottom. My kit came with two curved lines. Attach the shortest one to the bottom of the accumulator. A hose from the compressor will hook up to the fitting. The large fitting from the evaporator core connects to the top of the accumulator. SO you have THREE fittings working against each other if the accumulator moves around. Which will loosen the connections.
I can get you some great photos on Sunday. If you can wait until then.
Oh yea. I filled stripped evaporator case holes with JB Weld and drilled them out to the proper size. Something else that you might try.
Sorry so long but the pictures will really help to explain things.
SR
I can get you some great photos on Sunday. If you can wait until then.
Oh yea. I filled stripped evaporator case holes with JB Weld and drilled them out to the proper size. Something else that you might try.
Sorry so long but the pictures will really help to explain things.
SR
cool i'll wait for the pics thanks
#9
Safety Car


Thread Starter
The following users liked this post:
slickfx3 (10-11-2015)
#11
Le Mans Master


This picture shows the metal line (at the top) from the condenser to the smaller fitting
coming out of the evaporator case (core). This connection is where the orifice tube is. Sorry the lines are covered with insulation but I believe you get the idea.
#12
Le Mans Master


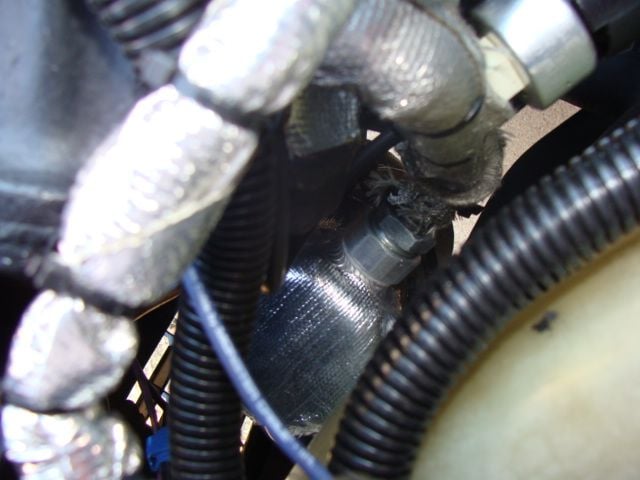
This picture shows the connection from the larger line that comes out of the evaporator core (case) to the side of the accumulator. It's down in the middle of the picture. This picture is taken from the top.
#13
Le Mans Master


This picture is of the bottom of the accumulator. The curved fitting attaches to the bottom of the accumulator. The other end of the curved fitting attaches to a hose end which is routed to the compressor.
#14
Le Mans Master


The metal liquid line attaches to the bottom fitting of the condenser. I didn't get a picture of that because it's more accessible with the hood off in my opinion.
You are welcome to shoot me a pm if you need any other pictures or information.
My car is an '81 so I can only assume that the '82 has the same setup. I hope this has helped you.
SR
You are welcome to shoot me a pm if you need any other pictures or information.
My car is an '81 so I can only assume that the '82 has the same setup. I hope this has helped you.
SR


