
71 Corvette Center gauge bezel
 10-07-2015, 09:37 AM
#1
Melting Slicks

Thread Starter
Anybody know the trick to getting the center gauge bezel to meet the upper dash pad? I've replaced all the brackets everything, I can still put my finger between the bezel and the dash pad. Thanks,Bill
 10-07-2015, 09:53 AM
#2
Melting Slicks

Member Since: Apr 2009
Location: Great Plains Iowa
Posts: 2,632
Likes: 0
Received 114 Likes
on
108 Posts
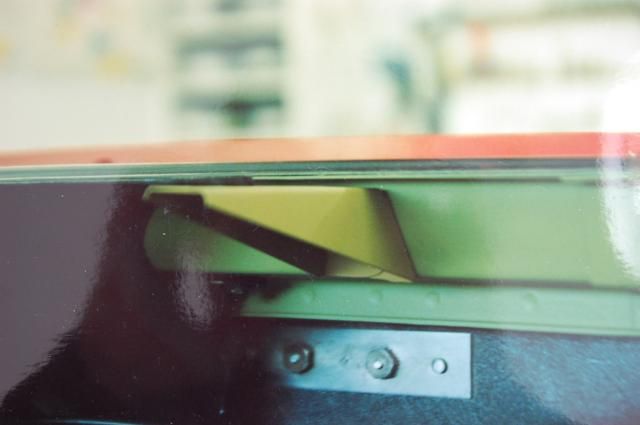
Bill, there's a good chance the steel "U" bracket under the front of your console has been trashed before you bought your car. That steel bracket holds the front of the console up which then holds the gauge bezel up. The bracket I'm referring to is readily available from Corvette Central but other vendors certainly stock them. Maybe someone can chime in with a part number from one of the vendors.
The following users liked this post:
HT1663WB (10-16-2015)
10-07-2015, 10:01 AM
#3
Melting Slicks
Thread Starter
Bill, there's a good chance the steel "U" bracket under the front of your console has been trashed before you bought your car. That steel bracket holds the front of the console up which then holds the gauge bezel up. The bracket I'm referring to is readily available from Corvette Central but other vendors certainly stock them. Maybe someone can chime in with a part number from one of the vendors.
10-07-2015, 06:57 PM
#4
Race Director

Member Since: Apr 2011
Location: North of Toronto - Ontario
Posts: 10,853
Received 3,138 Likes
on
2,069 Posts

Any chance the upper pad (and the ds/ps pads of course) is sitting too high in the center?
And I'm guessing it's a manual trans?
M
And I'm guessing it's a manual trans?
M
10-07-2015, 07:27 PM
#5
Former Vendor
Member Since: Aug 2006
Location: Jeffersonville Indiana 812-288-7103
Posts: 76,656
Received 1,813 Likes
on
1,458 Posts
St. Jude Donor '08-'09-'10-'11-'12-'13-'14-'15

So.. you have a new console too? Place the center dash bezel in the console where the two studs pass through the bracket in the front, get it as close as you can with your hands. Then take a cloth wrapped 2x4 block about 5 inches wide and pace it on the back edge of the shift console... Using the parking brake handle as leverage, push forward on the console and it will draw up the center bezel where it needs to be... You might get a buddy there with you to put the screws in the forward console while you pry it too... once you get the two forward side screws in place it'll stay there.
This is a common issue when all the items are new and once you get it in place, when/if you go back inside the second time it will fall in place.
Willcox

This is a common issue when all the items are new and once you get it in place, when/if you go back inside the second time it will fall in place.
Willcox
The following users liked this post:
HT1663WB (10-16-2015)
10-07-2015, 07:33 PM
#6
Team Owner

Member Since: Sep 2006
Location: Westminster Maryland
Posts: 30,173
Likes: 0
Received 2,878 Likes
on
2,515 Posts
Hi HT,
Are all the forward clips in place across the dash pad and are they properly engaged to the cowl below the windshield?
Is the small cowl bracket in place?
Are the 3 screws per side properly installed in each lower pad?
Are the bottom 'wings' on each dash in the right position relative to the shifter console?
How did you set the forward end of the console's height?
Regards,
Alan
The following users liked this post:
HT1663WB (10-16-2015)
10-08-2015, 09:07 AM
#8
Team Owner
Member Since: Sep 2006
Location: Westminster Maryland
Posts: 30,173
Likes: 0
Received 2,878 Likes
on
2,515 Posts
Hi HT,
Yes it should extend up under the roll of the dash pad SLIGHTLY.
Regards,
Alan
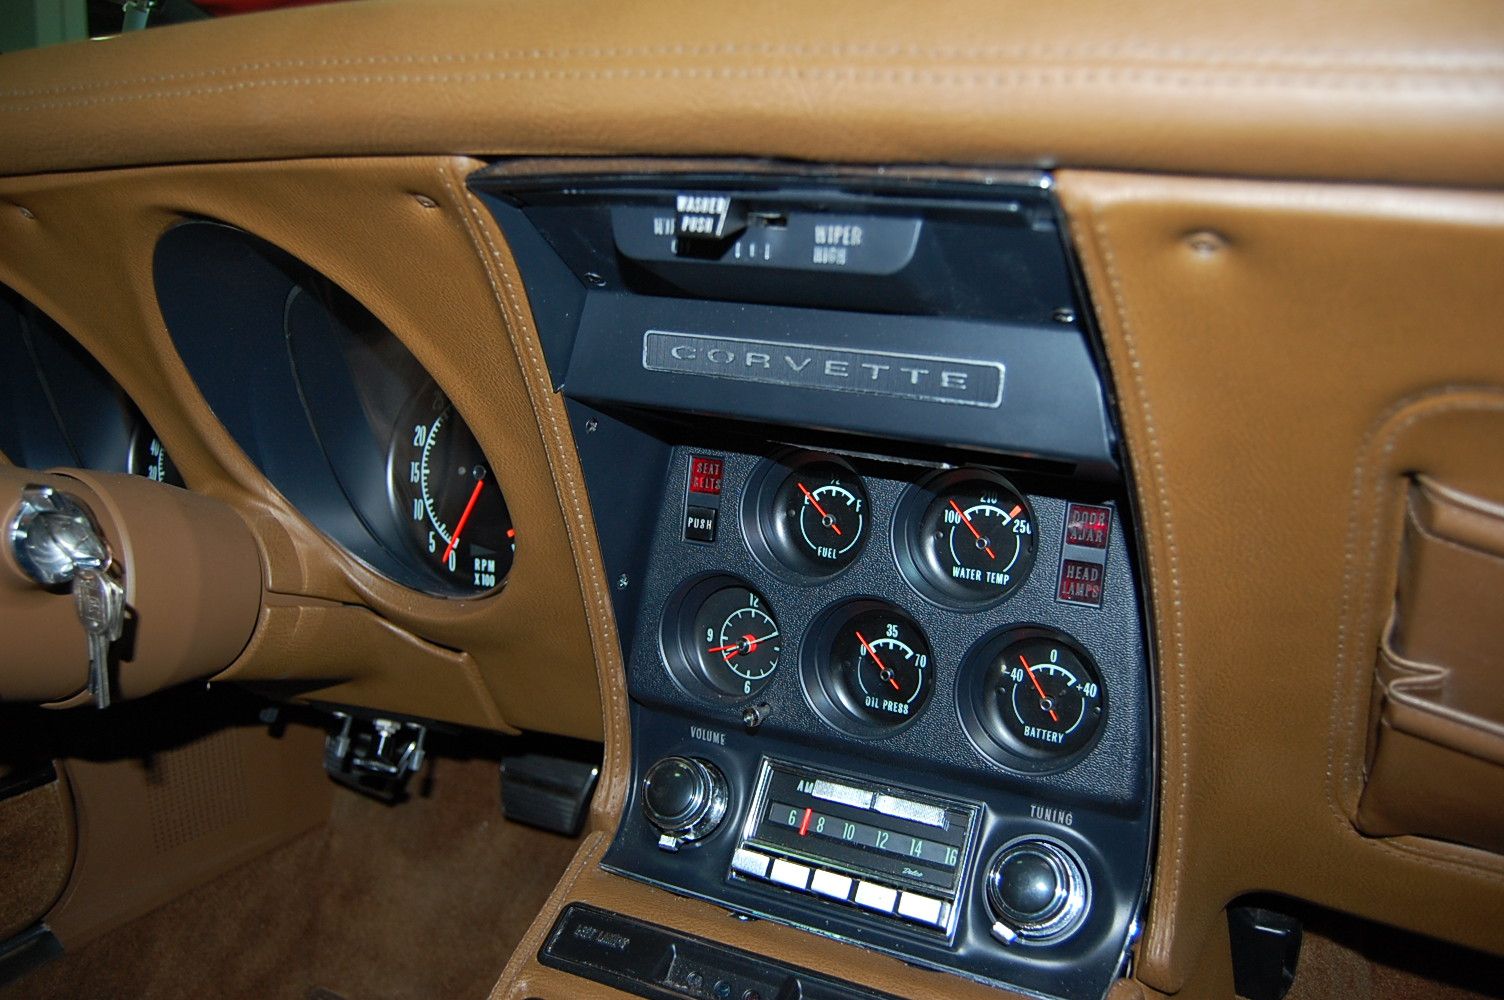
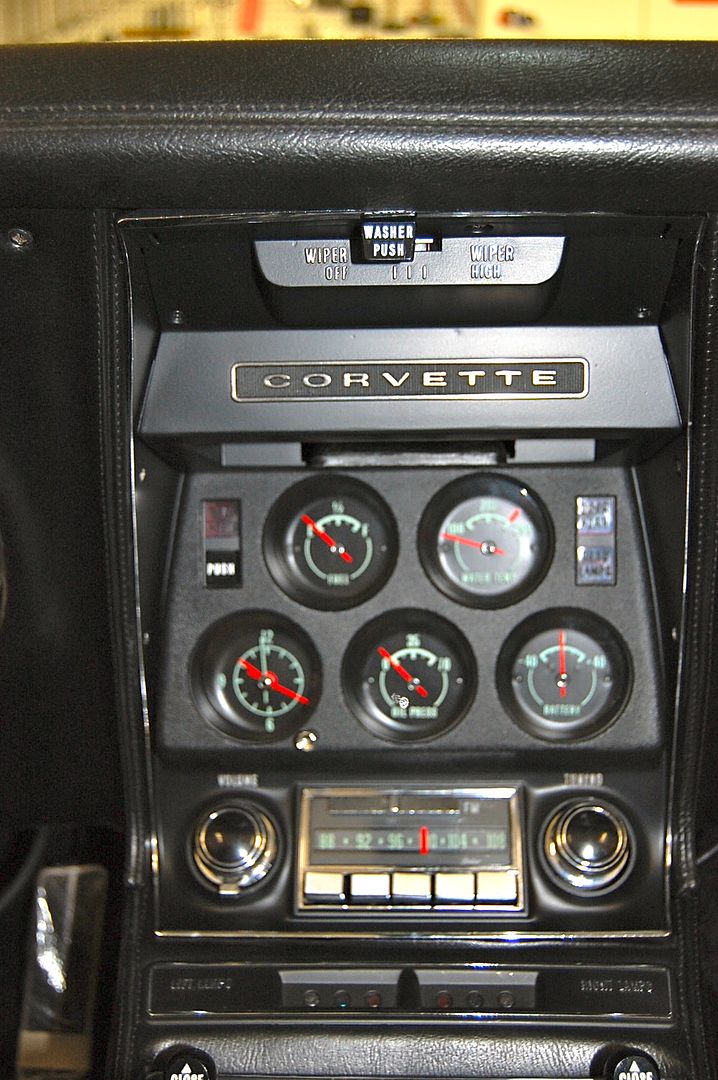
Here's one that's very level and even but I'd like it to be 'up' and 'in' about 1/4".
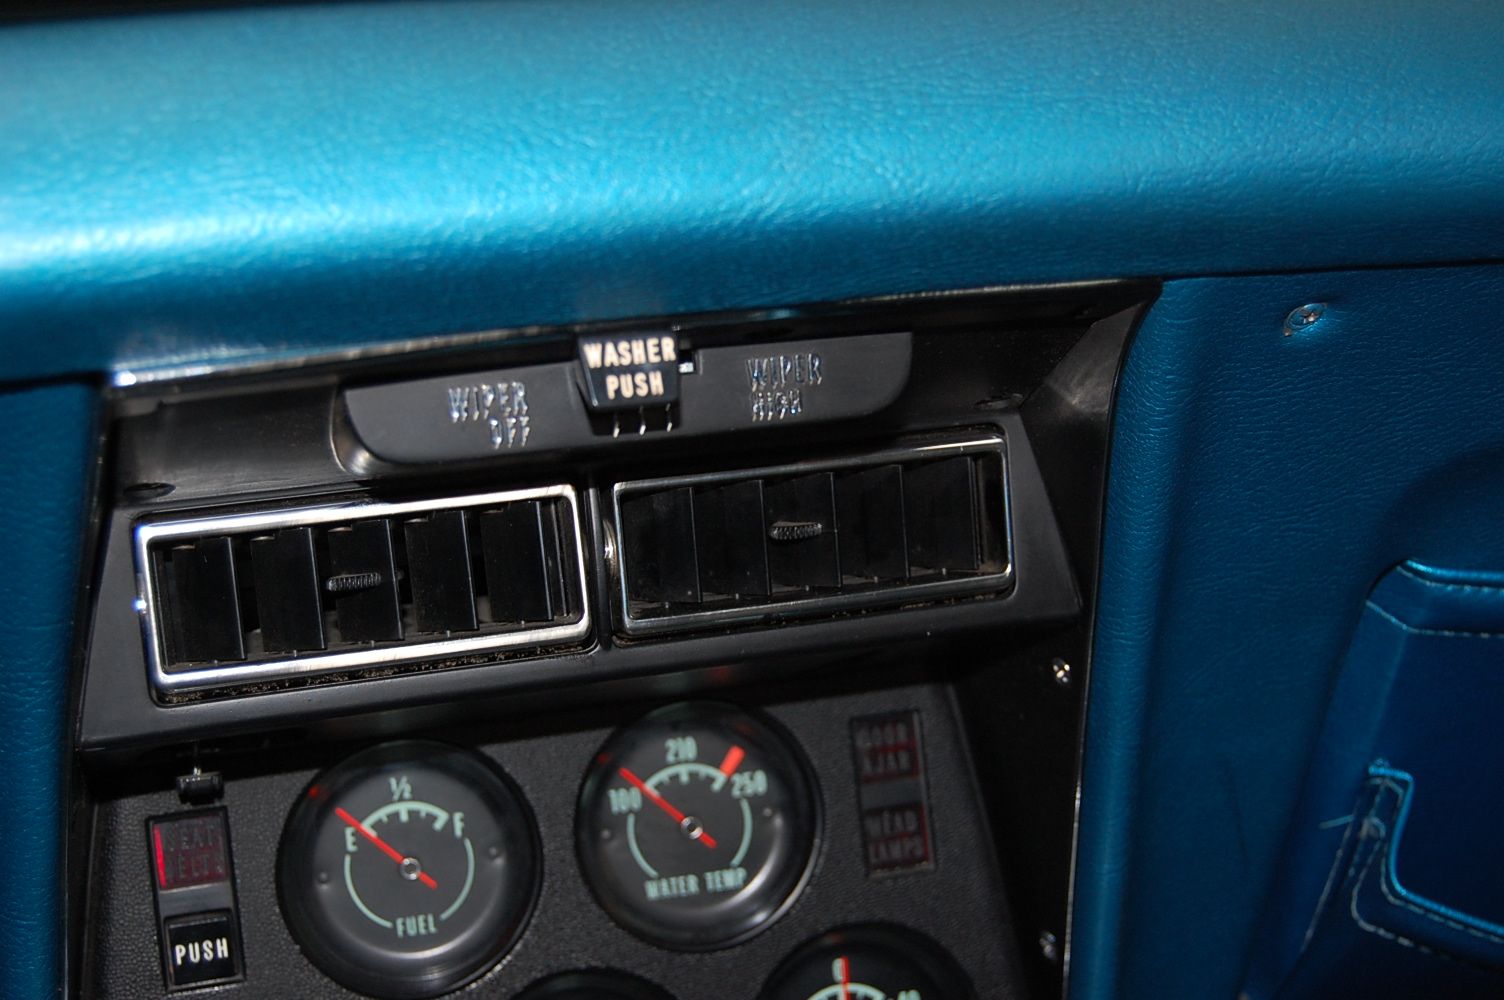
Here's one that's nice and high but is 'twisted a bit... which is a typical problem.
Another, in a nice position but with a 'twist'. (Trying to 'correct' this twist is how many bezels get their 'tops' cracked off.
Yes it should extend up under the roll of the dash pad SLIGHTLY.
Regards,
Alan
Here's one that's very level and even but I'd like it to be 'up' and 'in' about 1/4".
Here's one that's nice and high but is 'twisted a bit... which is a typical problem.
Another, in a nice position but with a 'twist'. (Trying to 'correct' this twist is how many bezels get their 'tops' cracked off.
Last edited by Alan 71; 10-08-2015 at 09:21 AM.
The following users liked this post:
HT1663WB (10-16-2015)
10-08-2015, 09:33 AM
#9
Former Vendor
Member Since: Aug 2006
Location: Jeffersonville Indiana 812-288-7103
Posts: 76,656
Received 1,813 Likes
on
1,458 Posts
St. Jude Donor '08-'09-'10-'11-'12-'13-'14-'15
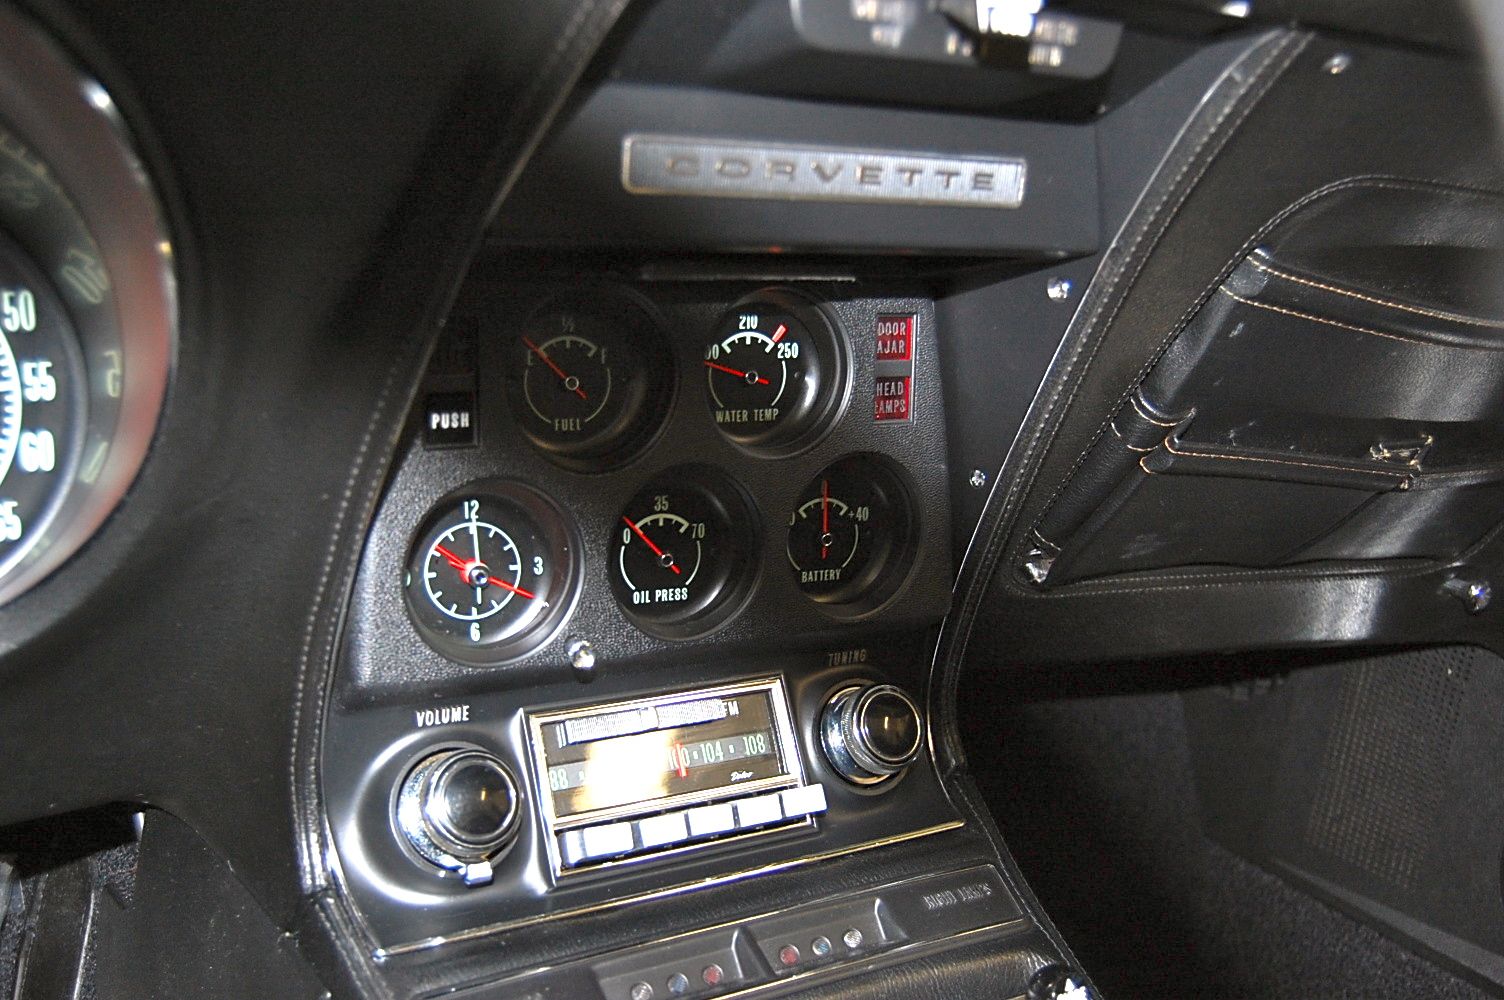
The picture on the left is from my personal car and it has the original dash pads with the original dash bezel. It also shows how the lower pads fit to the shifter console when new.

The following users liked this post:
HT1663WB (10-16-2015)
10-08-2015, 09:39 AM
#10
Former Vendor
Member Since: Aug 2006
Location: Jeffersonville Indiana 812-288-7103
Posts: 76,656
Received 1,813 Likes
on
1,458 Posts
St. Jude Donor '08-'09-'10-'11-'12-'13-'14-'15
10-08-2015, 05:20 PM
#12
Drifting


In order for my console/bezel in my 68 to fit reasonably well I had to have every screw/bolt very loose from the parking brake cover to the dash and spent a lot of time wiggling everything until it somewhat fit. Not a fun job.
The following users liked this post:
HT1663WB (10-16-2015)
10-08-2015, 05:39 PM
#13
Team Owner
Member Since: Sep 2006
Location: Westminster Maryland
Posts: 30,173
Likes: 0
Received 2,878 Likes
on
2,515 Posts
Hi HT,
Damn!
Both sides or one?
Regards,
Alan
Damn!
Both sides or one?
Regards,
Alan
10-08-2015, 07:00 PM
#15
Racer


 10-08-2015, 07:09 PM
#16
Race Director
Member Since: Apr 2011
Location: North of Toronto - Ontario
Posts: 10,853
Received 3,138 Likes
on
2,069 Posts
 10-08-2015, 08:28 PM
#18
Team Owner
Member Since: Sep 2006
Location: Westminster Maryland
Posts: 30,173
Likes: 0
Received 2,878 Likes
on
2,515 Posts
Hi,
Has anyone thought about coming up with a reinforcement for the 2 points that are designed to break in a crash? (Done to unbroken bezels)
When I repaired my bezel, (right side), I found there's plenty of room there for a thin but deep 'fillet' to be bonded in place.
Depending on just what happened to the visible chrome during the 'break' sometimes the finished appearance can be pretty good.
Regards,
Alan
This is one I repaired.
10-08-2015, 09:07 PM
#19
Melting Slicks

It can be difficult to get in correctly. When installing the bezel on my 70, it was critical to have the center console in the proper location as far forward as possible. Leave the majority of the screws loose so you can move the pads around as someone else mentioned.
It was a two weekend job to get everything lined up but it finally lined up very nicely. Also note that not all the screws will be REALLY tightened up. They should be snug enough to stay in but not so tight that things start to go out of alignment if that makes sense. This will also keep from stripping out the screws that go into plastic.
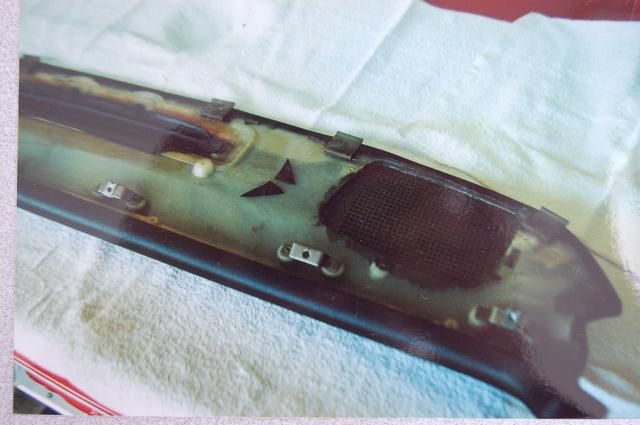
My original was broken when I bought it and finally found a really nice original. The repros are made pretty well except that the seat belt button on 69-71 are not correct.
Bill
It was a two weekend job to get everything lined up but it finally lined up very nicely. Also note that not all the screws will be REALLY tightened up. They should be snug enough to stay in but not so tight that things start to go out of alignment if that makes sense. This will also keep from stripping out the screws that go into plastic.
My original was broken when I bought it and finally found a really nice original. The repros are made pretty well except that the seat belt button on 69-71 are not correct.
Bill
10-08-2015, 09:18 PM
#20
Race Director
Member Since: Apr 2011
Location: North of Toronto - Ontario
Posts: 10,853
Received 3,138 Likes
on
2,069 Posts
When mine broke (also on the passenger side) I drilled the ends of each piece (what a treat that was, had to make a tiny drill guide) and inserted a 1/16 piece of drill rod then roughened the outside where Alan mentioned and JB welded on a piece off copper screen material to try to add some more strength.
That's about 15 years ago, still together and it's been in and out numerous times but I'm pretty careful
M
That's about 15 years ago, still together and it's been in and out numerous times but I'm pretty careful
M