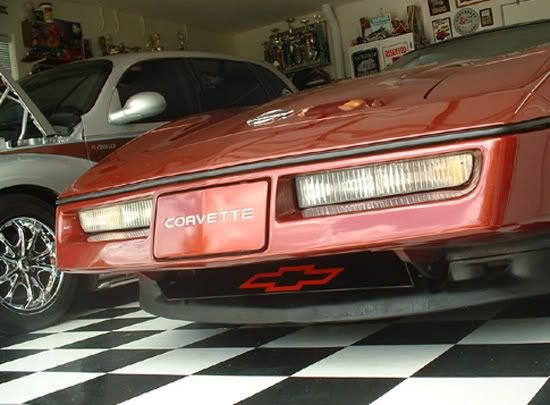
Front Air Dam with Attached Hardware Photo for '87
 01-15-2010, 11:13 AM
#1
Drifting

Thread Starter

Hello,
Would someone please post some photos of a front air dam with its attaching hardware? My front air dam in the center section is missing the attachment hardware brackets that keep the air dam in its proper position. The air dam because of the missing / broken attaching hardware makes the air dam stay in an angled position versus a vertical one. I searched the archives, but was not able to locate any photos.
Thanks in advance.


 01-16-2010, 06:16 AM
#4
Are you referring to the bracket that runs up from the center? On my 89, I have the center air dam. Then above that there is a wing. And I believe those are connected in the center via two brackets that get bolted together.
01-16-2010, 06:33 AM
#5
Pro

Got a little costly news for ya feller. Your problem is that the place where your bolts go into mount is broken. This is called the radiator bucket. It gets broken when the car is driven over an object that is too high for the front air dams to bend causing them to break the very strong what is called the radiator bucket that surrounds the radiator, air conditionor and helps direct air around the fan shroud. This bucket is a GM part only wouldn't you know.
I know as I scraped mine and the center caught and pulled down and away. Boy was I peepeed on! I didn't even scrape it much. Later proved it had already been broken.
Short of it is that the bucket cost I think about $500 and labor was around $300 as they had to remove radiator, ar conditioning and everthing else and then recharge and re-fill. After seeing all of this, I would simply add a metal(strong metal or small alumanium) piece, drill the proper holes and holes and forget it. Good luck and watch for those front curbs.
Olcrusty said that__________
How'd I do Frizze?
Last edited by olcrusty; 01-16-2010 at 06:36 AM.
01-16-2010, 08:14 AM
#6
Drifting
Thread Starter
Thank you.
John
Last edited by silverja; 01-16-2010 at 08:37 AM.

 01-16-2010, 09:55 AM
#10
01-16-2010, 10:30 AM
#11
Pro
Gee guy, you gave me a website to go to that would not mention a price. I went to the internet and found it was around $100. and the reviews didn't flatter it much. Besides dragging upon entering driveways, not always a easy install, having to bend it to fit. doesn't allow air to flow around bottom of radiator. Not too neat. Good - it seems to cool off some of the car it was installed on by an average of 5 degrees. I think it looks good but I'll pass. Next time just a nice answer to ones question but thanks for the exercise.
Olcrusty said that
Olcrusty said that

 01-16-2010, 12:30 PM
#14
Drifting
Thread Starter
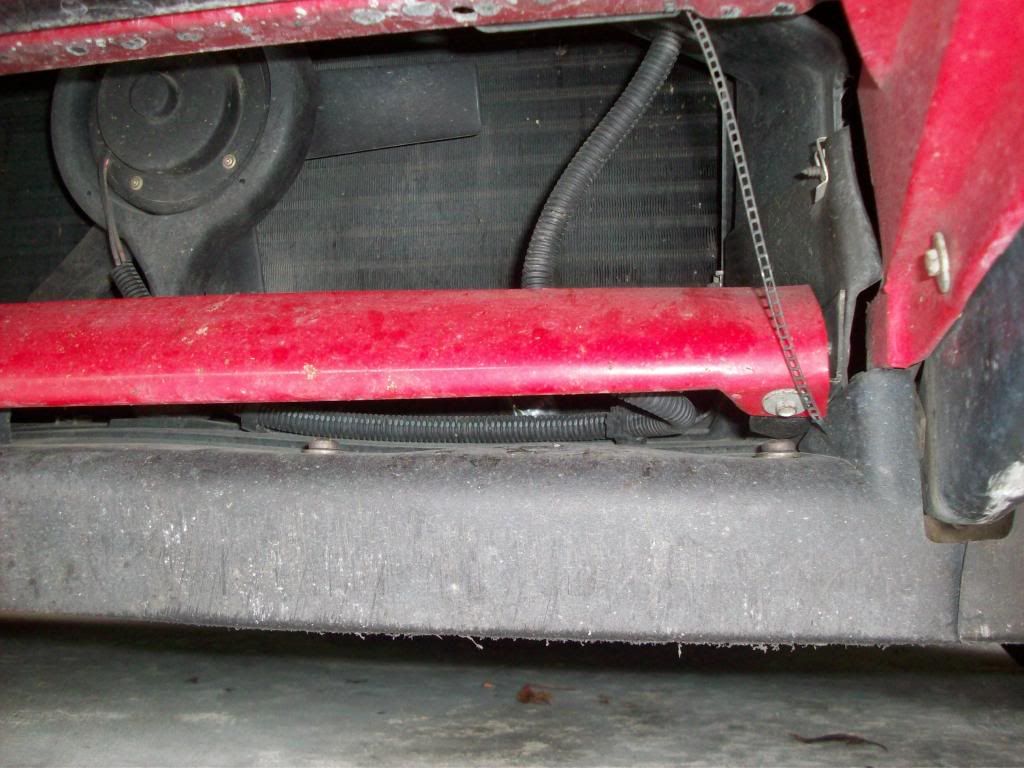
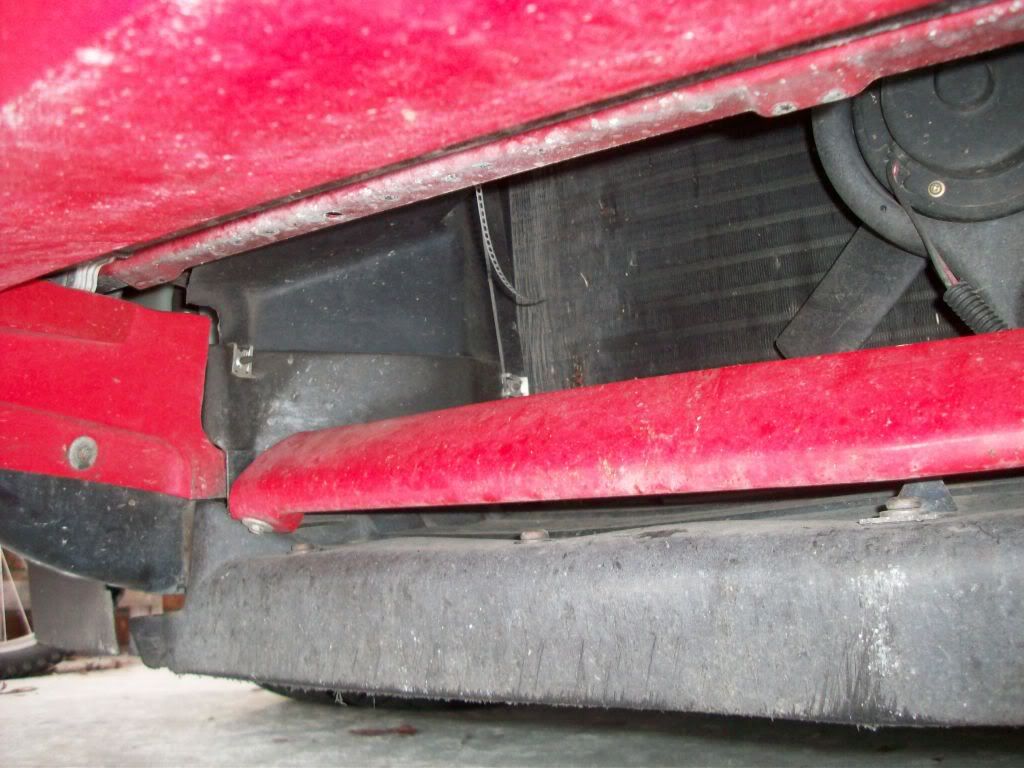
[QUOTE=designo614;1572773568]Here's what my 87 looks like under there. Hope it helps.
Thank you. I wanted to see how the two brackets were connected to each other and then where they attach at the top of the air dam and the bottom of the bracket near the bottom of the radiator. The photos are from the front view and do not show this particular view. I guess I need a view from behind. No problem though. I did locate a diagram of this on Corvette Central's web site.
My request was not specific and I apologize. I do appreciate you taking the time out to send the photos.
John

 01-18-2010, 03:34 PM
#16
Drifting
Thread Starter
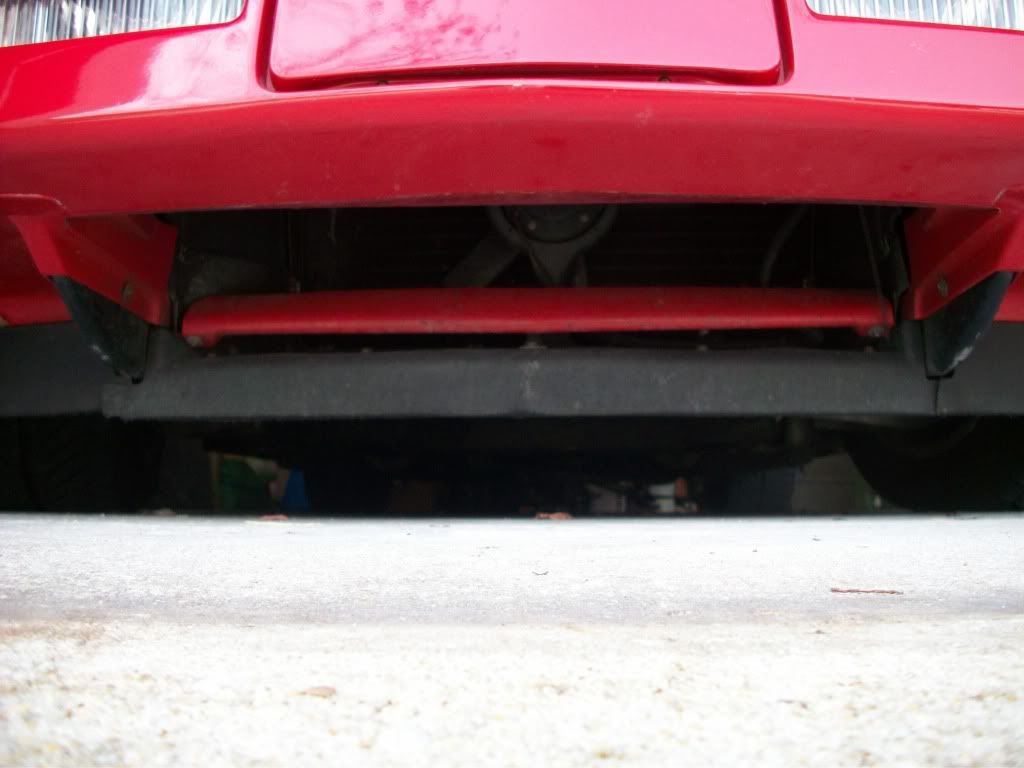
[QUOTE=joshwilson3;1572796751]Here's some pics with and without the wing in place.
Josh,
Thank you! This is exactly what I was looking for. Please let me know if I can ever be of assistance. This forum is one great resource for any Corvette owner looking for assistance, advice, or support.
John
Josh,
Thank you! This is exactly what I was looking for. Please let me know if I can ever be of assistance. This forum is one great resource for any Corvette owner looking for assistance, advice, or support.
John
01-18-2010, 05:37 PM
#17
No problem. It so happened that I needed to pop the wing off to get to the air dam bolts for something else anyways. And I brought my camera along. This just gave me an excuse to go out there.