Max Jax
 10-01-2010, 11:36 AM
#1
Team Owner


Thread Starter
Member Since: Aug 2005
Location: Riverside County Southern California
Posts: 34,988
Received 501 Likes
on
342 Posts
Co-winner 2020 C4 of the Year - Modified
2018 Corvette of Year Finalist
2017 C4 of Year
2016 C7 of Year Finalist
St. Jude Donor '09-'10-'11-'12-'13-'14-'15-'16-'17-'18-'19-'20


First, I'd like to say thank you to Dan "socalman" for all his help. This man helped me via phone, text, e-mail, PM and threads. Dan again, THANK you!!!
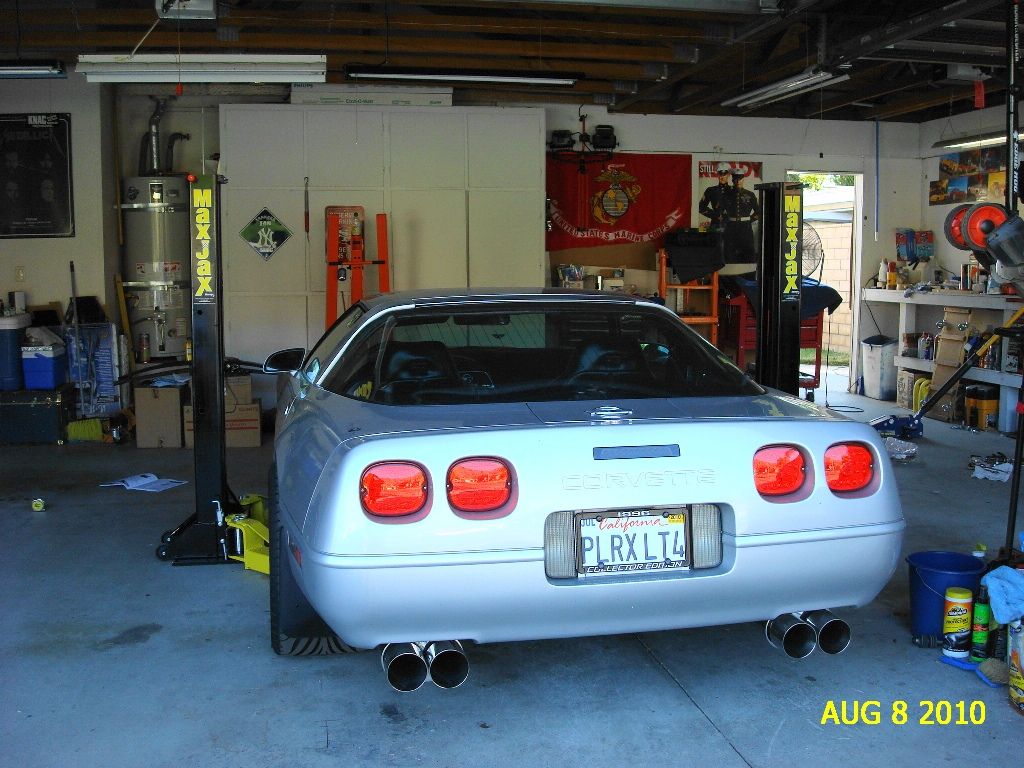
Back in July I purchased the Max Jax lift. I wanted a two post regular lift but my garage is only 94" height and it would not allow me to park my three vehicles in my garage. A four post lift would be a bit too long and could not park the Vettes on on top of the other.
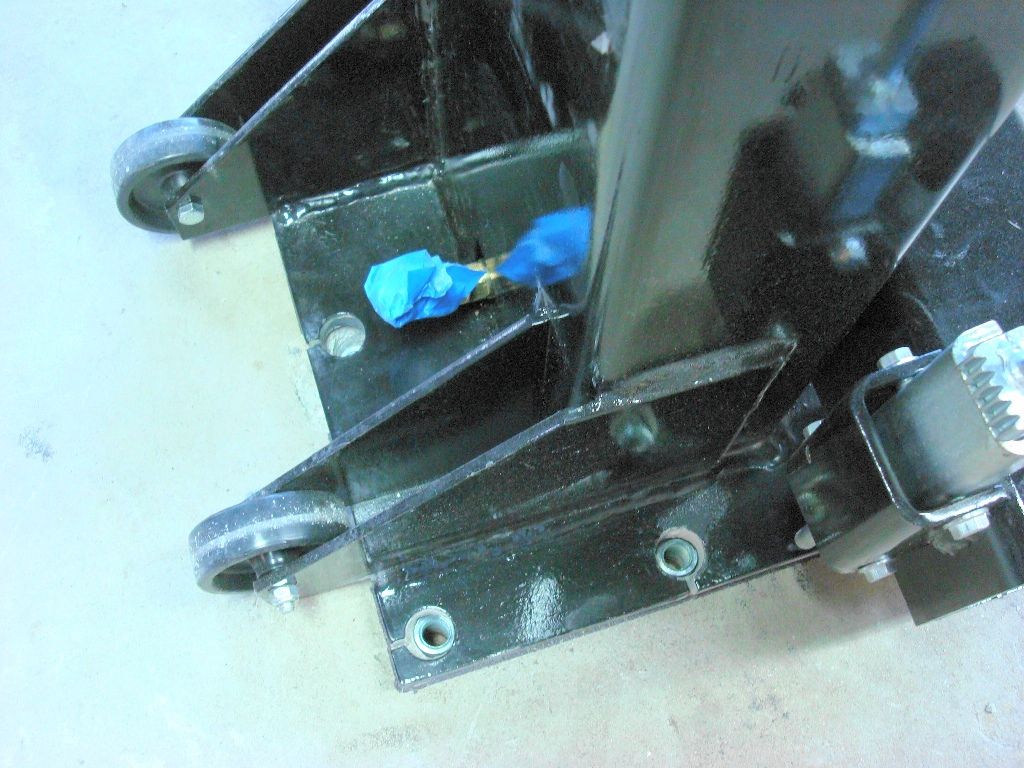
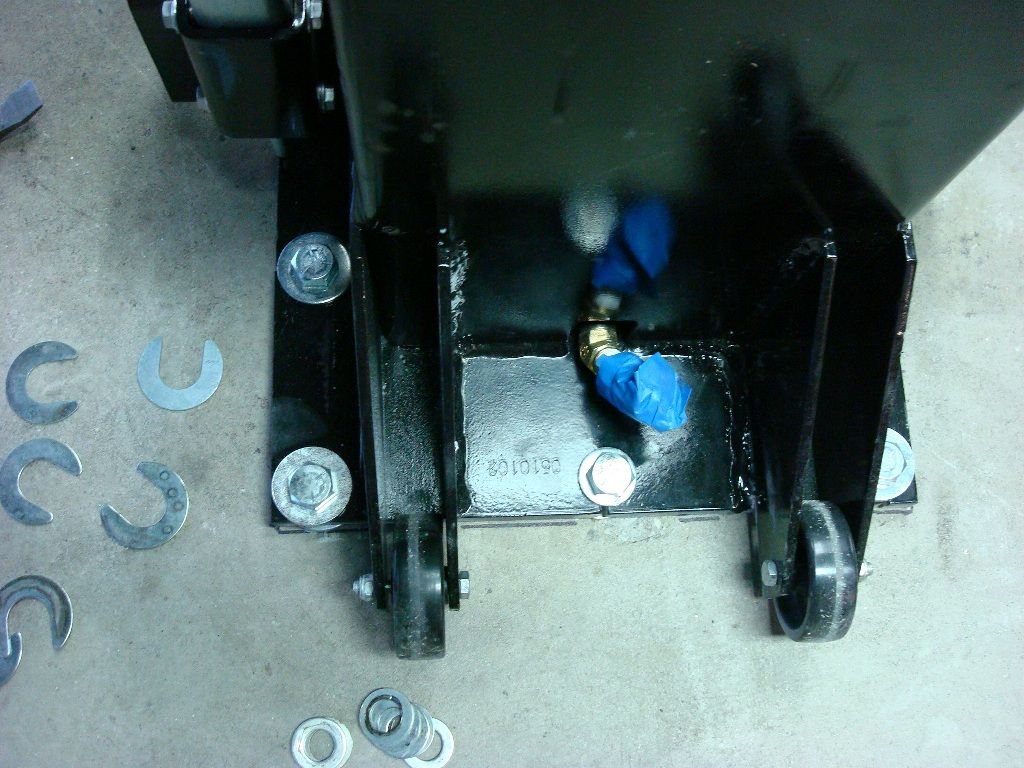
It comes bolted to a steel frame.
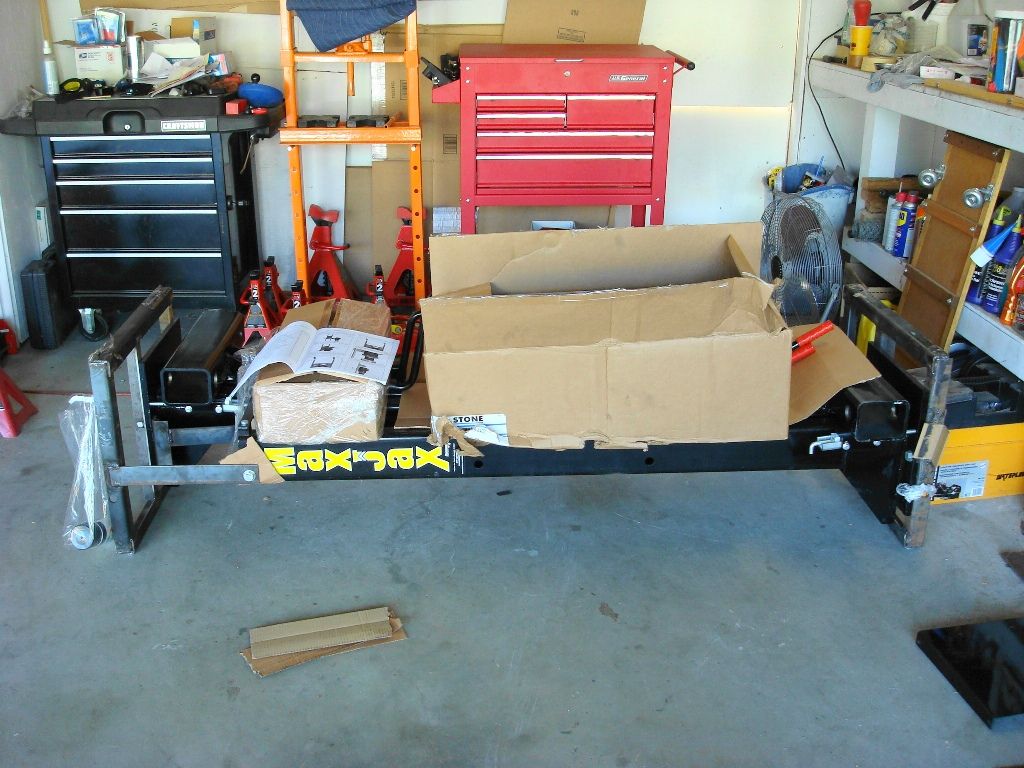
Once I got all parts installed I started the installation.
Parked the Vette for me to place the lift about 110" apart. This allow me to lift the Vette, park the other Vette next to it and close the garage door if needed.
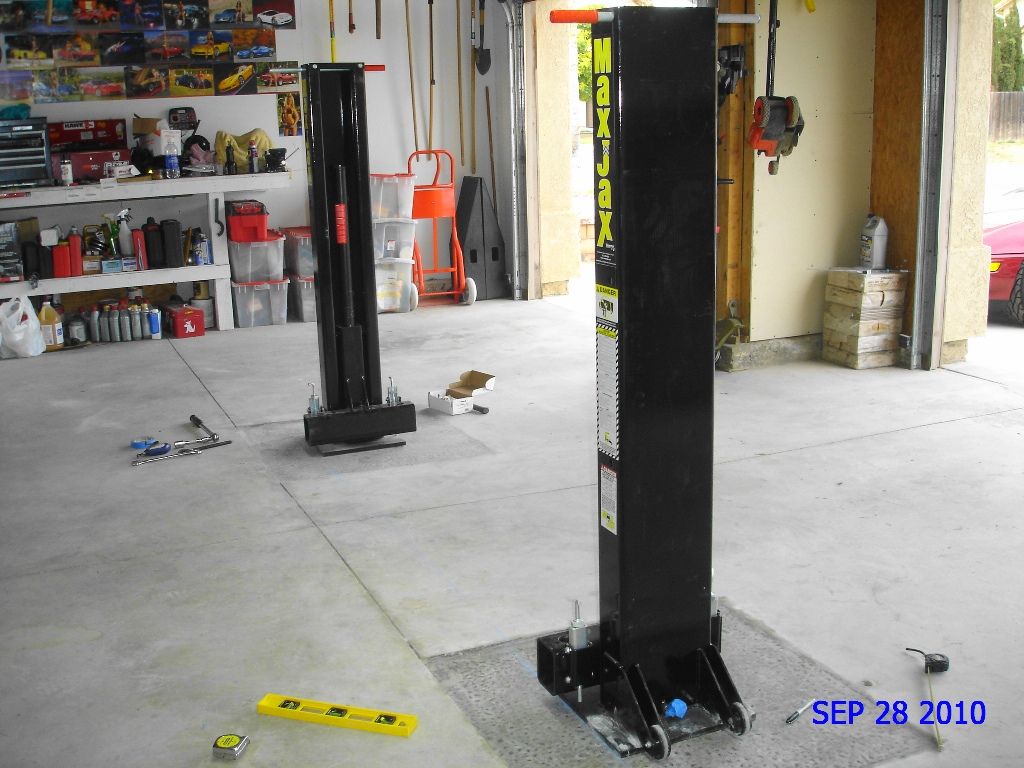
This is where the lift must go!
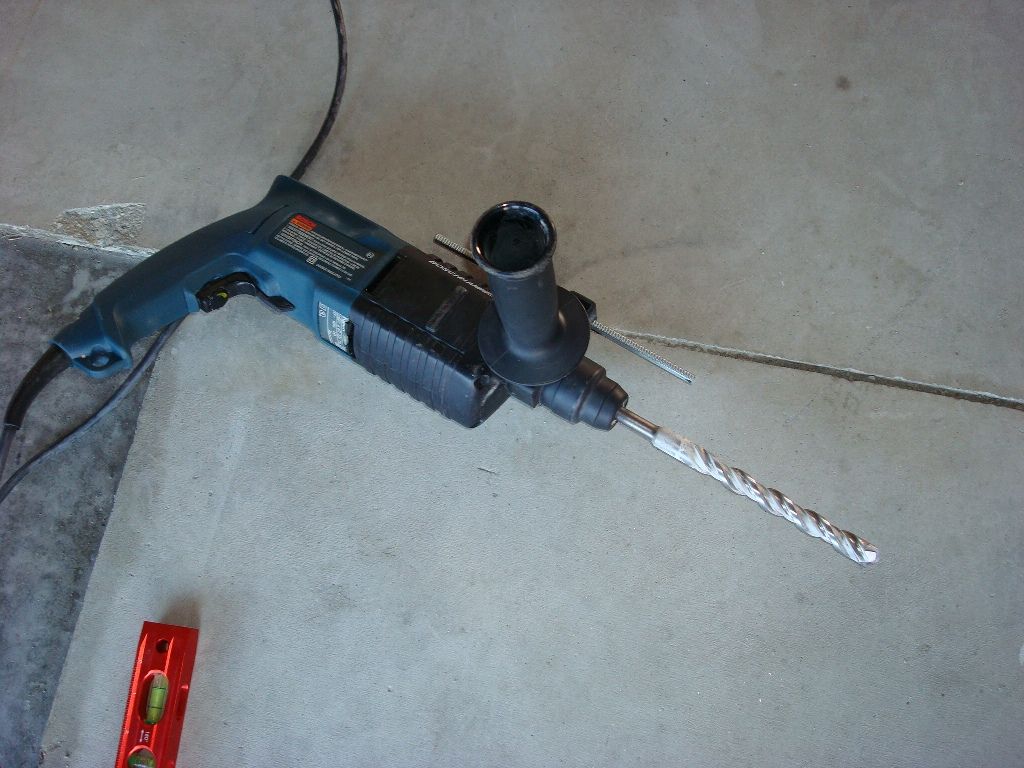
Got the drilll for 5 1/2" deep holes.
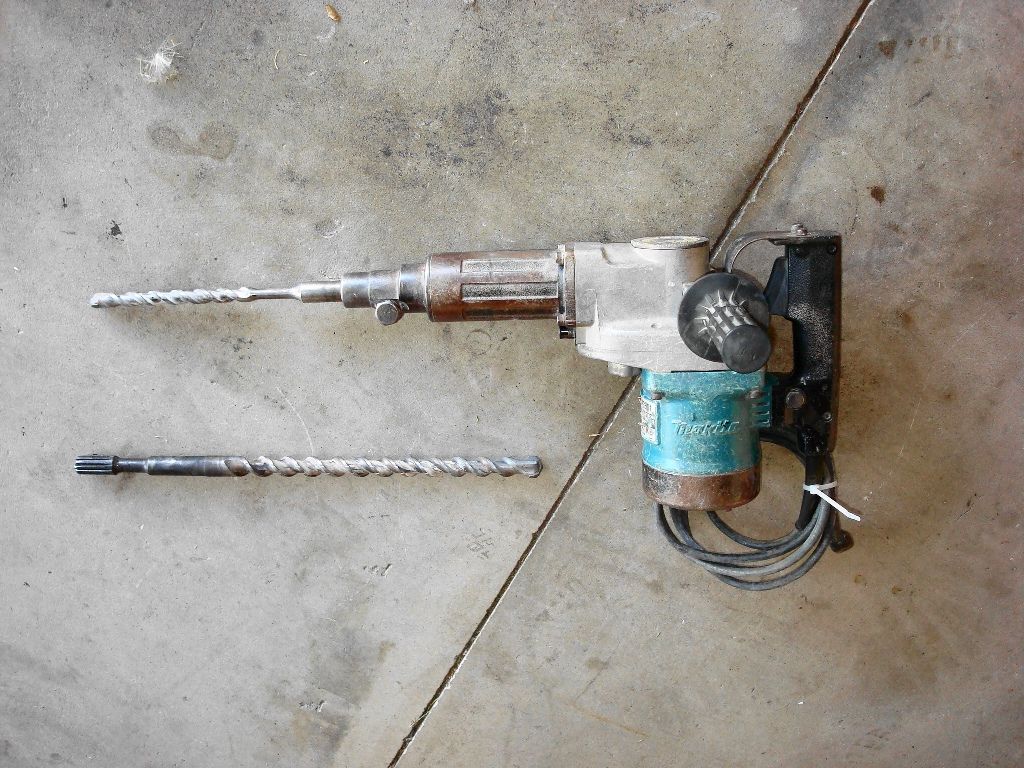
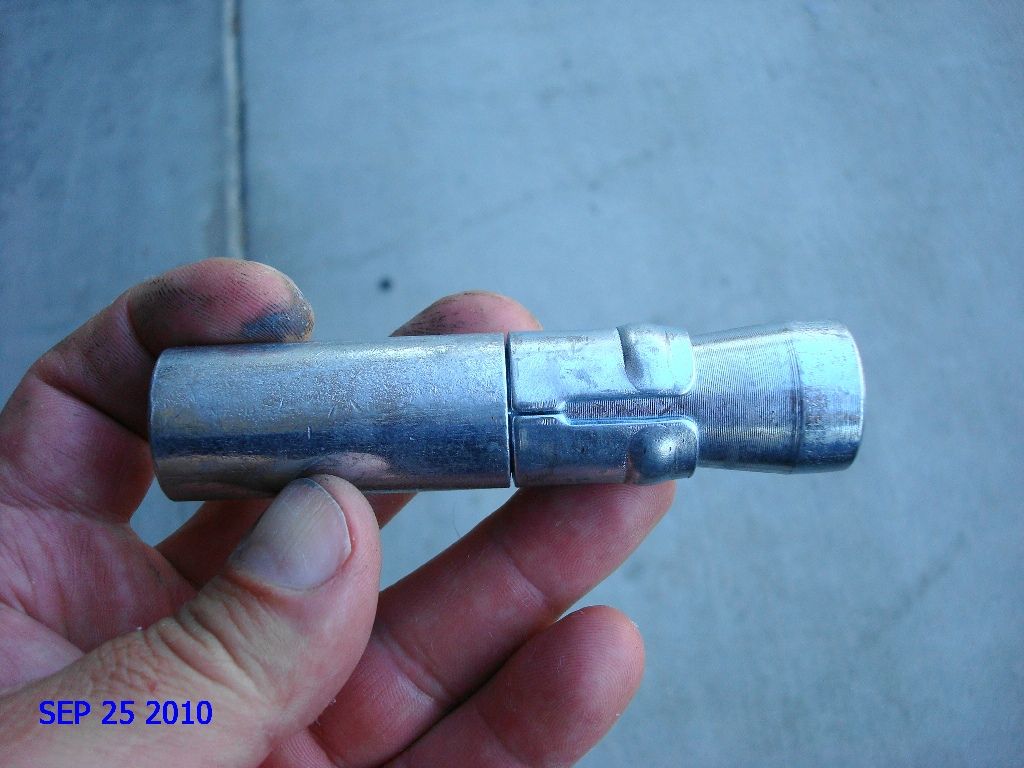
Its harder than it looks, drill the first hole, mark, measure, mark, measure, drill the other four holes, drive/hammer the anchors into the concrete and set the anchors.
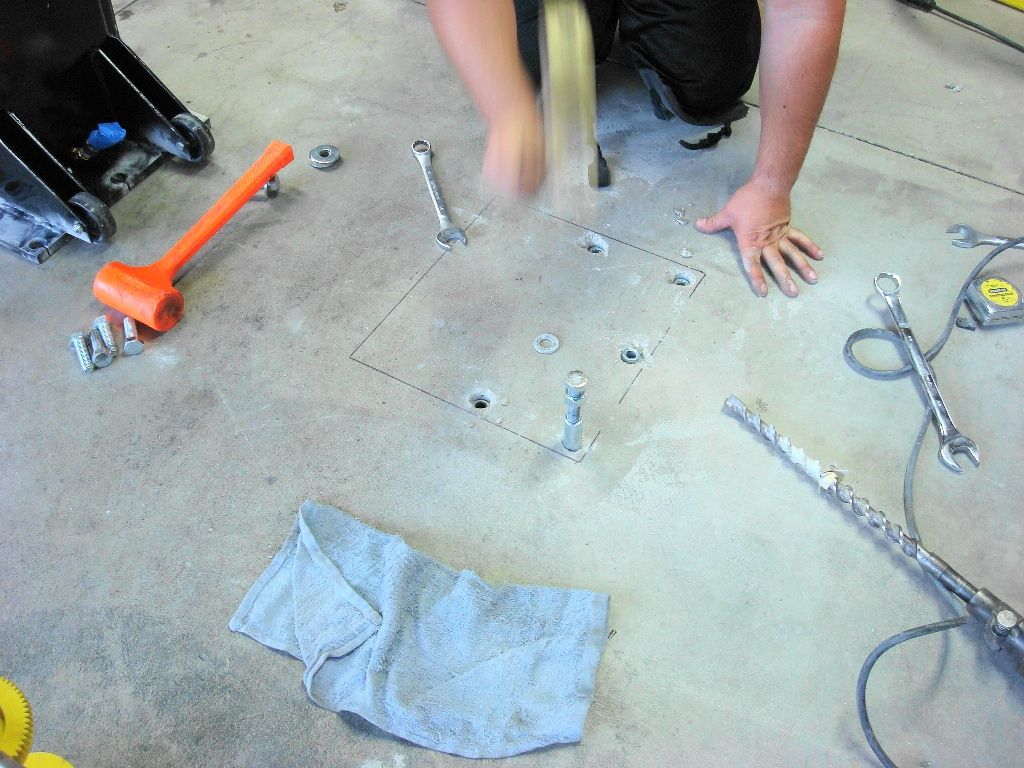
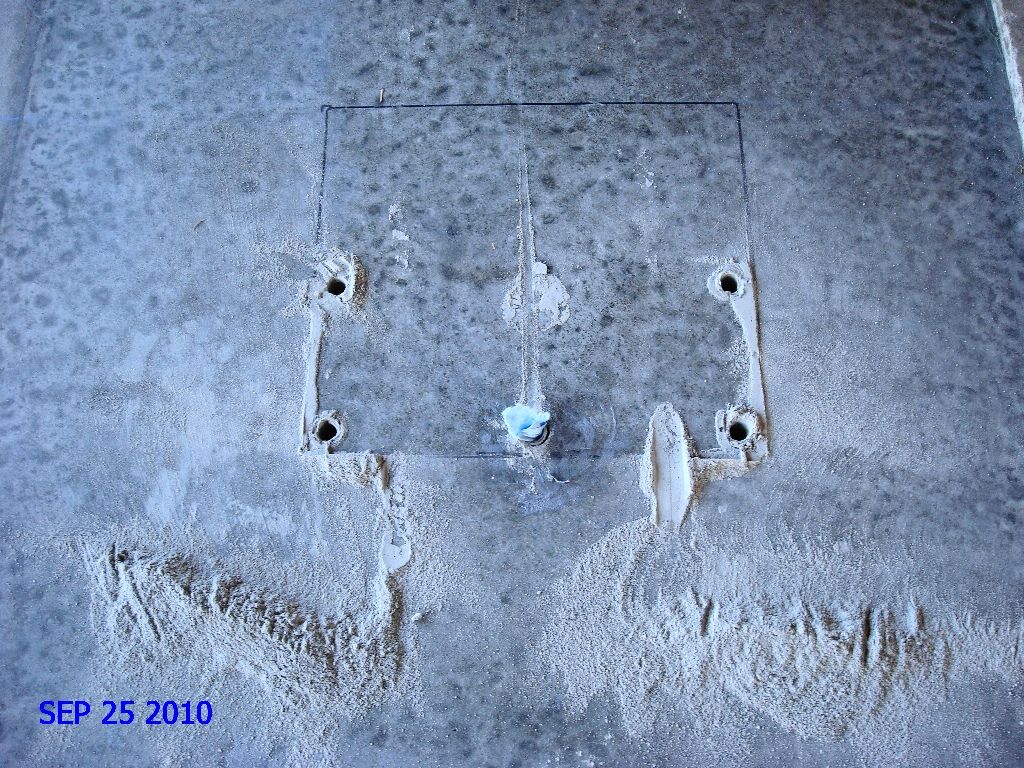
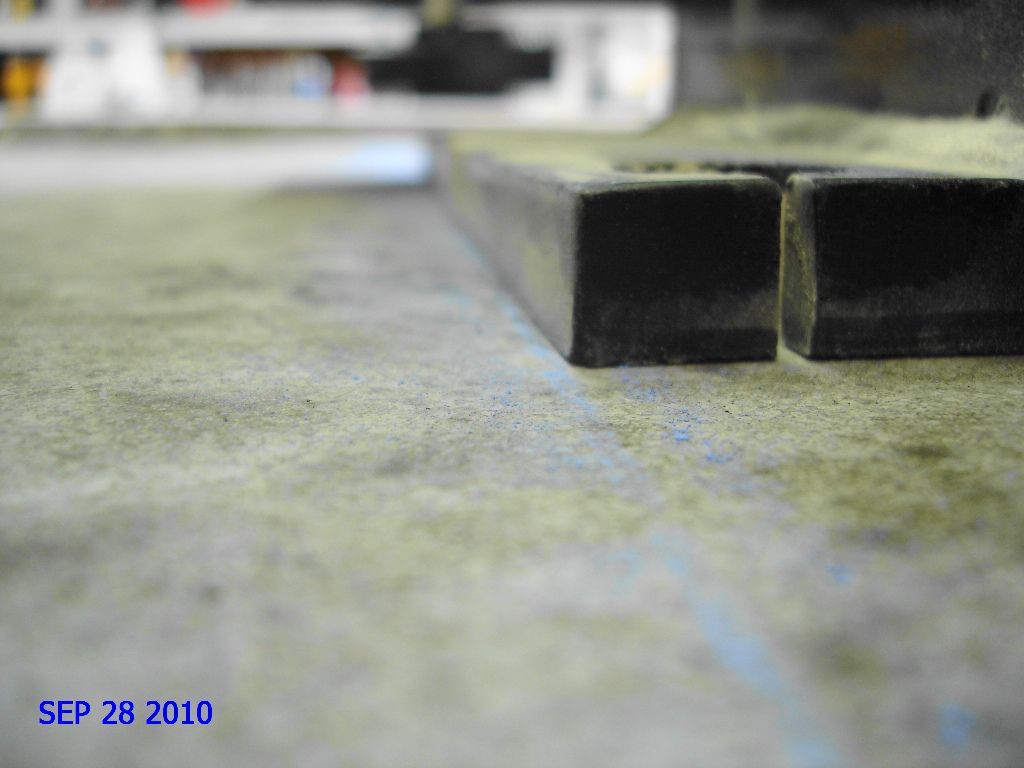
All holes lined up but...
The garage is not leveled (way off) and the concrete is not 4" thick. The anchors started to come off.
Started to call the manufacturer, ask, to talk about Max Jax and concrete experts. You see, this is when you use the SEARCH TOOL instead of creating new stupid threads. There are few C5 and C6 members that have done it. This was a common problem, not for the lift but for concrete garages in general.
Back in July I purchased the Max Jax lift. I wanted a two post regular lift but my garage is only 94" height and it would not allow me to park my three vehicles in my garage. A four post lift would be a bit too long and could not park the Vettes on on top of the other.
It comes bolted to a steel frame.
Once I got all parts installed I started the installation.
Parked the Vette for me to place the lift about 110" apart. This allow me to lift the Vette, park the other Vette next to it and close the garage door if needed.
This is where the lift must go!
Got the drilll for 5 1/2" deep holes.
Its harder than it looks, drill the first hole, mark, measure, mark, measure, drill the other four holes, drive/hammer the anchors into the concrete and set the anchors.
All holes lined up but...
The garage is not leveled (way off) and the concrete is not 4" thick. The anchors started to come off.
Started to call the manufacturer, ask, to talk about Max Jax and concrete experts. You see, this is when you use the SEARCH TOOL instead of creating new stupid threads. There are few C5 and C6 members that have done it. This was a common problem, not for the lift but for concrete garages in general.
Last edited by PLRX; 10-01-2010 at 12:05 PM.
 10-01-2010, 12:01 PM
#2
Team Owner
Thread Starter
Member Since: Aug 2005
Location: Riverside County Southern California
Posts: 34,988
Received 501 Likes
on
342 Posts
Co-winner 2020 C4 of the Year - Modified
2018 Corvette of Year Finalist
2017 C4 of Year
2016 C7 of Year Finalist
St. Jude Donor '09-'10-'11-'12-'13-'14-'15-'16-'17-'18-'19-'20
Waited three weeks for it to cure and planned on getting this SOB done
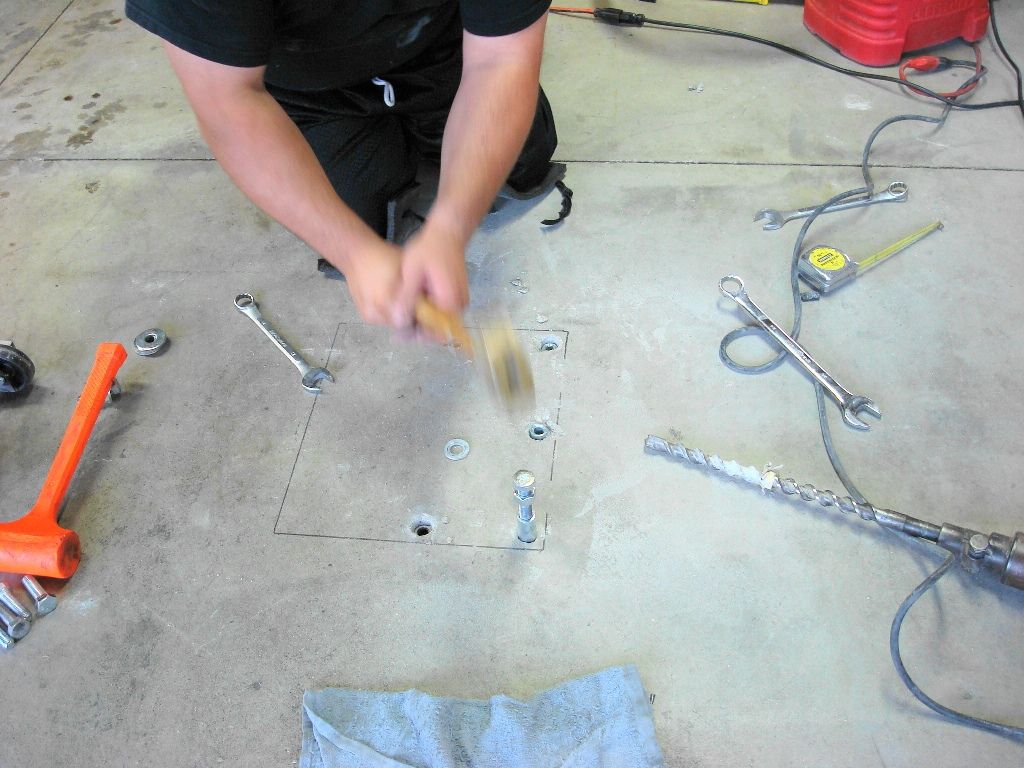
Borrowed a hammer ...saved $50 on rental
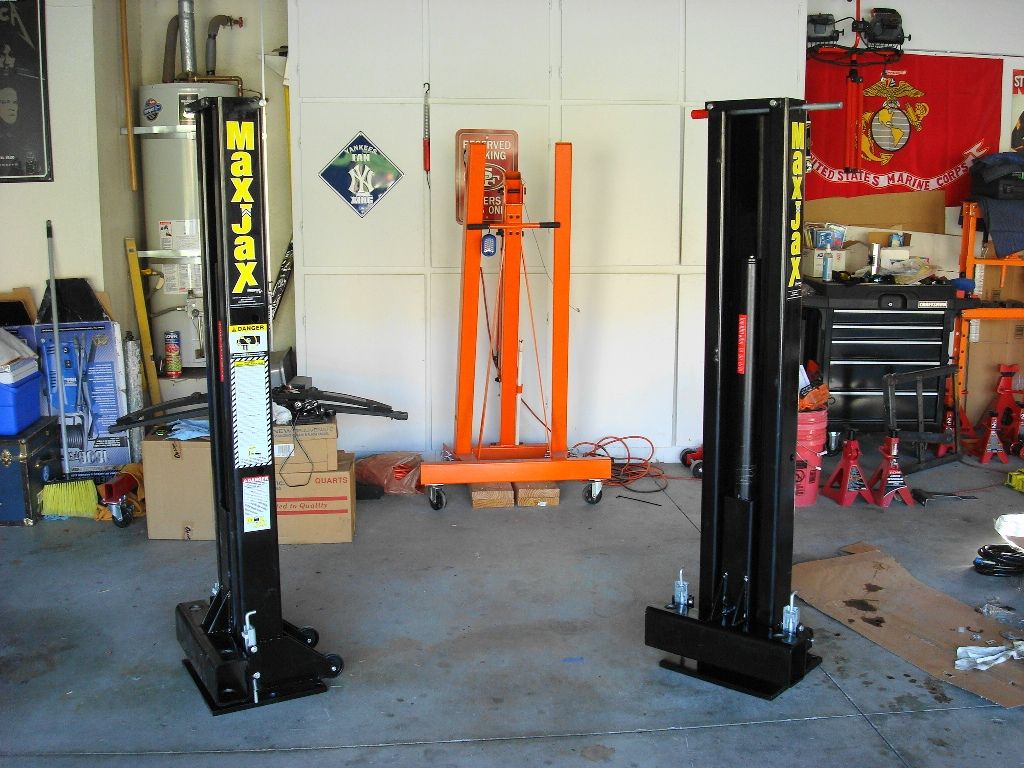
Working on the first tower.
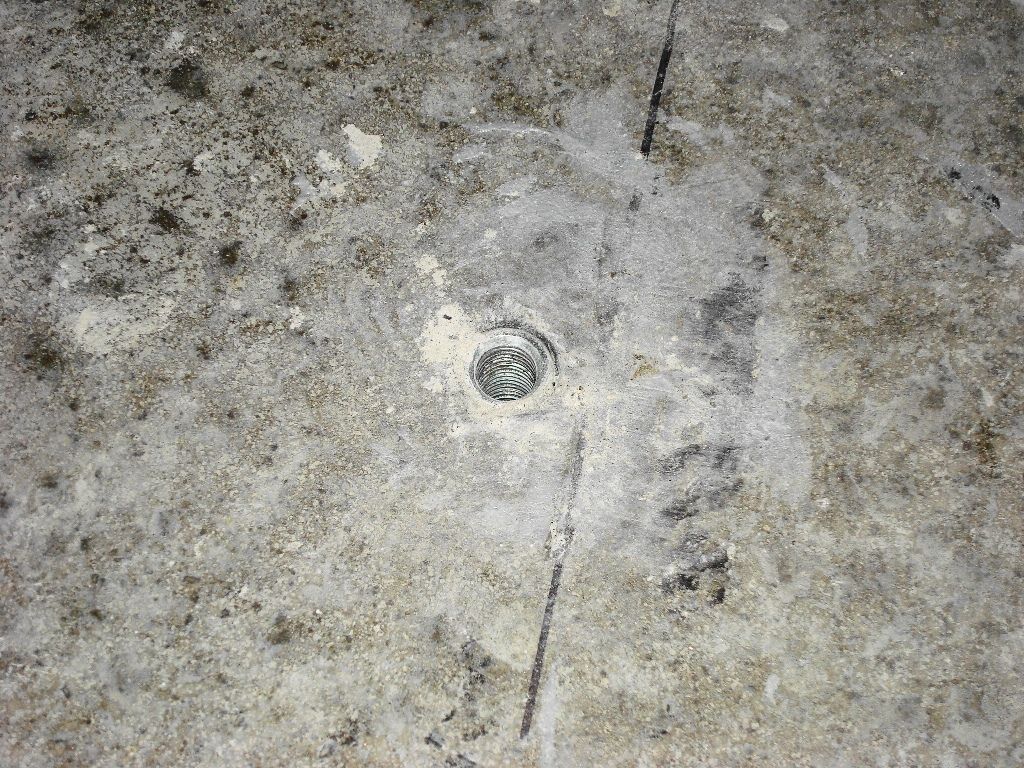
measure, measure, measure. To get the center of the slab, to get it right for it to align took me about an hour. Not to mention it was 110F that day


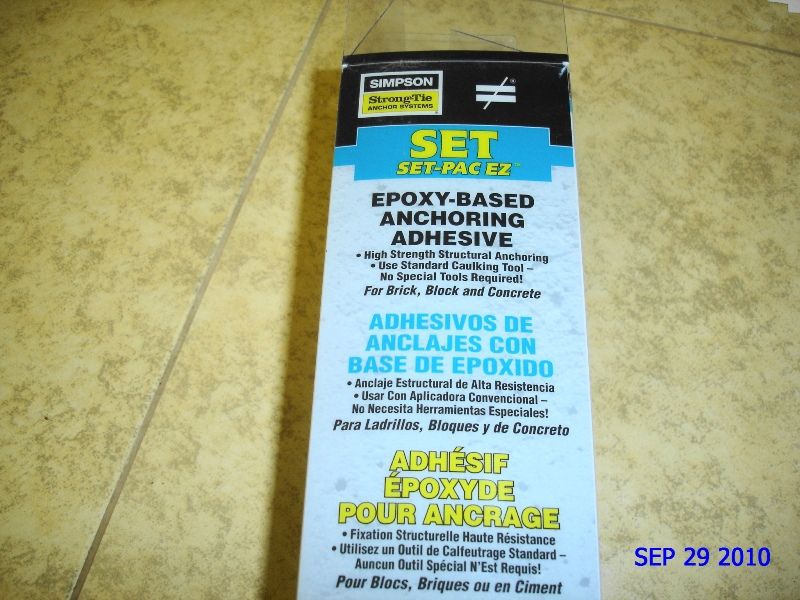
I was not taking chances again. Dan recommended me to buy Simpson epoxy and let it cure for 24-48 hours for it to reach 3,000 + PSI.
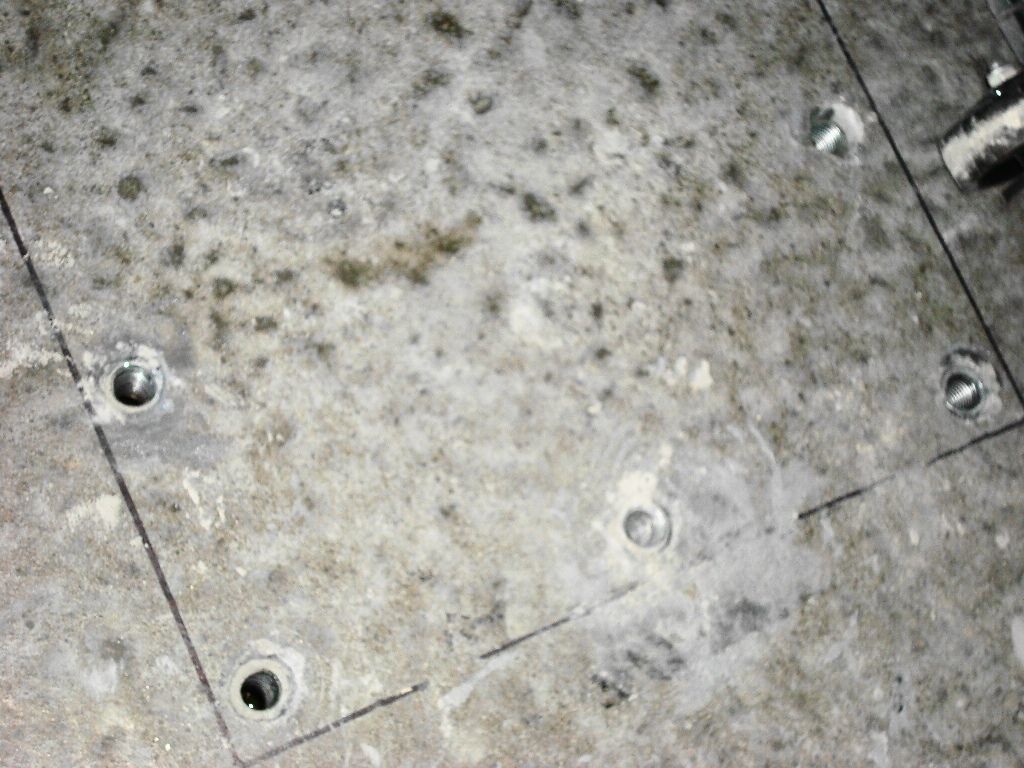
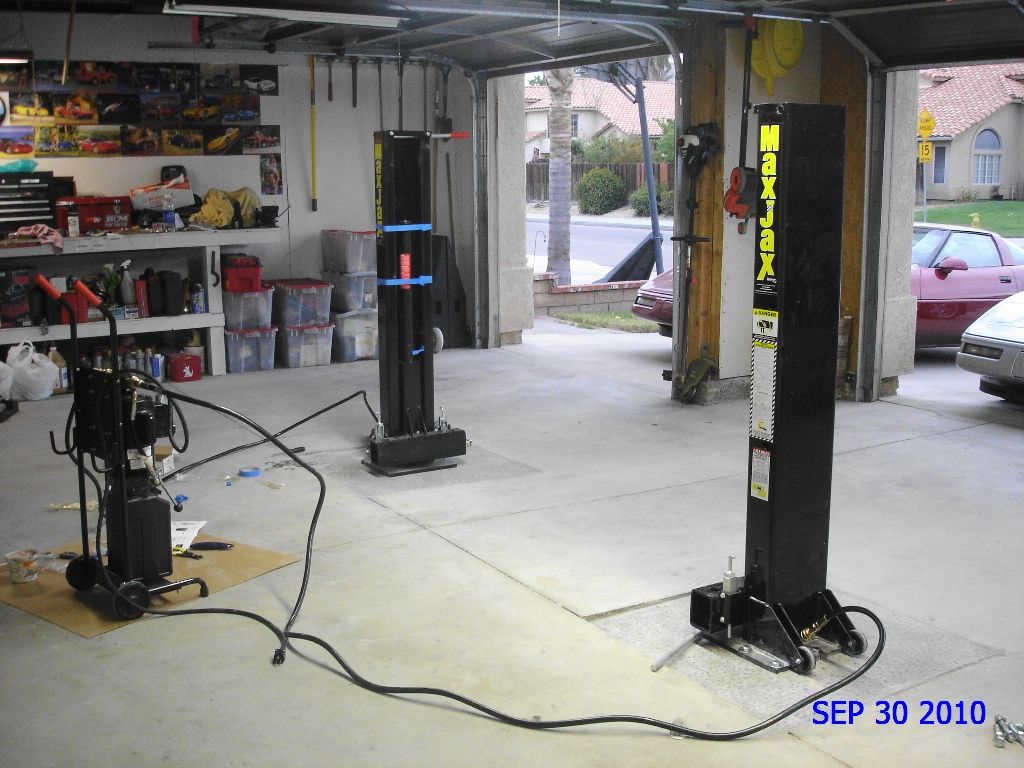
48 hours later got busy with the second tower. Again, it got to be perfect and has to align with the first tower.
Chalk line, this is where the second tower goes.
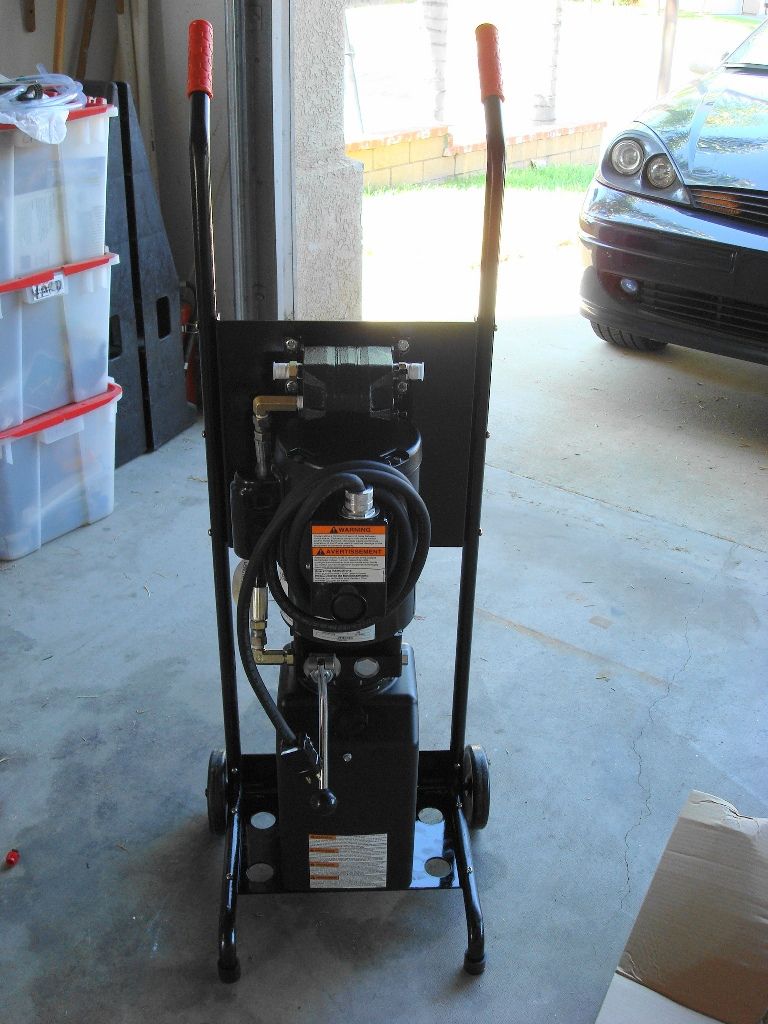
Lift is aligned, torqued down to 75 ft-lbs. Filled up the hydraulic pump with 8 Qts of Dexron III ATF. I got to do some minor alignment but, it works ups and down.
Borrowed a hammer
...saved $50 on rentalWorking on the first tower.
measure, measure, measure. To get the center of the slab, to get it right for it to align took me about an hour. Not to mention it was 110F that day
I was not taking chances again. Dan recommended me to buy Simpson epoxy and let it cure for 24-48 hours for it to reach 3,000 + PSI.
48 hours later got busy with the second tower. Again, it got to be perfect and has to align with the first tower.
Chalk line, this is where the second tower goes.
Lift is aligned, torqued down to 75 ft-lbs. Filled up the hydraulic pump with 8 Qts of Dexron III ATF. I got to do some minor alignment but, it works ups and down.
Last edited by PLRX; 10-01-2010 at 12:06 PM.
10-01-2010, 12:11 PM
#3
Team Owner
Thread Starter
Member Since: Aug 2005
Location: Riverside County Southern California
Posts: 34,988
Received 501 Likes
on
342 Posts
Co-winner 2020 C4 of the Year - Modified
2018 Corvette of Year Finalist
2017 C4 of Year
2016 C7 of Year Finalist
St. Jude Donor '09-'10-'11-'12-'13-'14-'15-'16-'17-'18-'19-'20
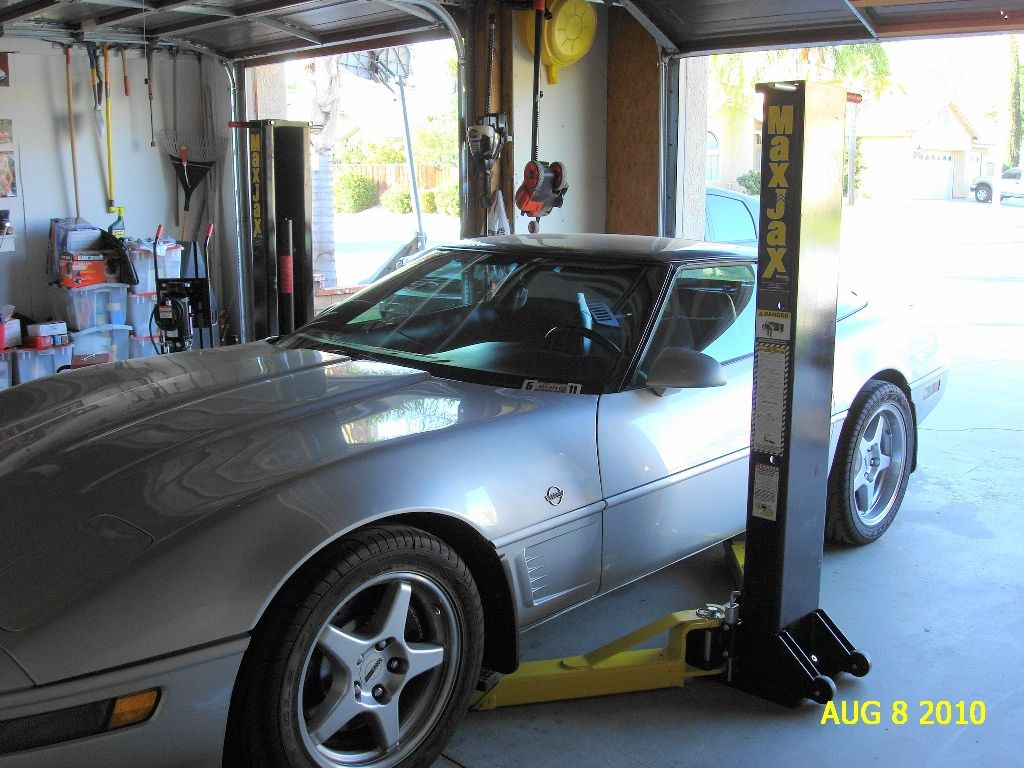
This is the initial test. I raised high enough to fit jack stands and left it hanging for about 15 m minutes while I check all bolts and to ensure it was not moving or coming off the concrete.
Here it is Gentlemen, The Max Jax, perfect for low ceiling garages!
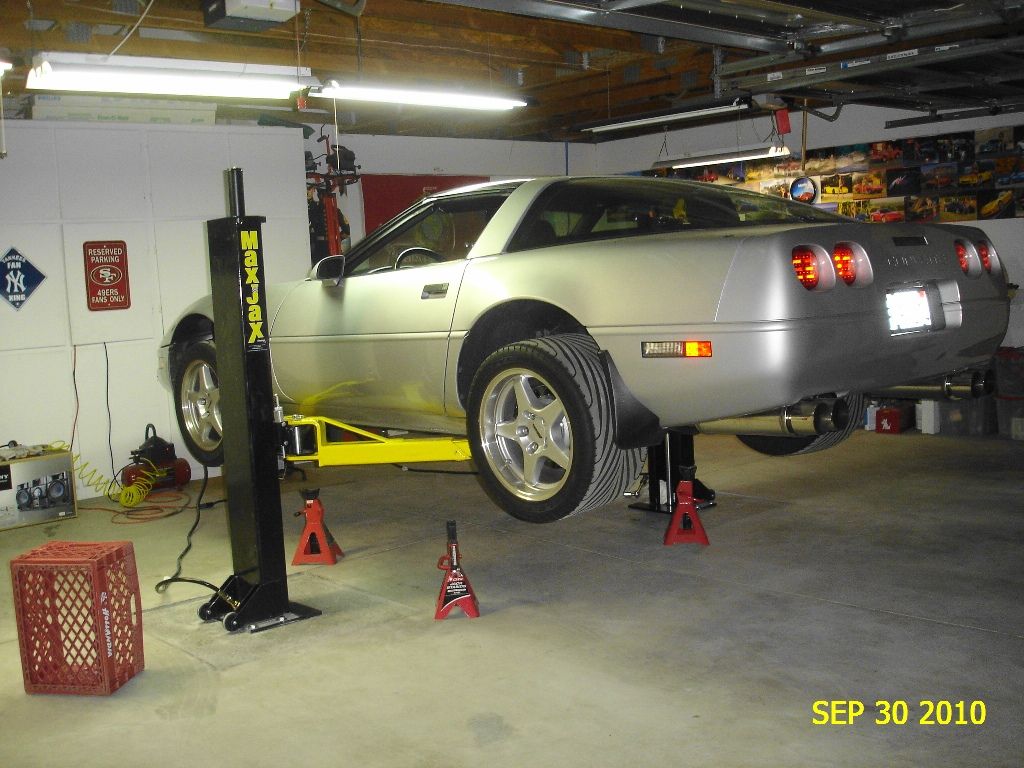
It goes 48" high. I wish I had it for the ZF installation. That almost gave me a hernia


 10-01-2010, 12:47 PM
#6
Le Mans Master

I know it was a PITA for you but looks like it was well worth the effort.
I like the way you adjusted the floor slope so you don't have to use the shims.
I'd like to make one suggestion to use the 90* elbows at the ends of your hoses. I got mine at a local hydraulics shop.
[IMG]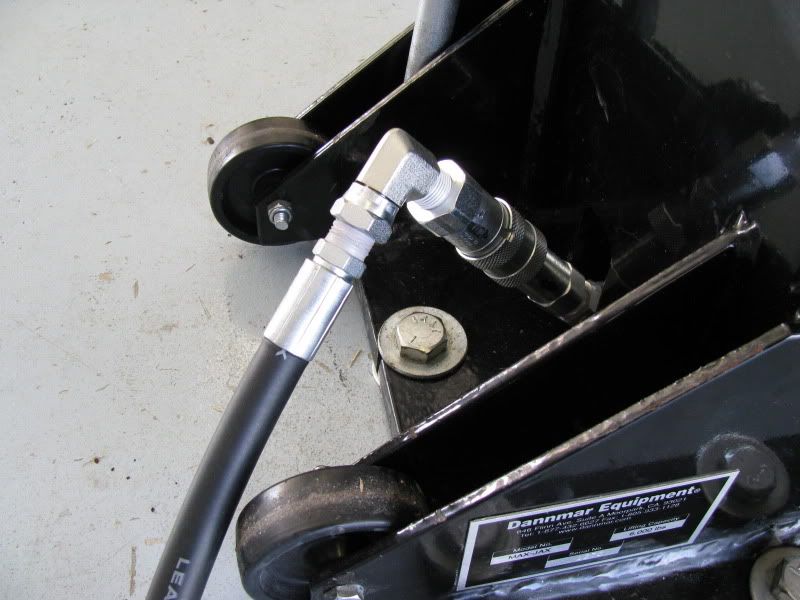 [/IMG]
[IMG]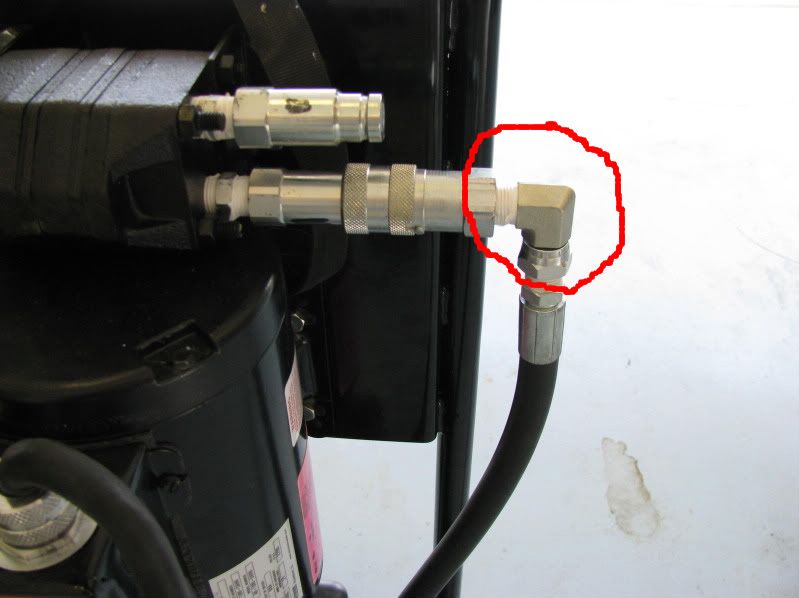 [/IMG]
I like the way you adjusted the floor slope so you don't have to use the shims.
I'd like to make one suggestion to use the 90* elbows at the ends of your hoses. I got mine at a local hydraulics shop.
[IMG]
[/IMG][IMG]
[/IMG]
 10-01-2010, 12:56 PM
#8
Team Owner
Thread Starter
Member Since: Aug 2005
Location: Riverside County Southern California
Posts: 34,988
Received 501 Likes
on
342 Posts
Co-winner 2020 C4 of the Year - Modified
2018 Corvette of Year Finalist
2017 C4 of Year
2016 C7 of Year Finalist
St. Jude Donor '09-'10-'11-'12-'13-'14-'15-'16-'17-'18-'19-'20
I know it was a PITA for you but looks like it was well worth the effort.
I like the way you adjusted the floor slope so you don't have to use the shims.
I'd like to make one suggestion to use the 90* elbows at the ends of your hoses. I got mine at a local hydraulics shop.
[IMG][/IMG]
[IMG][/IMG]
I like the way you adjusted the floor slope so you don't have to use the shims.
I'd like to make one suggestion to use the 90* elbows at the ends of your hoses. I got mine at a local hydraulics shop.
[IMG]
[/IMG][IMG]
[/IMG]
10-01-2010, 01:35 PM
#11
Le Mans Master
Very nice Pete! How much does that lift setup cost if you don't mind my asking?
Group deal was $1800 shipped, call and ask if you can still get in on the deal.
10-01-2010, 01:37 PM
#12
Team Owner
Thread Starter
Member Since: Aug 2005
Location: Riverside County Southern California
Posts: 34,988
Received 501 Likes
on
342 Posts
Co-winner 2020 C4 of the Year - Modified
2018 Corvette of Year Finalist
2017 C4 of Year
2016 C7 of Year Finalist
St. Jude Donor '09-'10-'11-'12-'13-'14-'15-'16-'17-'18-'19-'20

 10-01-2010, 02:06 PM
#15
Le Mans Master

Member Since: Oct 2004
Location: Everett WA
Posts: 7,690
Received 477 Likes
on
353 Posts
C4 of Year Finalist (appearance mods) 2019
So here is a question asked out of ignorance. I would have thought that you would have made a thin wooden template of the bolt spacing and then set the bolts in while the concrete was still wet sorta like setting a mailbox post or a swingset .
.
I would have thought that would save all the work of drilling the holes in afterwards.
Looks really great and like all of your projects the pictures and story are not only entertaining but very informative as well
.I would have thought that would save all the work of drilling the holes in afterwards.
Looks really great and like all of your projects the pictures and story are not only entertaining but very informative as well
10-01-2010, 02:34 PM
#16
Drifting

Member Since: Apr 2008
Location: New York New York
Posts: 1,815
Likes: 0
Received 10 Likes
on
10 Posts

Wow, that looks like a lot of hard work involved to get that done. But you did it right, that the important part. On the brighter side, it must be nice to wake up in the morning and smell that fresh air and look at that big mountain in front of your house, lol. Beats the polution here in NYC.
Last edited by uptown193; 10-01-2010 at 04:40 PM.
 10-01-2010, 05:07 PM
#19
Roadster Madness. 😠

Member Since: Sep 2009
Location: Ventura Co Ca
Posts: 5,500
Received 1,511 Likes
on
865 Posts
SoCal Regional Events Coordinator
St. Jude Donor '13, '20-'21
 Wow, my back is hurting just from watching all your moves. What is that old song, " I fought the lift, and Pete won",
  : or something like that. You guys did a tremendous job, outstanding