Weatherstrip Repair Done Cheap! Lots of Pics
 08-16-2012, 05:30 PM
#1
Advanced

Thread Starter
Member Since: Jun 2012
Location: MO
Posts: 66
Likes: 0
Received 0 Likes
on
0 Posts
Weatherstrip Repair with Pictures
Alright, this is my take on fixing the weatherstrip on my/ your vette. Yes, I know that this may be a bit of a Bubba fix but if you are like me and can’t shell out hundreds of bucks to fix this stuff, this will at least greatly improve the situation until you can save up for the expensive fix….or not, depending on how much patience you have. I’m sure that there are many different ways to do this but this was the best that I could come up with for a cheap fix and using tools that I had around the house. Here we go…
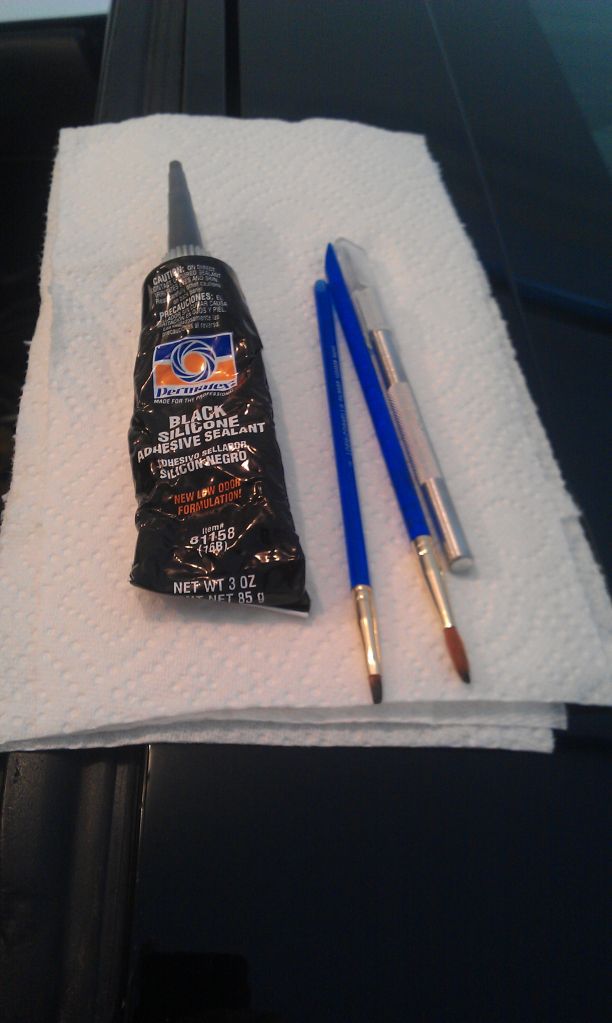
Tools for the job
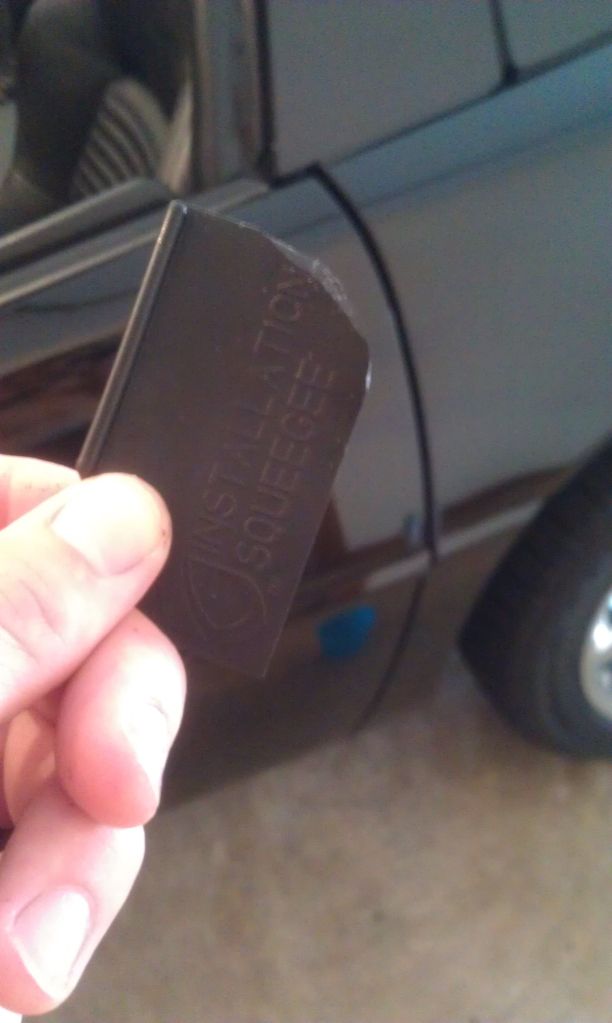
I looked around for a while and tried some different things as experiments but after spending some money and time on some messy alternatives, this “Permatex Black Silicone Adhesive Sealant” was by far the best thing that I had found. (also recommended by some other members for multiple uses) The paint brushes helped to work the silicone into some of the more delicate places and the squeegee was a life saver. (I got this one from putting a protective screen on my cell phone, but I’m sure other ones would work just as good). If you can find a rubber one, it’s kinda nice to be able to cut it to the contours of the stock weatherstrip. You’ll see later. And an exacto knife.
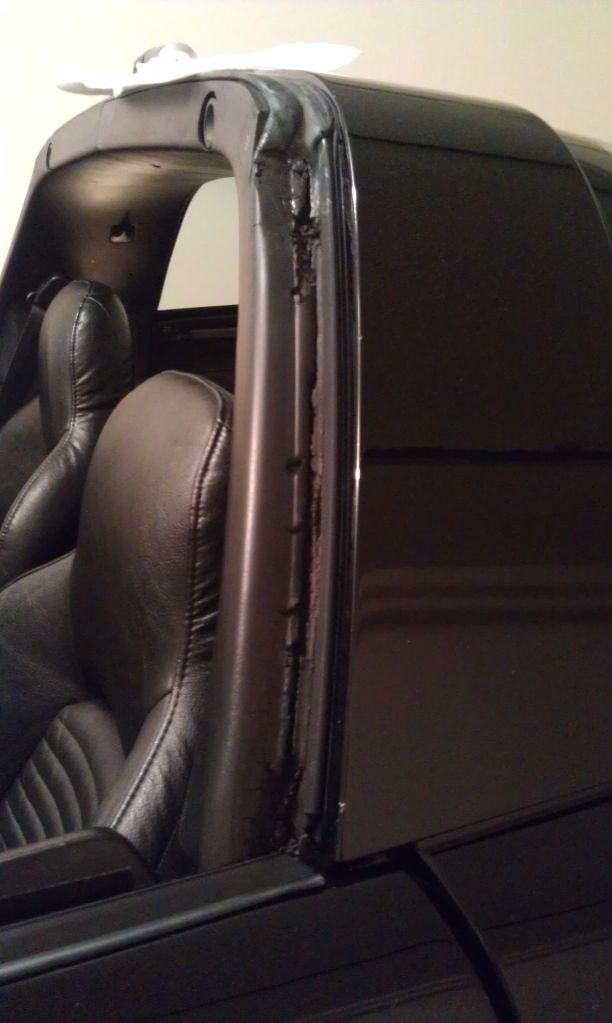
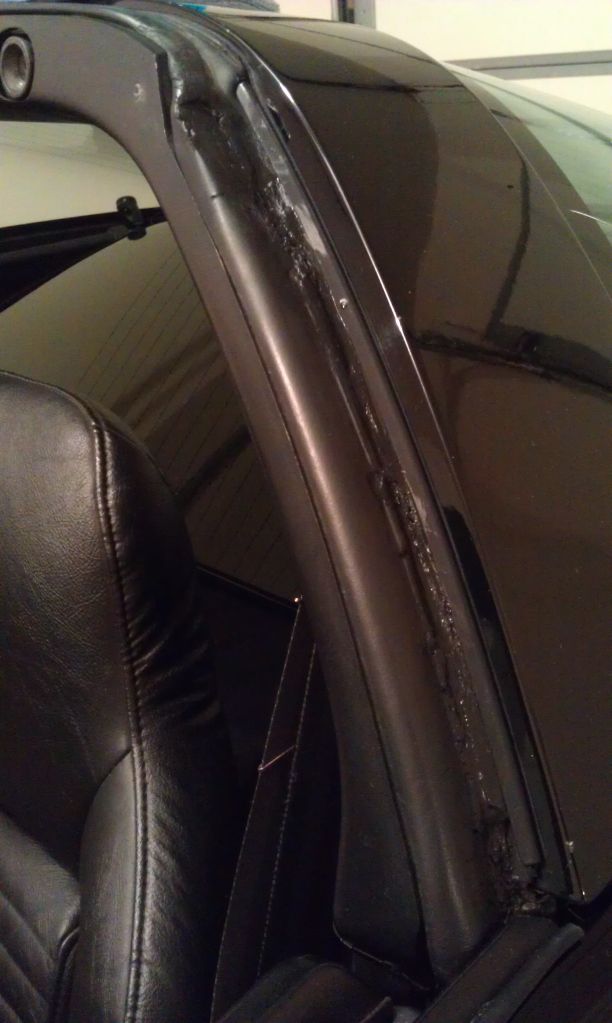
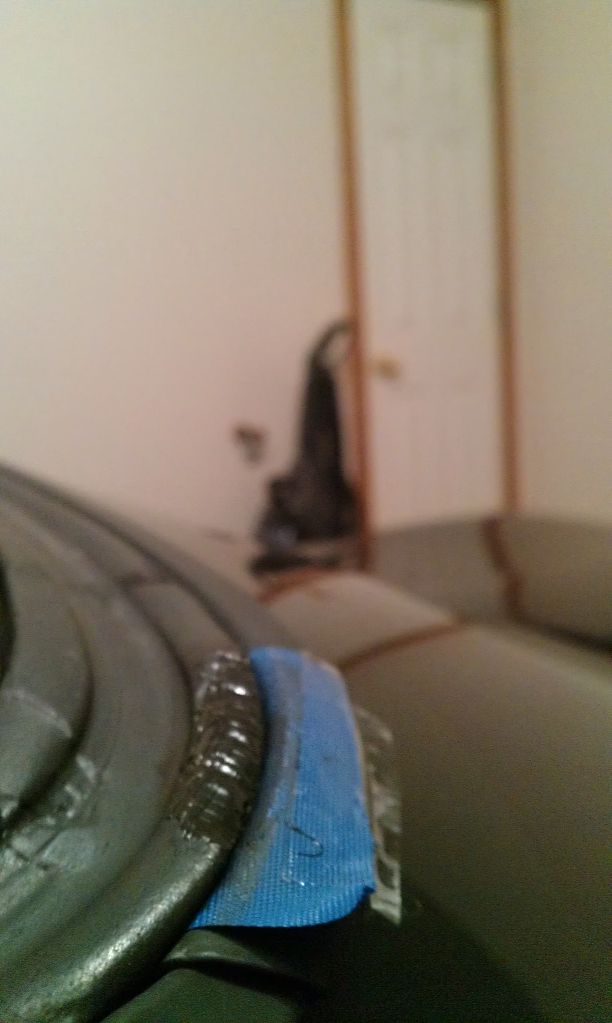
The driver side was the worst of my weatherstrip and also the biggest eyesore so I’m using this side as the main fix example but also did some on the passenger side above the windshield. Make sure to use an exacto knife or razor blade to cut away anything that may get in the way of you smoothing out your final product. Anything inside the rips or gaps should be ok.
Fill up the gaps just slightly above the level of the existing weatherstriping and smooth it out. You can smooth out the 1st coat pretty much after you get finished applying it since this probably isn’t going to be the last coat. (depending on your damage) IMPORTANT: On final coat, let the silicone set up for about 10-15 minutes after applying. This lets you be able to work with it a little easier than having to spread liquid goo.
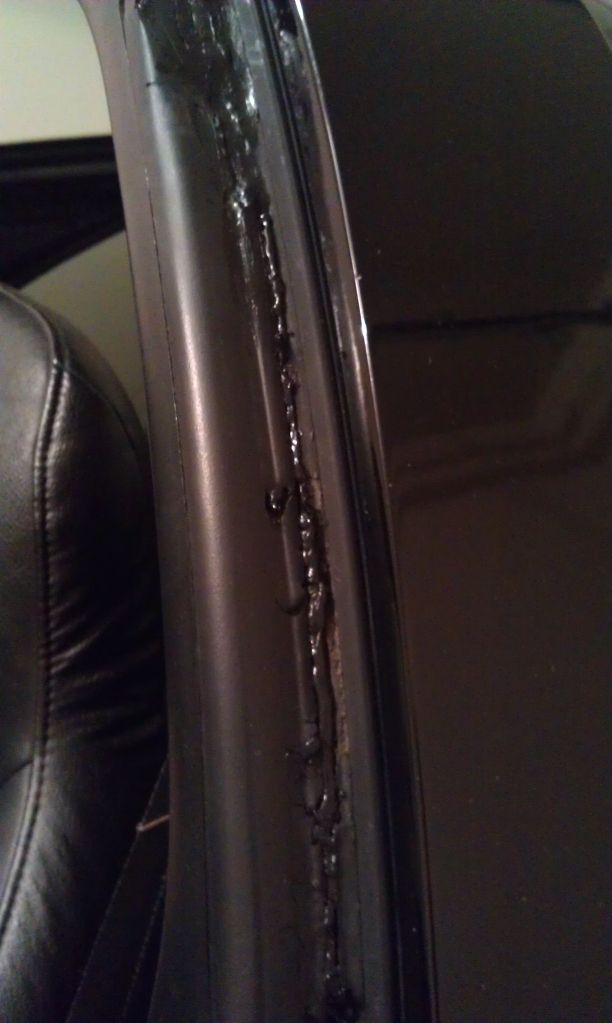
Below is the result of the 1st coat. Don’t freak out if it doesn’t turn out very good. The next coats will fill in the spots that are low and will give you a chance to spread it out in a nice even finish. Like I said earlier, the more patience you have, the better you can get this to look. TAKE YOUR TIME!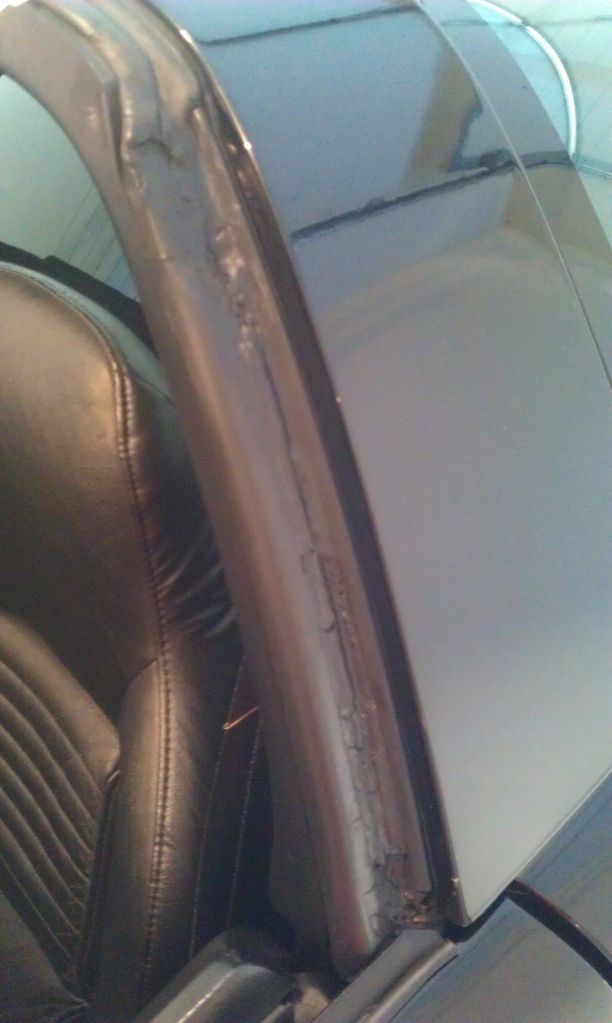
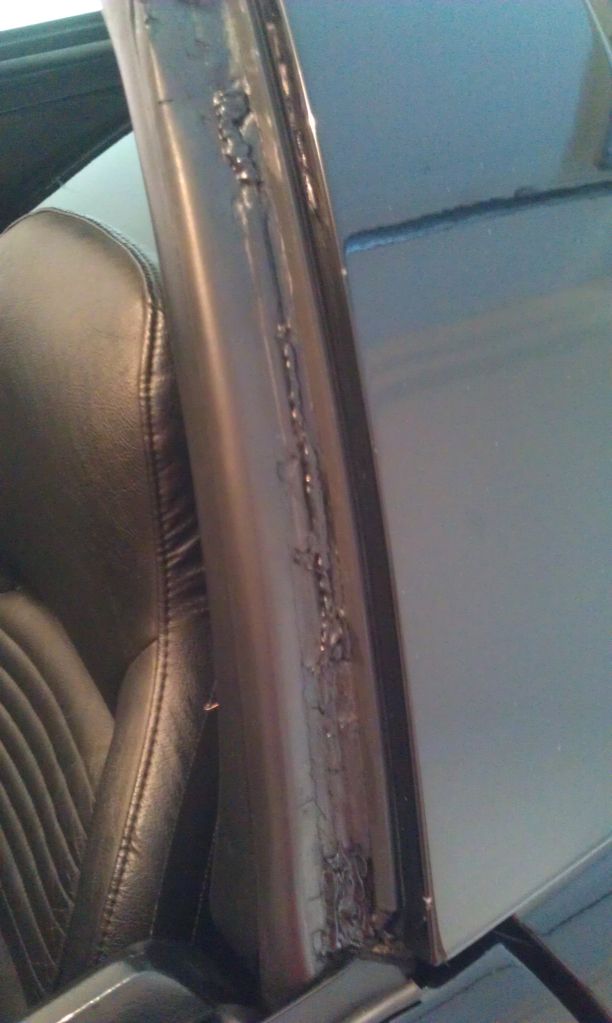
2nd Coat
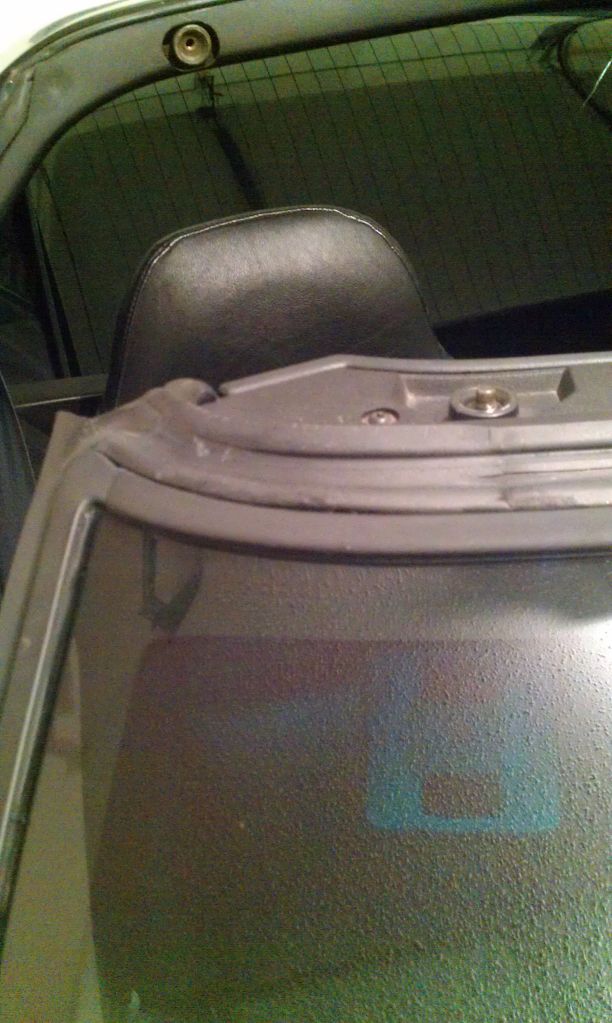
*IMPORTANT Keep in mind that your window will need to be able to go up and down also, so make sure to check on the thickness of your silicone before applying.
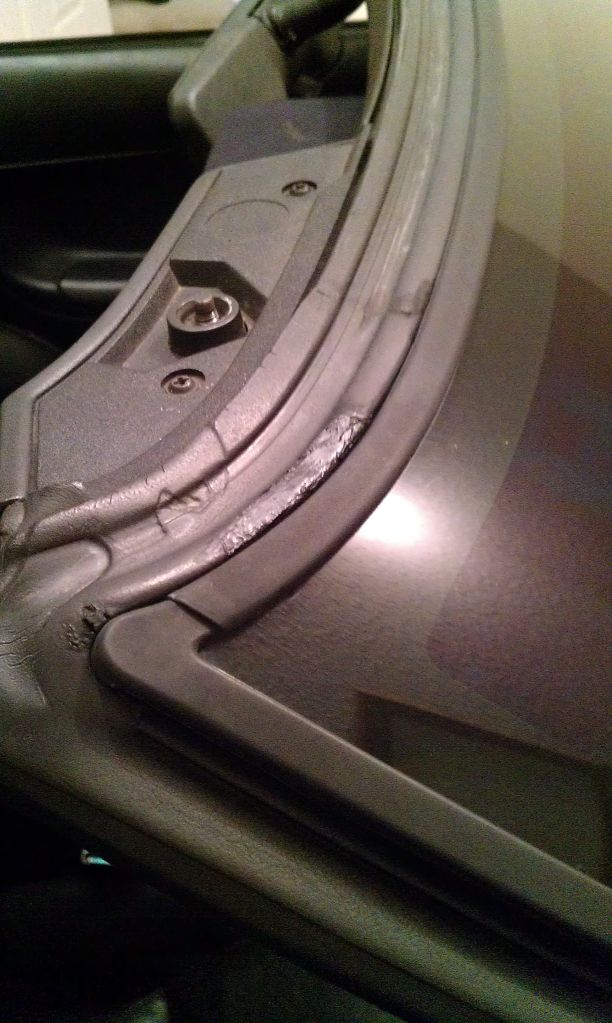
1st Coat on the windshield. I used a piece of plastic to keep the gap between the silicone and the windshield. It slides out easy after it dries. This is also where I cut the squeegee to shape the silicone.

Result of First coat
2nd coat
Finished Products!
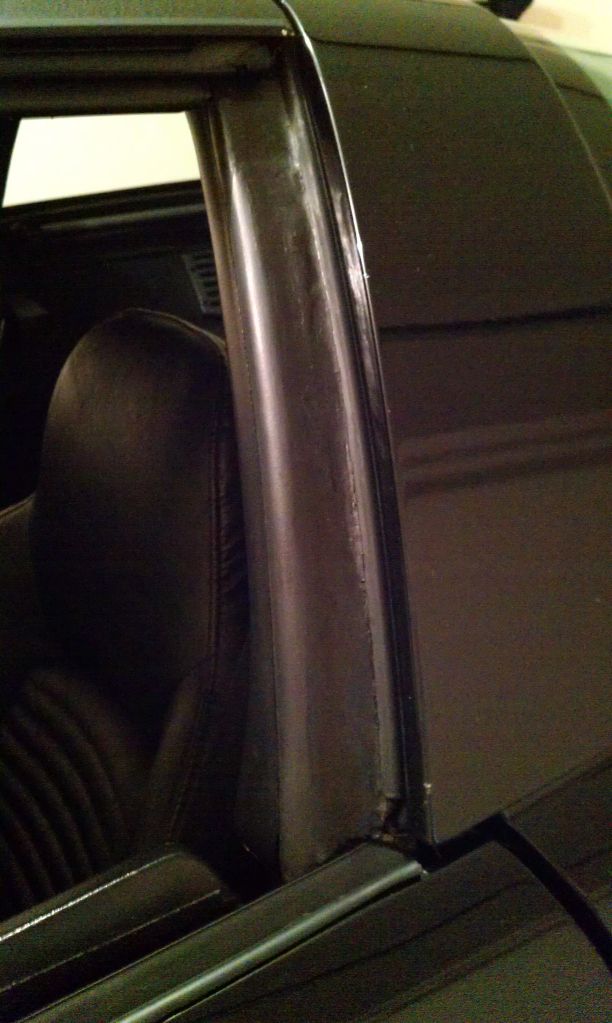
Before and After Driver Side
Like I said, this is a temporary fix that will get you through until you can save up for replacement weatherstripping. But if you take your time, and are feeling like doing a project, I believe that the final product was well worth the time and especially the minimal investment. Feel free to PM me if you run into any problems or would like any tips. I hope this helps out some financially challenged C4 owners like myself. Later!!
Alright, this is my take on fixing the weatherstrip on my/ your vette. Yes, I know that this may be a bit of a Bubba fix but if you are like me and can’t shell out hundreds of bucks to fix this stuff, this will at least greatly improve the situation until you can save up for the expensive fix….or not, depending on how much patience you have. I’m sure that there are many different ways to do this but this was the best that I could come up with for a cheap fix and using tools that I had around the house. Here we go…
Tools for the job
I looked around for a while and tried some different things as experiments but after spending some money and time on some messy alternatives, this “Permatex Black Silicone Adhesive Sealant” was by far the best thing that I had found. (also recommended by some other members for multiple uses) The paint brushes helped to work the silicone into some of the more delicate places and the squeegee was a life saver. (I got this one from putting a protective screen on my cell phone, but I’m sure other ones would work just as good). If you can find a rubber one, it’s kinda nice to be able to cut it to the contours of the stock weatherstrip. You’ll see later. And an exacto knife.
The driver side was the worst of my weatherstrip and also the biggest eyesore so I’m using this side as the main fix example but also did some on the passenger side above the windshield. Make sure to use an exacto knife or razor blade to cut away anything that may get in the way of you smoothing out your final product. Anything inside the rips or gaps should be ok.
Fill up the gaps just slightly above the level of the existing weatherstriping and smooth it out. You can smooth out the 1st coat pretty much after you get finished applying it since this probably isn’t going to be the last coat. (depending on your damage) IMPORTANT: On final coat, let the silicone set up for about 10-15 minutes after applying. This lets you be able to work with it a little easier than having to spread liquid goo.
Below is the result of the 1st coat. Don’t freak out if it doesn’t turn out very good. The next coats will fill in the spots that are low and will give you a chance to spread it out in a nice even finish. Like I said earlier, the more patience you have, the better you can get this to look. TAKE YOUR TIME!
2nd Coat
*IMPORTANT Keep in mind that your window will need to be able to go up and down also, so make sure to check on the thickness of your silicone before applying.
1st Coat on the windshield. I used a piece of plastic to keep the gap between the silicone and the windshield. It slides out easy after it dries. This is also where I cut the squeegee to shape the silicone.
Result of First coat
2nd coat
Finished Products!
Before and After Driver Side
Like I said, this is a temporary fix that will get you through until you can save up for replacement weatherstripping. But if you take your time, and are feeling like doing a project, I believe that the final product was well worth the time and especially the minimal investment. Feel free to PM me if you run into any problems or would like any tips. I hope this helps out some financially challenged C4 owners like myself. Later!!


 08-16-2012, 11:41 PM
#6
Advanced
Thread Starter
Member Since: Jun 2012
Location: MO
Posts: 66
Likes: 0
Received 0 Likes
on
0 Posts
08-17-2012, 02:54 AM
#7
Instructor

Member Since: Jul 2011
Location: South Haven Minnesota
Posts: 170
Likes: 0
Received 1 Like
on
1 Post
Nice job man I give you props for thinking outside the box and I have to say from the pics it looks like it turned out ok. Let us know how that stuff holds out in the elements.
08-17-2012, 10:50 AM
#9
Advanced
Thread Starter
Member Since: Jun 2012
Location: MO
Posts: 66
Likes: 0
Received 0 Likes
on
0 Posts
Thanks! This stuff really is pretty bulletproof. It stays good and flexible while not getting soft in the sun. I have had the car outside in the heat and it hasn't changed. It has been a little cooler here lately but wih 95ish degree temps yesterday, it held up good.
08-17-2012, 11:49 AM
#10
Drifting

Isn't this the same stuff you can get at Home Depot...comes in white, black and clear. It comes in waterproof, inside and outside uses. Couple of bucks for a big tube.
Last edited by mickey5; 08-17-2012 at 11:53 AM.
 08-17-2012, 01:58 PM
#12
Melting Slicks

Someone told me to do this as well on the weatherstripping on the halo in my 85. Only the driver's side on mine is a bit torn, the passenger side looks good. I think I will try this myself. I always have a tube of black silicone lying around in the garage.
08-17-2012, 03:00 PM
#13
Team Owner


Member Since: Aug 2005
Location: Riverside County Southern California
Posts: 34,988
Received 501 Likes
on
342 Posts
Co-winner 2020 C4 of the Year - Modified
2018 Corvette of Year Finalist
2017 C4 of Year
2016 C7 of Year Finalist
St. Jude Donor '09-'10-'11-'12-'13-'14-'15-'16-'17-'18-'19-'20


 08-17-2012, 08:09 PM
#14
Race Director


I like this fix for small areas. I don't have any leaks so I don't want to change the weather strip but have some spots that look kind of bad. This could be the answer for these spots that drive me crazy every time I see them.
08-17-2012, 11:00 PM
#15
Race Director
I have used the same stuff on mine and it works great! Before I started my project, I cleaned my strips really good with some 70% isopropol alcohol and some micro fiber towels.( It's really gross how much crud is embedded in that stuff that you can't see, till you go to clean it. ) I think being clean & dry helps the silicone get down in the little "rot holes", stick to the old rubber, and smooth out better. I work with credit cards so I have a bunch of them handy for spreaders. Kind of like sculpting with sticky clay, but the results are worth the effort. If your weather strip is just a little old but mostly still together, it makes it almost like new.
Just don't put your windows up or put anything against it for a few hours or it will stick to it. The finished fix is tough and you have to really look close to see it if you spread it smoothly.
) I think being clean & dry helps the silicone get down in the little "rot holes", stick to the old rubber, and smooth out better. I work with credit cards so I have a bunch of them handy for spreaders. Kind of like sculpting with sticky clay, but the results are worth the effort. If your weather strip is just a little old but mostly still together, it makes it almost like new.Just don't put your windows up or put anything against it for a few hours or it will stick to it. The finished fix is tough and you have to really look close to see it if you spread it smoothly.
 08-18-2012, 05:13 AM
#17
Le Mans Master

 08-18-2012, 10:01 AM
#19
Advanced
Member Since: Jul 2012
Location: Playa del Carmen Old Mexico
Posts: 82
Likes: 0
Received 0 Likes
on
0 Posts
Once you have the silicone/ adhesive bead in place, wet your thumb or finger to smooth the surface. The silicone is pushed into the cracks, and is totally smooth as a result. Don't press too hard, or use too much each time. A second layer is easier than taking it all off and starting over.
My look like new, and this job takes half an hour to redo doors and windows.
My look like new, and this job takes half an hour to redo doors and windows.
08-18-2012, 04:00 PM
#20
Advanced
Thread Starter
Member Since: Jun 2012
Location: MO
Posts: 66
Likes: 0
Received 0 Likes
on
0 Posts
If you can believe it, the places I fixed were actually spots that didn't leak, but I wouldn't have any reservations about using that stuff for any leaking areas as well. I used it mainly for appearance reasons since that spot always annoyed me when I walked up to my driverside door. This stuff is awesome for small fixes but will definetly take a little more time if you are filling up a gap like the one on my driverside!