Hatch Weatherstrip Install
 05-13-2013, 09:56 PM
#1
Instructor

Thread Starter

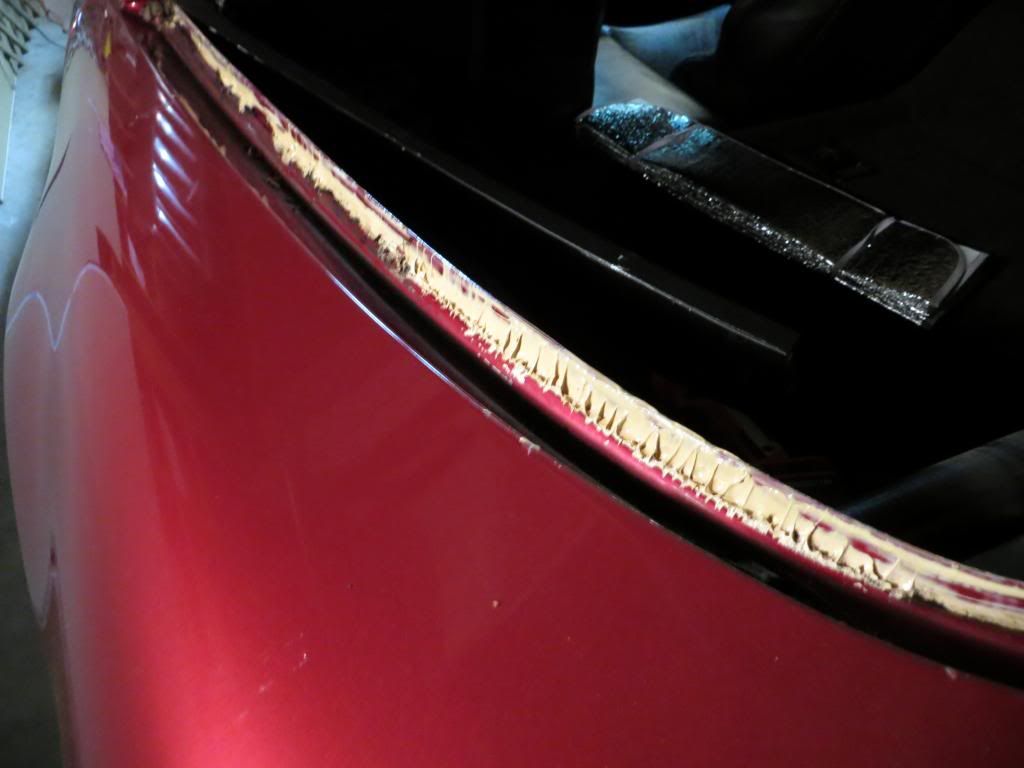
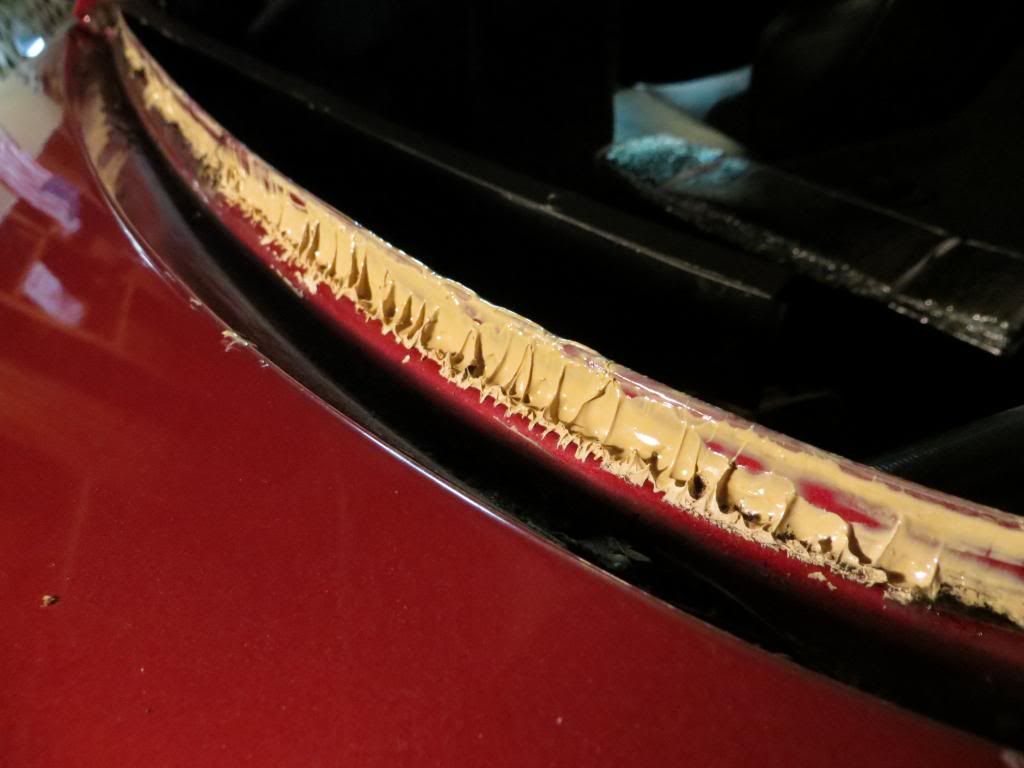
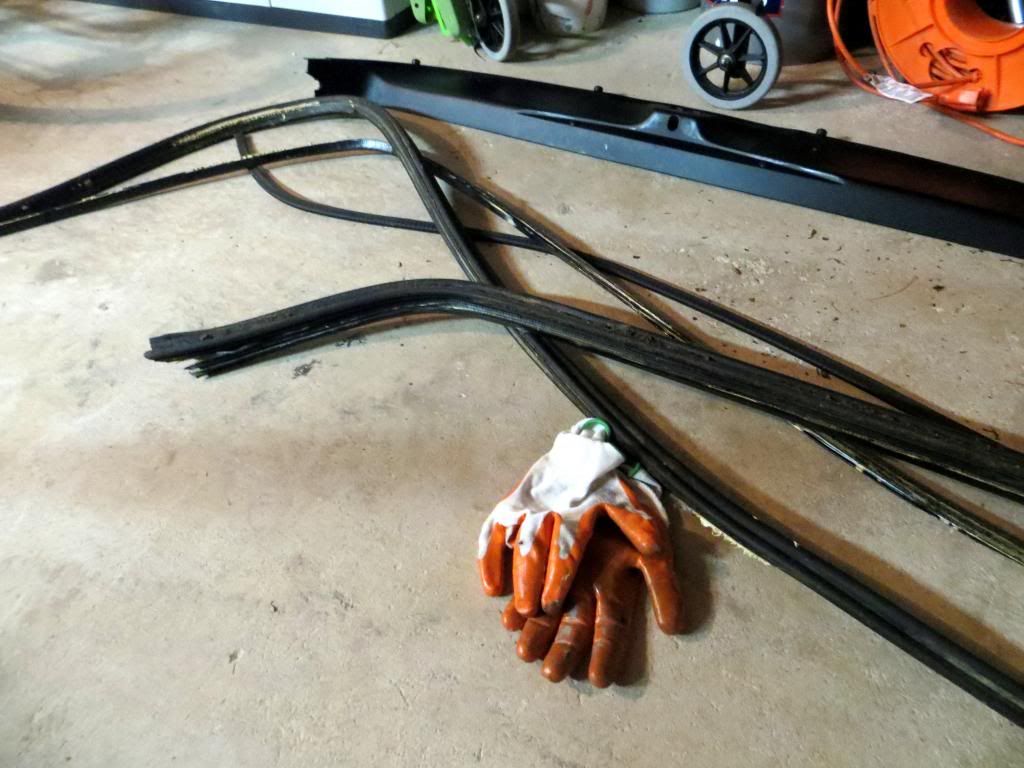
I am currently working on replacing the weatherstripping on my '94. I removed the old hatch weatherstripping, that was separated into 4 pieces. There is a yellowish colored goop under the old weatherstripping . I thought there would be black dried glue underneath if any from other pictures I have seen. Is this something that someone threw on to make it stay? I think I am going to remove the goop (I am calling it that since it is has the texture of thick grease) completely and then install the new weatherstrip. Any thoughts
 ?
?
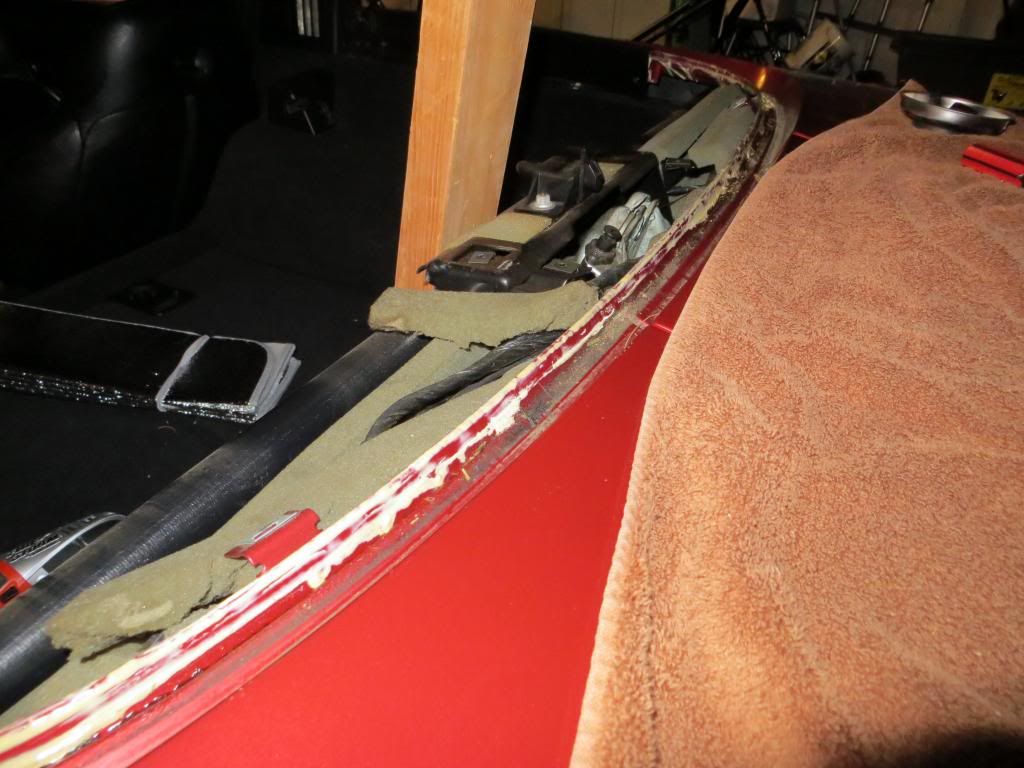
And what is left of the old weatherstripping:
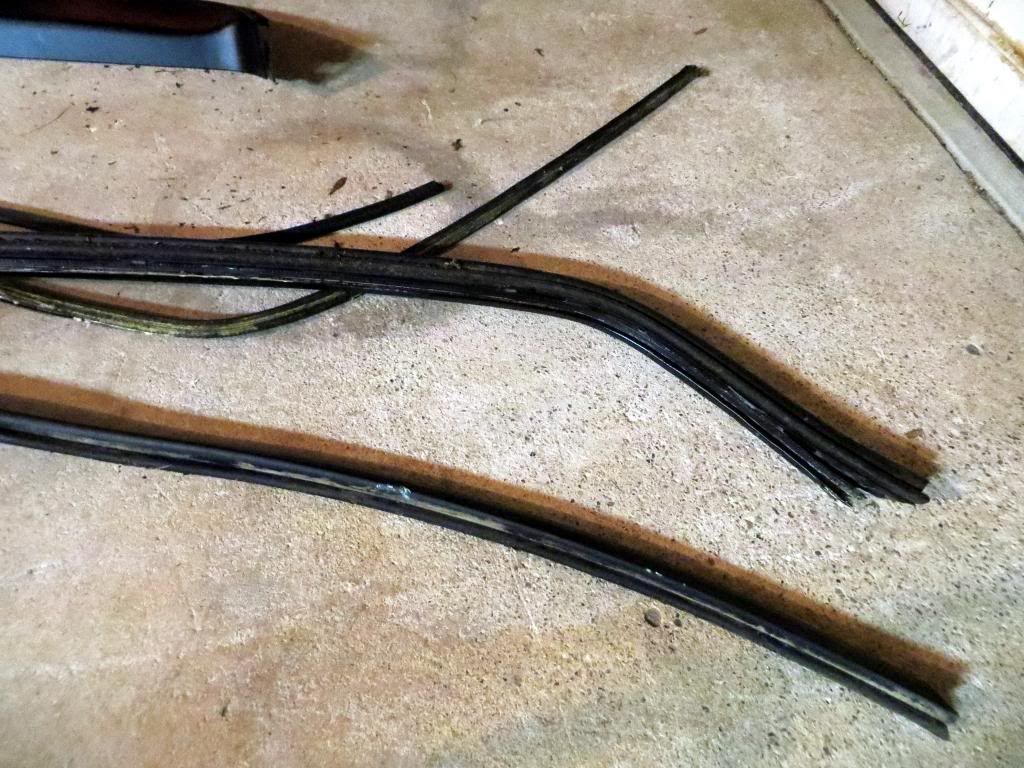
. I thought there would be black dried glue underneath if any from other pictures I have seen. Is this something that someone threw on to make it stay? I think I am going to remove the goop (I am calling it that since it is has the texture of thick grease) completely and then install the new weatherstrip. Any thoughts?And what is left of the old weatherstripping:
 05-13-2013, 10:08 PM
#2
Burning Brakes

Member Since: Nov 2006
Location: Portsmouth Virginia 396LT4 435RWHP/400RWTQ Best so far 11.26 @ 123mph
Posts: 1,102
Likes: 0
Received 1 Like
on
1 Post

That is a lithium based grease from the factory. I cleaned most of the excess off prior to installing the new weather strip but did reuse a little of it directly in the new weatherstrip groove to help it slide into position better when fitting and adjusting the weatherstrip in the corners. If you install it dry, it will make it harder to slide and adjust.
Rick
Rick
05-13-2013, 10:11 PM
#3
Team Owner


Member Since: Sep 2003
Location: Freedom is never more than one generation away from extinction.
Posts: 20,161
Received 640 Likes
on
444 Posts
St. Jude '03-'04-'05-'06-'07-'08-'09-'10-'11-'12-'13-'14-'15-'16-'17-'18-�19-'20-'21-'22-'23-'24


Clean it all off. The new seal will fit fine.
Remember to coat the new seal with your favorite protectant to avoid tearing the fresh rubber when the hatch is closed for the first time.

Remember to coat the new seal with your favorite protectant to avoid tearing the fresh rubber when the hatch is closed for the first time.
05-13-2013, 10:46 PM
#4
Instructor
Thread Starter
Thank you for the replies. I think I will clean it entirely off so I can clean the dirt out of the area easier too. If I need some grease to slide it on, I can always use some new stuff. I guess any would work. I was going to coat the new weatherstripping in dielectric grease. I thought that was the suggested protectant?
05-14-2013, 04:44 AM
#5
I also cleaned off all of that goop. It was a mess and difficult to get all of it off but the new piece clipped right on and seals great without any of it. If only the piece around the windshield was as easy as the rear hatch...
 05-14-2013, 07:37 AM
#8
Instructor
Thread Starter
Yes, I did the requisite youtube video search before I started the hatch weatherstripping and was following that video. That vette had no grease under the weatherstrip, maybe because it was an earlier model?
05-14-2013, 04:38 PM
#10
Team Owner

 Same one I used.
 05-14-2013, 05:54 PM
#12
Drifting


On my 87, I left that goop on. Once you get the rubber seal on, you can't see it or touch it. I figured GM must have had a reason for putting it on. Also, there is an old thread here that stated it was part of the original seal installation process and should be left on. Your choice.


 05-15-2013, 03:21 AM
#16
Team Owner
Member Since: Dec 2000
Location: SE NY
Posts: 90,675
Likes: 0
Received 300 Likes
on
274 Posts
Cruise-In II Veteran
How much is the hatch seal? thanks
1 x Weatherstrip, Rear Hatch 84-96 (X2172) = $80.99
from Wilcox as I'm tired of washing the inside on my hatch every time I pressure wash my '88...

I've used their WS on my prior '88 and was very pleased with the result, good quality product and lasted >8yrs till the car was hit and disposed of.
05-16-2013, 06:52 PM
#17
Instructor
Thread Starter
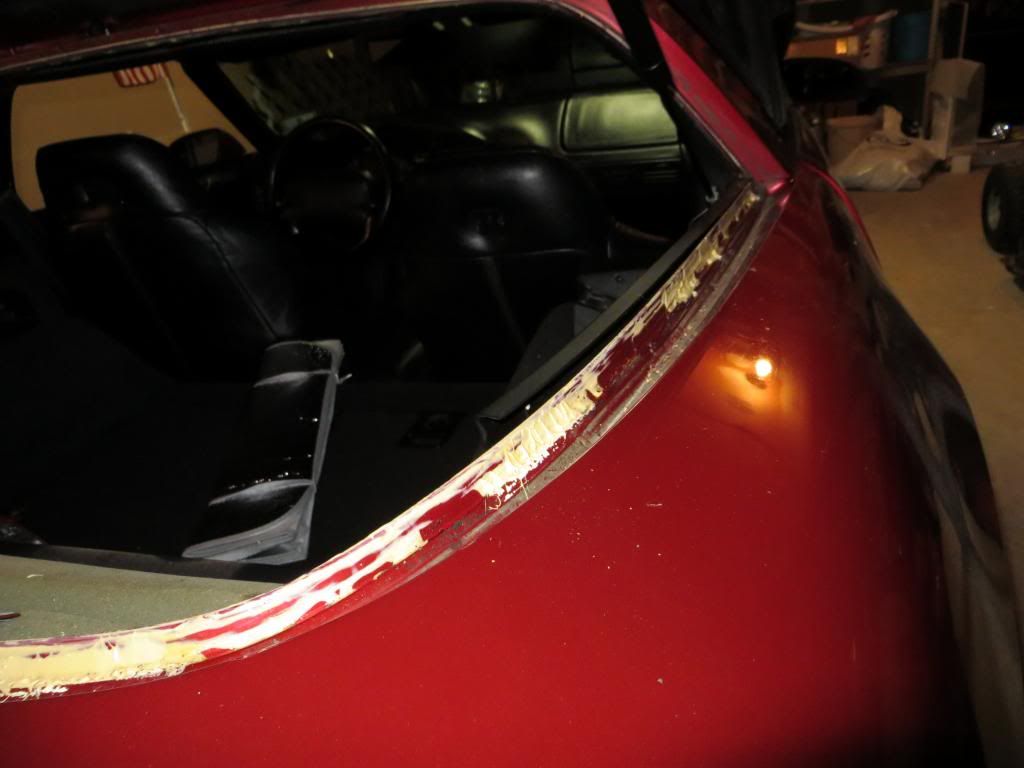
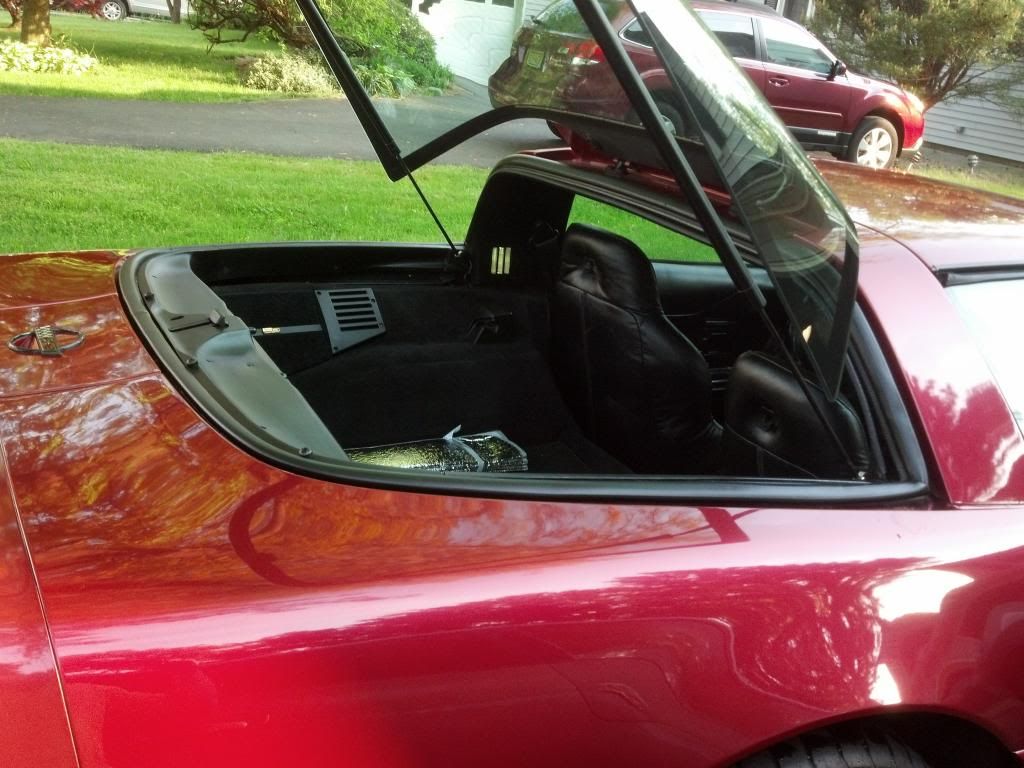
Finished my hatch weatherstripping today! Well, it wasn't as easy as the video showed, but I got it done. I still have all the rest of the weatherstrip to do at some point. I bought the full kit at Corvettes at Carlisle this past Summer from Corvette America and am just getting to it now. The kit seemed to be pretty good quality. I am not sure what it cost, but I know it was a good deal at Carlisle. I am sure I will post some more threads as I do other areas. Here is the finished photo:
05-16-2013, 07:25 PM
#19
Team Owner
Member Since: Dec 2000
Location: SE NY
Posts: 90,675
Likes: 0
Received 300 Likes
on
274 Posts
Cruise-In II Veteran
Here is the finished photo:
BTW, what kind of "differences" from the vid did you encounter??
 05-16-2013, 09:58 PM
#20
Instructor
Thread Starter
Looks very nice; the hatch a bit "tighter" when closing it??
BTW, what kind of "differences" from the vid did you encounter??
BTW, what kind of "differences" from the vid did you encounter??
As far as differences between my experience and the video: