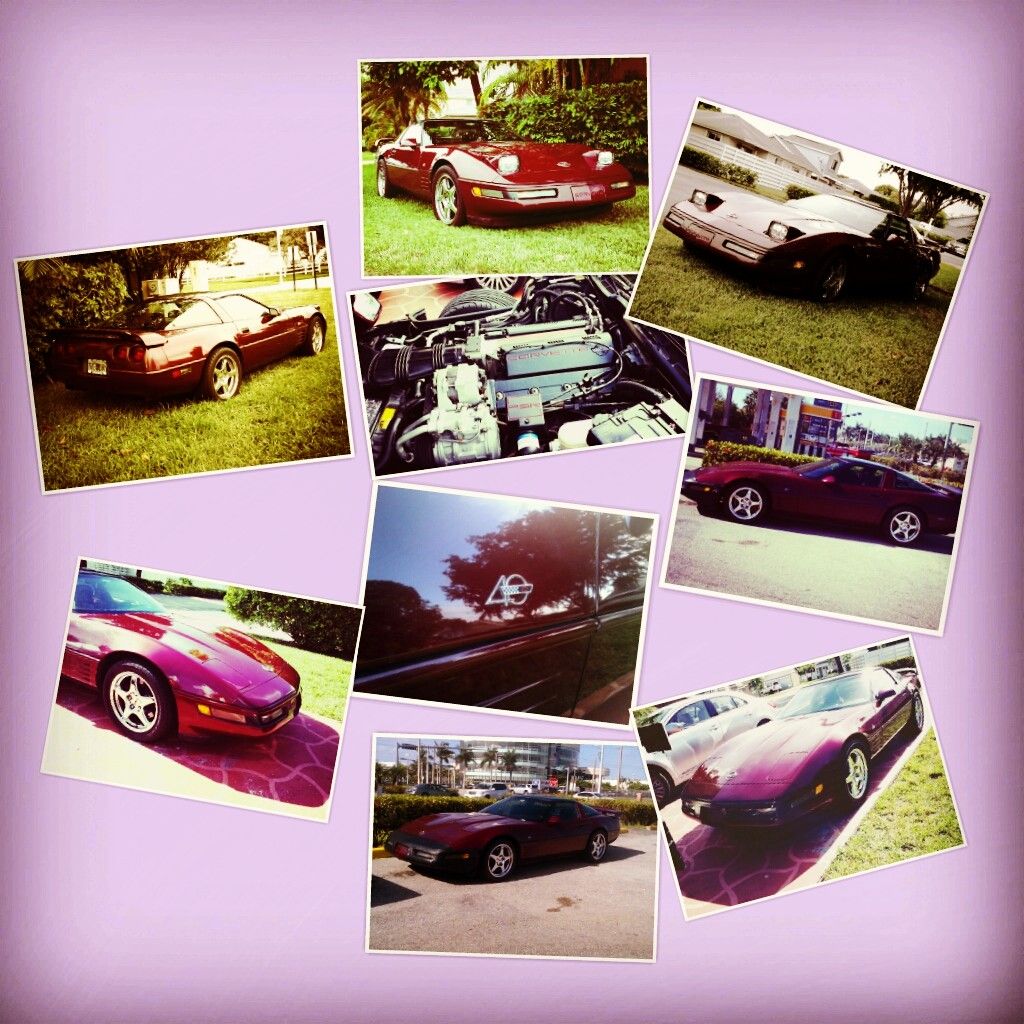
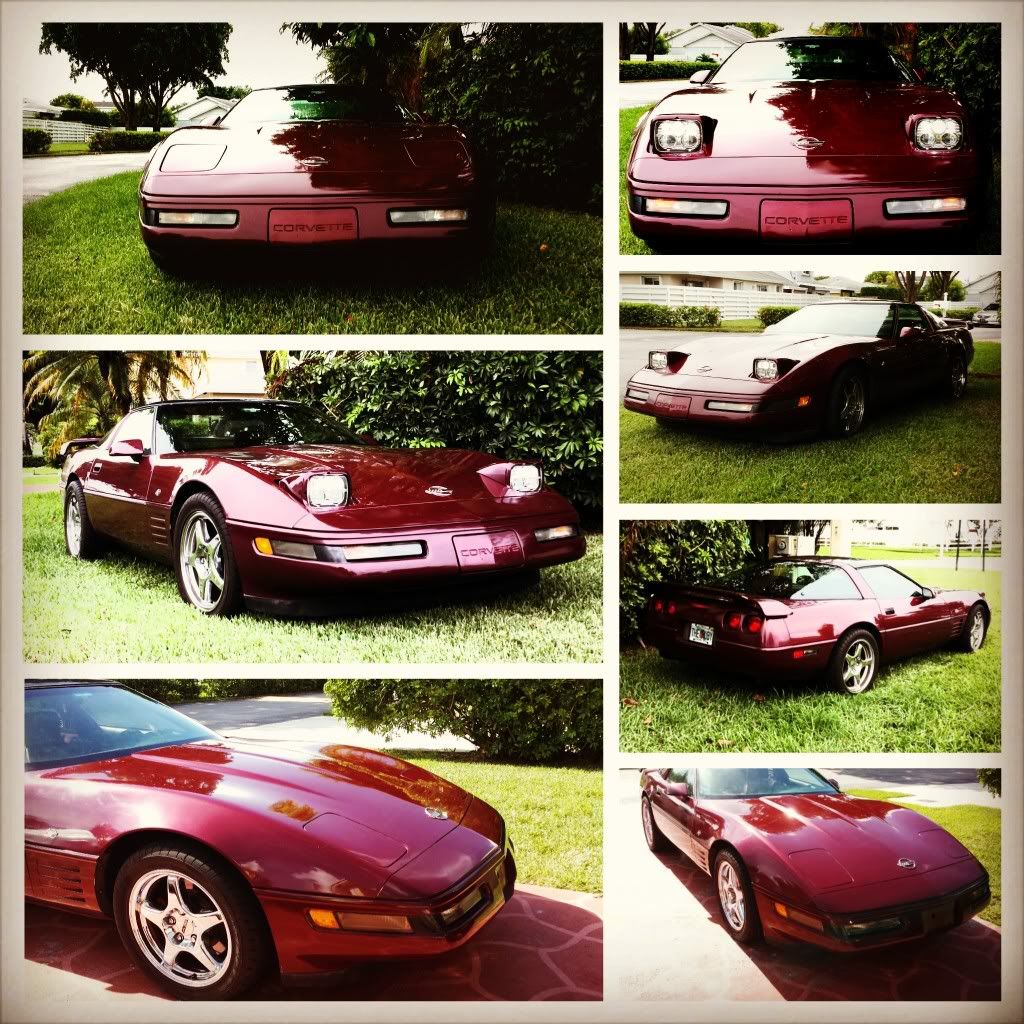
Repainting my front bumper, 1993 Ruby Red Saturday project.
 08-12-2013, 05:55 PM
#21
Team Owner


Great job and pics. 
Both my bumpers have spider cracks that I would like to get rid of. A local shop quoted $2000 to remove, strip, paint and reinstall both of them.
The last time I did any painting was in the mid 70s. It is a totally different process now. After reading this I am tempted to try the front but I thing the rear would be a little more than I would want to do.
What is the DA you mention?
 08-12-2013, 06:08 PM
#22
Pro

Thread Starter
Great job and pics.
Both my bumpers have spider cracks that I would like to get rid of. A local shop quoted $2000 to remove, strip, paint and reinstall both of them.
The last time I did any painting was in the mid 70s. It is a totally different process now. After reading this I am tempted to try the front but I thing the rear would be a little more than I would want to do.
What is the DA you mention?
Did a very good job.
I would not be afraid now of doing the rear. Actually it might even be easier to spray than the front.
I would suggest that you tape the car at the seam, maybe loosen up the bolts a bit to make the seam a bit more visible and start the taping easier, and than cover the rest of the car with painters plastic sheeting. I had a bit of 2k overspray that I had to work a bit on polishing, and had I covered the car like I thought first, would not have happened. ( I forgot to buy it, and then just never went and got it) Spend as much time as needed in the prep, start wet sanding with 800 if you dont feel comfortable with the grit, and as you can see the progress, maybe try 400 or 320 to go a bit faster. I only used 320 lightly in a few areas, but it was mostly 400/600/800 and then the primer.


 08-23-2013, 11:22 PM
#25
Instructor


Member Since: Sep 2003
Location: Las VEgas NV
Posts: 179
Likes: 0
Received 0 Likes
on
0 Posts

I am not a painter and have never painted. I get everything except the 1500/200/2500. Seems crazy to sand the CC, but I guess this paper is so fine it can't destroy the CC. And I guess the rubbing compound (never used any of that either) is to smooth out the CC after the above 1500/200/2500. Is that dry or wet? I also thought after new paint you waited weeks to wax. Thanks for any help. Small brain when it comes to painting
08-23-2013, 11:24 PM
#26
Pro
Thread Starter
Thanks. I have to admit that the results have surpassed my best expectations for this project. I was looking for a temp fix until i could get a full paint job, and though i still plan to do it whenever I have the chance, the quality of the K2 clear shows that it will last quite some time, and will let me be more patient on the next step.
I am planning on re-doing the belt moldings soon, so I will update once I get them done.
I am planning on re-doing the belt moldings soon, so I will update once I get them done.
08-23-2013, 11:34 PM
#27
Pro
Thread Starter
I am not a painter and have never painted. I get everything except the 1500/200/2500. Seems crazy to sand the CC, but I guess this paper is so fine it can't destroy the CC. And I guess the rubbing compound (never used any of that either) is to smooth out the CC after the above 1500/200/2500. Is that dry or wet? I also thought after new paint you waited weeks to wax. Thanks for any help. Small brain when it comes to painting
Yes, the 1500/2000/2500 grit wet-sanding is to get rid of the top orange peel in the clear coat. It was not really a lot, so i did not sand too much.
Rubbing compound was used for the first cut on the clear with the buffer. Basically, just to smooth out the fine scratches left by the 2500 grit. It can still get a a good bit more shine, but I dont want to go crazy buffing the nose and end up with too much of a shine mismatch between the hood and the bumper. I have not used wax yet, only show clean spray to get rid of the mirror glaze residue.
08-23-2013, 11:46 PM
#28
Burning Brakes

 08-23-2013, 11:52 PM
#29

I have a similar project and you convinced me to try it.
I have to ask, you did this in the driveway? You did this in Fl in Aug.?
Thanks for the step by step and pictures. Very impressive.
I have to ask, you did this in the driveway? You did this in Fl in Aug.?
Thanks for the step by step and pictures. Very impressive.
08-23-2013, 11:56 PM
#30
Pro
Thread Starter
Yes, I find that the satisfaction in completing these little projects makes the experience much more worthwile.
I am thankful for all I have been able to learn, both here and in other websites.
When I did the partial resto/refreshing on the 75 Stingray and the 78 Bronco, the interwebz had not been invented yet by Mr. Al Gore.
I had a much tougher time learning for those projects.
I am thankful for all I have been able to learn, both here and in other websites.
When I did the partial resto/refreshing on the 75 Stingray and the 78 Bronco, the interwebz had not been invented yet by Mr. Al Gore.
I had a much tougher time learning for those projects.
08-24-2013, 12:03 AM
#31
Pro
Thread Starter
The color wash out from the sanding went on the floor but came off right away with the pressure cleaner.
I did this a couple of weeks ago, when I started this thread. It was quite hot and I got me a nice tan on my arms and legs, but other than that and drinking a couple of gallons of Lipton Diet Green Tea, it was quite an uneventful project.
The belt moldings I will take off and prepare them in the air conditioned garage, and whenever I get t re-spray the clear on the rear bumper, I will probably tape and cover the rest of the Vette complete, since the K2 clear coat is quite hard and took me some effort to clean up a few spots of over spray.
08-30-2013, 07:38 AM
#32
Instructor
Member Since: Sep 2003
Location: Las VEgas NV
Posts: 179
Likes: 0
Received 0 Likes
on
0 Posts
I am thinking of painting a Targa top from White to match my Dark Red. Do you think I need more than one spray can. Also, you did use the respirator for the 2K?
08-30-2013, 07:38 PM
#33
Pro
Thread Starter
I used one can of 2K primer, two full cans of base coat and 2 full cans of 2k Clear.
I did not have any heavy scratching to fill after I sanded down the old clear and color though, so une can of primer was enough.
I can't say enough good things about the 2K primer and 2K clear.
The hardener does act like it is supposed to and you get a nice surface to apply your base color on after applying the 2K primer and sanding.
Take your time and do it nice and detailed. Mask for sanding, clean prep and remask for primer. Wet sand the primer, clean and remask for base coat, wet color sand with no more than 1000 /1500, and finally clean prep and re mask for clear coat.
Do as many light coats of color to sufficiently coat the targa top each type without laying it on too heavy on each coat, and let it flash about 30 minutes between coats.
Do the same with the clear coat. You will see that the 2K primer and 2K clear are high build, so you will get a nice coat of clear that you can sand with 1500/200 grit and then apply buffing and finish compound.
You will probably be better off laying the paint and clear across the short side of the top to minimize effort and to have a more even coat on each stroke.
Start spraying a few inches before getting to the top edge and stop spraying a few inches past the other edge. Do not get to the other side and do a return stroke with the can triggered as it will cause uneven coverage on that edge.
The mask is a must and you should also be on a very well ventilated area or outside.
Keep kids and pets of all kinds away from the smell, as it id noxious enough to cause a headache and of course, in close proximity, can cause respiratory problems.
Have fun and post pictures of your targa top.
09-02-2013, 12:06 PM
#34
Instructor
Member Since: Sep 2003
Location: Las VEgas NV
Posts: 179
Likes: 0
Received 0 Likes
on
0 Posts
I used one can of 2K primer, two full cans of base coat and 2 full cans of 2k Clear.
I did not have any heavy scratching to fill after I sanded down the old clear and color though, so une can of primer was enough.
I can't say enough good things about the 2K primer and 2K clear.
The hardener does act like it is supposed to and you get a nice surface to apply your base color on after applying the 2K primer and sanding.
Take your time and do it nice and detailed. Mask for sanding, clean prep and remask for primer. Wet sand the primer, clean and remask for base coat, wet color sand with no more than 1000 /1500, and finally clean prep and re mask for clear coat.
Do as many light coats of color to sufficiently coat the targa top each type without laying it on too heavy on each coat, and let it flash about 30 minutes between coats.
Do the same with the clear coat. You will see that the 2K primer and 2K clear are high build, so you will get a nice coat of clear that you can sand with 1500/200 grit and then apply buffing and finish compound.
You will probably be better off laying the paint and clear across the short side of the top to minimize effort and to have a more even coat on each stroke.
Start spraying a few inches before getting to the top edge and stop spraying a few inches past the other edge. Do not get to the other side and do a return stroke with the can triggered as it will cause uneven coverage on that edge.
The mask is a must and you should also be on a very well ventilated area or outside.
Keep kids and pets of all kinds away from the smell, as it id noxious enough to cause a headache and of course, in close proximity, can cause respiratory problems.
Have fun and post pictures of your targa top.
I did not have any heavy scratching to fill after I sanded down the old clear and color though, so une can of primer was enough.
I can't say enough good things about the 2K primer and 2K clear.
The hardener does act like it is supposed to and you get a nice surface to apply your base color on after applying the 2K primer and sanding.
Take your time and do it nice and detailed. Mask for sanding, clean prep and remask for primer. Wet sand the primer, clean and remask for base coat, wet color sand with no more than 1000 /1500, and finally clean prep and re mask for clear coat.
Do as many light coats of color to sufficiently coat the targa top each type without laying it on too heavy on each coat, and let it flash about 30 minutes between coats.
Do the same with the clear coat. You will see that the 2K primer and 2K clear are high build, so you will get a nice coat of clear that you can sand with 1500/200 grit and then apply buffing and finish compound.
You will probably be better off laying the paint and clear across the short side of the top to minimize effort and to have a more even coat on each stroke.
Start spraying a few inches before getting to the top edge and stop spraying a few inches past the other edge. Do not get to the other side and do a return stroke with the can triggered as it will cause uneven coverage on that edge.
The mask is a must and you should also be on a very well ventilated area or outside.
Keep kids and pets of all kinds away from the smell, as it id noxious enough to cause a headache and of course, in close proximity, can cause respiratory problems.
Have fun and post pictures of your targa top.
09-03-2013, 06:55 AM
#36
Administrator


Member Since: Mar 2001
Location: In a parallel universe. Currently own 2014 Stingray Coupe.
Posts: 342,907
Received 19,286 Likes
on
13,962 Posts
C7 of the Year - Modified Finalist 2021
MO Events Coordinator
St. Jude Co-Organizer
St. Jude Donor '03-'04-'05-'06-'07-'08-'09-'10-'11-'12-'13-'14-'15-'16-'17-'18-'19-
'20-'21-'22-'23-'24
NCM Sinkhole Donor
CI 5, 8 & 11 Veteran


Looks really good - very nice job getting that bumper back in shape.
09-06-2013, 01:27 PM
#38
Racer
Member Since: Oct 2010
Location: Providence RI
Posts: 499
Likes: 0
Received 0 Likes
on
0 Posts
Great Job, you have beans the size of watermelons to take on that job in the driveway, I know I would have screwed that up royally!!! and my wife would have been standing next to yours saying.."yep, you are crazy!!" as I had the car dragged off to the nearest body shop!!
Best, Derek
Best, Derek

