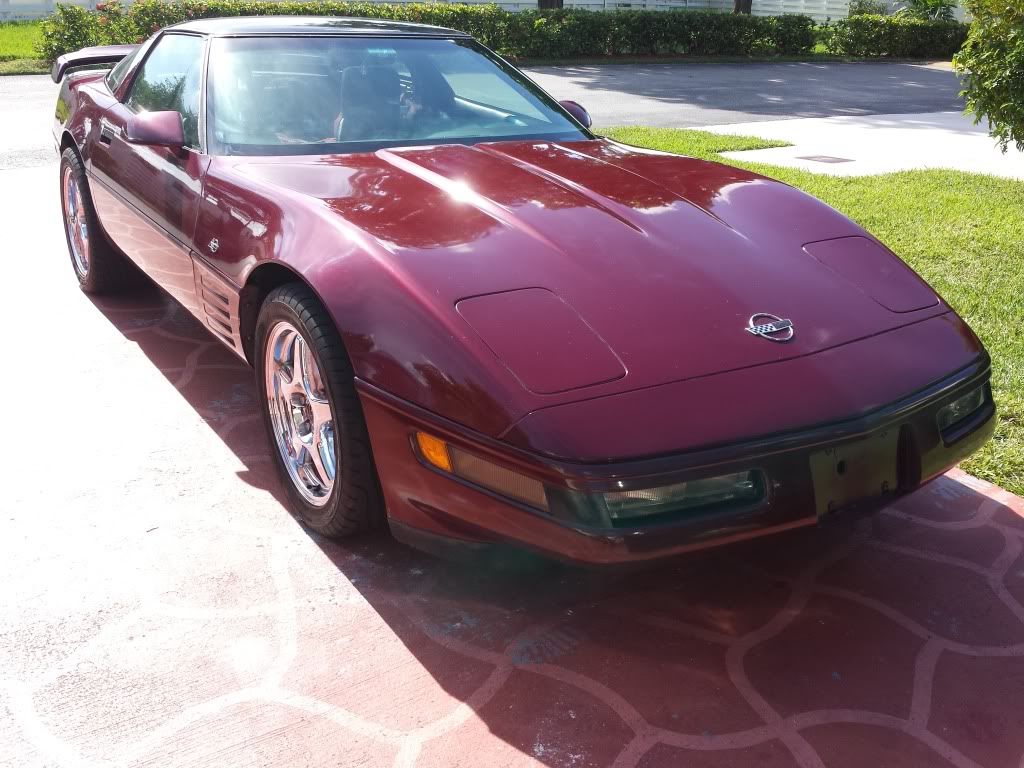
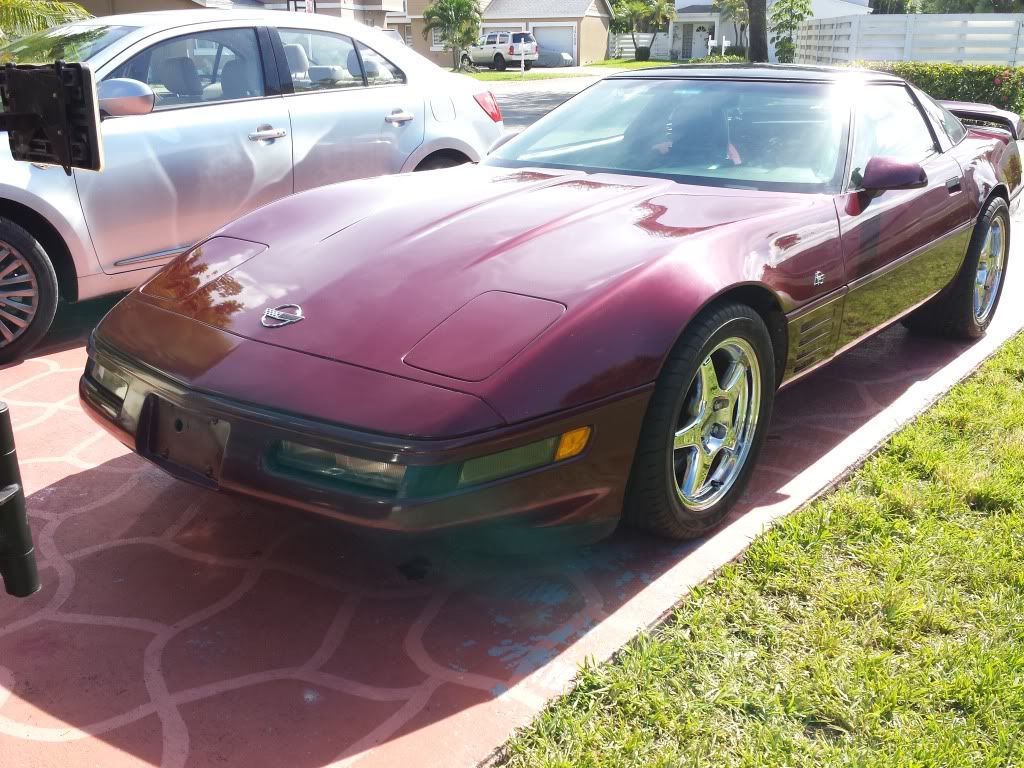
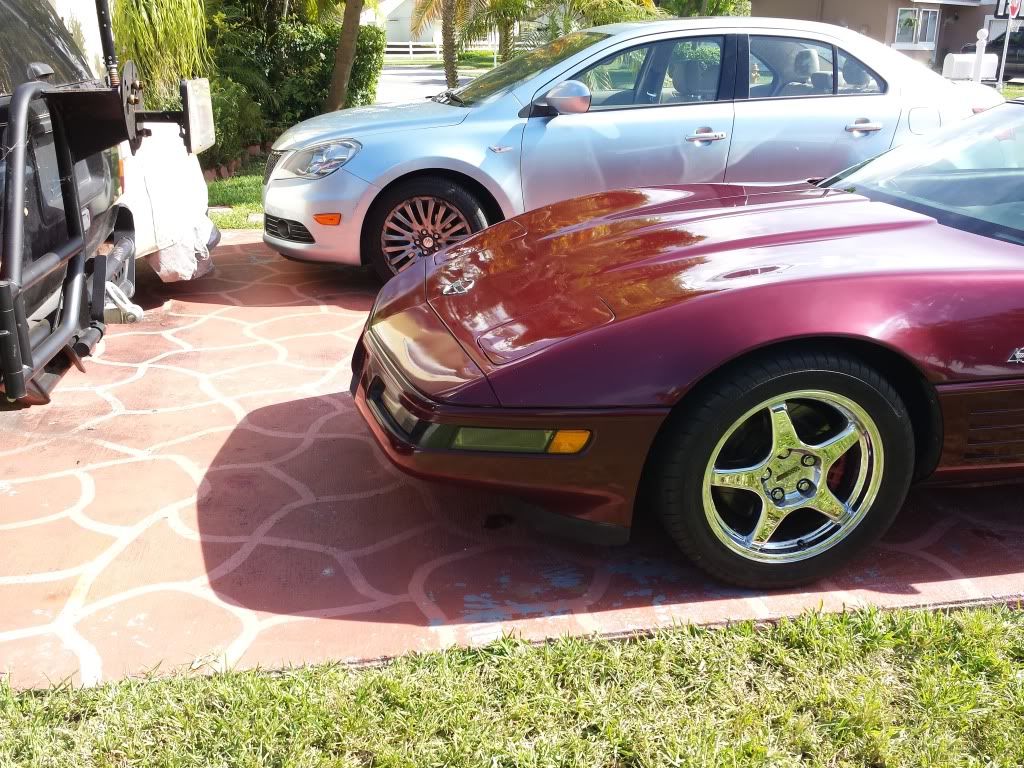
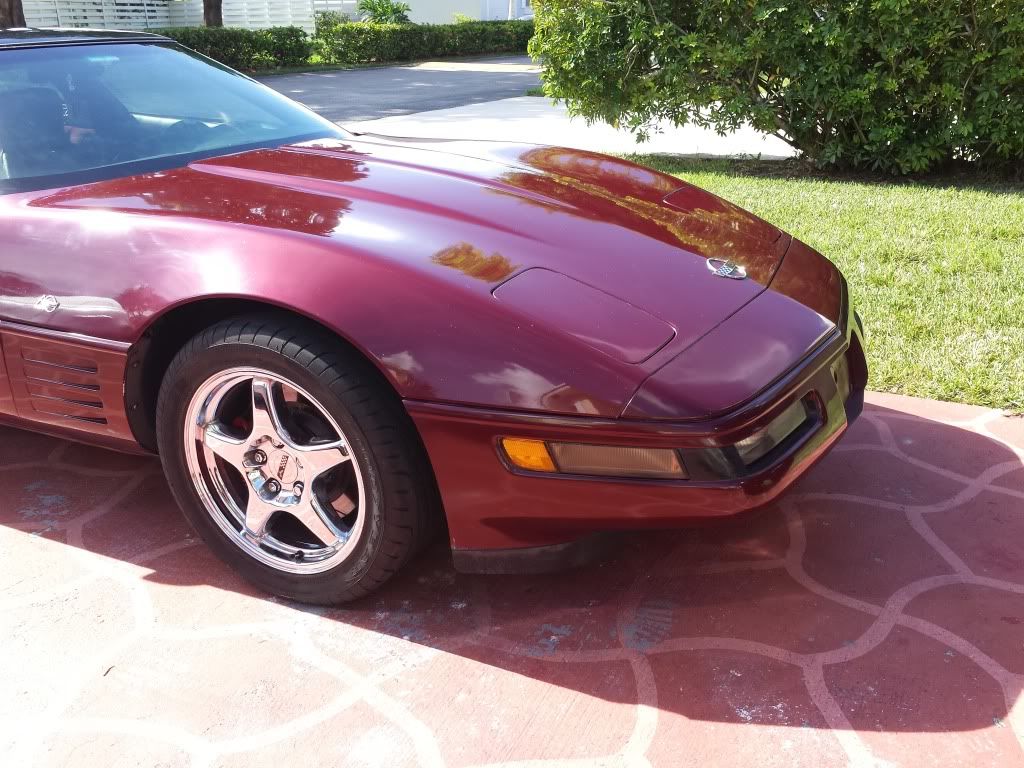
Repainting my front bumper, 1993 Ruby Red Saturday project.
 10-02-2013, 04:28 PM
#61
Burning Brakes


 10-02-2013, 08:52 PM
#63
Pro

Thread Starter
Yes, that is why I have been thinking of getting a spare set of door handles and do them in Ruby red. I am not sure of what to expect as a result, so that is why I don't want to attempt that in my originals.
They did clean up pretty good though, so not they look nice and black.
I will be hanging the a pillar weatherstrip next, so I will have the chance e to re do the black molding around the windshield.
10-05-2013, 09:35 PM
#64
Pro
Thread Starter
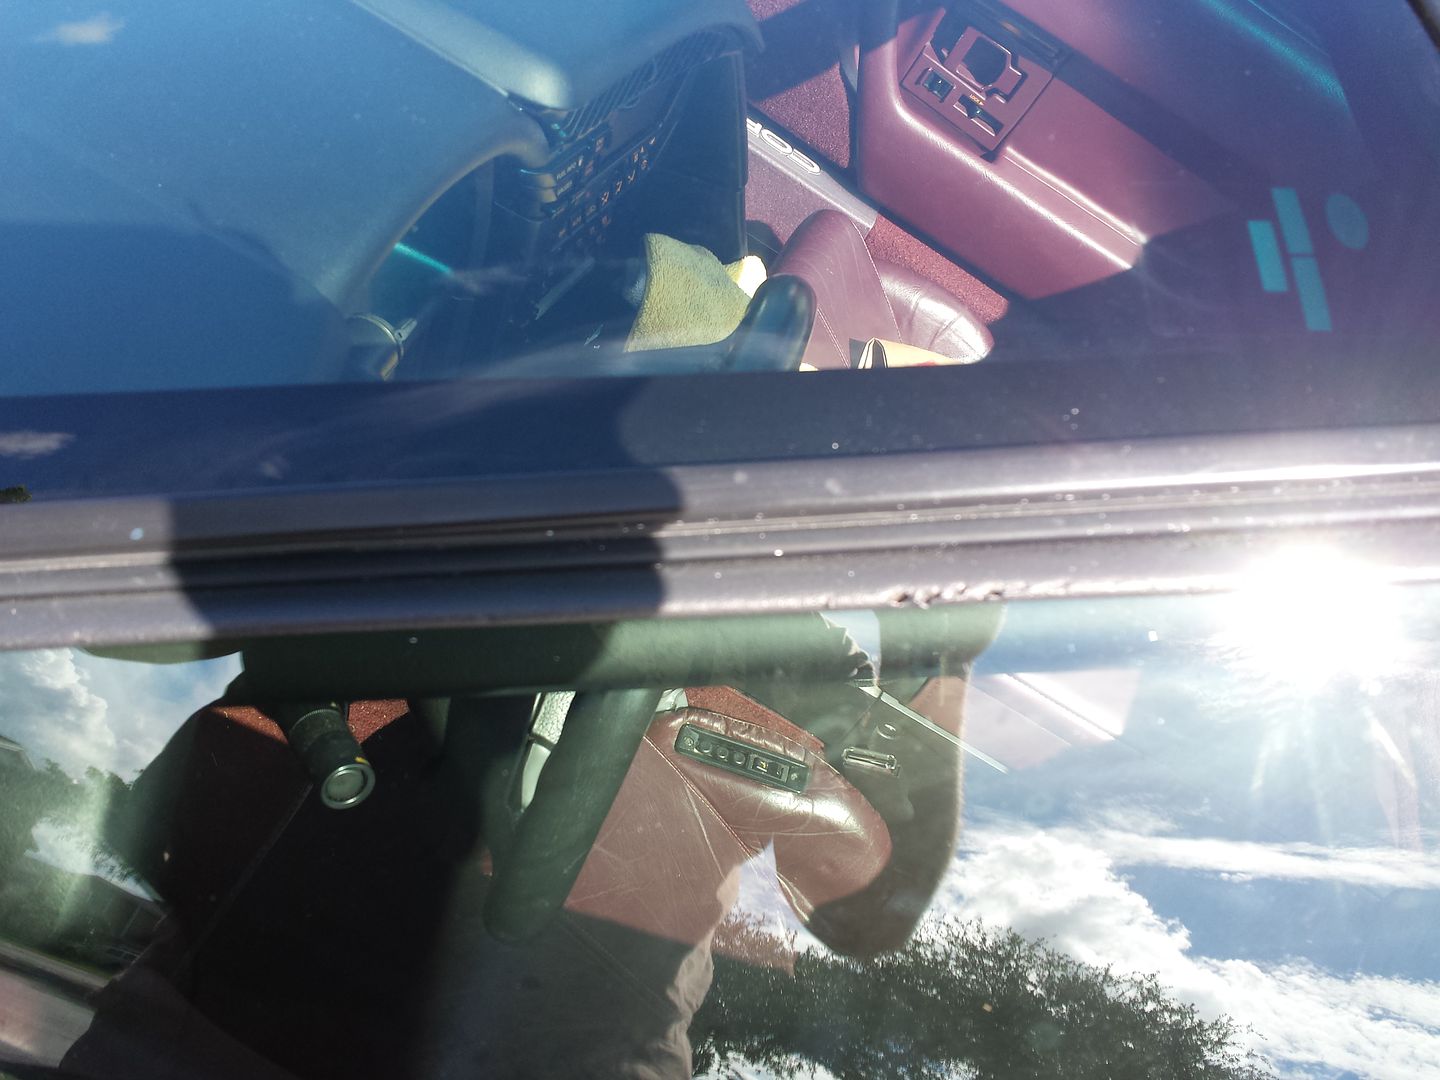
I scored an A pillar wheather strip in the auction site for $40.00
It is actually pretty good quality, and came in a bag labeled "retail $109.00.
I had read many horror stories on replacing it, with messy glues, bad adjustments, and difficulties getting them in the grooves. I found this set to be nice and plieable.
Laid it in the sun for about 45 minutes, took the old one off (original piece), and put the new one back on in less than 20 minutes.
I used a small plastic putty knife which I previously filed the sharp edges and corner to protect the weatherstripping, and then held one end in the grove and pushed the opposite end in with the putty knife. Took me longer to find the knife and file it.
I will have someone take pics of the install whenever I do the B pillar one, but for now, here are the old, raggedy ones...
Driver Side
Right Side
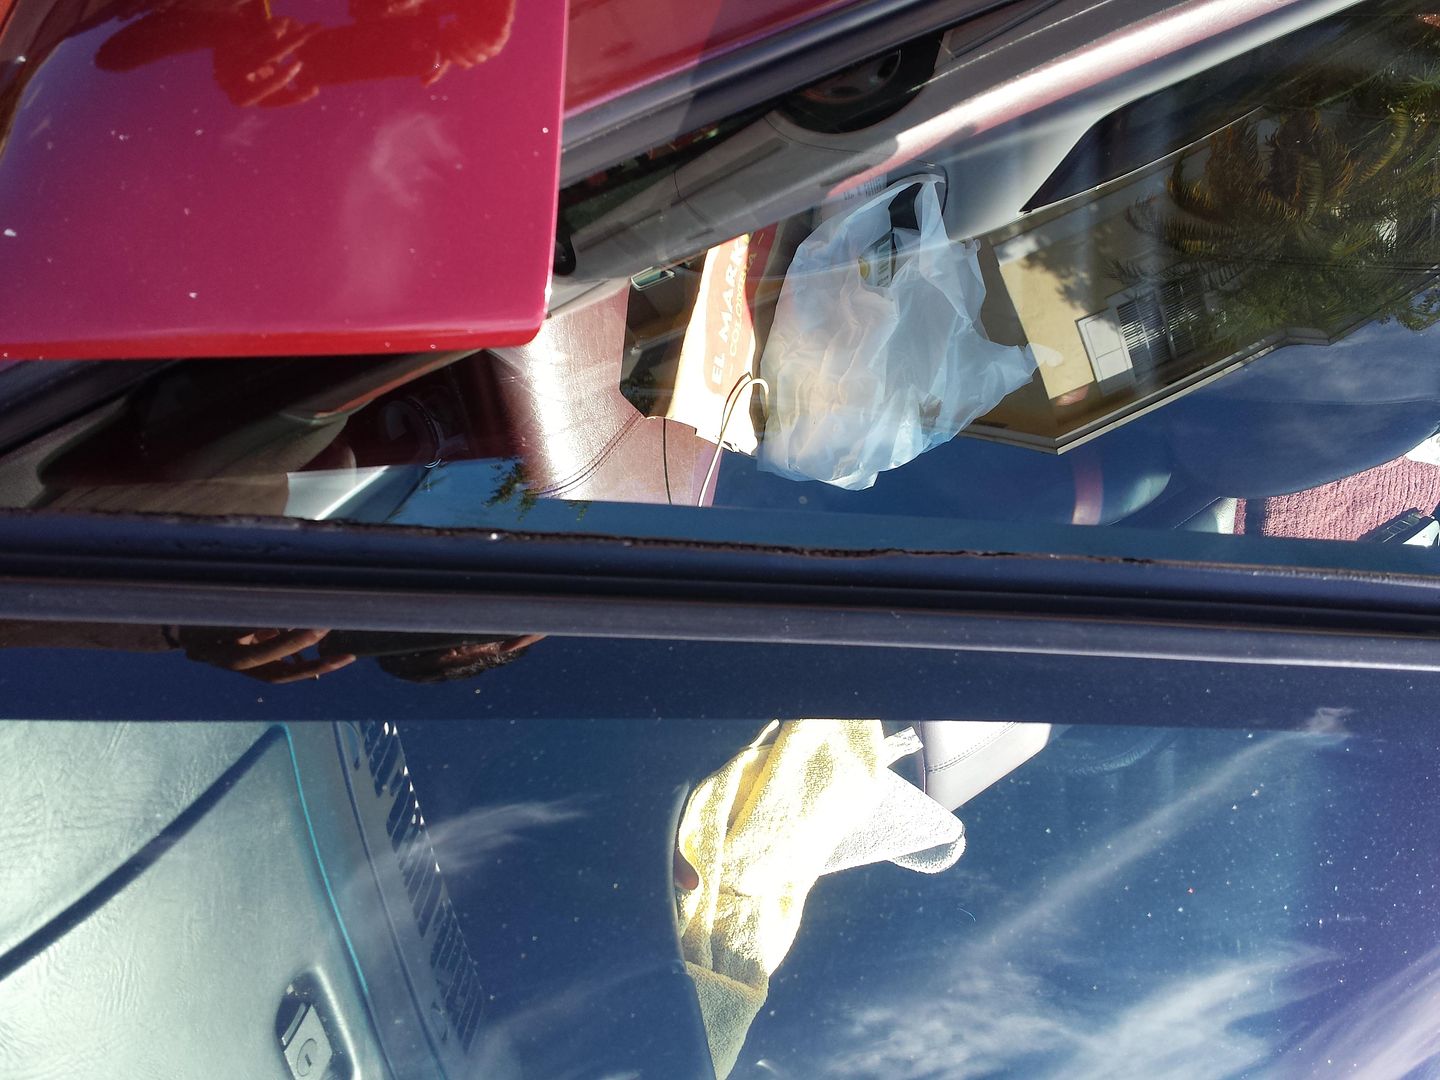
New one installed...
Right side
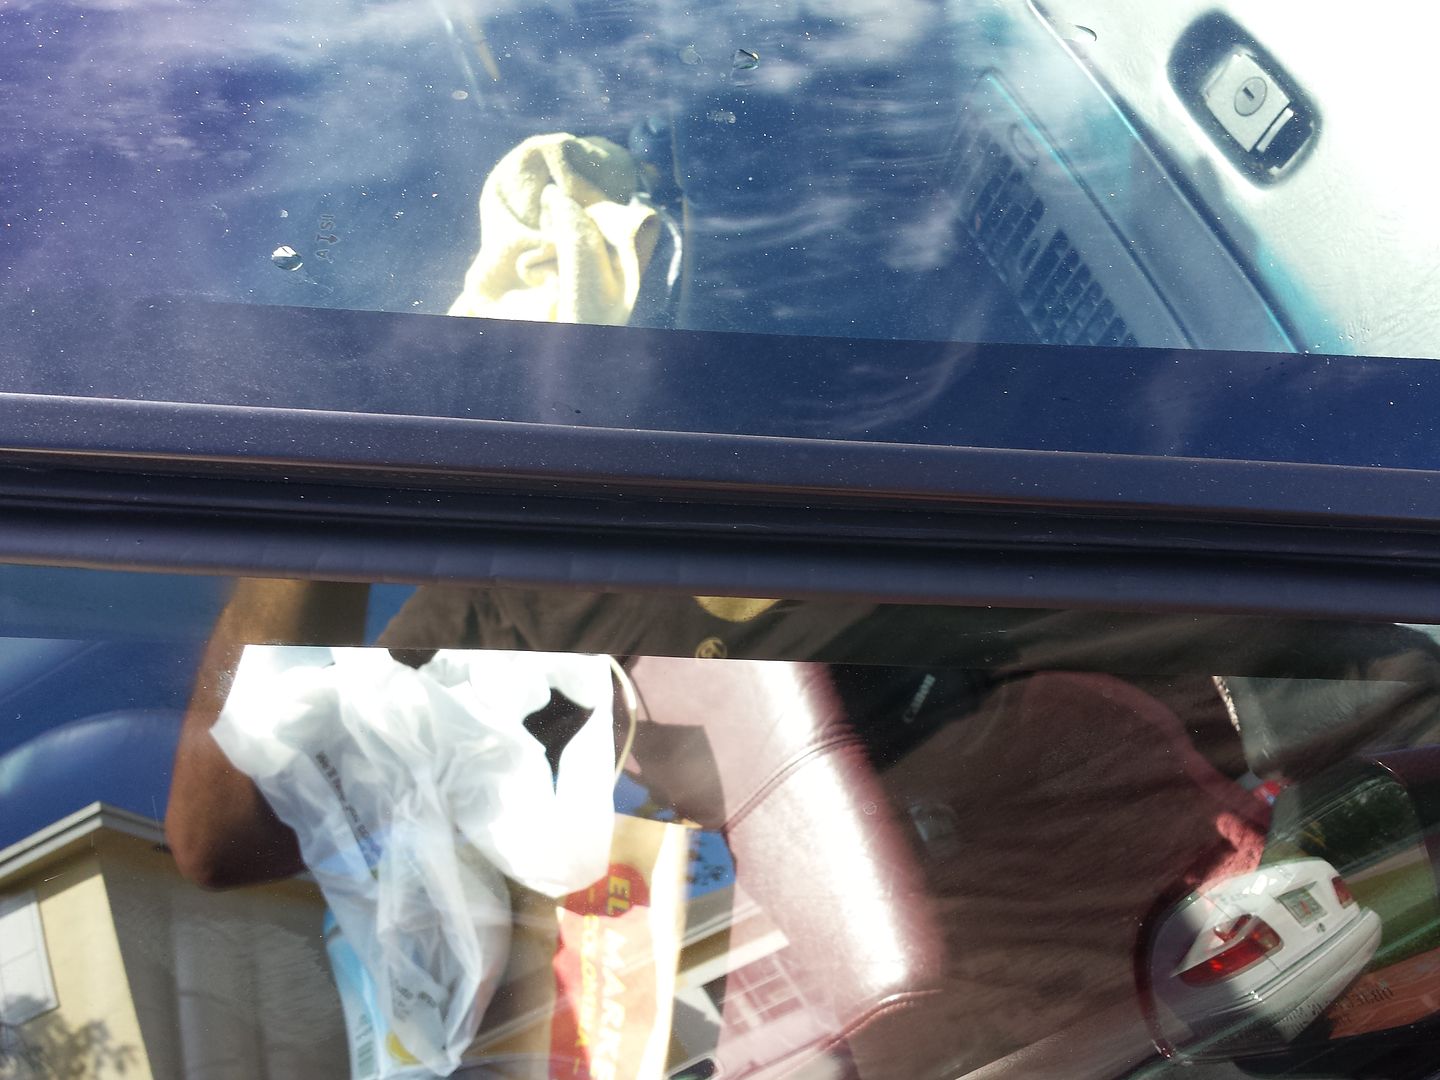
Driver side
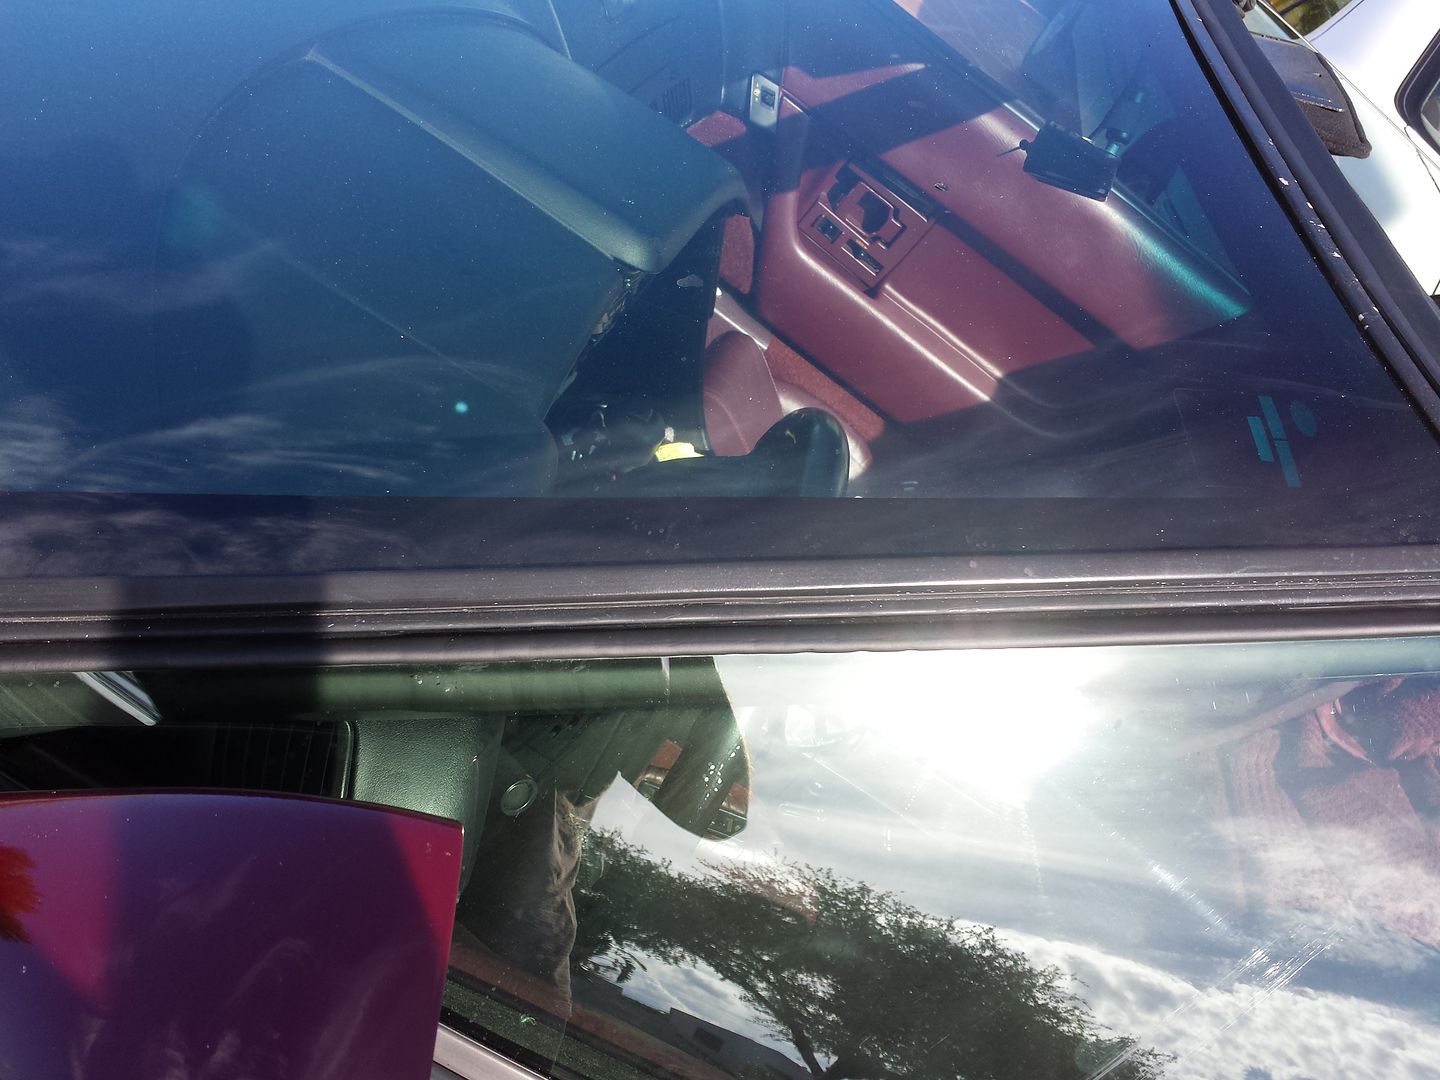
I will get to refinishing the windshield beauty molding soon too.
It is actually pretty good quality, and came in a bag labeled "retail $109.00.
I had read many horror stories on replacing it, with messy glues, bad adjustments, and difficulties getting them in the grooves. I found this set to be nice and plieable.
Laid it in the sun for about 45 minutes, took the old one off (original piece), and put the new one back on in less than 20 minutes.
I used a small plastic putty knife which I previously filed the sharp edges and corner to protect the weatherstripping, and then held one end in the grove and pushed the opposite end in with the putty knife. Took me longer to find the knife and file it.
I will have someone take pics of the install whenever I do the B pillar one, but for now, here are the old, raggedy ones...
Driver Side
Right Side
New one installed...
Right side
Driver side
I will get to refinishing the windshield beauty molding soon too.
10-07-2013, 11:27 PM
#65
Burning Brakes

Nice job on the bumper. i did the same thing, not to the same extent.
Looked like the previous owner bumped into something and cracked the paint in a spot. Like you, I sanded, primed, repeated, repeated, repeated until completely smooth. I used Dupli-Color Arctic White. Unlike you, I did not use clear. I just painted and wet-sanded multiple times up to 2500 grit. Then, I used 3M Rubbing Compound and then Buffing Compound until it was like glass. Not one person that knew about the "bruise" on my bumper can find ANY sign sign of it now. Just the way I planned it.
So, it pays to put the extra effort into multiple coats and wet-sanding.
FACT: NEVER wet-sand a metallic color coat (you will sand the paint off the aluminum particles) . Wet-sand the clear coat ONLY. Also, any non-metallic paint can be wet-sanded.
Way to go. Good job.

 12-12-2013, 07:24 AM
#67
Le Mans Master

Member Since: Oct 2004
Location: South-central Missouri
Posts: 6,314
Received 500 Likes
on
395 Posts

Friggin awesome job! Couldn't come at a better time, either!
I just learned of the urethane welding to fix cracks in urethane bumpers. I've got a couple on my Z, following my mishap, and you give me the courage to invest in the tooling and the paint, to see if there is a business in here somewhere!
Many thanks for the post!!
I just learned of the urethane welding to fix cracks in urethane bumpers. I've got a couple on my Z, following my mishap, and you give me the courage to invest in the tooling and the paint, to see if there is a business in here somewhere!
Many thanks for the post!!
10-22-2014, 09:06 PM
#68
Team Owner


My son worked in a collision shop for a time, before going into the engine building end of things. Anyway, he says you've got a second career option working for you if you ever wanted some extra cash.
Nice job!
Nice job!