Show us your NO or LOW COST HOME MADE do it yourself stuff
 10-04-2013, 09:45 PM
#21
Advanced

Member Since: Dec 2009
Location: Whitman MA
Posts: 76
Likes: 0
Received 0 Likes
on
0 Posts
Hey phlounda, how did you replace the warning lights on the information center? also the stereo replacement? that looks awesome? where are the temperature controls? can you give us a panned out shot of the dash? and share some details on how you did it? it looks awesome!! I love the C$ logo on the stereo display. 


It took me about 6 months on and off to make it. Here are links to the main "ingredients"
This is "the brains" of the operation.
I had to learn a variant of c+ to program this
This relay board
This is the actual interface between the car and the brain board.
Display
All of the electronics are hidden behind the breadbox delete kit.
I'm also in the process of adding an external temp sensor to be displayed on the lcd.
As far as the stereo goes. Its simply a double din radio. The temp controls are still in the same place.
I just trimmed the lower piece on the bezel between the the radio and temp controls.
Last edited by phlounda; 10-04-2013 at 09:49 PM.

 [/ATTACH]
10-04-2013, 09:53 PM
[/ATTACH]
10-04-2013, 09:53 PM
#23
Melting Slicks


 10-04-2013, 10:33 PM
#26
Advanced
Member Since: Dec 2009
Location: Whitman MA
Posts: 76
Likes: 0
Received 0 Likes
on
0 Posts
10-04-2013, 10:42 PM
#27
Le Mans Master

Built my own "test pipe" to replace the cat when drag racing. Use the ends off a old cat and some sheet stock I had in the shop.


Then used compression fittings on the air tube to connect back to the cat and the "test pipe" so I could easily switch.

Then I built my own high flow exhaust using straight pipe and mandrel bends from Summit and some Force high flow mufflers (like Magnaflow). Mufflers had one 2-1/2" in and two 2-1/2" out. Total cost from Summit for pipe and the two mufflers $149.00.


Then when I built the ZZ4 I couldn't find covers to handle the high lift of the LPE74211 cam. Solved that problem by sanding off the corners on the aluminum roller rockers (exhaust only). Intake rockers cleared using a taller gasket. I was able to use the stock valve covers.

Then used compression fittings on the air tube to connect back to the cat and the "test pipe" so I could easily switch.
Then I built my own high flow exhaust using straight pipe and mandrel bends from Summit and some Force high flow mufflers (like Magnaflow). Mufflers had one 2-1/2" in and two 2-1/2" out. Total cost from Summit for pipe and the two mufflers $149.00.
Then when I built the ZZ4 I couldn't find covers to handle the high lift of the LPE74211 cam. Solved that problem by sanding off the corners on the aluminum roller rockers (exhaust only). Intake rockers cleared using a taller gasket. I was able to use the stock valve covers.
10-05-2013, 02:26 PM
#29
Race Director


When I mounted headers, I came up with self-fabbed bracked to provide add'l mounting for accessory brackets...

Of course, there's the general engine aesthetics. (Here, you can see bracket mount from above.)

Heat shield for oil cooler.

I also tried to make an OEM-option-like amplifier....LOL (Later, I added double-sided tape to hold carpet tighter) I've been thinking about a trim piece to make it better....

You can also see custom speaker grills and the back-end of my recovered console (above).
Last edited by GREGGPENN; 10-05-2013 at 02:30 PM.

 10-05-2013, 08:26 PM
#32
Burning Brakes

 10-05-2013, 09:33 PM
#34
The Heim Links are from Ecklers and are the C5 adjustable ones ($29.00 per pair). The stepped chromalloy washers are "Weld Washer �” Bolt Hole For 1/8” Plate" from PacificCustoms.com. The thick washers are "Beveled Flat Washer, 18-8 Stainless Steel, 1/2" Bolt Size" and came from Amazon.com. I bought a new pair of lower mounts from Zip Corvette. My sway-bar had a �” hole with the poly mount removed and the Heim Links have a �” hole so I used the weld washer to reduce the sway-bar mounting hole. I had to drill out the lower mounts from the stock 3/8” hole to the �” hole for the Heim Link bolts. The beveled washers are so the Heim Link does not bottom out on the bolts or weld washer. You assemble them with the bevel side towards the Heim Link which allows them to move freely. Mount them on the outer side of the sway-bar and they line right up. They are a 1/4" taller then the stock ones when you have them adjusted for their shortest level. You could probably order your own Heim Links but for the price the Ecklers ones are a good deal.
Last edited by Klyde; 10-05-2013 at 09:52 PM.
10-05-2013, 11:06 PM
#35
Burning Brakes
Made a "improved" alternator brace in anticipation of a header install and to accommodate the CS140 alternator swap.

Moved the (sealed) battery to the storage bin. The original battery cable connections were converted to jump-start lugs.


Moved the (sealed) battery to the storage bin. The original battery cable connections were converted to jump-start lugs.

Last edited by DanZ51; 10-06-2013 at 04:46 PM.
10-06-2013, 11:20 AM
#37
Pro

Has anyone ever tried replacing the panel that lets you switch from oil press. to oil temp. etc with an IR touch panel or 3~5 wire resistive touch panel? I was thinking a touch panel for the controls would be a nice addition to phlounda's LCD. Phlounda, that is really slick!
10-06-2013, 08:10 PM
#38
Melting Slicks
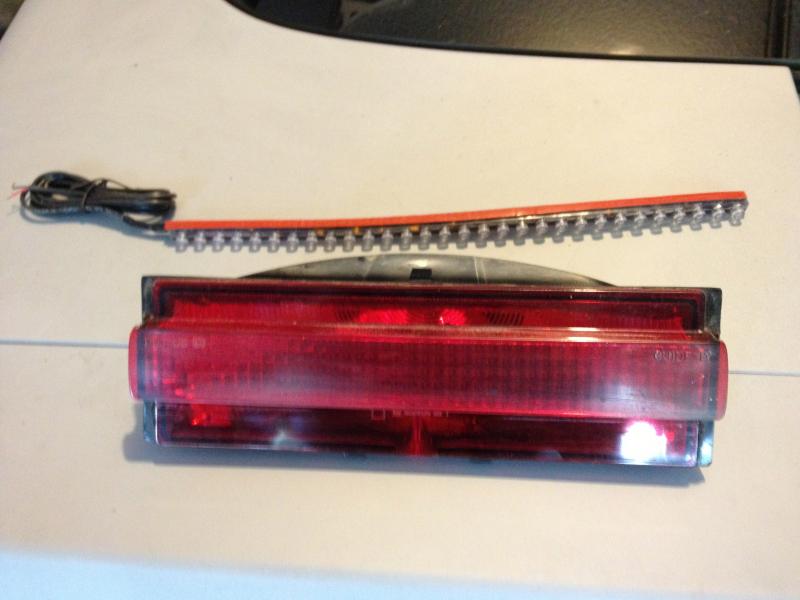
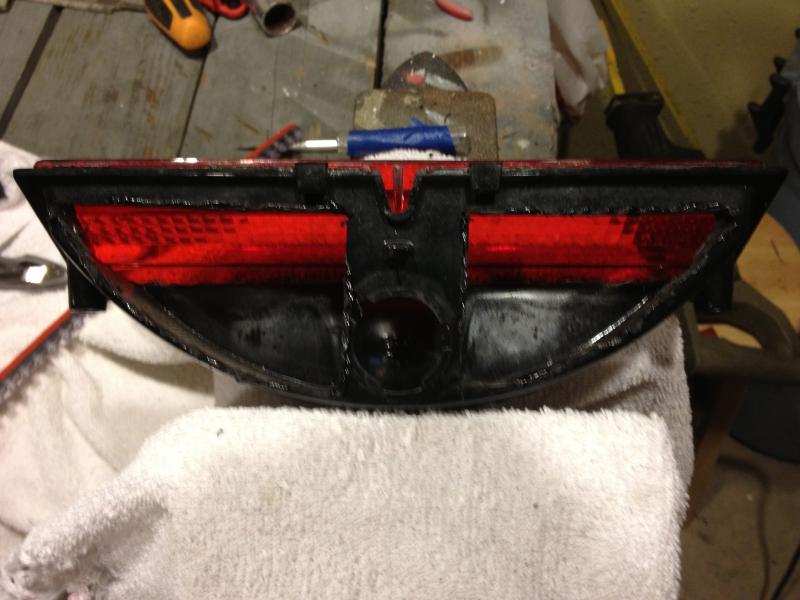
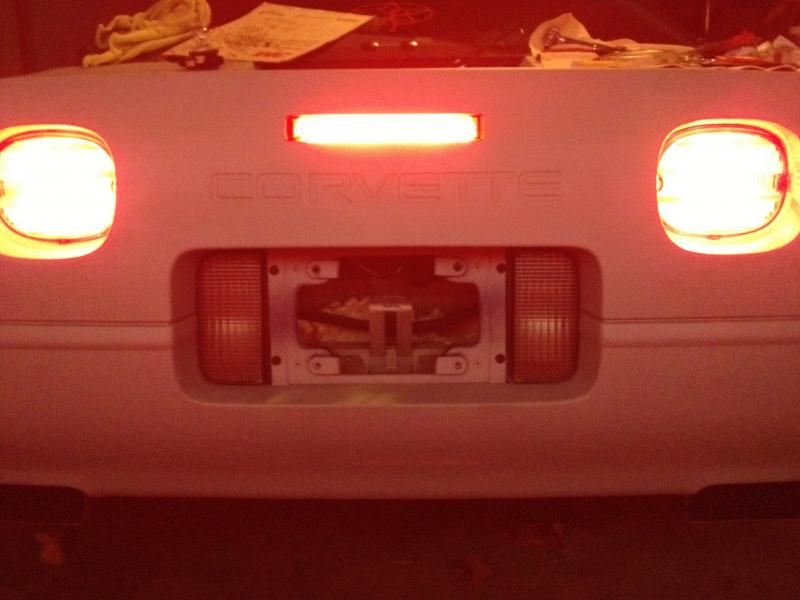
Mount a switch in the rear to turn the hatch lights off when the hatch is open. The wiring is right there. I know , they turn off after 20 min. on the timer. The red dowel was my crude previous method.
10-06-2013, 10:04 PM
#40
I have a complete set of Banski Heim Link Rear Bars. I don't race but through research discovered that a complete Heim Link rear moves much smoother and quicker then the stock rubber ones. Banski didn't sell sway-bar links so I made my own. I coupled this with QA-1 single adjustable shocks and my car has the best ride it's ever had. With the looser rear I picked up a little extra body roll in the turns so I went up 2mm's on the front and rear sway-bars. The 96' has the softest spring of all the C4's. Not only do I have an incredibly smooth ride it also handles like its on rails. Best of both worlds.
Last edited by Klyde; 10-06-2013 at 10:19 PM.

