Starting the teardown
 10-08-2014, 07:46 PM
#61
Race Director


Dave.
It looks good. And YES...when putting it back together...pacing yourself...even though you will be all 'jacked up' to get it on the road....is wise.
DUB
It looks good. And YES...when putting it back together...pacing yourself...even though you will be all 'jacked up' to get it on the road....is wise.
DUB
 10-09-2014, 06:50 PM
#63
Race Director
10-22-2014, 09:34 PM
#64
Safety Car

Thread Starter
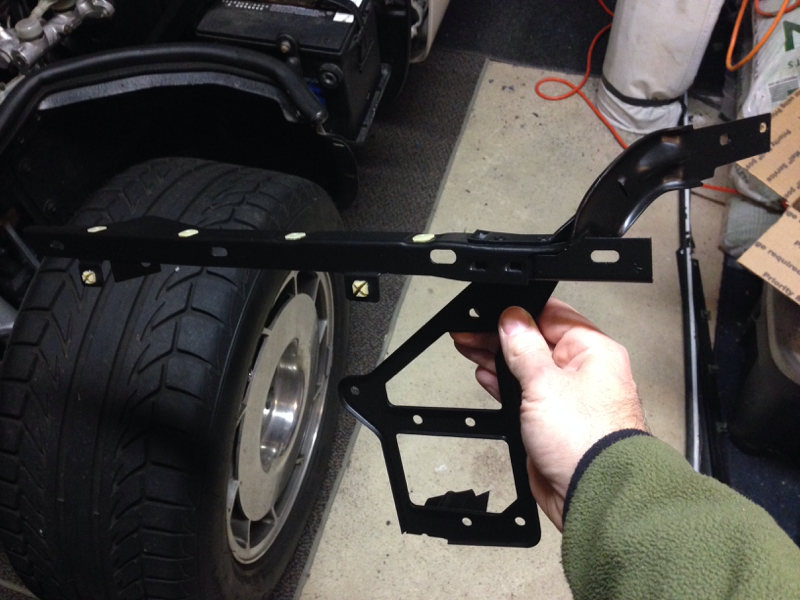
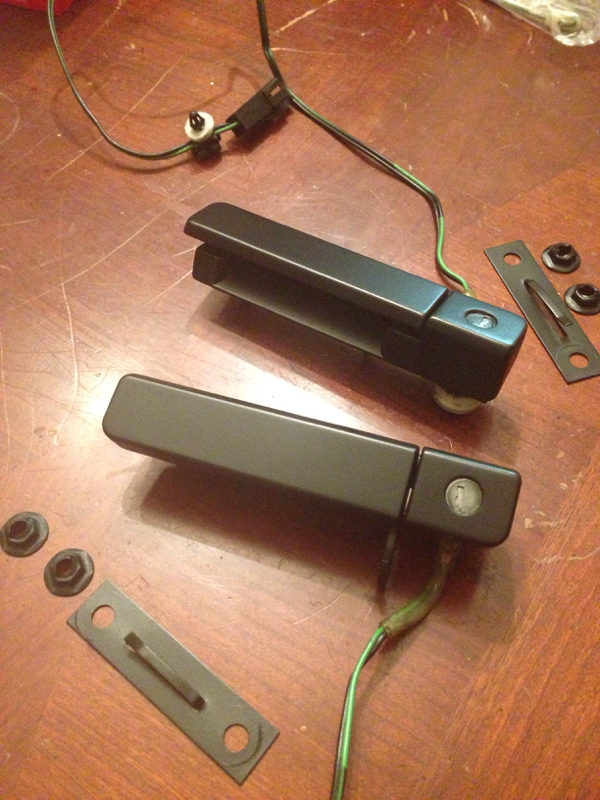
Been busy trying to keep up with the falling leaves, car shopping, and family stuff so I havent been able to get a lot done. That said, I did manage to refinish the front bumper braces
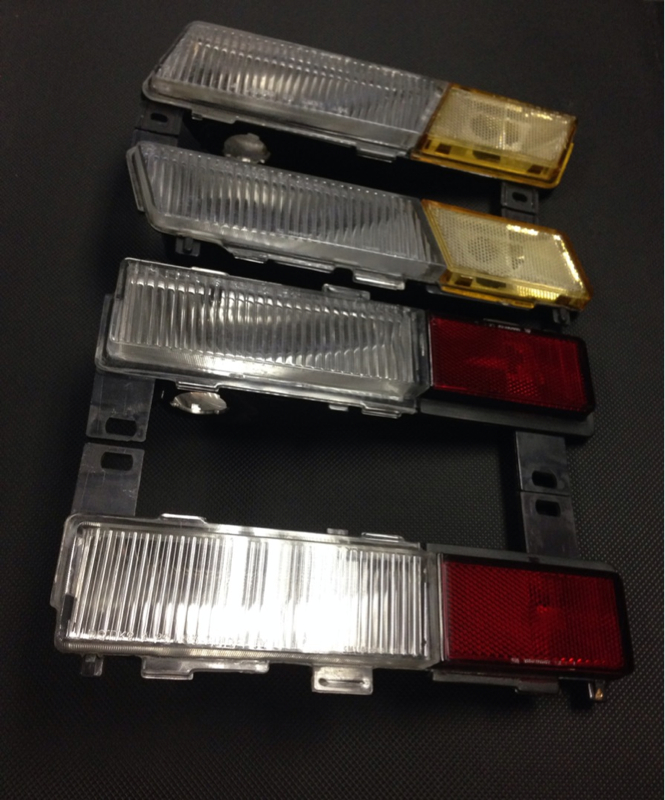
And get started cleaning up the F-in overspray off of the lenses. Id like to meet the guy in a dark alley! Scraping the paint out of all of the fine grooves of the reverse lens got me a tad irritated!
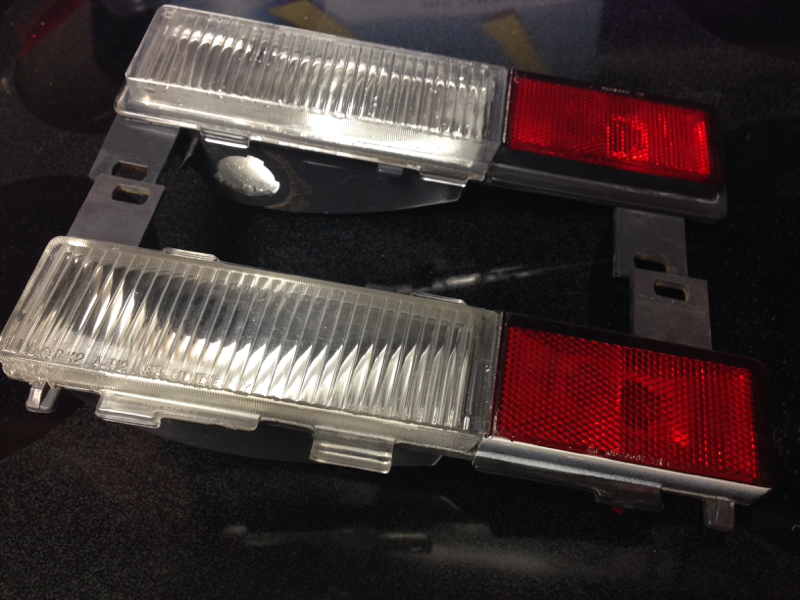
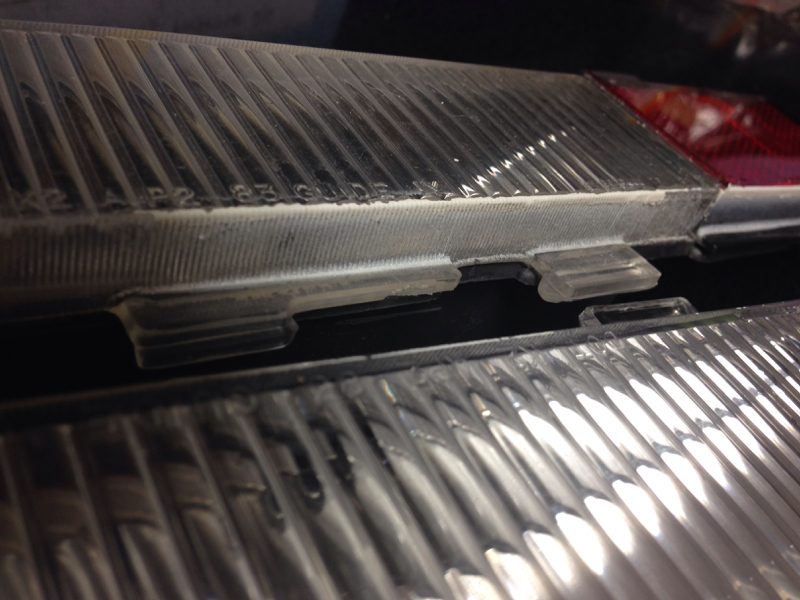
And get started cleaning up the F-in overspray off of the lenses. Id like to meet the guy in a dark alley! Scraping the paint out of all of the fine grooves of the reverse lens got me a tad irritated!


 11-16-2014, 04:35 PM
#67
Safety Car
Thread Starter
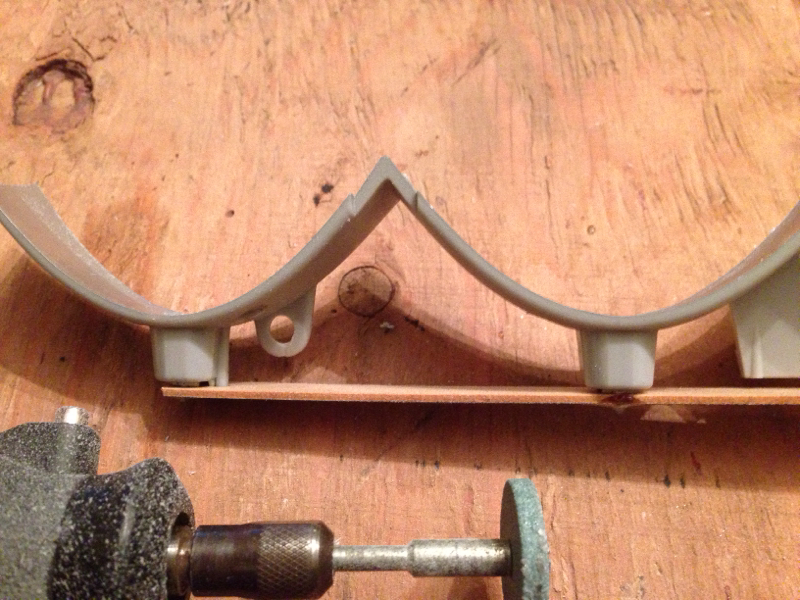
The third brake light had always been an issue on my car. The sockets are heat damaged and the metal tabs that hold the bulbs weak. It required me to bend the bulb prongs to "pinch" them to keep them in place, which really didn't help much. So since it's all apart I decided to convert it to 12V LED bulbs. I went with white Alpena LED strips. The set came with two 4 inch strips with 3M adhesive backing. 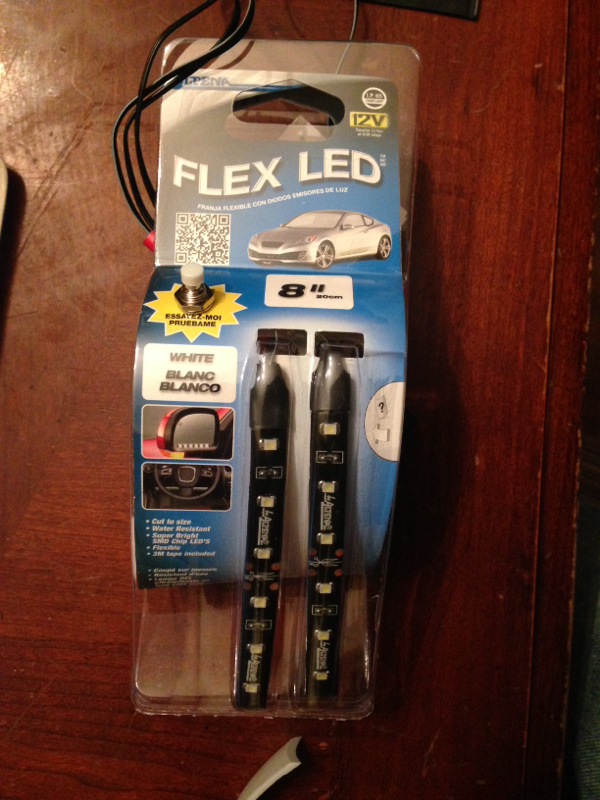 The strips have 6 LEDs each and can be cut in the middle. I cut them which gave me 3 LEDs per light socket. After laying it all out and soldering everything up I used the dremmel to grind down the tabs at each socket. Then stuck them in each socket with the 3M backing. Although the 3M was pretty strong I decided to use electrical tape to secure them further. All I could think was the hot sun softening and loosening the adhesive.
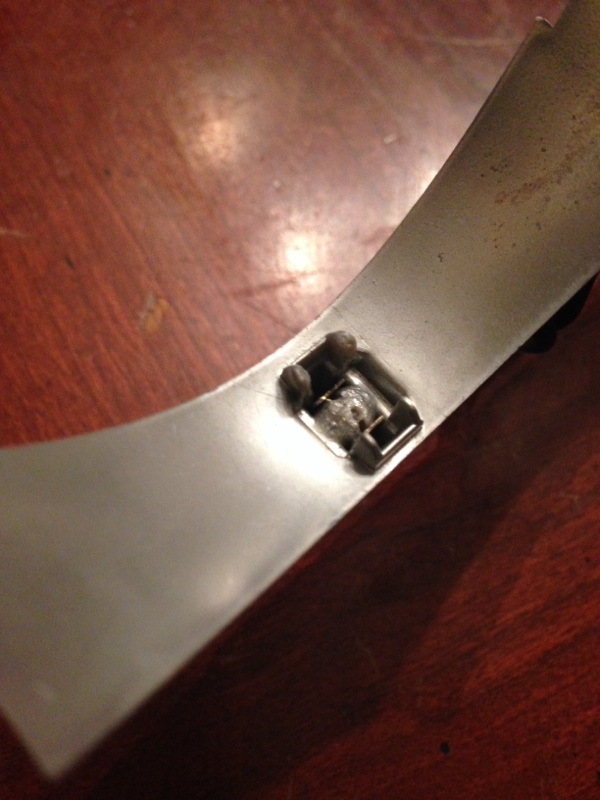
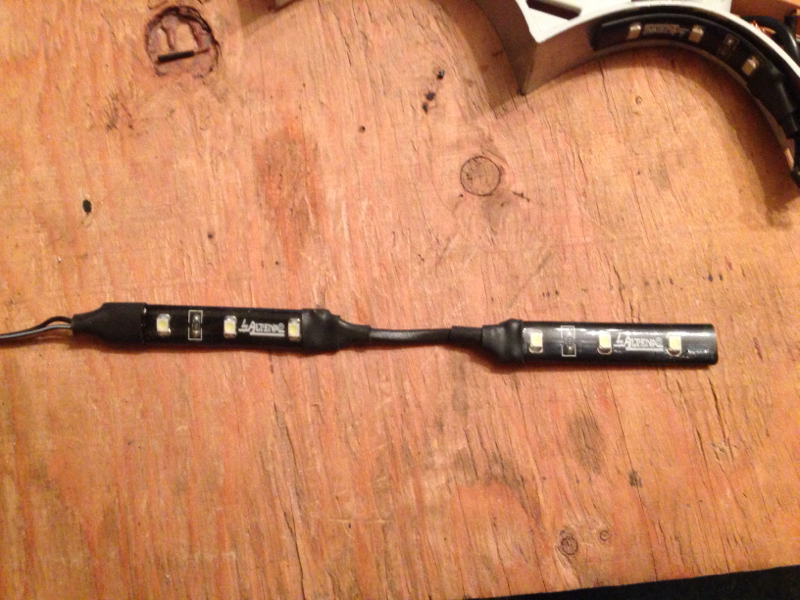
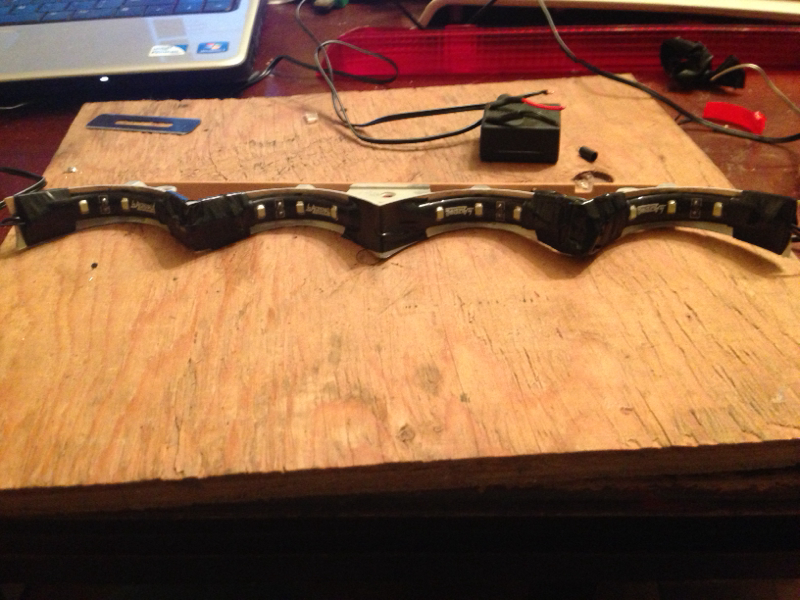 The battery pack the set comes with was great for testing connections as I went along.
  All done and pretty happy with it. These will never get hot enough to melt plastic and I'll likely never have to replace any LEDs. It was a simple inexpensive project as well.
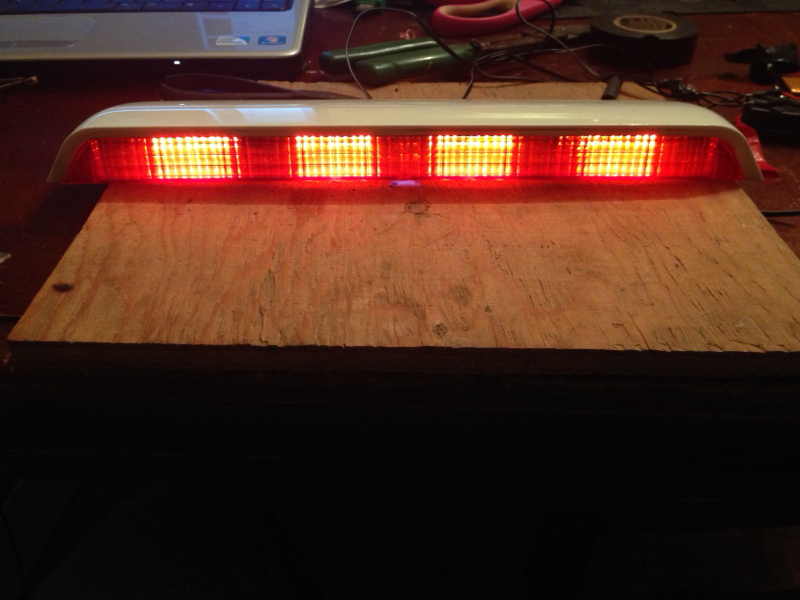
The strips have 6 LEDs each and can be cut in the middle. I cut them which gave me 3 LEDs per light socket. After laying it all out and soldering everything up I used the dremmel to grind down the tabs at each socket. Then stuck them in each socket with the 3M backing. Although the 3M was pretty strong I decided to use electrical tape to secure them further. All I could think was the hot sun softening and loosening the adhesive. The battery pack the set comes with was great for testing connections as I went along. All done and pretty happy with it. These will never get hot enough to melt plastic and I'll likely never have to replace any LEDs. It was a simple inexpensive project as well.
 11-22-2014, 06:14 PM
#73


Nice work,
I also have a white one (mine is an 85 though w/o that pesky third brake light which I like about the 85); I had mine repainted about 6 or 7 years ago.
Are you going to keep the side moldings black? I did and sometimes I wonder if I did the right thing although most folks say you don't want to paint those; the paint does not adhere to it or look the same as the fiberglass in a few years. Don't know.
Good thread!
11-22-2014, 06:44 PM
#74
Team Owner


Member Since: Aug 2005
Location: Riverside County Southern California
Posts: 34,988
Received 501 Likes
on
342 Posts
Co-winner 2020 C4 of the Year - Modified
2018 Corvette of Year Finalist
2017 C4 of Year
2016 C7 of Year Finalist
St. Jude Donor '09-'10-'11-'12-'13-'14-'15-'16-'17-'18-'19-'20


 11-22-2014, 08:15 PM
#75
Safety Car
Thread Starter
Nice work, I also have a white one (mine is an 85 though w/o that pesky third brake light which I like about the 85); I had mine repainted about 6 or 7 years ago. Are you going to keep the side moldings black? I did and sometimes I wonder if I did the right thing although most folks say you don't want to paint those; the paint does not adhere to it or look the same as the fiberglass in a few years. Don't know. Good thread!
Last edited by Dt86; 11-22-2014 at 08:18 PM.
11-23-2014, 09:51 AM
#76
but thanks for the compliments and it's good to see a couple of things here; quality body work being performed on a C4 with a quality thread making for a good read.
 12-01-2014, 03:33 PM
#77
Safety Car
Thread Starter
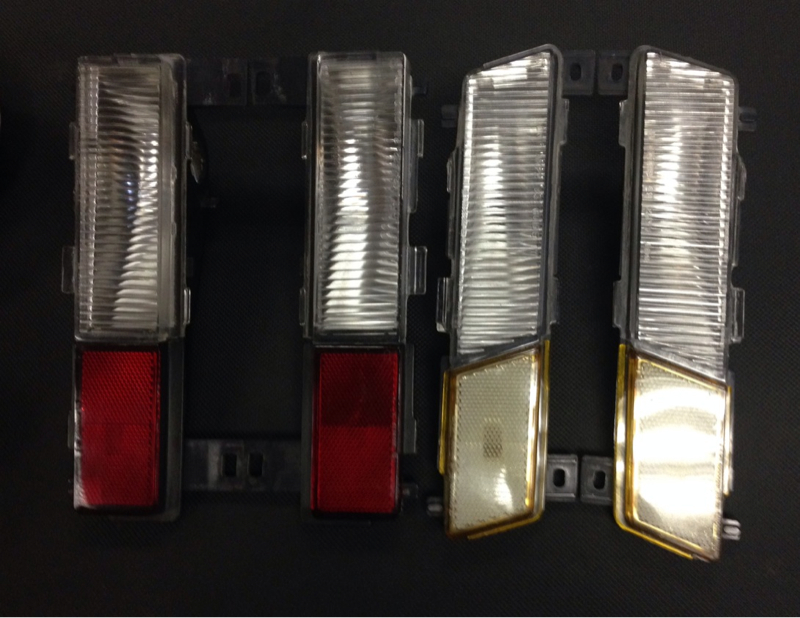
Got all of the overspray off of the side marker lights and cleaned them up. It took a while. I spent an hour here and there over the last couple weeks but theyre finally done!
12-01-2014, 04:21 PM
#78
Race Director
Member Since: Sep 2003
Location: Database Error Indiana
Posts: 16,614
Received 228 Likes
on
160 Posts

 The LED still works fine.
 I dont know why the cost so much either. I also remember when I had my first C4, they were expensive and sort of hard to get.
